

BLOG
Stories, articles, and updates from the Ranch community.

Book Recommendations: The Titles I Read this Fall
Last year I wrote a short article about the books that I read while visiting my family last fall in the United States. I received a handful of positive responses after we posted it to the Ranch’s blog and as a result I thought that I’d go ahead and repeat the exercise this year. The books are in the order that I read them. I would recommend and learned something important from all of them. A few of them impacted me profoundly. I will try to incorporate the lessons that I learned in many of these books into my personal and work life.
by Tim O’Hara
Last year I wrote a short article about the books that I read while visiting my family last fall in the United States. I received a handful of positive responses after we posted it to the Ranch’s blog and as a result I thought that I’d go ahead and repeat the exercise this year. The books below are in the order that I read them. I would recommend and learned something important from all of them. A few of them impacted me profoundly. I will try to incorporate the lessons that I learned in many of these books into my personal and work life.
Harvest of Empire: A History of Latinos in America by Juan Gonzalez
This book evoked Howard Zinn’s A People’s History of the United States of America and Eduardo Galeano’s The Open Veins of Latin America. It’s an enlightening look at latino history from the perspective of the oppressed and highlights their role, courage and sacrifice in modern American history. If you’re interested in obtaining a more balanced look at Latin American history, add this one to your collection.

The Wolf at Twilight: An Indian Elder's Journey through a Land of Ghosts and Shadows by Kent Newburn
Rich Esposito, a former visitor to the Ranch, gifted me and the Ranch both this book and The Girl Who Sang to the Buffalo: A Child, an Elder, and the Light from an Ancient Sky (see below). They are books 2 and 3 in Kent Nerbern’s trilogy about the author’s time spent with a Lakota elder named Dan and some of his closest friends. All 3 books affected me deeply. I can highly recommend them all. I think that it would be beneficial if they were required reading in public high schools throughout the US. If more people read stories like this, their impact might bring us closer, faster to the type of society that I aspire to live in. Ceremony, slowing down, deep listening, honor and respect are themes that seem to have less and less room in our modern, high-paced, sometimes dysfunctional society. I will be doubling down on my commitment to these lessons as I try to improve myself and dedicate my work to creating an alternative model to the broken communities that many of us live in.

Overstory: A Novel by Richard Powers
This book was recommended to me by a visitor to the Ranch in August. I picked it up as soon as we arrived to the States. It read much like a Barbara Kingsolver novel. Mr. Powers weaves together the lives of a disparate collection of people around the theme of the power and importance of trees. Wow. If you’re a tree lover, get your hands on this book. If you believe in the power of trees, buy this book. If you want to better understand the critical role that trees play in our ecosystem, borrow this book from your local library. If this book were required reading for everyone we might become better stewards of the magical, rooted beings that gift us life.
The War on Normal People: The Truth About America's Disappearing Jobs and Why Universal Basic Income Is Our Future by Andrew Yang
After getting sucked back into the US political scene this fall, I decided, based on Brian “Sparky” O’Rourke’s suggestion, to pick up and read 2020 Democratic Presidential Candidate Andrew Yang’s book about his thoughts on Universal Basic Income (UBI), the state of academia, and the changing landscape of the US economy and how it’s being revolutionized by automation. It was a pretty quick read and one full of provocative and compelling snippets that got me thinking differently about what our future may hold. I like Mr. Yang’s straightforward and compassionate style and it seems as if many people in the US electorate agree as I’ve watched his poll numbers creep upwards ever since he’s walked onto the national stage.

Braiding Sweetgrass: Indigenous Wisdom, Scientific Knowledge and the Teachings of Plants by Robin Wall Kimmerer
This book, loaned to us from 2019 Apprentice Abby Kuchar, is a must-read. The author, based in Upstate NY not far from where I grew up, takes both a scientific and spiritual look at plants and their critical importance to the human species. The book is beautifully written and touches on difficult subjects in a way that feels both profound and accessible. This book should arguably have a place in everyone’s library. My sense is that if you read this book every year that you’d continue to glean something life-changing from it with each read. It’s a perspective changer in the best way. Ms. Kimmerer has a way of bringing together the gifts of indigenous cultures and the practicalities of science to show us a path on how we can live on this planet in a way that might be necessary if Homo sapiens are to stick around much longer.

The Girl Who Sang to the Buffalo: A Child, an Elder, and the Light from an Ancient Sky by Kent Newburn
I read this book in 2 days. I could not put it down. I think that everyone that reads this book, especially white people born in the United States, will benefit from the lessons herein and the important stories that take a candid look at American Indian life. Be prepared to shed tears of both joy and anguish. This was my favorite book of the trilogy (outlined above). I didn’t want it to end. These stories seem critical to share. I want to shout from the top of lungs, “read this book!”. I would like to buy a copy for every high school English classroom and everyone I’ve every met. Mr. Nerburn has a gift for sharing the stories of American Indians in a way that is consequential and educational to non-Indians.

Lakota Woman by Mary Crow Dog and Richard Erdoes
Mary’s straightforward and matter-of-fact storytelling shares the story of the plight of the modern American Indian from the oftentimes unheard woman’s perspective. This is an intimate, candid, first-hand look at the tragedy and beauty of American Indian life. This important story includes first hand accounts of the takeover of the Bureau of Indian Affairs (BIA) building in Washington D.C. in 1972 and the protests and incident at Wounded Knee in 1973. Mary’s a courageous woman who has inspired a generation of American Indian women to be proud of their heritage and fight for the rights of this land’s original stewards.

Trees of Power: Ten Essential Arboreal Allies by Akiva Silver
Akiva Silver, the founder of Twisted Tree Farm in Spencer, NY not far from my mom’s home in Binghamton, NY, is an agroforestry innovator, farmer and nursery manager who’s having a profound impact in this region of the United States and beyond. I love his philosophy and dedication to spreading the gospel of temperate perennial tree producers. The book is inspirational and practical with the second half of the book focusing on 10 agroforestry species that with large scale plantings could get humans thinking differently about food production and how to feed the world. Akiva and his family are doing important work in this part of the world. If you’re in the Northeast, check out his farm and nursery and if you’re looking for trees to plant on your farm, in your yard, or throughout your community, Twisted Tree should be at the top of your list to check out.
Blood and Thunder: The Epic Story of Kit Carson and the Conquest of the American West by Hampton Sides
This book was recommended to me by my sister-in-law Tracy. It’s about the life of frontiersman Kit Carson and the conquest of the the American West by the U.S. government. It’s a tragic recount of the continuous wars between Britain, Spain, Mexico and various American Indian tribes and the fledgling United States. The common thread that runs through this story is one of deception, broken promises and treaties, massacre and murder. I felt that Mr. Sides did a reasonable job in presenting a somewhat objective history of the horrors of how the country of my birth realized its “manifest destiny” through the eyes of one of its most well-known adventurers and pioneers.
Happy reading to you all. I’m always looking for book recommendations so let me know if there’s anything in your library that you think that I would enjoy and/or learn from.
Abrazos,
Tim

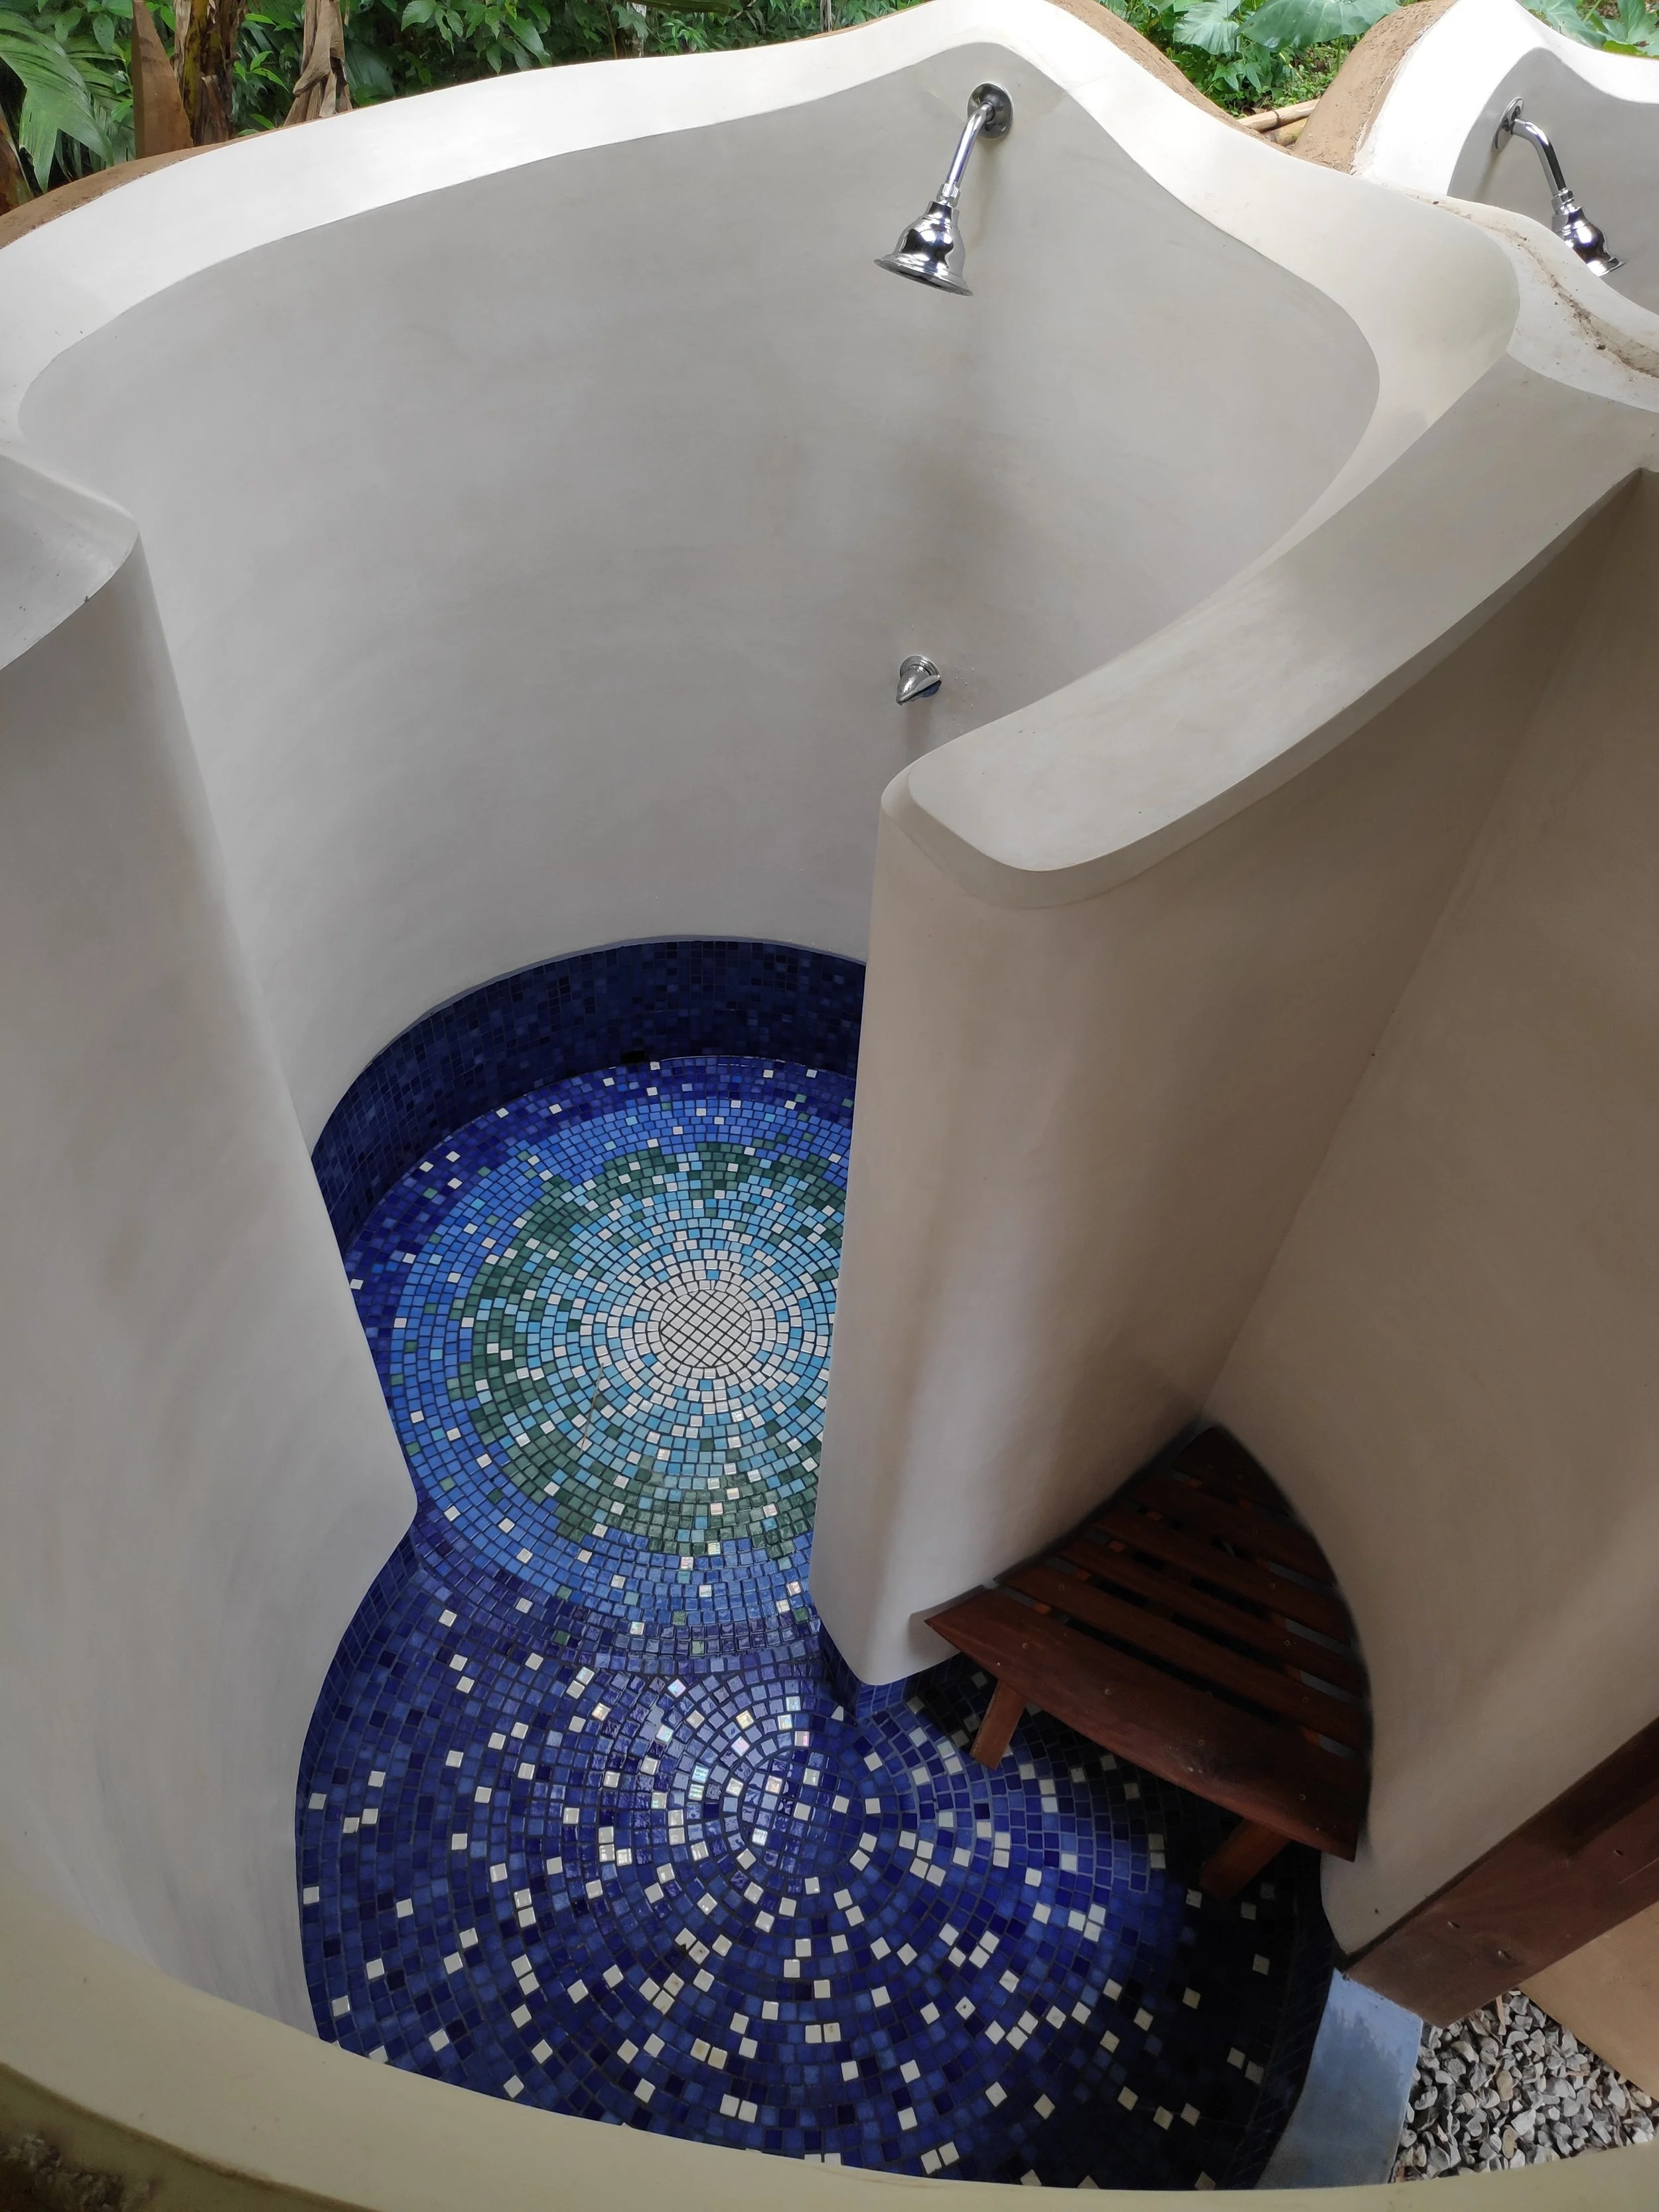
Building an Adobe Shower with Tadelakt Plaster
We recently completed our adobe shower and thought we would share with everybody how and in what order it was executed. The building blocks of the design were Adobes that we made with our 2018 apprentices and student groups that visited us through the year
By core team members Nic & Ali
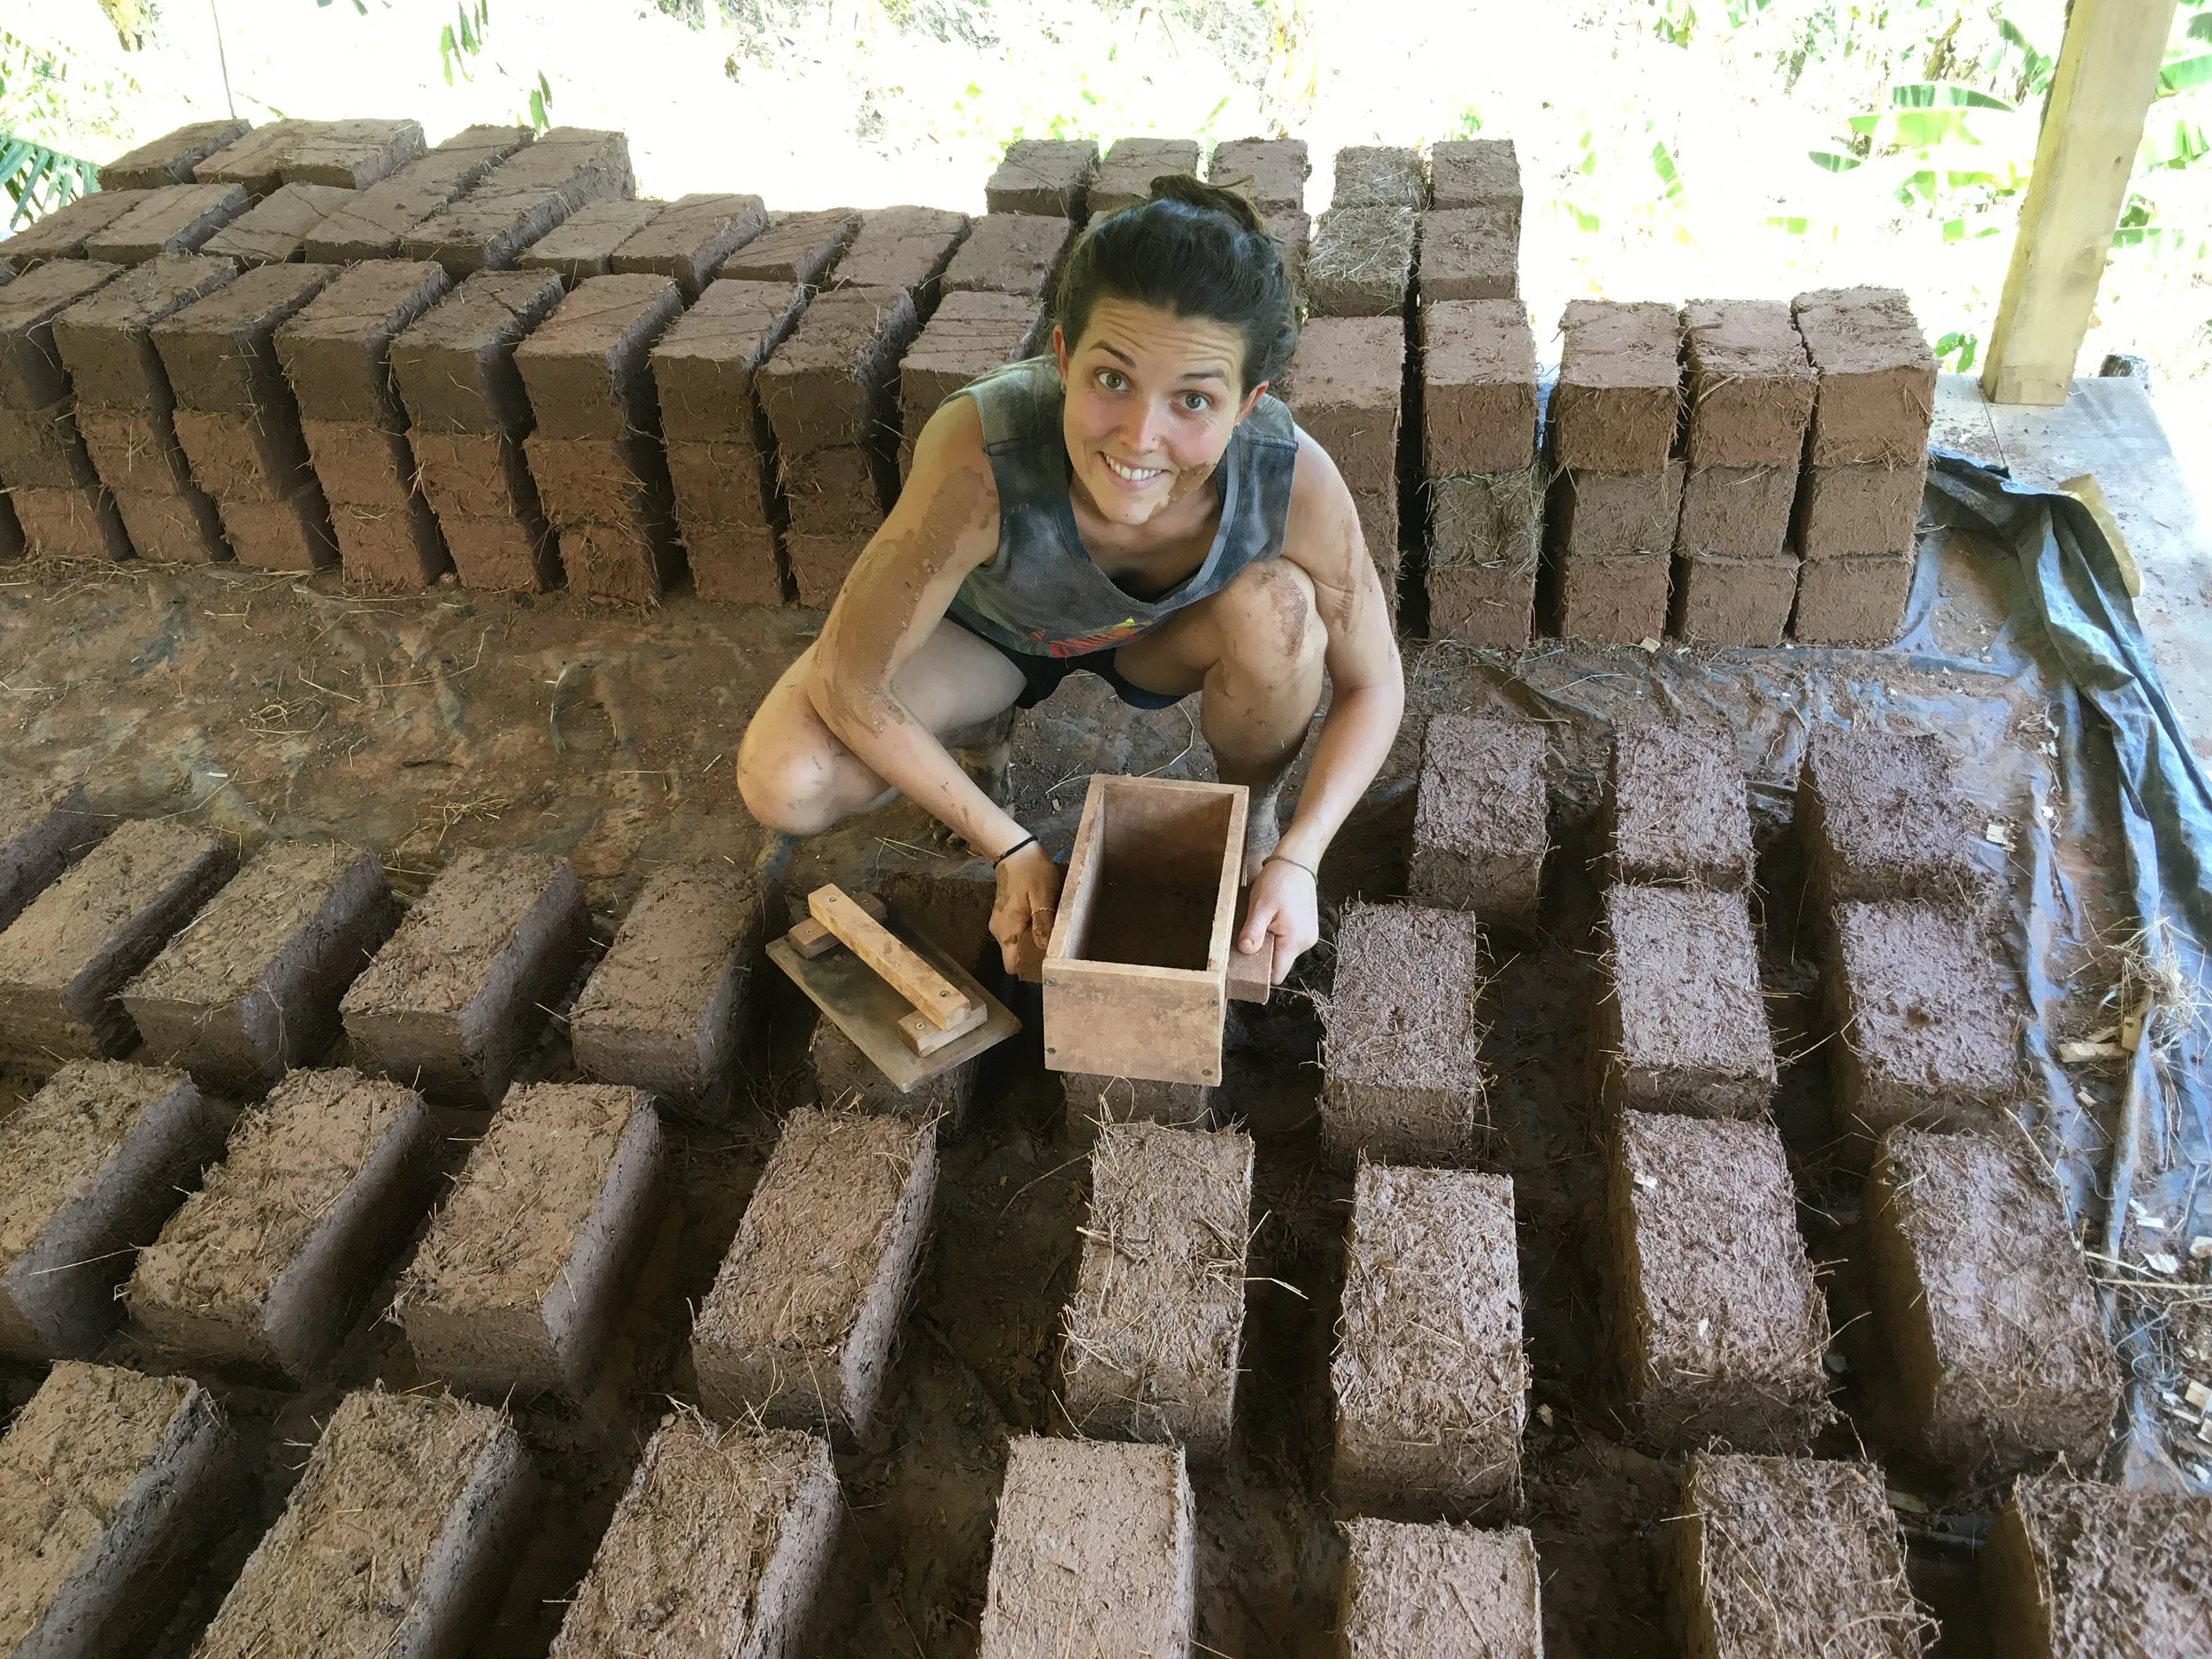
We recently completed another adobe shower and thought we would share with everybody how and in what order it was executed. The building blocks of the design were adobes that we made with our 2018 apprentices and student groups that visited us through the year. In total we used around 500 adobe bricks at 5” x 5” x 10”.

What is an Adobe brick?
An adobe brick is mixture of sand, straw and clay, formed in a mold and sun dried.
How to make an Adobe brick
Start by making tests with your soil, if you are not sure what that means, read this article. Where we live we have an abundance of red clay soil. Using our soil, which is almost pure clay, we can use 1 part soil to 3 parts sand as a good starting point, depending on variations in the soil we may need to mix at 1:4 too. We add about ½ a part of long straw too, this gives the adobes some additional tensile strength. We then put all our ingredients on a tarp and begin to mix it together. Once the adobe mix is ready (one uniform color of mixed sand and clay) the mixture is put into an adobe form. When packing the forms make sure to fill all the corners! The form is then removed and the brick is left in the sun to dry until it dry enough to be moved and stacked. In our climate during the dry season this takes 3 to 5 days.
Steps to making a shower
1. Planning
As with all successful projects the key is good planning. We like to use a program called SketchUp to mock up all of our designs, lay out foundations, the frame and even plumbing. Every detail must be planned in advance this makes sure that the correct provisions can be designed in and made in advance.

2. Foundations
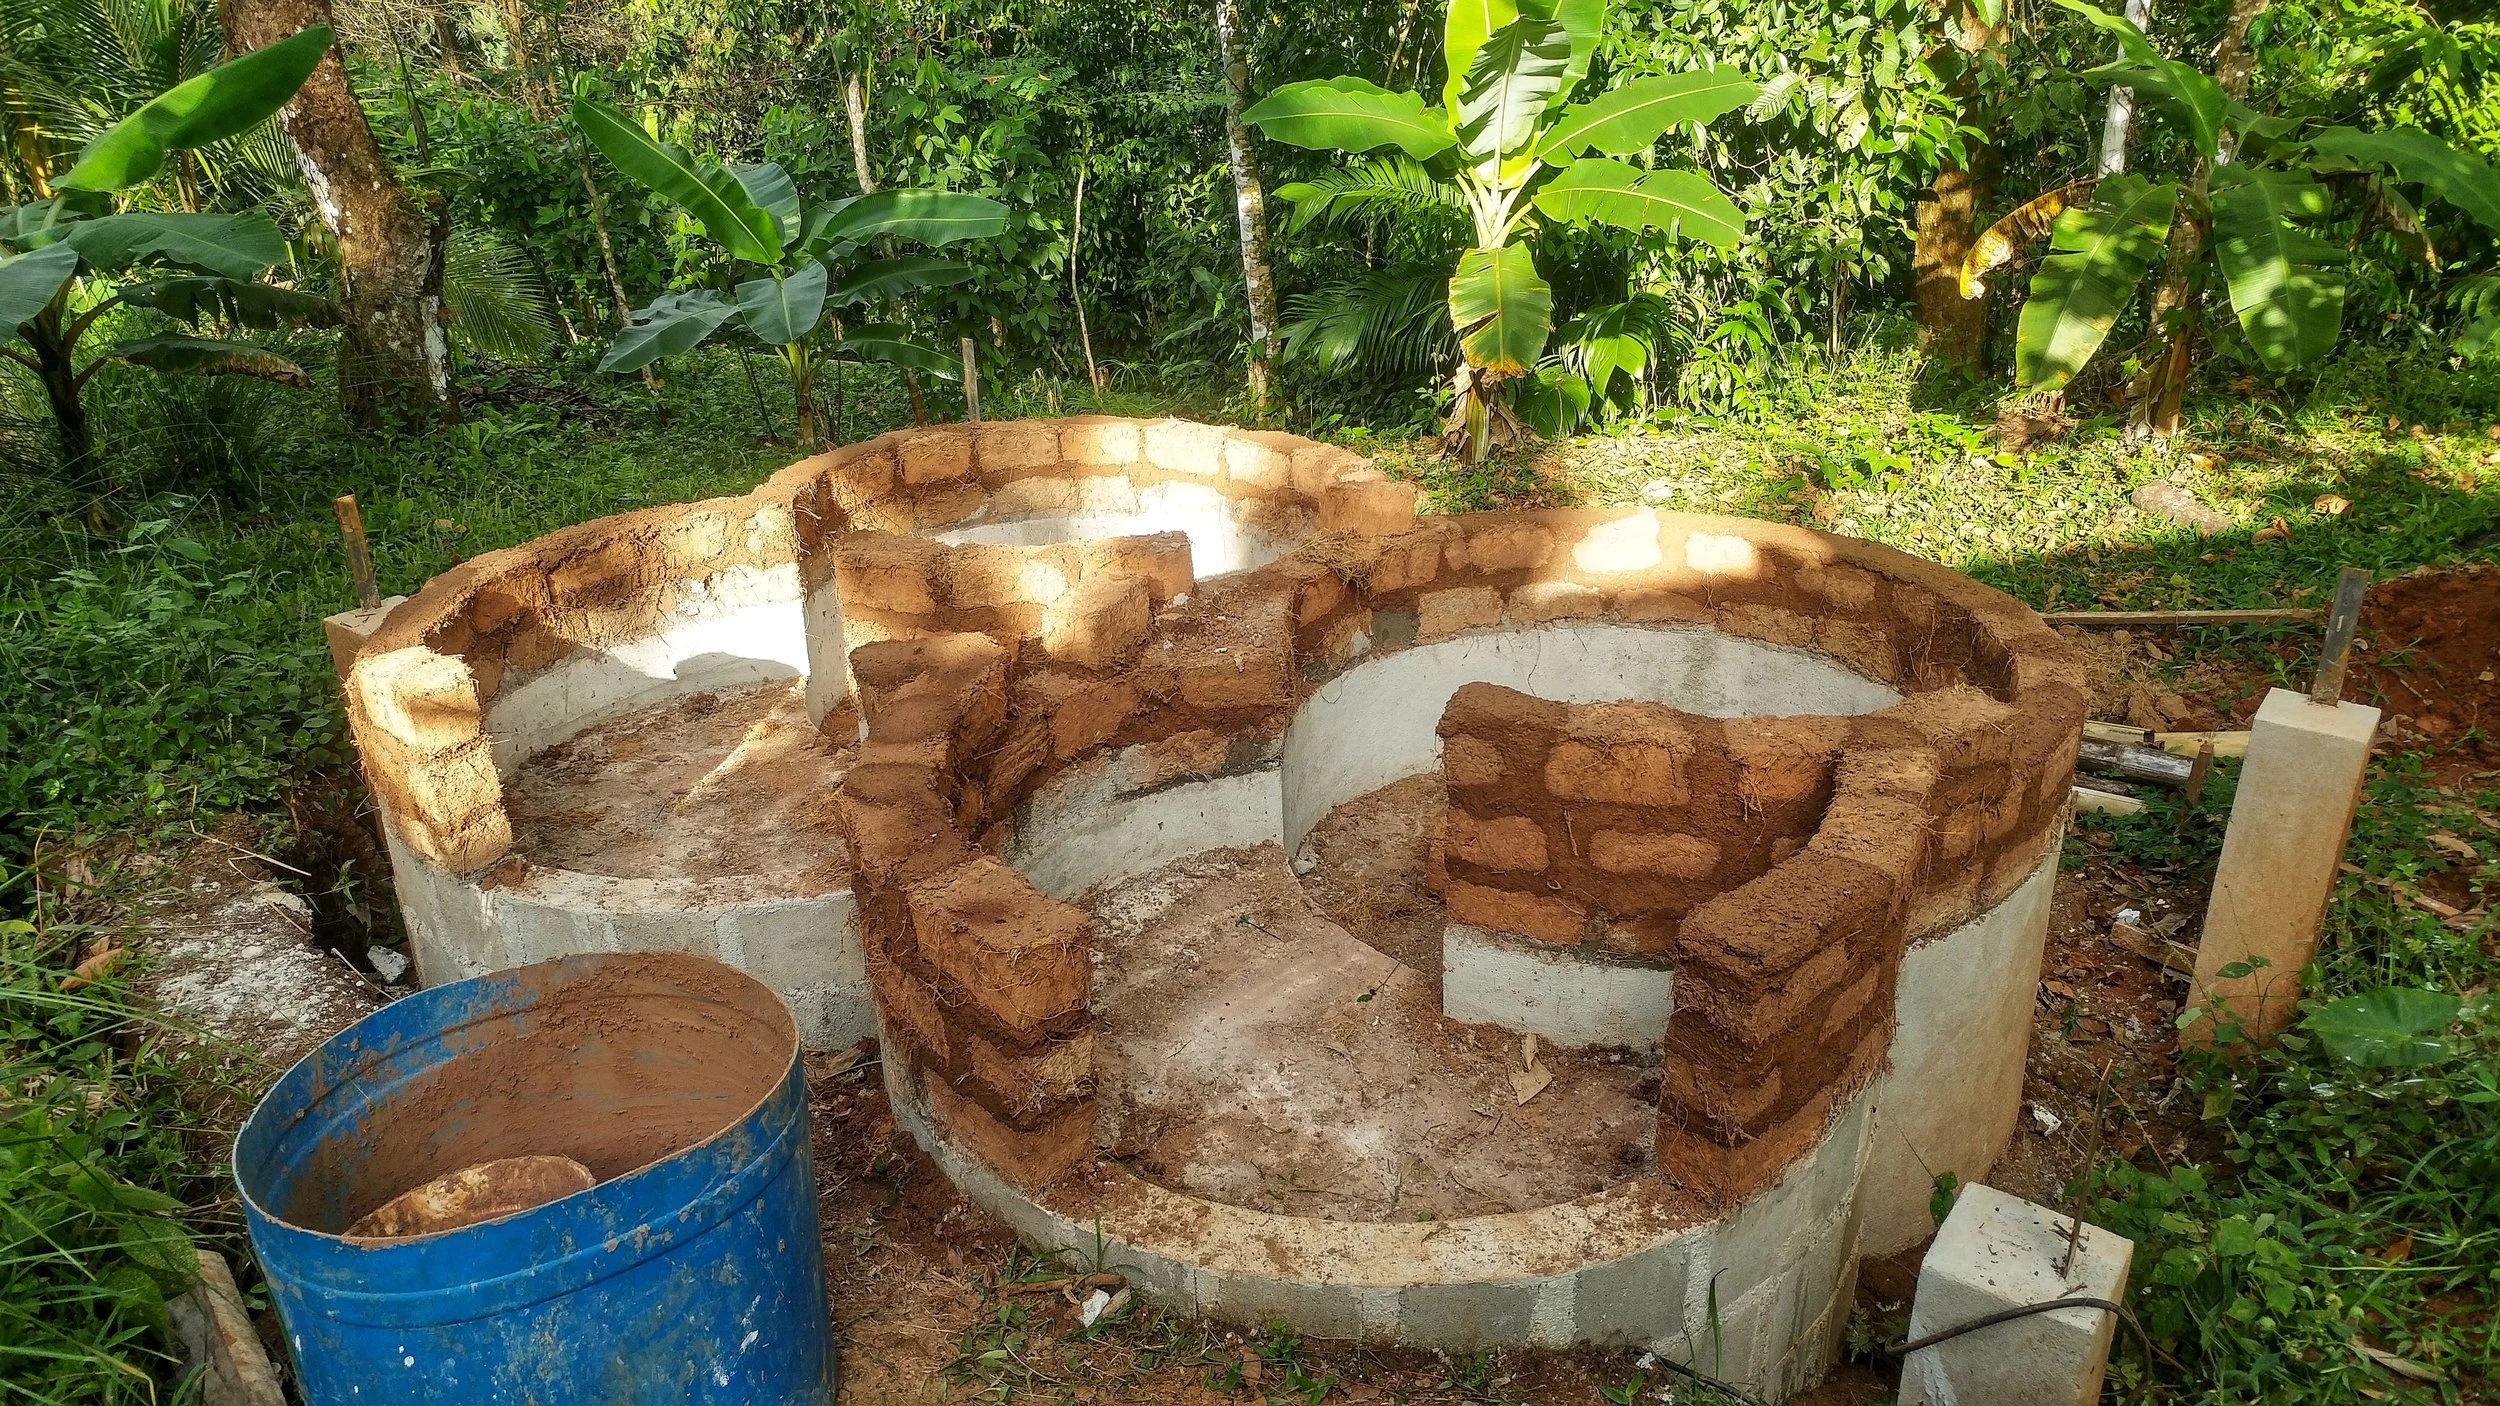
For our shower we used concrete blocks cut in half so that they could form the curves that we wanted. A shower is going to be a wet area so it is important that you think about this during the planning stage, where will the water drain to? Are my pipes embedded in my foundation? How is my roof going to be attached. In our design we decided to have a separate Timber Frame to support the roof structure.

Step 3 - Adobe
The first course of adobes were attached to the foundation using a cement based mortar this helped them bond strongly to the concrete foundation.
Step 4 - Bond Beam
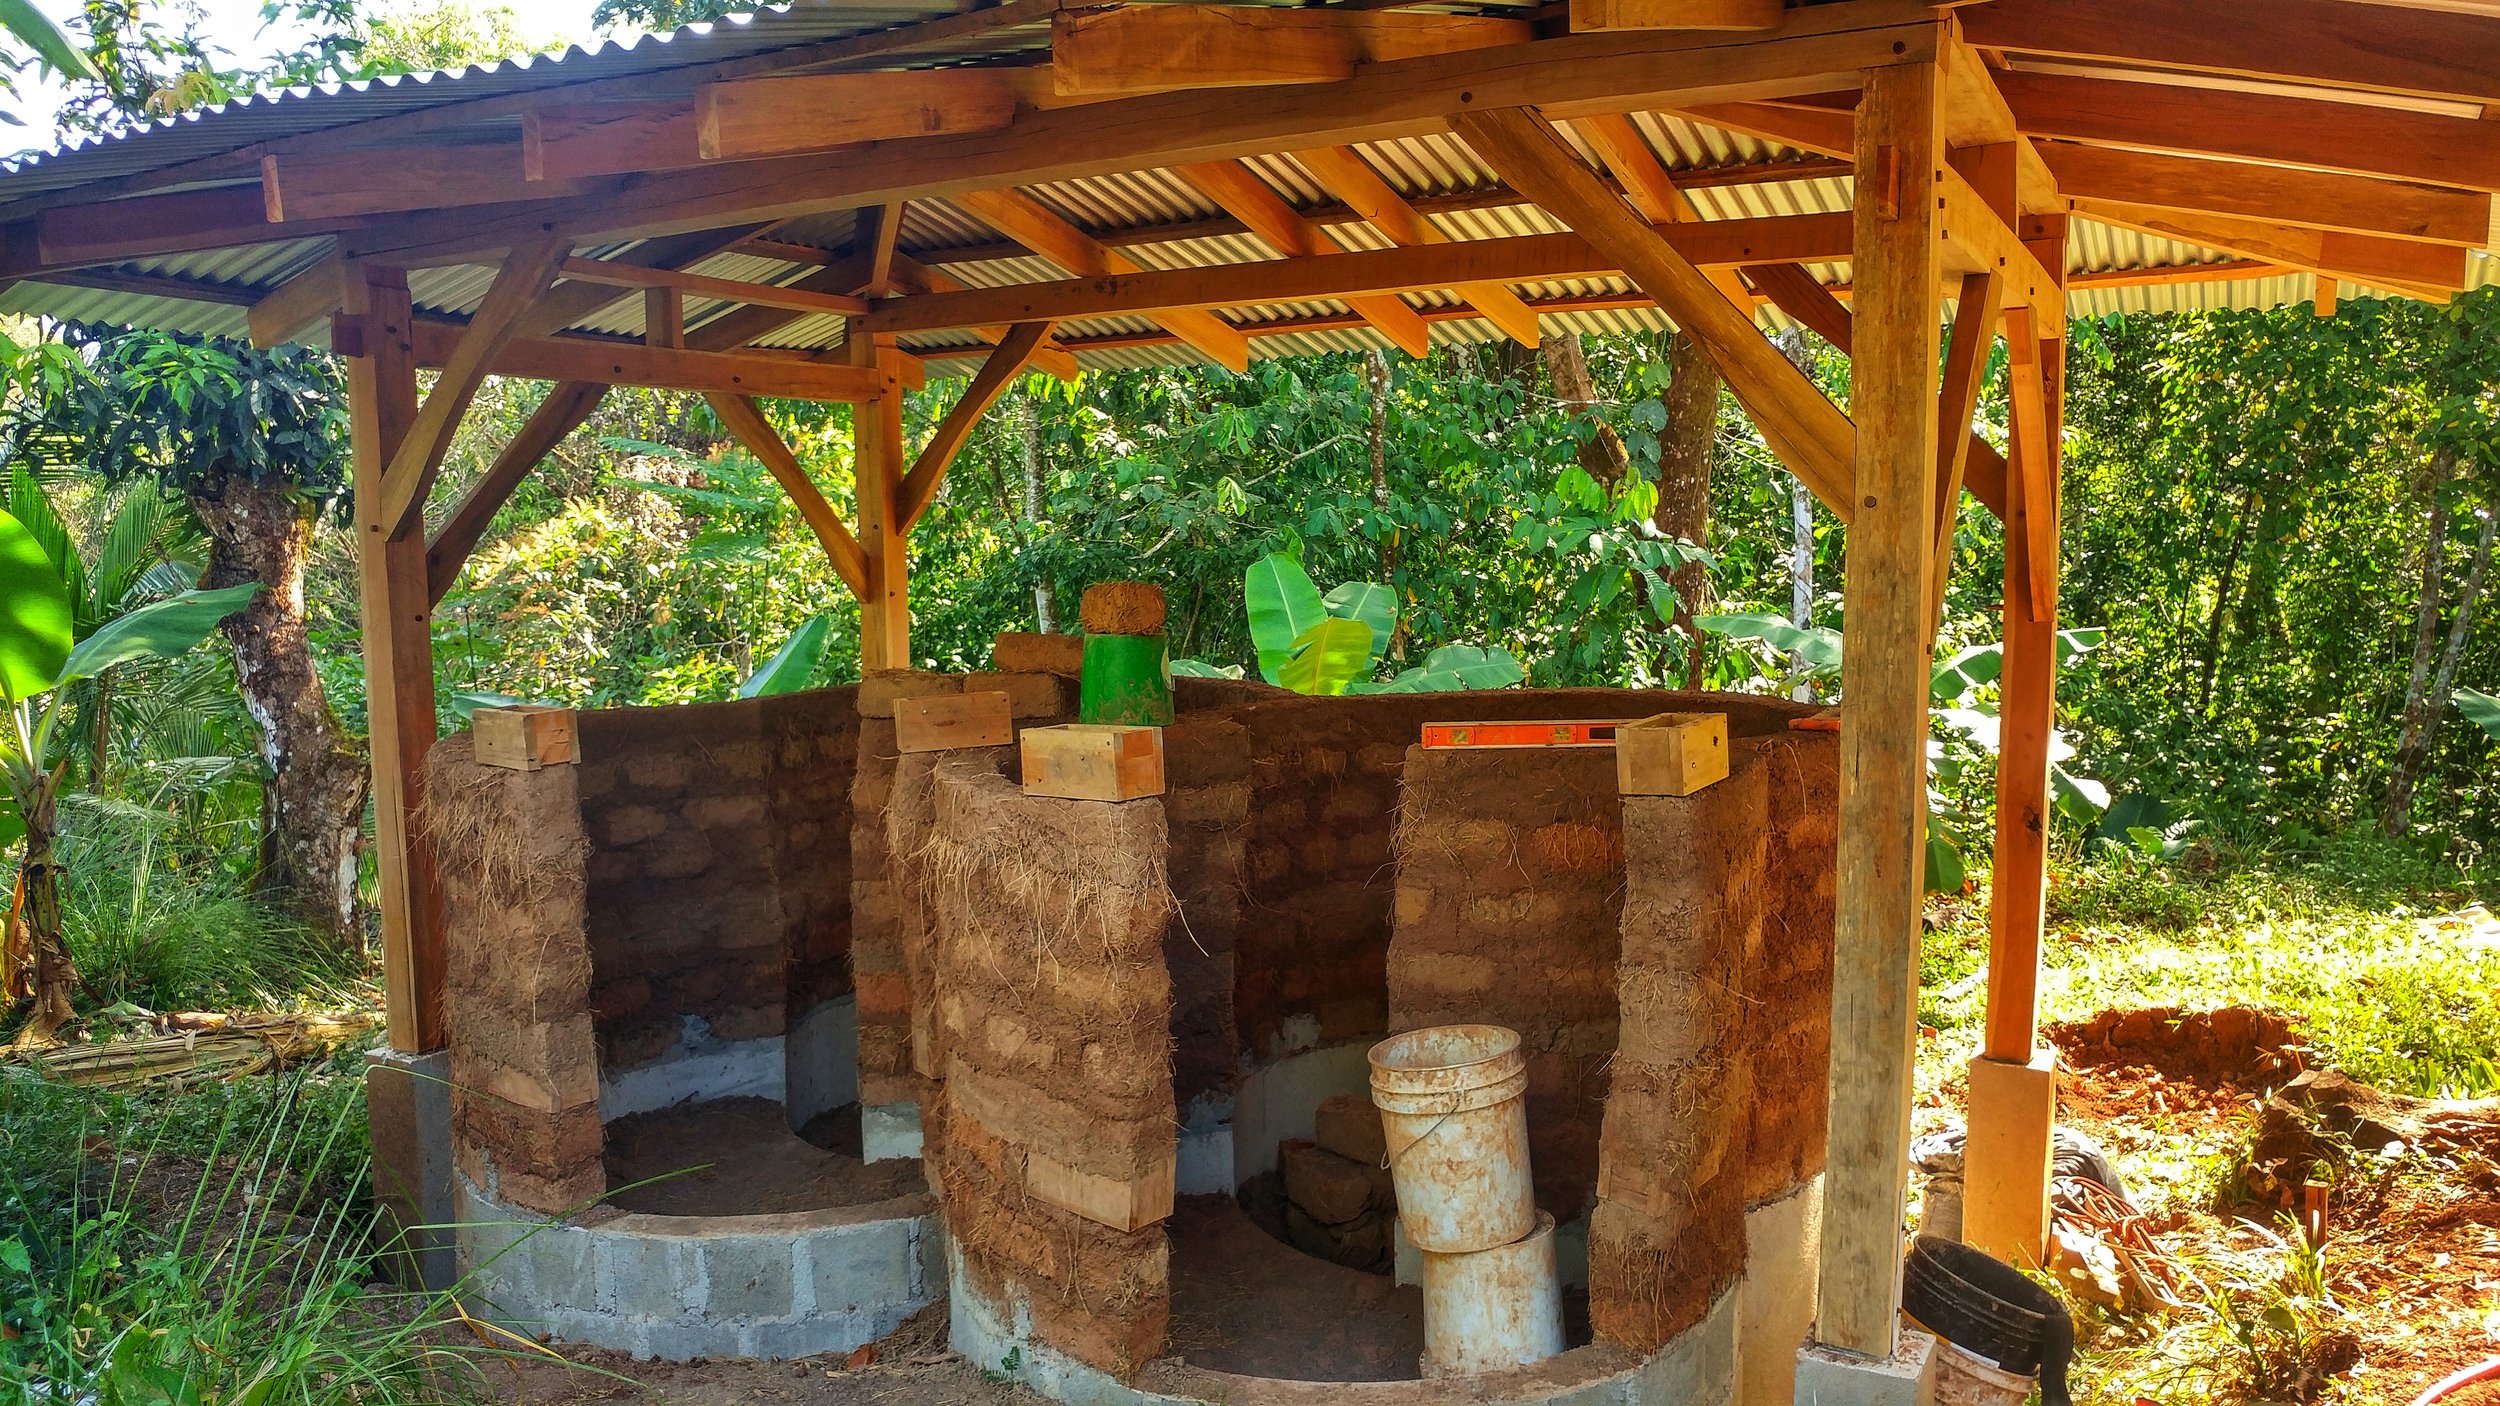
From the second course upwards we used a sandy clay mortar for the adobes. Every 4 courses of adobes we made a cob bond beam for extra strength.

Step 5 - Gringo Blocks
Wooden hollow blocks (known as gringo blocks) were put at the end of each wall to attach in the wooden frame for the doors and a hollow plumbing box was installed where all the plumbing would be inserted for the shower handle. In Costa Rica the plumbing parts easily purchased in the local hardware store are terrible and always leak so we made most of the plumbing accessible from the outside. It is generally a good idea when making your initial design to plan for replacing parts in the future.
Step 6 - Frames
The door frames were installed at this point and they were screwed into the Gringo blocks. The door frames were also tied into the adobe structure using some mesh, we used what we could locally find which is what they sell for chicken fencing. You could also use a variety of natural alternatives, attaching them to the wood and plastering them in to the wall to give them extra stability.

Step 7 - Leveling
A leveling coat was then applied to sculpt and level the walls, this was tied into the door frame to give extra support too.
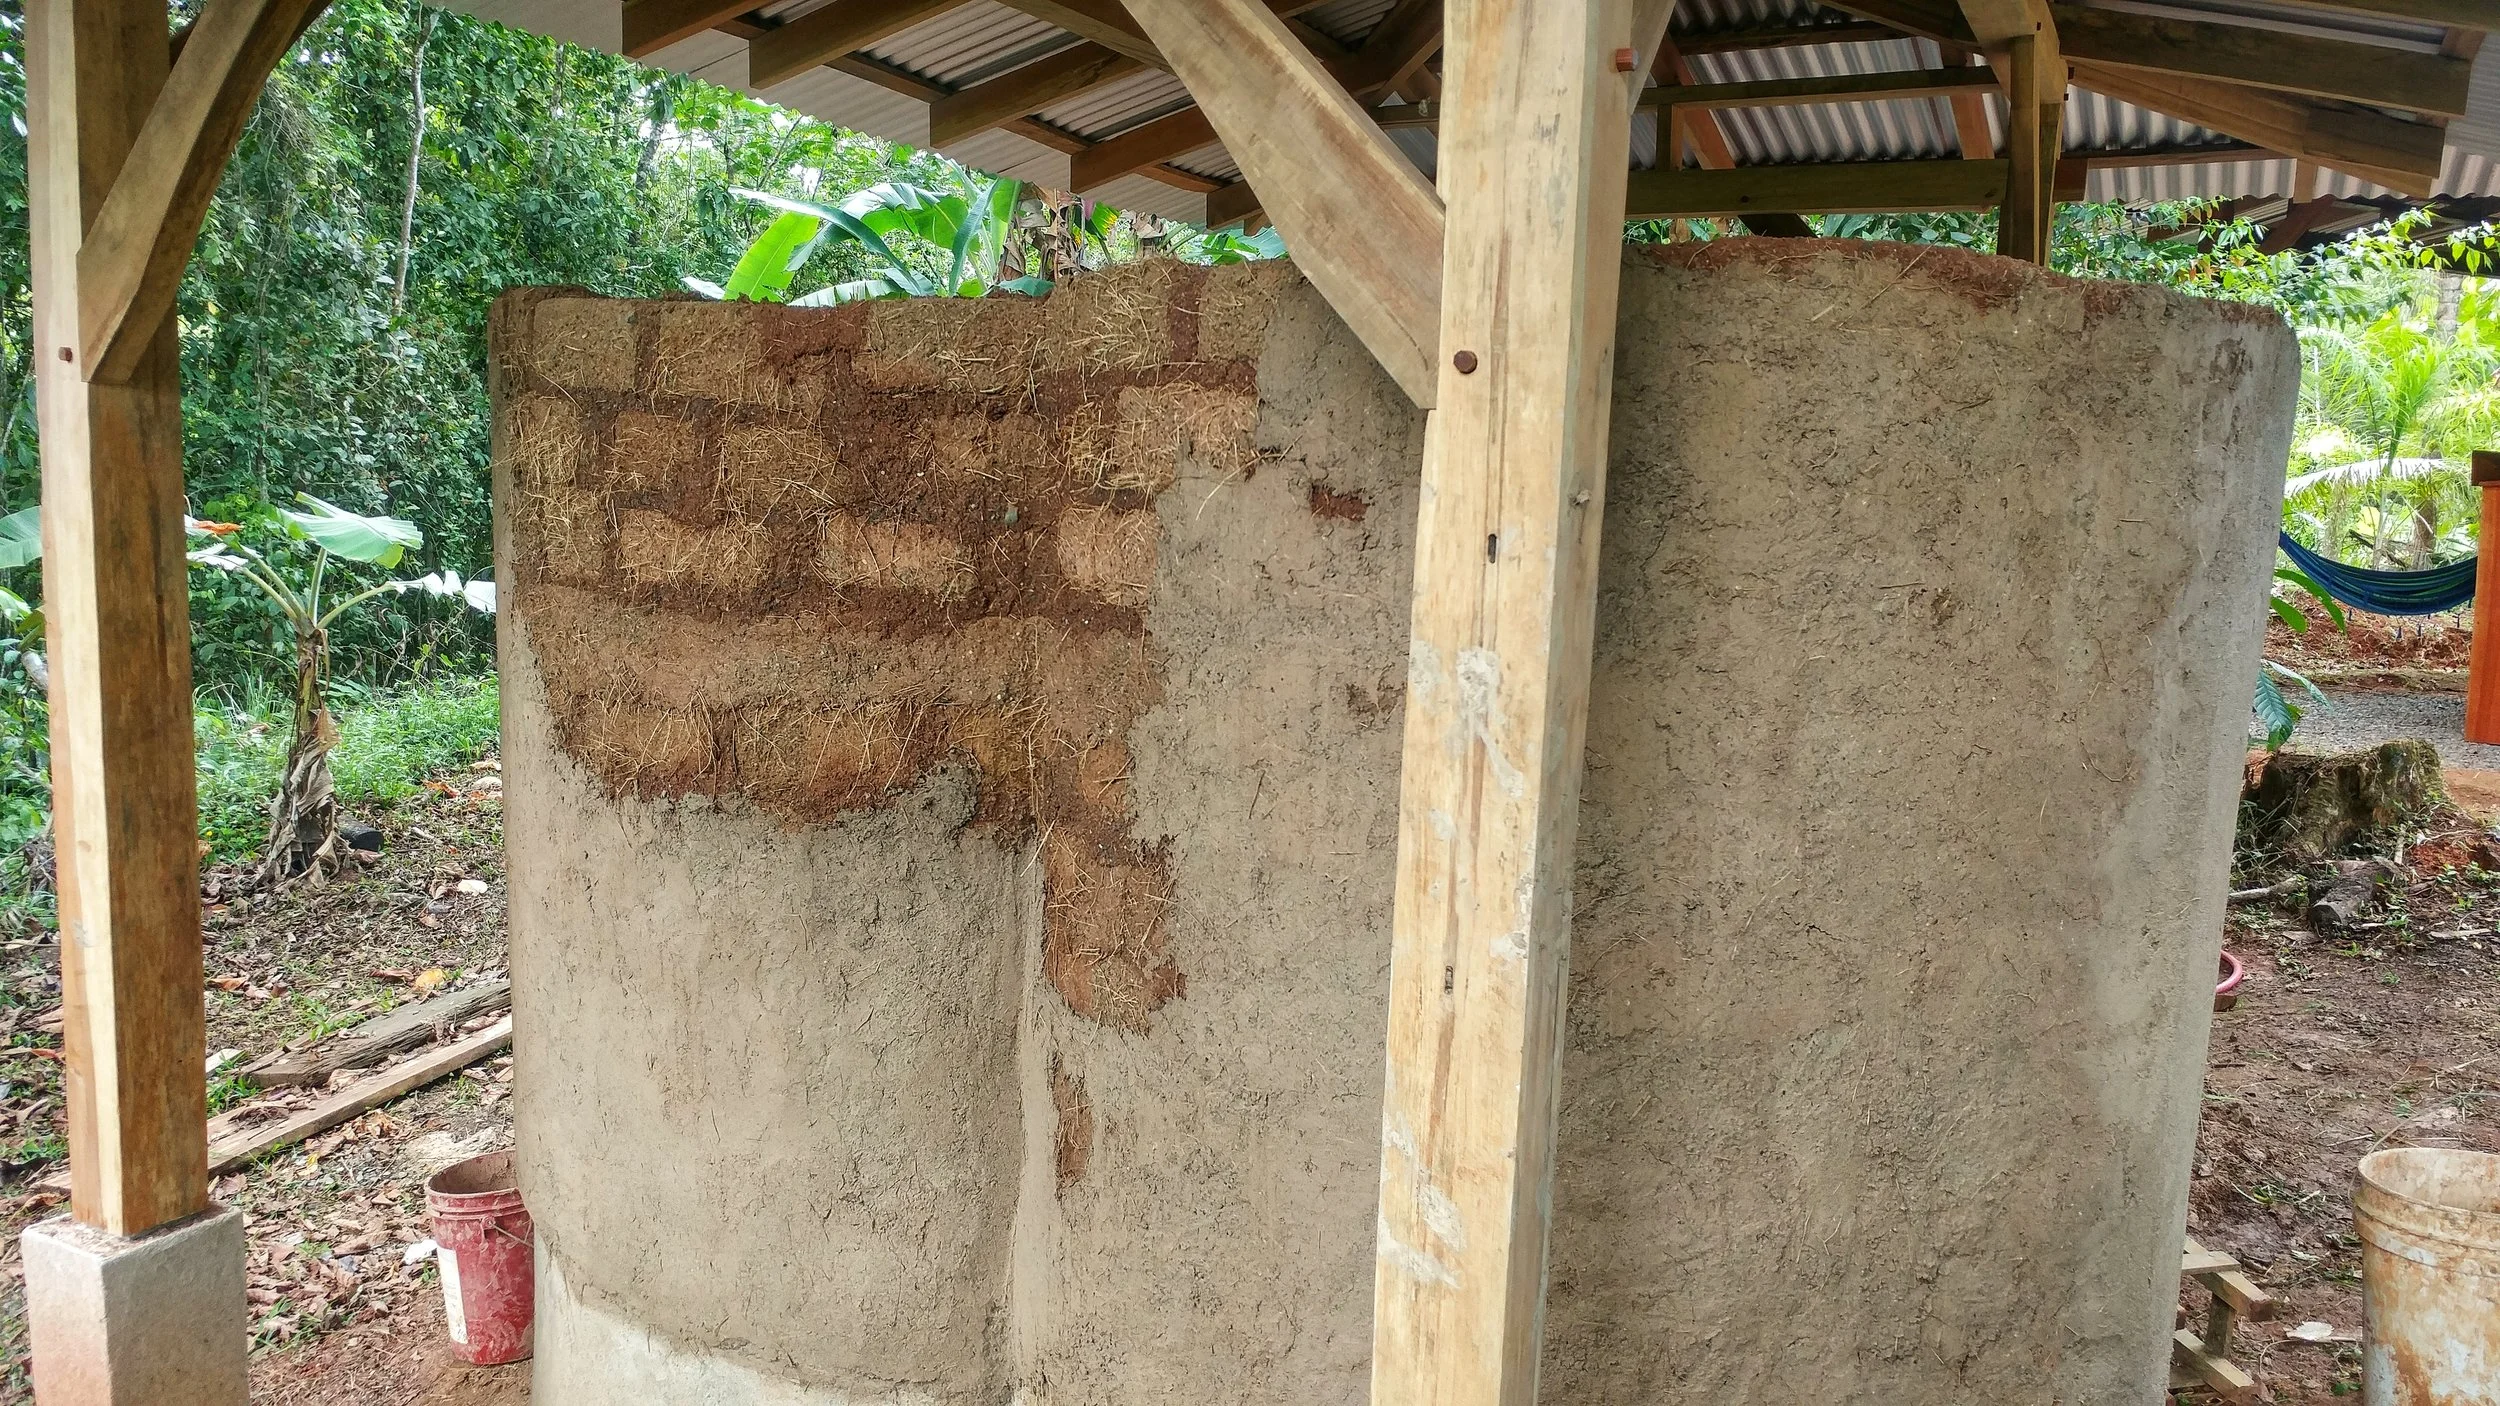
Step 8 - Tiling
The vertical surfaces of the concrete block were tiled to provide a plaster stop on the bottom edge were the plaster would meet the tile.
Step 9 - Plastering
A lime base coat was then applied over the earthen leveling coat. Whilst this basecoat was still damp (before it started wicking moisture again) we applied the tadelakt mix (1 part fine lime sand and 1 part lime). We did the Tadelakt like this as we had such a large continuous surface area to plaster and needed the time to work it all.

Step 10 - Tadelakt
Once the plaster had dried enough we stoned and soaped the wall using our homemade soap. The Stearic Acid in soap reacts with the Calcium Hydroxide (hydrated lime) to make Calcium Stearate which is highly hydrophobic and one of the reason Tadelakt is considered water resistant. Read more about Tadelakt here.
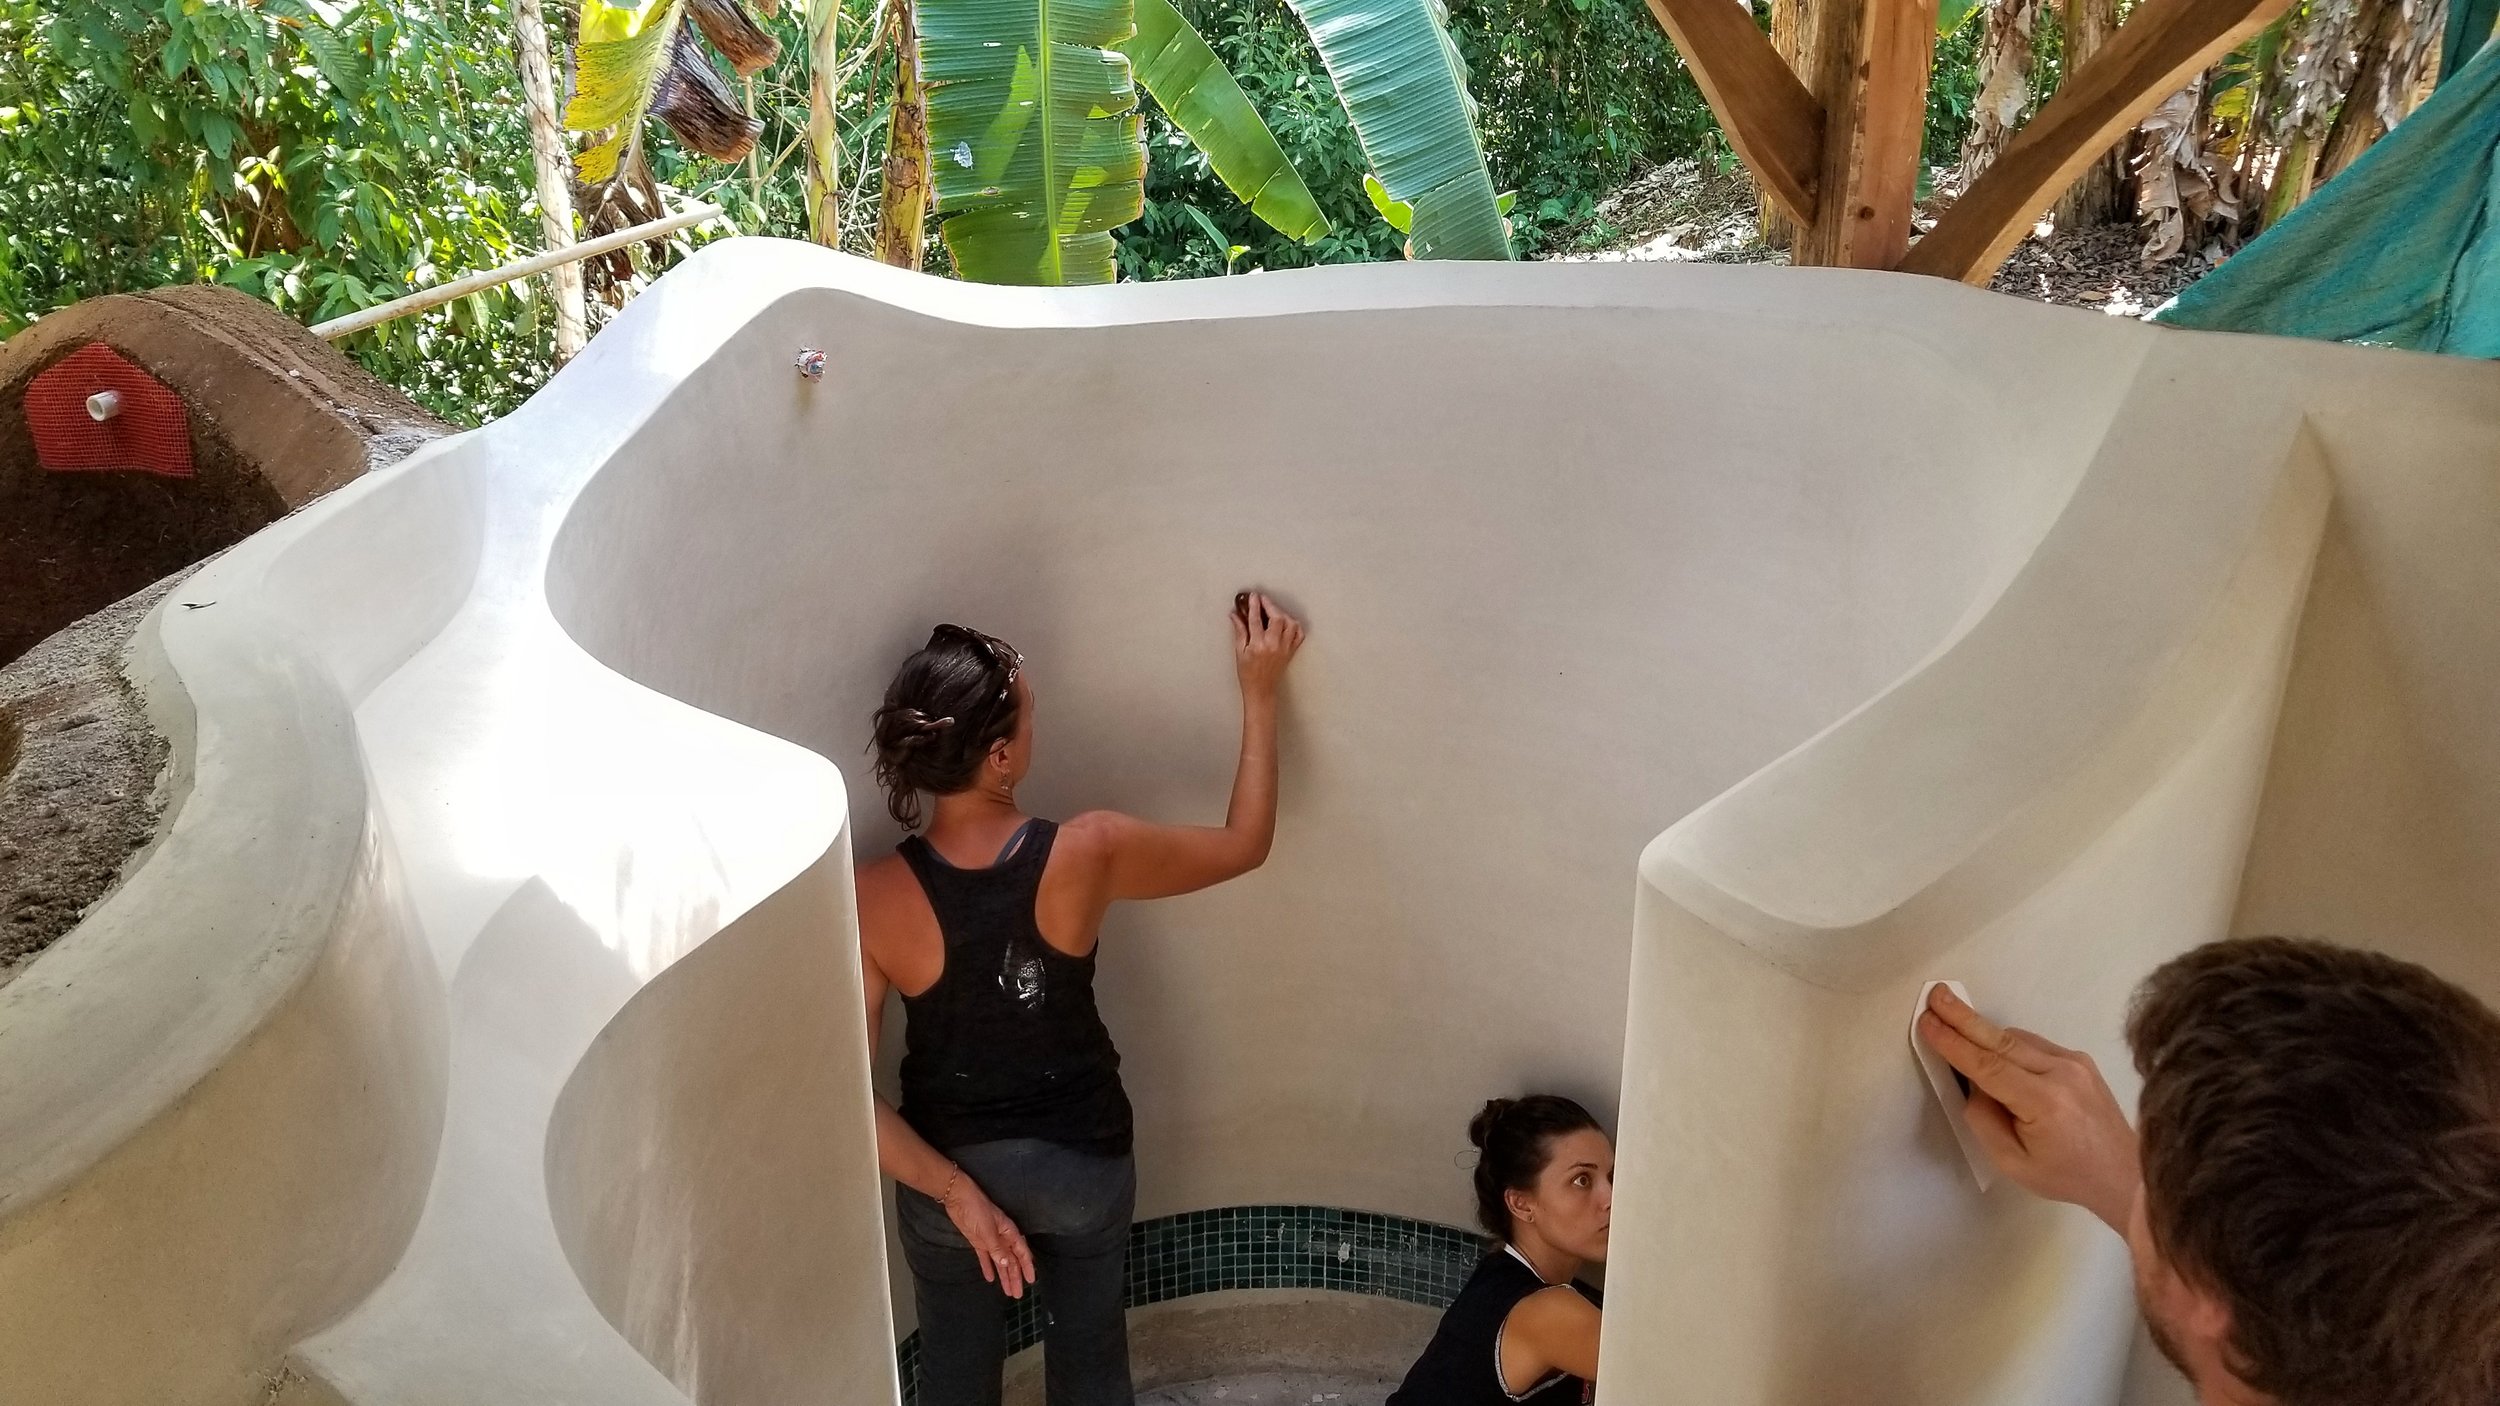
Step 11 - Mosaic
The remaining horizontal surfaces were tiled using different colored swimming pool tiles.

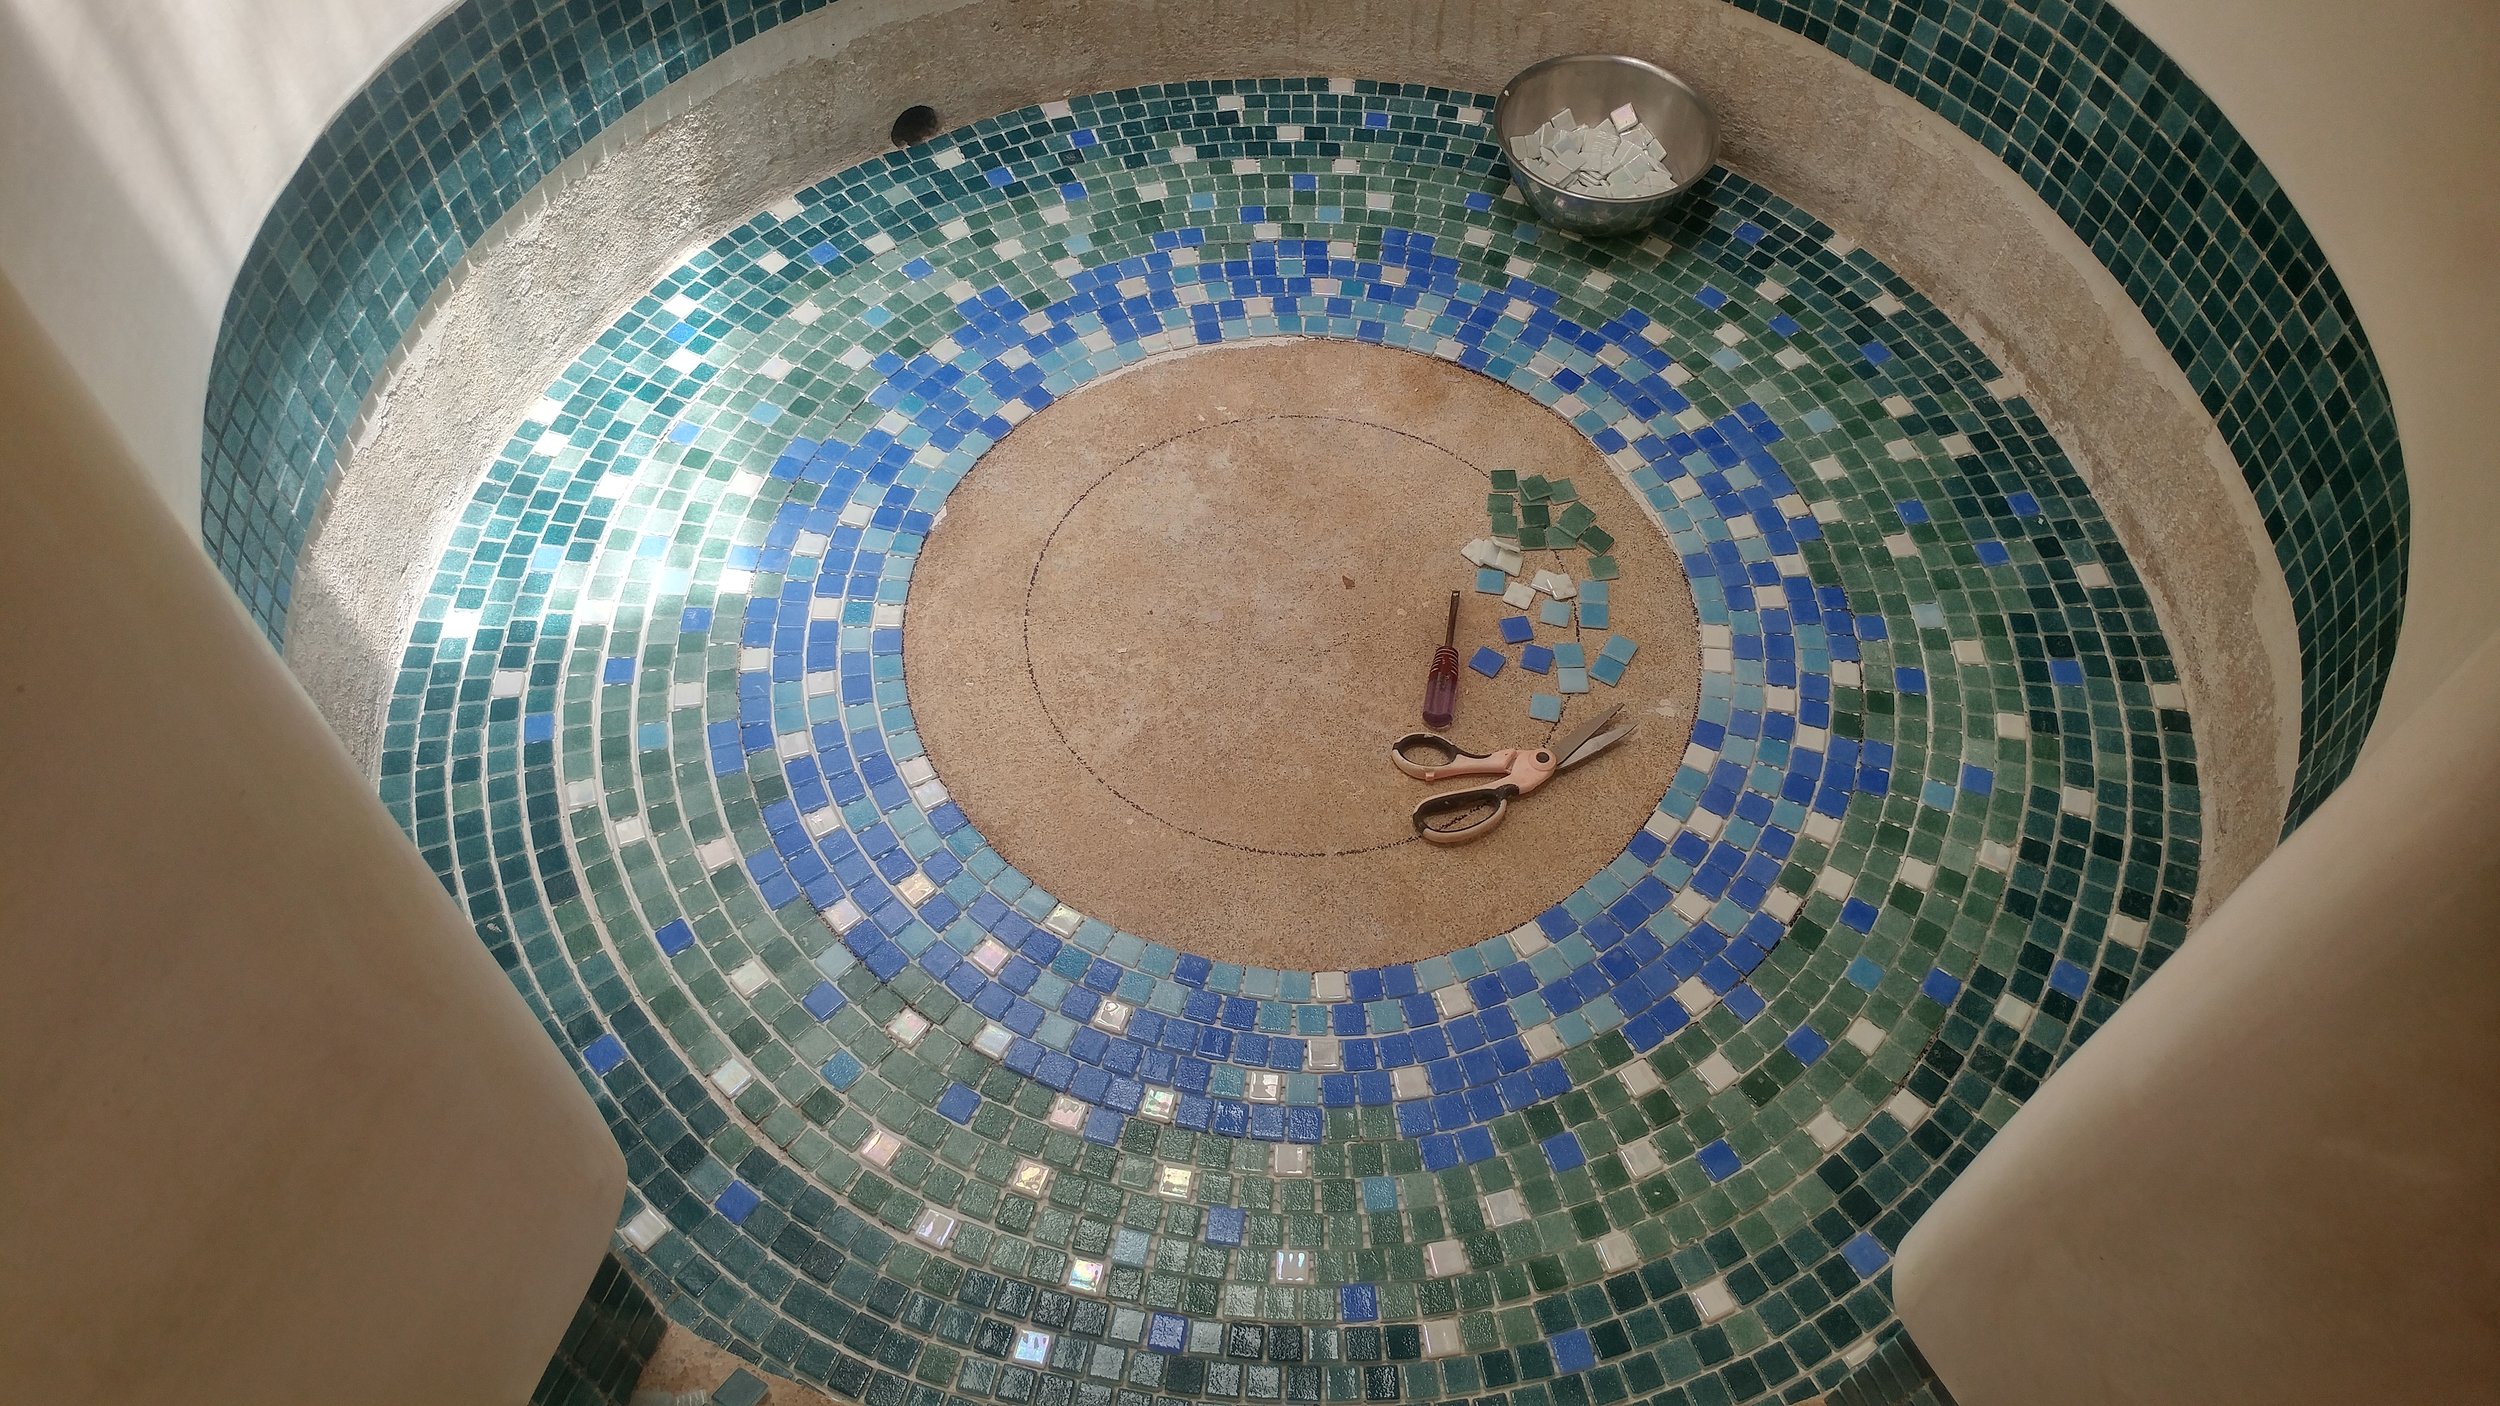

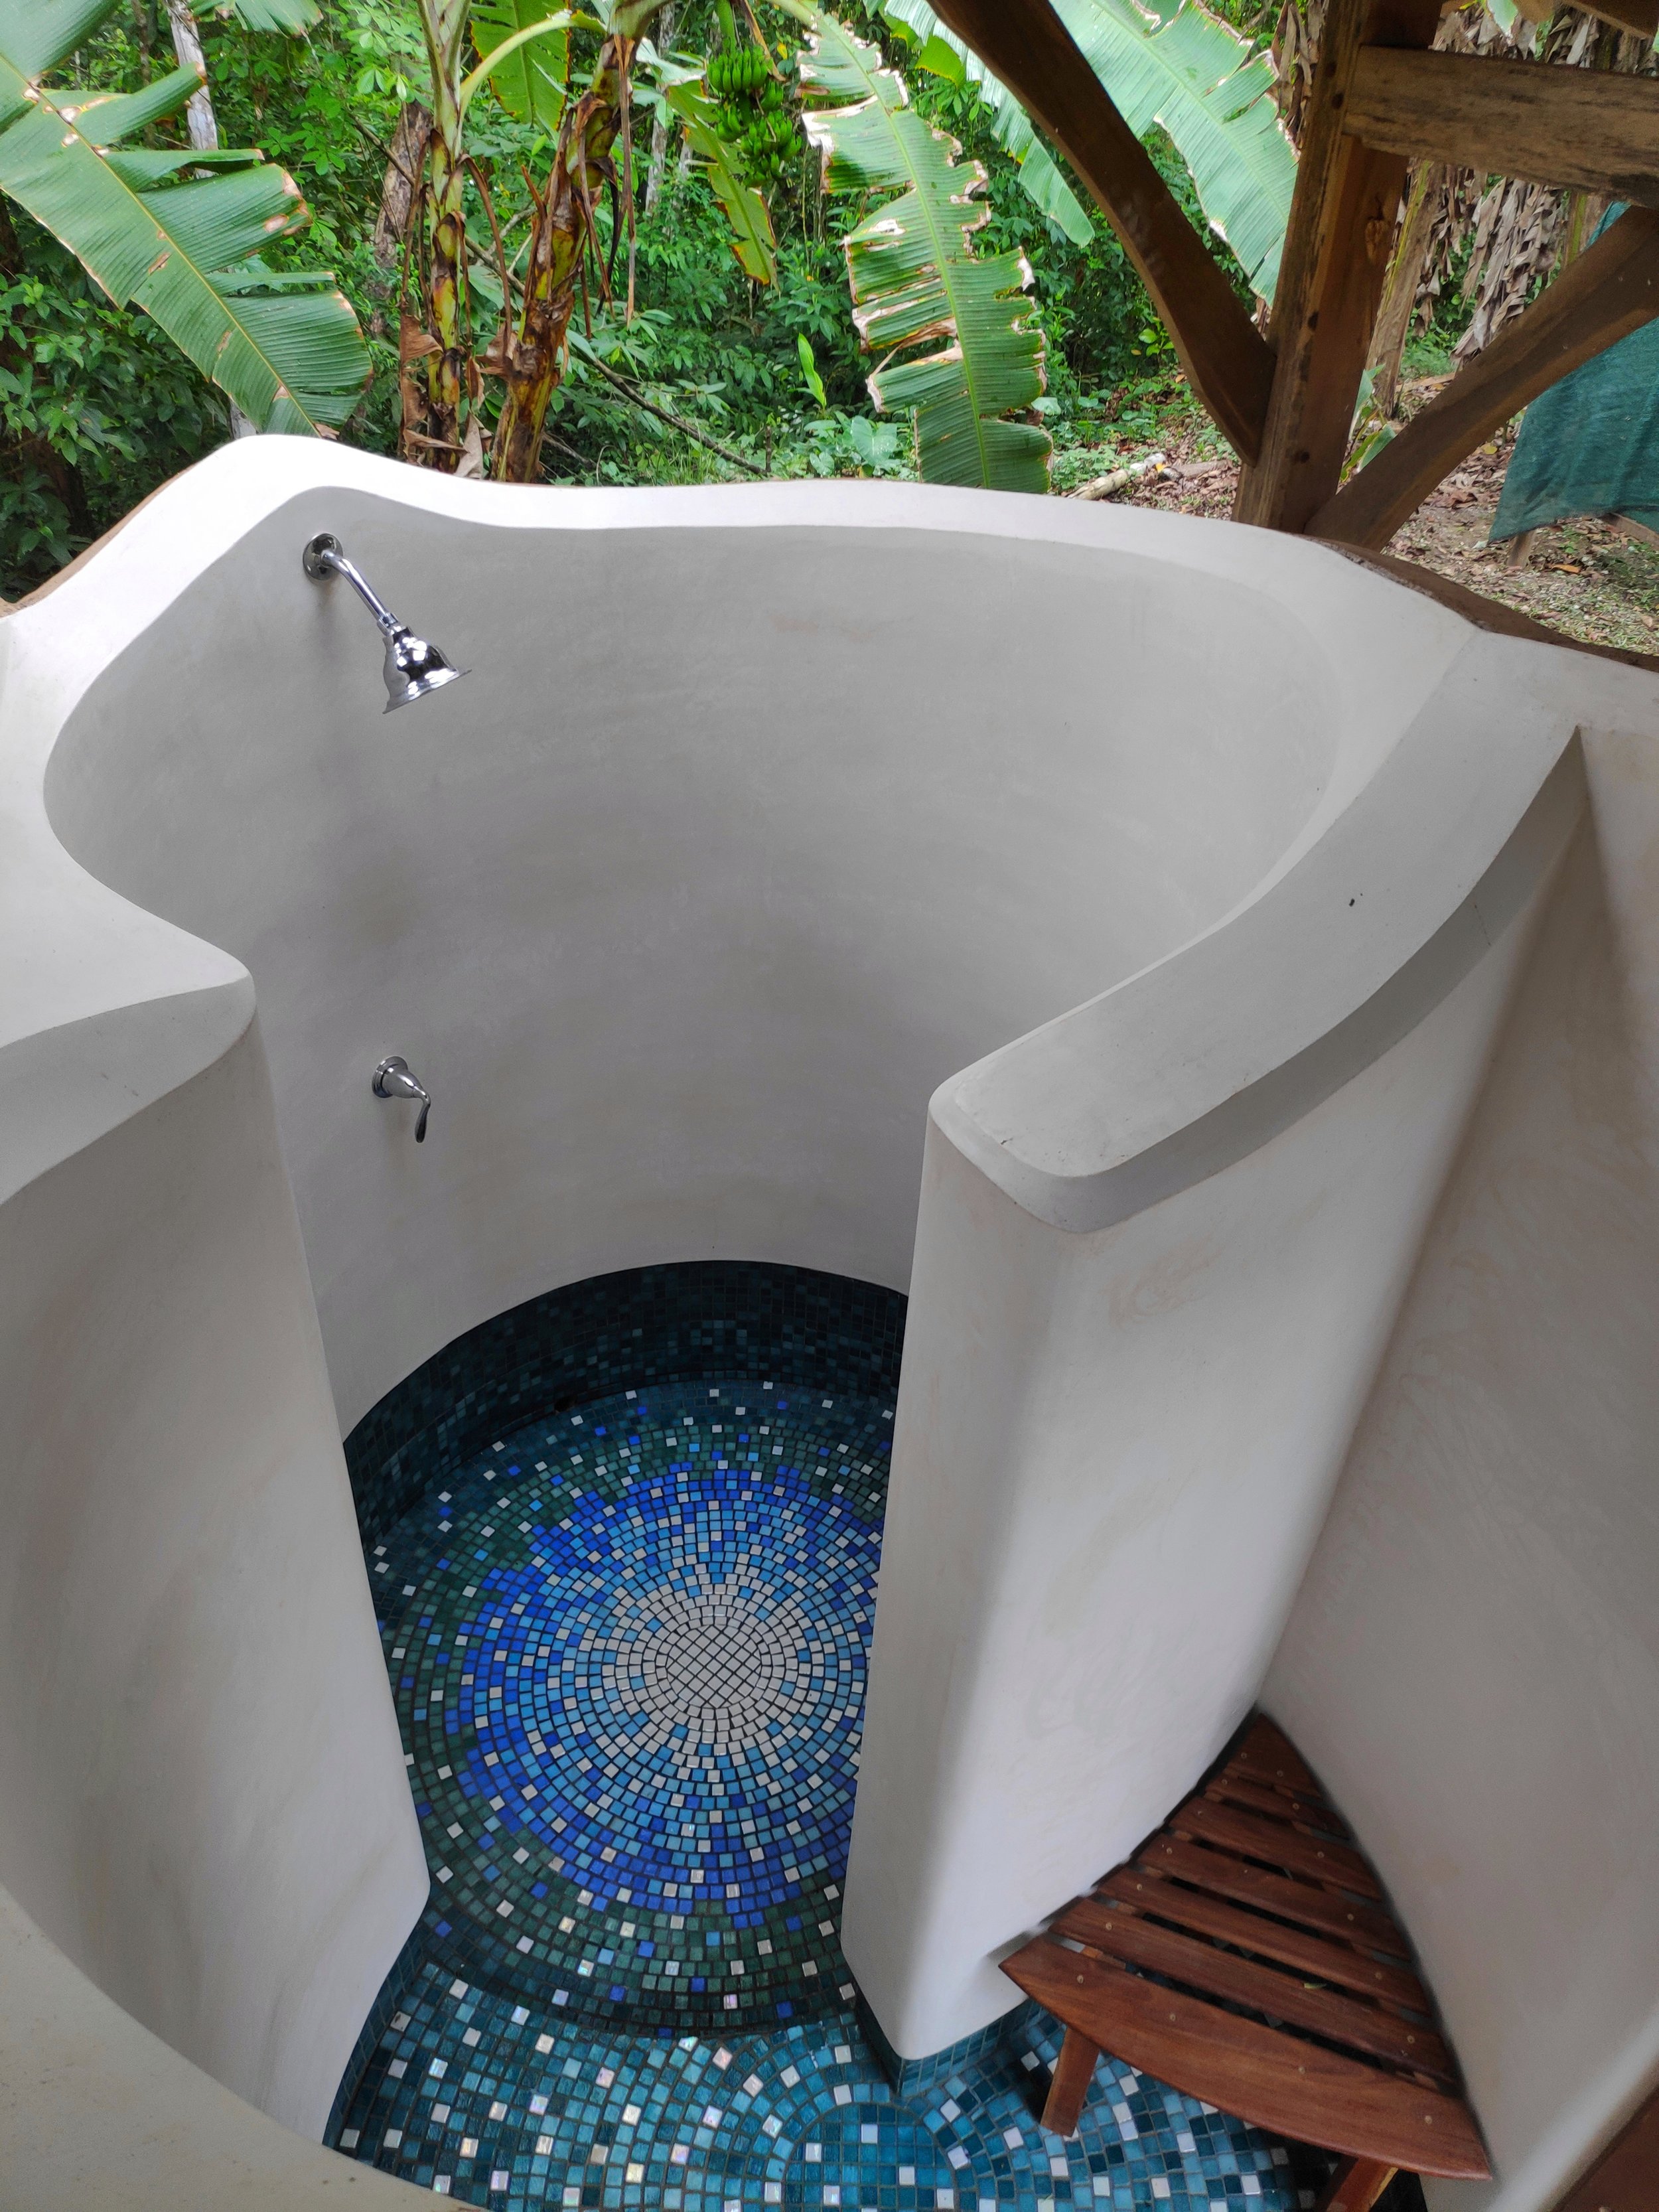
Step 12- Exterior Plaster
We used some of our left over mixes to do a base coat and finish in one pass, adding some pigments to alter the color. We used floats and darbies for the base coat and a sponge float and flexible Japanese trowel for the finish
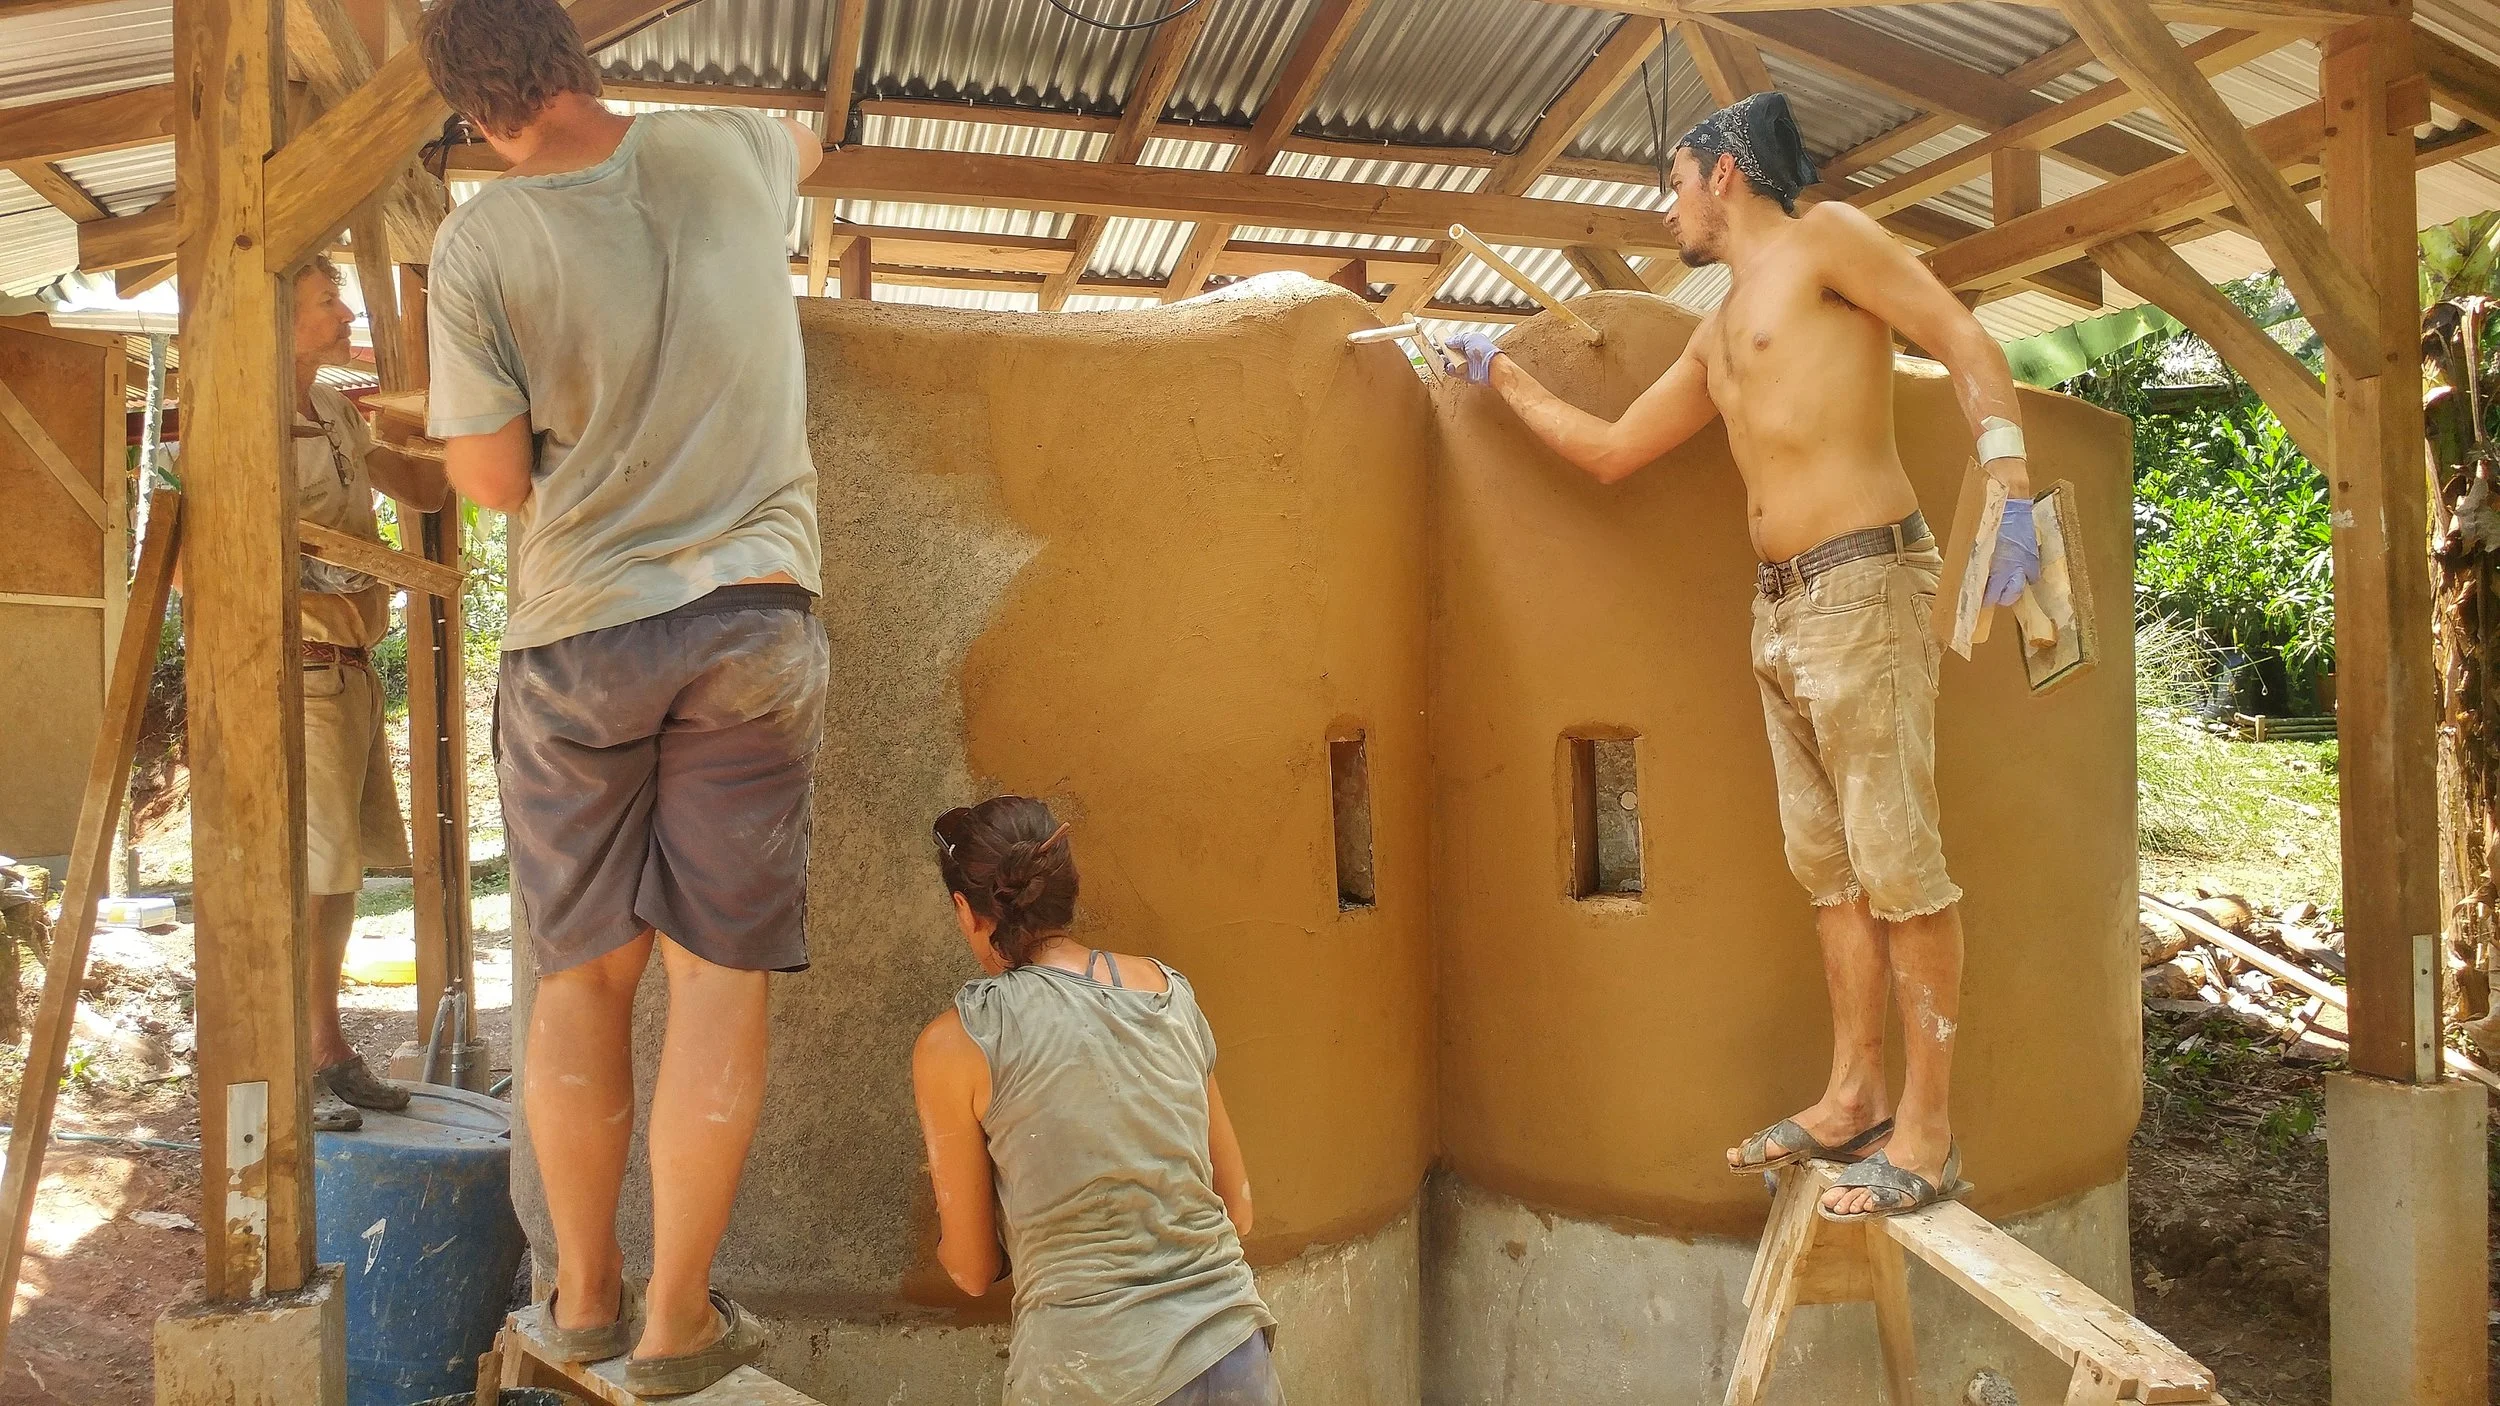
The shower was ready, once the plumbing was connected all that was left to do was enjoy the cool water in these wonderful showers. The two sides of the shower are pretty similar, the main difference being the color combination on the tile mosaic floor. Do you want to bathe in this epic outdoor shower? Come stay with us at Bernies Bungalow!
want to learn more?
Dream of building your own home, outdoor space, or maybe just a simple earthen garden bench?
With over 15 years of experience building and teaching natural building techniques, the Ranch is a perfect setting to get inspired and hands on learning.
Join us for one of our upcoming natural building focused workshops. We generally host a workshop in natural building, timber framing, and/or bamboo construction annually.

Hugulkultur in the Tropics
Hugelkultur means hill or mound in German combined with culture. It has been practiced in Europe for hundreds of years. Hugelkultur is a simple agricultural practice that doesn’t take much to set up and provides numerous benefits.
by Ben Behrend, 2019 Apprentice
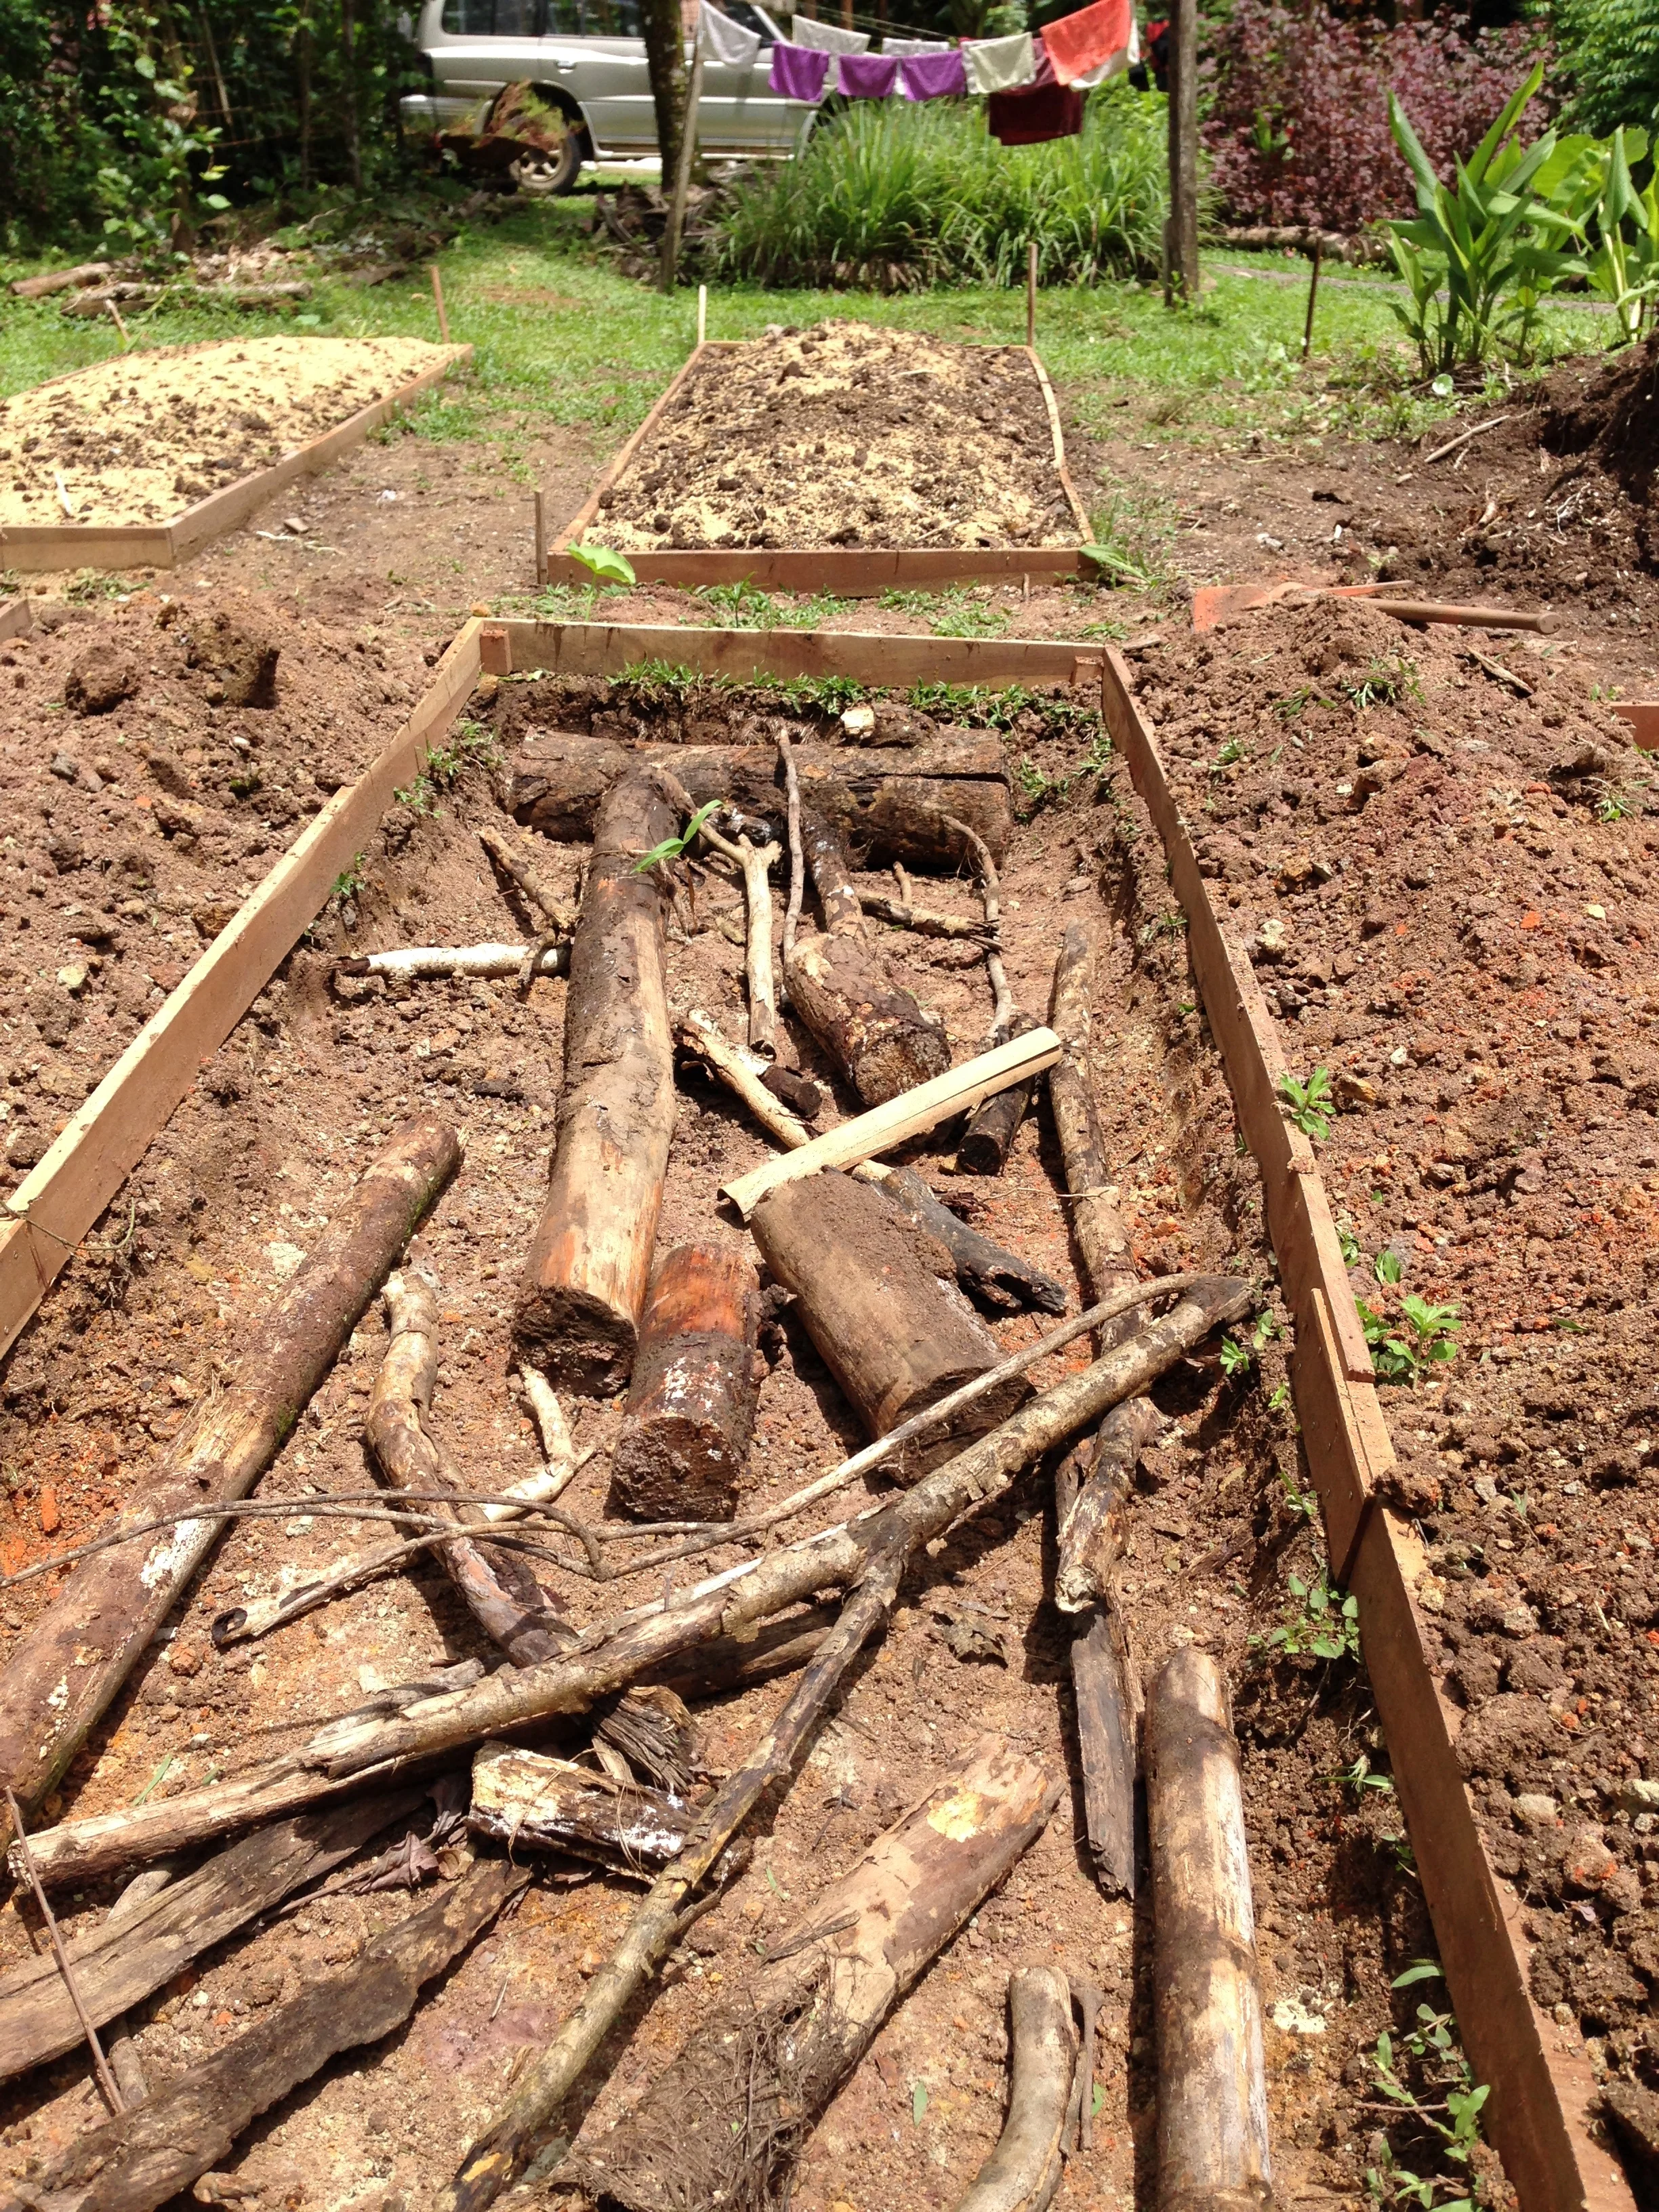
Hugelkultur means “hill” or “mound” in German combined with “culture”. It has been practiced in Europe for hundreds of years. Hugelkultur is a simple agricultural practice that doesn’t take much to set up and provides numerous benefits. As the wood decomposes it creates air pockets; it releases nutrients slowly and also absorbs and retains water. This retention of water is important during drier periods or places like the desert or the dry season in the tropics.
This year at Rancho Mastatal, it has been hot and dry, causing strain on many of our plants. Immediately surrounding our main gathering area/kitchen is zone 1 which would be a great place to experiment with hugelkultur. Not much has been written on Hugelkultur in the tropics. Several groups of apprentices have trialed using woody material underneath garden beds. Whilst it is difficult to say with certainty that due to the hugelkultur practices yields have increased, it is safe to say that yields have increased and i would summarize that this due to many factors one of which is the use of hugelkultur. I feel inspired to continue experimenting myself and see how it works first hand. Below are instructions that you can follow to make your own hugelkultur.

· Dig a foot or two of the top soil and put that aside.
· Pile in decomposing tree limbs the more “rotten” the better, biggest on bottom and working up with smaller. Some people use burned logs, or add ash for extra potassium. Not all woods are created equally when it comes to hugelkultur
o It is not good to use Cedar for example as it takes longer to decomposes due to its natural pesticides/ herbicides/anti-fungal/anti-microbial properties. Black locust won’t break down fast and is very toxic. Based on this i would guess that Spanish Cedar and any hardwood used as fence posts may not be suitable in the tropics either eg Guachipelin, Madero Negro etc…
o Woods that work best: Alders, apple, aspen, birch, cottonwood, maple, oak, poplar, willow in temperate climates. For the tropics i would guess that any wood refered to as “semi-duro” would work i.e. any medium strength hardwood eg. Roble, most fruit tree woods etc…
o Layer the sod on top of this
· Layer sheet mulch an example
o 5 inches well aged compost
o 4 inches manure
o 8-12 inches of hay, straw, dead decomposing leaves, seaweed
o 1 inch of newspaper/cardboard
o Soil amendments (blood meal, bone meal, manure)
Letting the mound “rest” for several months, or even 1-2 years before planting is sometimes recommended. Beds are built up in a mound that can be up to waist height, any desired a length, and a narrow width (one source recommended three feet width). The recommended angle of the mound is 60-85 degrees by some sources, creating a triangle. Others, make a less steep slope that is also documented to work well. Over time as the wood decomposes it creates a sponge like bed underneath. This holds the moisture and produces lots of nutrients and fungal friends.

Toby Hemenway mentions in “Gaia’s Garden”, you can start potatoes a month early in this kind of bed. “Some naturalists theorize that roots and fungal mycelia may translocate water from these woody caches to plants and fungi many feet away.” (Gaia’s Garden, pg. 70). Wood locking up nitrogen has been a concern by some yet Hemenway feels wood decomposes so slowly that very little nitrogen is tied up by microbes gnawing at logs.
Over the first year, your hugels may sink as much as a foot depending on the climate. This is a natural settling of the pile, as the mound breaks down and decomposes. If you want to “rebuild’ hugels at the beginning of each year you can add more compost, otherwise you will produce excellent humus by the time your hugel levels out. Hugelkultur offers an attractive way to build top soil and retain water during the dry season.
We will keep you updated with our progress, in the mean time let us know what you are trying to do at home or have done with hugelkultur!
Interested in having the opportunity to learn whilst doing? Why not apply for our year long apprenticeship. Can’t dedicate the time to our year long apprenticeship, why not join us for our shorter internship?

How Rancho Mastatal Changed my Life
It seems hyperbolic, but it’s hard to overstate the overwhelmingly positive effect that my experiences at Rancho Mastatal have had on my life, and my current career path.
By Kristen Mandala,
It seems hyperbolic, but it’s hard to overstate the overwhelmingly positive effect that my experiences at Rancho Mastatal have had on my life, and my current career path.
I was first introduced to Rancho Mastatal when I was running high school trips with a small Canadian eco-tourism company in January of 2017, called Evolve Tours. I was able to experience first-hand the effect the ranch has on inspiring young minds and reconnecting them with nature through hands-on activities and facilitation-style learning. I knew from the first night staying in the bamboo tree house (affectionately called the Hooch) that I was in for an unforgettable experience. The peaceful jungle-sleeps, coupled with the incredibly healthful and delicious food made it easy to return the following year to bring more youth to stay at the ranch.
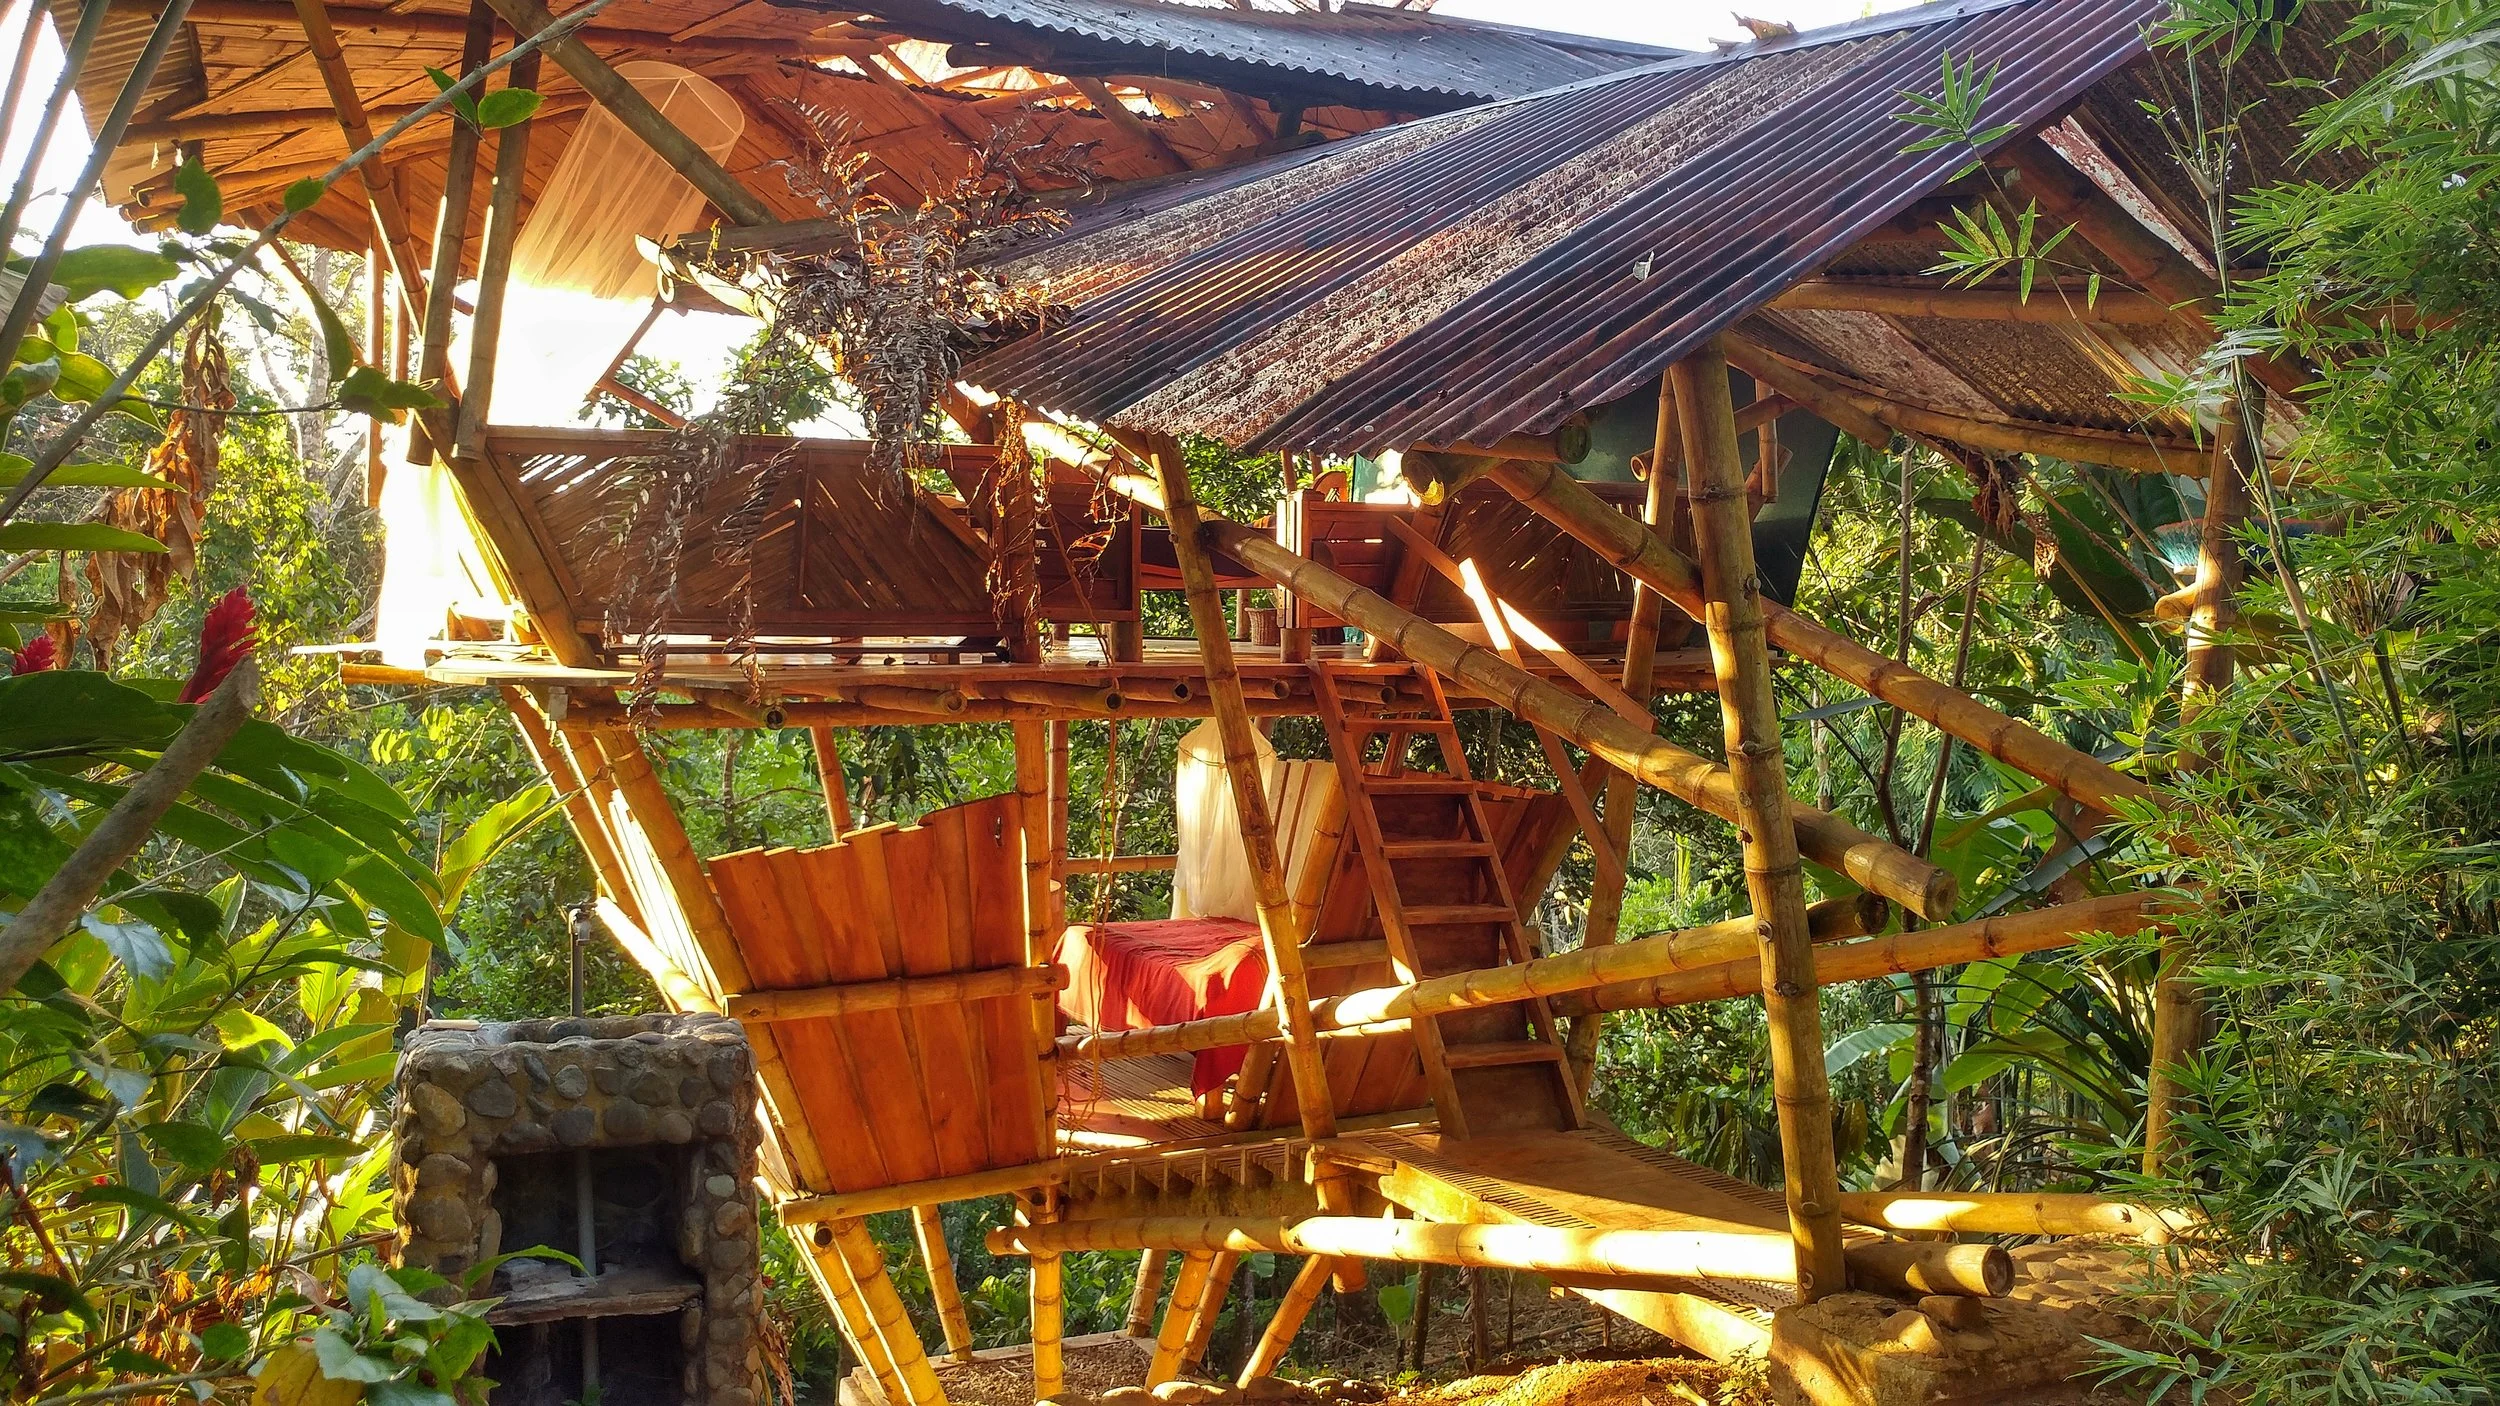
The Hooch at sunrise
They weren’t the only ones who gained knowledge from the lesson plans. The more I sat in on and participated in activities, the more I realized that my passion for sustainability and food systems could be more than my side “passion project” that I indulged in after regular work hours. Rancho Mastatal planted the seeds for what has become my new career back home in Toronto.
After moving on from touring, I decided to invest in my own education and enrolled in the Permaculture Design Course in April of 2018. This would be my first time travelling to the ranch as an individual and my first non-traditional education experience post-grad. My two weeks learning under Scott Gallant, Rachel Jackson, Laura Killingbeck, Chris Shanks, and Alejandro Arango as well as the incredible Core Team (love and gratitude to Nic, Ali, Timo, and Robin) and the 2018 apprentices was truly transformative.
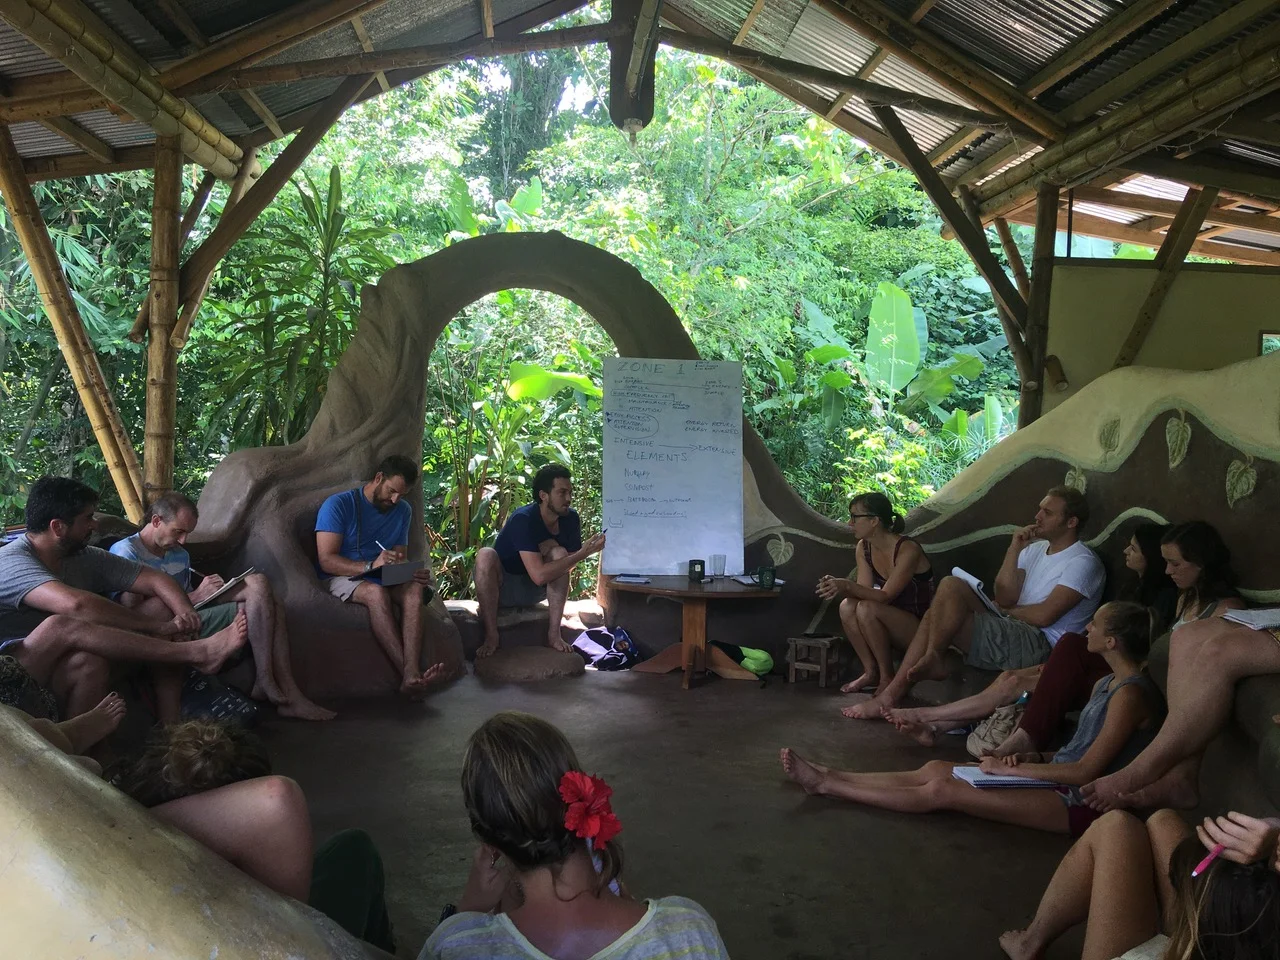
PDC lesson in our Ceiba Lounge
I was able to fully immerse myself in the world of permaculture, sustainable living, and social/food justice surrounded by like minded people from all over the world. It was like summer camp when I was a kid in all of the best ways, intersected with some of the most inspiring and stimulating lessons and conversations I’ve ever been apart of. The two weeks not only expanded my knowledge of regenerative ecology and permaculture, but also instilled in me a deep sense of optimism for the future state of the world knowing that there are so many incredibly intelligent people who want to bring the earth back to it’s roots through community-centered activism and organizing.
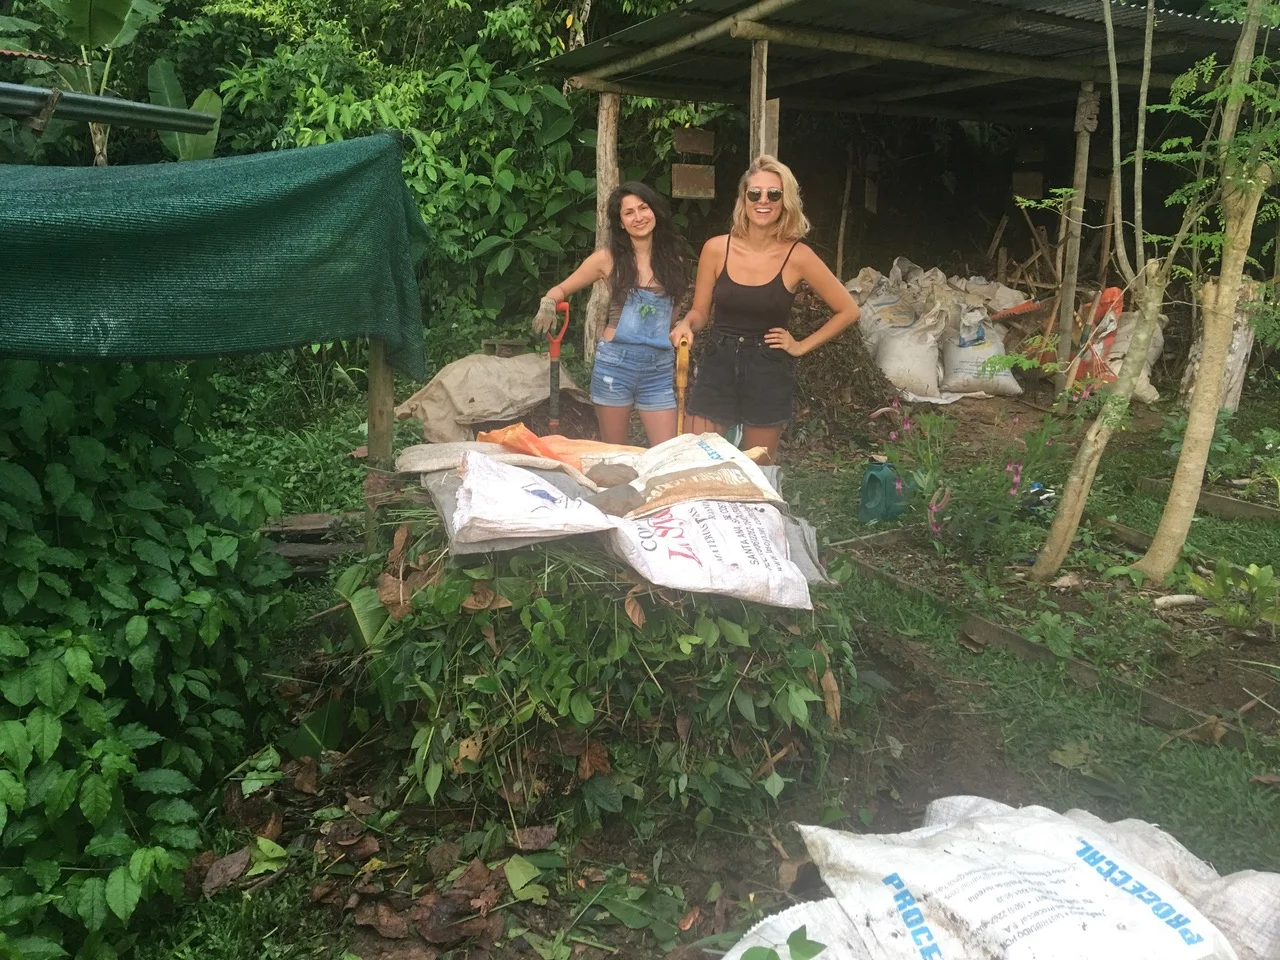
Fast-forward a year, I am lifelong friends with many of the people from the PDC, who have proven to be a beautiful support-system regardless of time zones; I have created a sustainable consulting company called The Greener Good, aimed at inspiring those in schools and offices throughout the Toronto area to incorporate sustainable habits into their daily lives through on-site workshops; and I am eternally grateful that I trusted myself and invested in my education by studying Permaculture Design at Rancho Mastatal.
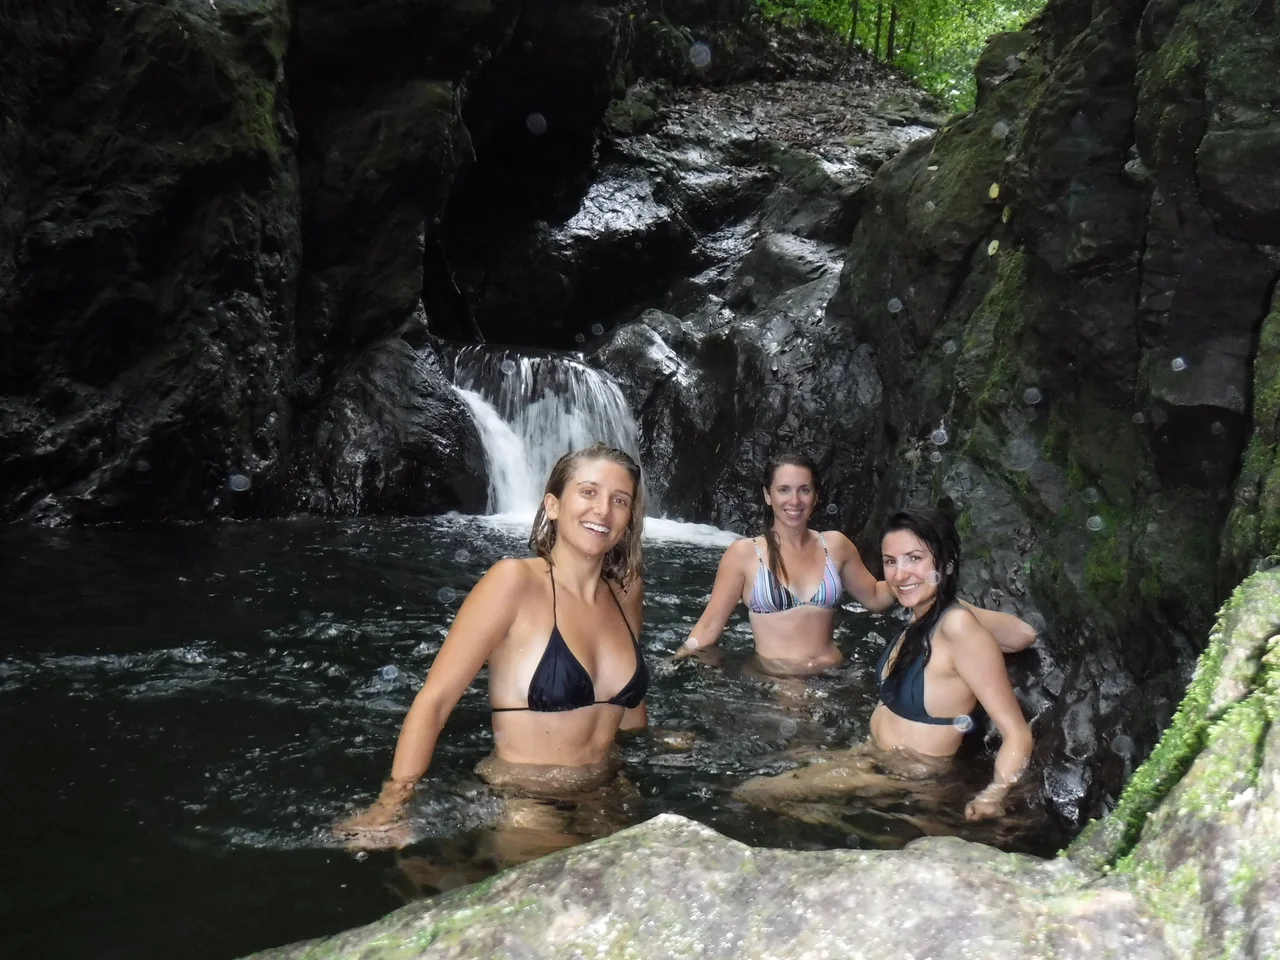
Enjoying the waterfall
My highlights of my time at the Ranch include: waking up and doing yoga on the deck overlooking the jungle, the coffee, the food (cannot emphasize enough how good the damn food is), SO MUCH LEARNING (from someone who struggled to stay engaged in school, I was hungry to learn more each day), running to the waterfall at lunch for a refreshing dip, walking to class and picking fruits on the way, playing soccer or ultimate before dinner, ending each night with some of the best conversations, and waking up and doing it all again.
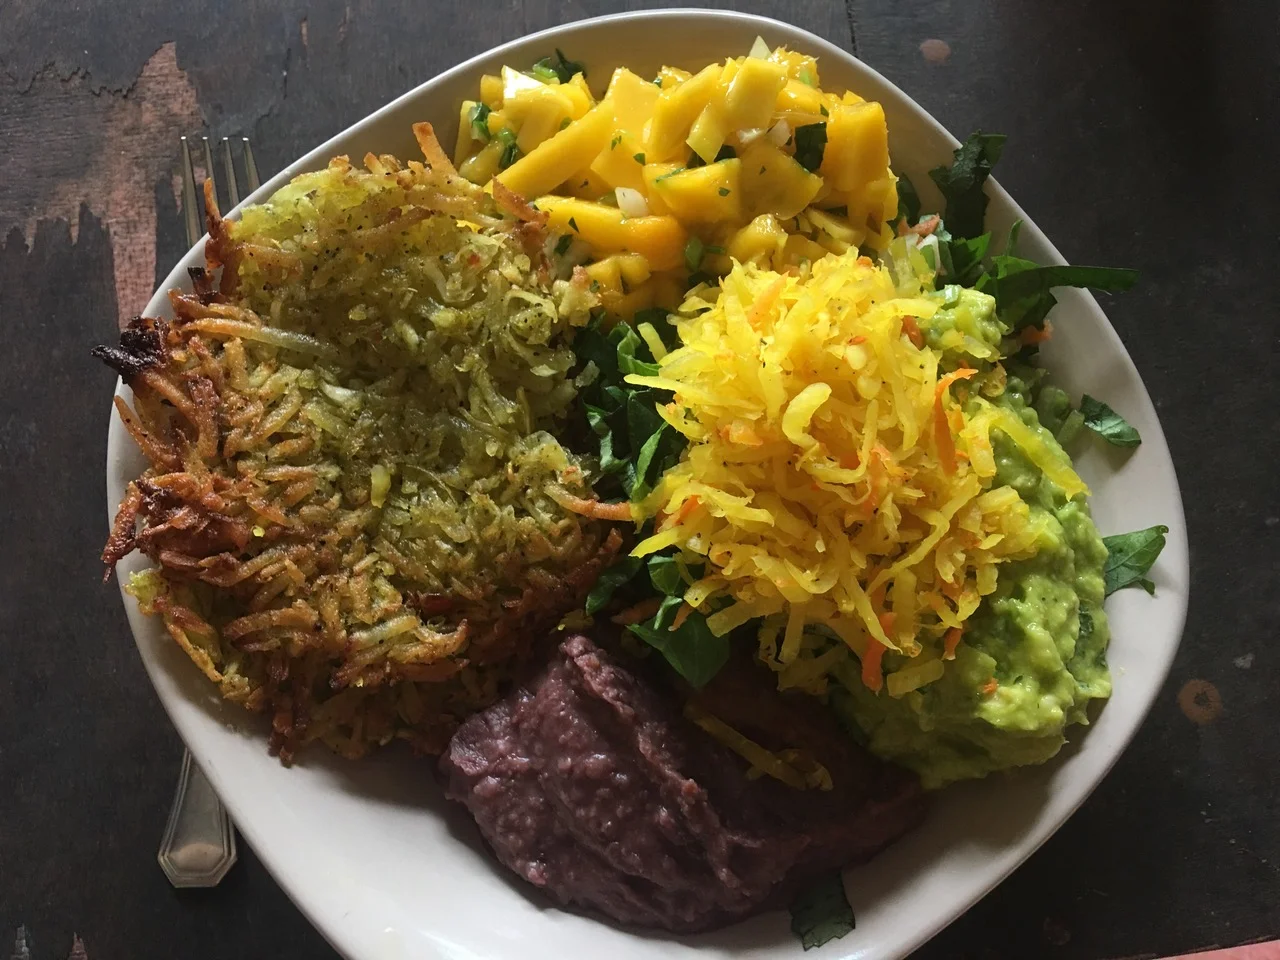
Locally sourced meals
Okay, I should end this now as I am currently flooded with nostalgia and my emotions doth runneth over as I type. To the folks at the Ranch, thank you for reminding me of my strengths, empowering me to use them, and for making a small piece of Costa Rica feel like home. I continue to thank Mother Nature before my meals and express gratitude at every turn, a practice introduced by Robin and Timo that I will always carry with me.
If anyone is looking for a sign to invest in themselves, this is it.
If you are interested in learning more about my project you can go to:
Instagram: www.instagram.com/@the.greener.good
Website: www.thegreenergood.net
Facebook: www.facebook.com/kristen.greener.good
With love and gratitude,
Kristen
How to Make a Simple Hooch
Hooch is a homemade alcoholic beverage and in this blog I’m going to explain how to make it.
For thousands of years humans have been fermenting for recreational, spiritual and medicinal uses. Fermentation allowed humans to store and use ingredients they’d harvested later in the year. Although hooch is an alcoholic beverage, it can also be brewed for medicinal purposes.
by PJ Barton, 2019 Apprentice
Hooch is the name we use to refer to our own homemade alcoholic beverages. In this blog I am going to explain how we make our delicious home brew. Interested in Fermentation? join us for our upcoming workshop THE ART OF FERMENTATION.
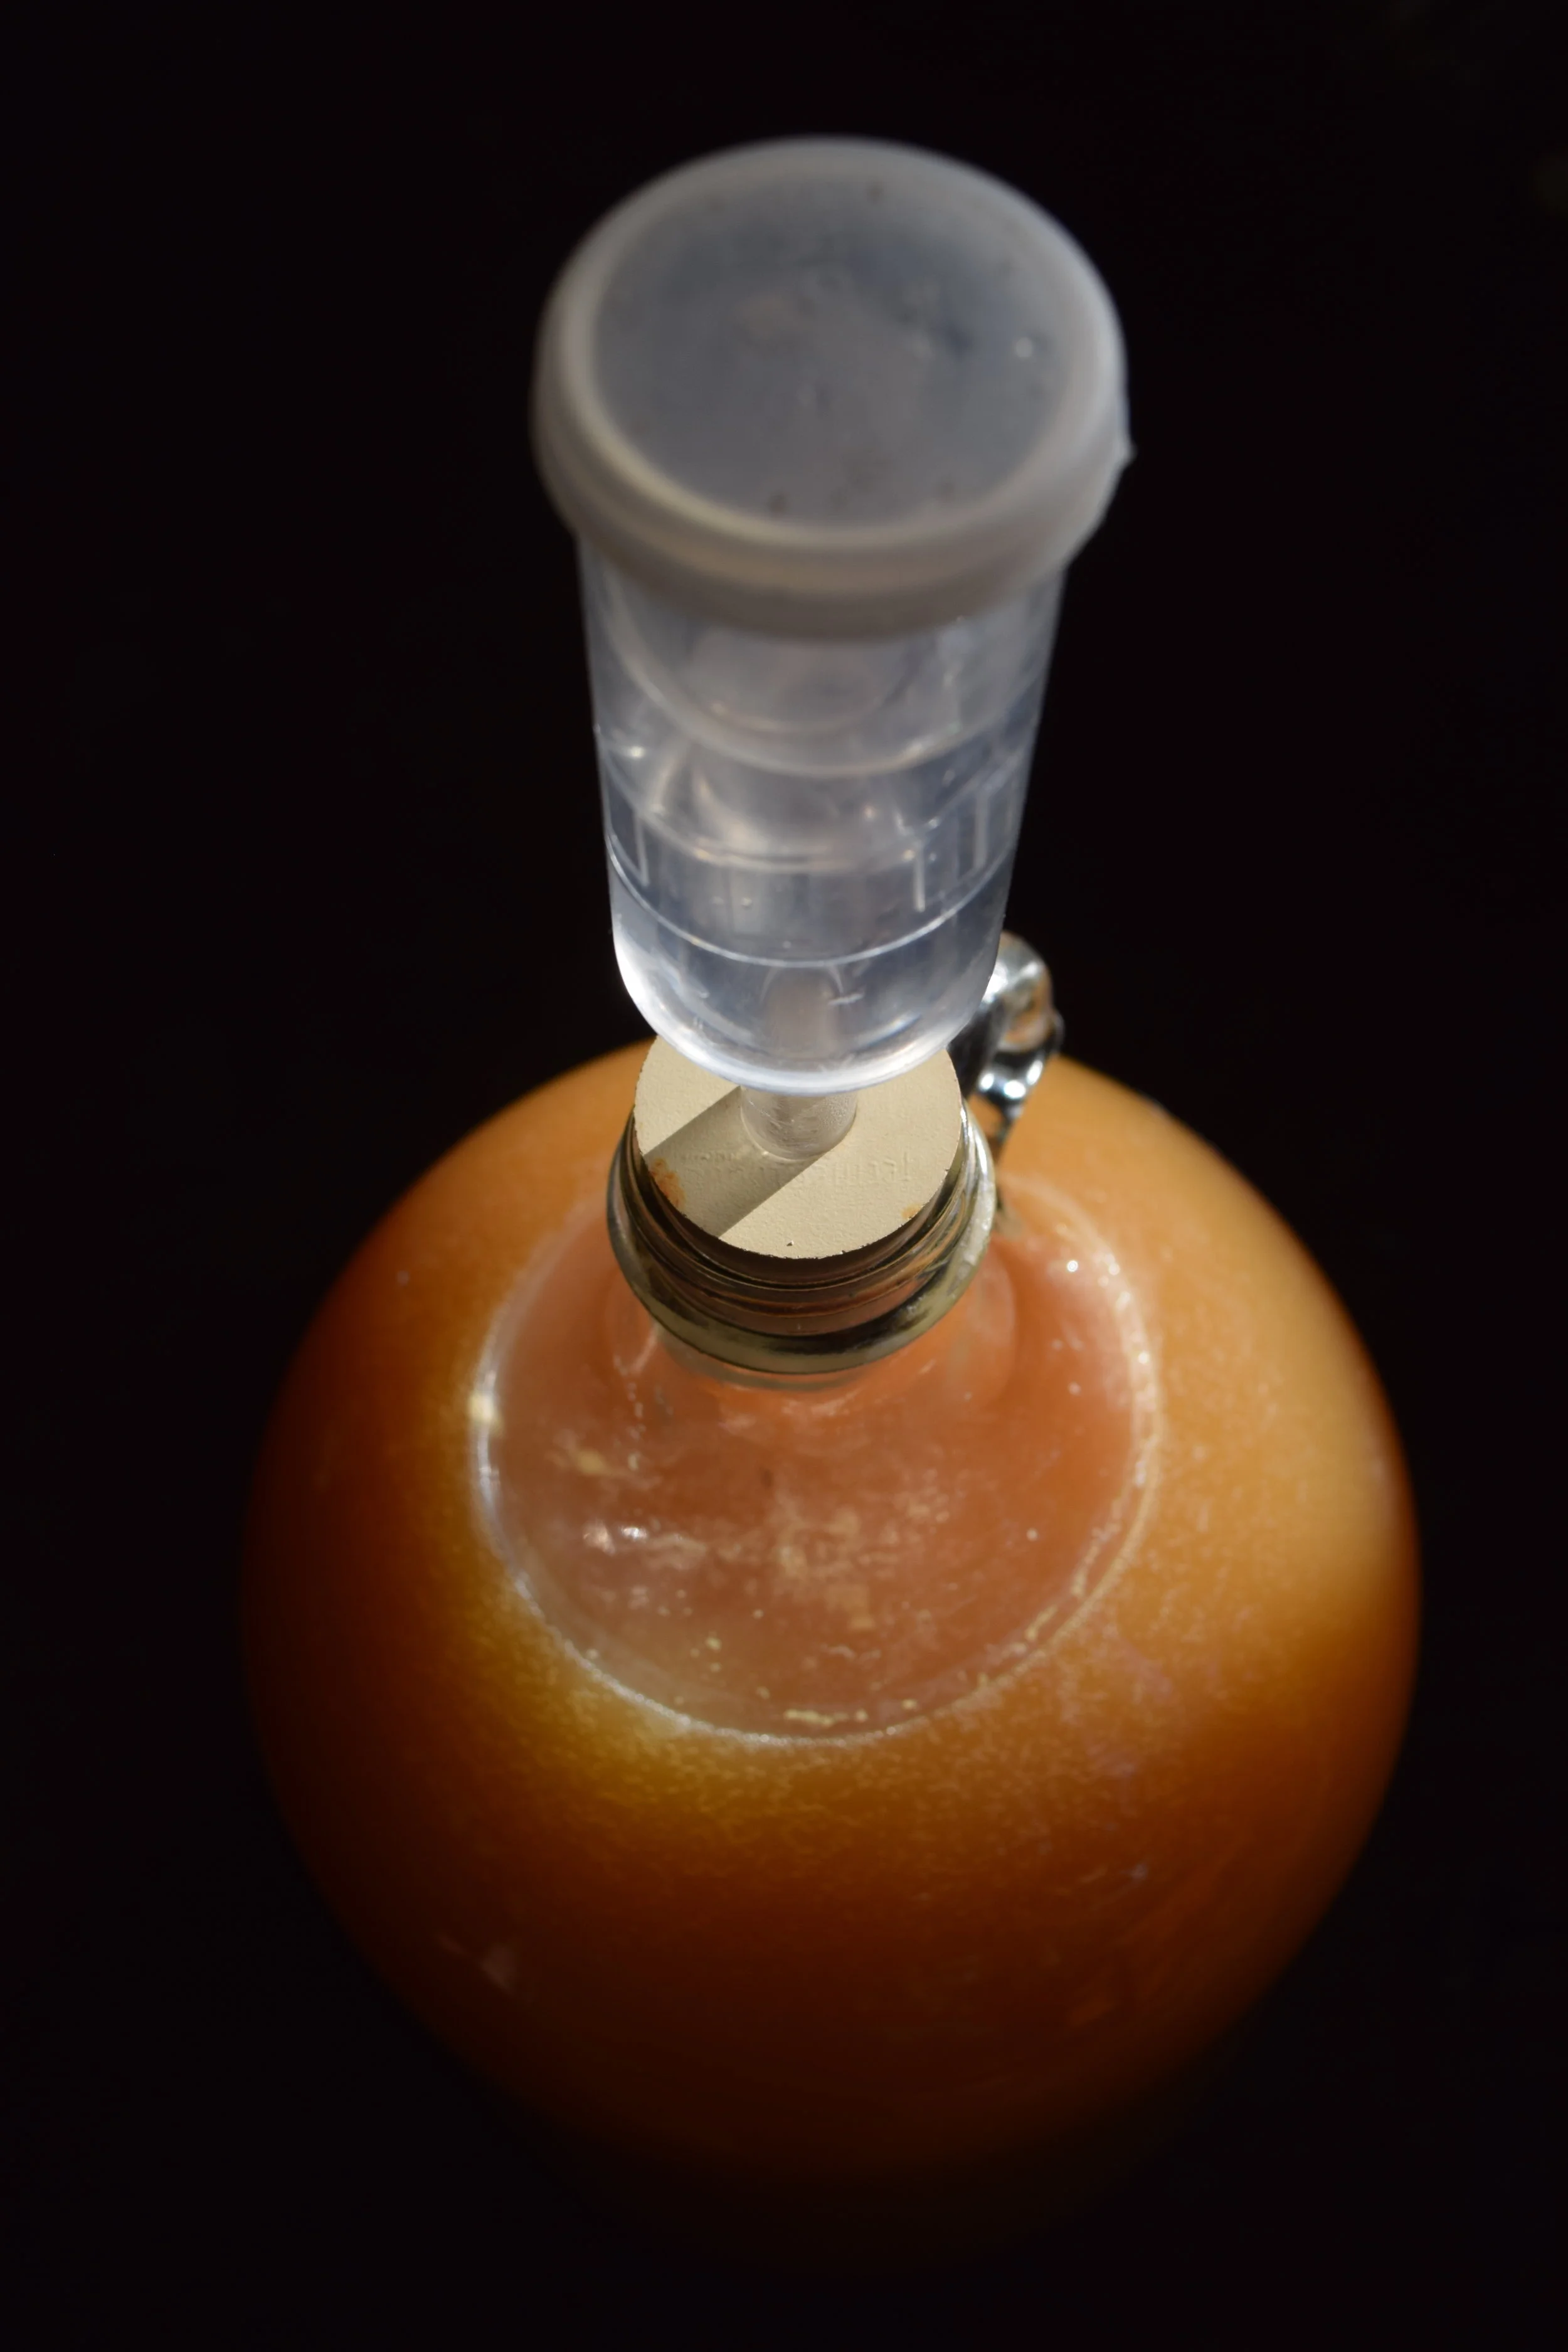
During the peak season at Rancho Mastatal we drink around 15 gallons of Hooch a week. We brew our Hooch in Corny kegs, these are great as they are made of stainless steel, they are easy to clean and easy to maintain as you can easily purchase all of the replacement seals.

Our Corny Kegs
For thousands of years humans have been fermenting for recreational, spiritual and medicinal uses. Fermentation allows us to safely store ingredients without the need for refrigeration and prior to the advent of electricity it was the primary way to store certain foods and drinks. Although hooch is an alcoholic beverage, it can also be brewed for medicinal purposes, by adding herbs and spices with the desired properties. By actively harvesting fresh fruits and yeasts from our surrounding area, creating and exploring new brews, we are able to connect to our environment in a fun and practical way. Hooch is a great way to use up fruits which are already naturally fermenting and processing them into something enjoyable to consume, turning our waste into something useful.


Yeast is a culture that is one of the base ingredients for making Hooch. It feeds on sugars when we mix it with sugar and water creating carbon dioxide and alcohol. We can buy commercial yeast strains, which are sold for brewing or we can harvest our own wild yeasts from our environment. Different wild yeasts will impart different flavors and characteristics to our homemade brew, try experimenting with these wild yeasts and see which ones produce flavors you enjoy most!
Harvesting Wild Yeast
To harvest wild yeasts from fruits and flowers
Collect them in a sterile jar and leave in a dilution of 20 percent sugar to water (eg 40g of sugar to 200ml of water).
After 48 hours (although this will depend on the ambient temperature), sediment should start form on the bottom of the jar, bubbles will start appearing, and your solution will begin to ferment. this is a sign of a healthy solution!.
Remove the fruit or flower from the liquid.
Continue feeding with sugar every day for a week and you will have you own yeast culture that you can use to start brewing with.
Basic Hooch recipe
This basic Hooch recipe is really simple and uses 3 simple ingredients. You can add fruits or herbs to extract the taste that you desire. There are many opportunities for experimentation when you start making your own alcohol and hopefully you can create delicious beverages to enjoy with your family and friends.
Simple recipe to make your homemade hooch:
For a 2 gallon batch
· 2 pounds unrefined cane sugar (we use Tapa Dulce)
· 2 gallons of water – 1 gallon tea
· 2 cups of wild yeast solution (see above instructions on how to harvest wild yeasts)

Tapa Dulce
How to prepare:
Melt the sugar into a gallon of hot water, until the sugar has dissolved.
Mix in the remaining gallon of water to help cool off the sugar water, make sure you cool it down to 100F degrees. This process is creating a wort in which you pitch the yeast.
Once the liquid has cooled down pitch the yeast. Stir it well and transfer it to a container with an airlock for a minimum of 1 week before consuming
This is a standard hooch consumed on the ranch other enjoyable combinations such as coca, vanilla and ginger or oranges, cinnamon ginger. In every available resource there’s a new taste to explore. Enjoy and have fun experimenting
Want to learn more? Join us for a day workshop or a longer residential workshop


Gardening and Permaculture practices at the Ranch
Here at the Ranch the year long apprentices have various roles and functions that support the Ranch community. By taking on responsibilities and managing certain areas we the chance to learn and experience those areas on a deeper level . Part of the educational model created by the ranch team is a monthly rotation of these so called life skills. Each apprentice transitions their life skill to the next apprentice, passing on all of the relevant information to their colleague in order to complete the various tasks associated with each life skill.
by Diana Dagash
2019 Apprentice

our front gardens
Here at the Ranch the year long apprentices have various roles and functions that support the Ranch community. By taking on responsibilities and managing certain areas we the chance to learn and experience those areas on a deeper level . Part of the educational model created by the ranch team is a monthly rotation of these so called life skills. Each apprentice transitions their life skill to the next apprentice, passing on all of the relevant information to their colleague in order to complete the various tasks associated with each life skill.
One of the life skills is currently called the Garden Gnome. I would like to share some of my experience and reflections from doing this task every morning for a month. The garden gnome is in charge of maintaining the front gardens. This is referred to as our zone 1 garden using permaculture lingo. It is the area that is in closest in proximity to the most frequently used space- the main house. In the Zone 1 gardens we grow herbs, annual and perennial crops such as mustard greens, katuk, Haitian basket vine, hibiscus, cucumbers, squash, yard long beans,wing beans, radishes, sweet potato, moringa, basil, oregano, mint, parsley and curry leaf and other amazing tropical goodies which we use in our kitchen everyday. Having these crops growing in close proximity to where we spend most of our time allows us to easily provide the daily maintenance of this space such as watering, harvesting and weeding.
In Rancho Mastatal we approach gardening through a permaculture lens. By mimicking the patterns in nature we are able to create micro climates in which our crops thrive. We create systems that have many functions and support other systems in their functions, allowing them to thrive in harmony with nature. We apply a range of those practices at the ranch and we continue learning and experimenting with new possibilities.
Given that we live in the tropics we have two opposite seasons, about half the year its is dry and the other half rainy. Although the dry season has its own challenges I can only speak from my own experience taking care of the garden in the rainy season, for instance i believe that in the rainy season there is a lot of weeding whereas in the dry season there is a lot of watering!
As the rains increase in volume and frequency it is a time when everything begins to grow rapidly. The jungle fills up with even more green vegetation, popping out of every space available. It rains consistently every afternoon , sometimes all day and night. The soil is saturated . It is a happy time for ALL living things to thrive, including some of the more challenging species like mold, fungus and insects. Some of our crops were over taken by fungus or eaten by insects, others became over saturated with water as they were lacking sun and/or air flow. As with every challenge, i found an opportunity to research and experiment with natural recipes for pest and fungus control.
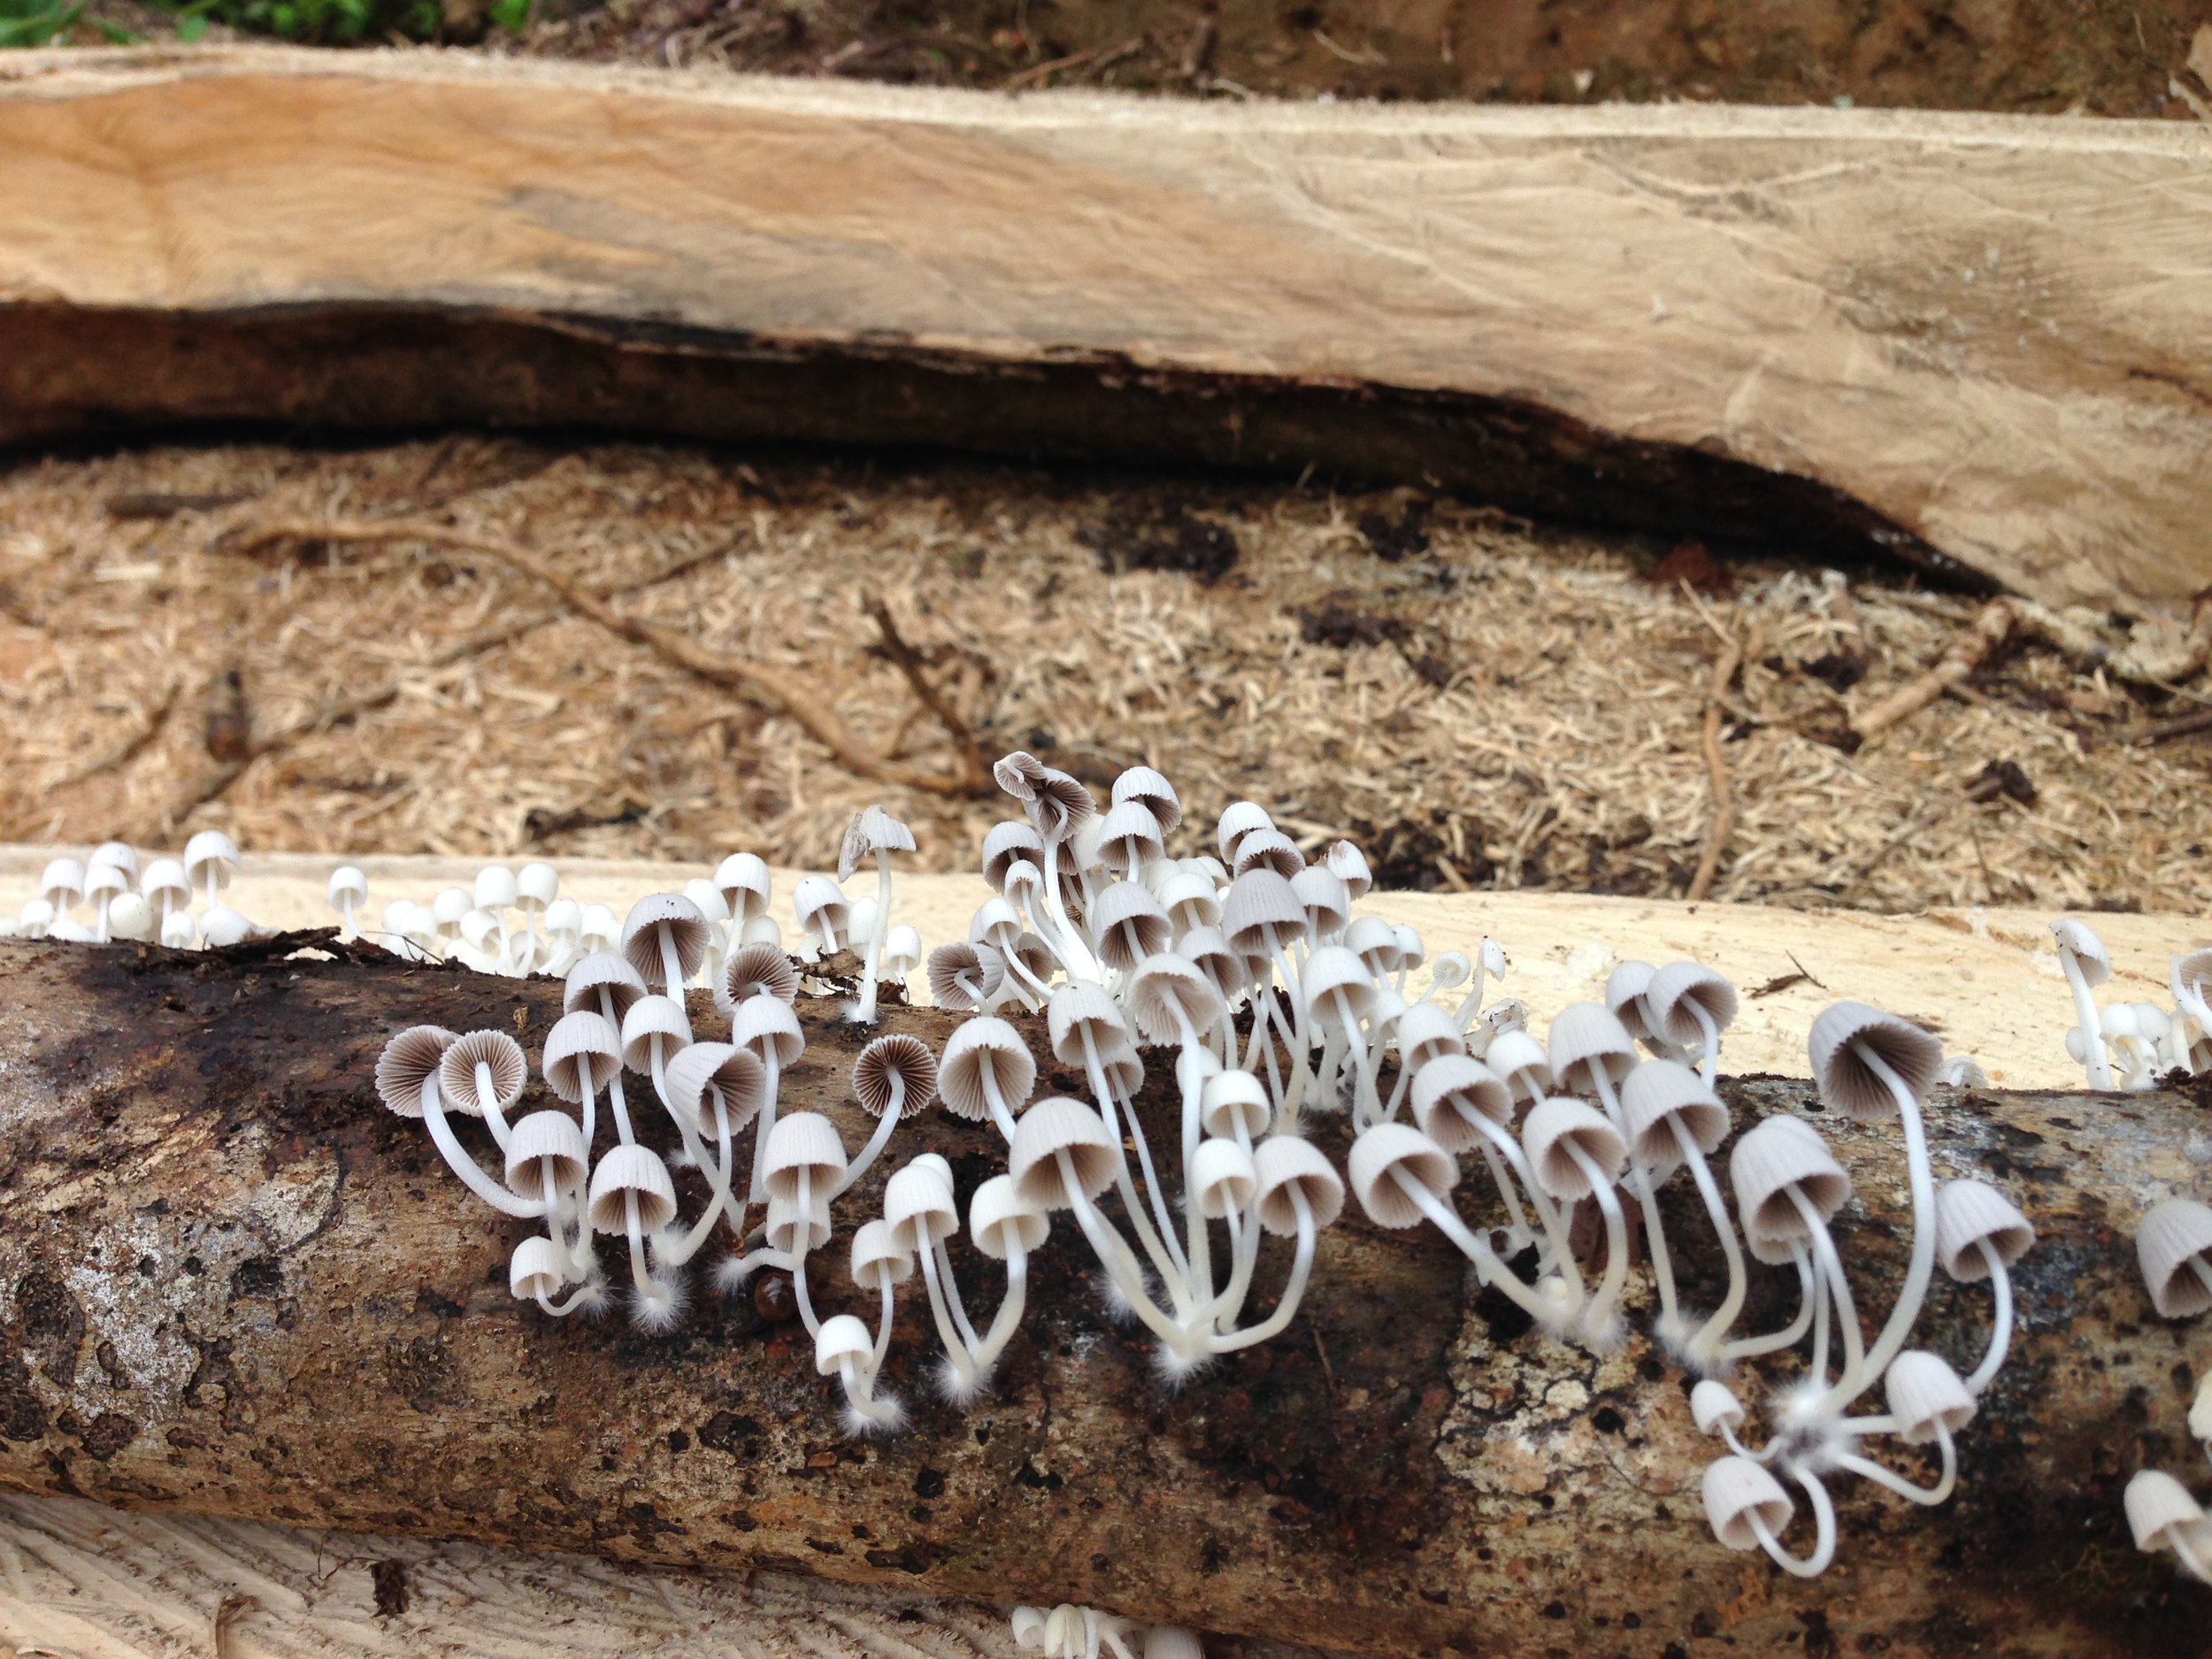
with the onset of the rains, mushrooms started popping up everywhere
My days started early in the mornings with a walk through the garden, observing the plants and checking the soil moisture levels. As I walked I noticed plants that seem to be struggling and tried to identify what might be affecting them. This is then communicated with the garden manager so we could discuss further ideas and solutions. We researched potential natural insecticides and fungicides that could help solve these issues.
Here is some of what we have learned and the practices we apply here at the ranch.
We are surrounded by amazing medicinal plants growing all around us, thriving under the jungle canopy or occupying disturbed pockets. These plants contain medicinal properties that can benefit humans as well as plants.

For example turmeric contains anti-inflammatory and antibacterial properties beneficial to humans and when planted among the roots of a tree, benefits the tree with those same properties This is referred to as companion planting. By planting diverse species next to each other they are able to support, protect and ultimately benefit one another. This can be as simple as providing shade or wind protection. Not only can companion planting by a useful tool in our belt to fight against disease and pest pressure but we can also use the properties of some local herbs. Here are some examples of what we have been doing.
Jackass bitter - the most bitter herb known, contains antifungal and antiparasitic properties. Spraying this tea onto diseased plants can repel insects and prevent fungal issues.
Inter cropping aromatic herbs like oregano, lemon grass and basil with certain food crops can confuse and repel insects with their scent and prevent disease with their antimicrobial and antifungal properties.
Using the shade of the cucumber trellis to help shade and shelter more delicate herbs underneath them.
Using peanut grass as a living mulch to crowd out weeds and provide nitrogen to the soil underneath some of our taller perennial crops such as Katuk and Cranberry hibiscus.
Planting Marigolds everywhere to reduce nematode populations, there is controversy about the effectiveness of this though.
Working in the front gardens has also made me reflect on the ideas of closed loop systems. As i am partially responsible for management of the kitchen compost. I really like the idea that there is no such thing as waste. Everything can be transformed into something useful. All of our food scraps are composted creating a finished compost that can then be added back to the soil to enrich it, closing the loop.

Another big part of the practices we apply when it comes to the food forests is observation of the environment and meeting the land's needs by mimicking patterns in nature. Thanks to all the researches and life long practices in the agro forestry and gardening world, a network of knowledge has been created for us to share our experience and knowledge. We are continuously learning and working towards improvement of our systems.
With each piece of land we carry the responsibility for the history, present and future of it. It is up to us to create a relationship with our land, to observe it's needs and potentials.To be stewards of the land and assist it to become a healthy ecosystem in which we can humbly live and feed ourselves.
This experience, of being an apprentice at Rancho Mastatal, has opened my eyes to a new world of possibilities, inspiring ideas, regenerative solutions, discovering new ways to live lighter on the planet and in harmony with nature .
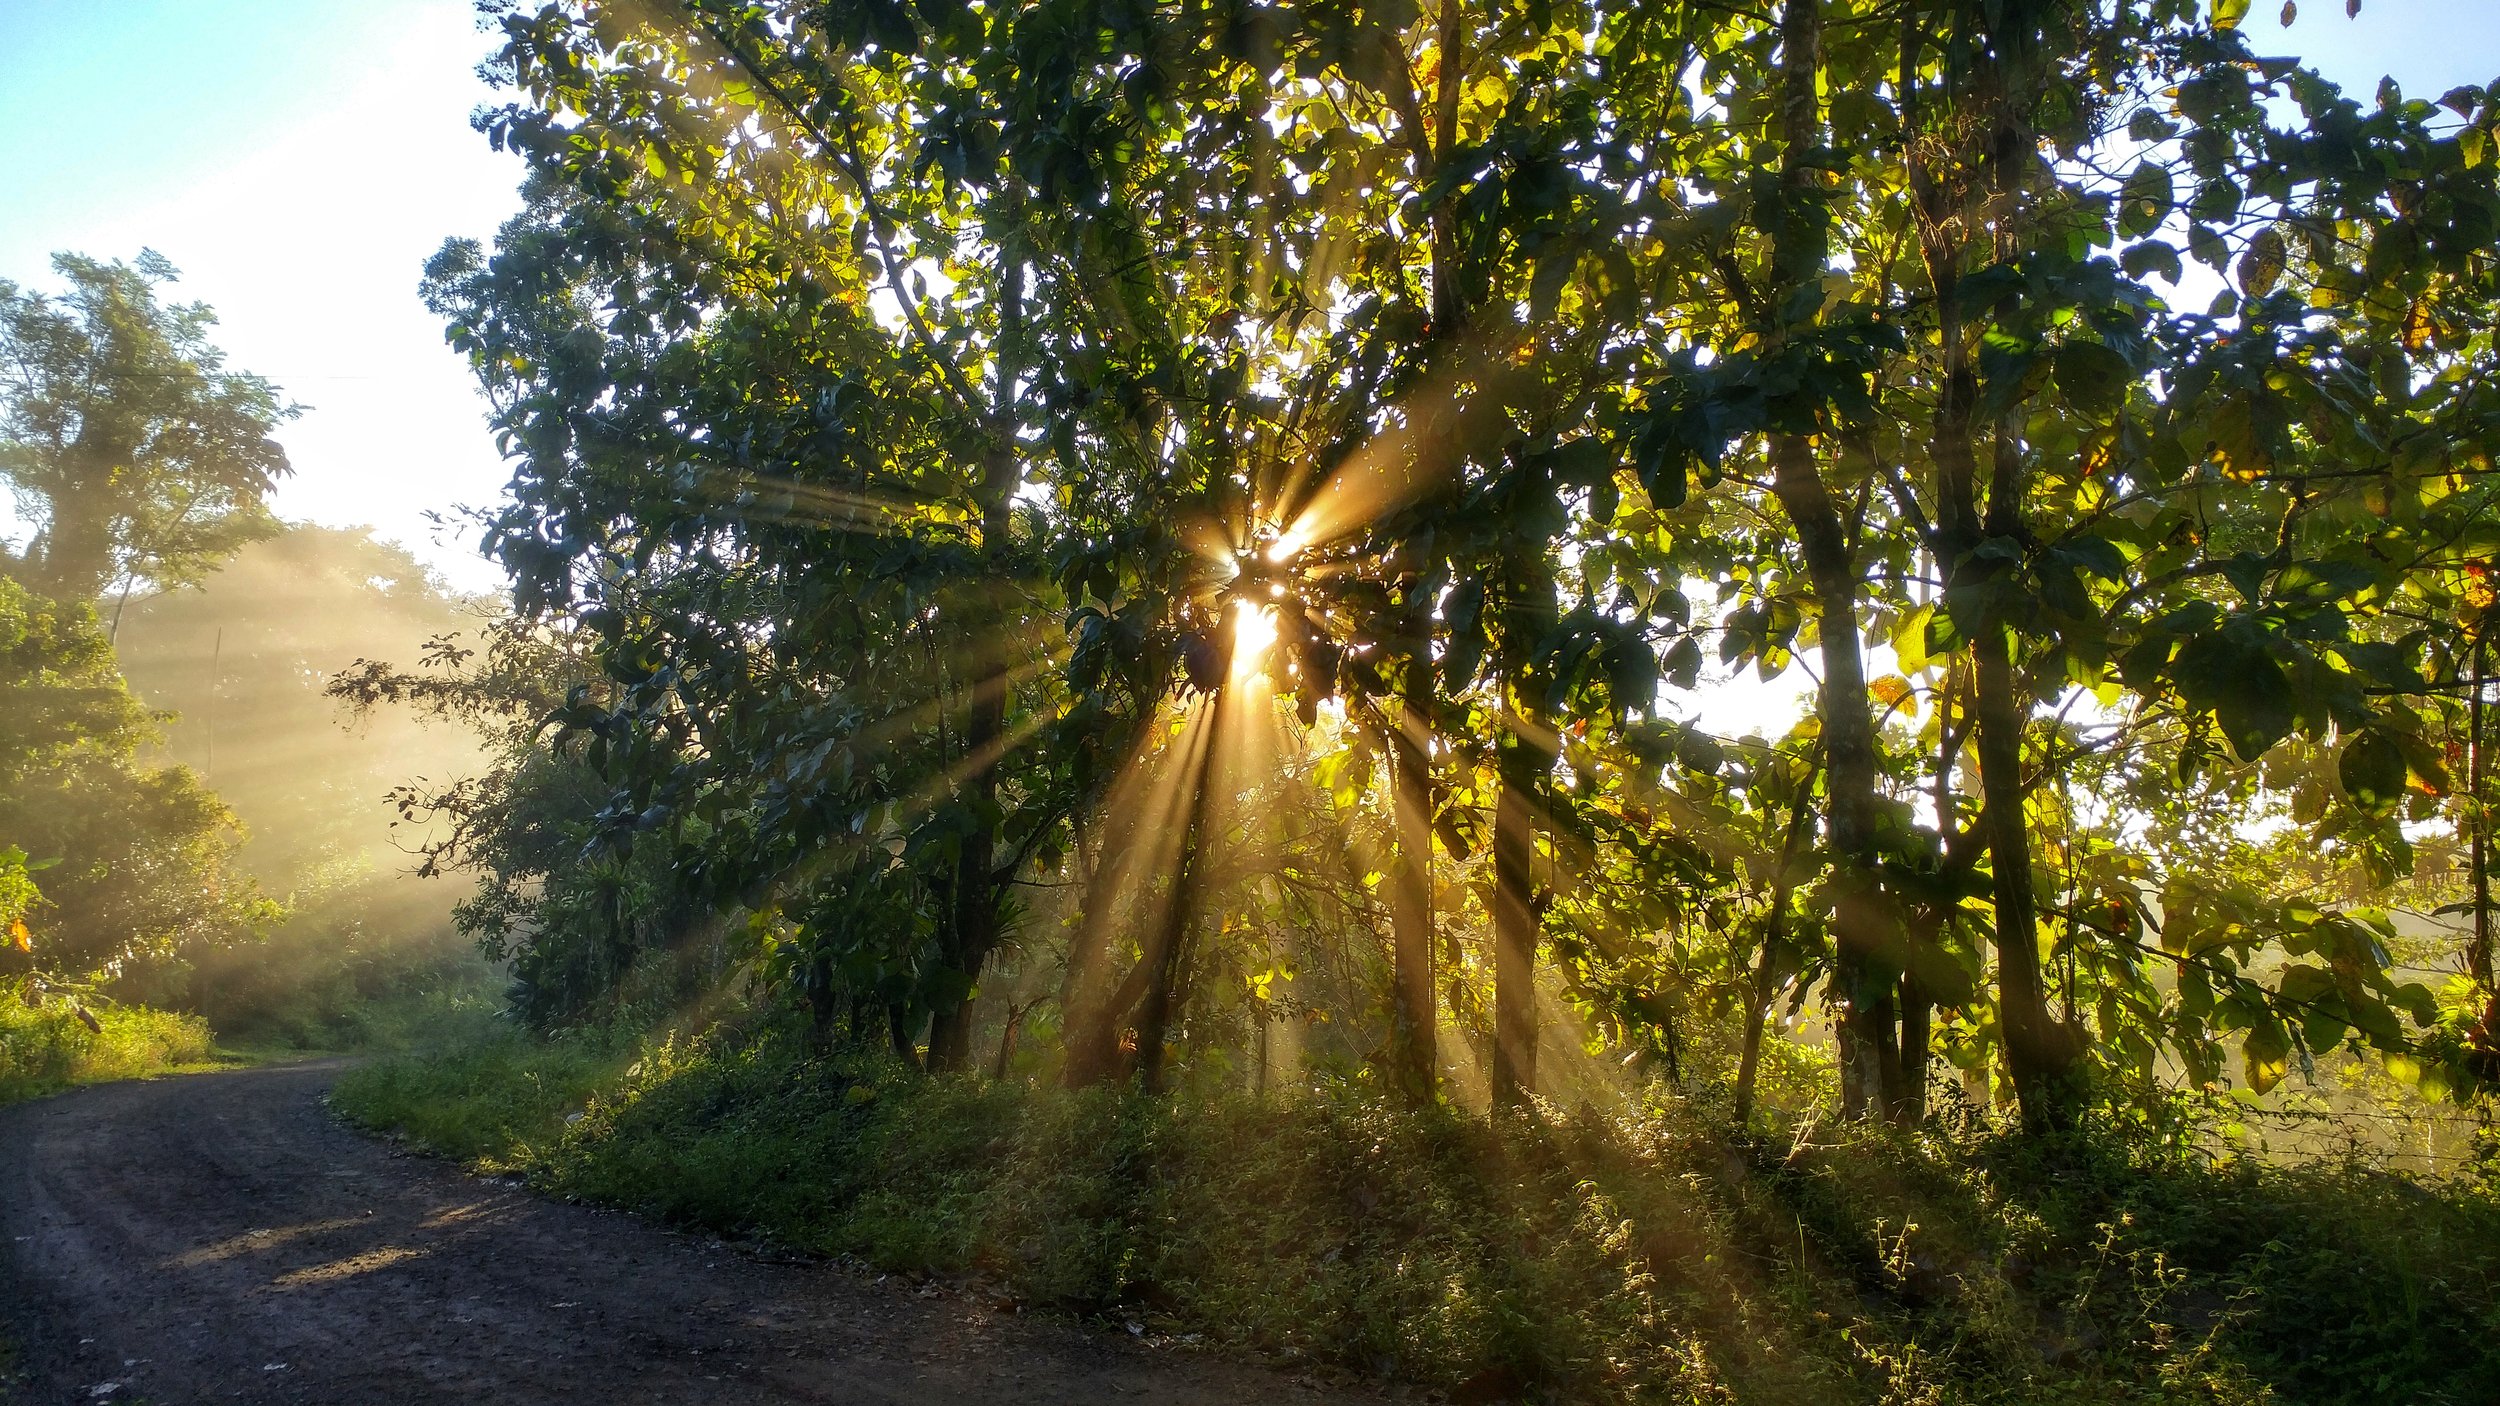
I am inspired by the movement towards an ecological , sustainable lifestyle and feel grateful to be a part of a project that focuses on sustainability, permanent culture and agriculture.
I invite you to share your experience and discoveries with growing food in the lowland tropics.
What interesting practices have you learn about recently?
Which annual crops did well for you in the tropical rainy season of Costa Rica?
What kind of companion planting worked well for you?
Would love to hear from you!
Blessings,
Diana D.
For more information about Permaculture consider joining us for our Permaculture Design Certification. For info about being an apprentice please go to the apprentice page. Here you will find in depth descriptions of what life is like in Mastatal.
Vegetables & Greens that Thrive in the Tropical Rainy Season
When the rainy season arrived, it started with a sense of relief - dry season went on longer than expected and our trees and plants were scorching in the heat. For myself the cooler air was welcome comfort, and the rains a reminder of home and getting cozy. Mornings were beautiful with the sight of the sun rising through the dewy mist.
By Amy Dodds,
2019 Apprentice
When the rainy season arrived, it started with a sense of relief - dry season went on longer than expected and our trees and plants were scorching in the heat. For myself the cooler air was welcome comfort, and the rains a reminder of home and getting cozy. Mornings were beautiful with the sight of the sun rising through the dewy mist.
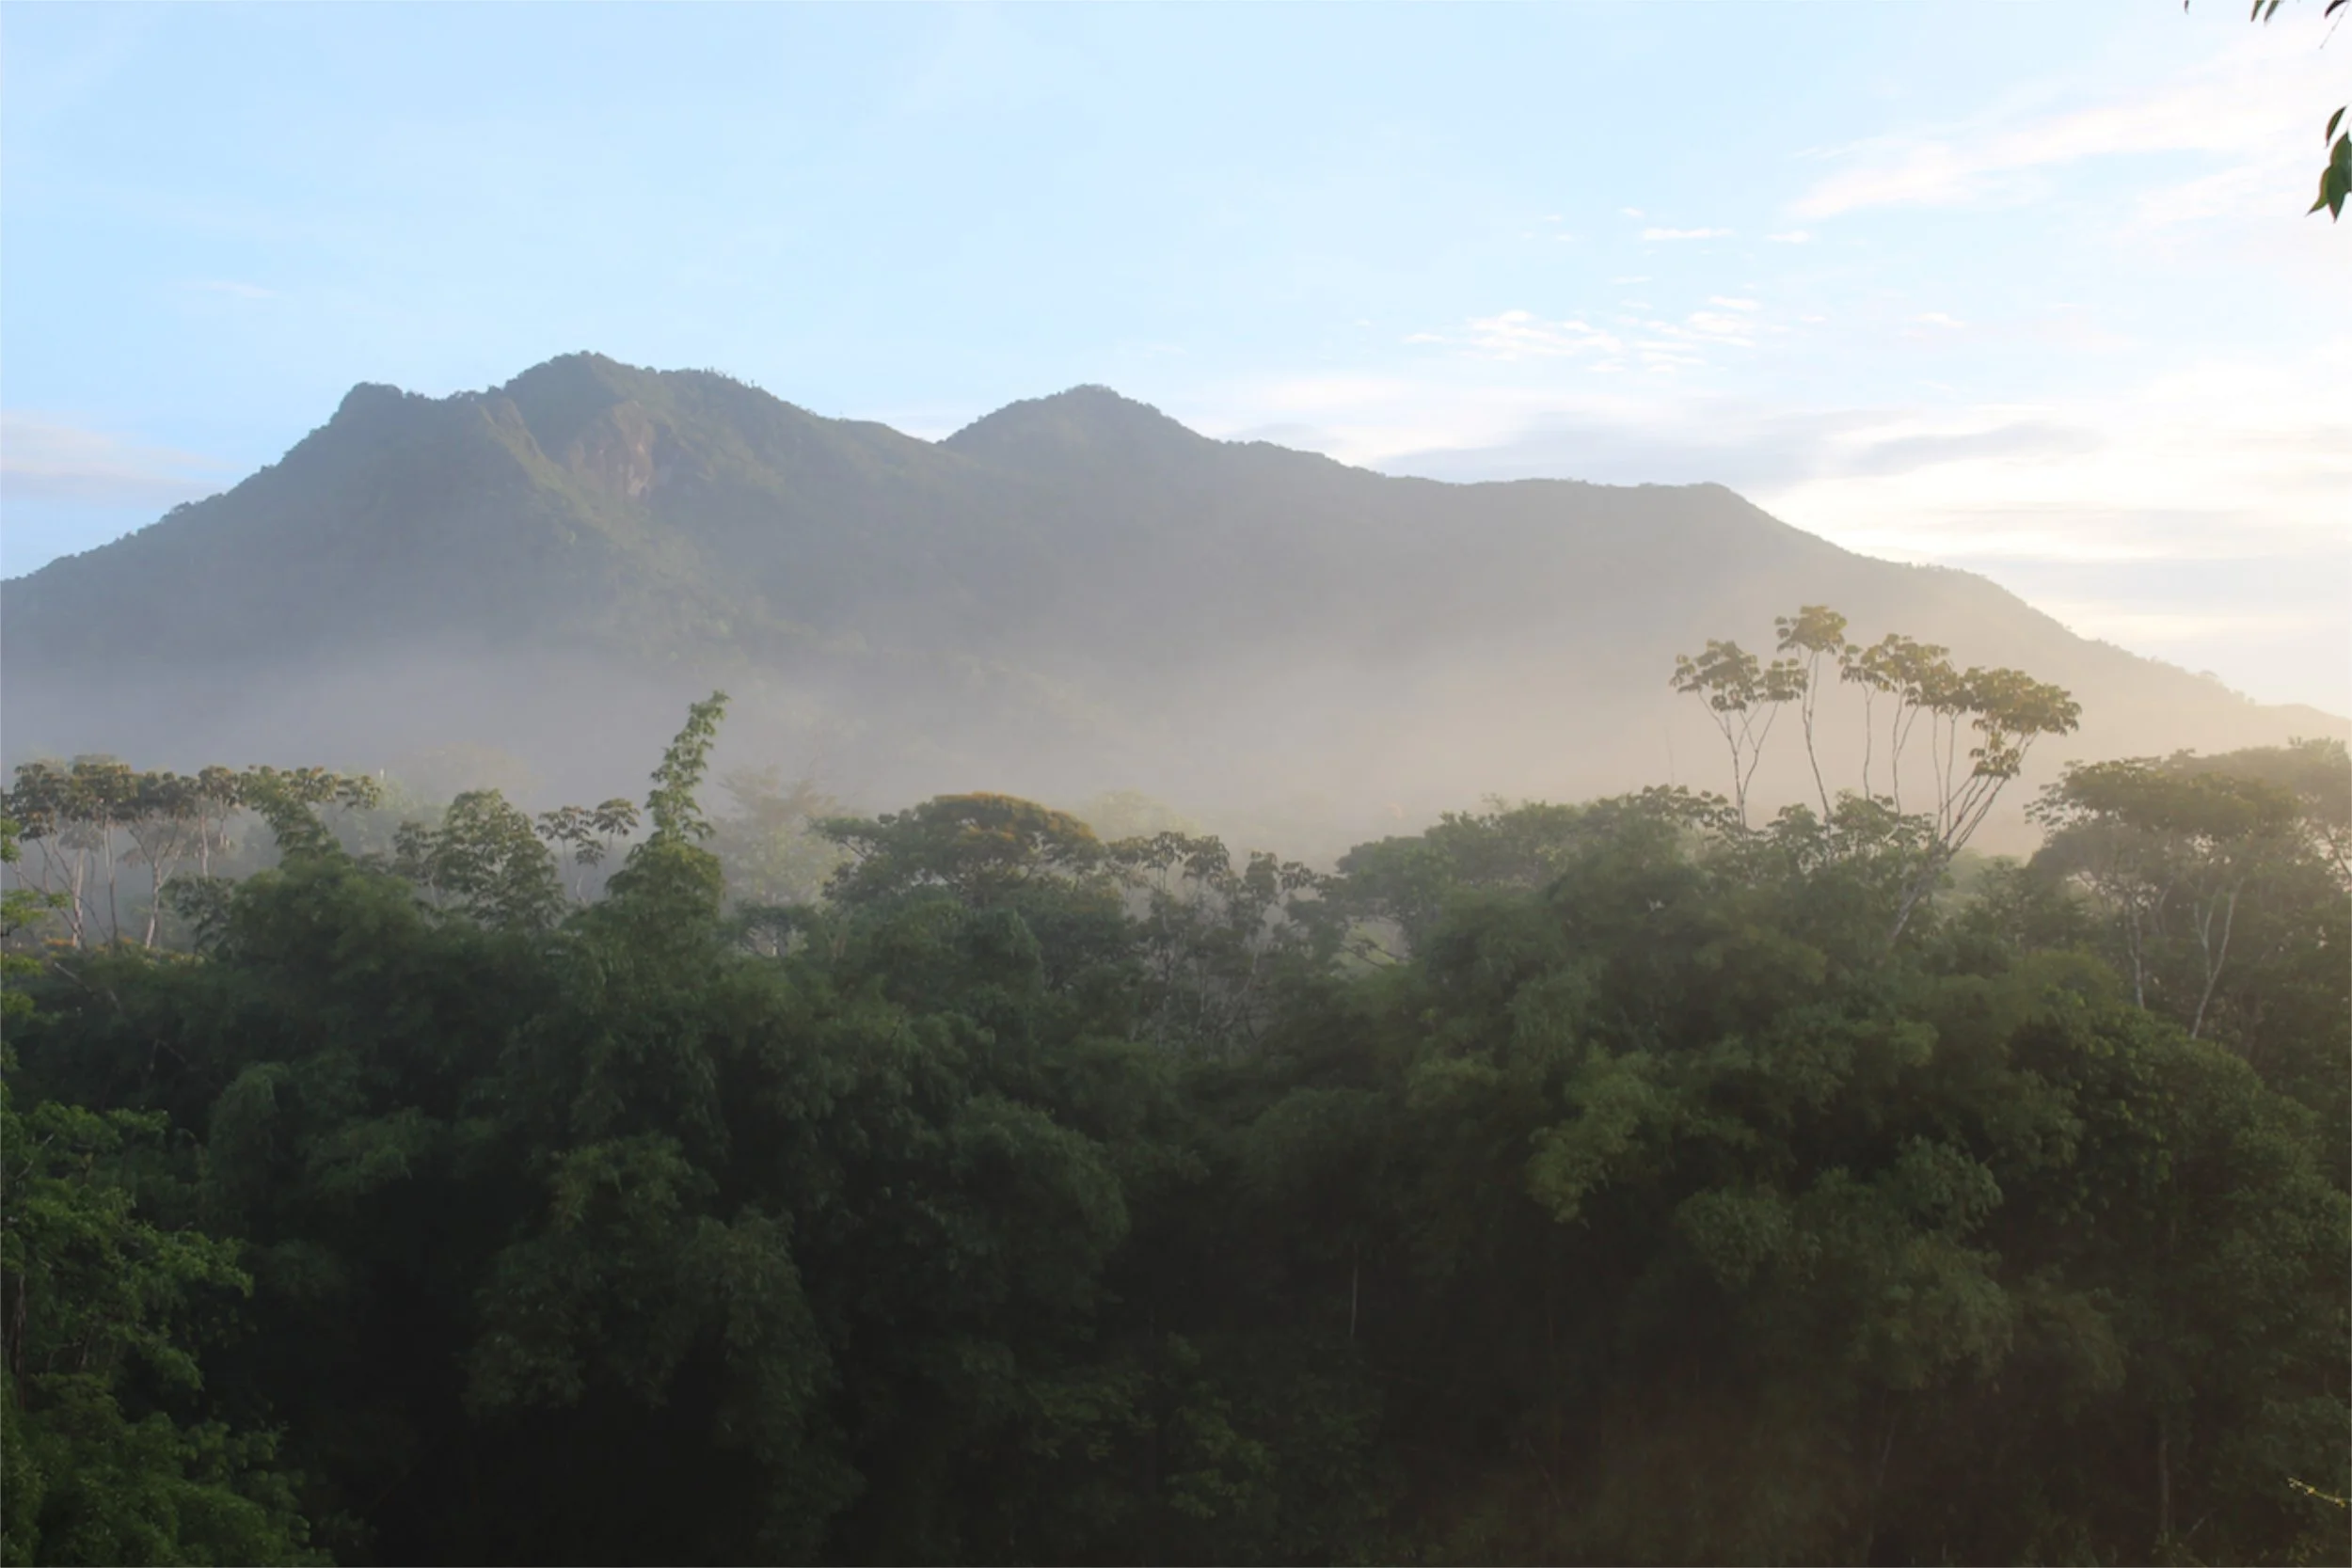
But very soon our zone one vegetable gardens with our recently planted greens began to suffer - the sheer force of the rains and the humidity brought fungal and mildew issues. Faced with the reality that our beans and delicate greens were going to die out, I thought about the potential of using cover crops, such as sweet potato, for the rest of the year. But this did not seem to fit in my idea of what permaculture asks us to do: observe and interact with the environment we are situated in and use that to our advantage. With this in mind, we at Rancho Mastatal have been planting crops that thrive both in the intense heat and thumping rain. Below are some of the most popular vegetables that we are growing in the Ranch that are suitable for the rainy season:
Cucumber:
Cucumbers have been abundant in our garden this season with us pumping out quick pickles nearly every day. Not bad for a community feeding 30-40 people daily! Thankfully, cucumbers like warm, humid weather. We grew ours by seed on a trellis to allow for more air flow and for the fruit to stay above ground.

Okra:
Described as among the most heat-tolerant vegetable species in the world. It is planted for its seed pods which can be cooked, pickled, eaten raw, or included in salads. It does become mucilaginous so do consider this if you're sensitive to the slime.
Kang Kong spinach:
This leaf green is native to southeast Asian and is delicious stir-fried with soy sauce and garlic. It is a semi aquatic plant, a creeper that grows in or near the water on moist soils, so it is ideal for our climate.

Hibiscuses:
Both Green and Cranberry Hibiscus are delicious perennials that thrive in the warm and wet. They self seed easily during dry season so when the rains come you have a whole bunch of babies to keep your salad zesty and fresh. The leaves do contain oxalic acid so cannot be consumed in large, consistent quantities.
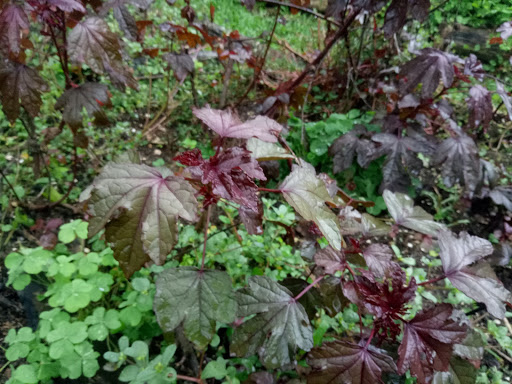
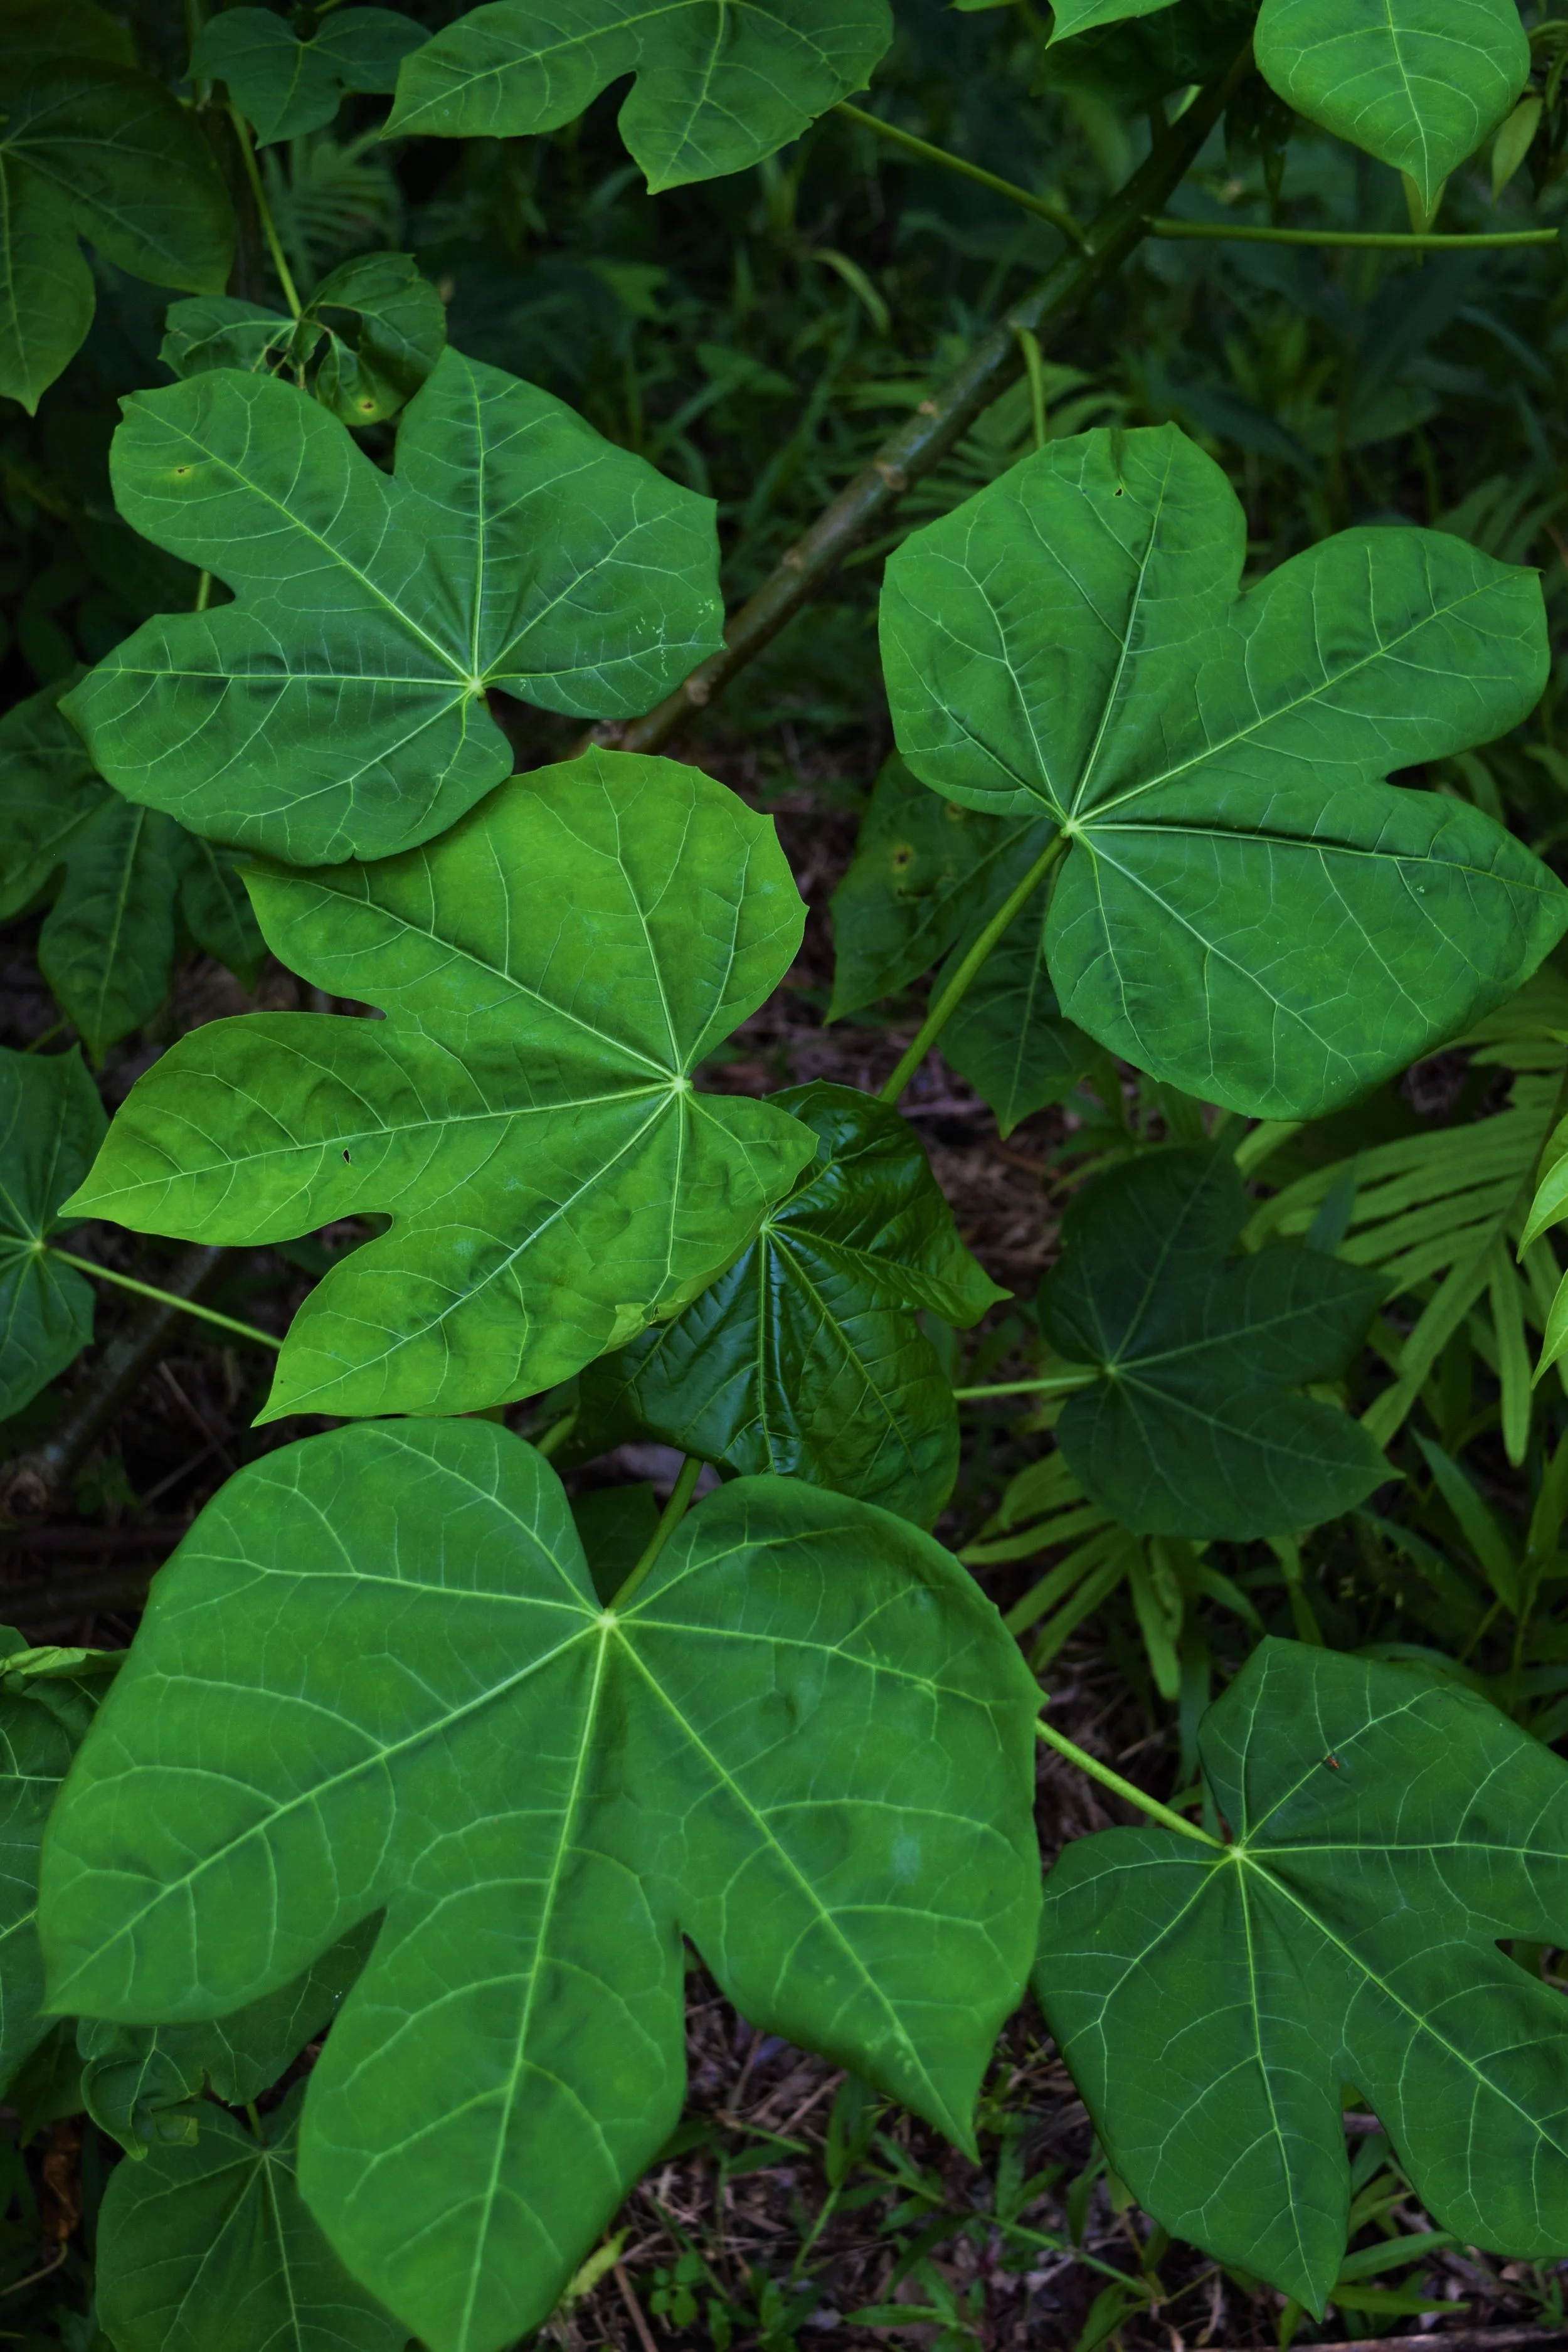
Chaya:
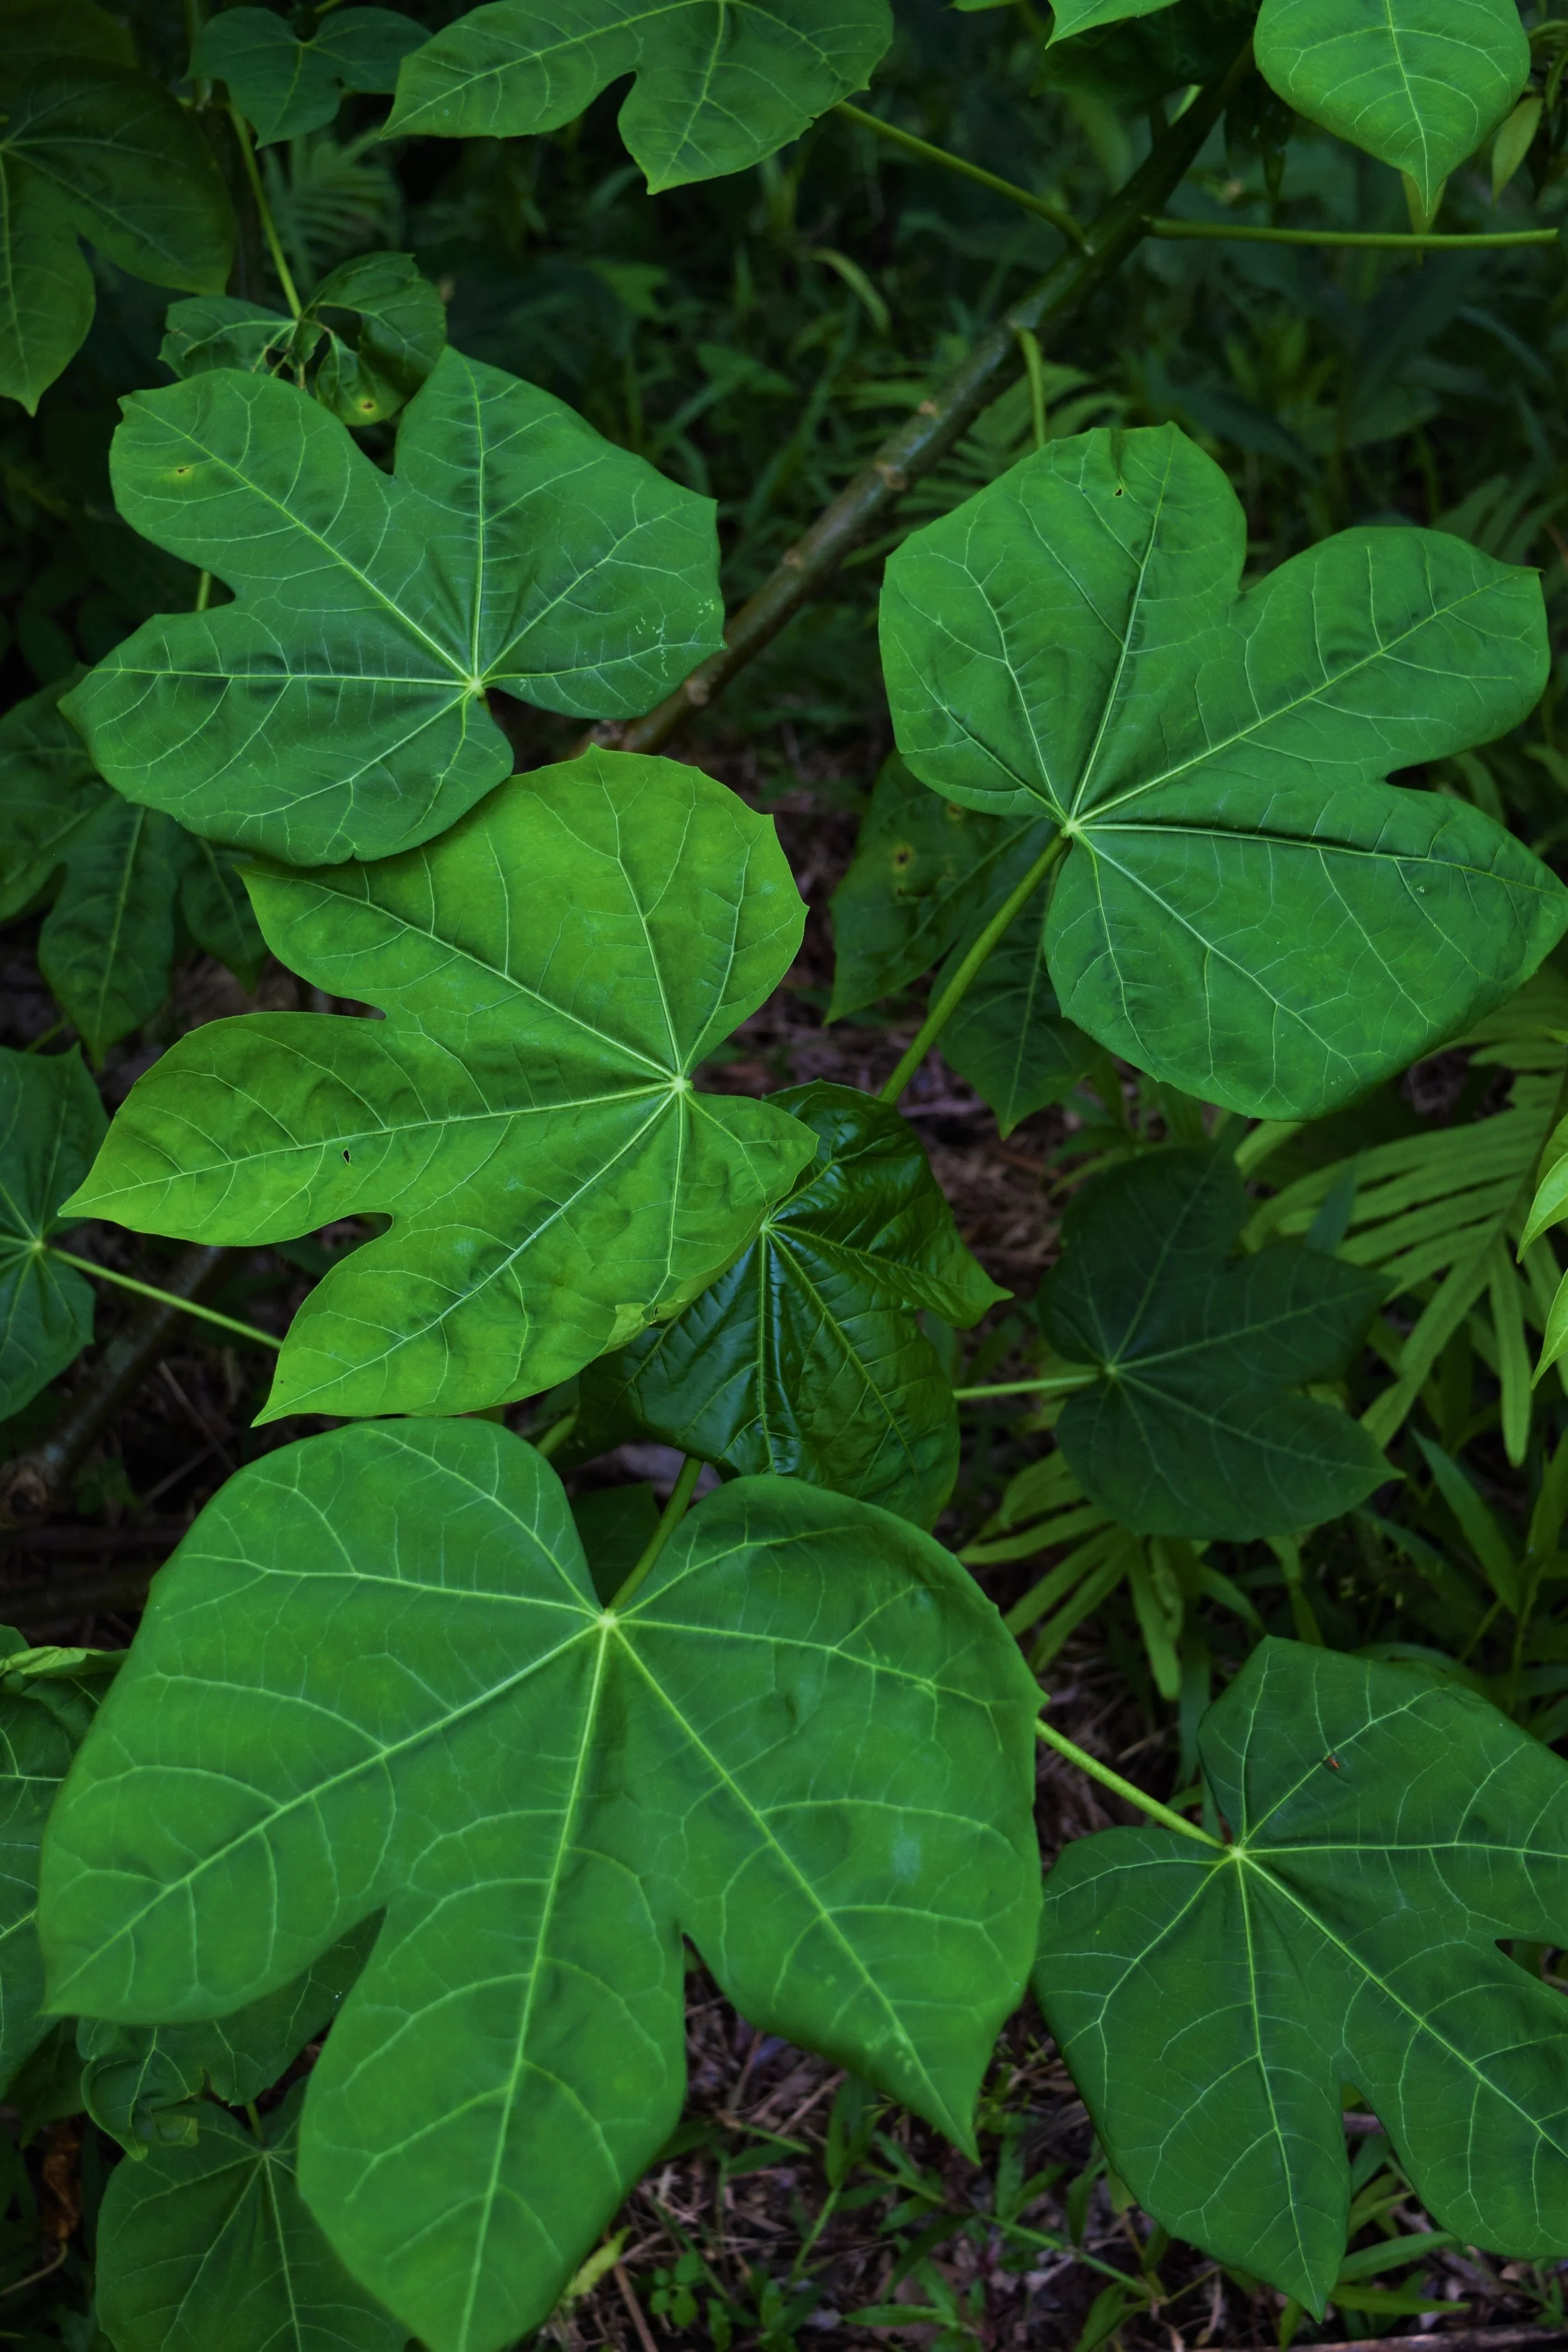
Also known as tree spinach this is an excellent perennial green native to Mexico. It's leaves are edible once cooked, like spinach. It's easy to propagate by cutting and loves the heavy rain.
Malabar spinach:
Malabar spinach is another heat and moisture-loving spinach-like green. The succulent leaves can be eaten both raw and cooked. We have only a few plants so we are trying to improve the population. We use a trellis to support its tendency to vine.
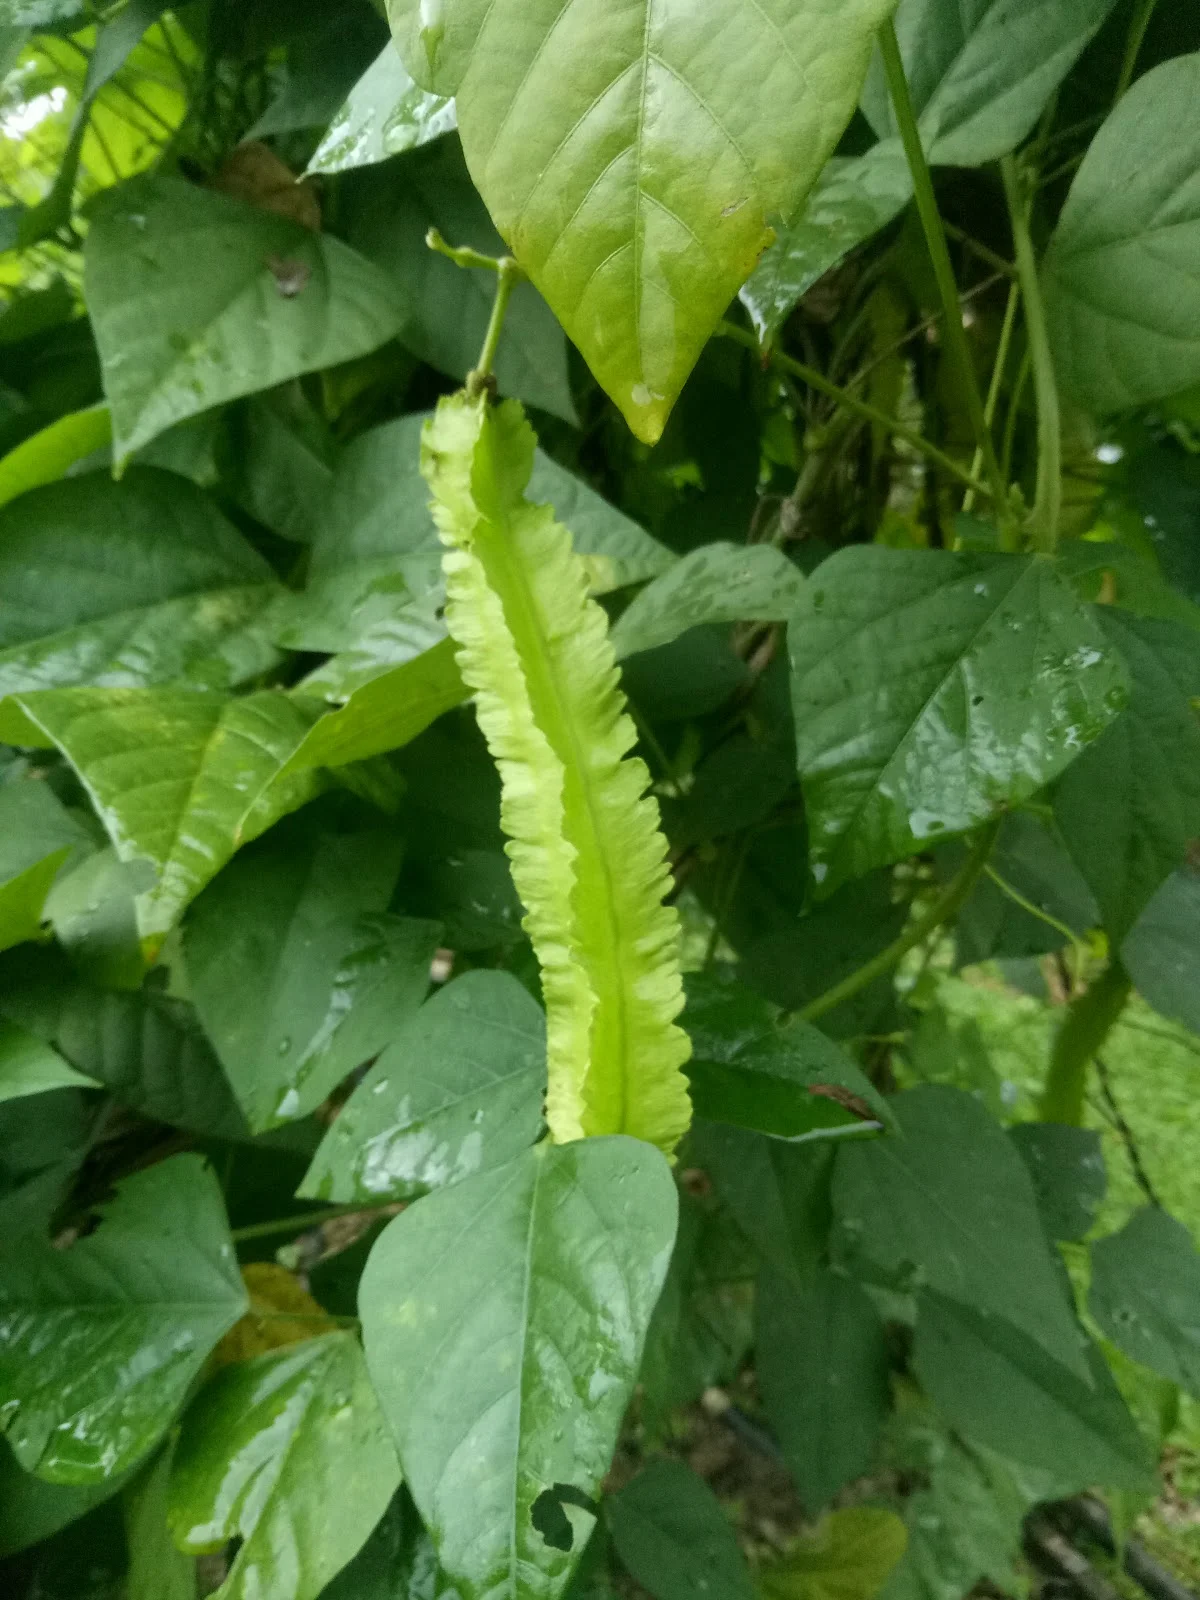
Winged bean:
Also known as Goa bean and princess beans, these are sweet protein packed vegetables that do well in heat and humidity. They can fix their own nitrogen when the bacterium Rhizobium is in the soil. They are best harvested young and tender, and great raw in a salad.
Other more delicate greens we are growing in our nursery as they don't require as much water, such as Arugula, mustard greens and Asian cabbages.
By having our covered nursery space we are able to grow things under cover that otherwise would not do so well outside, we are also experimenting with making some movable covered spaces for out outdoor garden beds….. we will update you with progress so make sure to Like and Follow us on Facebook & Instagram
When The Ants Go Marching
Even before the start of my apprenticeship at the ranch, I would not have described myself as a particularly squeamish person. I like to think that I reacted to incidents involving large numbers of insects (infestations) with an appropriate amount of squeam. However, on more than one occasion, I was nudged outside of my comfort zone within the first few days of my time at the Ranch. Over the past few weeks, my relationship to these small jungle friends has changed once again.
By Abby Kuchar, 2019 Apprentice
Even before the start of my apprenticeship at the ranch, I would not have described myself as a particularly squeamish person. I like to think that I reacted to incidents involving large numbers of insects (infestations) with an appropriate amount of squeam. However, on more than one occasion, I was nudged outside of my comfort zone within the first few days of my time at the Ranch. Over the past few weeks, my relationship to these small jungle friends has changed once again.

My partner and I had just moved into our lovely abode, the Goat Barn. One evening when we returned home after dinner, we found at least 50 large army ants running around our floor! Quickly, we both started stomping away, desperate to kill every last one before climbing into bed, only to be kept awake by the feeling of phantom ants crawling between the sheets. The next morning, we exuberantly told the team the story of our ant adventures. A core team member, Ali, who has lived in Mastatal for the past six years, quipped “Only fifty? That’s weird.” Which, to say the least, was not the reaction I was expecting. “There’s usually A LOT more than that. The army ants will swarm a house for a few hours, clearing out the other insect larvae and bug parts. They’ll leave after an hour or so.” She explained.
A couple of days later, I noticed dark lines running along the outside walls of my house as I approached. Horrified, I realized the lines were actually dense highways of ants. Ribbons of industrious soldiers marched their way through the seams of the wall panels, into my home. I peeked my head into the room and saw an impressive and well organized network of army ants coming and going. Quickly I darted inside, grabbed my water bottle and book (the purpose of my trip) and gave the hard-working soldiers a quick salute. I will be back in five hours; I hope you all won’t be. I attempted to communicate, telepathically.
Sure enough, as we cautiously crept back into the house that evening, not a single ant could be found. In fact, the house felt eerily clean. Even the top of our mosquito netting, which had built up a graveyard of insects zapped by the overhanging light, was spotless. I hope they come back soon, our house could use a nice deep clean again.
Are you interested in experiencing Rancho Mastatal? Why not join us as a guest, maybe you will have the army ants clean your house too?!

How to Make Dairy Kefir Banana Creme Fraiche
Welcome back, it's Ryan again!
In our last conversation I shared a little about dairy kefir; the history, chemistry and process for making it. This time we'll talk about an exceptional use of dairy kefir - making banana kefir creme fraiche!
by Ryan Roberts, 2019 Apprentice
Welcome back, it's Ryan again!
In our last conversation I shared a little about dairy kefir; the history, chemistry and process for making it. This time we'll talk about an exceptional use of dairy kefir - making banana kefir creme fraiche!

Velvety smooth and udderly delicious, this topping is ideal applied atop crepes, pancakes, granola. Next time you're making a pancake breakfast-in-bed for your bae, you can blow their minds with this yummy topping.
Here's the kicker: the bi-product of this process will yield a delightfully flavorful and intensely proteus “banana-infused” whey. I recommend drinking it straight or adding it to your morning shake to spike it with great flavor and a boatload of protein.
If at this point your finding yourself lost on the fundamentals of dairy kefir, check out my first installment of Dairy Diaries here, before proceeding to the next section.
So diving back into the science for a moment; Dairy kefir is a specialized symbiotic colony of organisms, favoring lactose sugars, and adapted to consume them, but this doesn't preclude it from utilizing what sugars are available. Bananas are intensely sweet, potassium rich and full of minerals, making it a fine fuel for your SCOBY friends. The process will break down and alter the banana, unlocking new flavors and heightening nutritional qualities.
This process will take you through the steps of making dairy kefir first, then walk you through separating your two products and processing them to completion.
Ingredients
- Whole organic milk
- Spoonful of dairy kefir SCOBY (or “grains”)
- Glass container for your next batch
- Two medium-sized bowls: one for your creme fraiche, the other for your whey
- Spoon
- Funnel (optional)
- Fine mesh strainer
- Hand blender or food processor (optional)
Process
1. Sterilize your container, using boiling water for your first clean.
2. Chop bananas to your desired quantity and thickness. I chose to use three small bananas. Note that increasing the surface area of your banana by chopping it will make it easier for the SCOBY to access the sugars in the banana. In this step, I quartered the bananas then chopped them horizonally into thin pizza slices. Put the bananas into your container.


3. Put a spoon-full of dairy kefir SCOBY into your container.

4. Pour your organic whole milk into your container, taking care to minimize splashing.

5. Place a lid lightly over the container, creating only a light seal to allow CO2 to escape. Let sit for 12 - 24 hours depending on temperature. Warmer temperatures will yield a faster process. The goal here is to stimulate the mixture to self-separate into the whey on the bottom and the cream on top. It looks funky, but don't sweat it. The cream along with the bananas will become our creme fraiche and the whey, whatever you want to do with it.

6. Pour the whole mixture into a fine mesh strainer. Let the whey drip through the mesh, which will happen mostly on it's own because the cream is now chemically separated from the whey. Light stirring is ok, but seek to minimize the amount of cream that falls through the strainer!
7. Now hunt for your SCOBYs amongst the cream! The goal of this step is different from that of making plain dairy kefir. We want to recover our SCOBY, but we don't want our banana kefir cream to fall through into the whey, so we place our bowl under the strainer now. You may use a gentle scooping motion along the bottom of the strainer to find your grains. Whatever cream falls through should be added back once you've recovered your SCOBY babies. This step can be challenging and awkward.

8. Place your SCOBYs back into their home container, refill it with milk and lightly stir the milk with a clean spoon.
9. Now we have whey in one bowl, cream and bananas in the other and our SCOBYs happily in their new batch of milk.
10. The final step is optional and that is blending the mix. You can certainly enjoy the cream and banana bits mixture at this point, or you can thoroughly blend the bananas and the cream until you produce a uniform appearance. This final step is what yields your creme fraiche.

11. Keep refrigerated till consumption.
That concludes this little adventure into this novel dairy kefir product. Next installment, we'll be exploring a savory herbal cream cheese, YUM!
Have you always wanted to learn about SCOBYs, fermentation or brewing? Check out our upcoming workshops for anything that might be of interest!
Design Ideas for a Sustainable Home in the Tropics
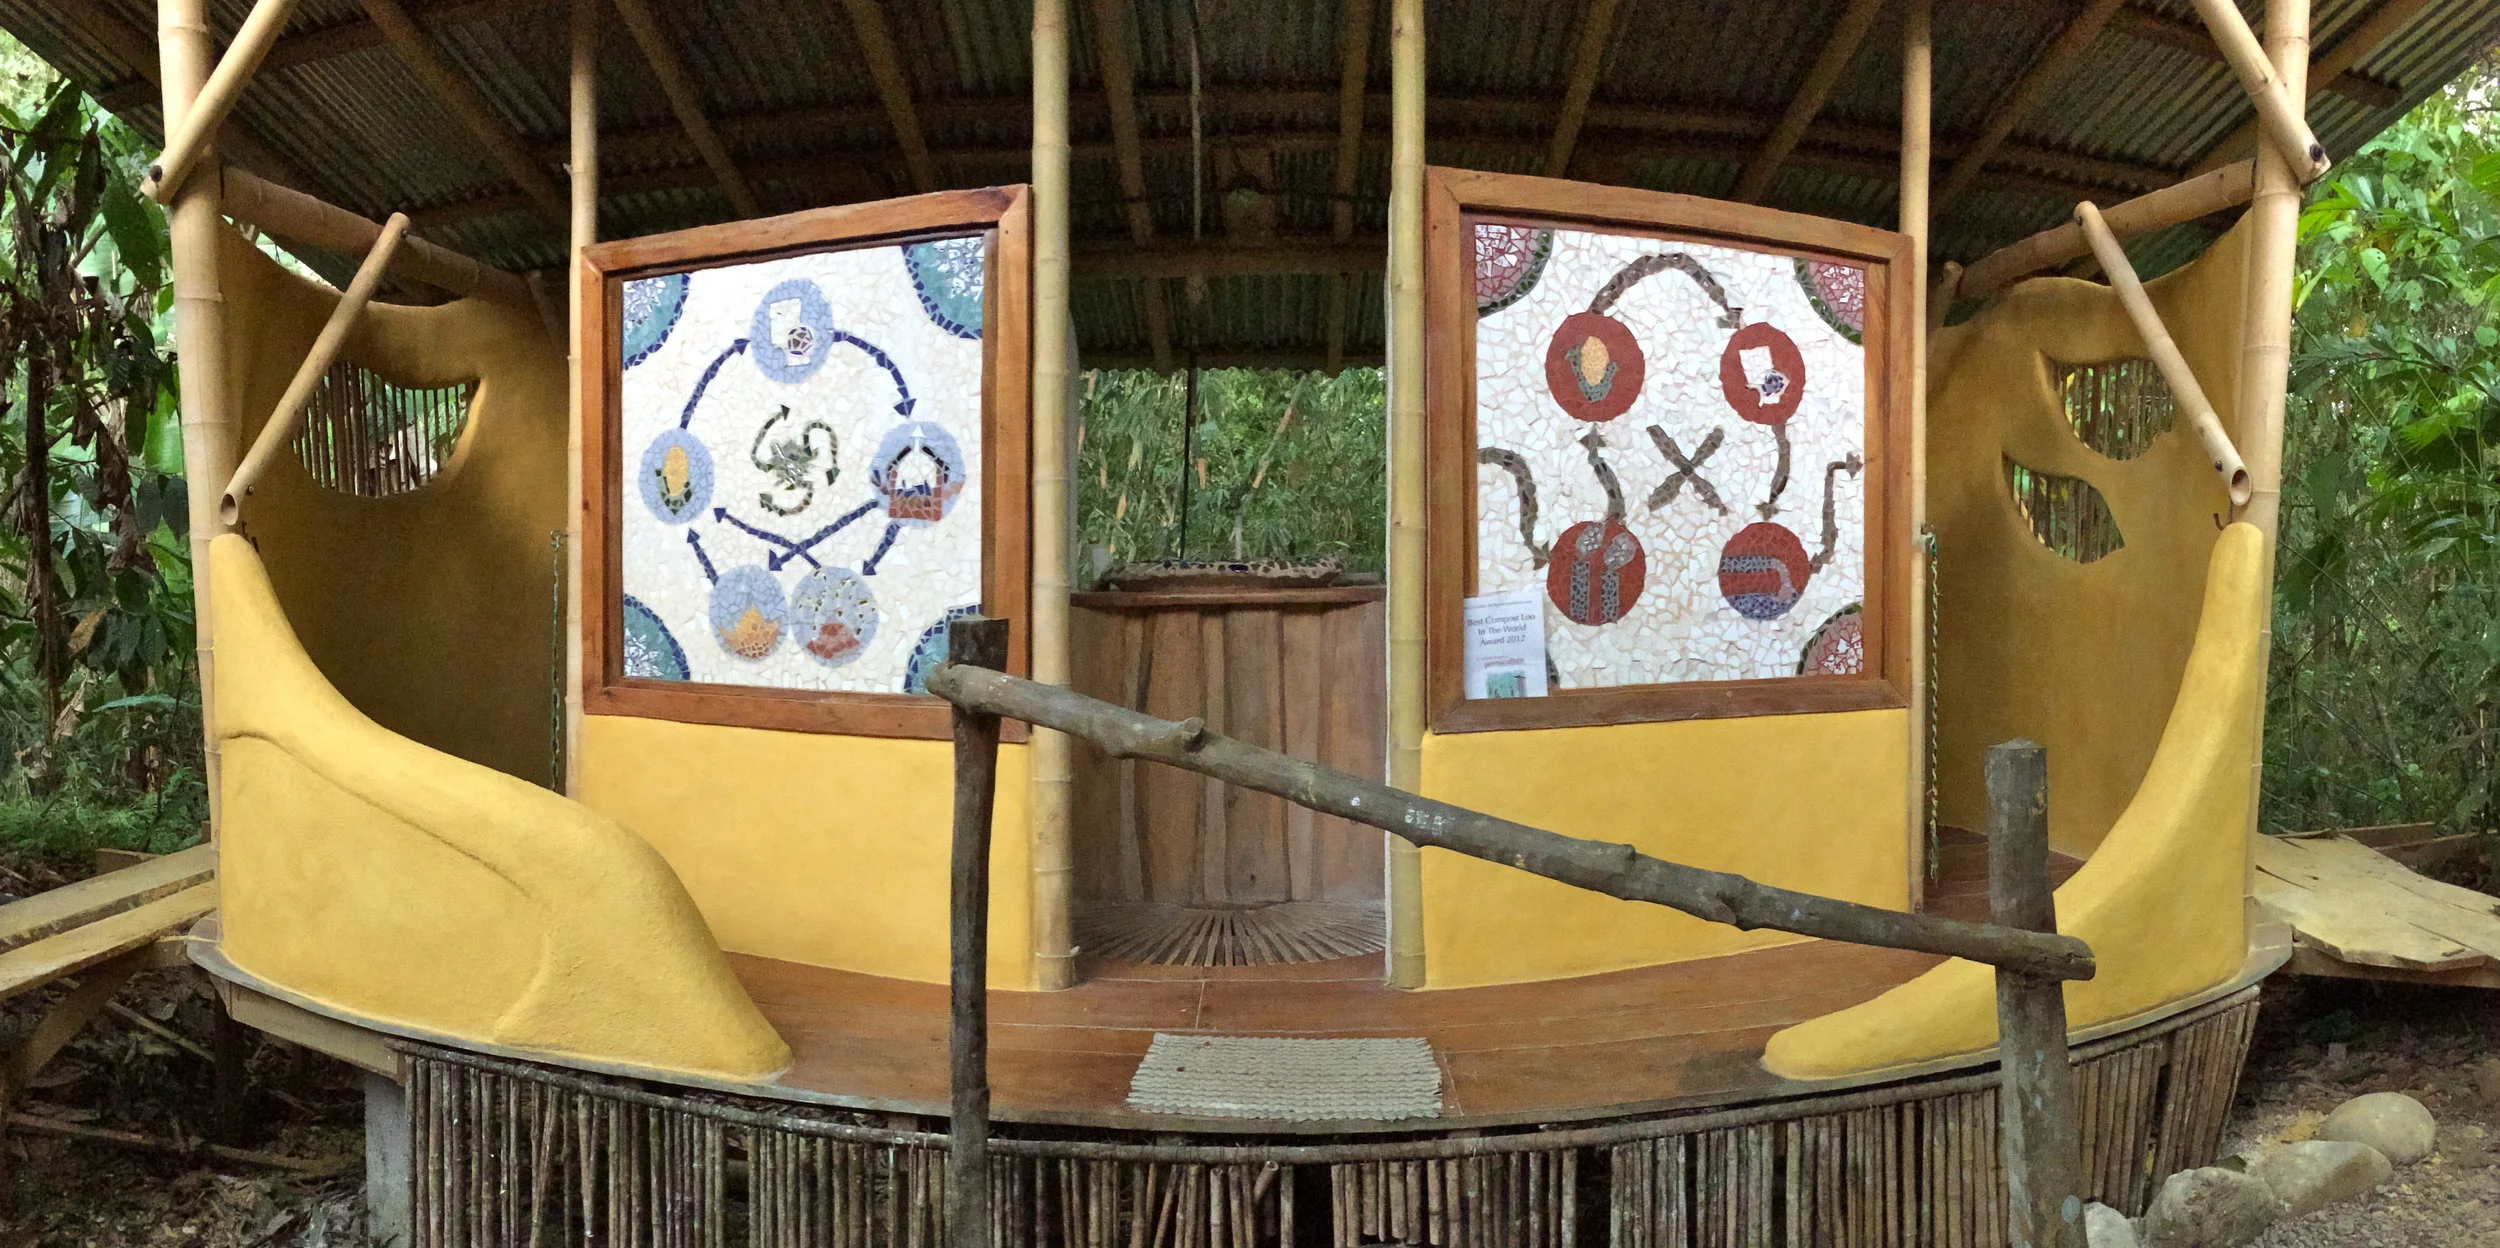
At Rancho Mastatal we have been building sustainable homes from natural materials in the tropics for over 15 years. In this time we have tried many different styles, building materials, and designs. We would like to share with you our opinion for the best natural and sustainable home design for the tropics.
By Nic & Ali,
At Rancho Mastatal we have been building sustainable homes from natural materials in the tropics for over 15 years. In this time we have tried many different styles, building materials, and designs. We would like to share with you our opinion for the best natural and sustainable home design for the tropics.
For examples and inspiration view our structures here.
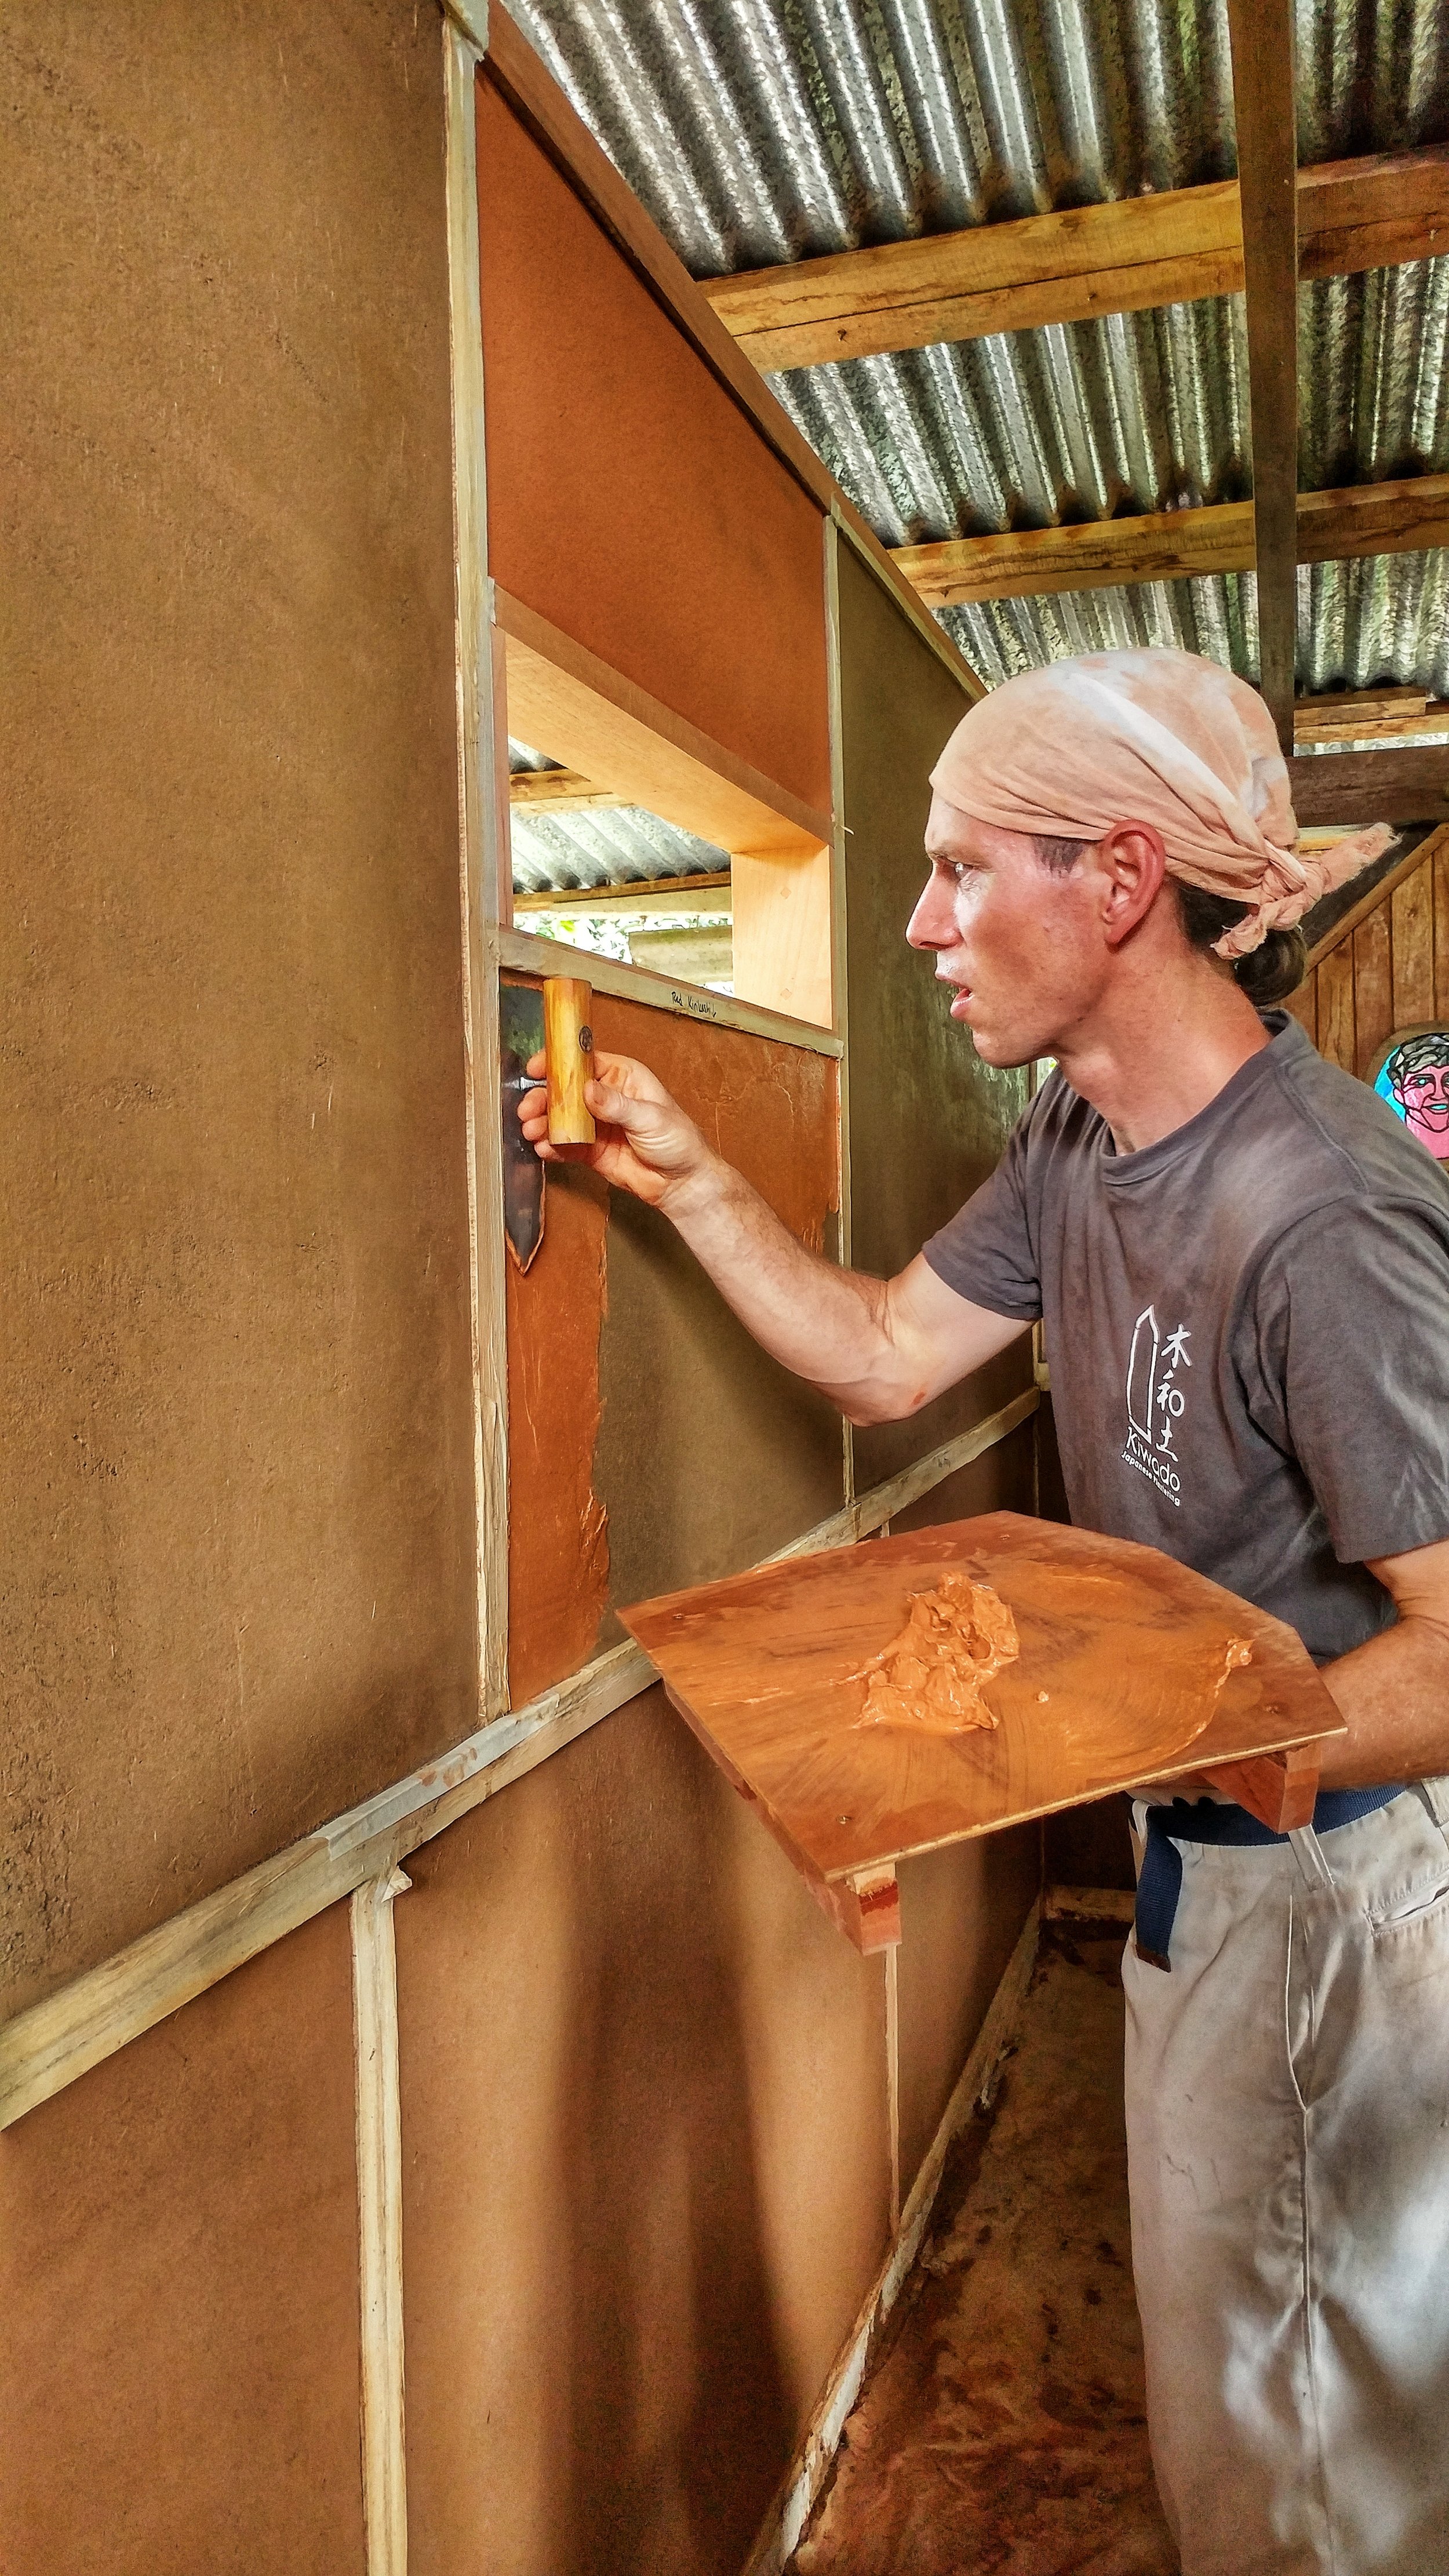
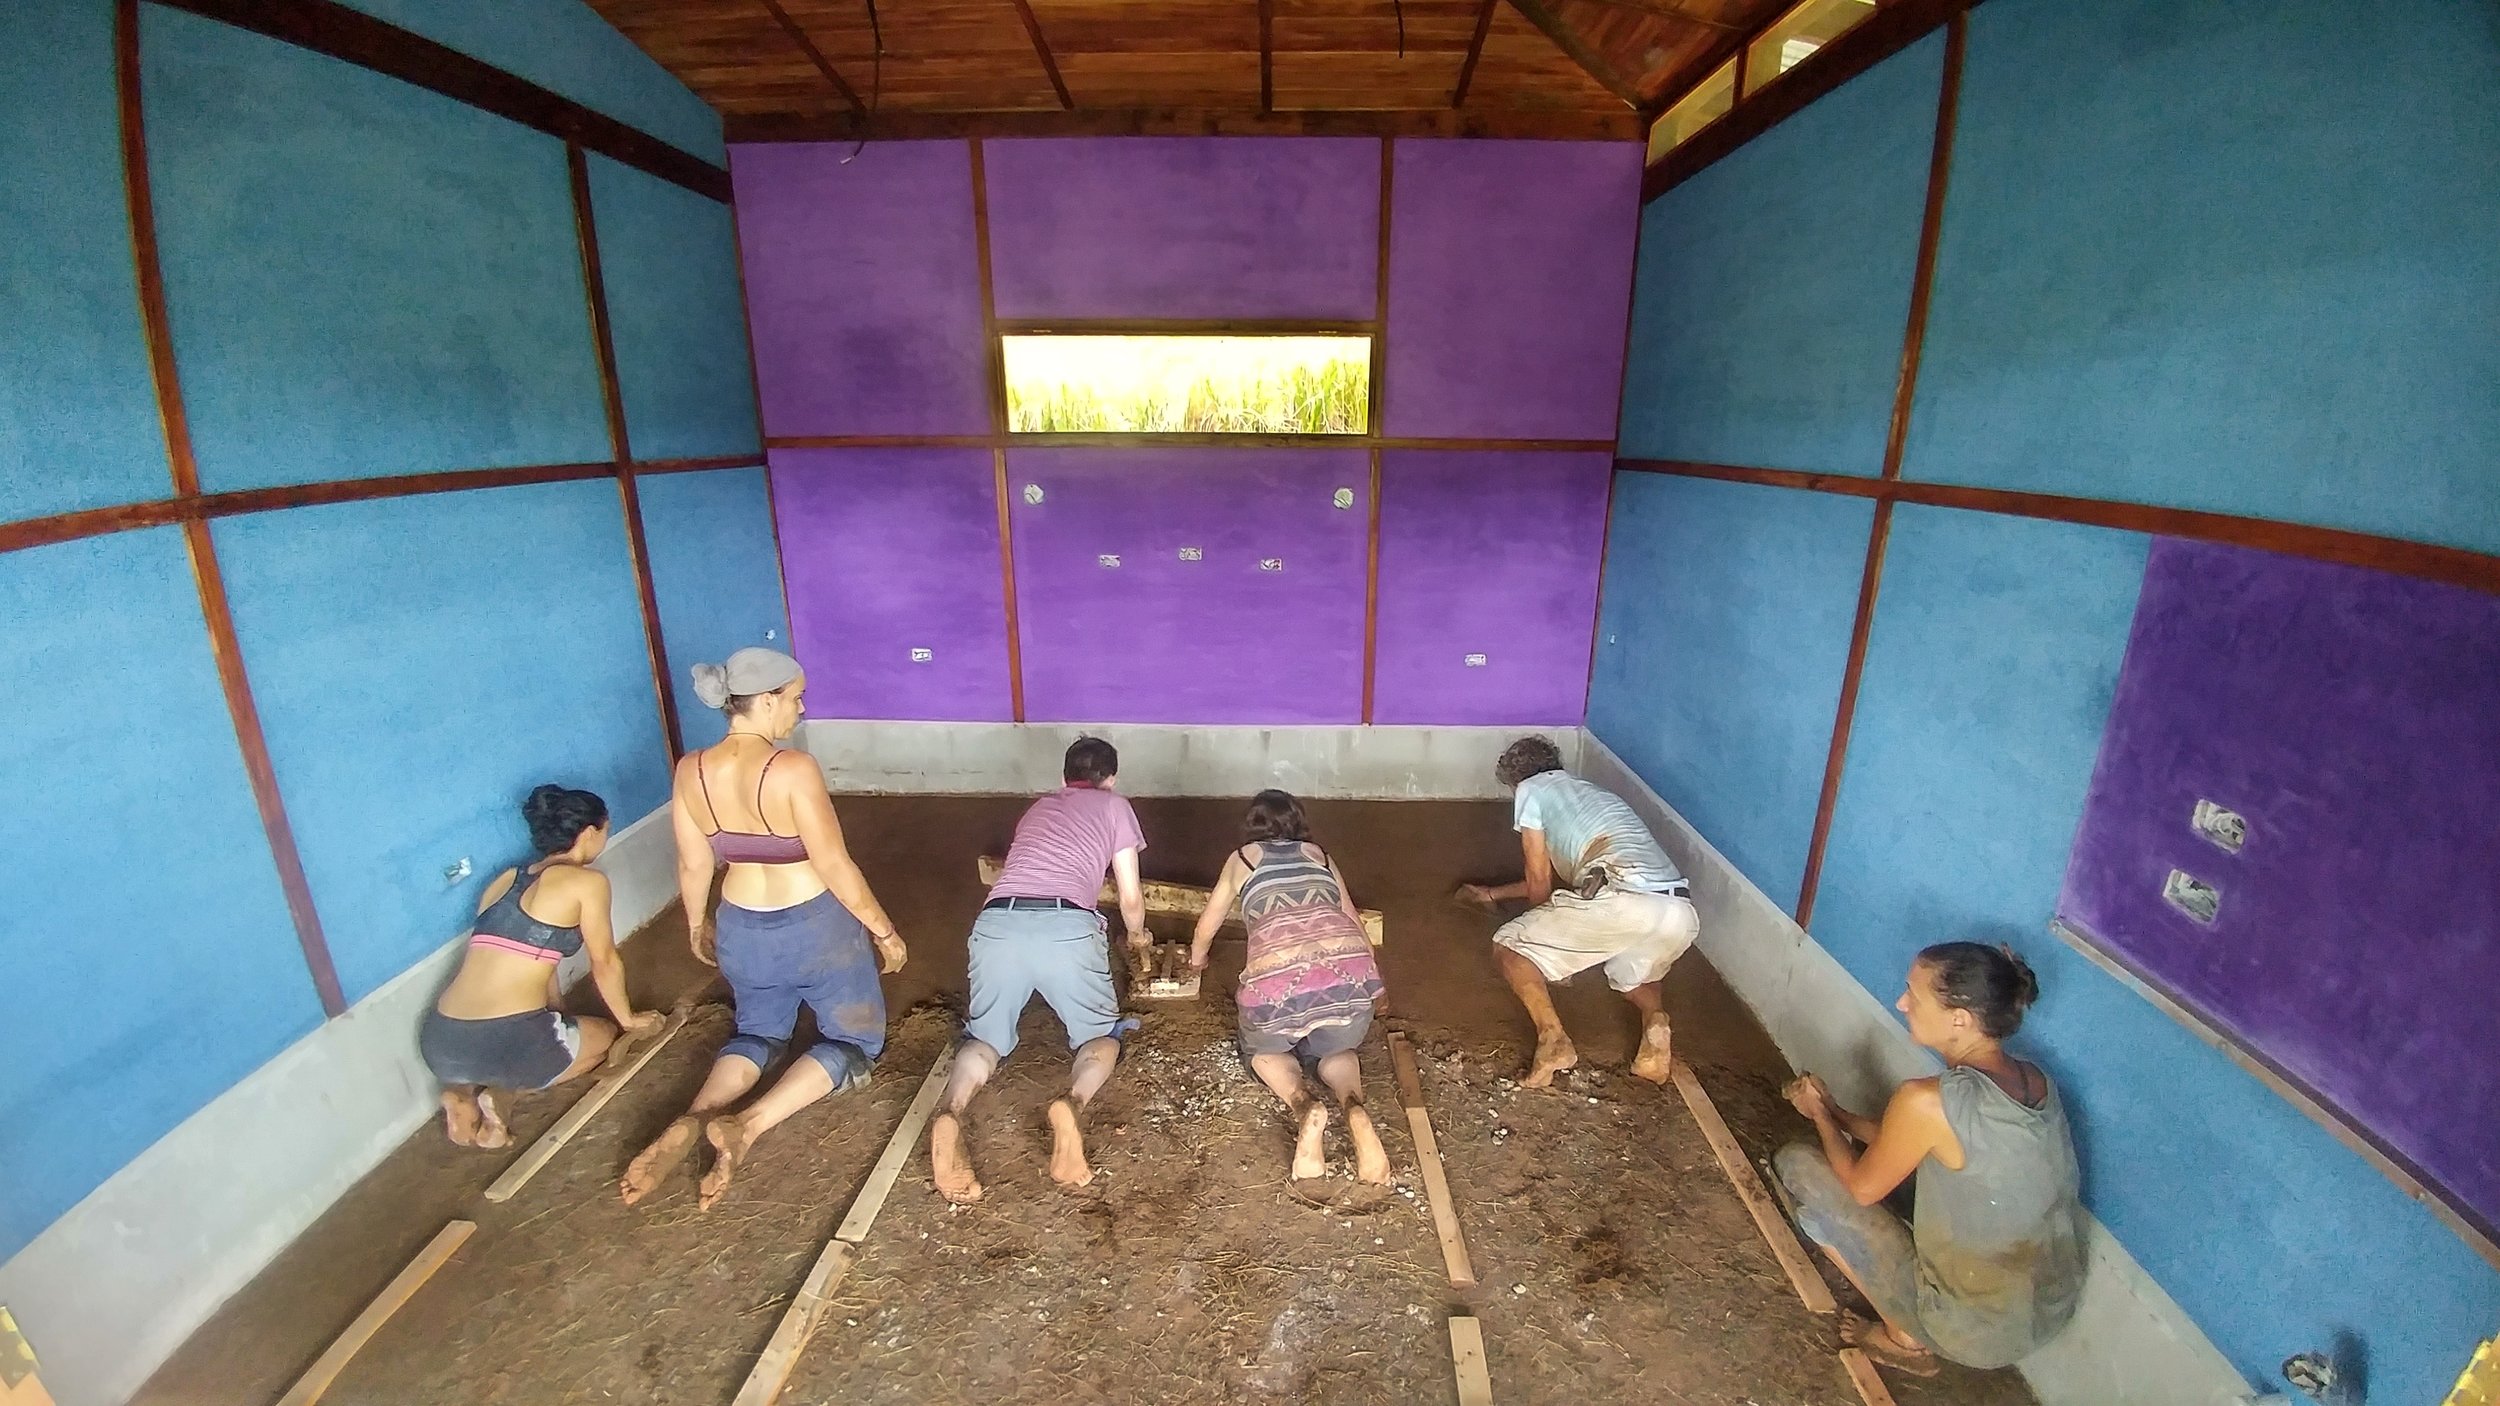
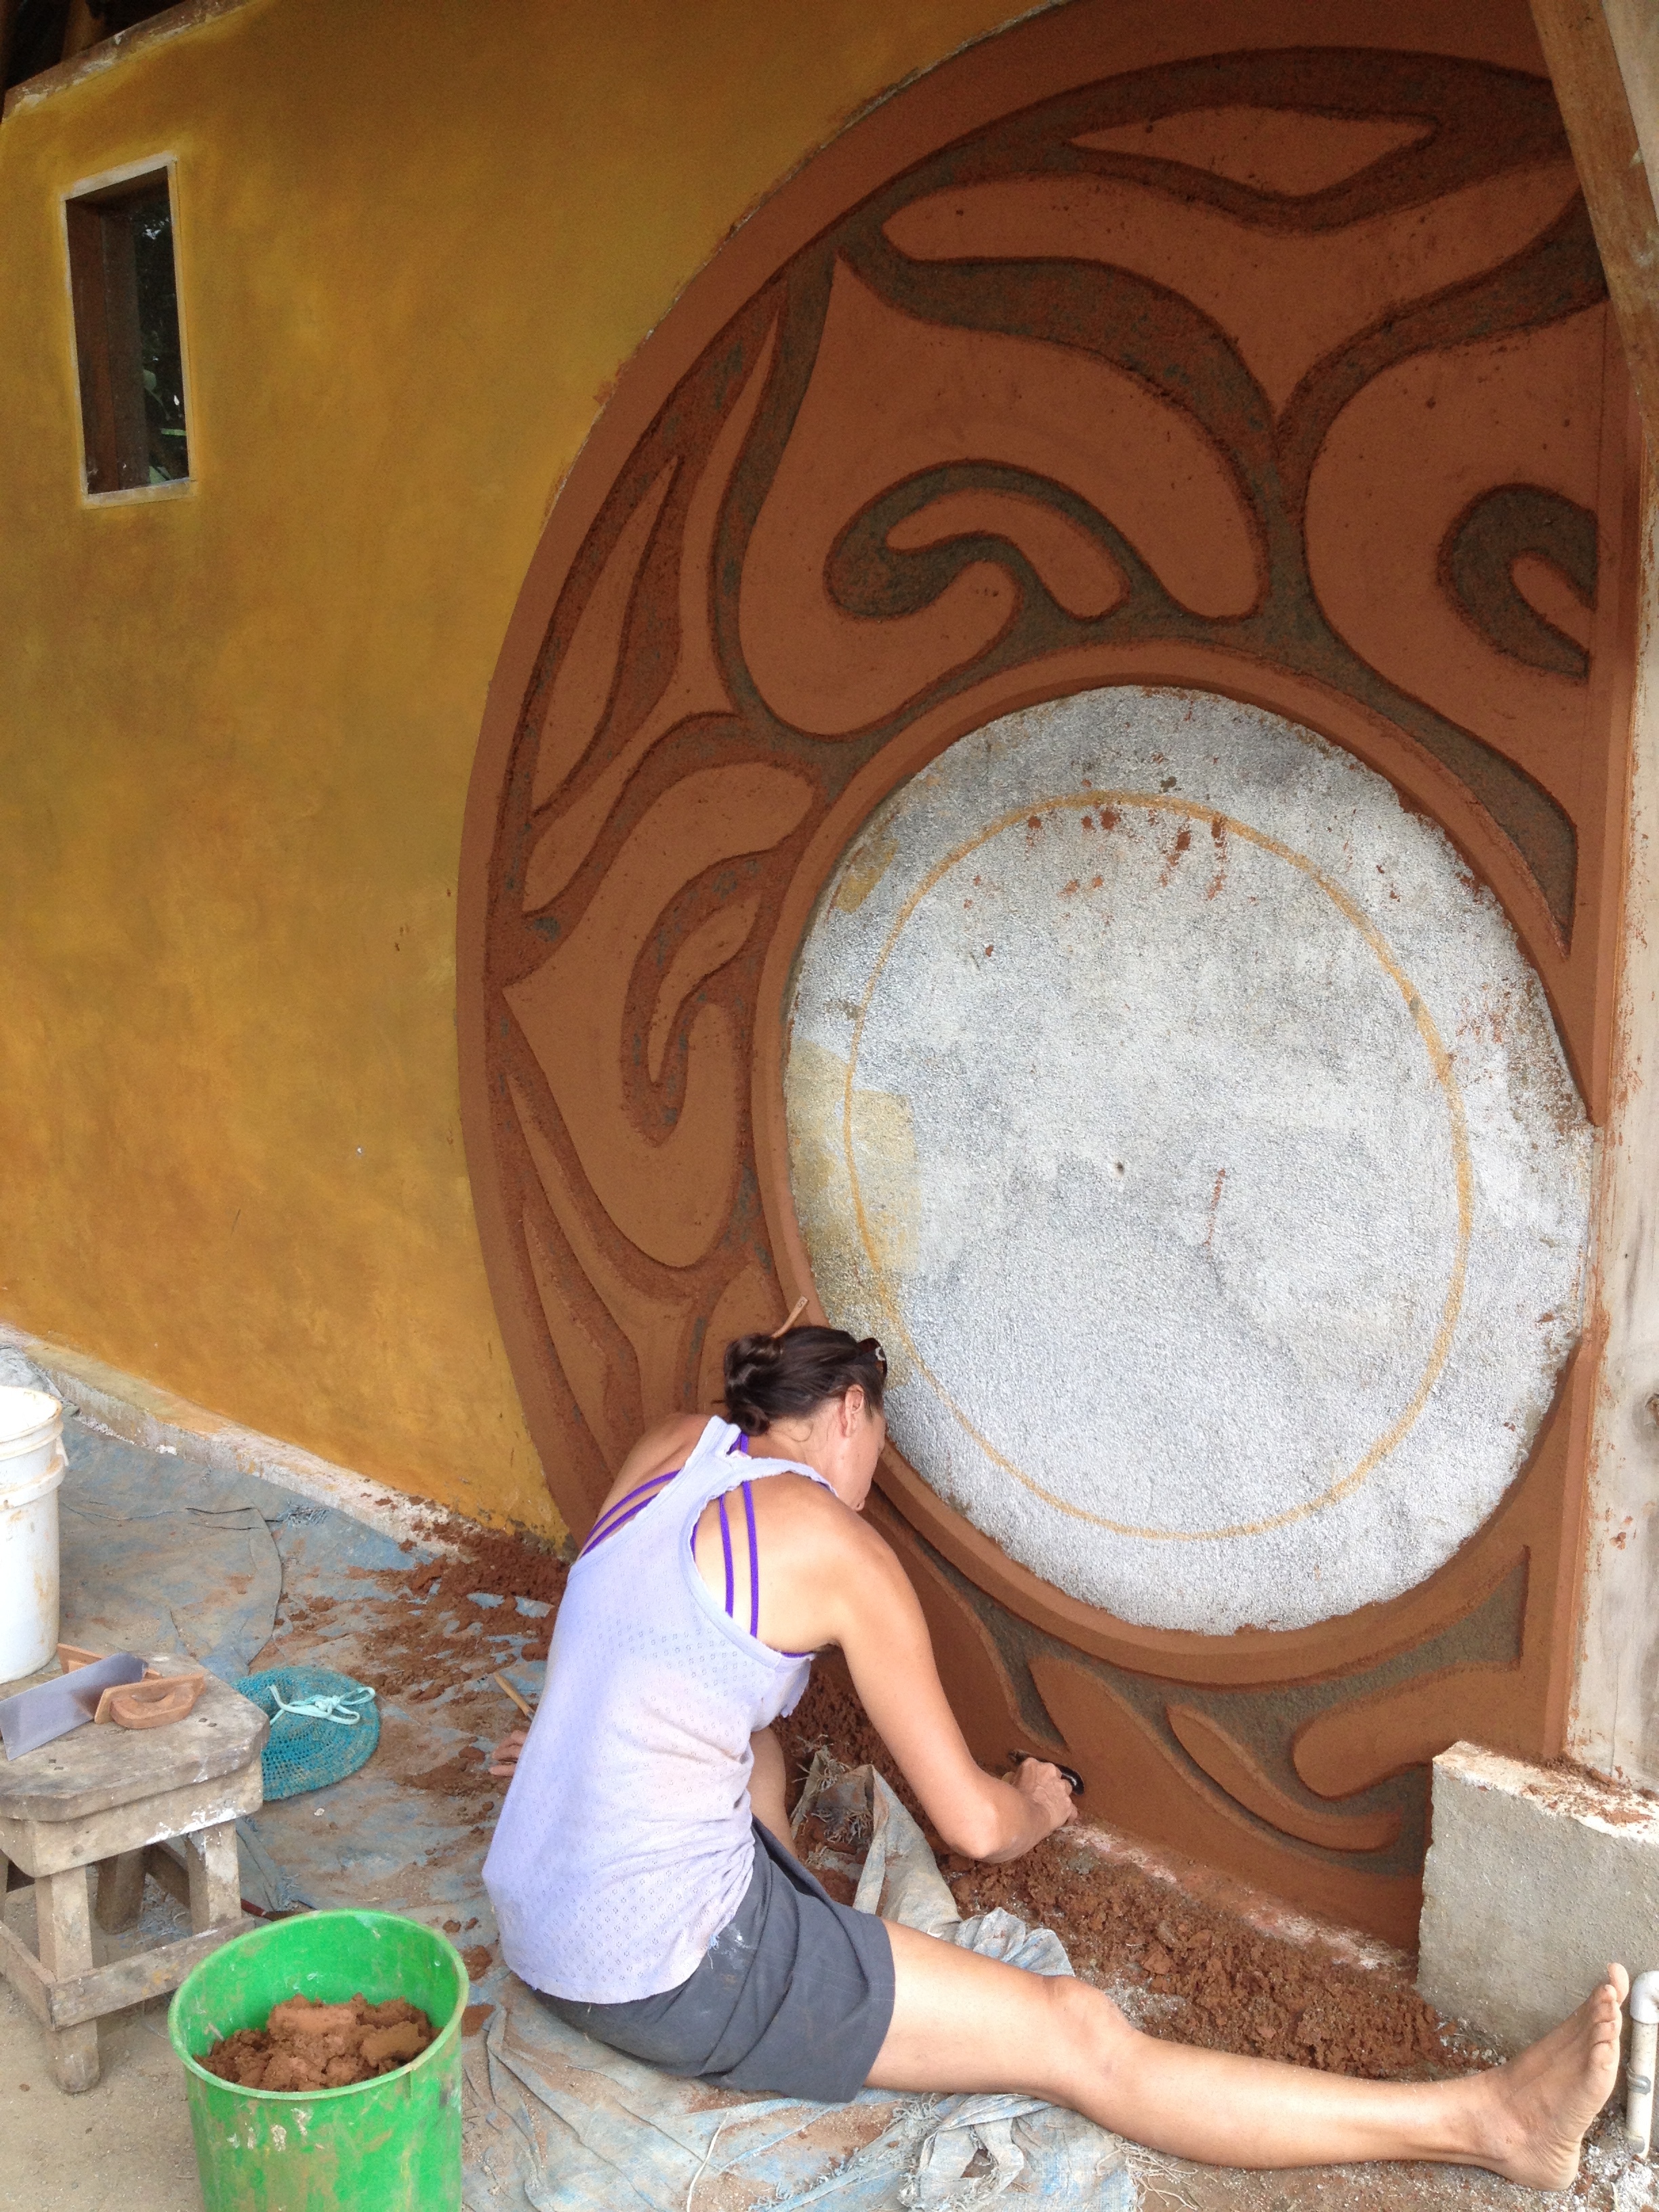
We have found that the quickest, cheapest, and most aesthetically pleasing building style consists of a reinforced concrete stem wall foundation, with a timber framed structure, a Dutch gable roof, wattle and daub walls, natural plasters, and an earthen floor. These are the reasons why we chose these methods:

· Reinforced concrete stem wall: resistant to earth quakes and provides good access around the entire house to spot any invading termites.
· Timber framed structure: beautiful and utilizes an abundant and quick growing resource in the tropics.
· Dutch gable roof: provides good protection to your earthen walls on all sides, and allows good ventilation of the roof.
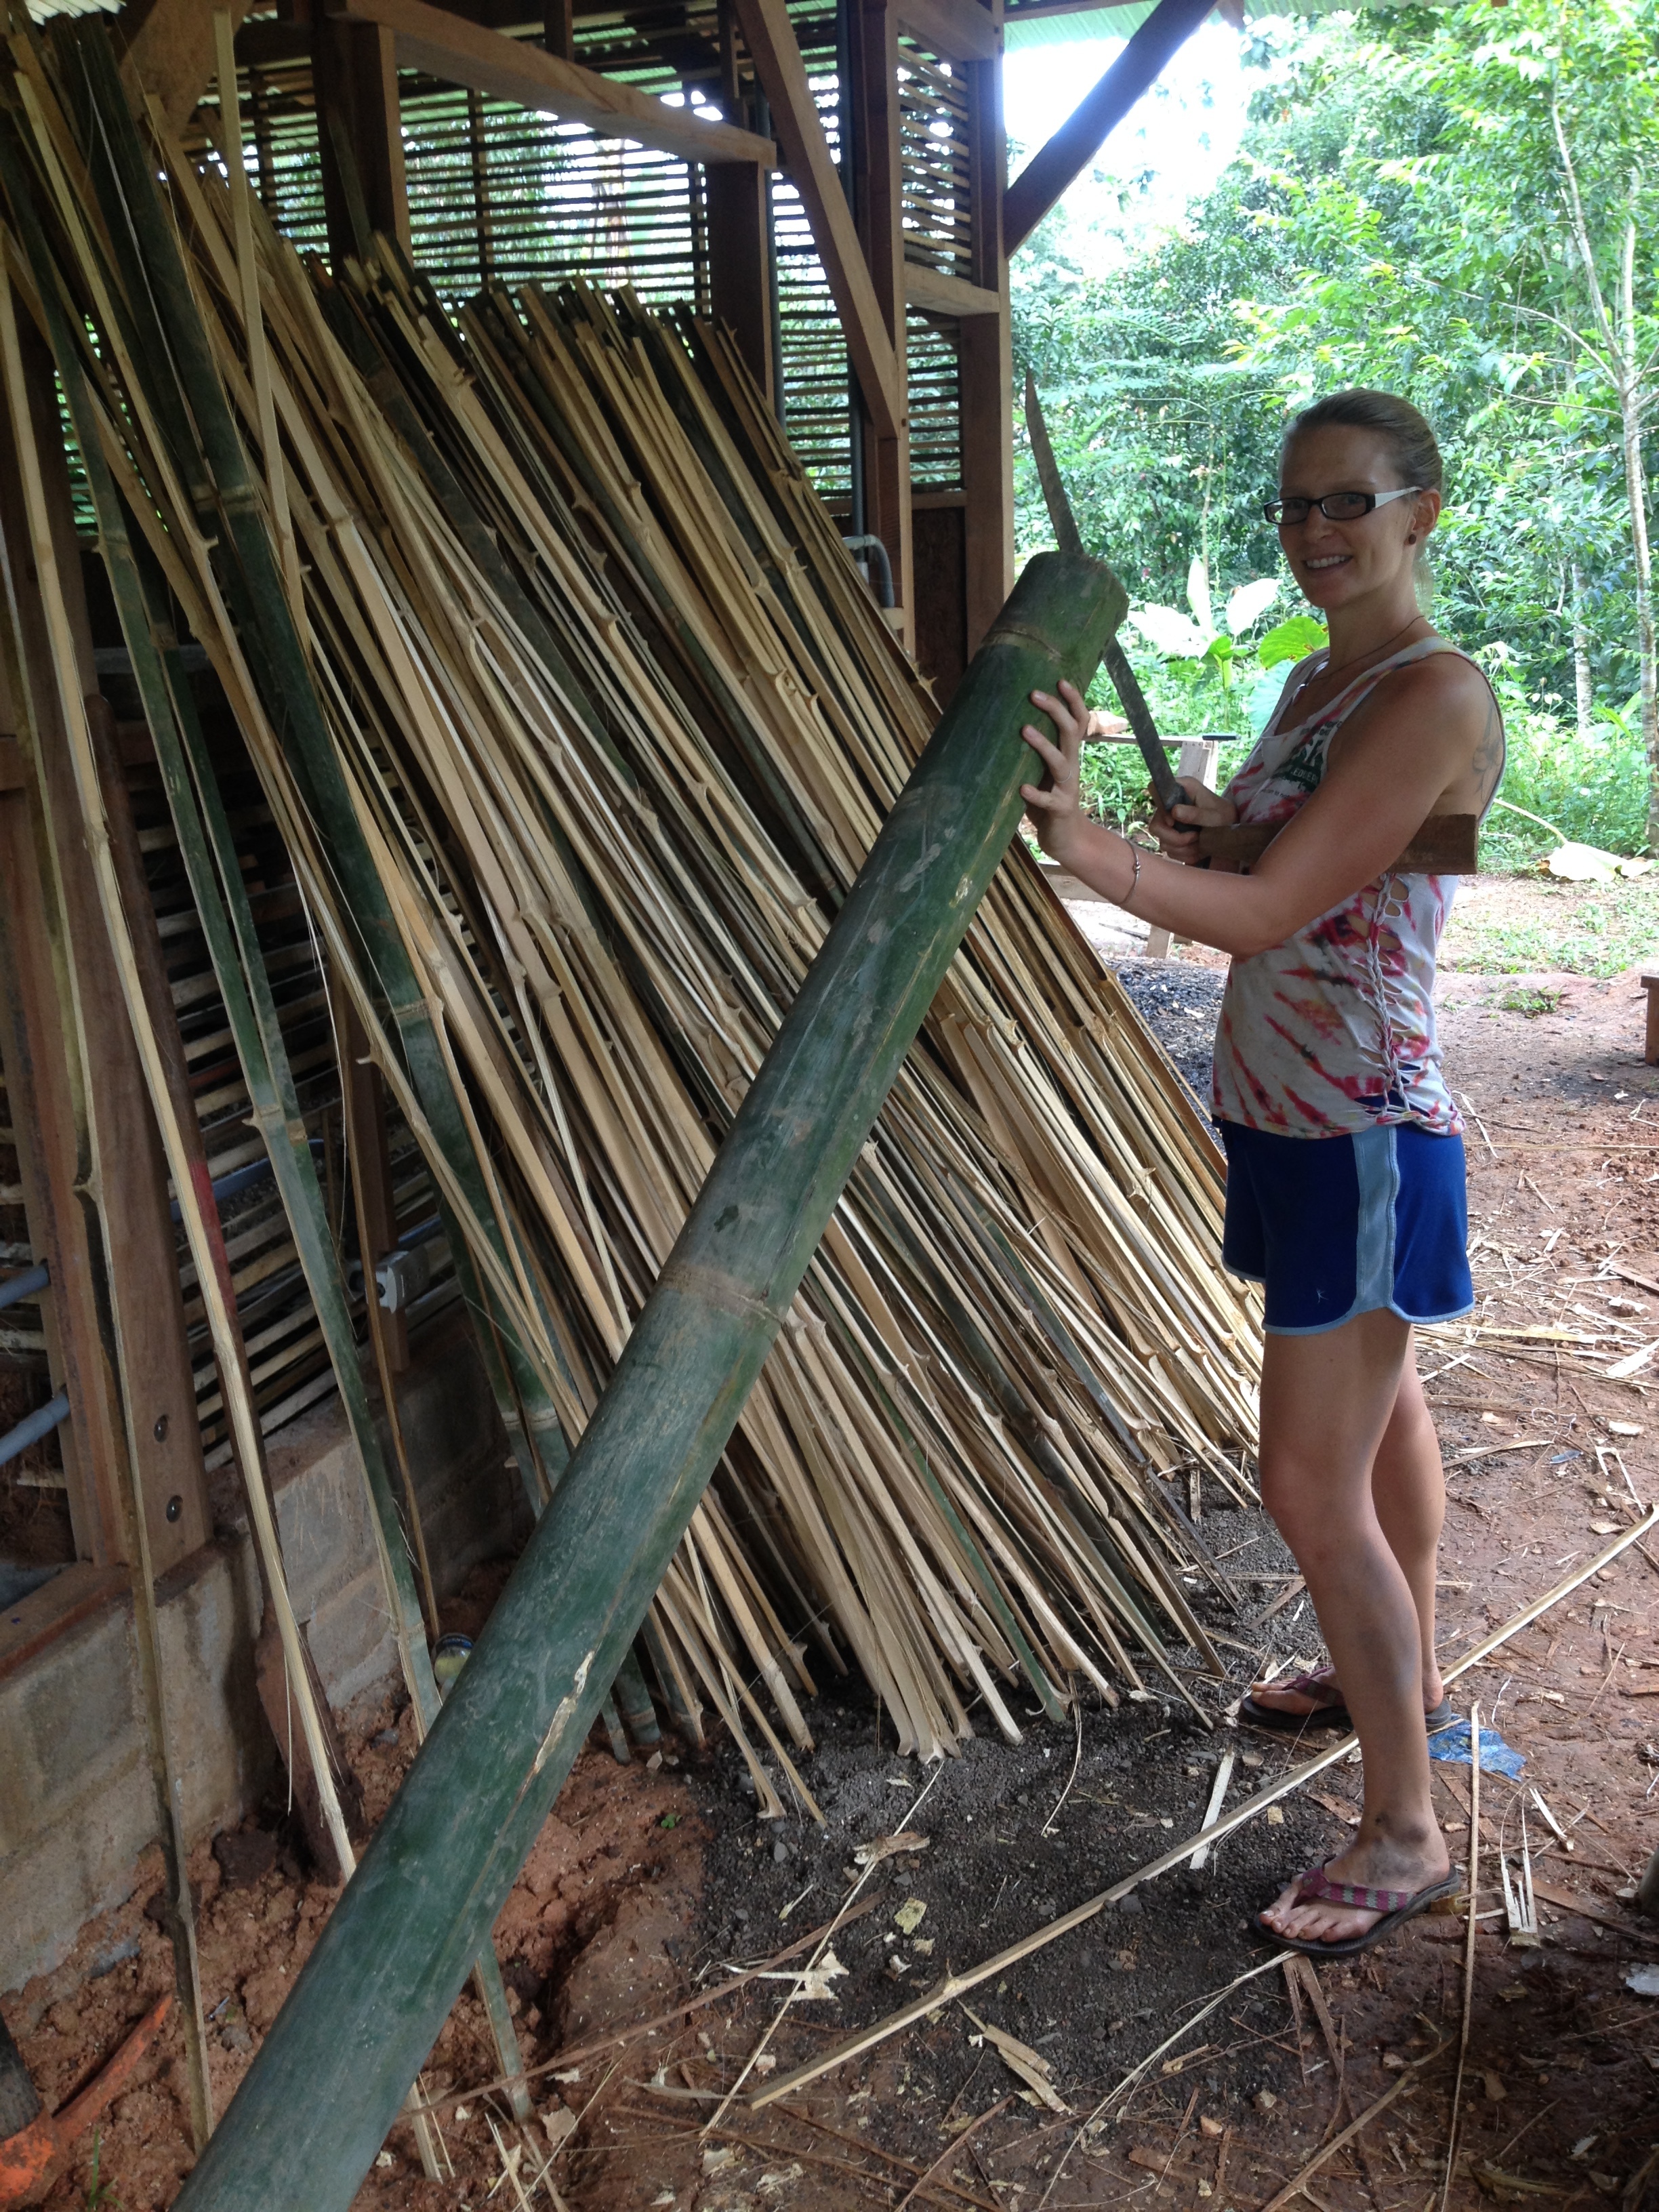
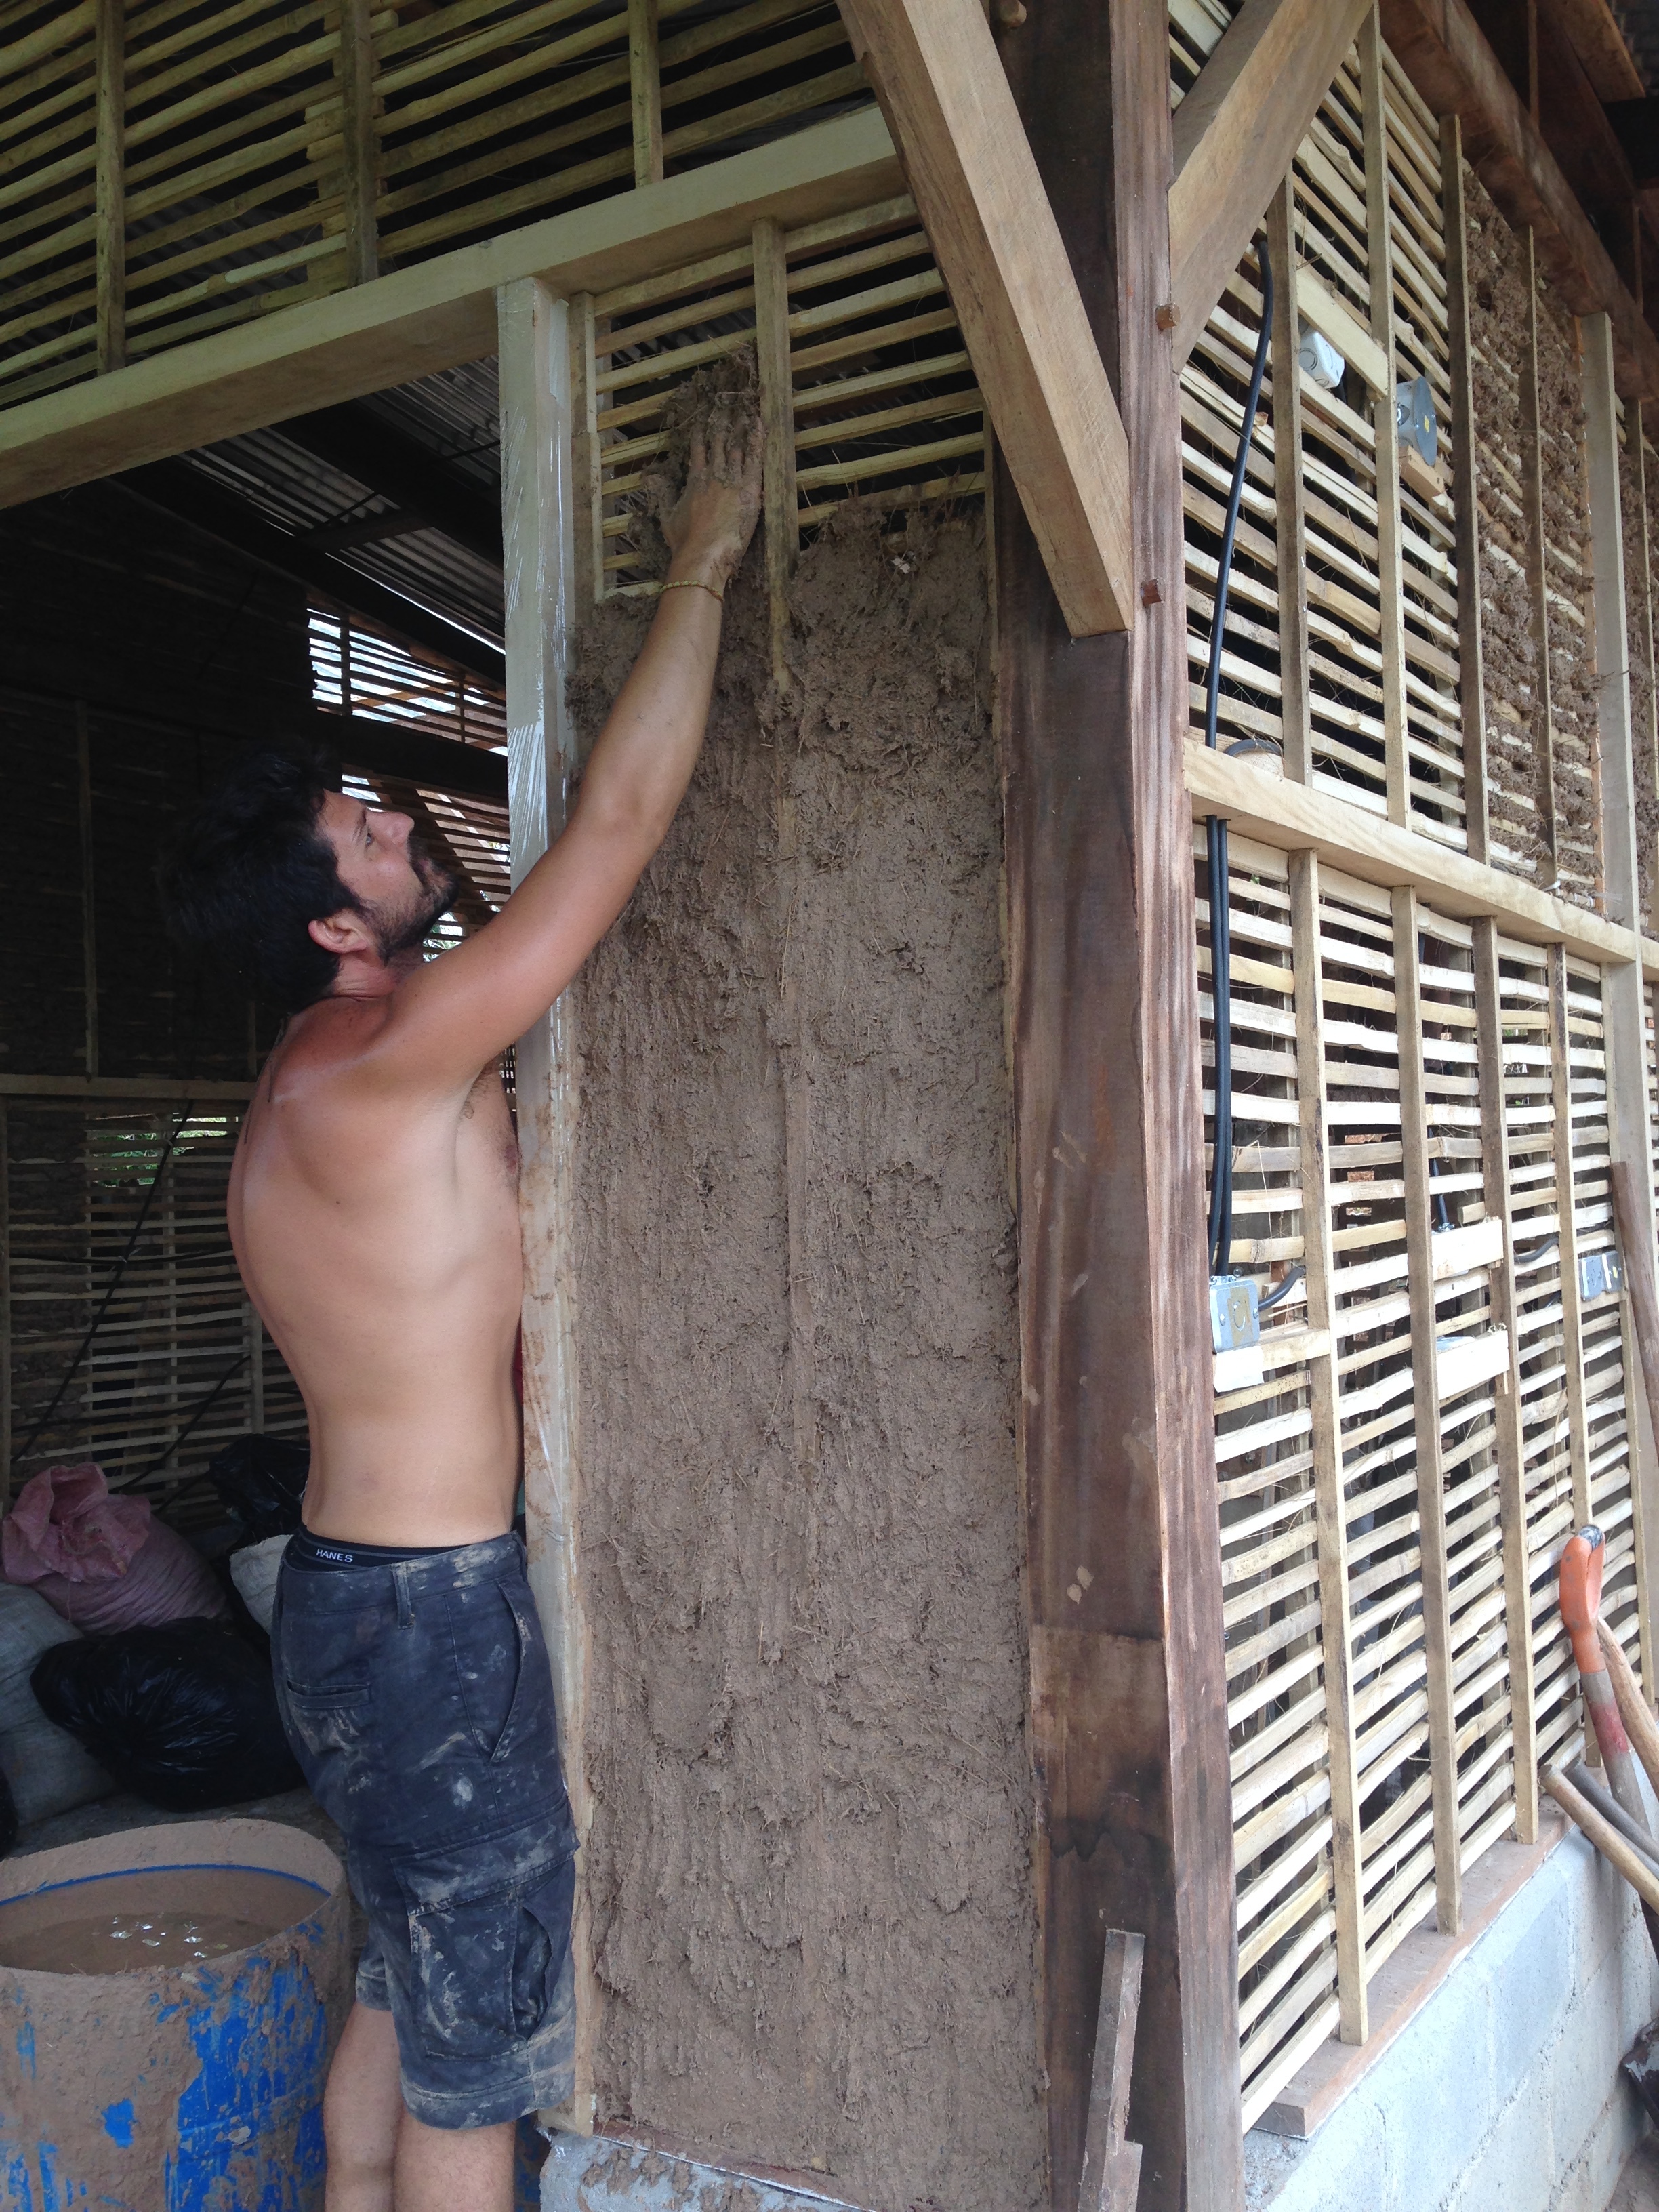
· Wattle and daub: utilizes an abundant resource of bamboo as the wattle, and the thin walls of daub are fast, efficient, and cheap to install. Provides privacy, security, and protection for your home.
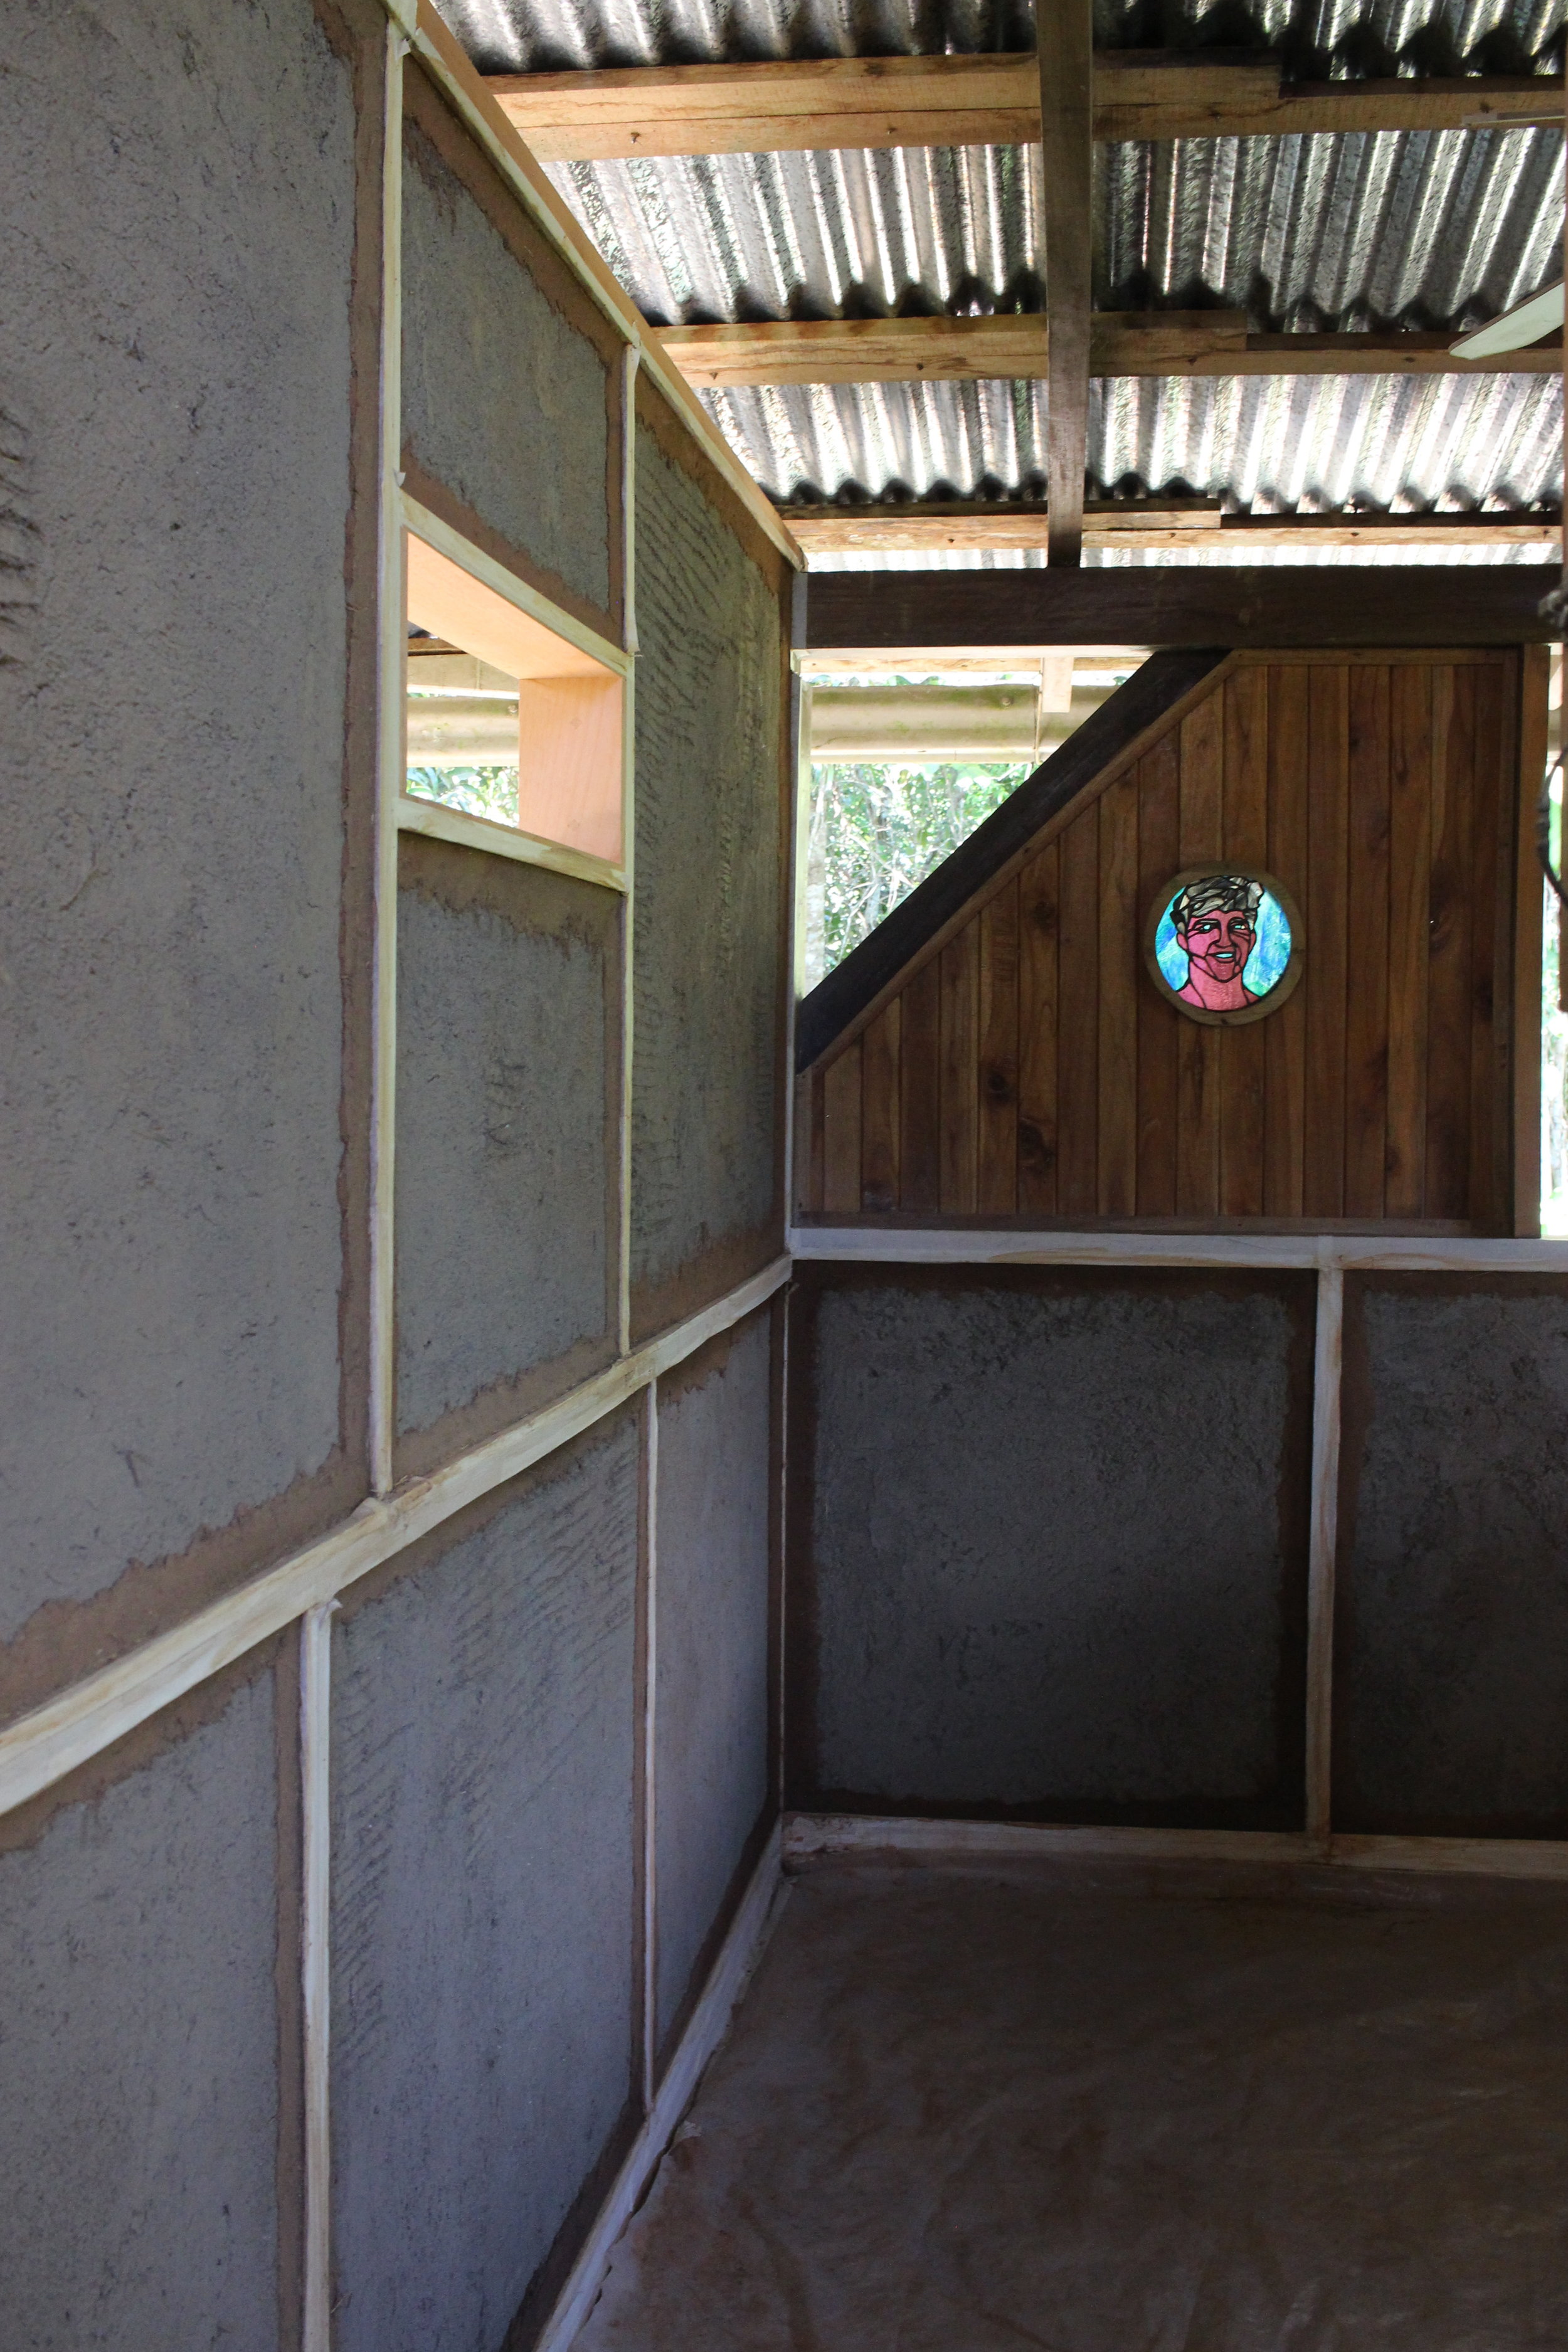
· Natural plasters: a logical plaster to put on top of an earthen wall.
· Earthen floor: a perfect combination with a stem wall. Utilizes natural and abundant materials. Far cheaper than concrete or wood floors.
Other design considerations to include in your sustainable home are the following:
· Trees near building site: this is a double edge sword when it comes to building. You want the shade provided by trees, but the risk of them falling on your building is worth considering too. And their root systems can damage your foundations.
· High and insulated ceilings: increases construction cost slightly, but the extra space in your building creates a more comfortable temperature.
· Large overhangs: provides additional covered space around your building, protects areas from the sun, and is essential to protecting your earthen walls from the rain.
· Air flow and fans: depending on exactly where you are, even with a well-designed house you may need the addition of a ceiling fan.
· Covered drying space: always a benefit when it’s raining!
· Outdoor and indoor spaces and screens: it is nice to have spaces that are screened off and those that aren’t so that they can be taken advantage of at different times of the day and year depending on the heat, bugs, rain, etc.
· Orientation: think about where you spend most of your time and orientate those spaces to the best views. Also consider where the sun rises and sets and how that will influence the temperature in your house.

· Water run-off and drainage: make sure to have gutters on your roof and move water run-off away from your foundations.
· Road access: pretty essential to getting anything to your house! Examples: building materials, groceries, etc.
These are some great pointers to start generating ideas of what you would like your house to look like. At the Ranch we are interested in empowering individuals to develop the skills to build their own dream home. If there are some things that we have forgotten please let us know in the comments section!
want to learn more?
If you think this is an interesting article and you are interested in green living and designing your own sustainable home consider joining us for one of our annual workshops. Generally we host a Timber Frame Construction and Natural Building & Plasters Intensive . We will also have lots of other amazing workshops focused on the subjects of sustainable living. See our website for more info!

Goodbye: Change is our only Constant
Scott Gallant and Laura Killingbeck joined the Ranch team as interns in January of 2010. The following year they joined the Ranch team as co-directors. From then until the present they have been instrumental in developing numerous critical systems and practices that have greatly contributed to the Ranch’s success. Their work in the areas of agroforestry, education, finance, human resources, marketing and food systems helped to revolutionize the Ranch in countless ways.
Goodbye: Change is our only Constant
Scott Gallant and Laura Killingbeck joined the Ranch team as interns in January of 2010. The following year they joined the Ranch team as co-directors. From then until the present they have been instrumental in developing numerous critical systems and practices that have greatly contributed to the Ranch’s success. Their work in the areas of agroforestry, education, finance, human resources, marketing and food systems helped to revolutionize the Ranch in countless ways. In recent months they have both decided to leave the Ranch to pursue other endeavors and are stepping down as Ranch core team members.

Scott is largely responsible for what the Ranch will be producing in its orchards for decades to come. He designed and planted out the majority of the perennial polyculture systems throughout the farm. He created and has maintained our orchard nurseries, taught hundreds of students the basics of food production in the tropics, and introduced a legion of others to the principles of permaculture as the Ranch’s lead permaculture teacher for a half-decade. He was also a crucial player in the development of the Ranch’s new website a few years back, has helped to get our financial systems on firm footing, worked to professionalize our educational services and much more.

Laura worked in a wide array of areas around the Ranch, including farm-to-table foodsheds, fermentation, program development, and community structures. Laura brought about dramatic changes to our food systems and educational programs, and helped to make our food processing space, the foodsmithery, a reality. She developed the Ranch's food and fermentation program and curriculum, co-taught the Ranch's first in-house class, and went on to teach thousands more people how to use local foods. She also instigated the creation and development of many of the Ranch’s invisible structures and worked to put into place systems to better organize and govern the Ranch business and community. Her work has also led the Ranch to develop policies and practices to improve our communication skills and create a space that is safe for everyone that uses our campus.
Scott and Laura challenged the Ranch to change the transient culture that characterized the Ranch when they arrived and brought stability with their presence over time. They were crucial in making decisions to increase the length of our internship program, eliminate short-term volunteers and create a more balanced community. They both worked tirelessly to develop our world-class apprenticeship over a multi-year period.

Scott and Laura were also critical players in the Ranch’s transition to participating in the local food movement. This has reduced the Ranch’s reliance on imported staple foods and increased our presence in Mastatal's local foods economy.
Scott and Laura lived and worked at the Ranch during some of our most challenging years. Through a period of limited financial resources, Scott and Laura worked long hours for minimal compensation while we struggled to improve our systems, generate more revenue, and create private spaces for our long-term members.
We wish both Scott and Laura success in their respective endeavors. They are two of the most influential people that have ever come through the Ranch gate.

Moving forward Scott will continue to work in Costa Rica developing his design firm, Porvenir Design. He will be based at Finca Luna Nueva near La Fortuna for the foreseeable future.
Laura anticipates exploring the world by bicycle while developing her writing profile. She is actively writing on themes of travel, gender, and adventure.
You can follow along with their future adventures on instagram @laurakillingbeck and @scottplantstrees.

Salak Pollination
As apprentices at Rancho Mastatal, we take on a Plant Skill, where we each are responsible for a plant variety in our agroforestry system. When we began as apprentices many of us wanted to avoid the Salak palm, as it has splinter inducing spikes throughout the stem and leaves. Following my intention to dive into challenges this year, I decided to take being caretaker of the prickliest palm on the Ranch.
Salak Pollination - dangerous work, with a delicious pay off
By Amy Dodds, 2019 Apprentice
As apprentices at Rancho Mastatal, we take on a Plant Skill, where we each are responsible for a plant variety in our agro-forestry system. When we began as apprentices many of us wanted to avoid the Salak palm, as it has splinter inducing spikes throughout the stem and leaves. Following my intention to dive into challenges this year, I decided to take being caretaker of the prickliest palm on the Ranch.
This is a breakdown on my experience, playing Cupid by pollinating this spiky palm!

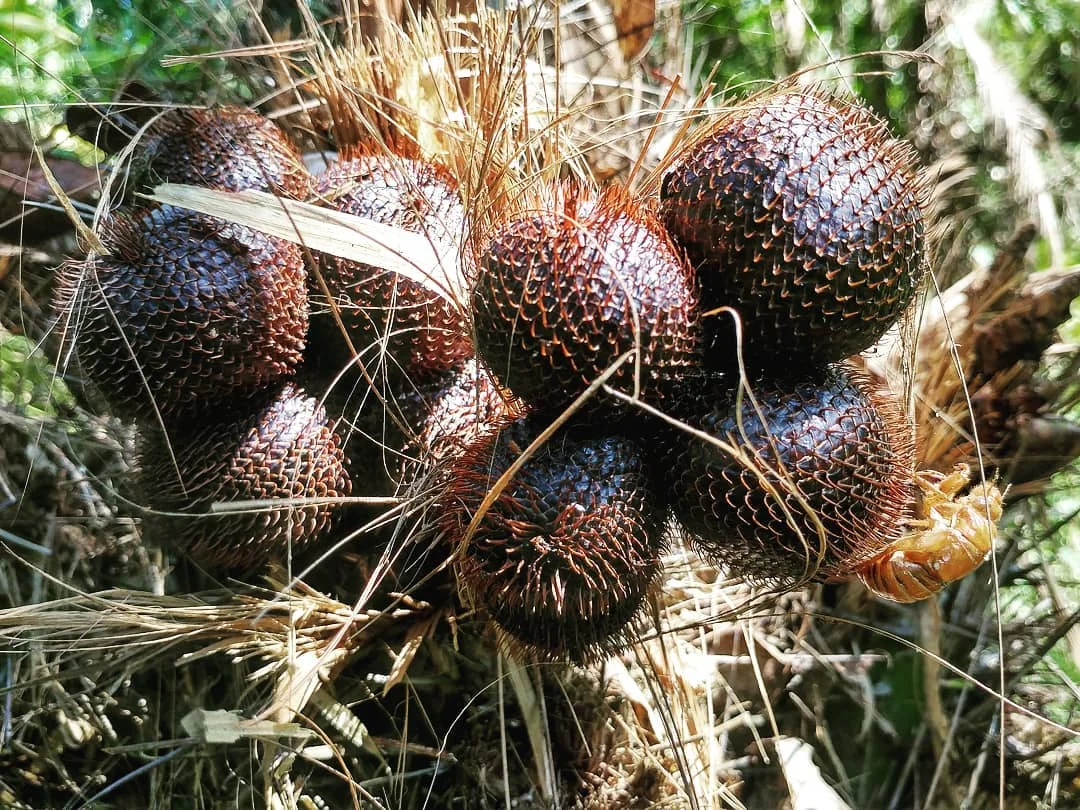
Salak palm, or Snake fruit palm, originated from Indonesia, South East Asia. The main reason for planting in an agro-forestry system is that is produces a crunchy fruit that tastes like a tropical apple, which you can eat immediately after peeling the snakelike skin. It does well in humid lowland tropical areas, so is perfect for our climate at the Ranch. It is best to plant in a forest as an under story crop, especially as the young palms require heavy shade. They have superficial roots and therefore needs to be watered regularly, making it thrive in rainy season. Interestingly, pollination is most effective by hand. This can done by insects but is much more productive with human intervention.
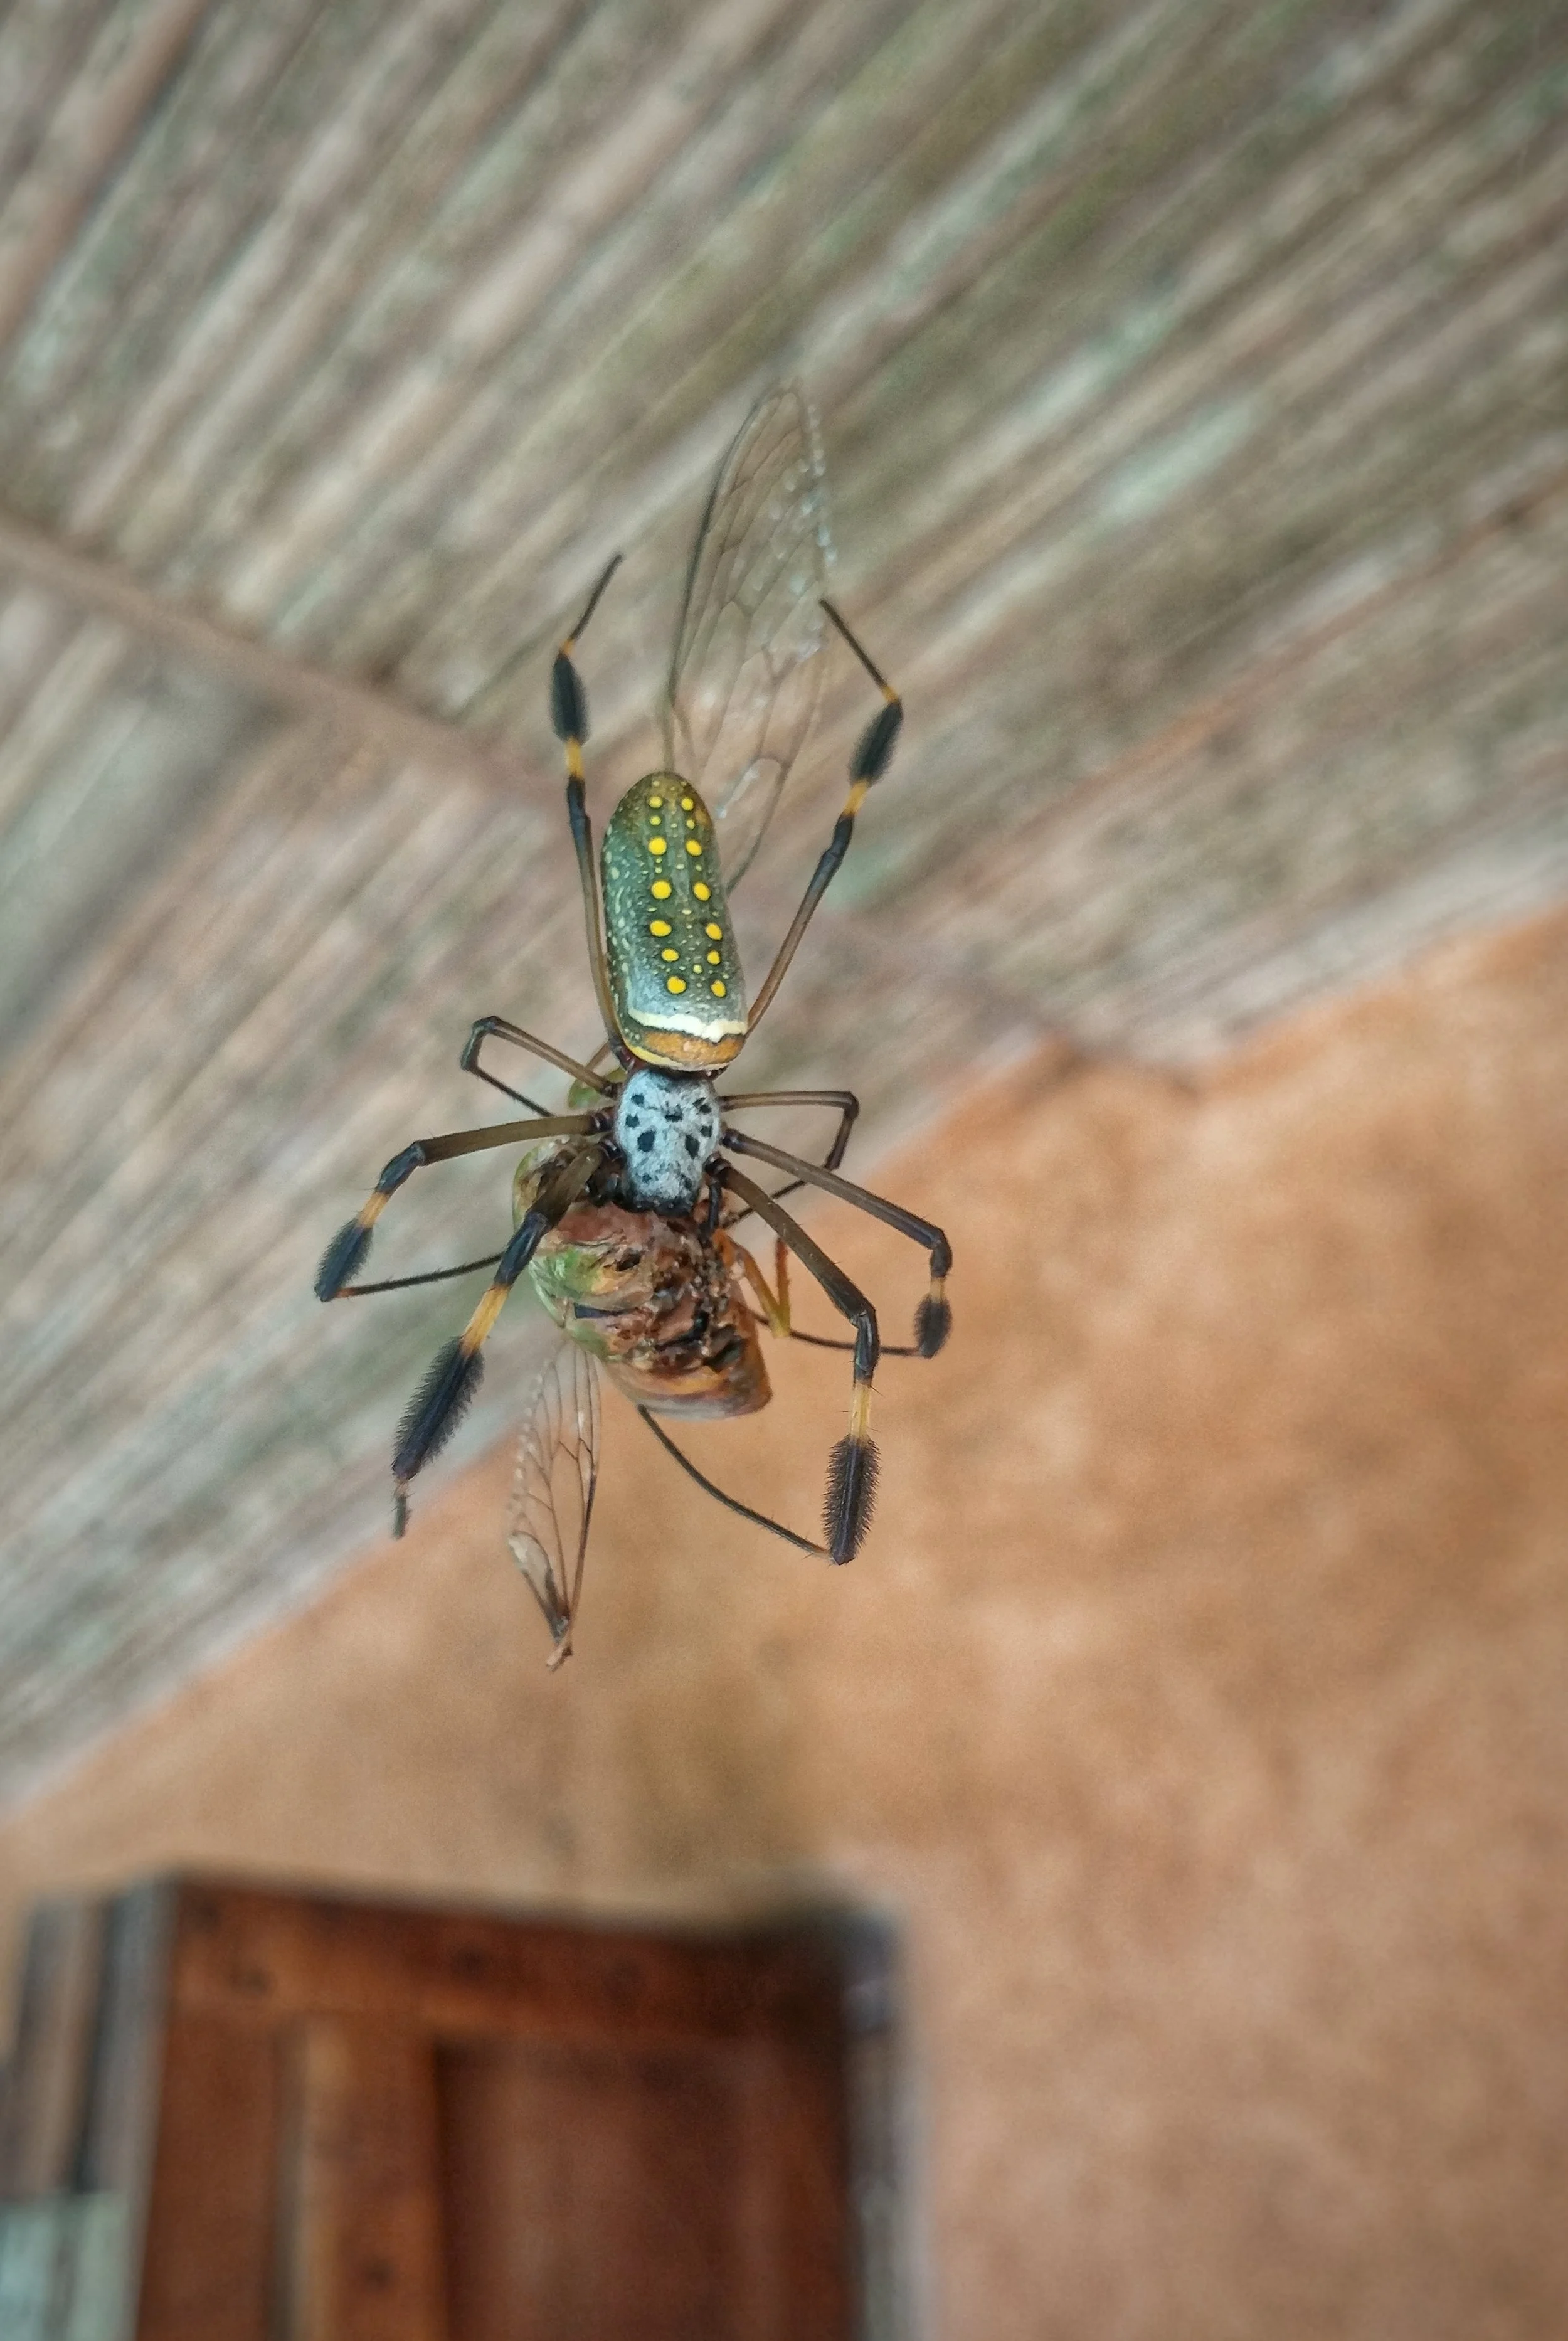
While it may appear a harsh plant, I have found the Salak palm to be a rewarding plant to interact with. So far it has meant that every few days I get to go into the lush and cool Fern Gully and practice being mindful in the forest. I have to be slow and calm when navigating the spikes and surrounding orb spiders. And I get the joy of sharing the tasty fruit with my friends!
The main task is pollinating the female flowers with the male pollen at least 3 times a week. I am essentially playing matchmaker in Mastatal’s forest. Salak plants are either male or female. At the Ranch we have 20 plants, with the ratio of 3 females to males in our orchards. The female palms are the fruit producers. Their flowers develop in a hard pointy sheath, which you open with clippers once it becomes more hairy. This allows you to see when they develop a deep pink colour, meaning they are ready to receive the pollen. You can tell the male stamen is ready when they also become pink with small yellow pollen granules. I clip the male stamen at the stem and carry it carefully to the female flower, shaking the male spike on the ripe pink open flowers. Within a few days the flower should harden. If it becomes soft and dry pollination is unsuccessful.
When the fruit is ready it should fall off easily from the bunch. Taste can help indicate if it is ready - unripe Salak has a dry astringent flavour, whereas a ripe fruit should taste juicy and sweet.
Included in the pruning process is clipping the suckers to prevent reproduction, pruning the leaves to keep only 4-5 mother leaves and removing any dead female and male flowers.
Other uses for Salak besides food production include using it as a hedge if you don't like neighbours or visitors. Or you can use it as an intimidating potted plant!
Overall this experience has been an important one to improve my permaculture skills of observation and interaction with this particular species. Plus it has become a mindfulness practice!
For more further reading on the propagation and care see our blog article on Salak.
Interested in tropical agro-forestry systems and their design, why not join us for our year long apprenticeship or check out some of our upcoming workshops
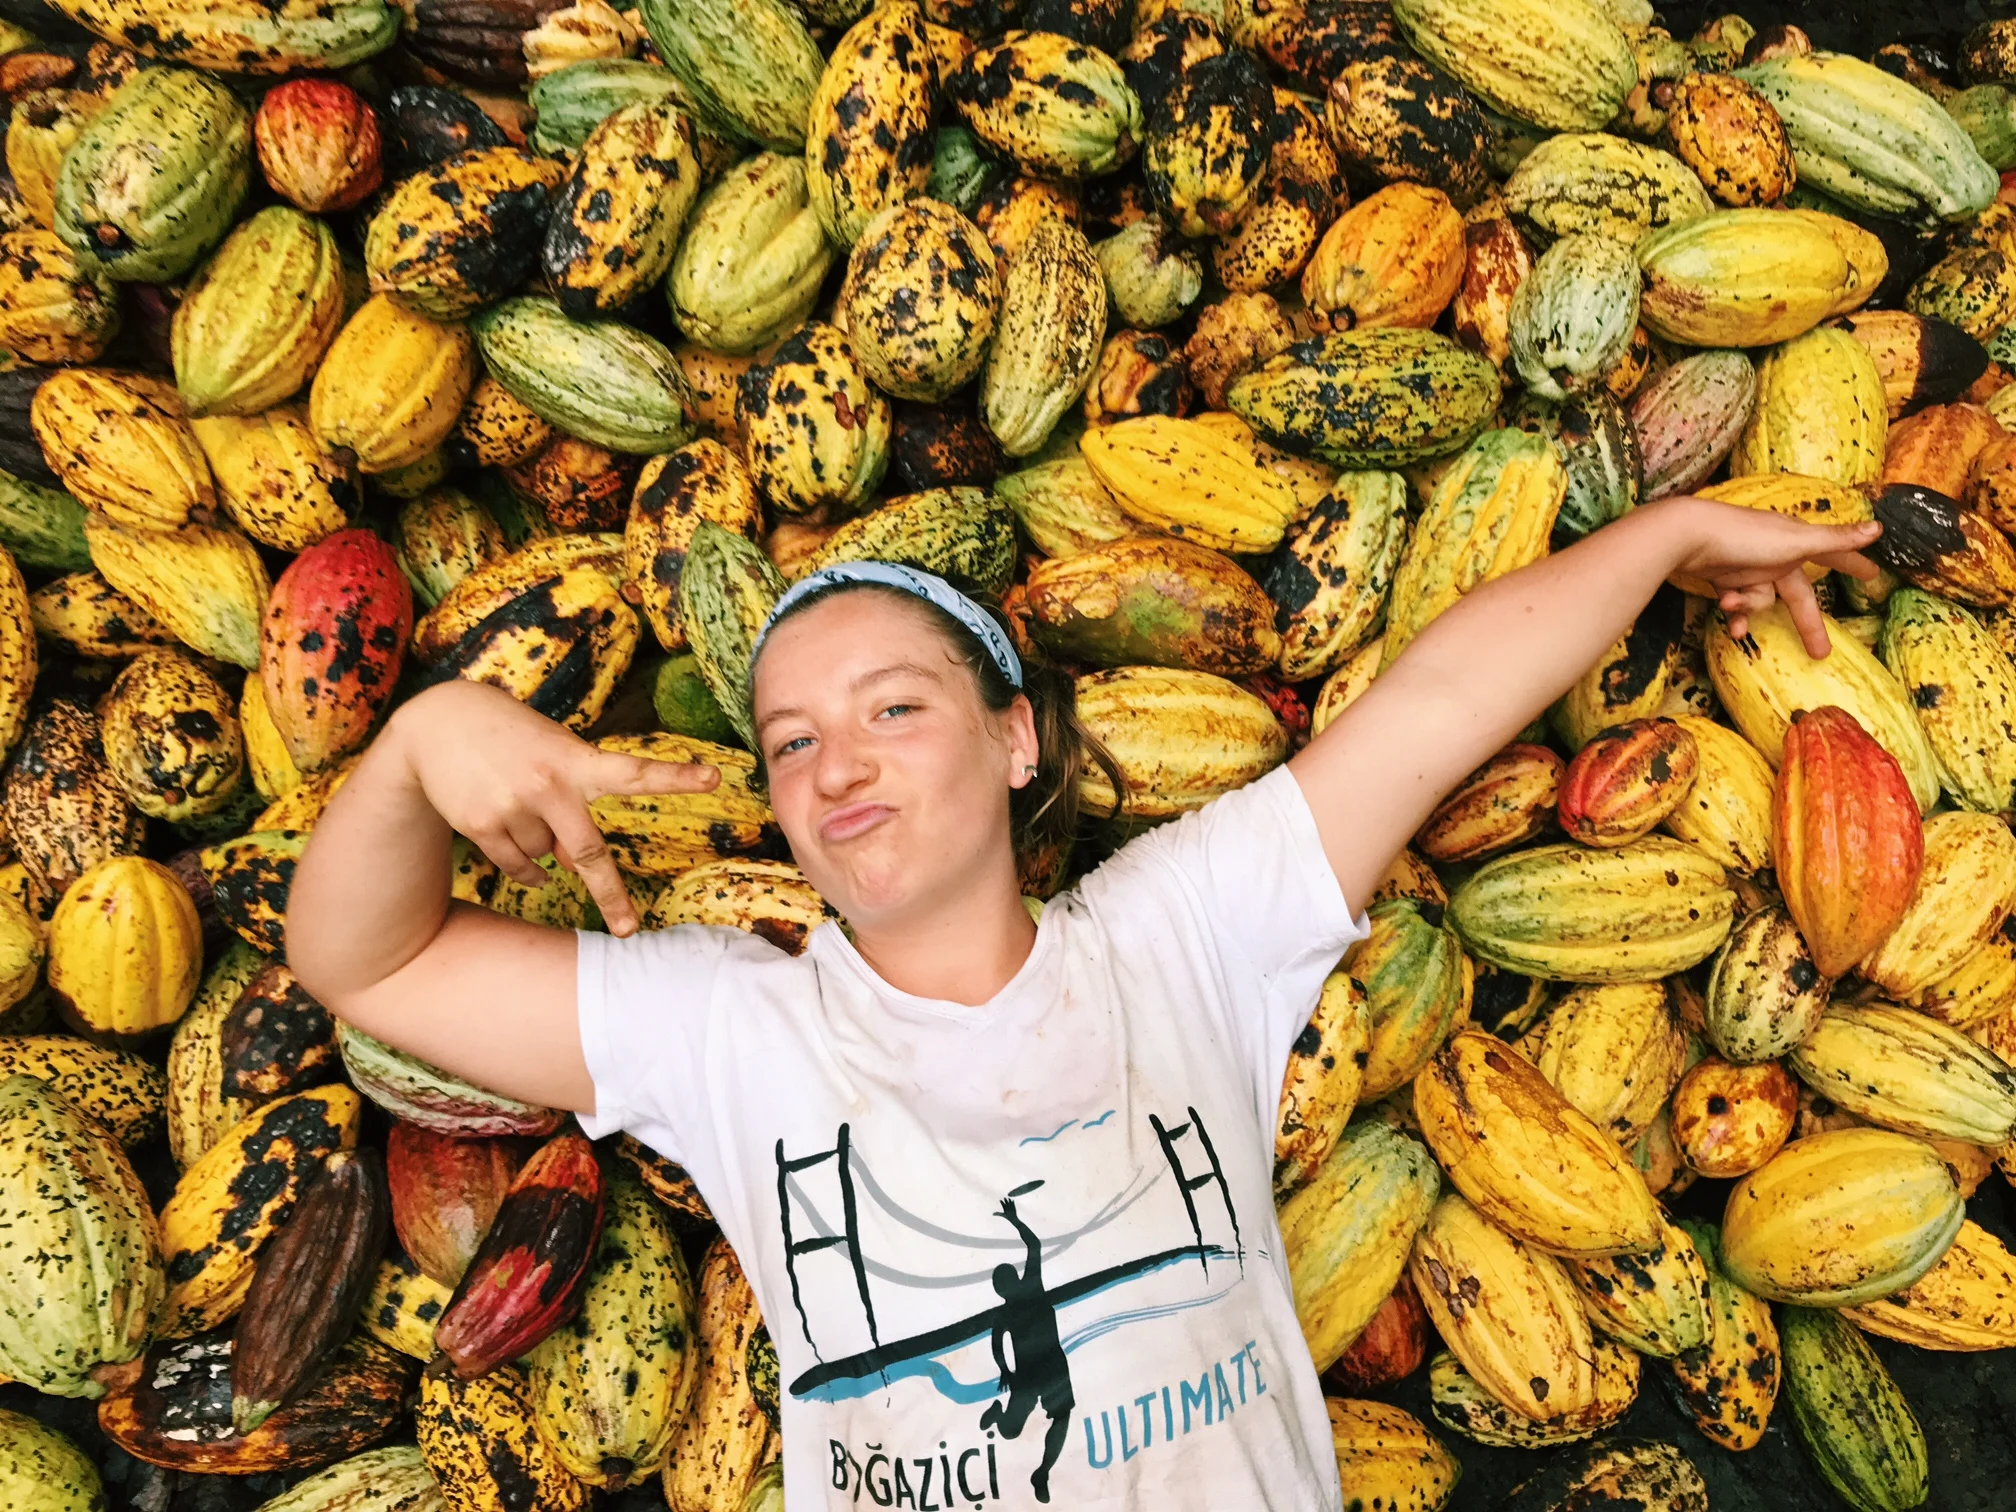
From Tree to Bar: How to Process Raw Cacao
Living in the tropics I found myself surrounded by cocoa trees, which was something you’d dream about as a kid. “Chocolate trees” But like so many things we’re used to consuming we don’t have the knowledge of how to process a raw material into something we can use, within the society we live convenience has removed us from the source. A simple act of making something gives us a connection to our environment.
by PJ Barton, Apprentice 2019
Living in the tropics I found myself surrounded by cacao trees, which was something you’d dream about as a kid. “Chocolate trees” But like so many things we’re used to consuming we don’t have the knowledge of how to process a raw material into something we can use, within the society we live convenience has removed us from the source. A simple act of making something gives us a connection to our environment. Walking through a supermarket we are surrounded by products readily available with a seemingly endless supply leading to a mass consumerism in our present society. This unsustainable consumption stems from our lack of involvement in the food we consume. So let us connect through raw cacao.
Throughout history so many cultures have cultivated cacao. From Mesoamerrica through to Europe. Its a world wide sweet enjoyed by millions, like most things the origin was much different to the present. Dating back 1400 BC chocolate was fermented into alcohol. It was a common commodity throughout Mesoamerica and the seeds were thought of as a gift from Quelzaledol, the goddess of wisdom. It was actually used as a currency.

Processing raw cacao pods into beans is easy, tasty and fun!!
Processing
After harvesting the seeds which should be a yellow or bronzed color you crack open the pods to reveal a white flesh seed with a brown centre. The fruit itself is commonly eaten in Indonesia and reminds me of a mangosteen.
Scrap the seeds out leaving them to ferment. Place in a bowl and leave with a lid to keep off flies. We used banana leaves. To help the fermentation, yeast can be added we put kombucha to inoculate the ferment. During this process maintain temperatures of around 40 degrees and gradually increasing to 50 degrees. It’s not dependent on this I’ve made cacao before by just leaving it alone but by monitoring the temperature you’re going to create an optimal environment from the enzymatic reaction breaking the acidity of the bean.

After the beans have fermented for 4 – 5 days spread the beans out in the sun to dry the beans. This can also be done using a low heat in the oven but let’s harvest the energy of the sun which will enrich the bean. This can take a few days. The outer shell will be easy to break and the raw cacao is ready to use as desired.
Alternatively you can then roast the nut in a wok or in the oven paying close attention not to burn the seeds. It will start to crackle and a fill the air with an intoxicating aroma of chocolate. Leave to cool and break off outer shell. These roasted chocolate beans can be used how ever you desire.

Chocolate doesn’t grow on trees but if we understand the process it suddenly feels like it. Using ingredients from there raw form makes us more conscience intertwining us with the food we are consuming leading to a sustainable outlook towards life.
In Mastatal we are fortunate to not only grow our own cacao but also live next to a family run buisness, The Iguana Chocolate. Why not come and stay with us as a guest and do a tour at the local chocolate farm!

Dairy Diaries: How I Make Dairy Kefir
My name is Ryan and I'm part of the apprentice team at Rancho Mastatal for 2019. I've been navigating my lactose-intolerance since I was a child and gluten-intolerance since I identified it approximately five years ago. In this and the following installments of Dairy Diaries. I'll be exploring dairy kefir, in my personal effort to find ways to make dairy products I enjoy healthier, more digestible and more delicious.
By Ryan Roberts, 2019 Ranch Apprentice
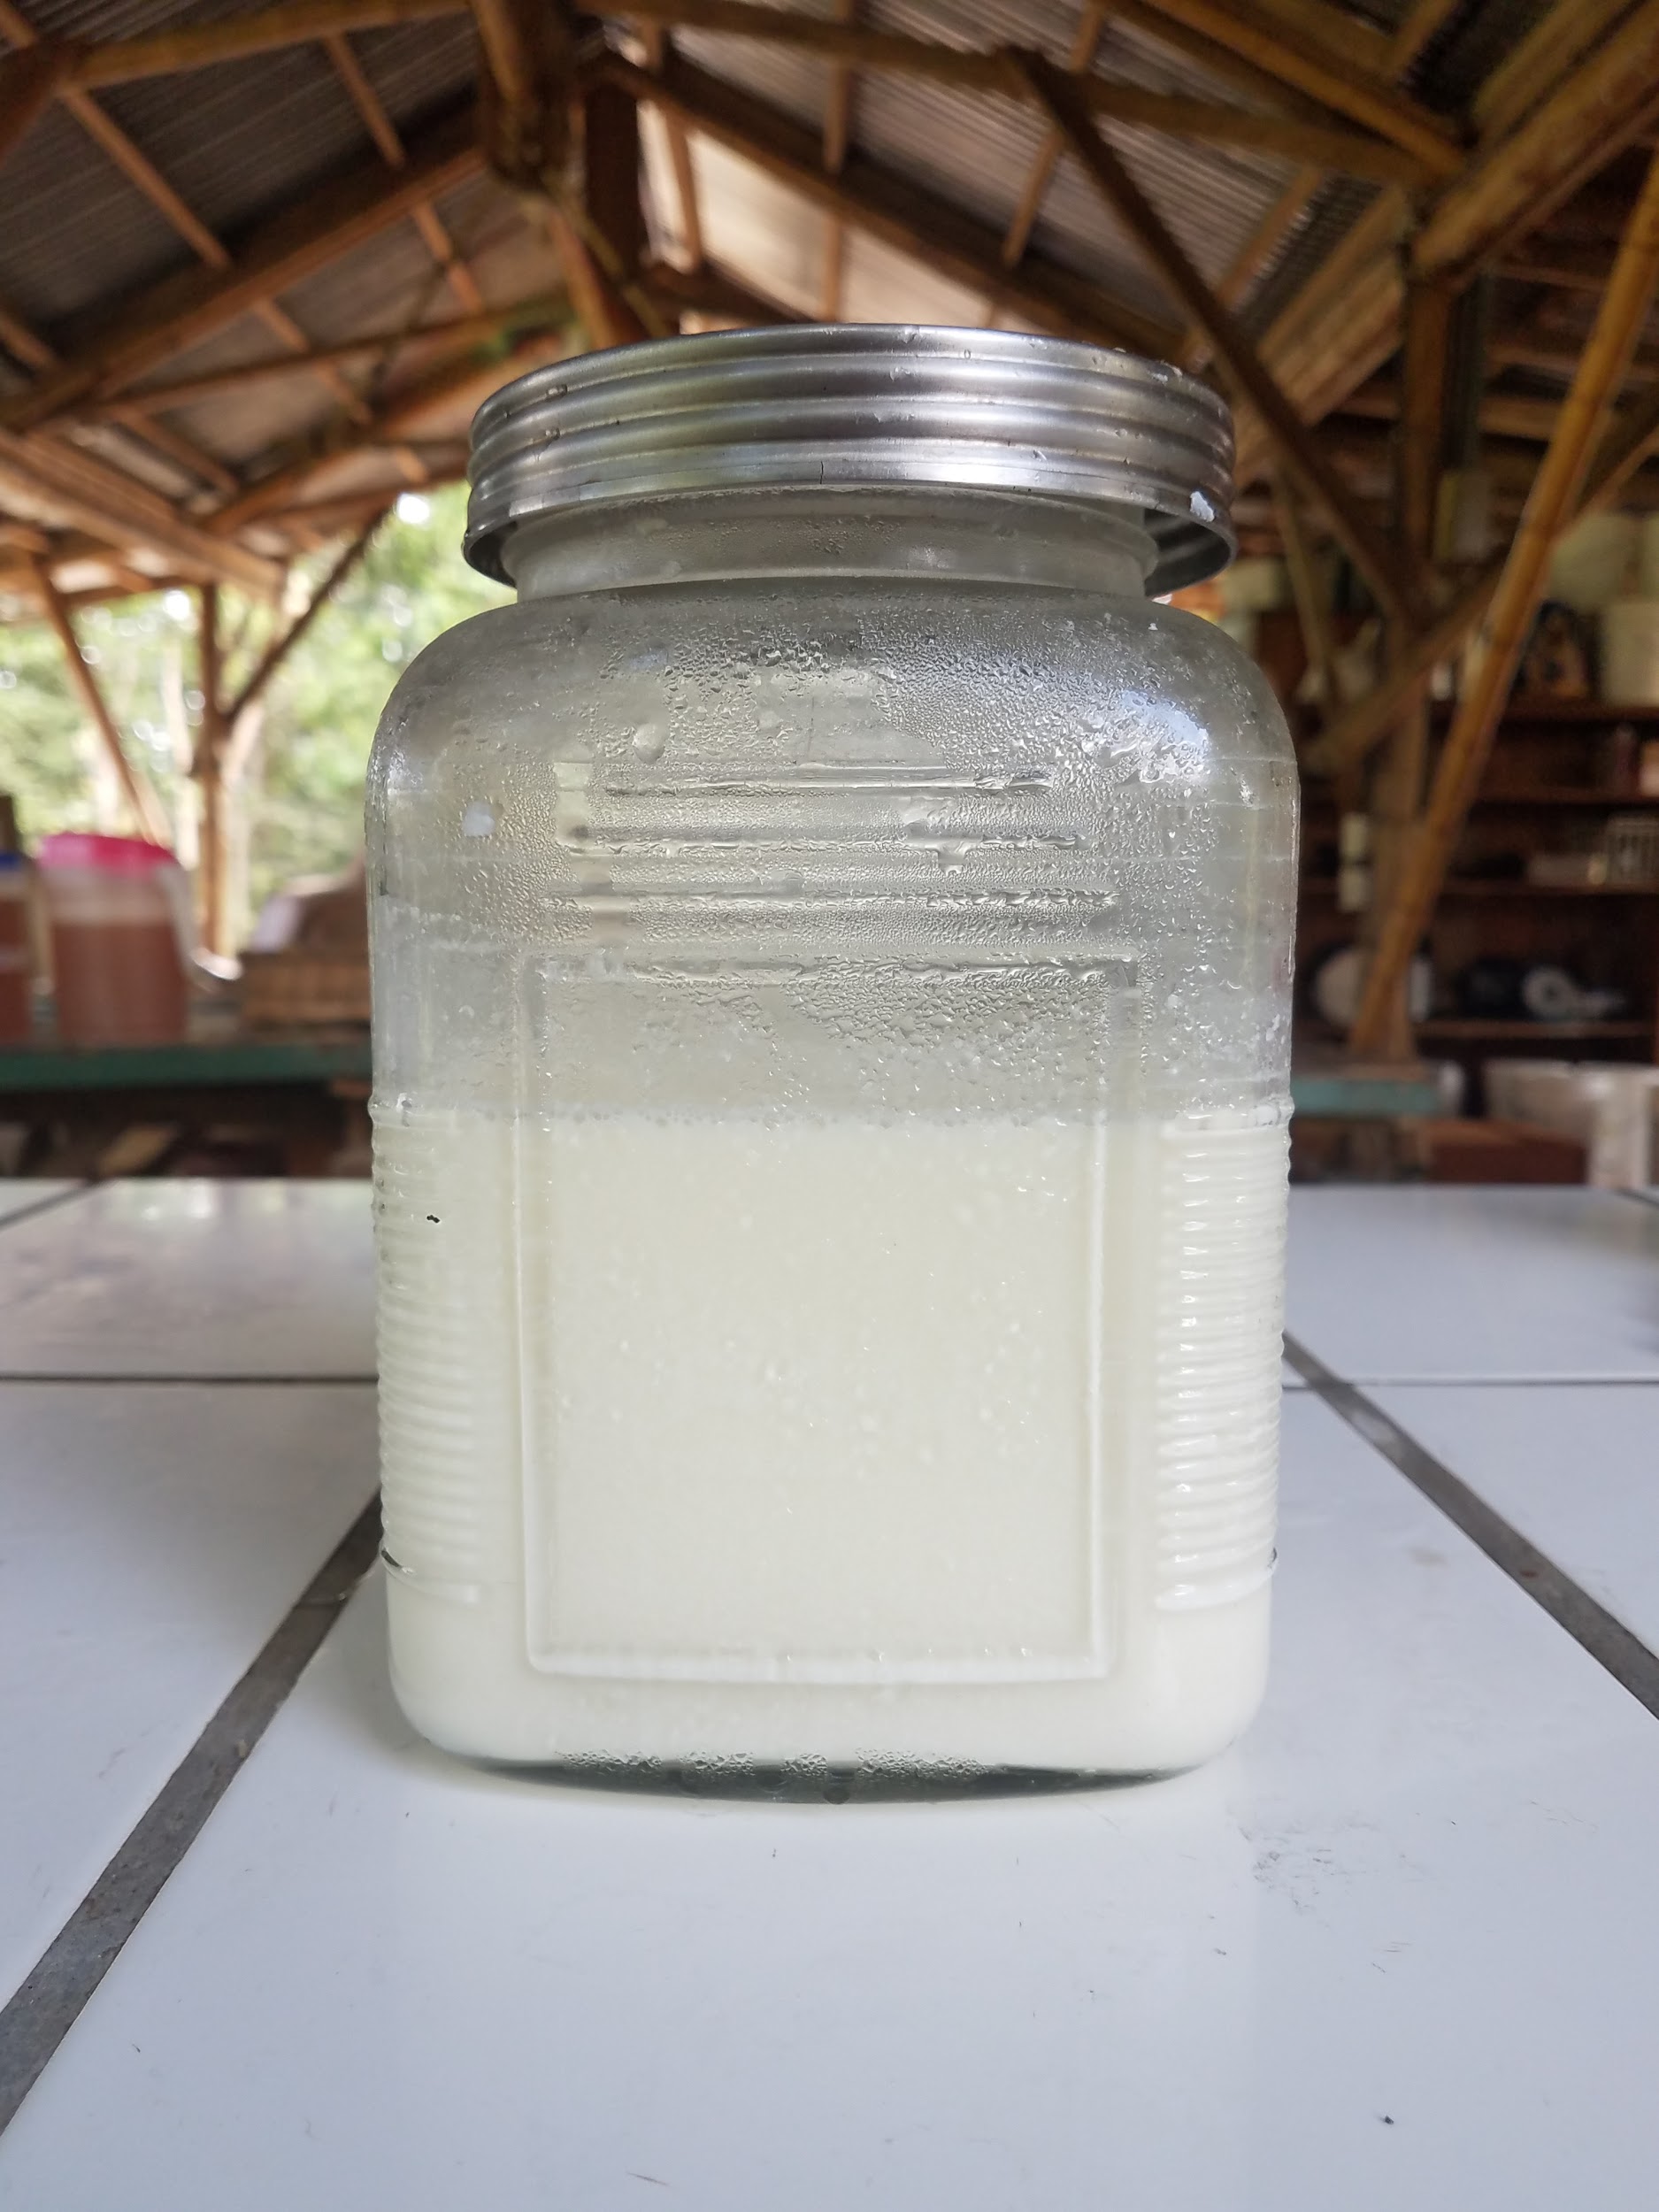
My name is Ryan and I'm part of the apprentice team at Rancho Mastatal for 2019. I've been navigating my lactose-intolerance since I was a child and gluten-intolerance since I identified it approximately five years ago. In this and the following installments of Dairy Diaries. I'll be exploring dairy kefir, in my personal effort to find ways to make dairy products I enjoy healthier, more digestible and more delicious.
I have a mixed understanding of my dairy sensitivity, in part because throughout my life I have chosen to accept the consequences of consuming dairy products that I enjoy such as cheese and ice cream. Over the last few years, in an effort to better understand the nuances of my sensitivity, I've taken to experimenting through exposure and carefully observing my reactions.
Since arriving at the Ranch, I've taken a fascination with dairy kefir, a cultured milk product which we make regularly as a base for salad dressing. My interest was piqued upon discovering that the salad dressing failed to upset my sensitive stomach.
Dairy kefir is tangy, effervescent and probiotic, closely comparable to yoghurt, with origins in the Caucasus Mountains of Eastern Europe. It is made using a dairy kefir SCOBY, which stands for a "symbiotic colony of bacteria and yeast", which are often called "grains" in the case of dairy kefir. Dairy kefir grains look like clumped grains of rice that are yellowish white. They tend to clump together in spongy, somewhat tough little colonies.
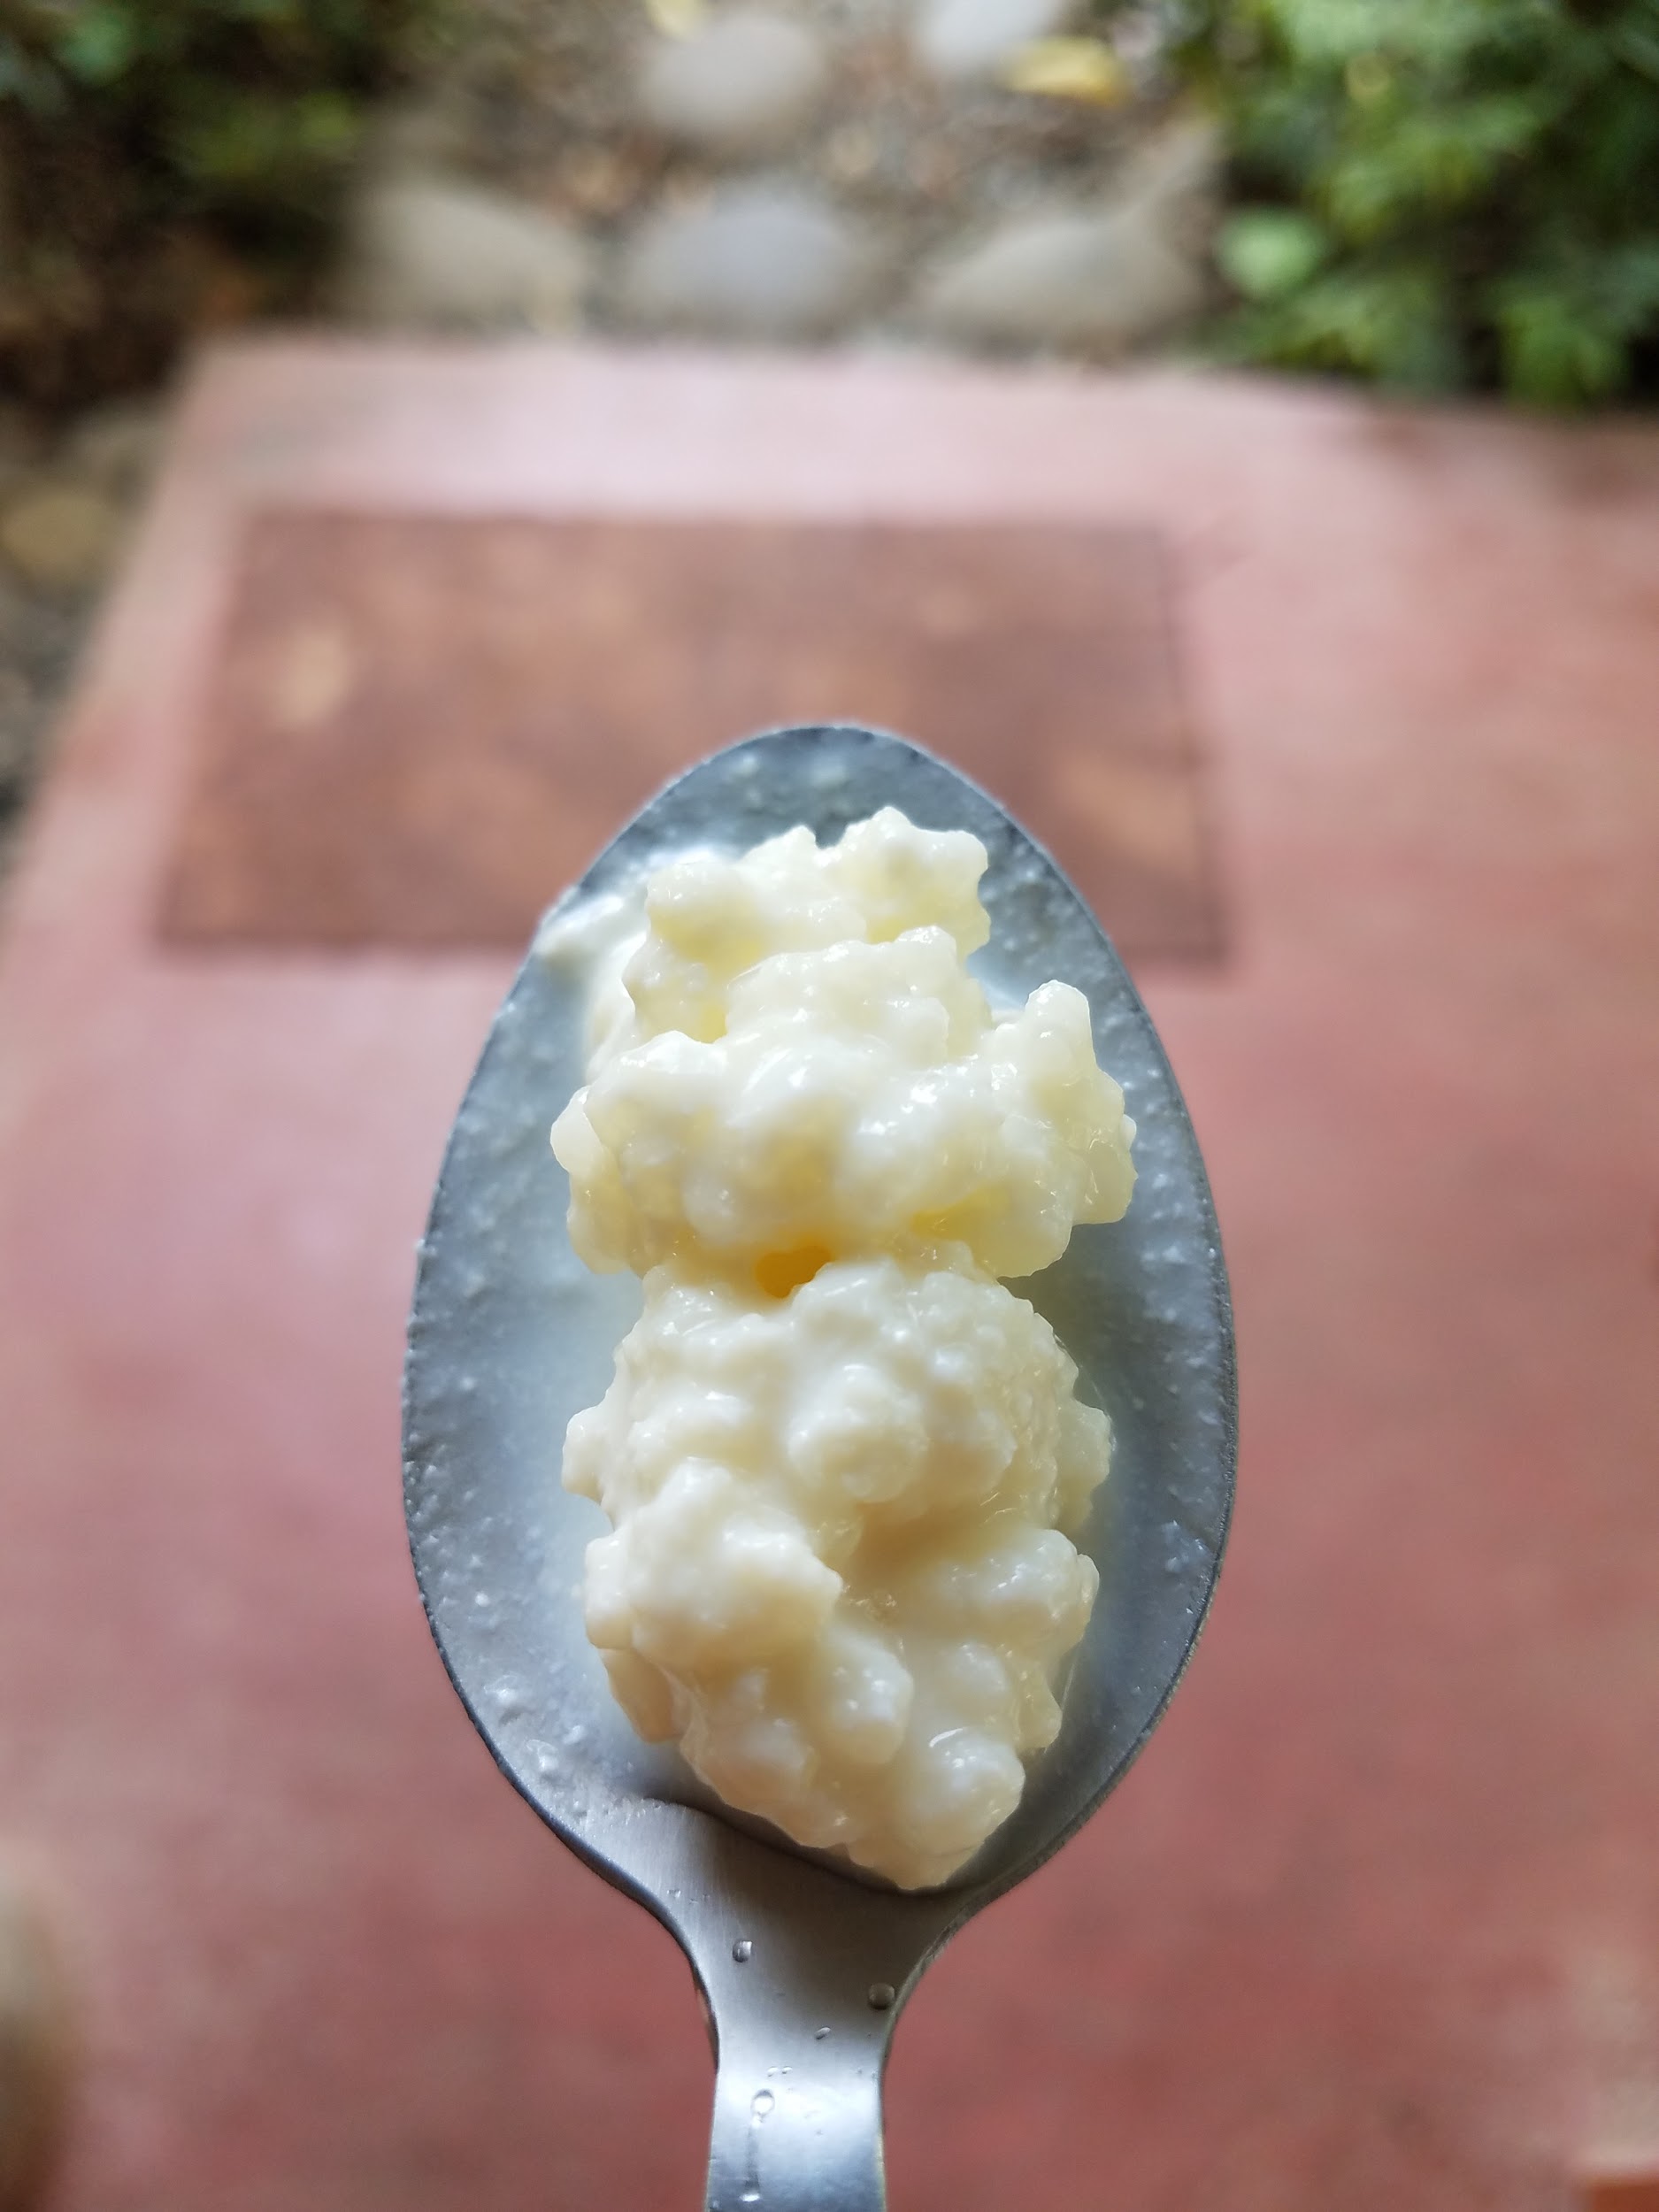
The SCOBY consumes the sweet lactose in the milk, converting in into lactic acid and multiplying the microorganisms beneficial to the health of our stomach, intestines and the whole ecosystem of our body. This makes it possible for folks with a sensitivity to lactose to consume delicious milk products fermented with this SCOBY.
It's delicious, it's great for you, and I'm excited to share that it is stupid easy to make and maintain.
It really is as simple as adding the dairy kefir SCOBY to your milk and letting the little SCOBYs get to work. When you are ready to consume your freshly fermented kefir, strain out the grains using a fine mesh strainer and a spoon, wash your container lightly and reintroduce the SCOBY and a new batch of milk.
The Process
1. Clean your container, using boiling water for your first clean. Let the glass cool.
2. Put a spoon-full of dairy kefir SCOBY into your container.
3. Pour your milk into your container, taking care to minimize splashing.
4. Place a lid over the container, creating only a light seal to allow CO2 to escape.
5. Let sit for desired level of tanginess.
6. Pour fermented milk and grains out through a fine mesh strainer.
7. Gentle rinse your container, ensuring you clean areas where the milk is splashed above the milk line.
8. Use a gentle scooping motion along the bottom of the strainer to find your grains.
9. Place them back into your container, refill with milk and lightly stir the milk with a clean spoon.
10. Enjoy your dairy kefir!

Here are some considerations when raising and caring for your dairy kefir babies:
Temperature:
Warmer temperatures accelerate the work of the dairy kefir SCOBY significantly. Here at the Ranch, we let our kefir sit for 12 hours to 20 hours through the heat of the day and the temperate evening. Generally after 12 hours, we put the fermented dairy kefir in the refrigerator overnight, but leaving it over night has led to a tangier, more desirable final product and an easier process.
Time:
The longer you let your dairy kefir SCOBY work, the tangier, thicker, more probiotic, and in my opinion, more delicious the kefir will become. Sit time varies based on your preference from 12 to 48 hours, depending on temperature. Refrigeration will allow you to store the kefir for up to a week. Note that while this significantly slows the metabolism of the SCOBY, the enzymatic activity remains active, breaking down the milk into more bioavailable and nutritious bits for our stomach.
Sanitation:
Like many ferments, the SCOBY creates an environment for itself that limits the growth of competing organisms through increased acidity and the production of ethanol (though in dairy kefir the alcohol is negligible). This means that the risk of contamination is limited to that which remains outside the milk. The best way to mitigate any rogue elements is to wipe away any splashed or remaining milk that won't be under the liquid. Other than that, thorough cleaning of the container for the dairy kefir is unnecessary - a simple water rinse will suffice.
The SCOBY:
The little yellow white SCOBY is actually quite durable and resilient, so don't worry about being terribly ginger with them. The only thing we want to avoid doing is pressing the grains through the fine mesh, which will cut and damage them. Prevent this by using a light scooping motion along the bottom of the strainer.
The SCOBY is also resilient to being left in the milk. If you want to take a break from the dairy kefir, you can do so by refrigerating the SCOBY in milk for weeks at a time. Every two weeks replace the milk with a little bit of new milk. It doesn't needed much.
The SCOBY will also grow in size and multiply. When you begin to find more grains, you can remove them and place them in a separate container to make even more kefir, or better yet, gift them to a friend! Dairy kefir, like many ferments, is the gift that keeps on giving.
So go forth and spread the love: for your taste buds, your gut, and your friends.
Check out Ryan’s other blog on dairy kefir crème fraiche
If you are interested in fermentation why not join us for our upcoming tropical homebrewing workshop?
Sources:
Rancho Mastatal Food Skills , Dairy Kefir, Laura Killingbeck
Brazilian Journal of Microbiology
https://www.ncbi.nlm.nih.gov/pmc/articles/PMC3833126/#!po=0.595238

Choosing Consciously for Healthier Families and a Safer Home
Many of us grow up thinking of home as our safest place. As consumers, we have been led to believe that by the time products make it to the market, they have been thoroughly tested and proven safe. We pick up packaging and read labels before buying, just to know what is in the products. But, what does a label really tell us? What are these manufactured products made with? Where and how was it cultivated, processed, packages and shipped?
By Sharleen Marie, Rancho Mastatal Teaching Staff, 2019
Many of us grow up thinking of home as our safest place. As consumers, we have been led to believe that by the time products make it to the market, they have been thoroughly tested and proven safe. We pick up packaging and read labels before buying, just to know what is in the products. But, what does a label really tell us? What are these manufactured products made with? Where and how was it cultivated, processed, packages and shipped? When I first began looking for answers, I encouraged myself to search, detach and reeducate myself about how better make conscious decisions and take actions aligned with my principals and values for my body, my community and my environment. I became passionate about searching what I now choose for nourishment in food, personal care, and lifestyle.

To begin this journey, I intentionally created the habit of choosing all products based on their ingredients rather than their label. I am grateful and fortunate that I had many people around me who inspired me to learn new ways in which I could live a sustainable life, aware of and driven to practice what was best for me, the people and the places I love and care about. After reading this article, I encourage you to continue your journey to discover alternatives solutions and create the changes that produce the results you wish to see in the world.
Don’t just Trust Labels Read the Ingredients
Labels can be misleading. What we think we know about a product may not be true. How safe are your cleaning supplies and skin care products, really? What does ‘Eco-friendly’, ‘Biodegradable’, ‘Natural’ and ‘Nontoxic’ really mean? For example, when we talk about biodegradability of a material or substance, we’re talking about its ability to be broken down into its smallest components parts. This decomposition can be caused by various natural forces like: hungry microorganisms with a digestive system that can break compounds apart into simpler substances, and by contact with light or water, processes called photolysis and hydrolysis consequently. Biodegradability lies at the heart of nature’s sustainable recycling system. Once created, everything from plants to animals is eventually broken down into its most basic parts, which then become the building blocks for new life that itself will some day similarly decay.
When it comes to household, skin care, beauty, and cosmetic chemicals, biodegradability is generally a good thing. In order for a product to be labeled as biodegradable, Federal Trade Commission (FTC) guidelines state that it must degrade when exposed to air, moisture, bacteria, or other organism, and it must return to the natural environment in a reasonably short time when properly disposed of. There is no standard or oversight for the label; manufacturers may label products “biodegradable” at their discretion.
Understanding What You Read

The business of manufacturing cleaning and cosmetic products relies on chemistry. Chemistry itself is not a bad thing. It’s the kinds of chemicals we make and use that matter. Like most anything else, there is a good side and a bad side to all the molecular manipulation chemists practice. There are safe chemicals, and there are unsafe chemicals. Our problem today is that we don’t know which are which. Chemical companies are not obligated to list the ingredients in their products, better known as Voluntary Disclosure Program. This program leaves of decision of wether or not to list ingredients at the sole discretion of the manufacturers. Manufacturers can also legally omit hazardous chemicals if they are part of a mixture the company claims to be a trade secret. (1)
How much do we know about the effects of daily contact with toxic household materials that retailers sell on faith, while we ourselves are serving as the test tubes while we live, breath, and raise our families among these components every day? Toxic chemicals found in detergents, perfumes, solvents, pesticides, pharmaceuticals, personal care products and household cleaners vary in their severity – from acute (immediate) hazards such as skin or respiratory issues, chemical burns or watery eyes to chronic (long term) hazards.
According to an Environmental Protection Agency (EPA) study of human fatty tissue samples, every American man, woman, and child carries at least 700 pollutants in his or her body. (2) Today, there are an estimated 80,000 different chemical compounds being made and used. (3) In 2016, the EPA named the first 10 chemicals it will evaluate under the new Frank R. Lautenberg Chemical Safety for the 21st Century Act, the first update since 1976 of the nation’s primary toxic substances law. (4)

In the last several years, a growing body of scientific evidence has indicated that the air within homes and indoor environment can be more seriously polluted than the outdoor air in even the largest and most industrialized cities. Other research indicates that people spend approximately 90% of their time indoors. Thus, for many people, the risks to health may be greater due to exposure to air pollution indoors than outdoors. In addition, people who may be exposed to indoor air pollutants for the longest periods of time are often those most susceptible to the effects of indoor air pollution. Such groups include the young, the elderly and the chronically ill, especially those suffering from respiratory or cardiovascular disease.
The evidence that does exist strongly suggests that exposure to many of the common products we take for granted can cause chronic diseases, cancer, fertility issues, ADHD, compromised immune system, hormone disruption, nerve and organ damage, allergies, asthma, sinusitis, anxiety, depression, and other health problems. Do any of these health problems sound familiar?

The 2017 American Association of Poison Control Centers' National Poison Data System (NPDS) reported, consistent with the previous year, that the top 5 substance classes most frequently involved in all human exposures were analgesics (11.08%), household cleaning substances (7.43%), cosmetics/personal care products (6.76%), sedatives/hypnotics/antipsychotics (5.74%), and antidepressants (5.02%). Including the top 5 most common exposures in children age 5 years or less were cosmetics/personal care products (12.59%), household cleaning substances (10.96%), analgesics (9.18%), foreign bodies/toys/miscellaneous (6.39%), and topical preparations (4.84%). (5)
Healthy homes must extend into the larger world beyond our windows. By definition it means not only making sure that the activities that take place inside our houses are as nontoxic as possible, but also doing whatever we can to make sure that these activities don’t negatively impact the environment outside. As ever increasing amounts and types of different industrial chemicals are being manufactured and used, our environment is becoming increasingly contaminated by the pollution these chemicals create. This is because many of the synthetic chemicals made today do not easily break down into harmless bits and pieces as natural materials do. Instead, they resist decomposition, and once they are introduced into our air, water, and soil, they tend to remain there for long periods of time. This persistence means that as more of these chemicals enter our environment and bodies, they accumulate in ever larger amounts.
What Can I Do? Small Changes = Huge Benefits
Manufacturers and the organizations that works to protect their interests aren’t going to make the changes we need. If, as consumers you want the right to know exactly what is in the products you purchase and to change the toxicity of products used all around you and your family, you need to ask for and demand change.
Research the products you buy. Purchase only from companies that list all the ingredients on their products’ packaging. When you do have a concern about a commercial product, contact the company and express your concerns about their ingredients and/or marketing practices.
Ask the places you frequent —schools, daycares, workplaces, in community centers— to change the products they use to safer, less toxic supplies for the well being of our children, friends, parents, and community.
Speak about this issue and your concerns with your family, neighbors, coworkers and friends.

Make your own cleaning products for your home, using less toxic ingredients. There are many resources available including immersive trainings like Sustainable Practice: Homesteading to Skin Care, which I will co teach this May 2019. During the course students will learn how to create their own line of nontoxic natural products and free themselves from a dependency on wasteful commercialized goods. This course and others like it can provide an introduction to topics such as fermentation, distillation and herbalism in order to help build the foundation skills and confidence students often need in order to safely create their own personal care products and promote holistic wellbeing in their home and environment.
Article written by Sharleen Marie, co-founder of Atabey Botanicals, a social enterprise dedicated to supporting you develop practical applications of sustainability into your lifestyle that will improve your health and well being and protect the environment.
The workshop will be held at Rancho Mastatal, Costa Rica. Learn, Stay and Explore the education center, working permaculture farm, lodge and community rooted in environmental sustainability, meaningful, place-based livelihoods, and caring relationships.
To know more, access https://ranchomastatal.com/sustainablepractice or contact me through atabeybotanicals@gmail.com
Sources:
(1) Welsh, M. S., Lamesse, M., Karpinski, E. (2000) “Te verification of hazardous ingredients disclosure in selected material safety data sheets.” Appl Occup Environ Hyg. 15(5):409-420.
(2) US Environmental Protection Agency Office of Toxic Substances, “Analysis of Human Adipose Tissue, Volume 1: Technical Approach.” (1987) Accessed online on April 4th 2019, https://nepis.epa.gov/Exe/ZyNET.exe/10003C6I.txt?ZyActionD=ZyDocument&Client=EPA&Index=1986%20Thru%201990&Docs=&Query=human%20adipose%20tissue%20technical%20approach&Time=&EndTime=&SearchMethod=2&TocRestrict=n&Toc=&TocEntry=&QField=&QFieldYear=&QFieldMonth=&QFieldDay=&UseQField=&IntQFieldOp=0&ExtQFieldOp=0&XmlQuery=&File=D%3A%5CZYFILES%5CINDEX%20DATA%5C86THRU90%5CTXT%5C00000000%5C10003C6I.txt&User=anonymous&Password=anonymous&SortMethod=-f%3Apubyear&MaximumDocuments=15&FuzzyDegree=-1&ImageQuality=r85g16/r85g16/x150y150g16/i500&Display=hpfr&DefSeekPage=x&SearchBack=ZyActionE&Back=ZyActionS&BackDesc=Results%20page&MaximumPages=1&ZyEntry=1&SeekPage=x
(3) Steve Waygood, “Uncertainty Persists on Chemical Equation.” Environmental Finance, September 2004
(4) https://www.ewg.org/research/under-new-safety-law-epa-picks-first-10-chemicals-review
(5) Gummin DD, Mowry JB, Spyker DA, Brooks DE, Osterthaler KM, et al. 2017 Annual Report of the American Association of Poison Control Centers' National Poison Data System (NPDS): 35th Annual Report. Clin Toxicol (Phila). 2018 Dec 21;:1-203. PubMed PMID: 30576252.

How Can We Make a Change in the World
Everything seems to have been created by a higher intelligence that has designed this universe in mysterious ways for us to live off. We live in a perfect symbiosis with nature. Everything seems to have a purpose which co-exists with all that is around us yet we don’t have an explanation to all this perfection.
by Diana Dagash, Apprentice 2019
Everything seems to have been created by a higher intelligence that has designed this universe in mysterious ways for us to live off. We live in a perfect symbiosis with nature. Everything seems to have a purpose which co-exists with all that is around us yet we don’t have an explanation to all this perfection.
What if we had the access to tap in to the secrets of nature, would it be possible to live a healthier and more sustainable way?
How does our connection and understanding of nature relate back to ourselves?
What if the way we treat our own bodies reflects on the way we treat Mother Earth?
If we look at the patterns in nature we can see that Earth is a macrocosm reflection of our own organisms. Earth is our body, the trees our lungs, plants our hair. The waters, seas are our fluids, that are in sync with the moon and the planets. The stages of the moon reflect on our emotional, energetical and physical states. The new moon represents a new cycle for growth, setting intentions, regeneration and with the full moon we reach peak of our energy as the tides of the sea rise, the winds get stronger, nature is at its highest strength. It is a good time to harvest what we’ve sown.
When the body is ill and weak it struggles to regulate its own temperature the, extremes of hot and cold temperatures resemble the behavior of our planet. Observing today’s climate change and natural disasters reflect on how we’ve been treating this planet. We already see the consequences of our actions. We have abused and exploited the forests and waters.
Mother Earth is patient and compassionate, she embraces us , provides us with all our needs , we are her children. She needs our cooperation , our understanding of the messages she sends to us, for us all to survive and thrive. We have forgotten our origin, where our food comes from, what allows us to coexist.
We are trying to live against the cycle of life by suppressing our illness symptoms just as we are manipulating the weather to cover the climate change that we have caused. Society has surrounded itself with comfort, trying to protect itself from nature and to change its power dynamics .We came out of sync and communication with Mother Earth. We are already paying the price of destruction, exploitation of natural resources and struggle to live in abundance.
The amount of food wasted that could feed the whole world if we stopped and reevaluated our needs and priorities in life. The individualism and race to accumulate more that we could every possible need! The greediness has blinded many of us from love and care to ourselves , to one another and to the planet we live on. The industrialism has left very little space for small farmers to survive. The food grown is mass produced and poisoned in interest to earn money as well as pharmaceutical companies wants us to always come back.
Our heads have been turned to the other side. Our education has not introduced us to our connection with nature and the healing powers within us and around us. We have not been taught to peacefully communicate with one another, nor how to explore our inner world that provides us with intuition and peaceful mind.
It has been said already “ The whole world is within you.” If we focused ourselves within, maybe we could find the answers to our problems and create a peaceful world we there is no war?
“You cannot solve a problem with the same way of thinking that create it “
I believe that if we integrate education on sustainable living into schools, children growing up with have more much awareness on the importance of sustainable living and the change we can make to a healthier life.
I strongly believe that if we want a change education would be at the base of it all.
How I believe we can make a change:
1. Proper education on sustainable living for example : permaculture, agroforestry, natural building, carpentry, homesteading , making your own biodegradable body and cleaning products, culinary skills.
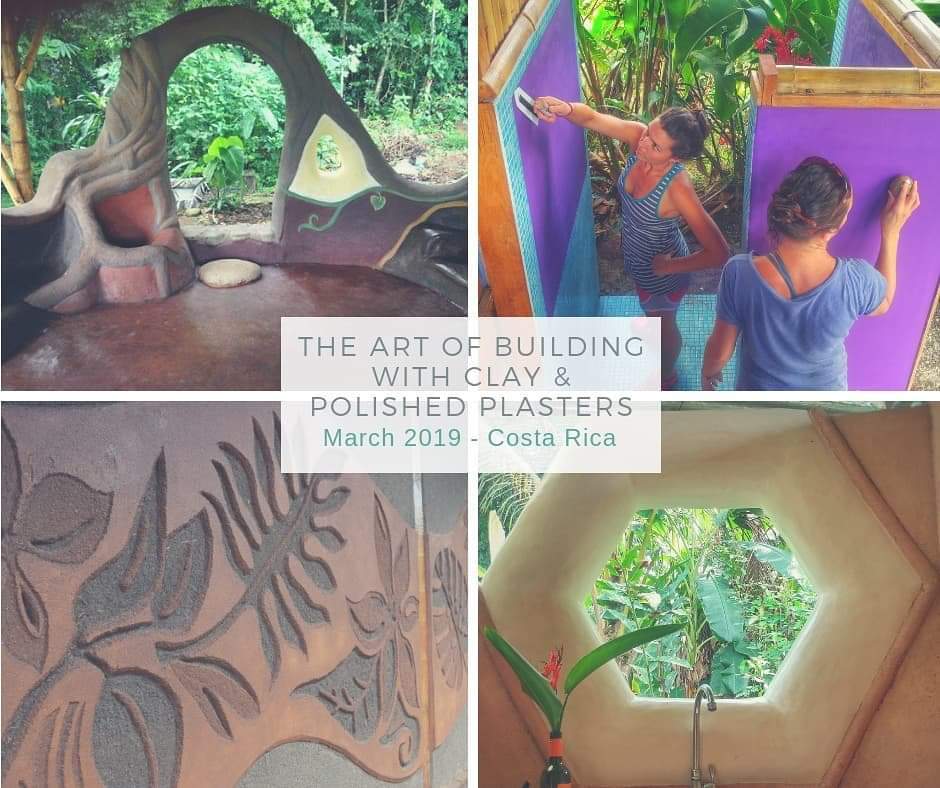
Workshops to inspire and empower you to change
2. Taking responsibility for our actions, the consequences of consumerism and how to stop mass waste production. For example – grow your own food.

Planting seedlings for food production
3. Self-development, healing the micro and macrocosm. Bringing awareness within, practices that pro mote introspection and self-reflection like meditation , learn to peacefully interact with others. Some great book references for this are the following :
The Power of Now by Eckhart Tolle
Non-Violent Communication Dr. Rosenberg
The 4 agreements Don Miguel Ruiz
4. Learn life skills that are beneficial to your environment.

Bamboo building at Rancho Mastatal, a sustainable building material
5. Choosing the possibility to live at your highest path , to stand for righteous actions and lifestyle.
6. Gain knowledge of medicinal plants in your area, get familiar with natural medicine, self-healing and maintain a preventative holistic lifestyle.
7. Make space for self-exploration , discover your interests and passions that you heart calls, surely they will benefit the world.
For me it is a priority to dedicate my life to create a greener healthier world, to learn how to be self-sufficient , build my own house , grow my own food, live harmlessly in nature, educate and promote that lifestyle and provide a good future for future generations .
Currently I live in Costa Rica doing a year long apprenticeship on sustainable educational farm that focuses on those matters and has created a heavenly community of loving , caring people that come together to learn and make a change.
I like to visualize a world that lives in abundance and has everyone’s basic needs met. A planet with clean air and water, where we would have food forests all around and houses surrounded with edible greens and herbs. It inspires me to think of what’s possible and focus my energy onto creating it.
Together we can change the world, so let’s take action, create ripples that will spread across the world. The power is within us to create the world we want to live in.
I wish you to pursue your purpose in life and discover your highest path for living.
I warmly invite you to visit farm that teach about sustainability such as Rancho Mastatal, learn about self-sufficiency, minimizing industrialism and harm to the ecology
Seeing all the movements rising to save our Earth I have faith and am excited to see the good changes happening in our society.
There is a rise in consciousness around the globe, let’s all be part of it!
Blessings to all
Diana

Using Mountain Microorganism to Create Organic Fertilizer
The need to cultivate a “living soil” that is full of microbes is something I hear frequently in the organic farming and permaculture world. As an apprentice at Rancho Mastatal this year, I have the unique opportunity to look further into the universe of these small and unseen allies. A way into this world was through the Ranch’s process of making organic fertilizer, one that harvests and inoculates the soil with Mountain Microorganisms (MM). This is similar to compost tea, where we create a fermented fertilizer with microorganisms such as manure.
By 2019 RM Apprentice Amy Dodds
The need to cultivate a “living soil” that is full of microbes is something I hear frequently in the organic farming and permaculture world. As an apprentice at Rancho Mastatal this year, I have the unique opportunity to look further into the universe of these small and unseen allies. A way into this world was through the Ranch’s process of making organic fertilizer, one that harvests and inoculates the soil with Mountain Microorganisms (MM). This is similar to compost tea, where we create a fermented fertilizer with microorganisms such as manure. MM differs from this by using forest soil and duff layer to create a fertilizer. You can create MM fertilizer anywhere in the world so long as there are forests in your area that has a healthy amount micro life!
In just the second week of our apprenticeship, the Ranch hosted guests from Ecogrecia, another local farm and research centre who are using MM. We were were privileged to get a demonstration of how we can cultivate our own indigenous microorganisms. I will detail this below so you can create your own MM fertilizer but first here’s a bit on the science.
There are many diverse living organisms that improve the soil ecosystem, these include invisible bacteria and fungi and visible worms and insects. A few of the benefits of fostering this micro-community include: aeration of the soil, making nutrients available, fix nitrogen and prevent pathogens. With this in mind we want to cultivate soil in our orchards that is full of microbial life.

Agro-forestry systems at Rancho Mastatal
Our main farming practice at the ranch is agro-forestry. This is essentially using trees with other crops to create an ecosystem that mimics the tropical rain forest environment of Costa Rica. Most forests need a fungal dominated ecology, while still needing bacterial organisms, for optimal soil. The “fungal to bacterial biomass ratio” needs to be 10 parts fungi to 1 part bacteria. Especially important is the mycorrhizal fungi that live closely with tree roots to allow the plant to take up nutrients and water. Therefore we want to harvest a fungal dominated fertilizer. In the past Rancho Mastatal has used manure fertilizers which work well for gardens and vegetables but are less tailored for forest soils, due to their high bacterial rate. This is where Mountain Microorganisms come in!
Mountain microorganisms was originally a Japanese practice that take forest leafs and soil from native forest within the land you are growing in to create an anaerobic ferment (without oxygen). I see this is as beautifully symbiotic as we are inoculating the soil with indigenous microbes from the local environment. We essentially take the mother culture which contains the diversity and variability perfectly suited for your local forest.
Mountain microorganism fertilizer is a better process for our agro-forestry systems, than say compost tea made from manure, due to the high fungal microbes available in our mother culture. Rancho Mastatal has been using the MM process consistently for 3-4 years and noticed improved conditions in their food forest.
One of the first steps in this process, which we did with our apprentice team and the crew from Ecogrecia, is going into the forest and gathering the local microorganisms to create our current solid fermentation. Around the large well established trees, we harvested leaves and sticks that are crumbly and breaking down. They have the delicious white mycorrhizal growth on them. Under the leaves we collect the soil that contains the visible fungi.
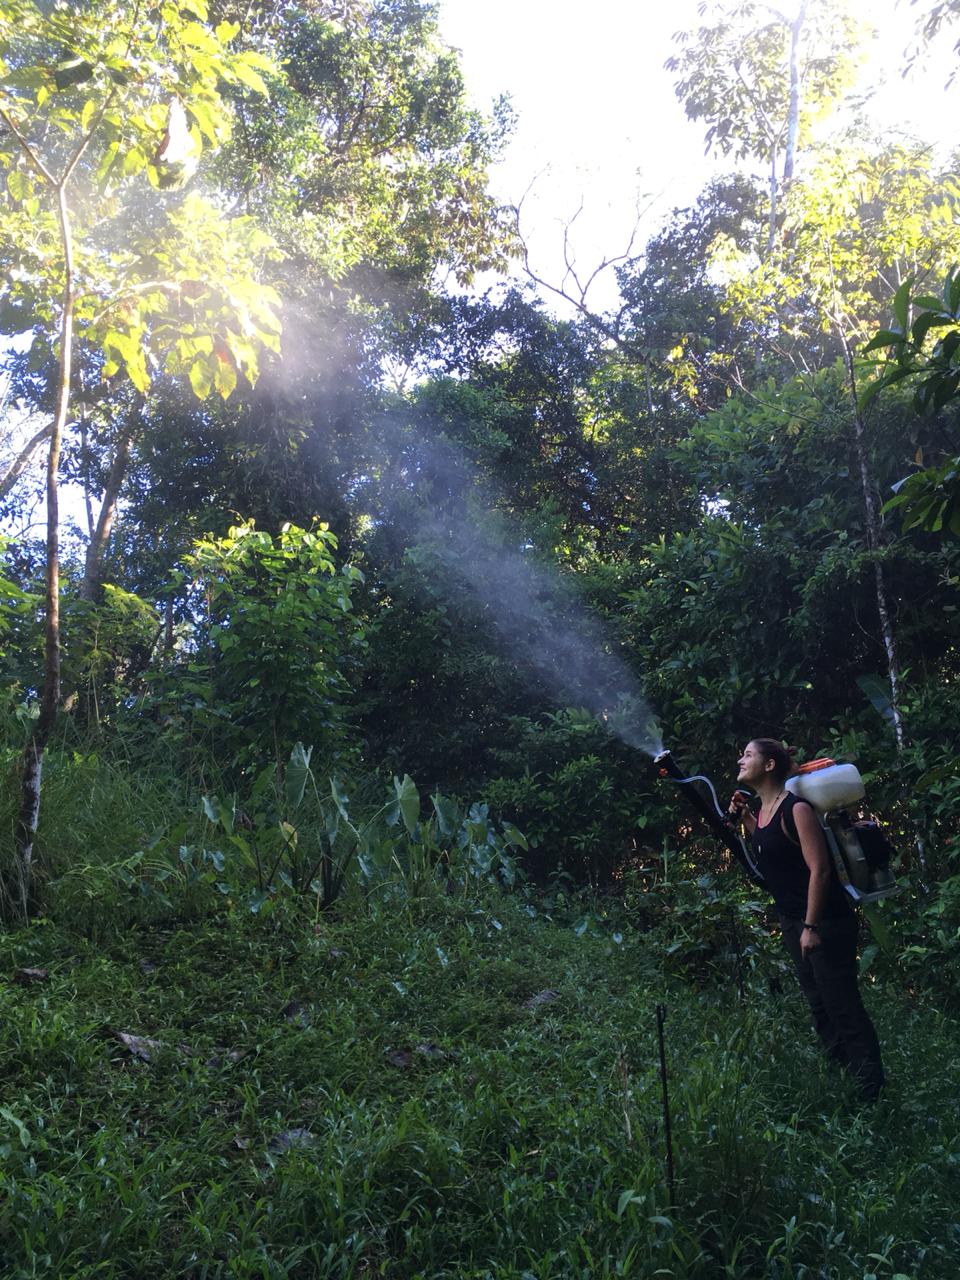
Spraying the orchards with an organic fertilizer
From this we can create a solid fermented product and then a foliar spray that will inoculate our soil with the microbiology that we need to improve our soil life. Once it is in foliar spray form we take our backpack sprayer once a week to our orchard trees. Below are the recipes for creating your own microorganisms:
Mountain Microorganism Recipe
MM Solid
3 sacks of Microorganisms
- This is the duff layer of brown leaves and sticks that contain the mycorrhiza
2 sacks of semolina
- This acts as the protein, other flour work such as yucca or green banana
1 gallon of molasses
- This is the sugar that provides the microorganisms with energy
- Alternatives include fruit or cane juice
1 gallon of water to dilute molasses
3kg of rock dust phosphate
55 gallon plastic drum to store (never metal)
Mix a layer of the duff with the semolina on a tarpaulin with your hands. Sprinkle the molasses and water over this as you are mixing layers of the duff and semolina.
Shovel the mix into your drum, while you have a friend stamp inside to compress and release any air (as this is an anaerobic ferment). Seal well and store for at least one month in the shade.
This lasts 3-4 years :)

mixing the the recipe above
MM Foliar Spray
5 kg MM Solid
1 gallon of molasses
55 gallon plastic drum filled with water
Add the molasses to the water. Use a screen sack to hang the MM into the liquid. Seal and let it sit for 5 days.
Use within 3 weeks.
When applying as a foliar spray, you can dilute with water. Make sure there is at least 10% MM liquid to be effective.
Inoculating the soil with micro-life is only one step in this process. Fungi thrive in high carbon environments so mulch, mulch, mulch! Watering and composting still need to be continued, especially in the tropical dry season.
Happy foresting and fermenting!
If you are interested in Permaculture and Agroforestry check out some of our upcoming workshops!
References:
Jeff Lowenfels & Wayne Lewis Teaming with Microbes: A Organic Gardener’s Guide to the Soil Food Web (2010)
Craig R. Elevitch & Kim M. Wilkinson The Overstory Book: Cultivating Connections with Trees (2001)
Phil Nauta Building Soils Naturally: Innovative Methods for Organic Gardeners (2012)
Scott Gallant Making Microbes: Fungal vs Bacterial Soil Life
https://permaculturenews.org/2016/11/14/making-microbes-fungal-vs-bacterial-soil-life/
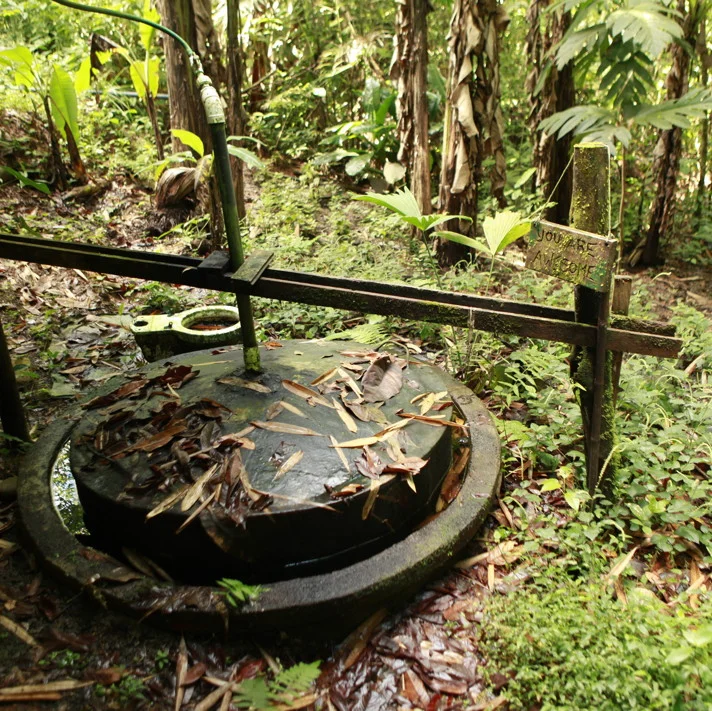
The Biodigester
It's 5.30 am in the dewy morning rainforest of Mastatal – the cacophony of squawks and birdsong remind us that the winged beings have begun their daily business of foraging for themselves and their young, the toads have tucked themselves into the nook of a tree or within a pile of leaves to avoid the relentless heat of the new day, and one by one the guests at Rancho Mastatal stretch and yawn their way out of their abodes and ease their way towards their first cup of coffee.
By Mike Paladino, 2019 Rancho Mastatal Apprentice
It's 5.30 am in the dewy morning rainforest of Mastatal – the cacophony of squawks and birdsong remind us that the winged beings have begun their daily business of foraging for themselves and their young, the toads have tucked themselves into the nook of a tree or within a pile of leaves to avoid the relentless heat of the new day, and one by one the guests at Rancho Mastatal stretch and yawn their way out of their abodes and ease their way towards their first cup of coffee. Within moments of a couple of team members arriving, one opens a valve on a stove and WHOOSH! sparks the flame upon which we will cook our breakfast. But the source for this gas isn't of your average origin. This fuel comes from one of the most potentially troublesome yet profoundly utile resources on Earth: poo.

Here at the Ranch we are utilizing two means of generating alternative energy known as “biodigesters.” A biodigester houses various bacterial species to break down organic matter and capture biogas (namely, methane) released by the bacteria in a process called anaerobic fermentation – i.e. the organic matter is digested by the microbes in the absence of oxygen. In the particular case of Rancho Mastatal and many other sustainability centres around the globe, the common organic matter for these microscopic busybodies is excrement, primarily bovine with a smaller source coming from yours truly. There are several kinds of microbes at work here. Some break the matter into simpler molecules of sugars and acids. Other microbes, which find oxygen toxic, are able to break down the simple organic matter to form gases. The ultimate end result of this process is both energy for heat and electricity as well as valuable soil amendments which we disperse throughout our gardens. Essentially all of our breakfasts (roughly 30% of all food cooked here) are prepared solely with the captured methane gas from the combined two mechanism. It is estimated that reliance upon propane as our major cooking gas was cut by roughly 50% percent after the installation of the biodigester systems.
The human waste system is (and should remain) an ultimately hands-off process. A six-foot deep brick tank surrounded by an air seal was installed seven years ago and inoculated with bacteria to jump start the production of biogas. As the two toilets are flushed, they drain into the tank where the material broken down by the bacteria and transformed into methane which is piped directly to our stove top. The system involving cow manure demands daily attention, but can usually be tended within thirty minutes or less. It requires adding fresh cow patties (one and a half recycled rice bags for us) to a 55-gallon barrel and filling it up with water. It is necessary to pulverize the material so that it becomes water soluble – roughly 15 liters for every kilogram of organic matter. Here it is left to sit for a twenty four hour period prior to being pumped into the four barrels below. As the solids settle to the top, the liquid is moved through the series of tanks below before finally arriving in a PVC bag. The gas is captured and then join the same pipe before reaching the kitchen. The solids are tossed into a 14-day compost rotation before they arrive to the gardens to be sifted and applied to our beds.

Any technology that enables us to transform abandoned “waste” into usable energy shows much promise for small-scale homesteads striving for self-sufficiency as well as society at large. And that's not just another hippie talking s&%t.

How to Make a Simple Woven Basket
One of my favorite hobbies is working with natural fibers. Soon after arriving here at the ranch as a new apprentice, I was eager to experiment with weaving a simple basket. The Ranch has an existing collection of beautiful baskets, which play an important role in storing food, while maintaining necessary airflow in this hot, humid climate.
By Abby Kuchar, 2019 Rancho Mastatal Apprentice
One of my favorite hobbies is working with natural fibers. Soon after arriving here at the ranch as a new apprentice, I was eager to experiment with weaving a simple basket. The Ranch has an existing collection of beautiful baskets, which play an important role in storing food, while maintaining necessary airflow in this hot, humid climate.

Although I tried researching online the traditional materials used in this area for basket making, I was not able to find any specific plant recommendations. Instead, I began to explore what was readily available around the property.
Each day we enjoy delicious salads composed of greens such as katuk and the tender leaves of sweet potato vines. The result is a compost heap continuously stocked with both stakes and long, flexible vines.

Katuk, Sweet Potato vines, some examples of vines used for basket weaving.
To begin, you will want to gather eight straight(ish) katuk stems that are around the same size and a large bunch of sweet potato vines.

Step 1: Preparing the Katuk
Strip the branches and leaves off and enjoy them in a delicious salad.
Next, trim off the ends so that you are left with eight 10-12 inch long pieces (or 25-30 centimeters).
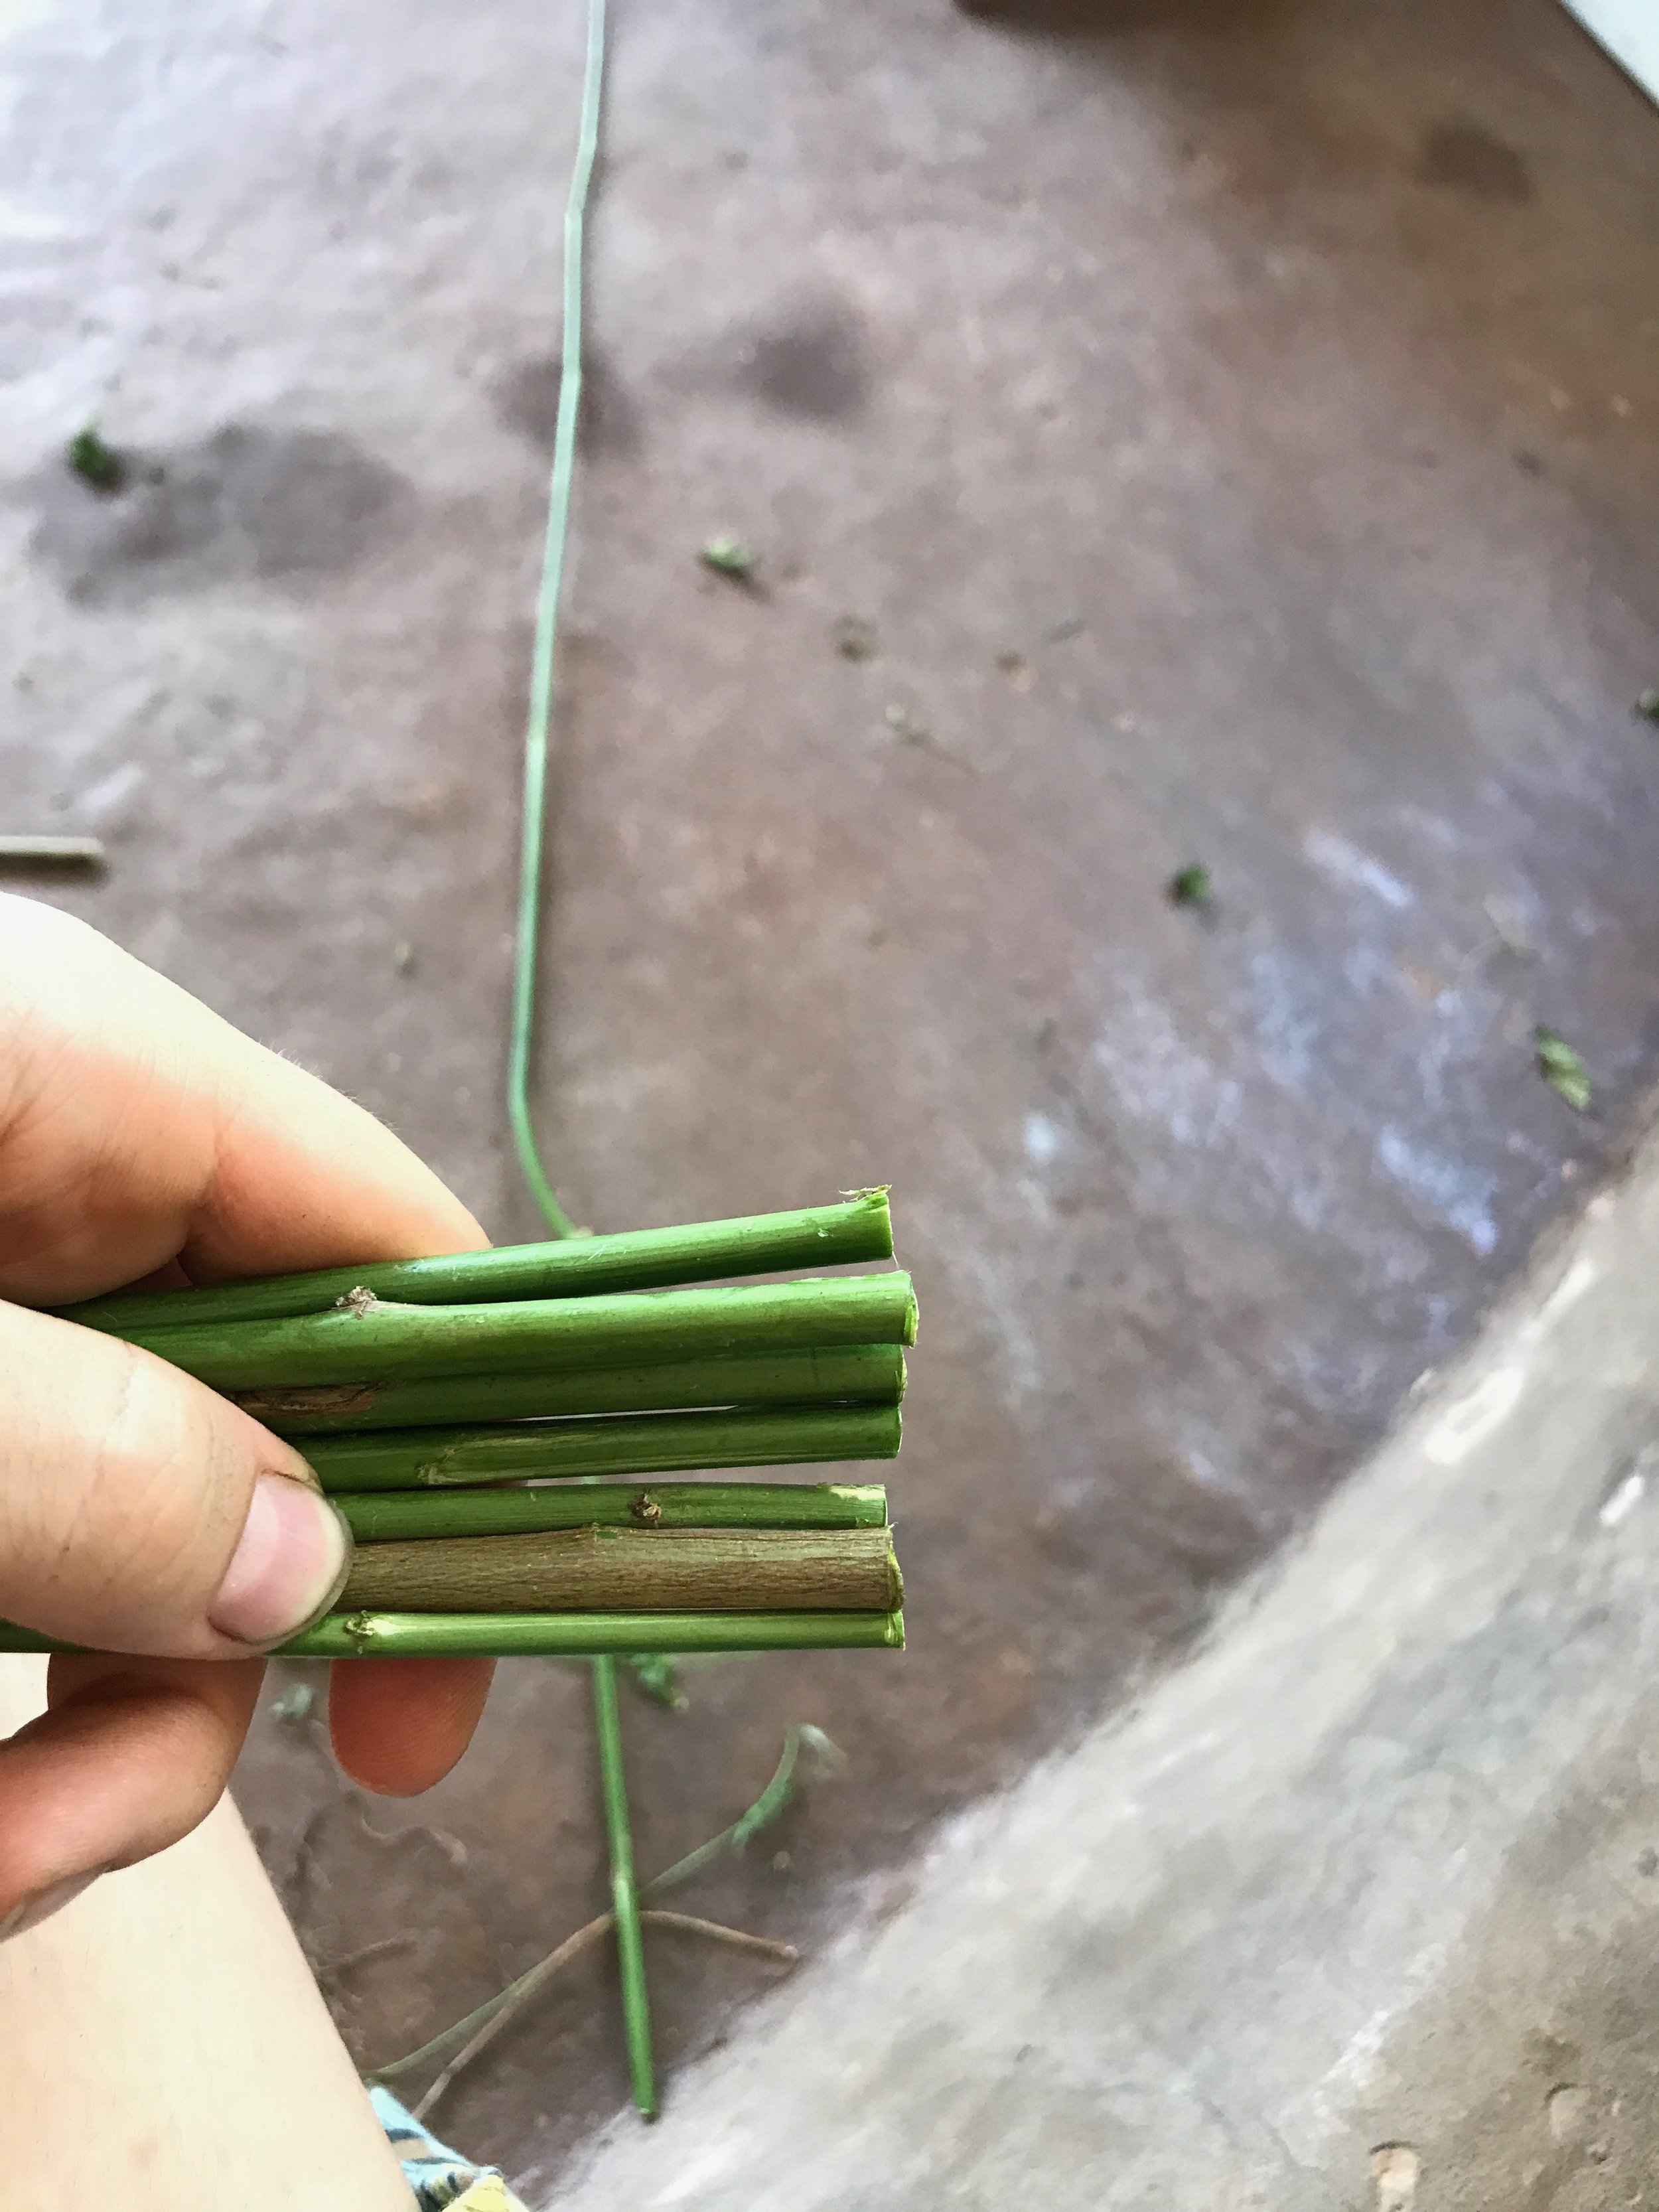
close enough!
Step 2: Prepping the Sweet Potato
The preparation of the sweet potato vine is very similar. Simply remove the leaves and the smaller vines off the sides.

I then coiled the vines to keep them tidy and “train” them into being in a tight circle, much like coiling up a garden hose.

I’ve set the thinnest one to the side to use first
Step 3: Weaving the Basket
For clearer instructions on these next few steps, I’d recommend checking out Jon’s Bushcraft tutorial on willow basket making here. Full disclosure, I was able to make a functioning basket, but the materials were a little fiddly. It’s much easier to see the steps with clean and crisp willow branches.
Start by laying out the katuk branches in a cross shape, 4 by 4.
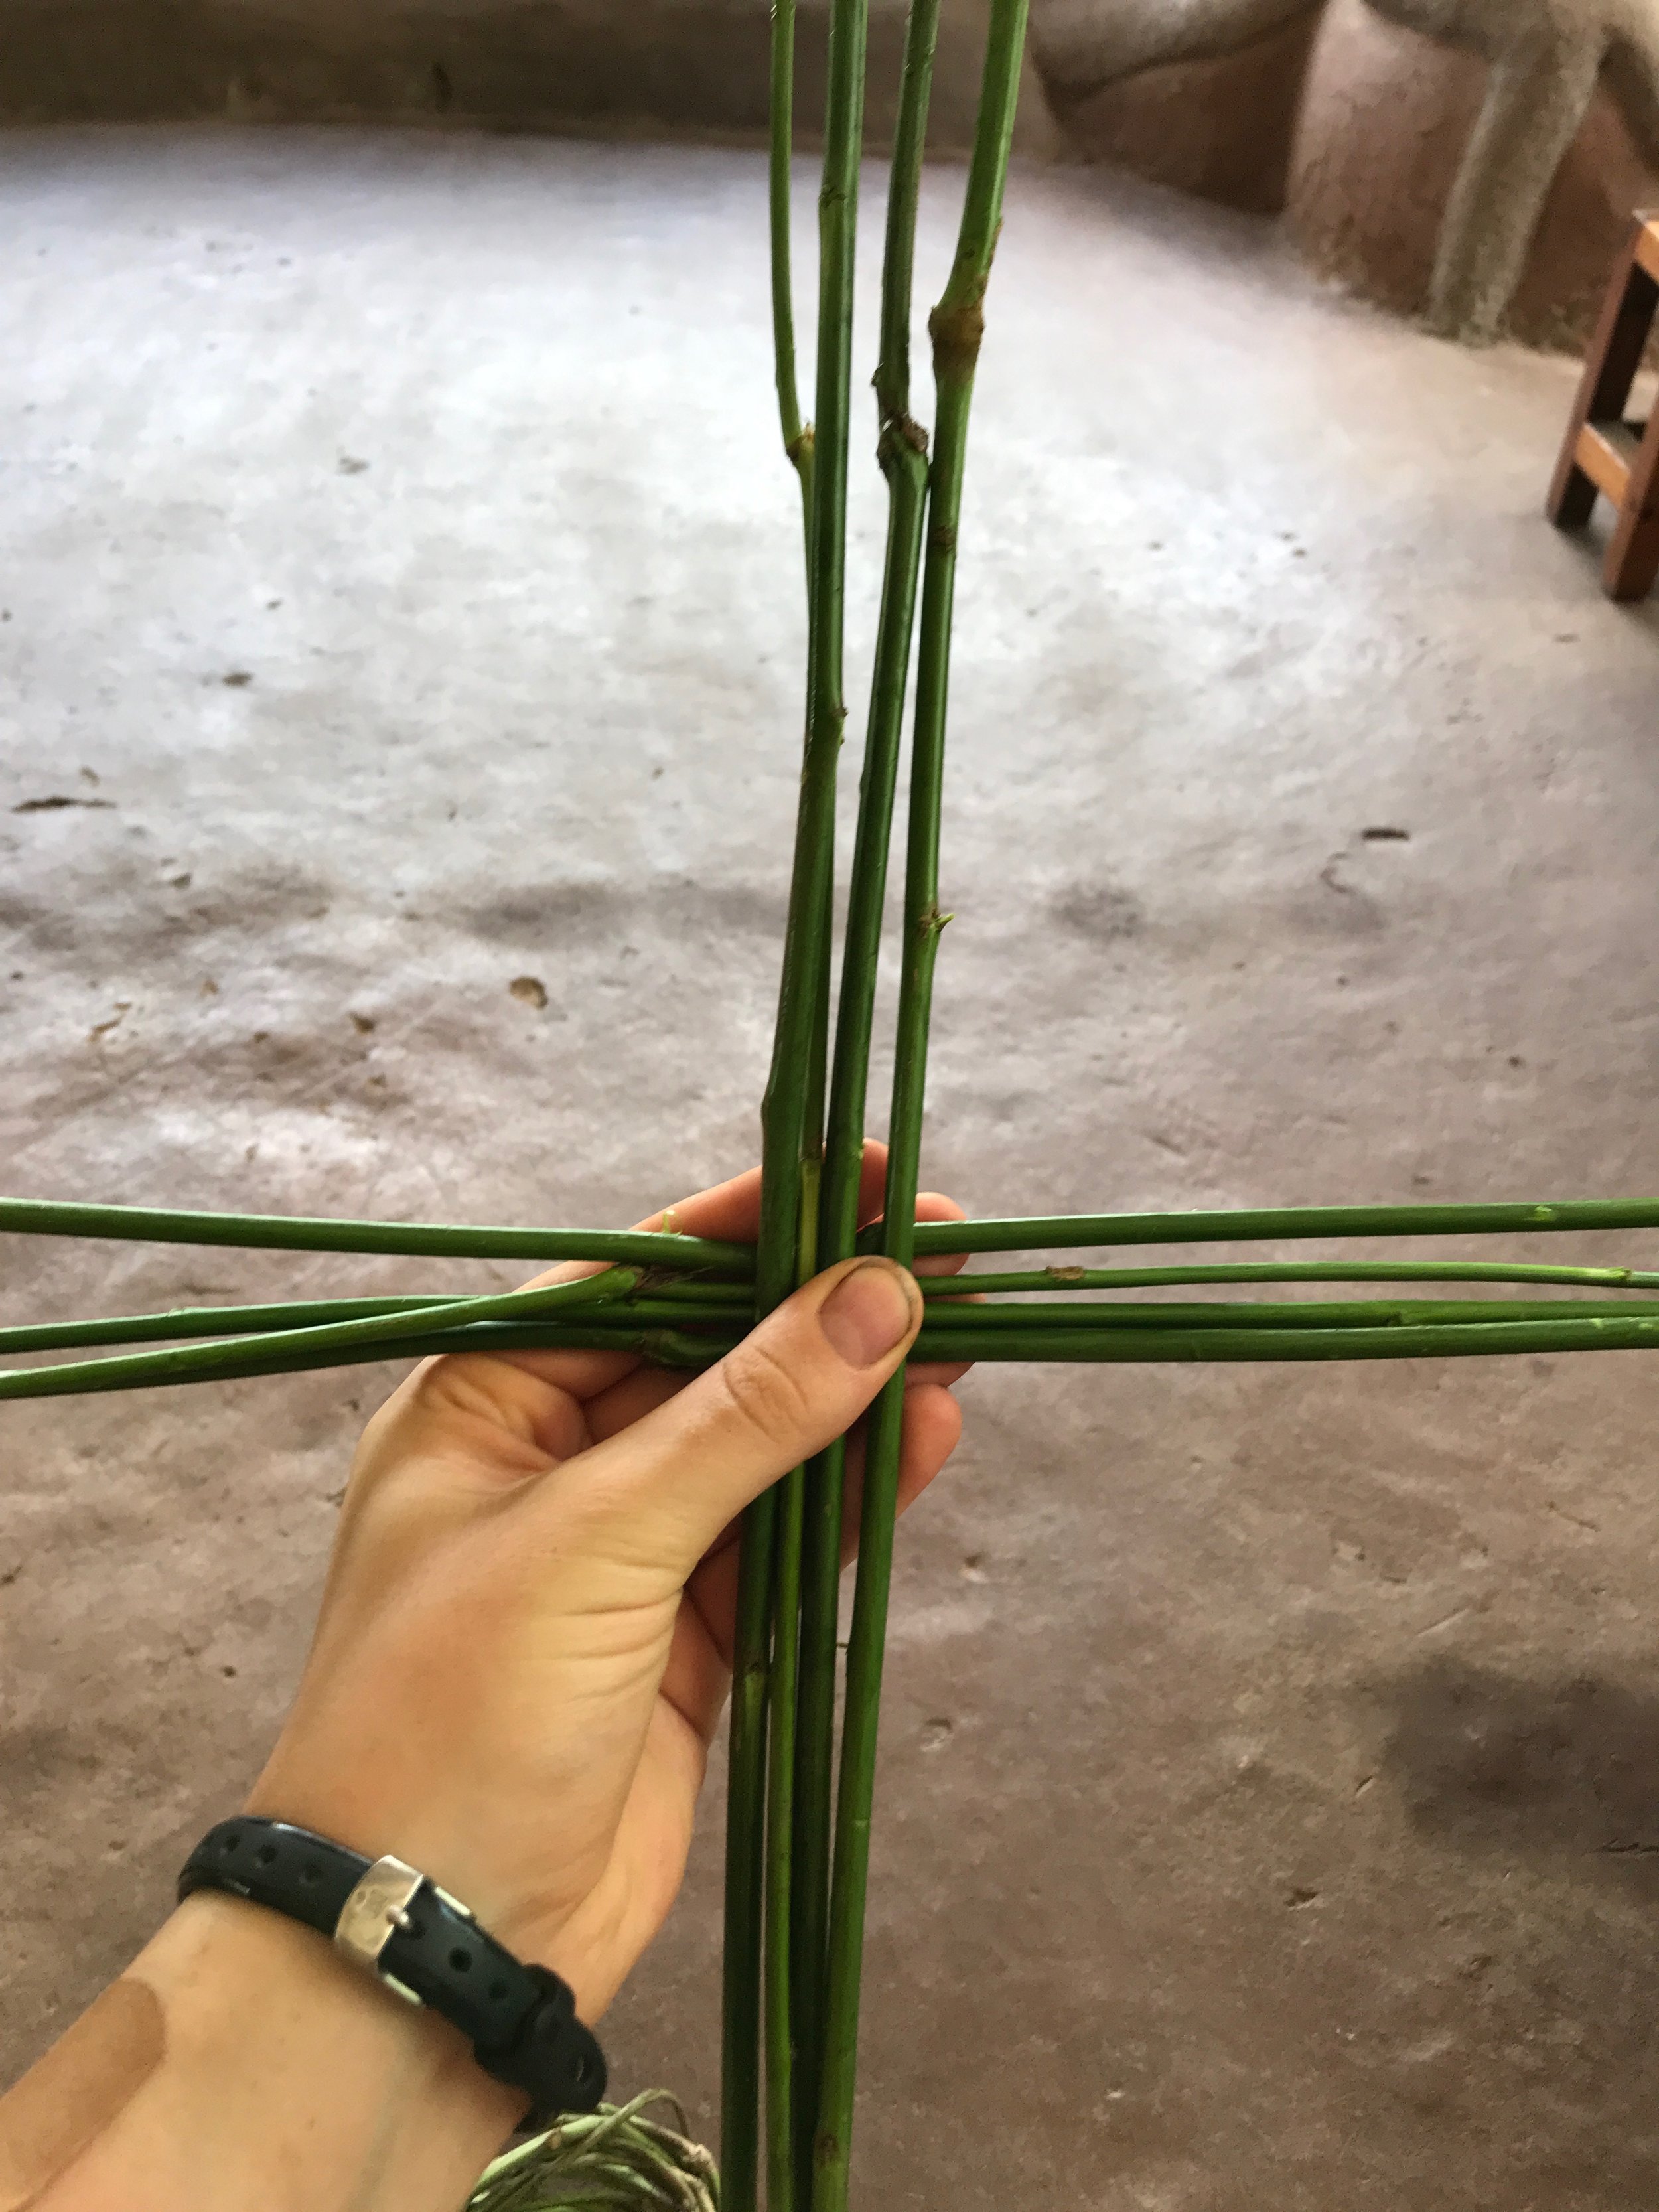
Yes, my finger nails are very dirty
Next, take the thinnest, most flexible section of sweet potato vine and wrap around each spoke in a clockwise circle

Like I said, fiddly
After going around a second time, split your spokes in half (two katuk branches together) and begin weaving “over, under”


Voted off the basket
After another go around, split your spokes again so that you are weaving between each individual katuk branch

Continue weaving around and around. When you run out of a segment of sweet potato vine, simply lay the next piece on top of the end of the first one and continue on as normal.

After you have reached the desired size for the base of the basket, begin gently coaxing the katuk branches upward

This part can be a bit awkward. Avoid snapping your branches, but if it does happen, the weaving should still hold them in place.
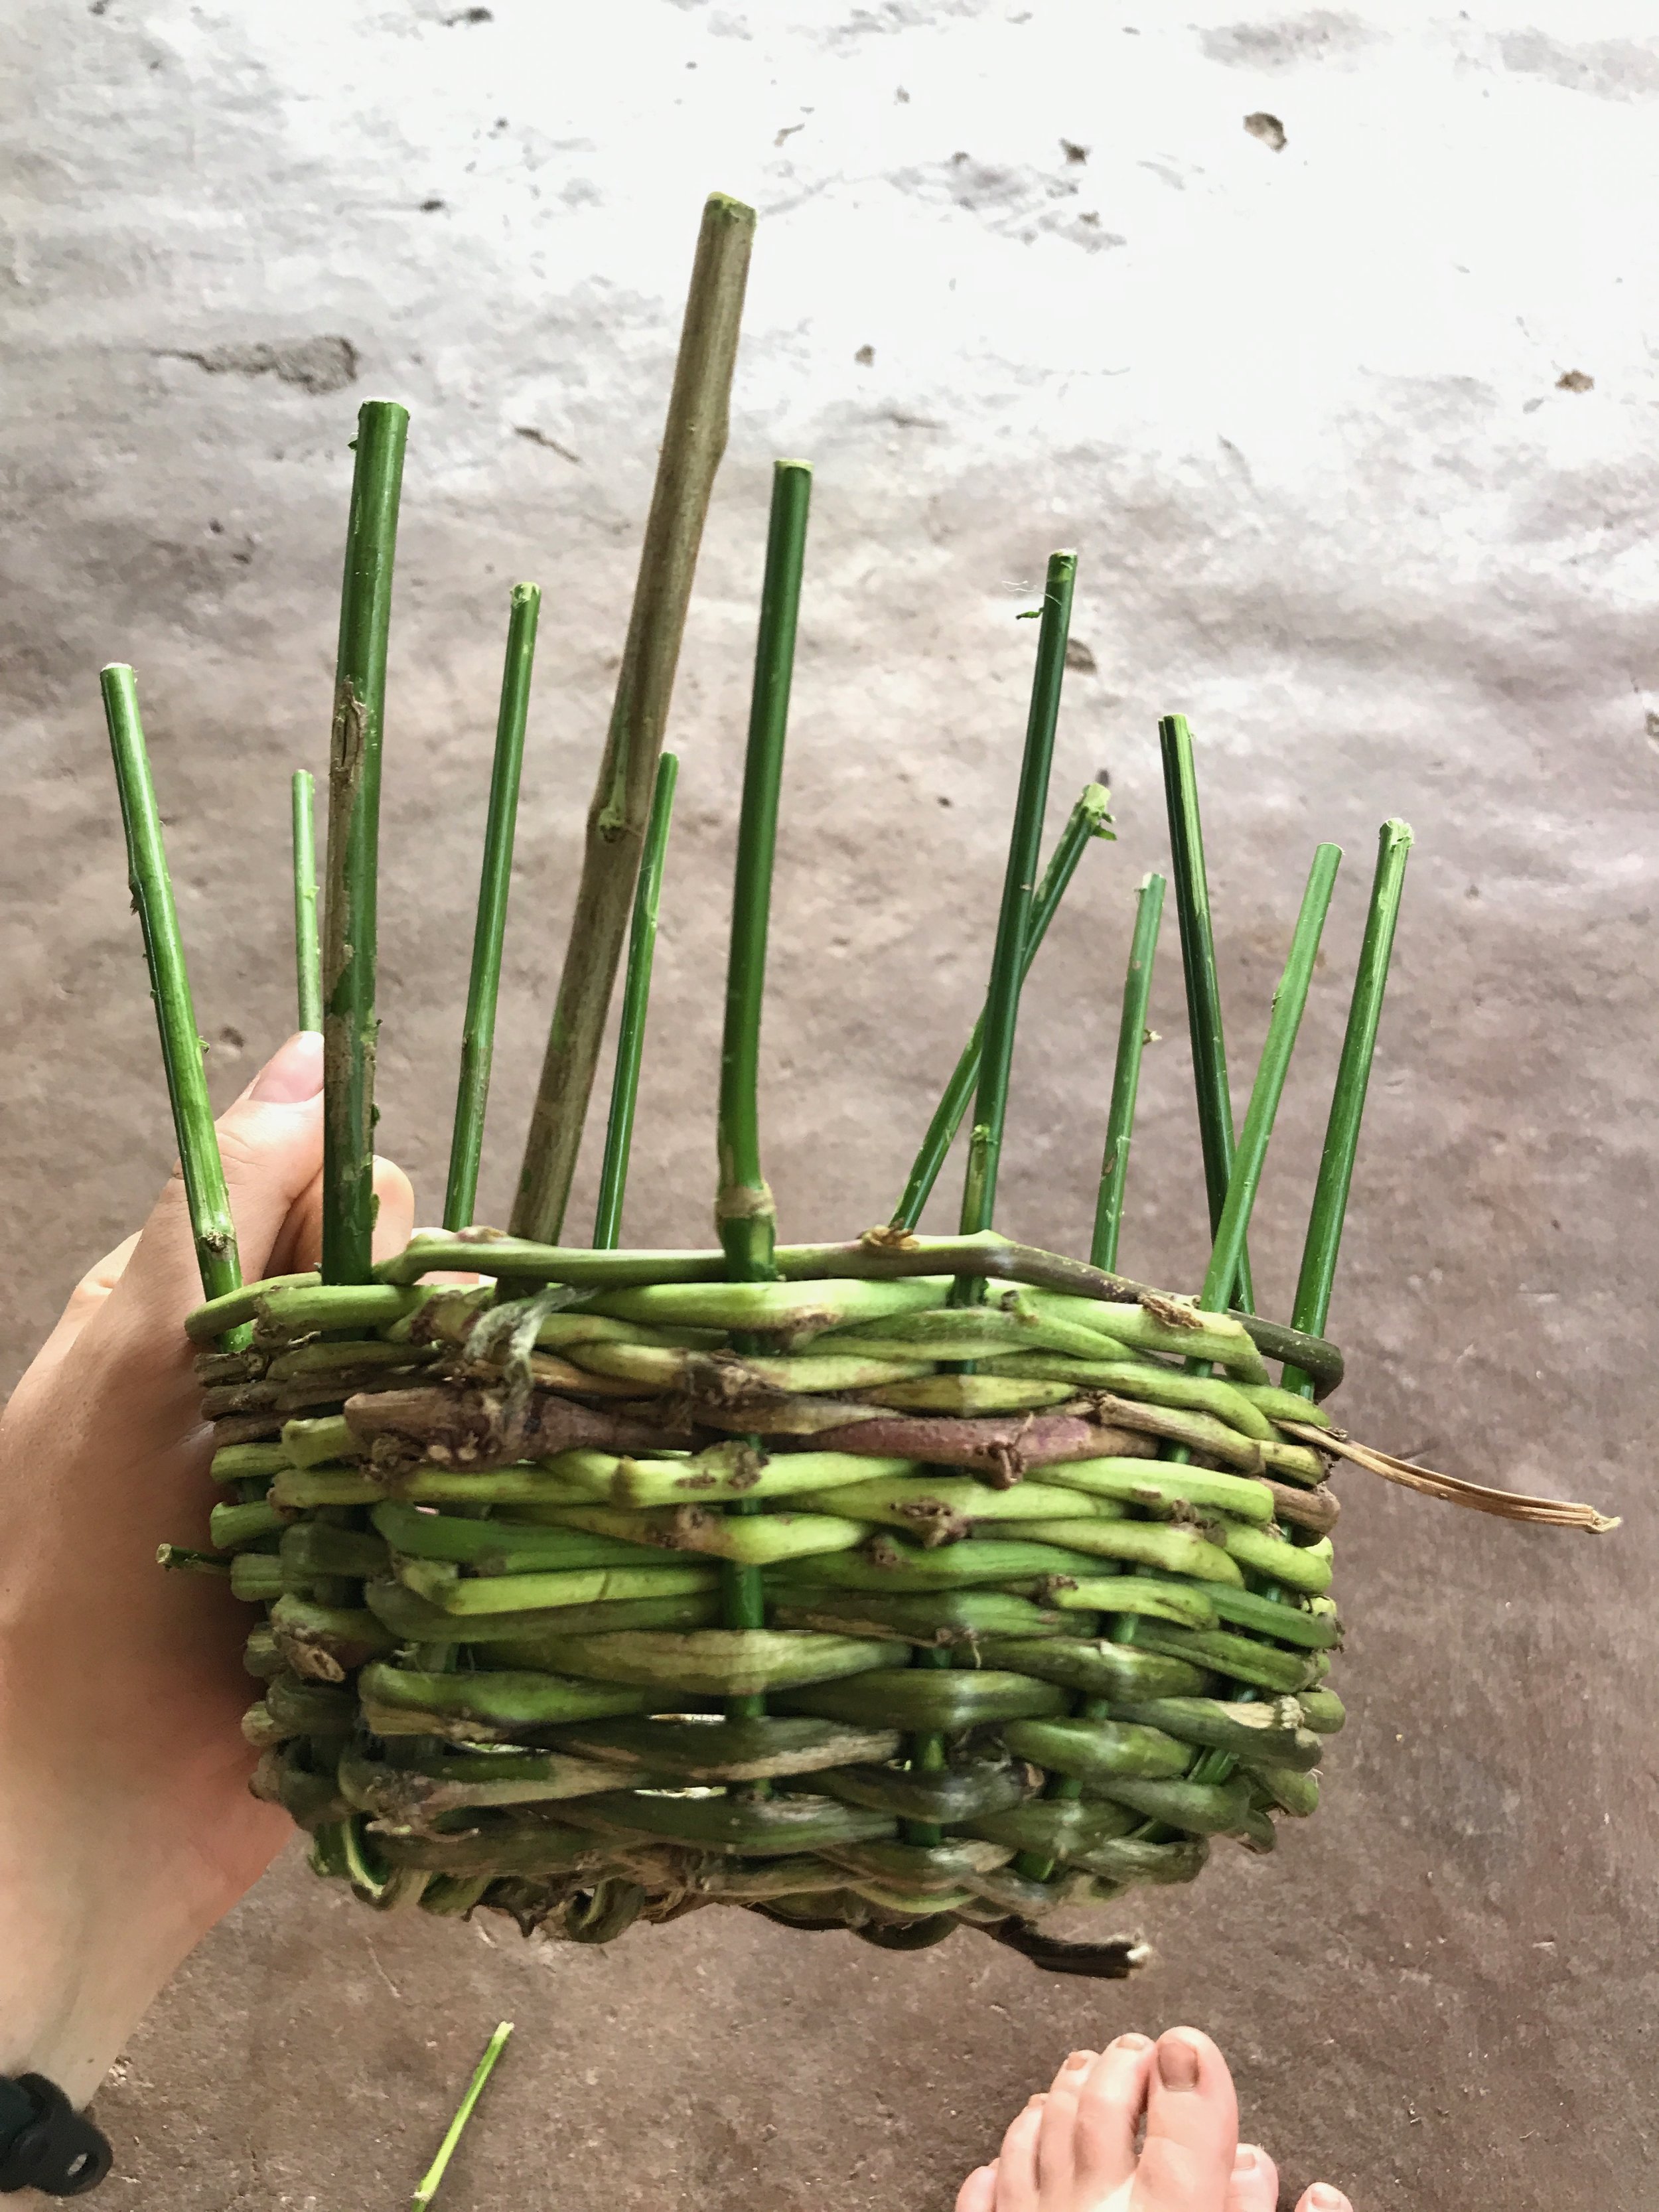
When you reach the desired depth of your basket, it’s time to snip off the excess. Usually, the remainder of the stake is woven back inside the walls of the basket, forming the top edge. However, the katuk was not quite flexible enough, so I chose to use additional sweet potato vine to create a top edge.
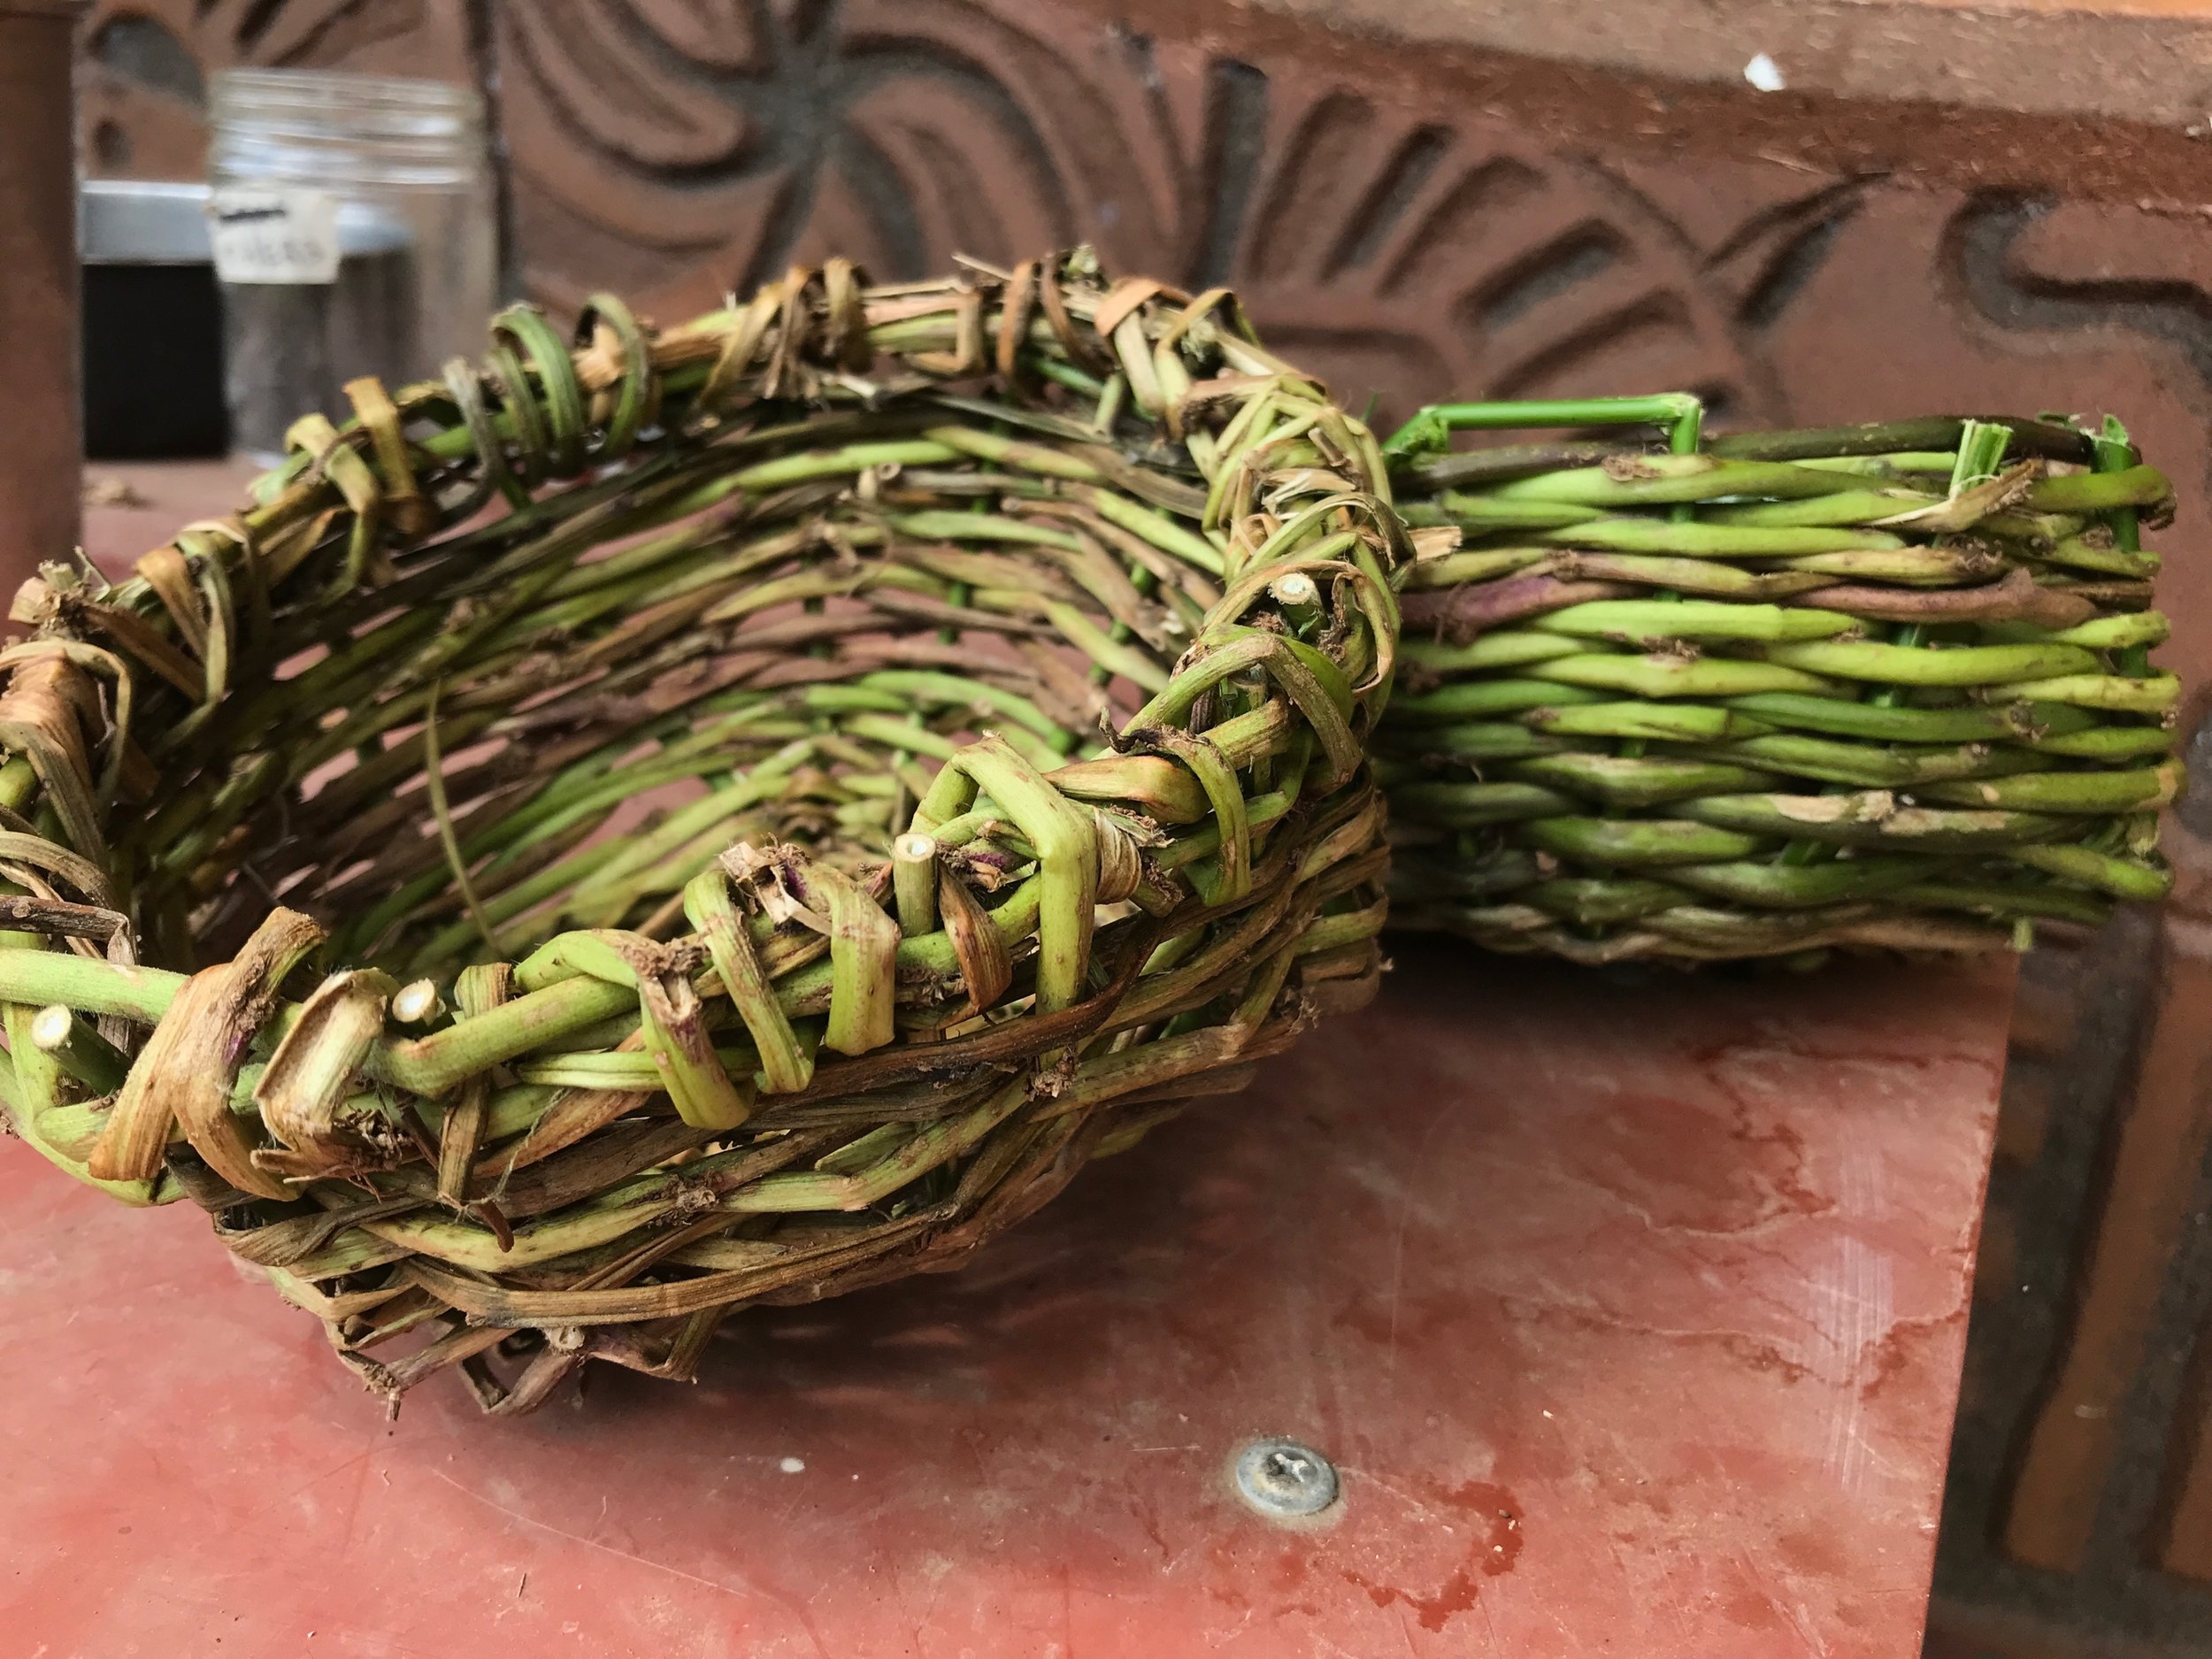
I got my inspiration from a basket found in the main house which has some kind of plastic cordage.

Step 4: Have a local teach you how to make a proper basket
After completing my own attempt of a simple basket, I was fortunate enough to meet the older man in town who is responsible for making all the beautiful baskets around the house. He very kindly offered to show me the vines that are harvested from the forest, as well as tips for improvement for this extremely useful craft. Stay tuned for Mastatal basket making 2.0!

Lighthearted Advice for New Apprentices
Arriving in the jungle was quite a shock, especially when they called the time of year of our arrival the “dry season”. Moisture seemed to pervade every orifice. Sometimes that was a good thing, but mostly I’d argue that it was not. Still, the vegetation thrived, as did the bacterial and yeast colonies that fill every niche of life in this ecosytem. As apprentices we learn how to wield these little microscopic buggers for our own benefit in a process colloquially known as “fermentation”.
by Denise Mc Keown, 2018 Rancho Mastatal Apprentice
NOTE: For those of you not proficient in Denise’s North Irish humor, this article is written with tongue in cheek about the Ranch’s 11-month apprenticeship.
Arriving in the jungle was quite a shock, especially when they called the time of year of our arrival the “dry season”. Moisture seemed to pervade every orifice. Sometimes that was a good thing, but mostly I’d argue that it was not. Still, the vegetation thrived, as did the bacterial and yeast colonies that fill every niche of life in this ecosytem. As apprentices we learn how to wield these little microscopic buggers for our own benefit in a process colloquially known as “fermentation”. Sandor Katz, the well-known author of Wild Fermentation and other great books about food refers to this process as the place where “life meets death”. He suggests that the best tool for informing you at which point you arrive to a nice fermentation equilibrium is your sense of smell. Here at the Ranch that equates to anywhere along the continuum of “rico” to “bury it deep in the compost”. Piece of Advice 1: When the stinks right, eat it.

The tropical woods that we are afforded to work with gave me a special type of masochistic pleasure. I could lovingly carve some poor joinery with inexperienced hands only to awake the next day and see my piece, bowed four ways from Friday, writhing and distorted. It’s a fun feature of fast growing tropical wood and a never ending learning curve. Piece of Advice 2: Don’t forget that two people test all your furniture so embrace the process of “practice”.

Upon arriving to the Ranch I was staggered by its feats of natural building, much like the adobe bricks that I made at the start of my apprenticeship. Yet the result of the adobe's’ non-conformity, as I liked to qualify their shape, meant that they had to be rendered back to the earth from once they came. Piece of advice 3: Do it right or do it again.
“Ag” is not an abbreviation for agroforestry or agriculture around here as it is commonly thought. Instead it’s what you will say and feel when your knee-deep in the orchards. It’s also what you’ll exclaim when you taste the fruits of our labor and that of many others before us. It’s a different world in those food production systems; miracle fruit, mangosteens, ice cream beans, cashew apples, rambutan, vanilla and black pepper. Prepare to have buckets and wheelbarrows of fun helping the fruit trees to thrive. Piece of Advice 4: Don’t touch the cute caterpillars and watch out for snakes.

You’ll really dig Zone 1. Take care to nurse and propagate the work we started. Remembering that sometimes it’s overwhelming and that it will be your job to swing that ‘whelm’ towards the food and flowers and not the weeds. Piece of Advice 5: Learn to fill a nursery bag the right way from the get go.
I wish I could tell you that “Chester the Molester” was just a cute nick name, but “molestar you” he will, which is fine as he’s just one of the Ranch’s cat. The less said about Max (short for “Maximo Gordo) the better. “Lola” or “Lolita” is just like the story, a young pup who’s only companion is a male dog several times her age, the elder which we call Jack. They all protect the Ranch from motorbikes and people with umbrellas and hats. Piece of Advice 6: Don’t f**k with Chester.

The core team might be the only thing in the tropics not trying to kill you. This is because they have enough to do. While it might feel like you’re doing some of the shittiest jobs, pun intended, it’s nothing compared to the effort put in by the “tico” team. If you make it through the first three months, you’ll be capable of the rest. If you do it without any holes in your clothes, then you’re not really doing it. Or you have some fancy-assed clothes. Piece of Advice 7: Remember that “ticos” can always do it faster and better
The tropics will jolt you in the same way they will your electronics, leaving you somewhat reeling and occasionally frozen in time when asked to do more than one task at once. You’ve been forewarned now, so come prepared for your life to never be the same again. Last Piece of Advice: If you care about it, leave it home.

Categories
Topics
- Agriculture 6
- Agroforestry 21
- Animals 2
- Apprenticeship 19
- Appropriate Technology 6
- Backpacking 1
- Bananas 1
- Basic Pantry 4
- Biochar 1
- Books 3
- Build Your Own Home 1
- Central America 5
- Chiles 1
- Cinnamon 1
- Clay Carving 1
- Climate 2
- Climate Change 1
- Cob oven 1
- Communication 5
- Community 24
- Compost 2
- Composting Toilets 2
- Condiments 1
- Conservation 2
- Cooking 4
- Costa Rica 18
- Design 10
- Earthen Construction 10
- Eat Local 2
- Ecohome 1
- Education 9
- Environment 3
- Ethics 4
- Farm to Table 12
- Fasting 1
- Fermentation 14
- Food 22
- Food Choices 8
- Food Forest 8
- Food Processing 15
- Food Systems 12
- Gap Year 1
- Gardening 5
- Ginger Beer 1
- Harvest 2
- Health 12
- Healthy living 5
- Homemade 2
- Homestead 8
- Internet 2
The Ranch’s new cookbook is here!
This cookbook might not be quite like the others you have sitting on your shelf. We’ve made it look like a cookbook— and it might smell like a cookbook if it’s spent enough time in your kitchen— but it’s also a memoir, a history of a place, of 20 years of experimentation and learning and growing on the piece of paradise known as Rancho Mastatal.