Syntropic agriculture is based on seeing evolutionary processes as driven by cooperation among members of the living system in a way that benefits the system as a whole. It aims to maximize of diversity and productivity.

BLOG
Stories, articles, and updates from the Ranch community.
After more than 20 years, we have been able to identify some trends that have led to our survival as a business and a community. The following advice is appropriate, and perhaps some of it even necessary, if you expect to live successfully in a communal work and living environment doing land-based work.
By 2022 apprentice Connor Gilmartin

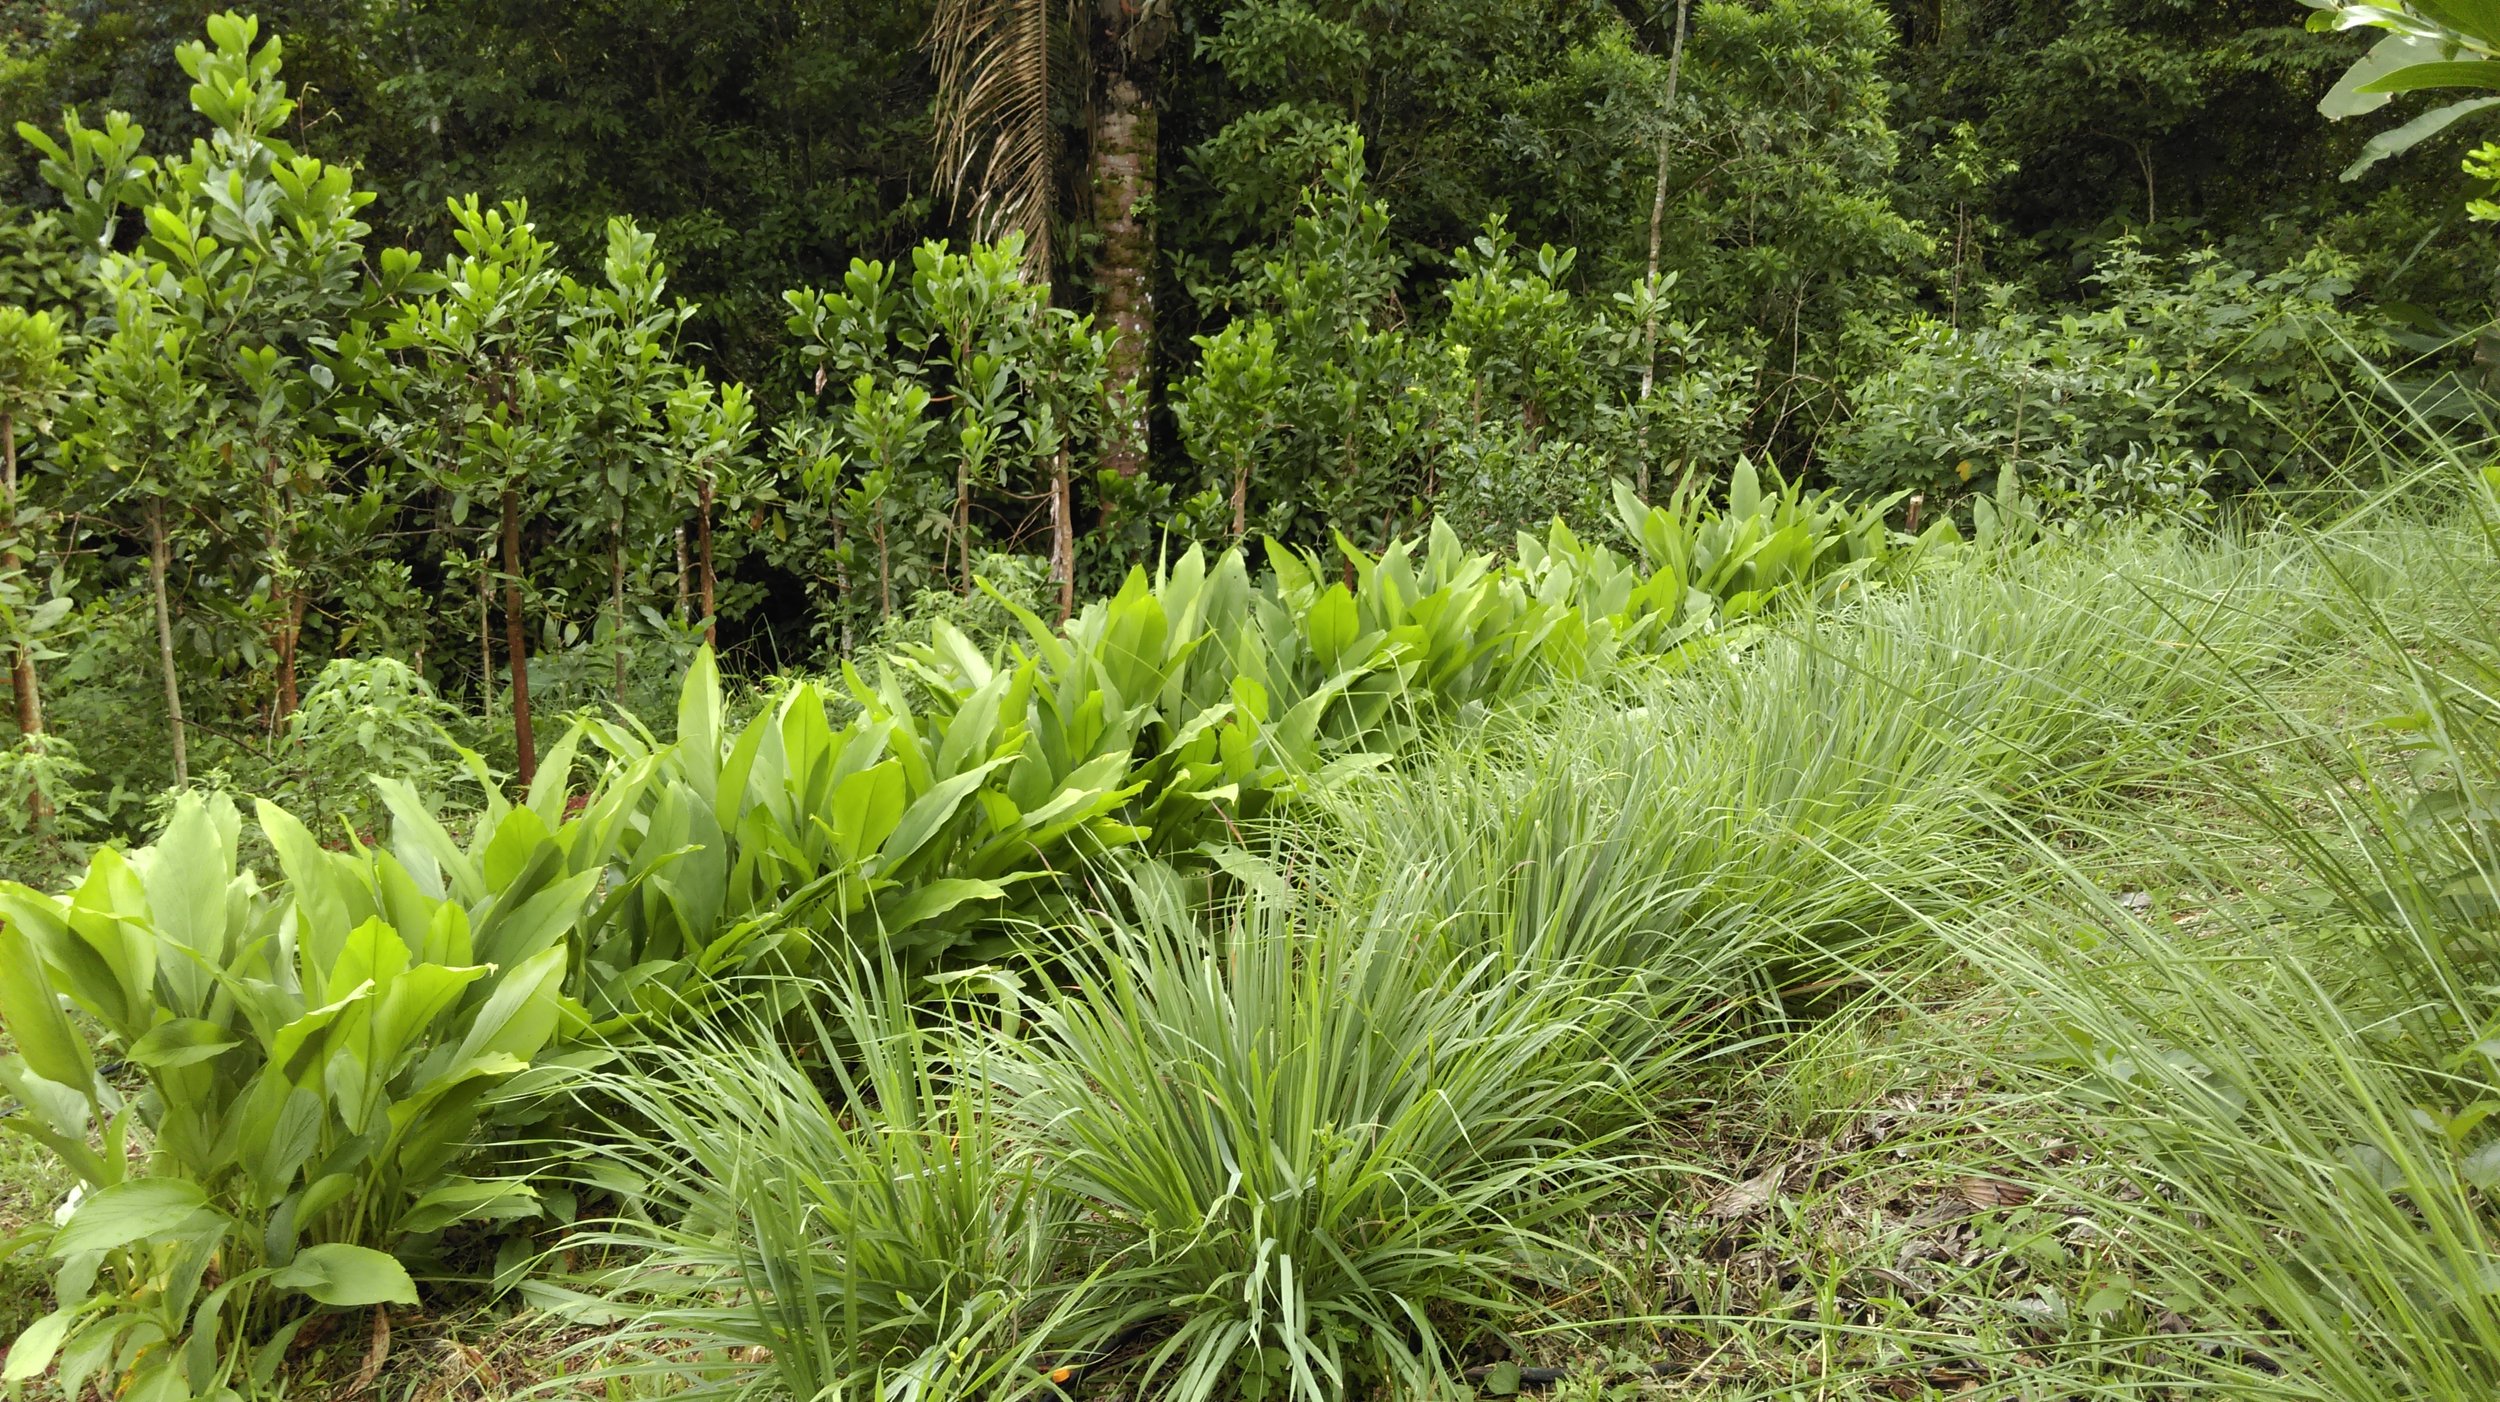
A walk through our orchard systems
Wade Davis once wrote that the Kogi people of Columbia believe “The surface of the Earth itself is an immense loom upon which the sun weaves the fabric of existence”. The garden and orchards of Rancho Mastatal are proof of this eloquent observation. While walking through the orchard spaces of the Ranch, your field of vision is overtaken by a mosaic of emerald green foliage, and gem-like, plump tropical fruits. This intentionally designed agroforest is abundant - however, a productive tropical orchard or garden does not come without hard work. Without mindful intervention, these orchards and gardens would not reach their fullest potential. It is our goal to listen to Madre Tierra, and help her achieve her most resilient, healthiest form.
While the jungle soils of Mastatal are abundant in in biodiversity, they are lacking in potential hydrogen (pH), which results in acidic soil. This low-pH, high acidity soil presents a bit of a problem for a gardener like myself, who is keen on optimizing a plant’s growing medium, in search of nutrient-dense, boast-worthy fruits and vegetables. Simply put, acidic soil results in low levels of available calcium. It is a known fact that calcium plays a crucial role in plant health and development. So… how can we remedy this issue? I’m glad you wondered.
A tropical permaculturist in this predicament is faced with two options; purchase bulk calcium carbonate in the form of ground limestone to apply as a top dress, OR use all those eggshells sitting on the top of the compost bucket to make Water-Soluble Calcium (WCA). WCA is one of the five inputs developed by Master Han Kyu Cho, the prolific South Korean gardener responsible for what is known globally as Korean Natural Farming (KNF). I’ll note that topdressing with limestone (CaCO3) does play a role in our agroforested zones - foliar feeding 12 acres of orchards would be unrealistic, to say the least. Foliar feeding a quarter acre of raised garden beds is a different story. Preparing WCA is fulfilling and presents a phenomenal opportunity to help close the loop between your garden and kitchen, while also providing your plants a calcium-rich tonic they’ll thank you for. When you see your pepper’s shiny leaves praying towards the morning sun, you’ll see what I mean.
I’ll begin by listing the materials you’ll need to make a batch of Water-Soluble Calcium (WCA). They are as follows;
1.) Two clean glass jars (I am personally Ball Brand loyal, but any clean glass jars will do)
2.) Eggshells (Rinsed after cracking to remove organic matter)
3.) Brown Rice Vinegar (3% acetic acid is what you’re shooting for if you make your own vinegar like we do here at the Ranch)
4.) A cast iron skillet
5.) A breathable cloth to act as a “lid” (cheesecloth or nut milk bags work quite well)

Washed egg shells and homemade bottles of vinegar

One of our alternative wood fired cooking stoves
I chose not to list specific quantities of eggshells and vinegar because the amount of WCA you might want or need is variable, depending on the size of your garden space or application schedule. By weight, the solution will be prepared using a ratio of 1:10 (eggshells to brown rice vinegar).
To prepare the WCA solution:
1.) Collect eggshells, gently wash with water after cracking.
2.) Lightly roast the cleaned, dried eggshells in a cast iron skillet for approximately 30-45 minutes. This removes any potential leftover organic matter stuck to the shell. Shells should be dry and toasted golden but not charred.
3.) Add toasted shells to a glass jar filled with brown rice vinegar. You will see carbon dioxide being released as the eggshells float up and down the vinegar. This is good. This is a sign the calcium is being dissolved into the solution.
4.) Cover your jar with a breathable cloth. This prevents pests or large organic matter from entering your prized water-soluble calcium solution.
5.) Place jar in a cool, dry location for 7 to 10 days.
6.) After this time has passed, check to see if the solution is still bubbling. If it’s not, that means your solution is saturated and all set for the final step.
7.) Strain your solution into a clean glass jar to remove eggshells. Cover with airtight lid, label, and store at room temperature out of direct sunlight.

Toasted egg shells

Egg shells sitting in vinegar
Voila! A week has passed and now you have a jar of homemade water-soluble calcium. You must be excited to go give your plants a taste. I’d recommend doing so in the early morning. Greet the sun, sing to your plants, and remember, your mind is a garden, your thoughts are the seeds, you can grow flowers, or you can grow weeds. Happy gardening!

We have been applying permaculture principles to our agriculture systems for the past two decades. Join us for our yearly Permaculture Design Certification to learn more about designing and implementing sustainable tropical systems.
Tips for Working with Tropical Soils
Using Mountain Microorganism to Create Organic Fertilizer