

BLOG
Stories, articles, and updates from the Ranch community.

The First Rammed Earth Wall At Rancho Mastatal
Rammed earth is an ancient method of constriction used by civilisations such as the Assyrians, Babylonians and Persians over 10,000 years ago. Essentially, Rammed Earth is a mix of soil, sand and water mechanically compacted into a high density framework, which is the stripped and allowed to cure.
By Thea, Apprentice 2025
During the recent natural building workshop, Rancho Mastatal saw the beginnings of the first rammed earth wall on the property. Together with Benito, Nic and Ali, the apprentice team had the satisfying job of completing the wall. It is situated in the new Pilón construction and stands as another example of natural building and more specifically, the uniqueness of rammed earth.
So what exactly is Rammed Earth Construction?
Good question. Rammed earth is an ancient method of construction used by civilizations such as the Assyrians, Babylonians and Persians over 10,000 years ago. Essentially, rammed earth is a mix of soil, sand and water mechanically compacted into a high density framework, which is then stripped and allowed to cure. Simple right?
Rammed earth is a simple yet highly effective building method known for its affordability, durability, and efficiency. This technique mimics the natural formation of sedimentary rock—over time, as the structure settles under its own weight, it becomes increasingly compressed and therefore stronger. This would explain why structures such as The Great Wall of China and Berber Tribesmen settlements in the Atlas Mountains are still standing today.
Traditionally, this method uses sandy soils in arid or moderate climates such as Morocco and Australia because it has great natural thermal regulating properties, offers termite-free lodging, can be quick and sustainable; providing materials are taken from nearby land, or the site itself. However this wall does tend to erode and deteriorate when faced with wetter climates and seismic regions; and does require extra insulation in temperate regions. To increase durability, stabilizers such as Portland cement or lime are commonly added, as well as rebar to increase stability in earth-quake prone areas; but this does come with the cost of higher processing and more embodied energy.
Recipe for our Rammed Earth Wall
When testing mixes for the Ranch’s earthen wall, the team experimented with ramming raw earth (soil, sand and water) as well as stabilized earth (with added lime) to test durability and sturdiness. The raw earth mixture didn’t pass the test due to the clayey composition of the soil here at the ranch- soil with a high volume of clay is highly absorbent, which causes shrinkage and cracking in your walls. The lime provides structure and stability when added into the mix and after successful testing of the stabilised earth; the final mix was devised as a 2:4 ratio of sand to soil, hydrated with 20% lime. This worked well for the ranch, but it is always crucial to do your own tests due to different soil types, choice of aggregate, and what your are asking of your wall.
how to make the wall
framework and tools
Decide where you want to situate your wall. As previously mentioned, rammed earth does not fair too well with consistent water; so using it for a shower wall probably isn’t a good idea. In our case, the wall was to act as a sturdy and aesthetic privacy barrier for the compost toilets. What will your wall be sitting on? In this case, the earthen wall was to sit on a foundation of concrete blocks which also determined the width and length go the wall.
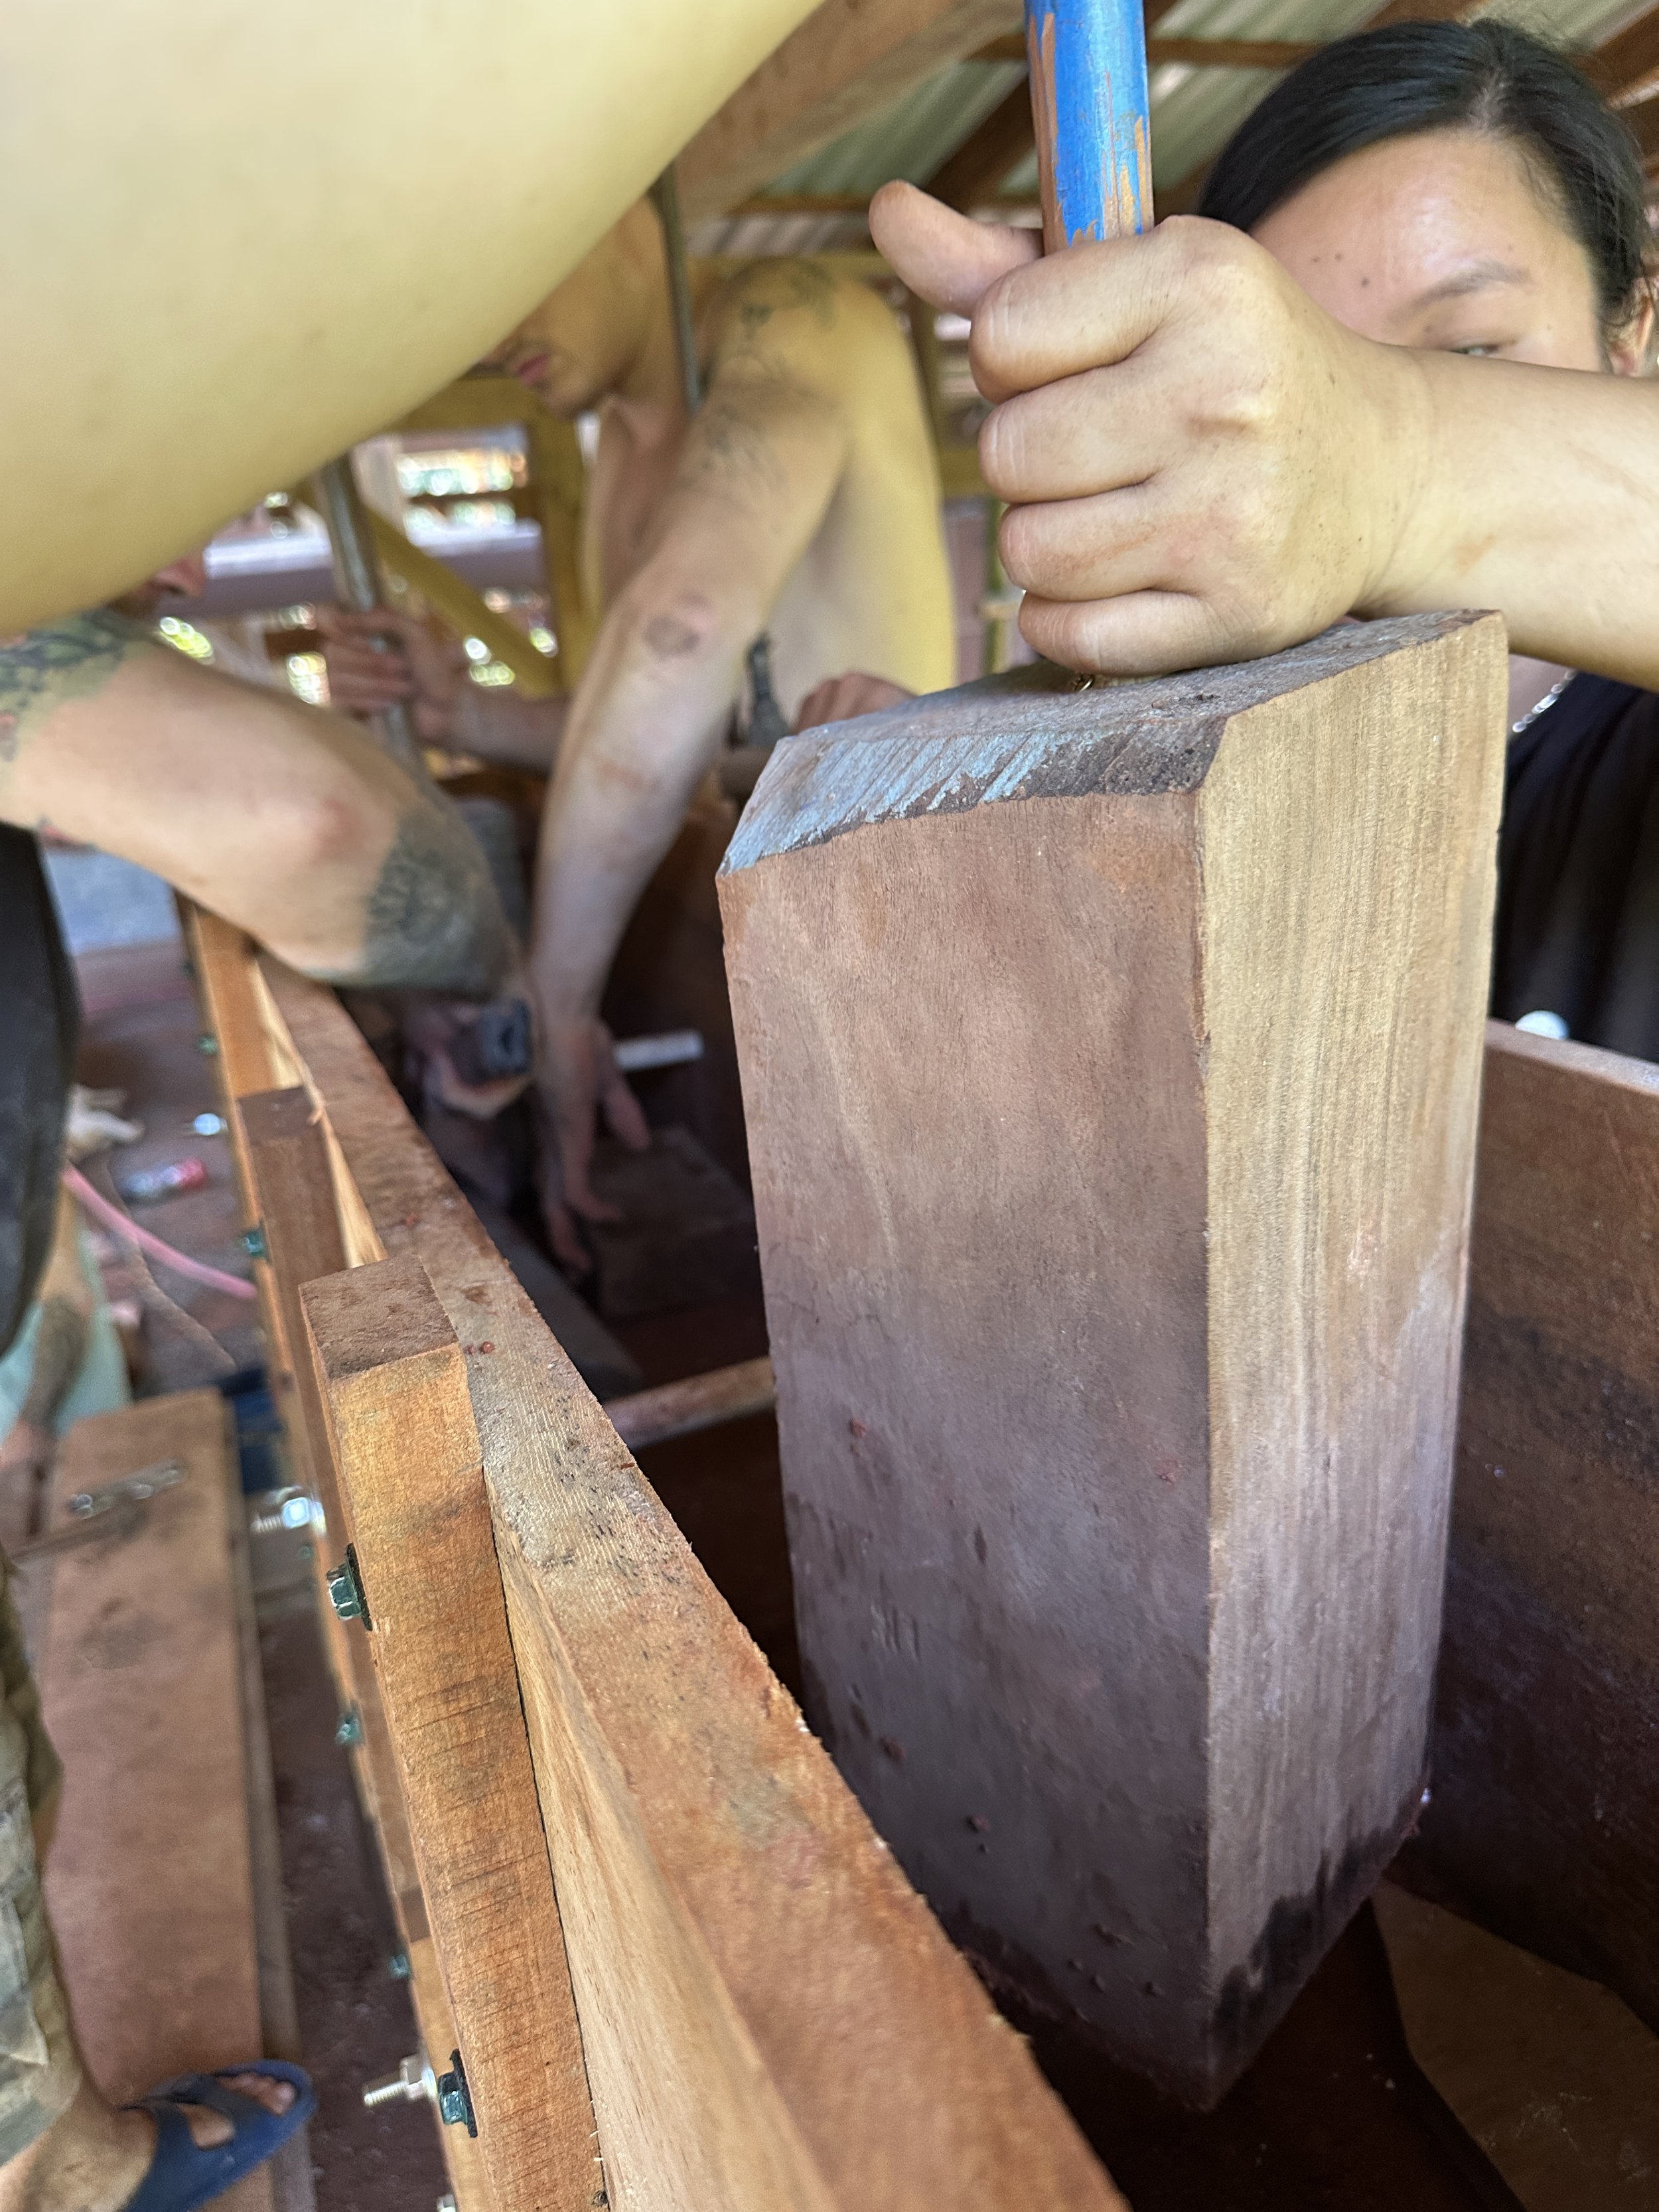
The first step is to gather or make the tamper (tool for compression) ensuring it is not too large for your framework but heavy enough to tamp down the earth. It is also crucial to build the framework itself which will determine the width and length of the wall. The framework must also be easy to dismantle to allow for removal and re-construction. Having several identical frameworks could be a nice alternative to this process, however, since this was a small-scale wall, we worked with two forms which could be removed and leapfrogged up the wall. It is important to consider how to make the frame as sturdy as possible. It has to withstand the force and vibrations from the tamping as well as the compression of the earth. For instance, the framework we used had two large screw attachments in the end quarters (covered by thin PVC pipe to ensure for easy removal) that could be tightened from both sides. Furthermore, foreseeing that the corners of the wall are the most likely places for erosion and damage to occur (ie, getting knocked and touched), they have been flattened off to create an elongated octagonal shape.

Making the Mix
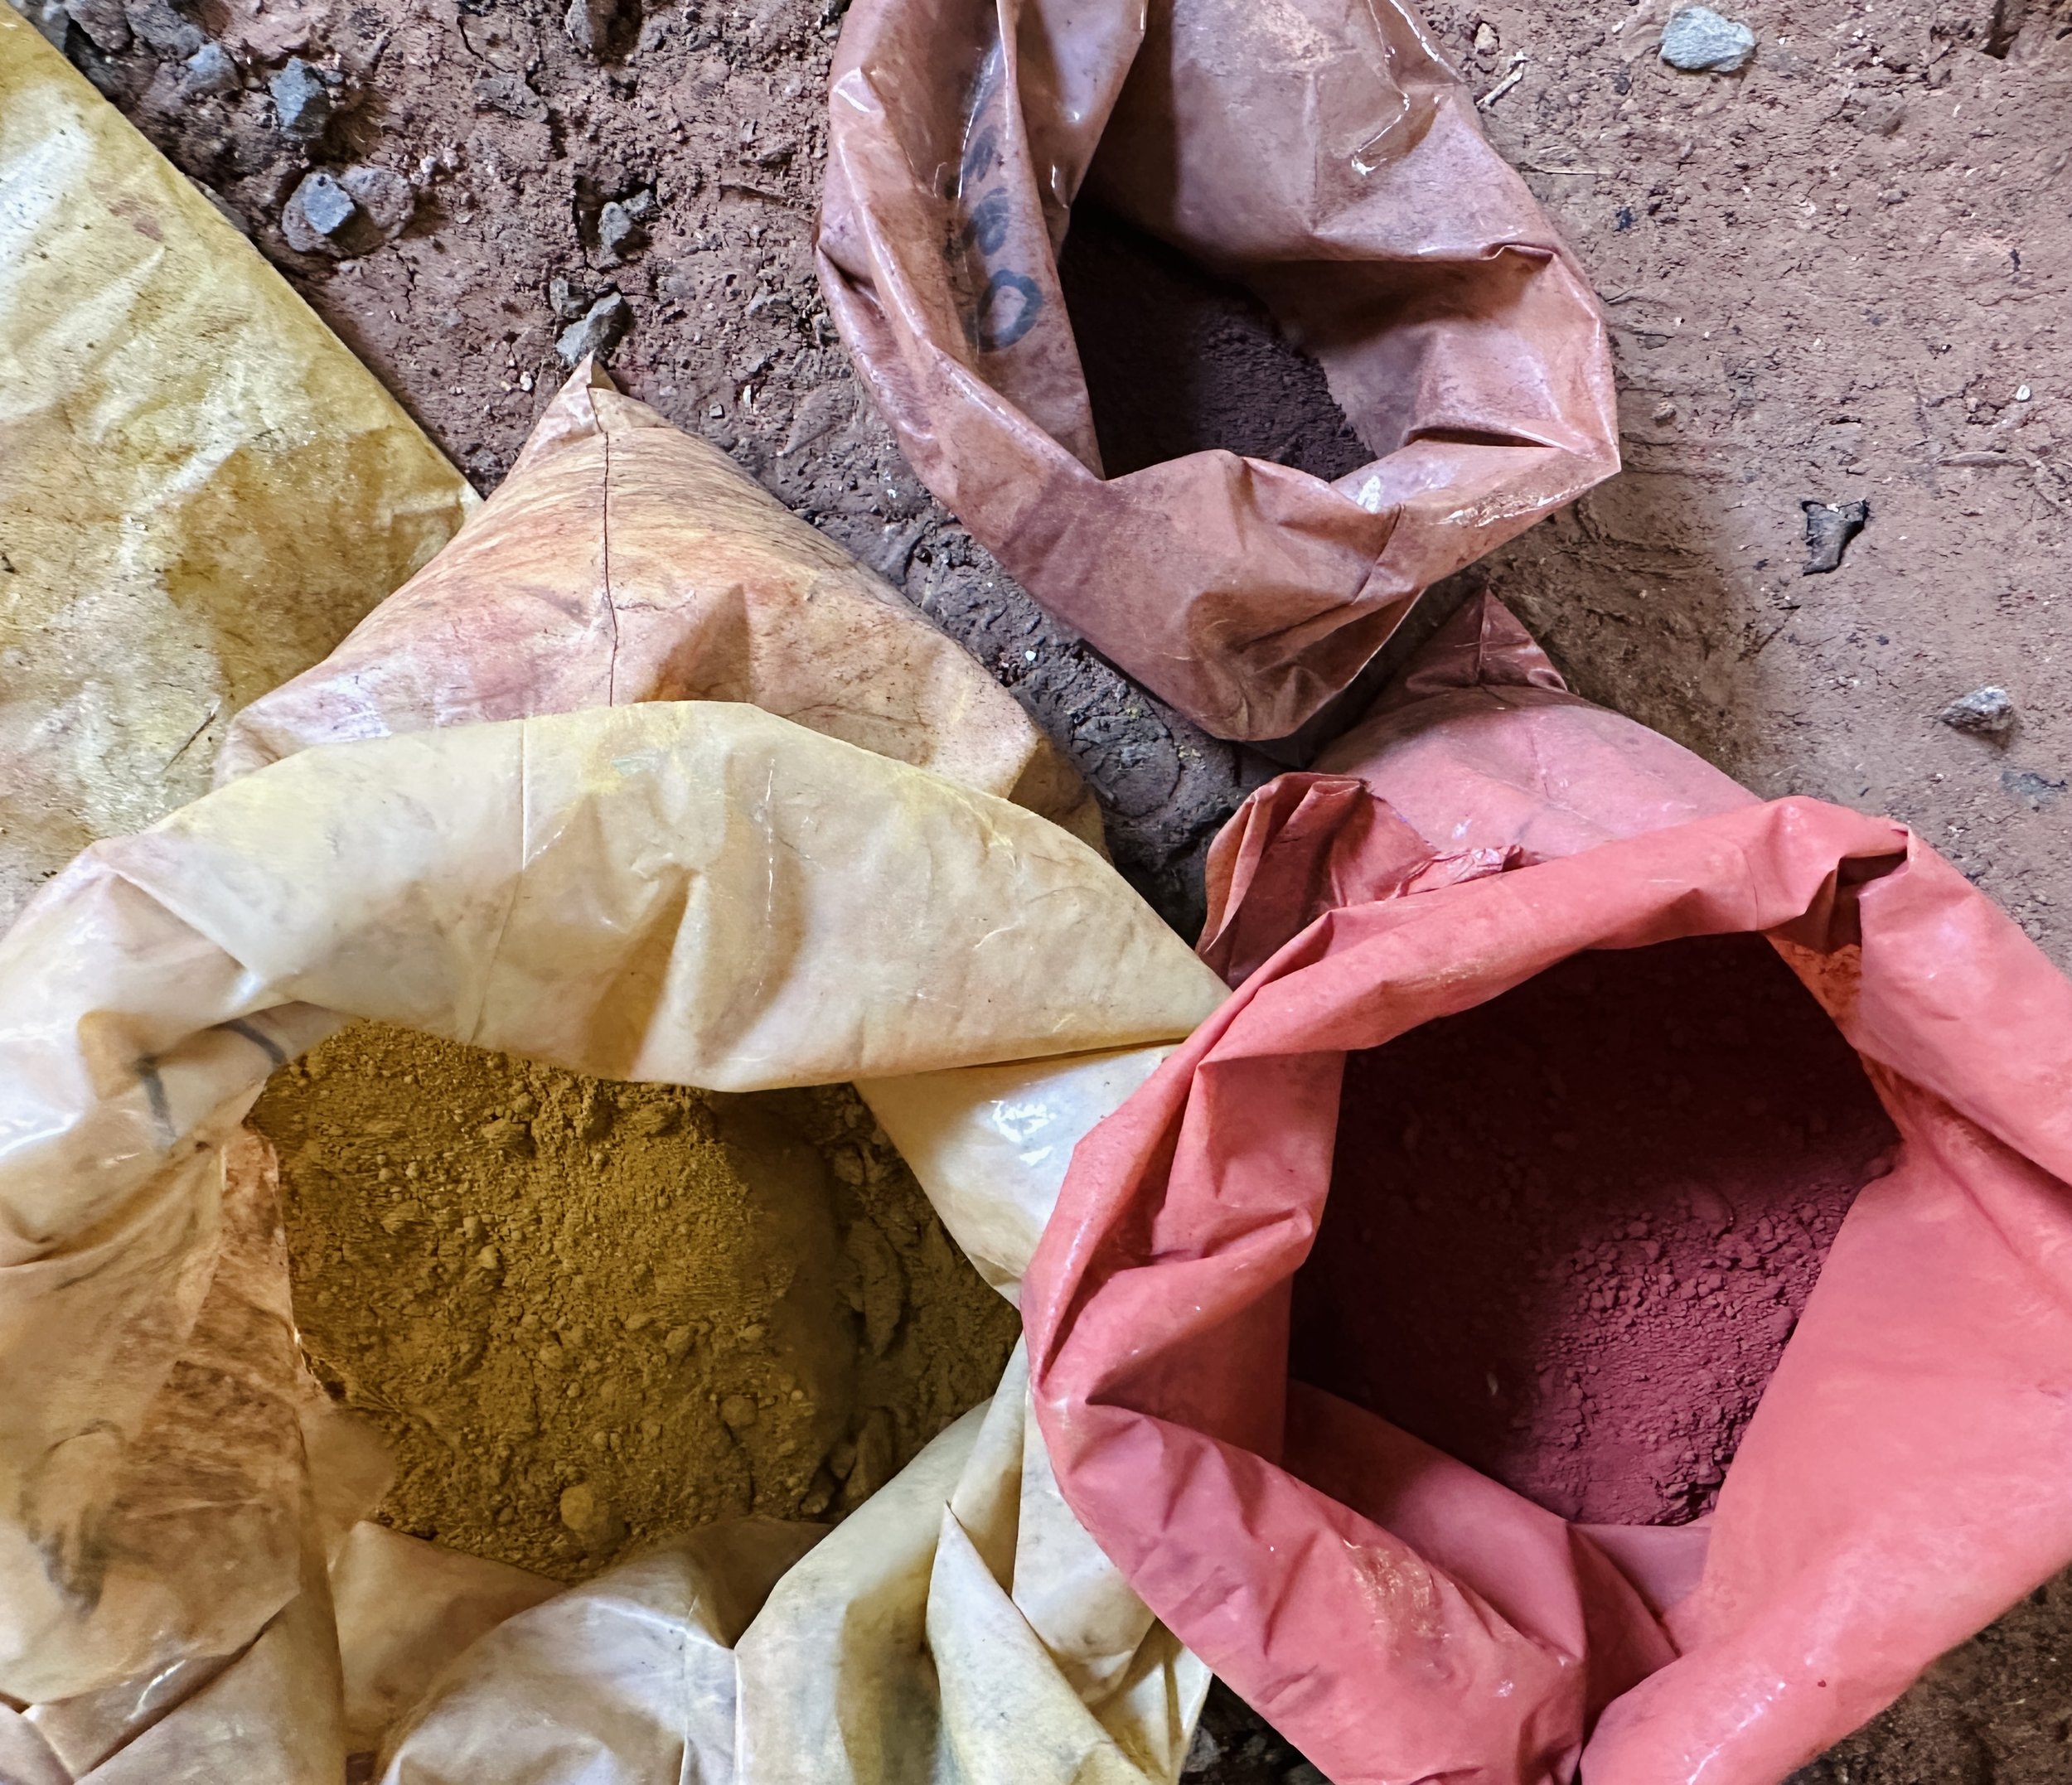
So, now we have the framework and tools ready, we need to make our mix. For this, we followed our ratios and mixed with a drill in large barrels; gradually adding water until the mixture would hold together when compressed, but not too sticky that it would be pulled off the wall with the framework. We colored half of our mix in order to create a multi-toned, wave-like effect, and left the rest as a ‘base’ coat to layer in-between as well as in the middle of the wall (where the colour won’t be visible). This is the creative part of the process, and we repeated this step with various colors and tones depending on what section of the wall we were working on.

The Human Powered tamping Method

Being diligent to tamp everything well, including the edges and corners
Gather a driver, rubber mallet, several clamps, some thin pieces of wood, some creativity and some patience and hey presto you are ready to build.
Once the first framework has been set in the correct place and secured or held firmly down, it can be filled. The first section of wall will determine the trajectory of the rest of the wall, so placement is crucial. The next step is to layer the earth mixture and firmly but carefully tamp down; paying special attention to the edges. If you would like to add color, it is a good idea to cover the sides only, and fill in the middle with base mix in order to save on pigment. If you have access to different colored soils, you can just use the tone of the soil to create these color striations. When tamping near the long cross-sectional screws, we would take thin pieces of wood and a rubber mallet to compress areas that would be missed by the larger tamp.

Sealing the top of the wall
When the layers are nearing the top of the framework, the next nerve-wracking step is to carefully unscrew the lower framework and leapfrog it on top of the next. Clamp down, reset the screws and continue to layer and tamp. If the frames are not clamped together, you may find some mixture makes it into the gaps in-between; creating a fine line. Not a necessarily a problem- it can add to the aesthetic of the wall. Furthermore, the type of framework used will leave holes in the cross section of the wall. Again, these can add to the look, or be filled in afterwards with some mix. As the wall grows, so must the builders. We created a platform to stand on in order to tamp the upper layers with ease.
To seal and waterproof the top of the wall, we poured a colored concrete mix as the final layer before removing the last framework.
Now it is crucial to stand back and admire your wall, paying special attention to its unique pattern and beauty.


How sustainable is this rammed earth wall?
It is too soon to say what the longevity of this new construction will be. It has not yet ensured the hundreds of visitors it will see over the coming years. Will it withstand minor tremors? Will the decision to add lime and seal with concrete help it to fair in the humid jungle climate? Will it withstand the many hands that will touch with admiration? Only time will tell.
Because this was such a small wall in the overall building, and in an area with little consequences, we had the luxury of experimenting with this technique to see how well it holds up, for our knowledge and others that want to learn about natural building.
In the mean time, I hope you find some inspiration from this post and happy building!
Want to Learn More?
Check out one of our annual natural building classes to get theory and practice in earthen construction and plasters.
check out these past blogs

How to Build with Wattle and Daub in Timber Frame Construction: A Natural Building Method for the Tropics
If you’re building in the tropics, it’s essential to choose methods and materials that can stand up to humidity, heat, heavy rain, and pests—without sacrificing sustainability or beauty.
By 2025 apprentice Aaron Wilson
If you’re building in the tropics, it’s essential to choose methods and materials that can stand up to humidity, heat, heavy rain, and pests—without sacrificing sustainability or beauty. That’s why here at Rancho Mastatal, we rely on natural building techniques like wattle and daub combined with timber frame construction to create structures that are both resilient and aesthetic.
This traditional method, used for centuries by many different cultures throughout the world and in tropical and subtropical regions, is incredibly well-suited to the environment. The timber frame provides a strong, long-lasting skeleton made from locally sourced lumber, while wattle and daub infill offer not only privacy and protection but also cheap, efficient, breathable earth-based walls that help regulate temperature and moisture inside the building that modern conventional building methods fall short on.
This article will walk you through how to build with wattle and daub in a timber frame structure, step by step—from frame design and wall weaving to daub mixing and natural finishes. Whether you're planning a homestead, an eco-retreat, or just want to explore hands-on natural building methods, this guide will give you the practical foundation you need to get started.
Now, let’s get building.

Designing the Timber Frame Structure
Designing a resilient timber frame structure is the foundation of a successful natural building project. In the tropics, durability and ventilation are key. At Rancho Mastatal, we typically use dense, rot-resistant hardwoods sourced locally, such as Pilon, for their natural resilience to moisture, termites, and fungal decay. A post-and-beam layout works especially well, offering open spans and flexibility for interior walls made with wattle and daub. We elevate the structure using reinforced concrete stem wall for its resistance to earthquakes and provides good access around the entire house to spot termite activity before it becomes a structural problem. When sketching out your frame, be sure to plan for large roof overhangs (Dutch gable roof) to protect earthen walls from driving rain and include ample openings for cross-ventilation to support passive cooling. A well-thought-out timber frame doesn’t just support your building—it sets the tone for how the entire structure will perform in the tropical environment.
Preparing The Wattle Framework
Wattle refers to the lattice work that creates the rigidity and structure for our daub (earth mix). We use bamboo as this lattice, because we grow it, but wattle can be made from any natural local material (wood, reeds, branches, etc.)
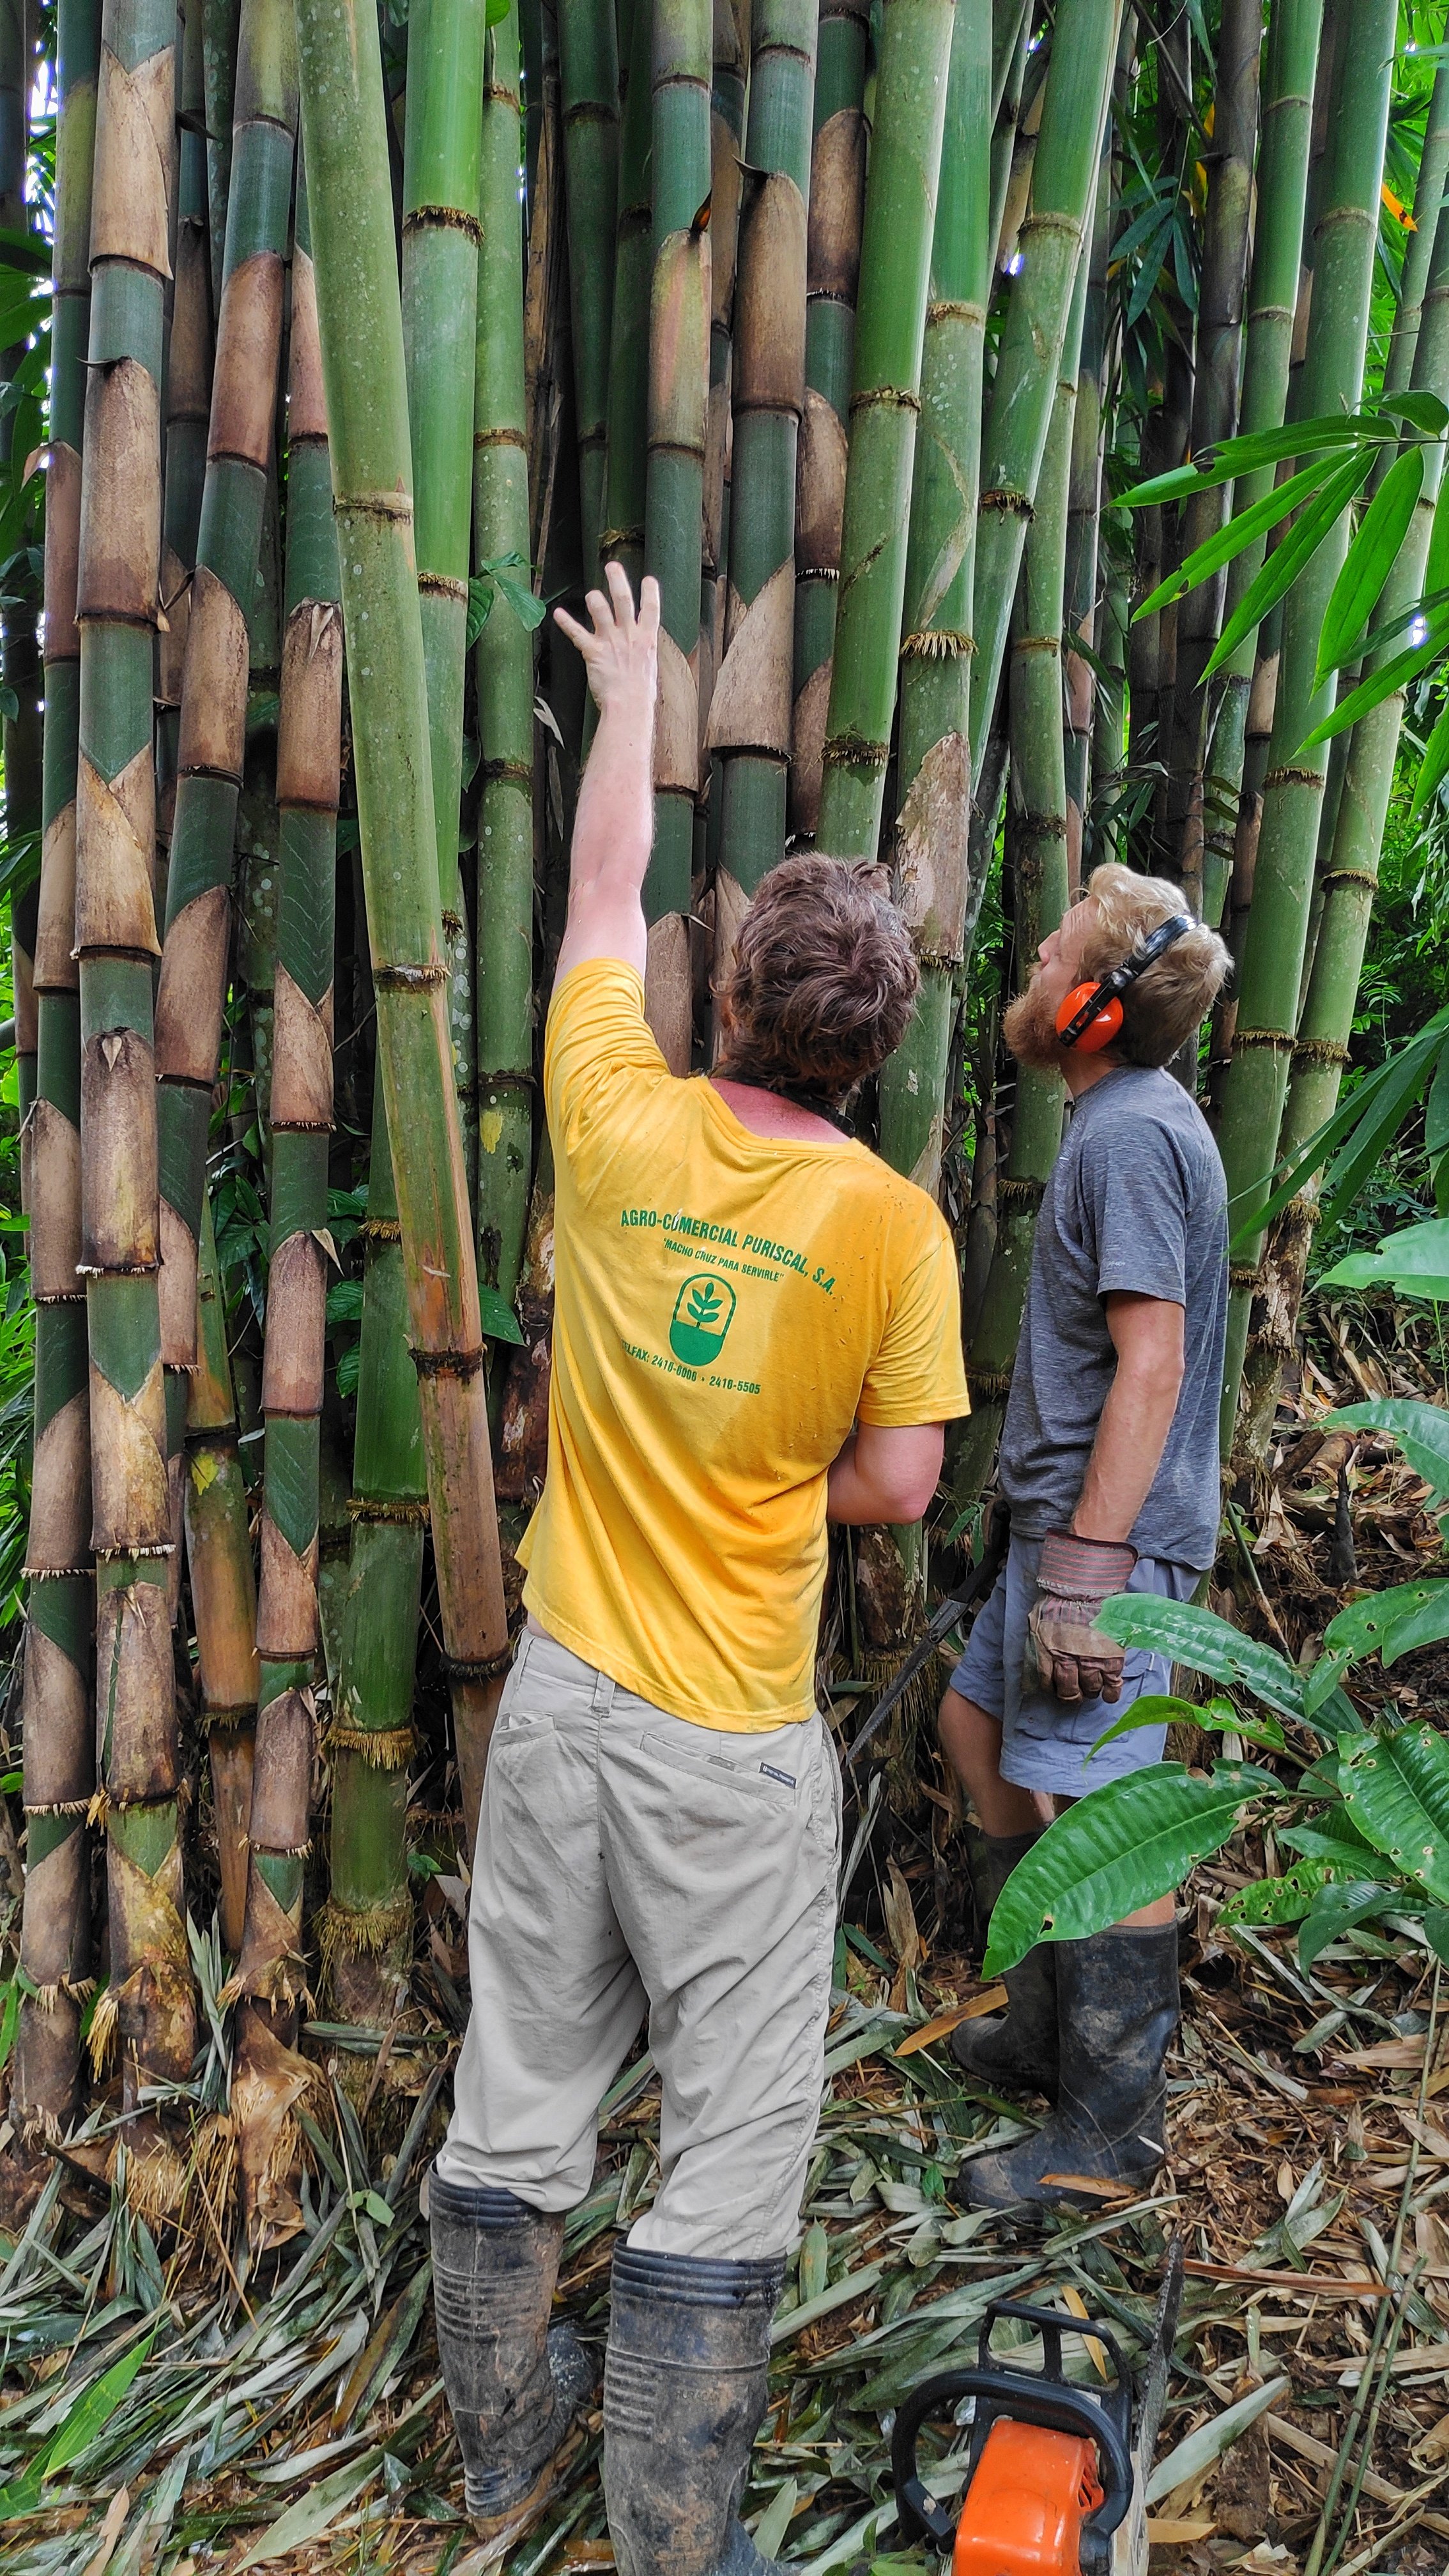
If you are using bamboo, your next step is to prepare the bamboo lattice (wattle). We harvest our bamboo from clumps growing on and around the Ranch. This typically takes a group of people in one of our all-hands-on deck work parties to process a bunch of bamboo at once and get it treated before installing it into the walls. The process involves a group cutting down bamboo branches and cutting them to a predetermined length. Then another group will take some machetes and wooden mallets to split the bamboo pieces into smaller strips, about 1 inch wide or so, not too wide and not too narrow so that they can be attached to the timber framing.


The bamboo strips will then be soaked in a solution of borax and boric acid to treat it for protection from insects and fungal decay, especially in environments like the tropics. After soaking the bamboo needs to be left out to dry for some time, 1 to 2 weeks or so. This method is great because it is non-toxic to humans and animals and doesn’t alter the color of the surface significantly. Once the bamboo is ready it can either be stapled to the timber framing or woven together to form a lattice, we opt for the staple method for the sake of time and ease.

Mixing the Daub
Daub refers to our earthen mix, which contains various ratios of clay, sand, and fiber. If you haven’t done any soil and mix tests yet, now is a perfect time to do so, now that your wattle is ready. During our training we made several different examples of mixes with different ratios of clay, sand, and straw to see how each one performed once it had dried, even though our instructors Ali and Nic already know the optimal mix, this an essential exercise to do on your project to get the right mix for your specific site. At Rancho Mastatal we are using a 1-part soil (ours is clay rich), 1-part sand, and 1- part straw for the daub mix, or simply 1:1:1. This gives a good balance of glue from the clay, compressive strength and cracking reduction from the use of sand, and tensile strength from the fiber, which is straw.
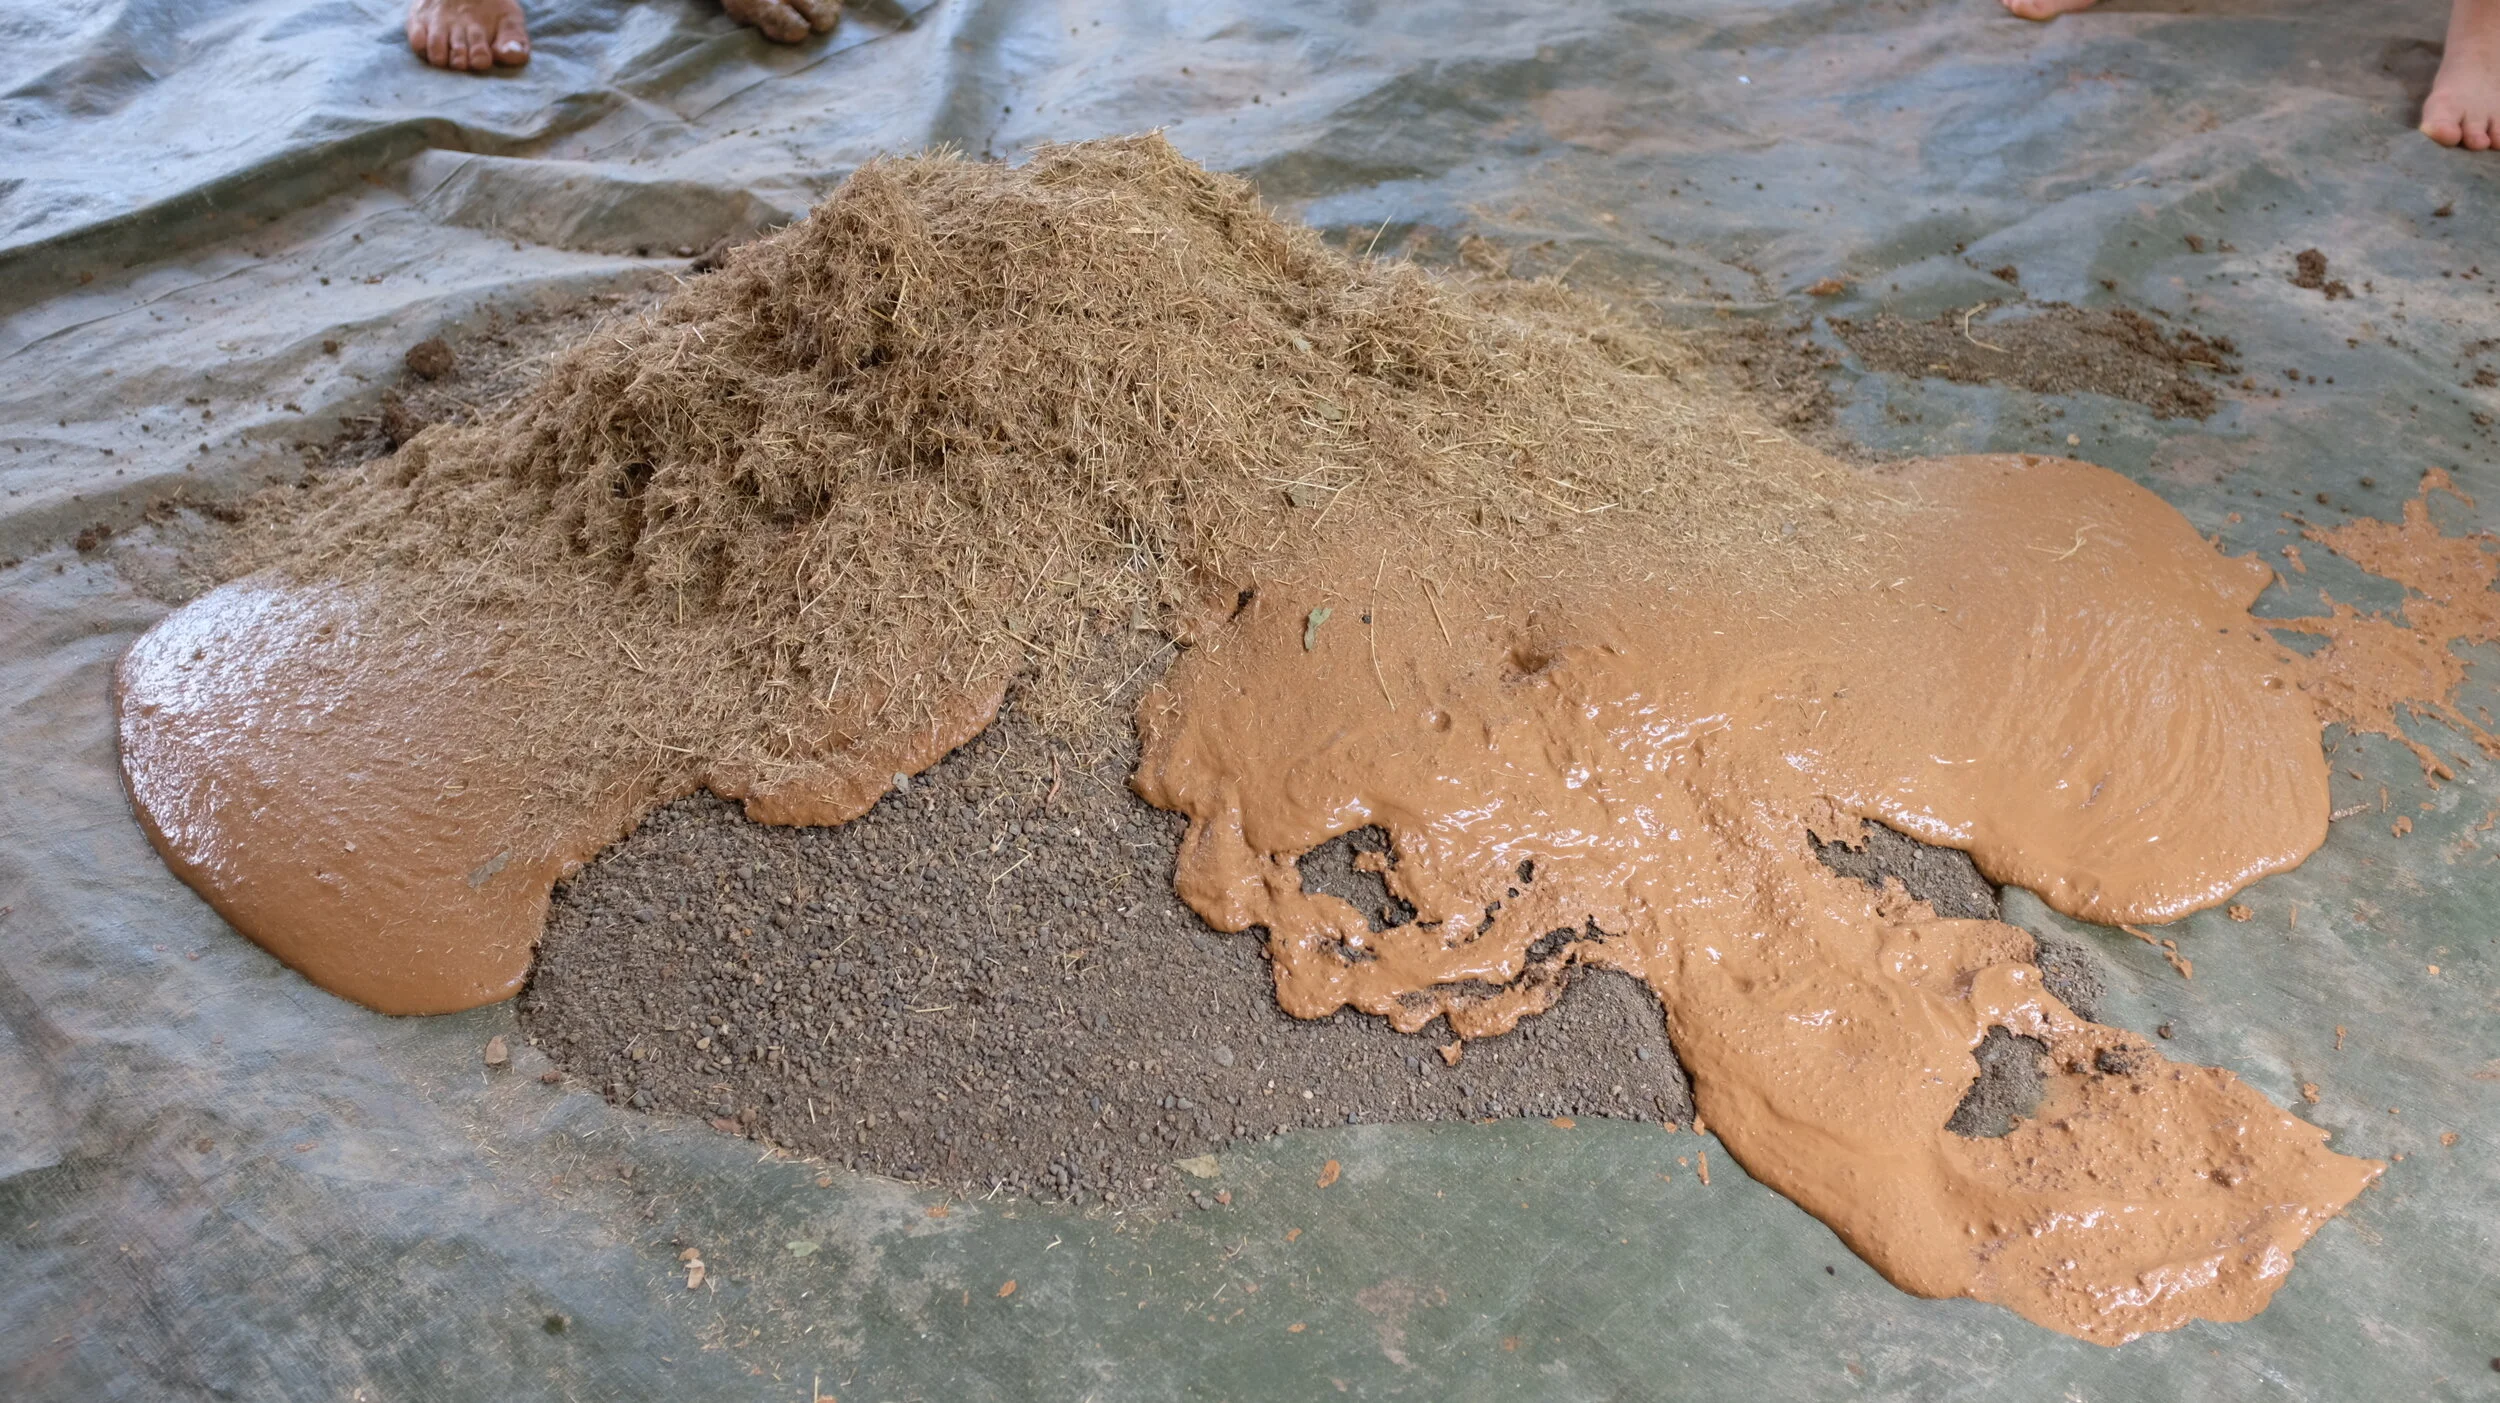
We start by laying out a tarp as close to the area we are going to daub as we can to minimize carrying buckets of mix around. We then pour the sand on the tarp first creating a crater in the middle to put the wet clay in to avoid it from just spreading out all over the place. This is where the fun begins as you need to be ready to get a bit muddy! Stomp, stomp, stomp then burrito is the strategy. The burrito part is probably the most import step in ensuring the materials get incorporated evenly and are not just sticking to the tarp. This simply involves flipping the mix over by pulling one end of the tarp over to the other in the rolling fashion, then stomping on the rolled material again and beginning to add in the straw each time as well as spraying the mix with water as needed to help get the right consistency, not dry but not too soupy. When it looks well mixed you can grab some and feel how it interacts in your hand, checking for stickiness and firmness. When this is done go ahead and put the mix into buckets and bring them to your wall for daubing.


Applying the Daub to the Wattle
Here at the Ranch, we like to get our hands dirty so we will partner up and each person will scoop up a handful of daub and begin weaving it into the lattice. It’s important to make sure that each side gets their mix in-between and through the horizontal strips rather than just laying it on flat, otherwise your mix may fall off the wall. As you start to fill up the wall with earth mix you can check the thickness with a screed which is set to the desired depth of your wall from the face of the timber. We opt for slightly thinner walls (3-4”), this thickness allows us to cover our electrics and plumbing, uses the minimal amount of mix, and accentuates the timber frame nicely. If you put on too much mix you simply use the screed to scrape off the extra and mix it in elsewhere, if your mix is too thin you will notice a gap between the wall and the screed. The goal here is an evenly flat wall at the right depth. You do want to leave your wall with some key on it, this key will ensure your next plaster adheres better.


That pretty much wraps it up for this article. The next step will be applying a level coat clay or lime-based plaster before the final finish coat. We will not cover this in this article but there are other’s that cover this here. Also consider joining the Ranch for one of their yearly natural building workshops, to get practice in all these techniques.
Final Thoughts and Learn More
By combining wattle and daub with timber frame construction, you can create a durable, sustainable, and climate-appropriate structure that blends seamlessly with the environment. For a deeper dive into Natural Building at Rancho Mastatal, check out our full blog page.
Interested in learning more? Join a natural building workshop at Rancho Mastatal to experience this technique firsthand!

What is Natural Building?
So what is natural building? I would say the definition goes deeper than just constructing buildings with “natural” materials. After all how do we define what natural is?
By Core Team member Ali Ostergard

One of our guest cabins
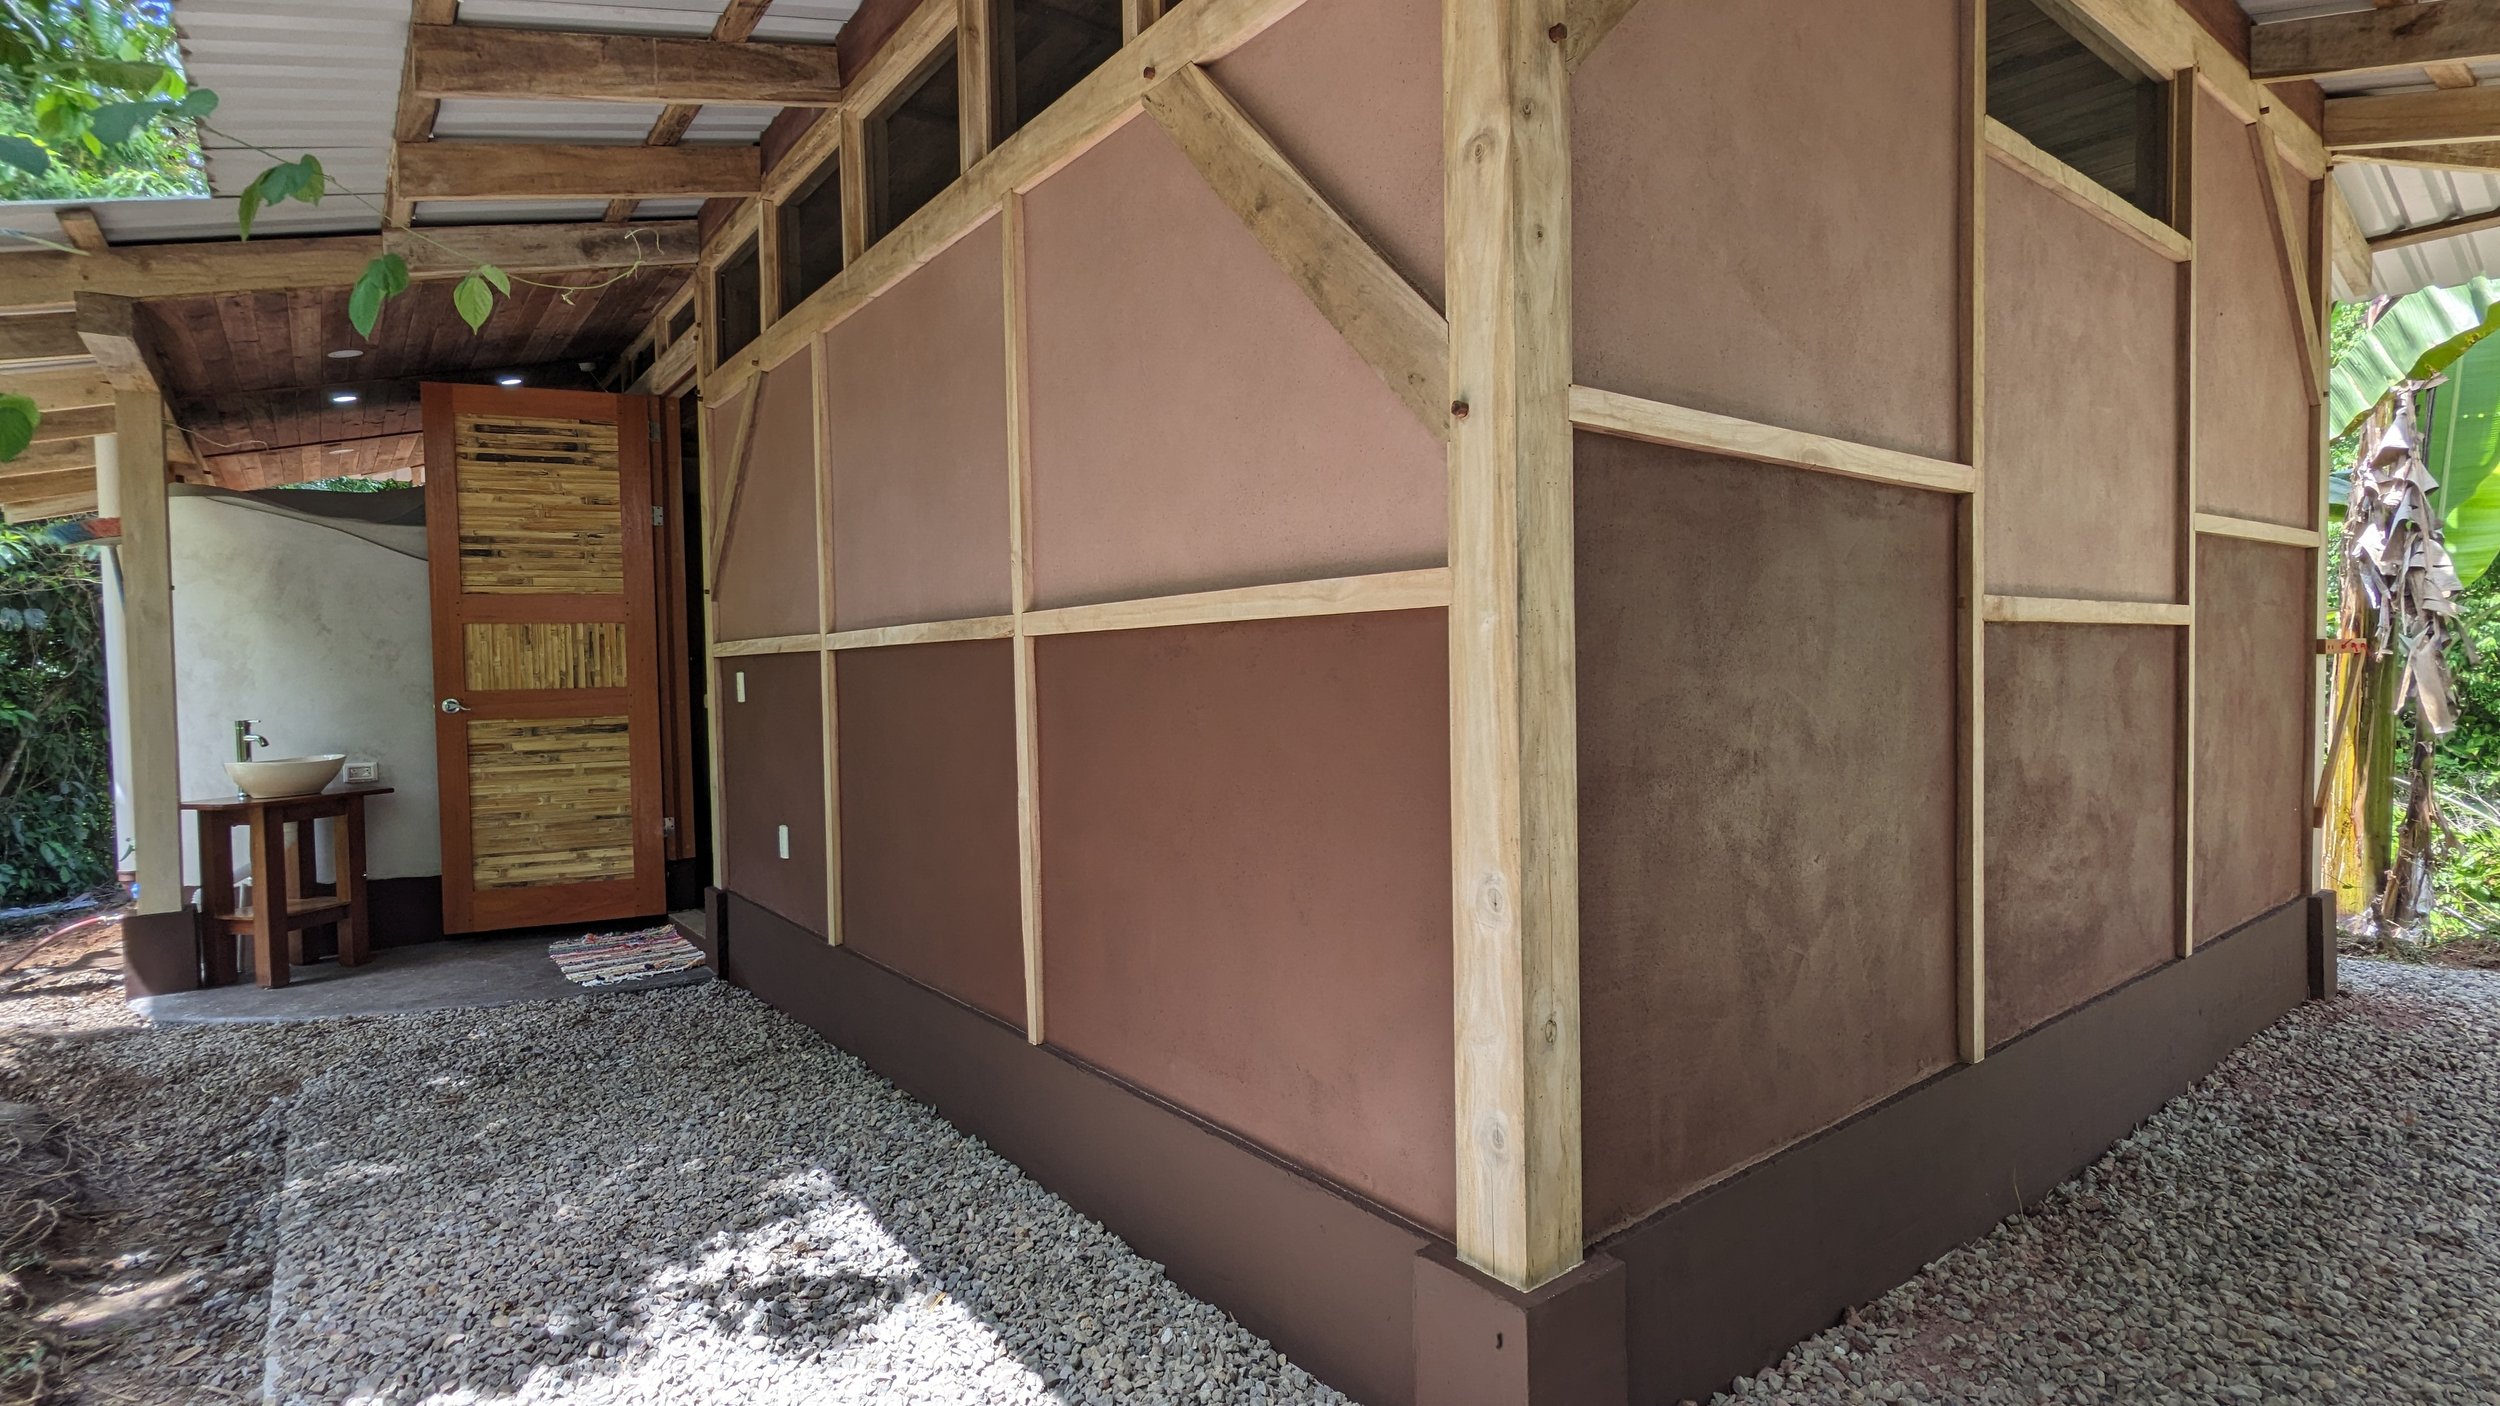
We have been building our infrastructure with natural and local materials since the Ranch’s inception in 2001. Our homes are all sculpted from the earth beneath our feet, and we continue to develop and learn along the way about how to perfect natural building in this challenging tropical environment. There is something very special about the feeling of a home when you know the story behind where the materials came from and all the work and joy that went into the whole process.
So what is natural building? I would say the definition goes deeper than just constructing buildings with “natural” materials. After all how do we define what natural is? Is plastic natural? Technically it comes from oil, which comes from the earth, so one could argue that it is natural in origin, although you could also argue that due to the heavy amount of processing that goes into converting it into plastic moves it into the realm of a non-natural material. What about concrete? Again, it is just composed of portland cement (a mixture of limestone, shale, and other natural minerals), gravel and water. Yet concrete is often seen as a material not to be used in natural building. Why is this? It has something to do with the massive environmental effects it is causing through its production including, the high energy consumed in the mining, manufacturing, and transporting of cement, along with the related air pollution, making cement (a main ingredient in concrete) a large contributor to greenhouse gas emissions. Somewhere around 10% of current world greenhouse gas emissions are from the production of cement, and that number is predicted to raise 12-24% in the next thirty years.
Yet all this bad mouthing on concrete, and we still need this material in our modern world. For what it provides, we don’t currently have anything to replace it. For certain uses in our modern construction world, we need concrete; there is simply no other material that does what it does. Where we have gone wrong in the use of this amazing building material is that we now use it everywhere! Concrete is overly used in every building, home, city, and suburb. There are many other natural and more sustainable materials that could be used in a lot of areas in modern construction, but instead people resort to using concrete. Walls are a fantastic example, there really is no functional purpose to make your walls out of concrete, there are so many materials that have less environmental impact and perform much better than concrete as a wall system.
Buildings around the world account for about a third of greenhouse gas emissions. The time has come to reimagine our current housing choices. We are going to get nowhere on this planet without realizing we are a part of nature. So the more natural you can make a house, the better off you’re going to be.
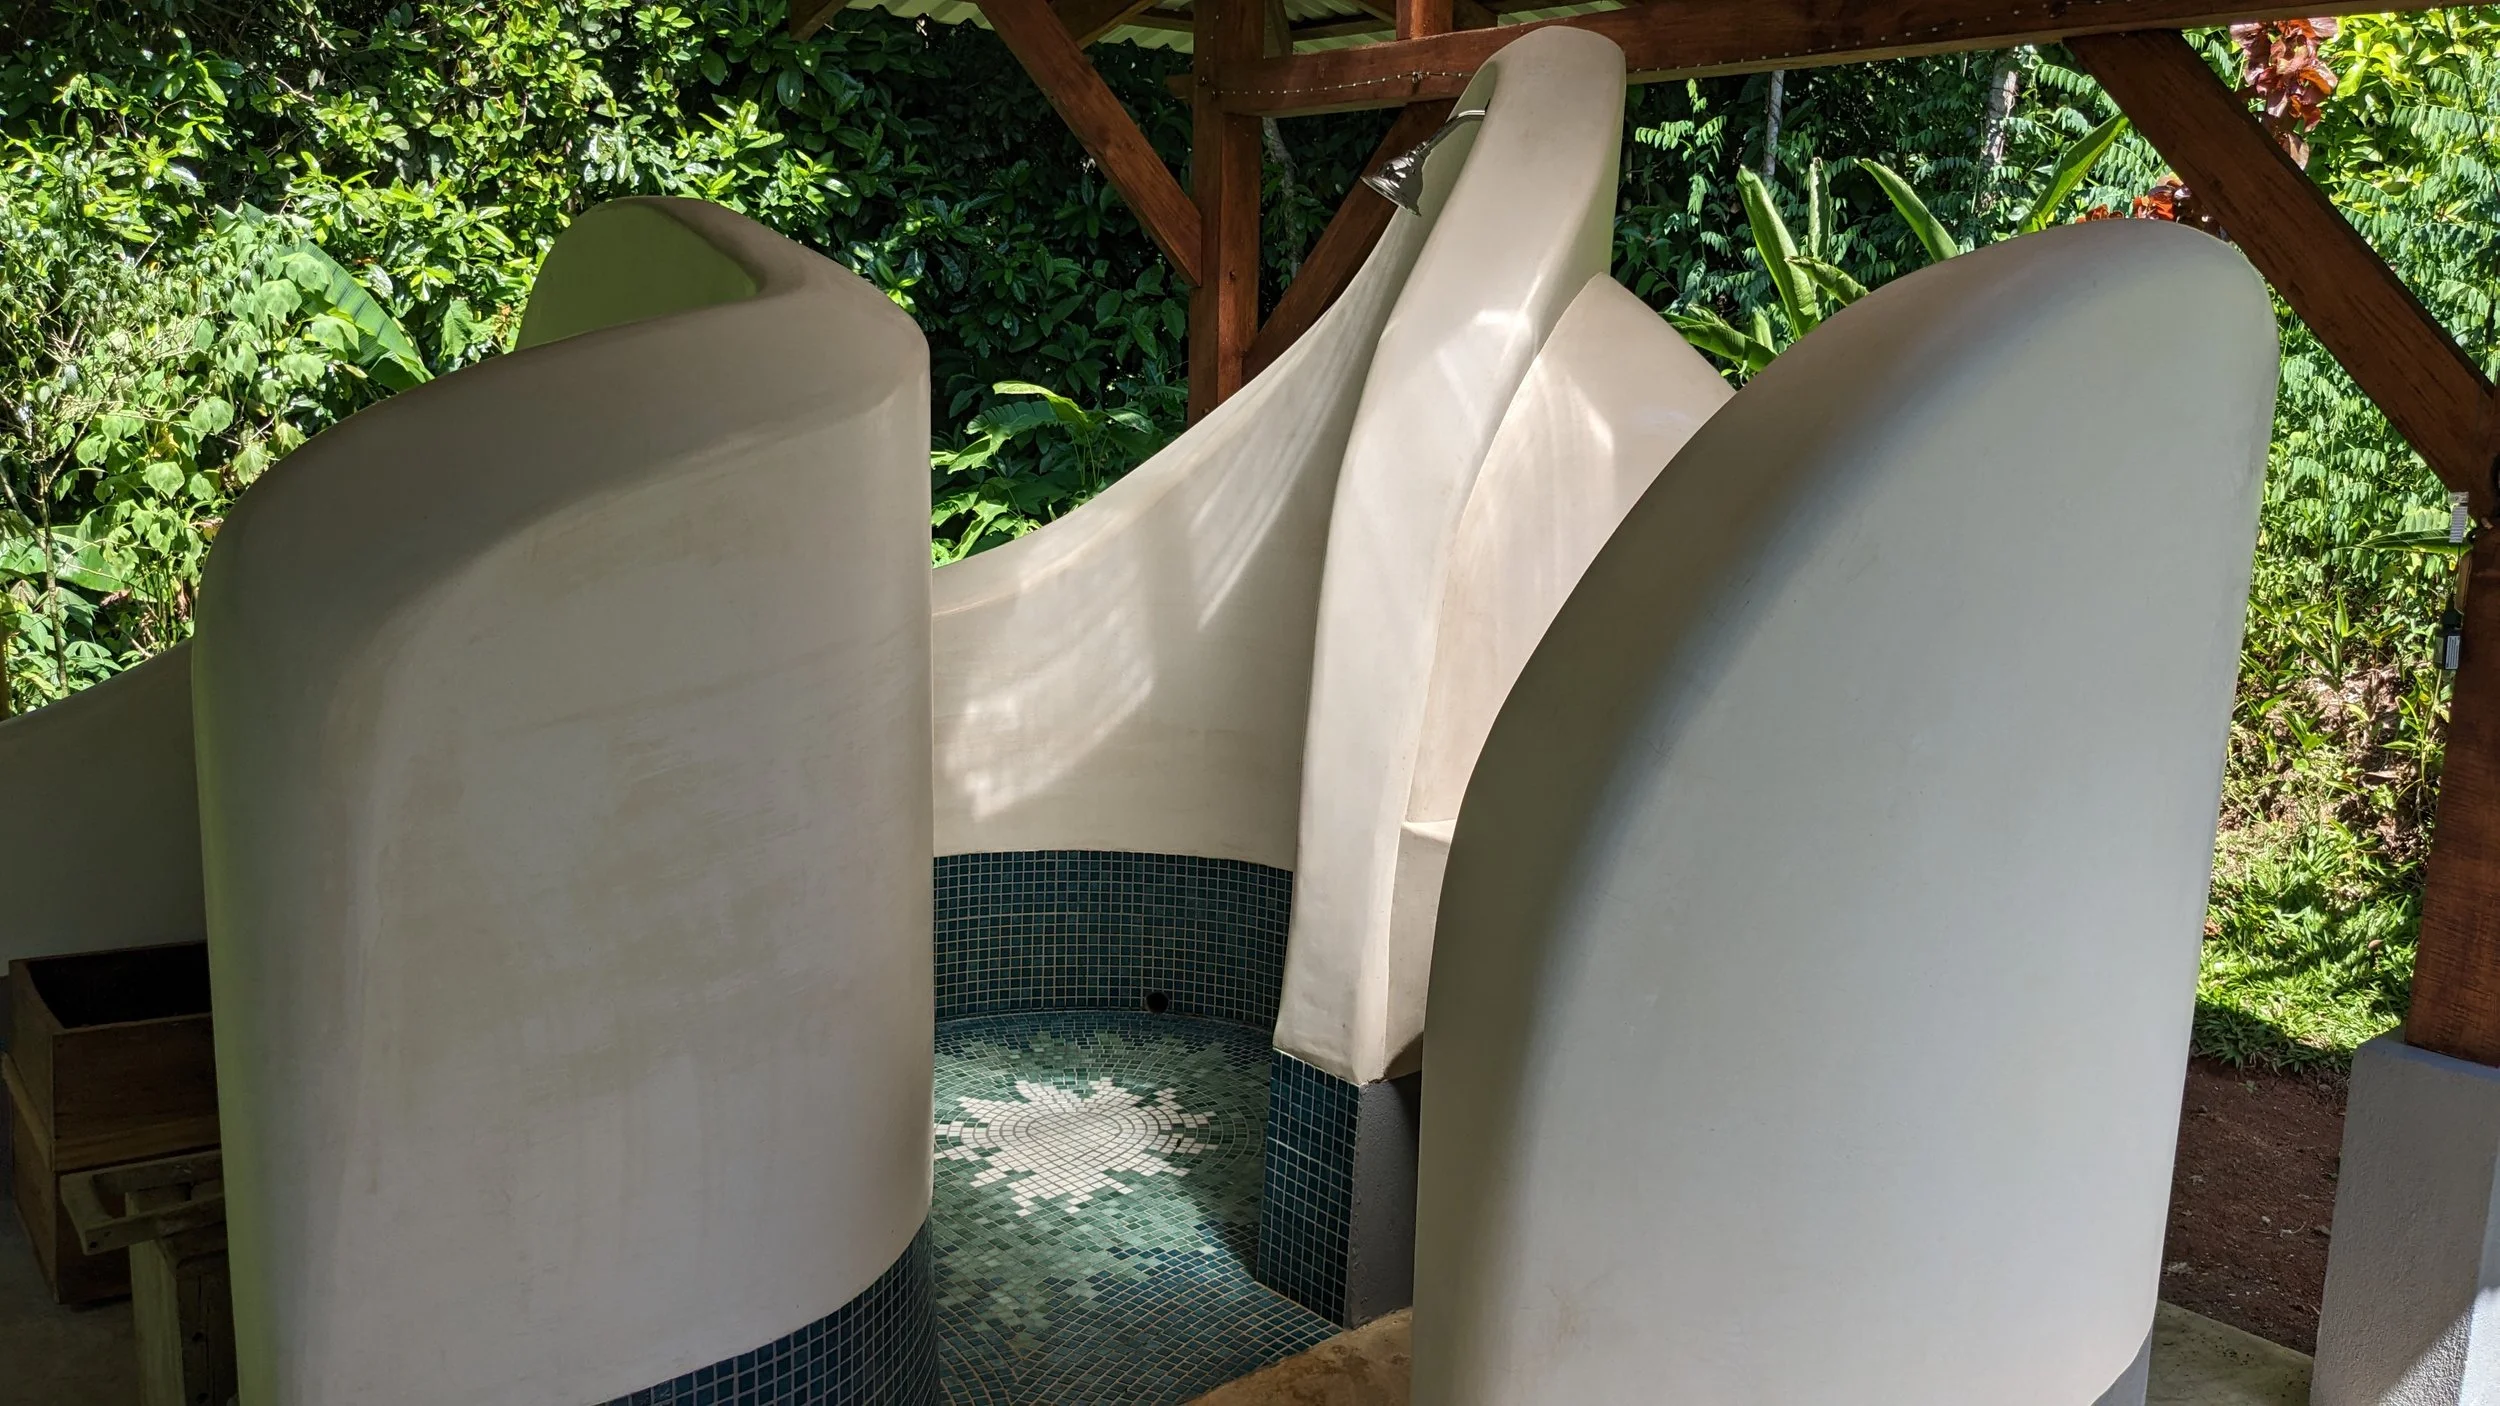
Adobe brick shower with tadelakt lime plaster finish
Circling back around to what is natural building then? Here are some things we are considering when choosing building materials for our structures:
Locality- how far did that product come before arriving at your building? How natural is your material anymore if it’s coming all the way from China, when we could use what is locally found here in Mastatal?
Organic- how fast will that material break down or go back to earth after its lifespan? Buildings come and go, generations change, natural disasters strike, modern conveniences evolve. What happens to that building when it’s no longer of use? We are proud to say that if we took off the metal roof, and removed the few plastic electrical items in our buildings, the jungle would take back the rest of the materials. They would literally go back to where they began.
Processing- how much processing was involved to get that material from its raw state into what you are using now? The clay that we dig out to build our walls goes through very little processing compared to the zinc roofing sheets.
Longevity- how long will this material last? Ultimately we want and need our structures to last for a significant amount of time. If we build a home that is constantly falling apart, needing repairs, the maintenance on that is going to be too much and we are probably going to give up. With a good design and a bit of know-how, natural materials can last in your home for your lifetime and there are examples of naturally built homes in virtually every type of climate that have lasted at least 100 years (some lasting much more).
At the Ranch we have been practicing and perfecting the art of natural building, especially for tropical climates. After decades of trial and error and fine tuning every detail, we are pretty confident we have come to a pretty dang perfect natural building style for tropical architecture.

Bernie’s Bunkhouse- a good showcase of what a typical building is made of here
Our natural homes consist of:
Timber frame- a style of post and beam construction that uses only wood and no metal fasteners. Using locally, sustainably sourced and milled species.
Earthen walls- in a style referred to as wattle and daub, a mixture of sand, clay and straw that is applied to a bamboo lattice. We also use adobe bricks in many aspects of the building.
Clay and lime plasters- both used in different scenarios.
Earthen floors- again a mixture of sand, clay, and straw.
Concrete foundations- yep, that controversial product. As I mentioned earlier, concrete is an amazing building material for certain aspects of building. In our case we live in a highly seismic area, concrete is currently the best material to use for the safety and longevity of our buildings.
Zinc roofing- also a heavily processed material, but in our area where we receive 4-6 meters of rain a year, this is the most sustainable material in the long run for our natural homes. We often say the beauty of these natural materials is you add water and they return to a workable state, but this is also their weakness. Therefore good protection in the forms of your roof and foundation are essential in the longevity of your building.
Over the years we have made an effort to build in a style that also appeals to the masses. We have plenty of unique and very different styles, but it was important for us to develop building styles that would be equally at home in an urban or rural area. We feel like all too often natural building has fallen into the bracket of only being suitable for the owner builder, or the hippies, or the isolated farm and we would like to create a style that is pleasing to a larger audience and demonstrate its flexibility in applications.

An example of the artistry clay plasters can have
We each have a part to play in this paradigm shift. When our buildings are having such a direct effect on the climate and our health, we are a part of that, and we have to make the choice of whether we would like to change that.
Patagonia put out a short film on the natural building movement, specifically looking at straw bale building. As Yvon Chouinard said,
“The solution may be for a lot of the world’s problems is to turn around and take a forward step. You can’t just keep trying to make a flawed system work.”
We have been offering natural building workshops for decades. These building classes teach people about building with timber, clay and lime in any climate. We are excited to be able to offer a heavily discounted natural building class for Central Americans in Spanish each year too.
Learn More
Want to get hands on practice and theory in many of these mentioned natural building techniques? Join us for one of our yearly workshops.
Related Blog Articles
Building an Adobe Shower with Tadelakt Plaster

Natural Paints for Earthen Walls
Natural pigments are a fun part of natural building and the options are almost endless.
By 2023 apprentice Emme Nederbrock

Sample view of the layers of our earthen walls
Our shower walls here at the hankey and goat barn have a base of wattle and daub, a clay base layer, a lime coat, and a lime finisher.
Natural plasters are a key piece of the ranch’s structures. Check out our blog “Lime Plasters are In”, written by a past apprentice for more detail about our natural plasters!
Natural pigments are a fun part of natural building and the options are almost endless. Earth pigments consist of clays, minerals, rocks, carbon, and more ground up into a fine powder which can then be used to mix into your lime finish or natural paint recipes. Pigments can be sourced from all over the world. For example, pigments of the color umber, come from ground manganese and are found in abundance and quality from Italy, Cyprus, and Turkey. Recently, for our first natural building project as apprentices, we refurbished our bathroom walls with lime plasters. As a finishing touch we used a wheat paste recipe to add some small designs for a bit more character.

Clay paint recipe:
One part Kaolin clay powder
One part wheat paste (see recipe below)
One part agricultural lime powder
Pinch of gypsum powder (for preservation purposes)
Pinch of boric acid (for preservation purposes)
Wheat paste base:
One part flour
Six parts water
Pigment as desired
Regarding the wheat paste, boil water, then slowly add flour. Strain to get rid of lumps for a smoother paint. Then, measure out your kaolin clay, wheat paste, and lime, and mix thoroughly. Add your pigments last and have fun experimenting! The quantity is up to you and how much paint you need. The consistency is thick, and adding water can thin it, but will also tend to make the pigment more transparent and the . This paint can be saved in the fridge for a day or so if more time is needed to finish the project.
An element we will soon add to the bathroom walls are a more accented, watercolor-esk natural paint.
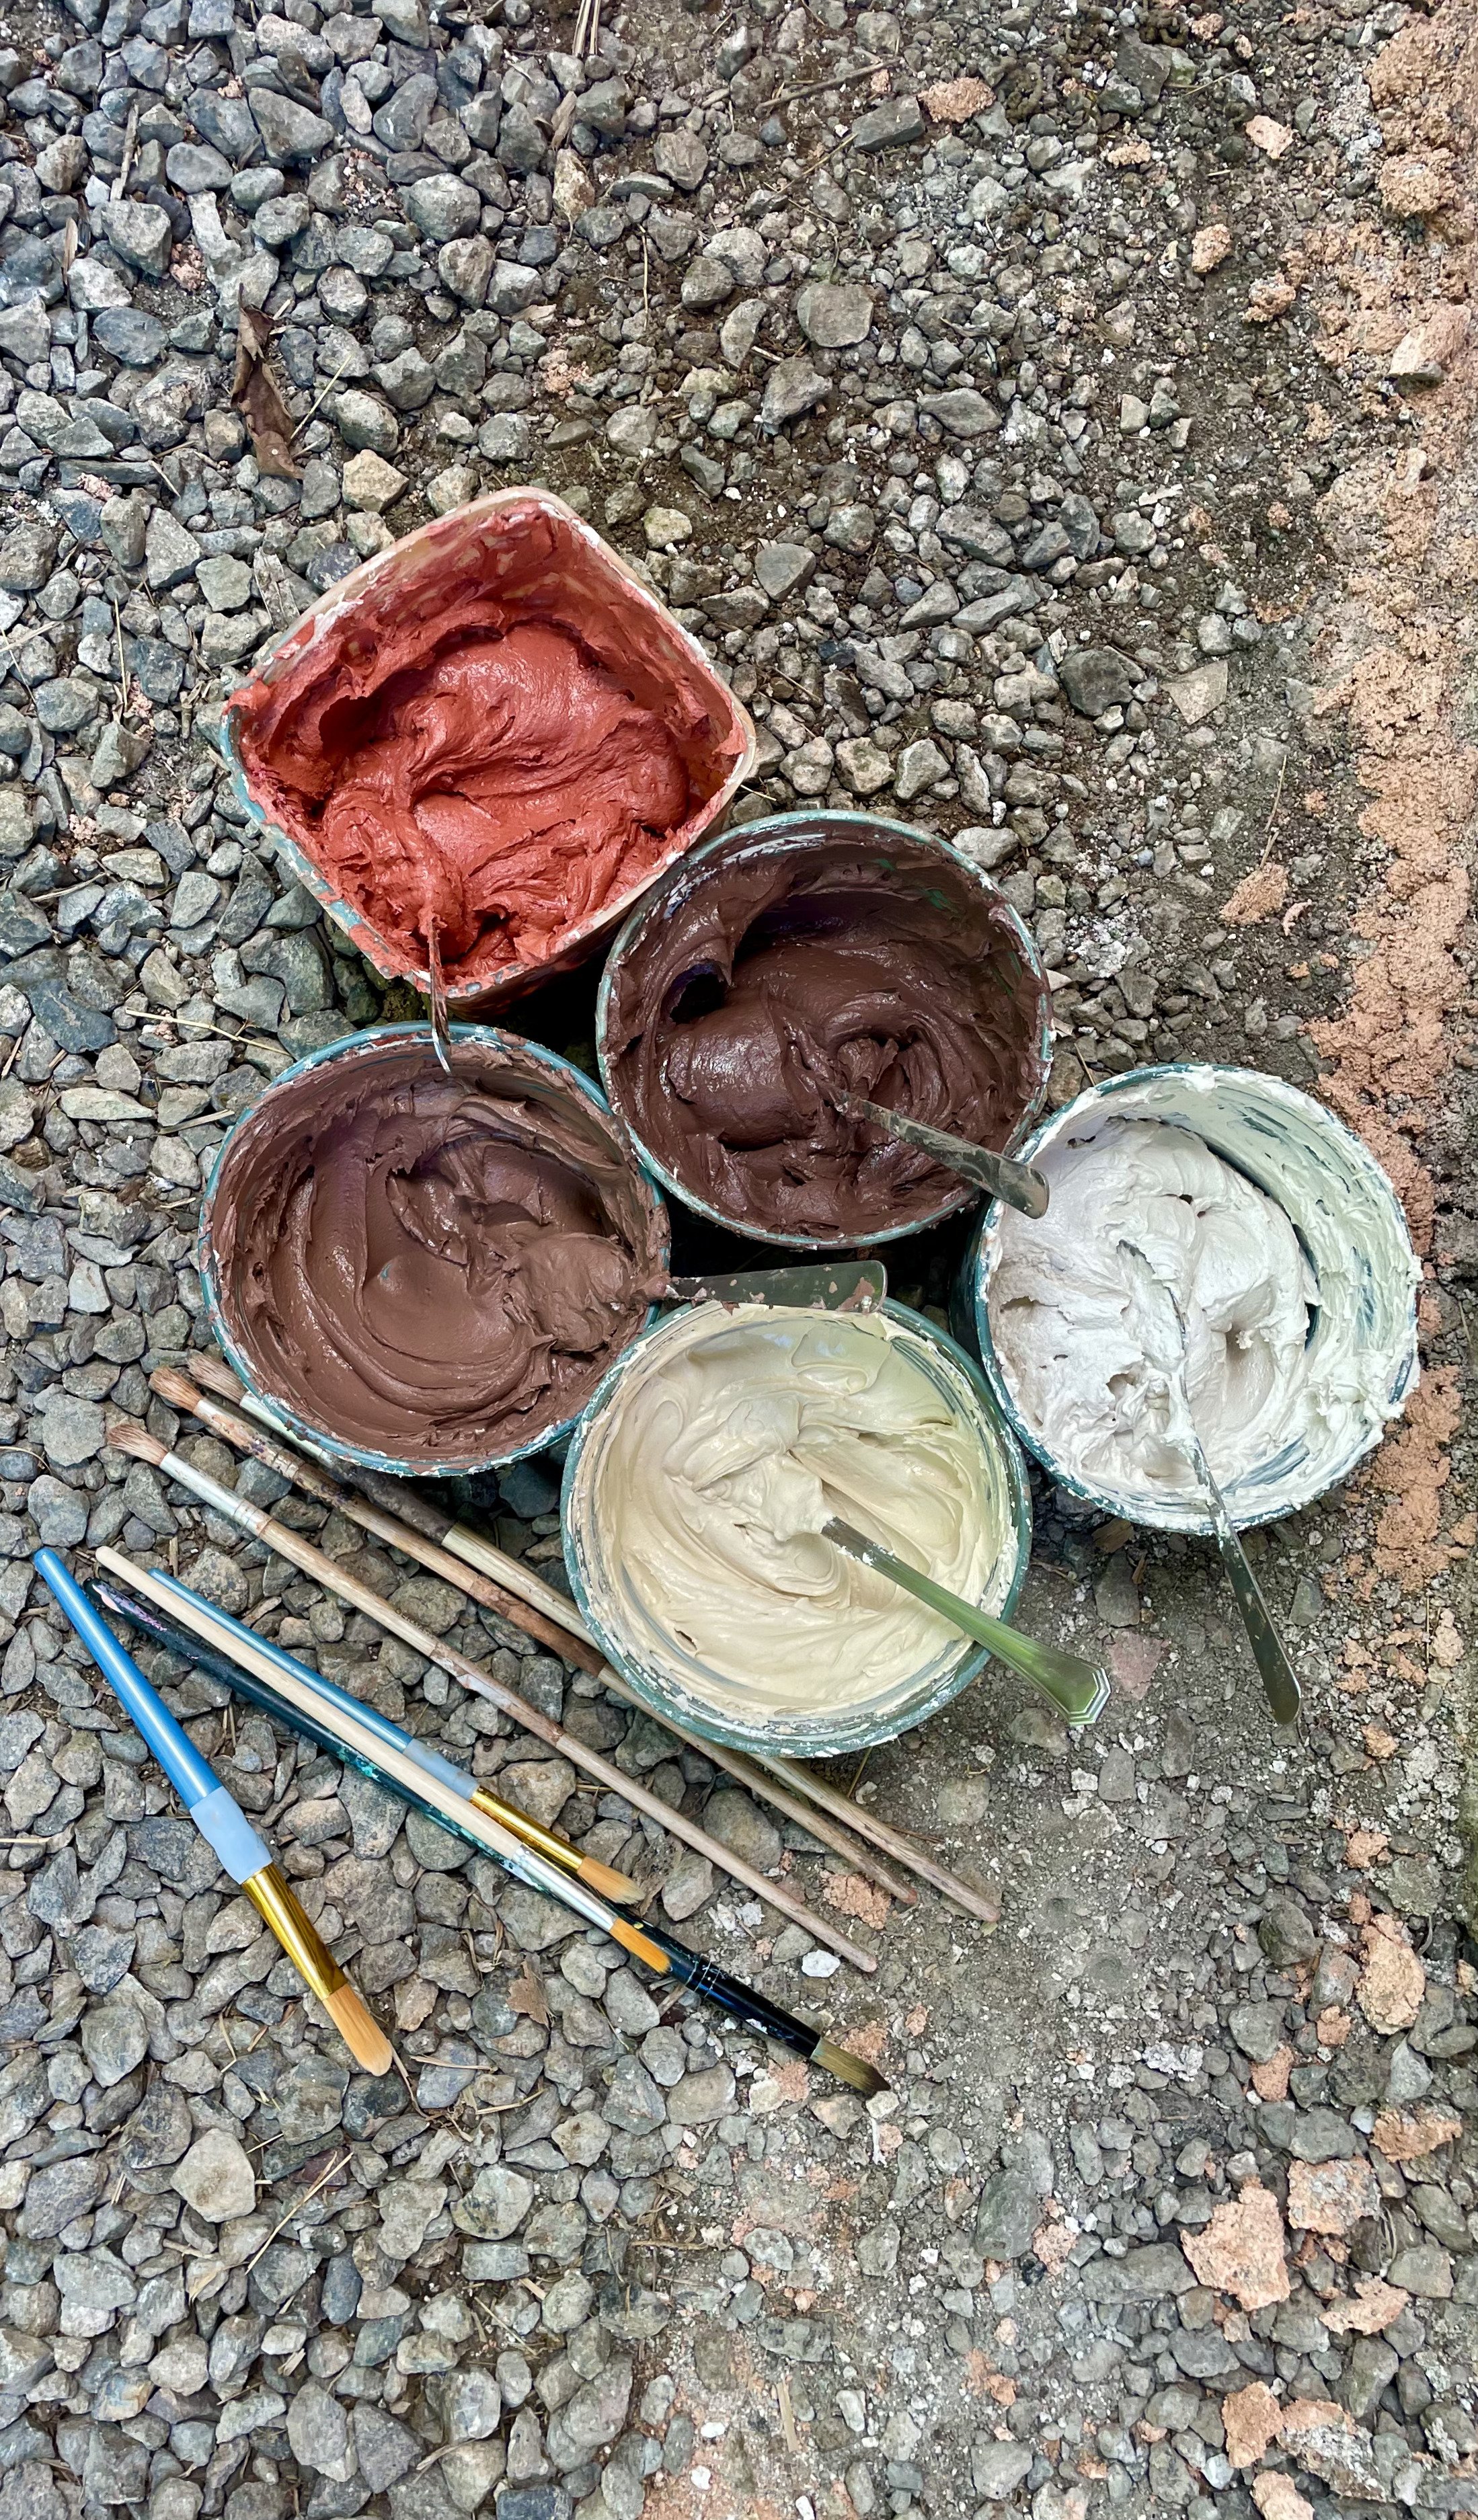
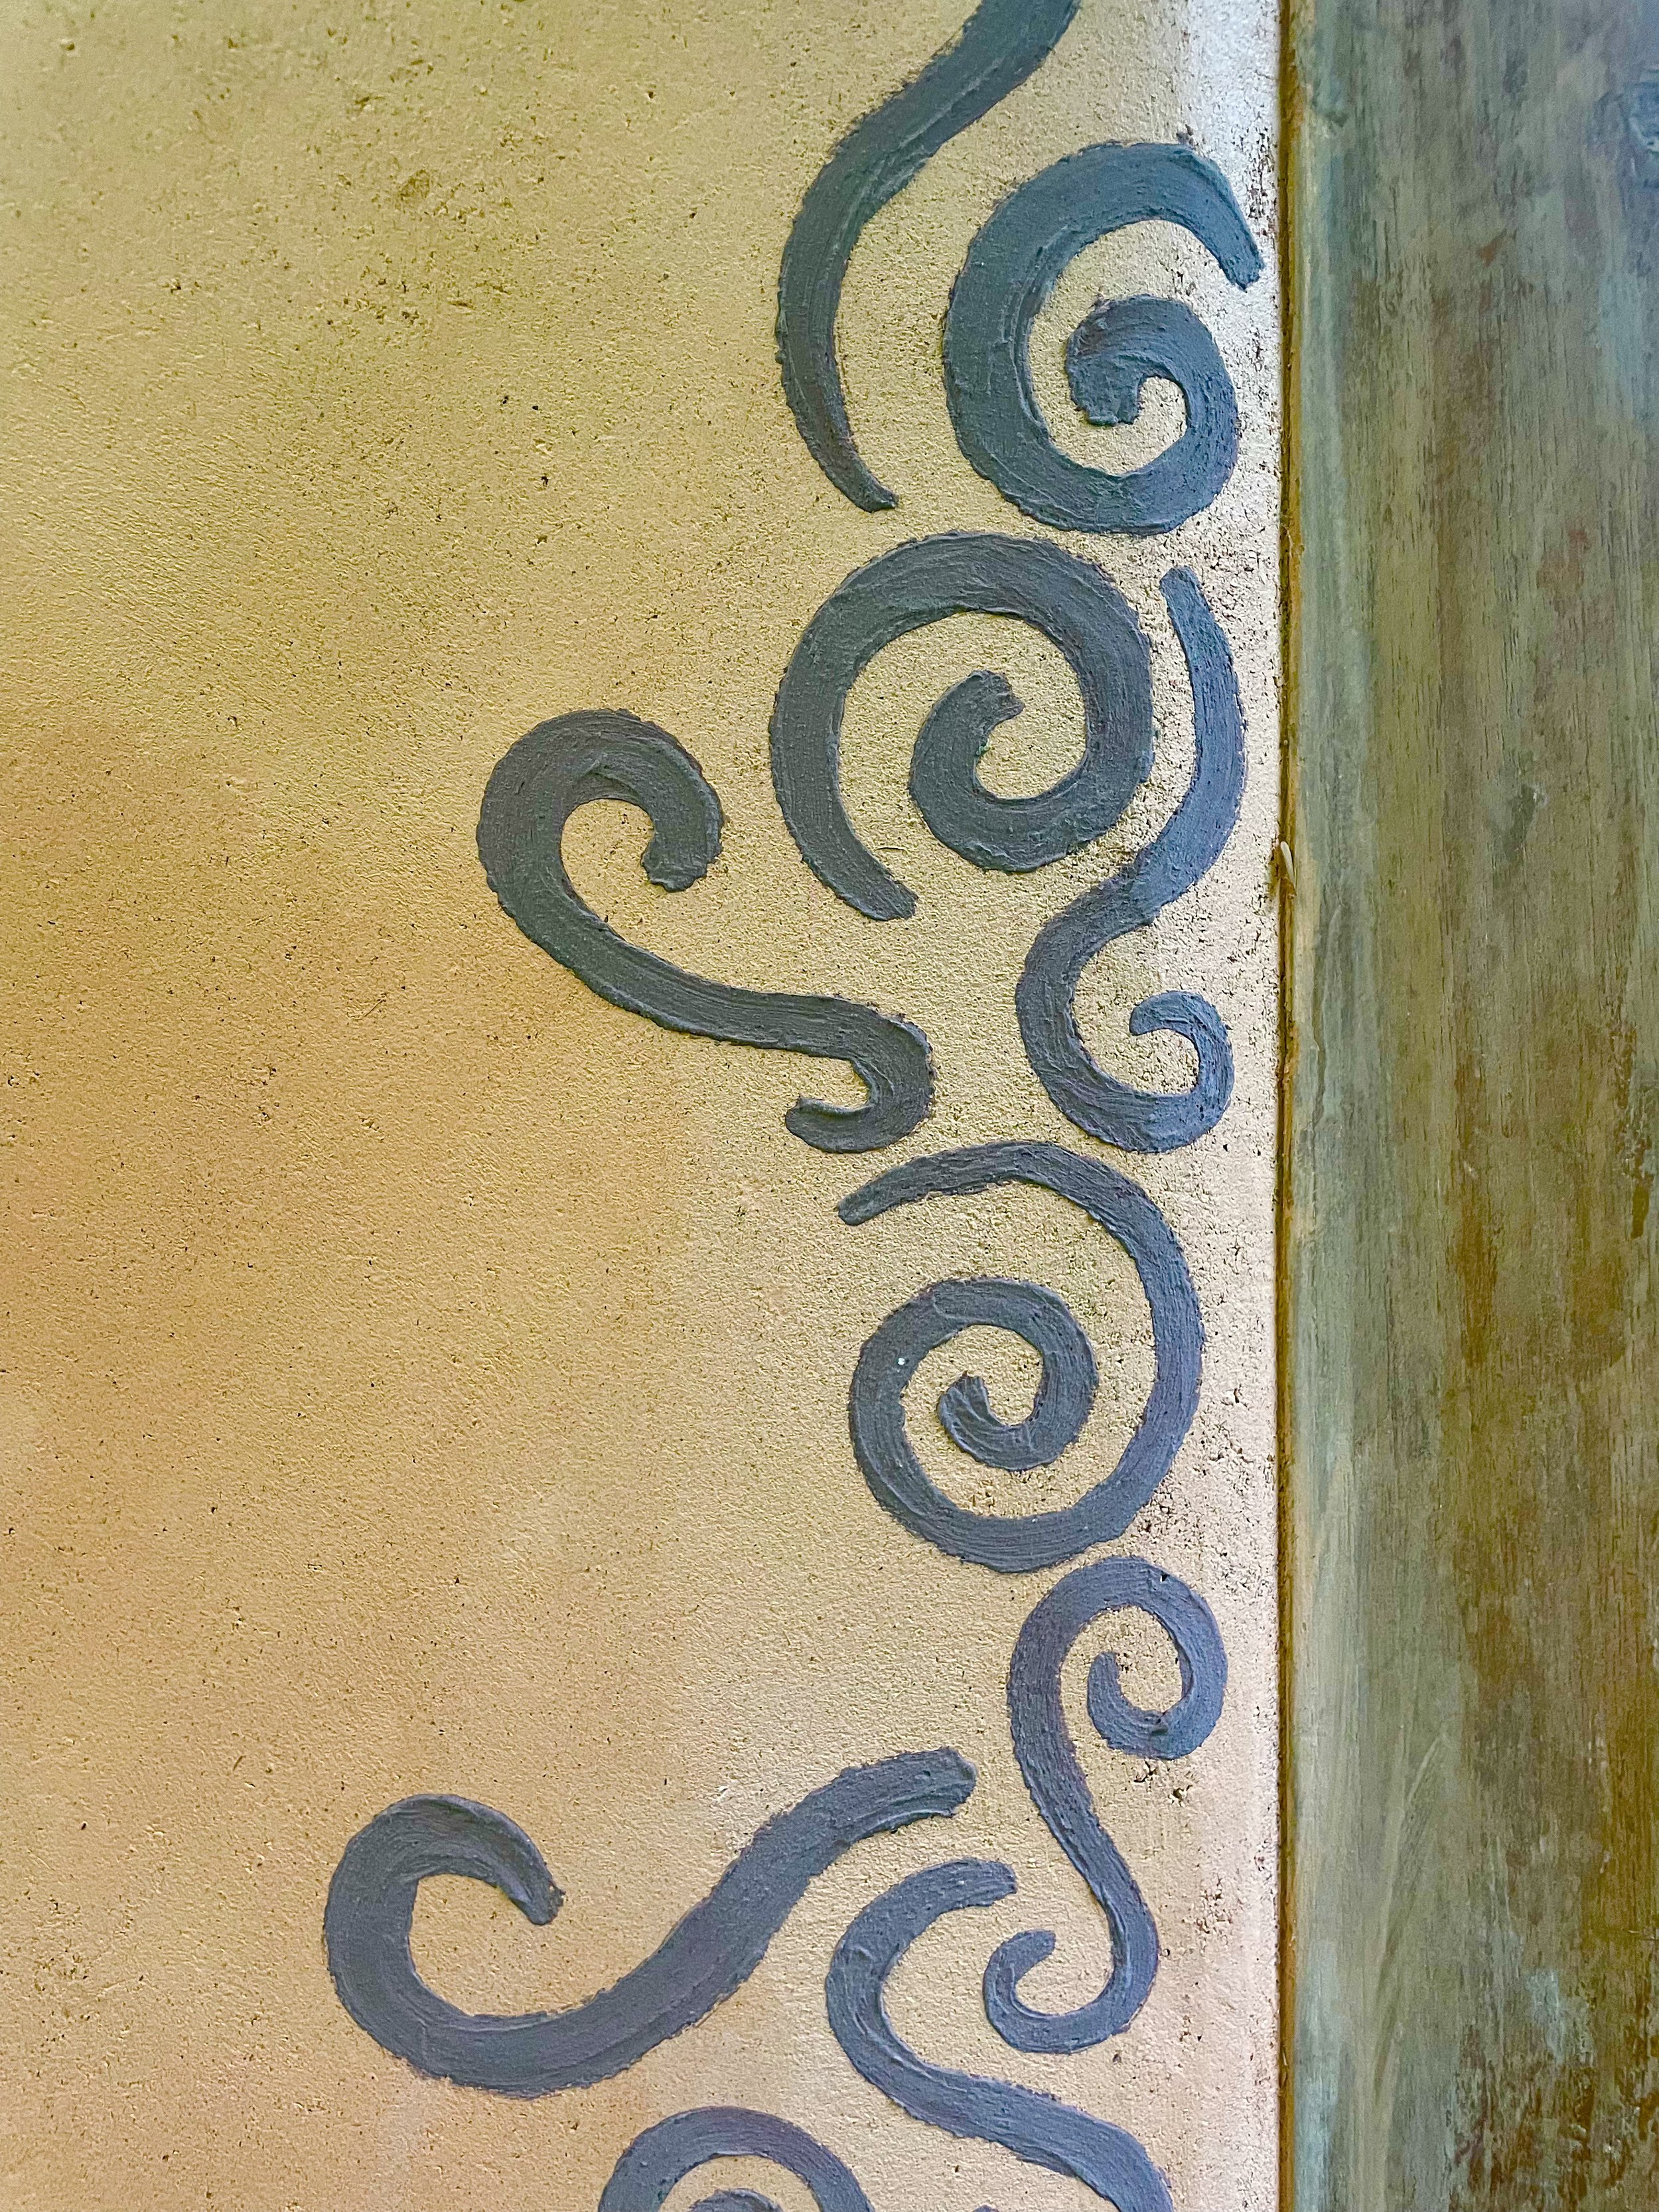
Egg tempera paint:
One part egg yolk
Two parts water
Pigment as desired
Take your egg and separate the yolk from the white. This is best done in the hands, passing the yolk from hand to hand until the yolk is almost sticking to your hands due to the dryness of the albumen. Remove the yolk from the albumen and put it in a container. Add water to the yolk and mix. Add desired pigments, watching the consistency of the paint as you add pigments. When we made the paint, a large amount of pigment could be added while maintaining a very thin paint consistency.

Always make color tests for your natural paints
A natural painted home or project can make your heart, and mind happy happy happy! Enjoy experimenting and remember, the earth is your oyster.

Check out these past blogs about natural building
Natural Building and Clay Carving
Building an Adobe Shower with Tadelakt Plaster
Want to Learn More?
Join us for one of our annual Natural Building and Plasters Workshops to get hands on experience in earthen wall systems and plasters.

Tips on how to put together a plastering practice board
Have you ever heard of natural plasters? If not, check Rancho Mastatal Natural Building course. Maybe you attended a course somewhere or had an enjoyable experience with some friends helping them at their natural home project or maybe you have seen some videos online.
By Felipe Ortiz,
Have you ever heard of natural plasters? If not, check Rancho Mastatal Natural Building course. Maybe you attended a course somewhere or had an enjoyable experience with some friends helping them at their natural home project or maybe you have seen some videos online.

fun with natural building
No matter what has been your experience being introduced to the art of plastering, it seems it is a constant that people get exposed to or hear of natural building systems and then they have trouble keeping up with their learning and further execution of their knowledge.
At least that happened to me when I was first introduced to these concepts about 8 years ago. If I had the following information and kept practicing on a regular basis I would be way more advanced these days, since practice makes the master, as the phrase says.
So in the following bullet points the goal is to be able to transmit the knowledge, how to create and prepare a suitable plastering practice board, so you can practice your skills on the art of plastering.
What's a natural plaster?
A natural plaster (in North America), Natural Render (in Europe) or Repello Natural/Revoke natural (in Spanish speaking countries) is the technique and system that is used to finish a wall of any type using natural materials like: Clay, Lime, Gypsum and others.
Yes you can finish any kind of wall with a natural plaster. Like any other technique the key is to practice.
What is a plaster practice board and why?
Basically it is a board to practice finishes of any kind, though natural finishes are the healthiest and nicer ones (in my opinion).
Having a plaster practice board is key to being able to practice different techniques, experiment with different recipes and materials, practice your hawk and trowel movements, make mistakes and learn from them, and keep further advancing your skills in the art of plastering.
So here it goes, what you need, and how to prepare it! Take notes!

Practice panels being used at the ranch for plastering
Making a plaster practice board
Plan it to the detail so the process goes smooth, as my friend says: "Set yourself up for success."
An ideal practice plastering board is attached to an existing wall, it's easy to repair, takes little space, it can be re-used again and again.
A good choice for the substrate of the panel is plywood or laminated wood. Its cheap, very flat, easy to find and work with. You can also make an earthen “board” out of a variety of natural building techniques (cob, adobe, wattle and daub, strawbale).
**Pro Tip: wherever you buy this board ask if they provide the service to cut it to your preferred dimensions, sometimes they do it for free or for as little as 25 cents the cut.
A good dimension practice panel is 1 meter by 2 meters. This allows you a decent and realistic size.
The panel needs to be framed so you will need 6 linear meters of 1 inch x 2 inch boards.
**Pro Tip: ask for cutting service at the hardware store or wherever you buy it.
The practice panel will be screwed into an existing wall and framed. So you will need screws of at least 2 1/2 inches and a drill of course.
You will need an acrylic paint and some cement. This is for creating the transition coat on your practice panel from plywood to your natural plaster base coat.
Make sure the spot you're choosing for the installation of the panel is appropriate, remember you will be working with mud, lime and other ingredients, sometimes it gets messy, especially if you are a beginner. The garage seems an ideal space.
Now that you have all your materials ready, the rest of the process is pretty straight forward.
With help from a friend or a family member hold the piece of plywood to the desired height on the wall. With the drill and the screws secure the plywood to the wall, making sure to use a sufficient amount to hold the weight of the plasters you will put on.
With the 1 inch x 2 inch boards create a frame over the plywood board. If you planned it right, your boards are cut to the perfect length.
At this point you should have a properly secure board to the wall in a suitable spot for working with your mixes and applications.
Make a mix of acrylic paint and water (50/50) and add cement to this until it reaches a paint like consistency. Paint this onto your panel, this will help with the transition from plywood to plaster.
Apply a thin plaster layer, this will be a permanent layer on your board, to help with absorption of your next layers. This can be a cement or lime plaster. Add a horizontal key onto this layer to help with bonding of the next layers.
Now the board is ready to use to start practicing your natural plasters, from base coat, leveling coat to finish coat, or with whatever system you decide to experiment, that is what the board is meant for; practice, experiment, learn and do it all again.
Once you have finished a plastering system whether it is just a base coat or all the way to a finish coat you will chisel it down, if the transition coat is damaged just repair it and the practice panel is ready to go again!
Trust me you will get tired of plastering before this panel is useless.
From now on you have your own plastering practice board. This space is your experimental area and personal plastering learning center. A space that has no consequences and allows you to freely play and practice your plaster skills.

learn more about natural building
Join us for one of our natural building related workshops.
or looking for a natural building contractor in Costa Rica, check out Madre Tierra
Happy building!

Tadelakt - Water Resistant Lime Plaster
Simply defined Tadelakt is a type of polished lime plaster. Many cultures around the world have polished lime plaster, but none have captured the imagination in the way that Tadelakt has. At the Ranch we offer a variety of day workshops and our Tadelakt day workshop is by far one of the most popular natural building options.
by Nic, Core Team
What is Tadelakt?
Simply defined Tadelakt is a type of polished lime plaster. Many cultures around the world have polished lime plaster, but none have captured the imagination in the way that Tadelakt has. At the Ranch we offer a variety of day workshops and our Tadelakt day workshop is by far one of the most popular natural building options.
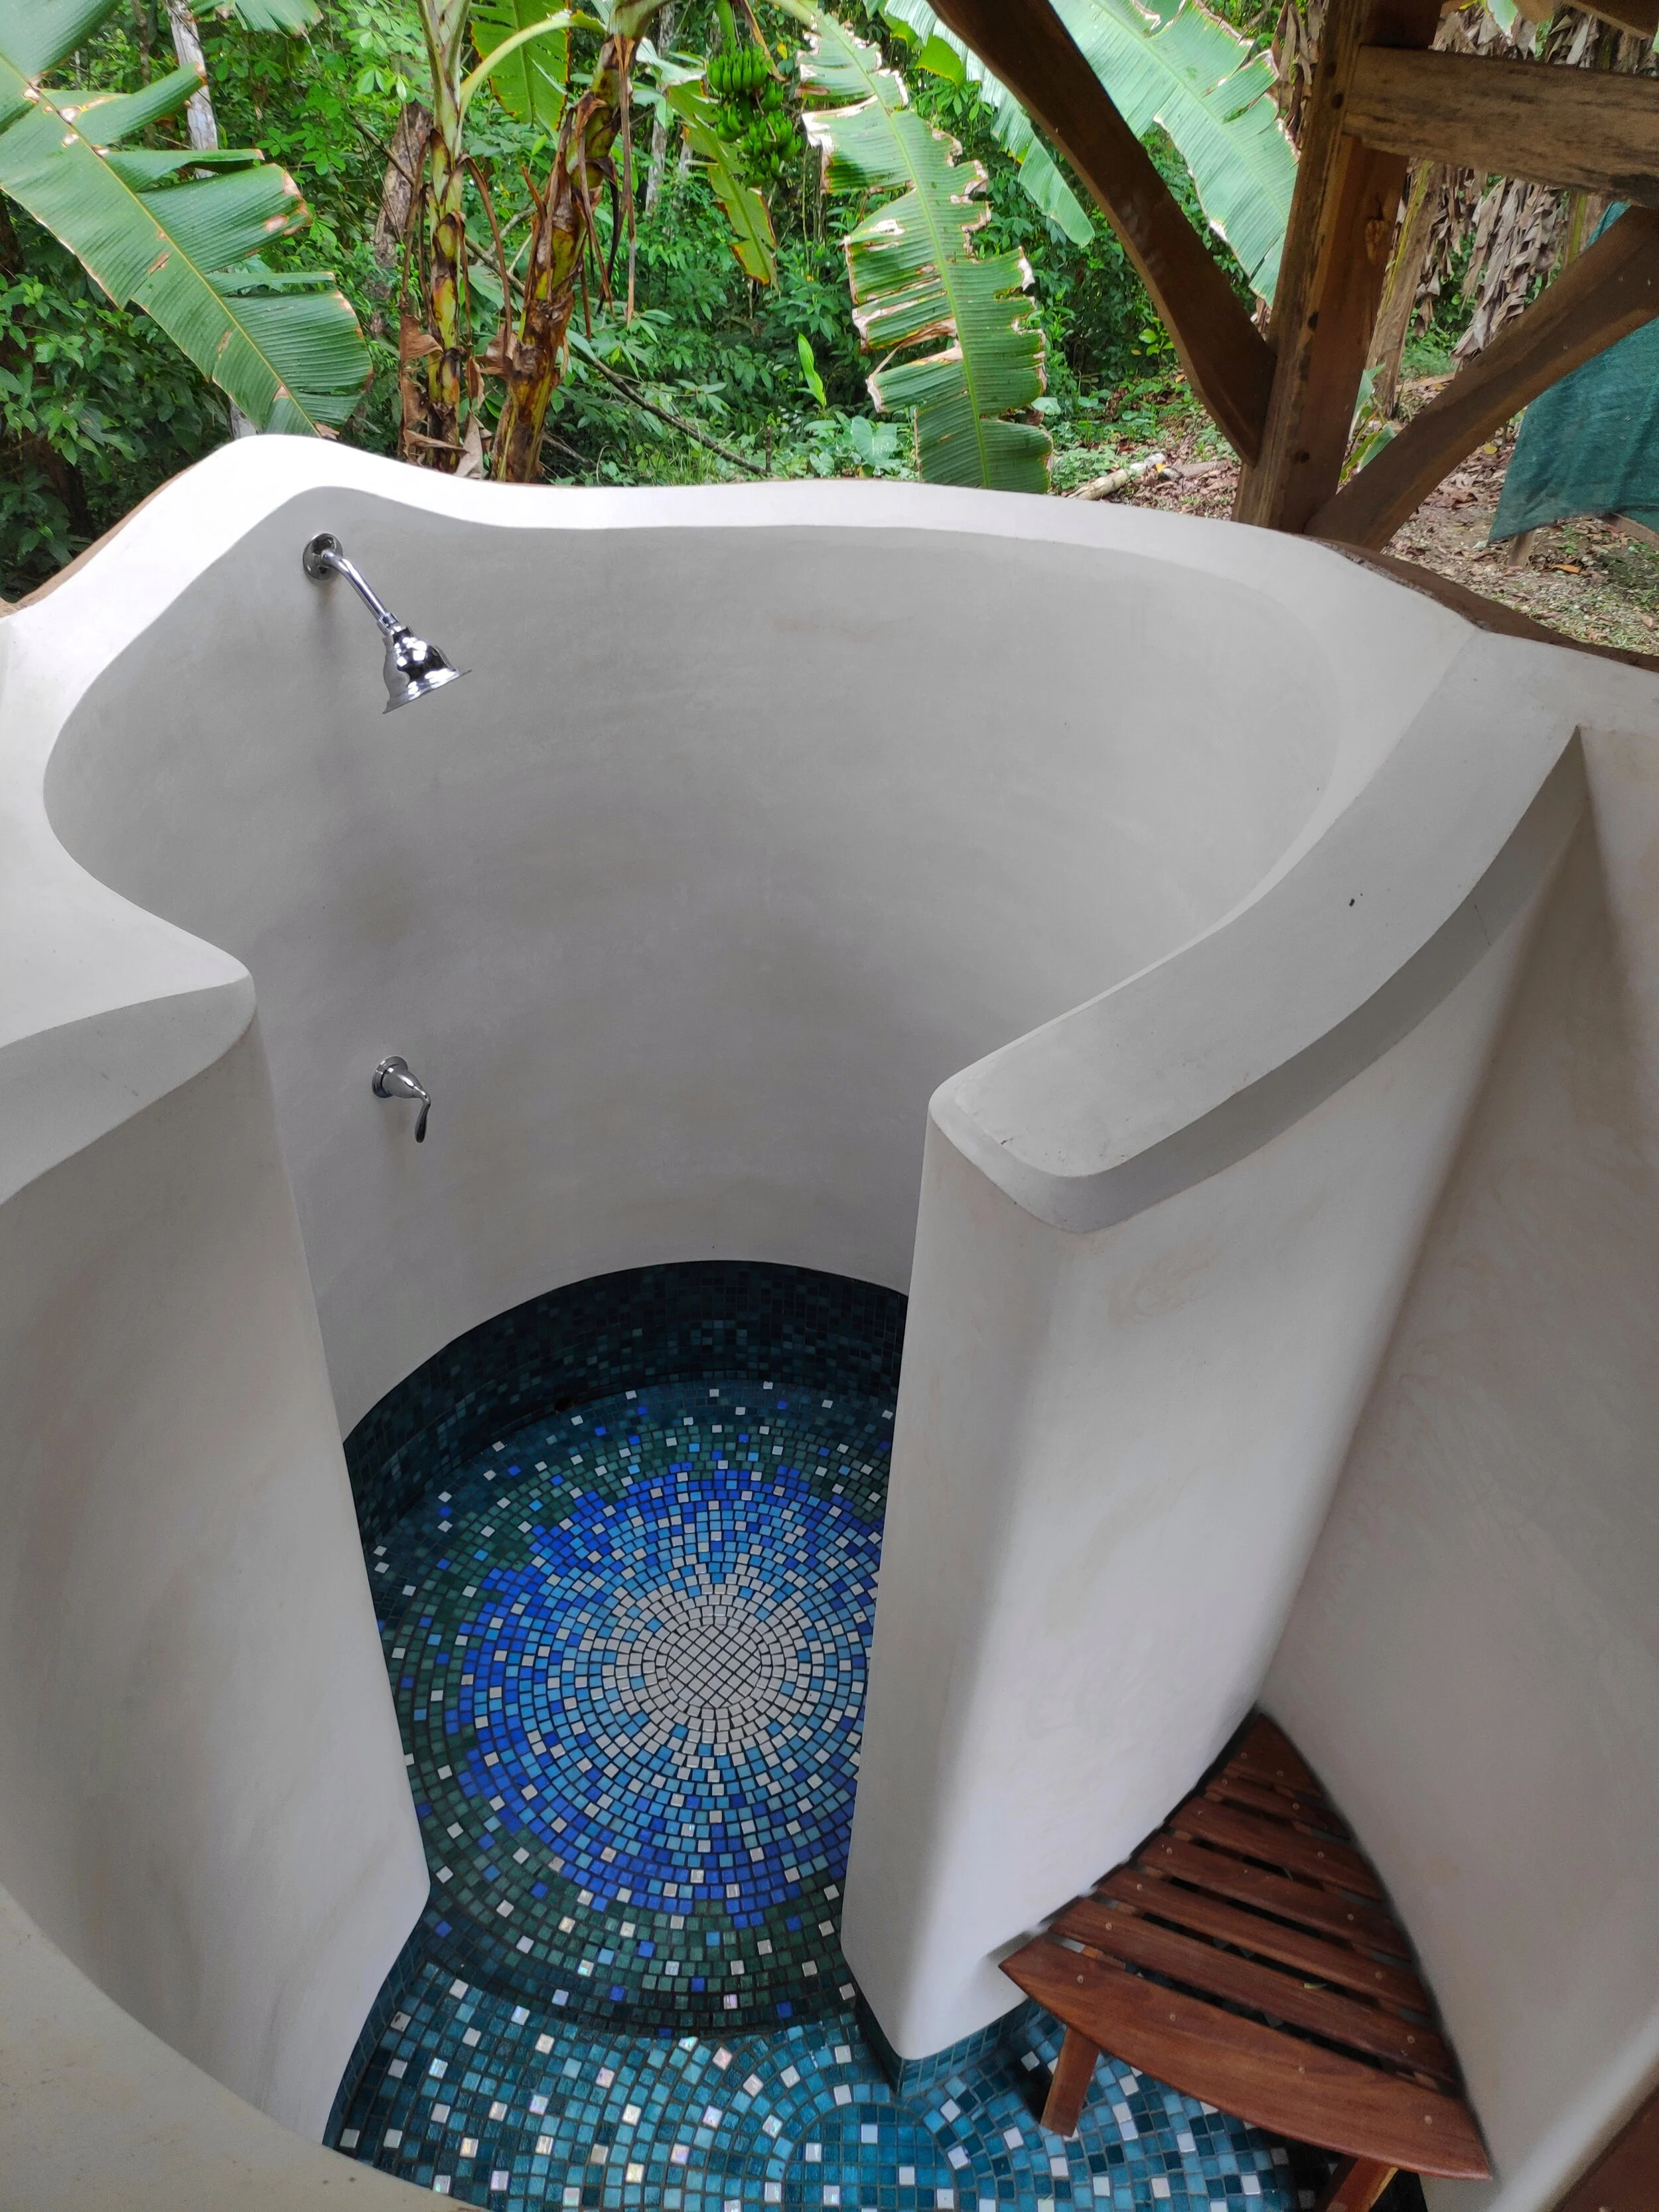
One of our showers at the Ranch using tadelakt
Tadelakt is often used in wet places as it has excellent properties for resisting the penetration of water. Traditionally this plaster was used in Morocco in the public baths and now more commonly around the world in sinks, kitchens, countertops etc… We frequently use Tadelakt plaster in wet areas like shower walls and sink areas. Read here for how we built this Tadelakt Shower.
Before talking more about Tadelakt it is important to understand the lime cycle and how it works so we can understand what different products we are looking for and how they are used in our plasters.
This basic Lime cycle shows you how Limestone is taken from the ground and heated at kilns to around 1500°F. This heating process burns the lime and the Carbon Dioxide is released into the air. This creates quicklime which is highly reactive. When water is added to this a lot of heat is given off during the reaction and the quick lime becomes calcium hydroxide. This is also known as hydrated lime or lime putty and is typically the product that you buy for building; it can come in a powder (if minimal water is added) or in a putty (if it is slaked in excess water). The putty can be aged for periods of time creating a more workable higher quality product, it is often more expensive and higher quality the longer it has been aged. It is highly caustic at this stage and gloves and goggles should be used when handling it. When the calcium hydroxide is exposed to the air, for instance when it is applied to a wall in a plaster, it then begins to react with the carbon dioxide in a process called carbonation. As it carbonates it turns back into limestone. This is known as the lime cycle.


Teaching students how to apply tadelakt in our Natural Building Workshop
What Makes Tadelakt unique?
As I said Tadelakt is a polished lime plaster, in order to polish a lime plaster you need to work the plaster with the appropriate tool at the exact time in its drying cycle, too early and you will damage the surface and too late and you can “burn” the plaster. The timing of polishing is true of any polished lime plaster and can be universally applied to a variety of lime mixes to achieve a somewhat similar finish (polished).
There are specific characteristics of our lime plaster mix and finishing technique though which are “required” to call it Tadelakt. Although I don’t believe there are any international laws that are associated with calling a product or a finish Tadelakt, we can start to think of it a bit like that. Just like when you buy rum you would expect it to be made from sugar cane, distilled and aged in barrels, in my opinion it is the same with Tadelakt. Well not exactly the same as there are no laws associated with the name Tadelakt whereas there are with calling it rum, but you get the idea! Whilst I am going to outline some of the things which I believe set a Tadelakt plaster apart from other polished lime plasters, there will also be some overlap. Some people may also say that if the plaster is not made and applied by a traditional specialist from Morroco, in Morroco then it is not Tadelakt, but personally I think that is taking it a bit far and the key theme is the ingredients and the methodology rather than the location and the applicant.
In my opinion there are three fundamental properties that define Tadelakt as a unique polished plaster.
The Aggregate
In the majority of lime plasters, although there are definitely exceptions, (especially in Japan) you are combining Lime (Calcium Hydroxide) with an aggregate. Typically this aggregate is silica based as the most common form of sand around the world is usually silicon dioxide in the form of quartz. What makes Tadelakt unique is the fact that the aggregate is not silica based it is a crushed limestone (CaCO3). Traditionally this was composed of the limestone that had not been heated sufficiently in order to create quick lime (Calcium Oxide). We source our crushed limestone from agricultural supply stores. It is commonly sold as a soil amendment for acidic soils. The fact that a limestone based aggregate is used is important as it means there is no chemical reaction between the aggregate and the binder and it means you can make your Tadelakt mix and store in indefinitely as long as it is not exposed to air (specifically carbon dioxide). We do this by just covering the mixture with a layer of water. If we make a mix of silica based aggregate and lime over time they will begin to react with one another forming calcium silicates which mean that the lime and the aggregate have become hard and unusable as a plaster. I have heard different opinions about whether this is true, I have heard people say that the silica is not reactive and shouldn’t react with the lime however, in my personal experience I have had silica based aggregates and lime mixed and left in buckets with water on top and have come back to them and they are solid and unusable.
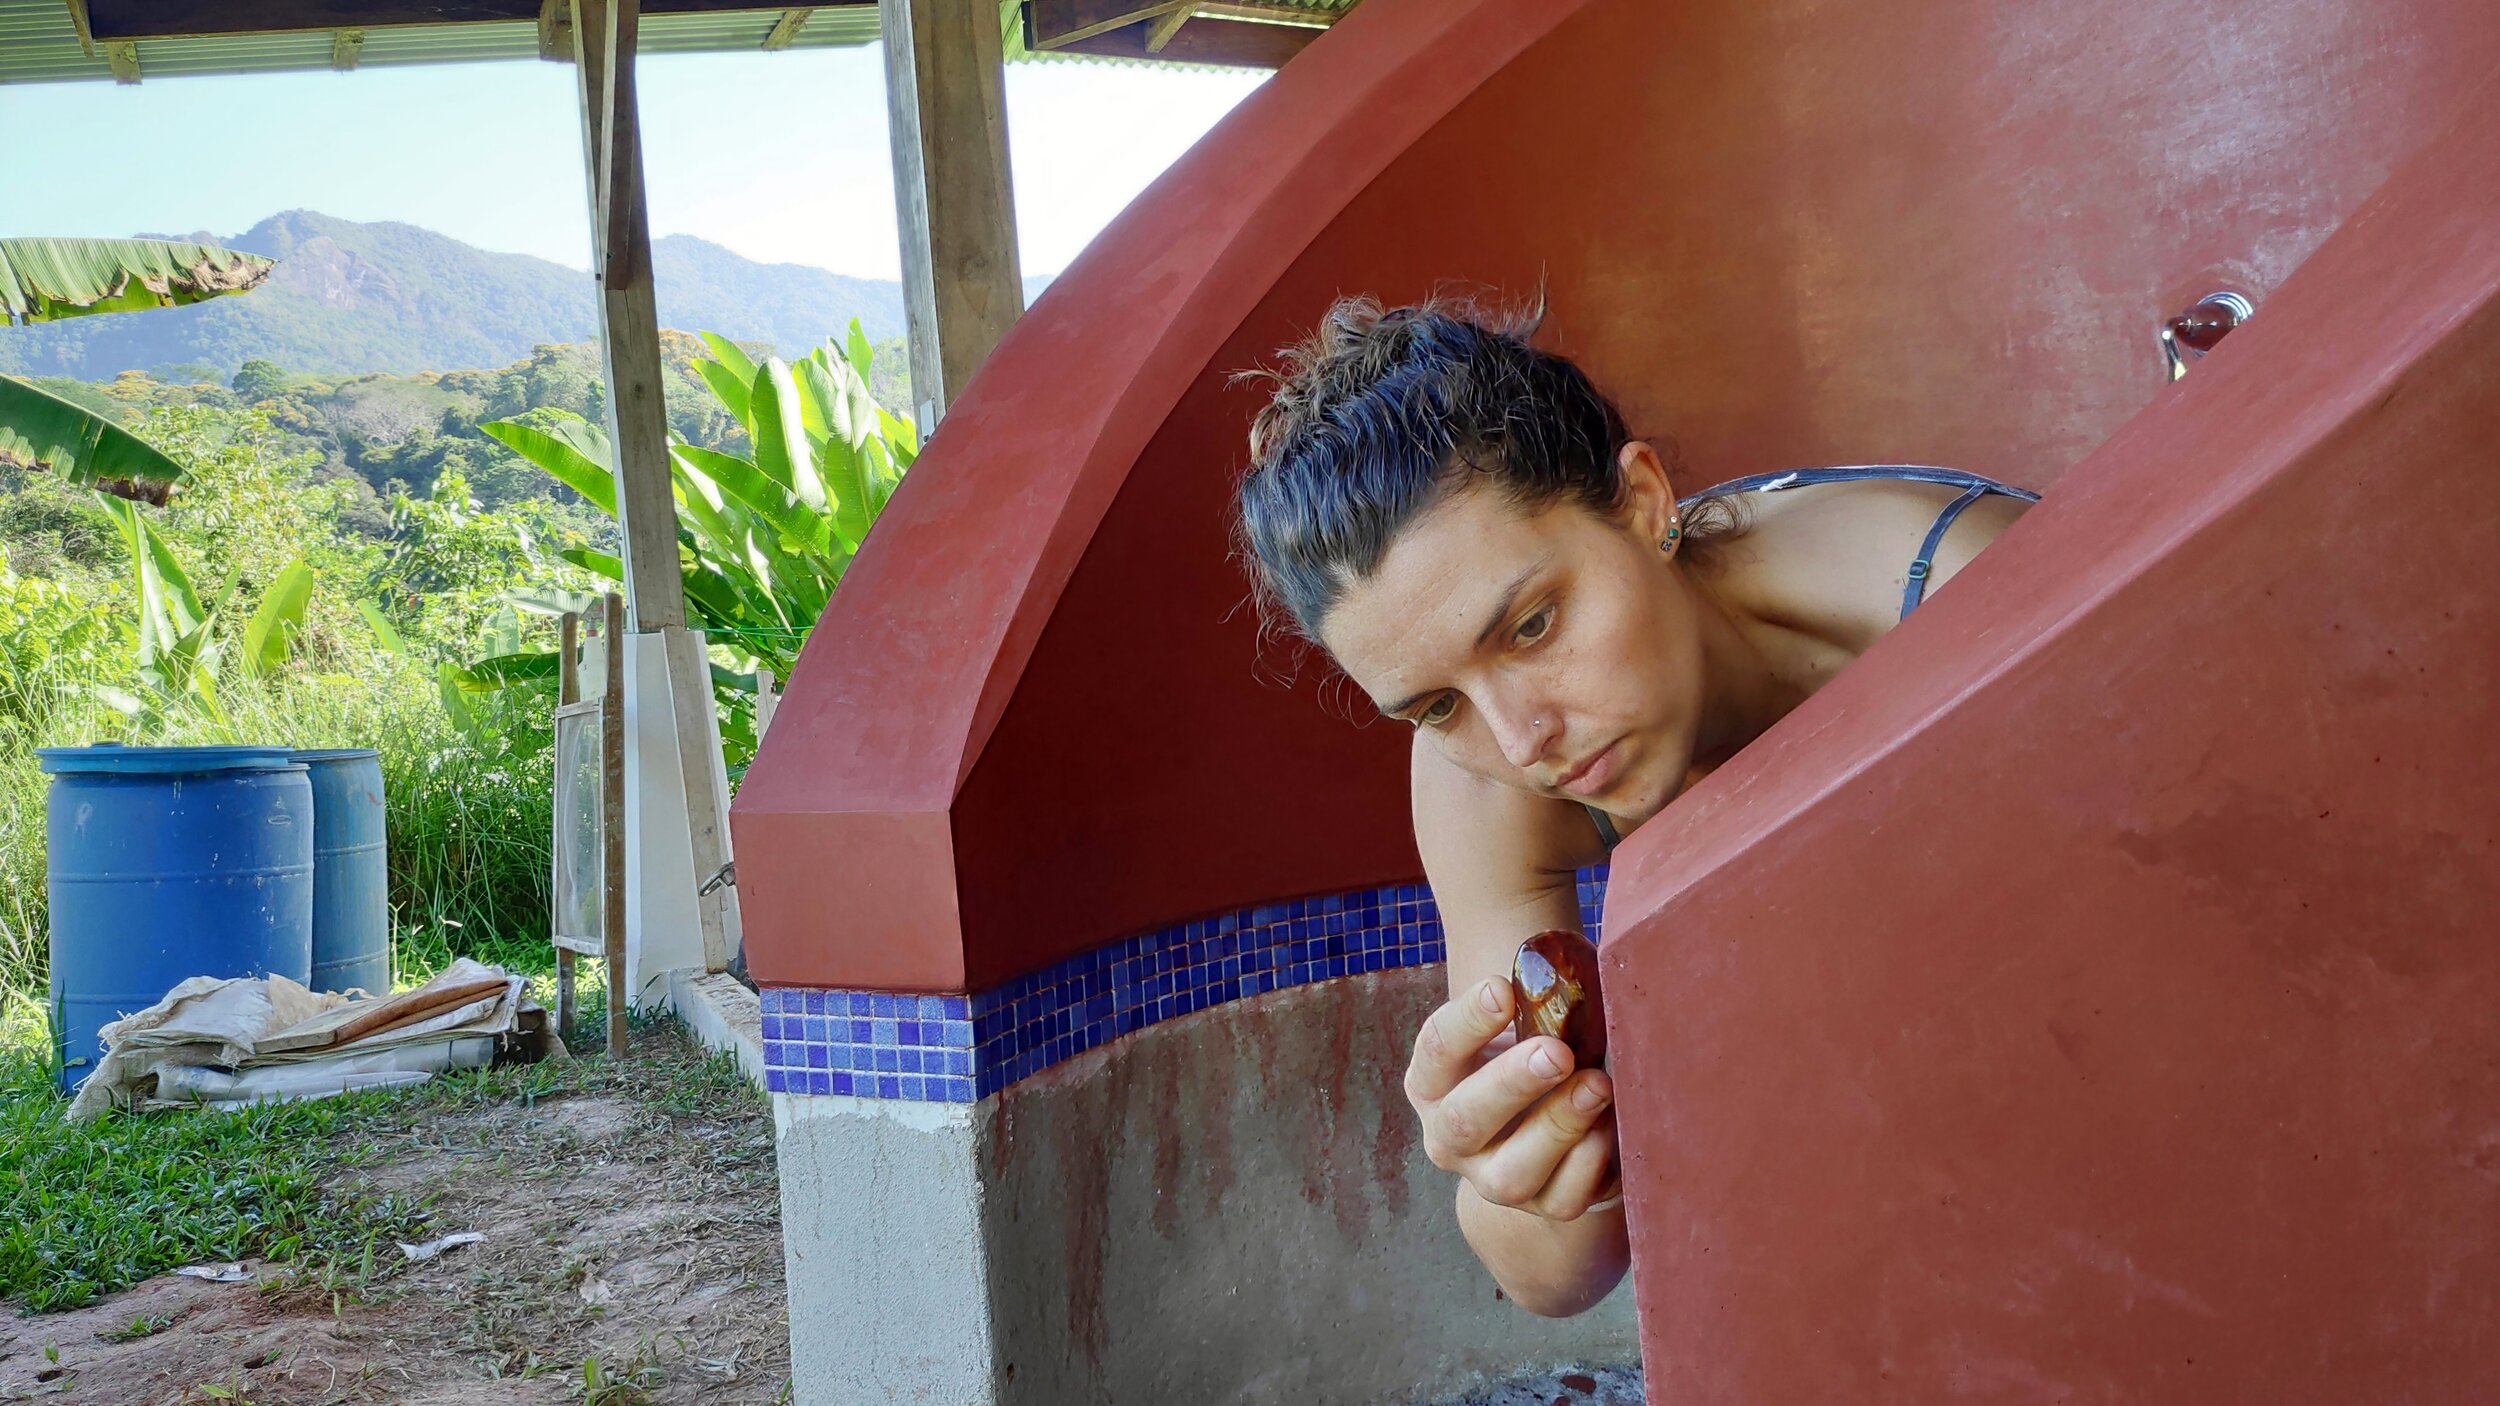
Stoning the tadelakt surface using a precious stone
Polishing tool
What makes Tadelakt unique is the tool that is used to polish the drying lime plaster. A precious stone that is higher than 7 on the Mohs hardness scale is typically used. It has to be hard enough to successfully burnish the surface hence the requirement of certain hardness of stone.
Soaping
Traditionally this soap would have been an olive oil based soap, and some may say that it is not Tadelakt unless you use olive oil soap, but we have been using our homemade soap using our local oils, (lard for example) and our Tadelakt works great! Once you understand the chemistry of the reaction you realize what else can be used. Stearic Acid in soap reacts with the calcium hydroxide in the Tadelakt to create Calcium Stearate. Calcium stearate is very hydrophobic (repels water) making it an excellent (essential!) additive to your Tadelakt. Stearic acid is found in the majority of oils which can then be used to make soap. It is not at particularly high levels in olive oil soap and is actually at much higher concentrations in hard oils like cocoa butter, shea butter and animal fats.

Our home made soap, typically using local oils like lard and coconut oil

Application of soap with a brush
How to apply Tadelakt
One of our close friends Benito of the The Nito Project on YouTube made a fantastic instructional video of how to apply tadelakt. Check it out here.
We typically use a 50/50 mix of lime aggregate and lime putty. We get our lime aggregate from agricultural supply stores and it does vary in its grading. Sometimes it is super fine and the texture of wheat flour and other times it is grittier and has larger sized aggregates. You want the grittier variety to give some substance to your plaster. If you use too fine of an aggregate you will not be able to build much thickness. We always sift our lime aggregate through window screen to make sure there are no large chunks that will really mess up your finish.

Mixing of the tadelakt mixture with a drill and paddle
I guess at this point it is important to mention that like with all plasters controlling the drying time of your plaster is going to be very important. If it dries too fast you will not have time to polish and burnish the surface and may even burn it. If it dries too slowly you may be hanging around for hours waiting for it to dry enough to finish. We have had both scenarios! The problem is each scenario will be different so judgment and experience will be your greatest ally. Some of the site conditions to consider which can drastically affect the drying time will be;
Humidity levels at the site
How windy it is
The substrate you are plastering on
How wet the mix is
How much you wet the wall down
Size of area to be plastered
Some of these you can’t really control, like the humidity at your site. On the other hand you could try and compensate for this with the amount you wet the walls down. Success will in part be dictated by how well you are able to account for the above factors. We therefore always recommend doing samples both on some absorbent surface like the back of a clay tile and on something that is the same substrate you are planning on applying your Tadelakt to give you an idea of how it will go.
Before you start applying any mixture on your finished wall you should put test patches on it as you wet the wall down to see how quickly it is drying.
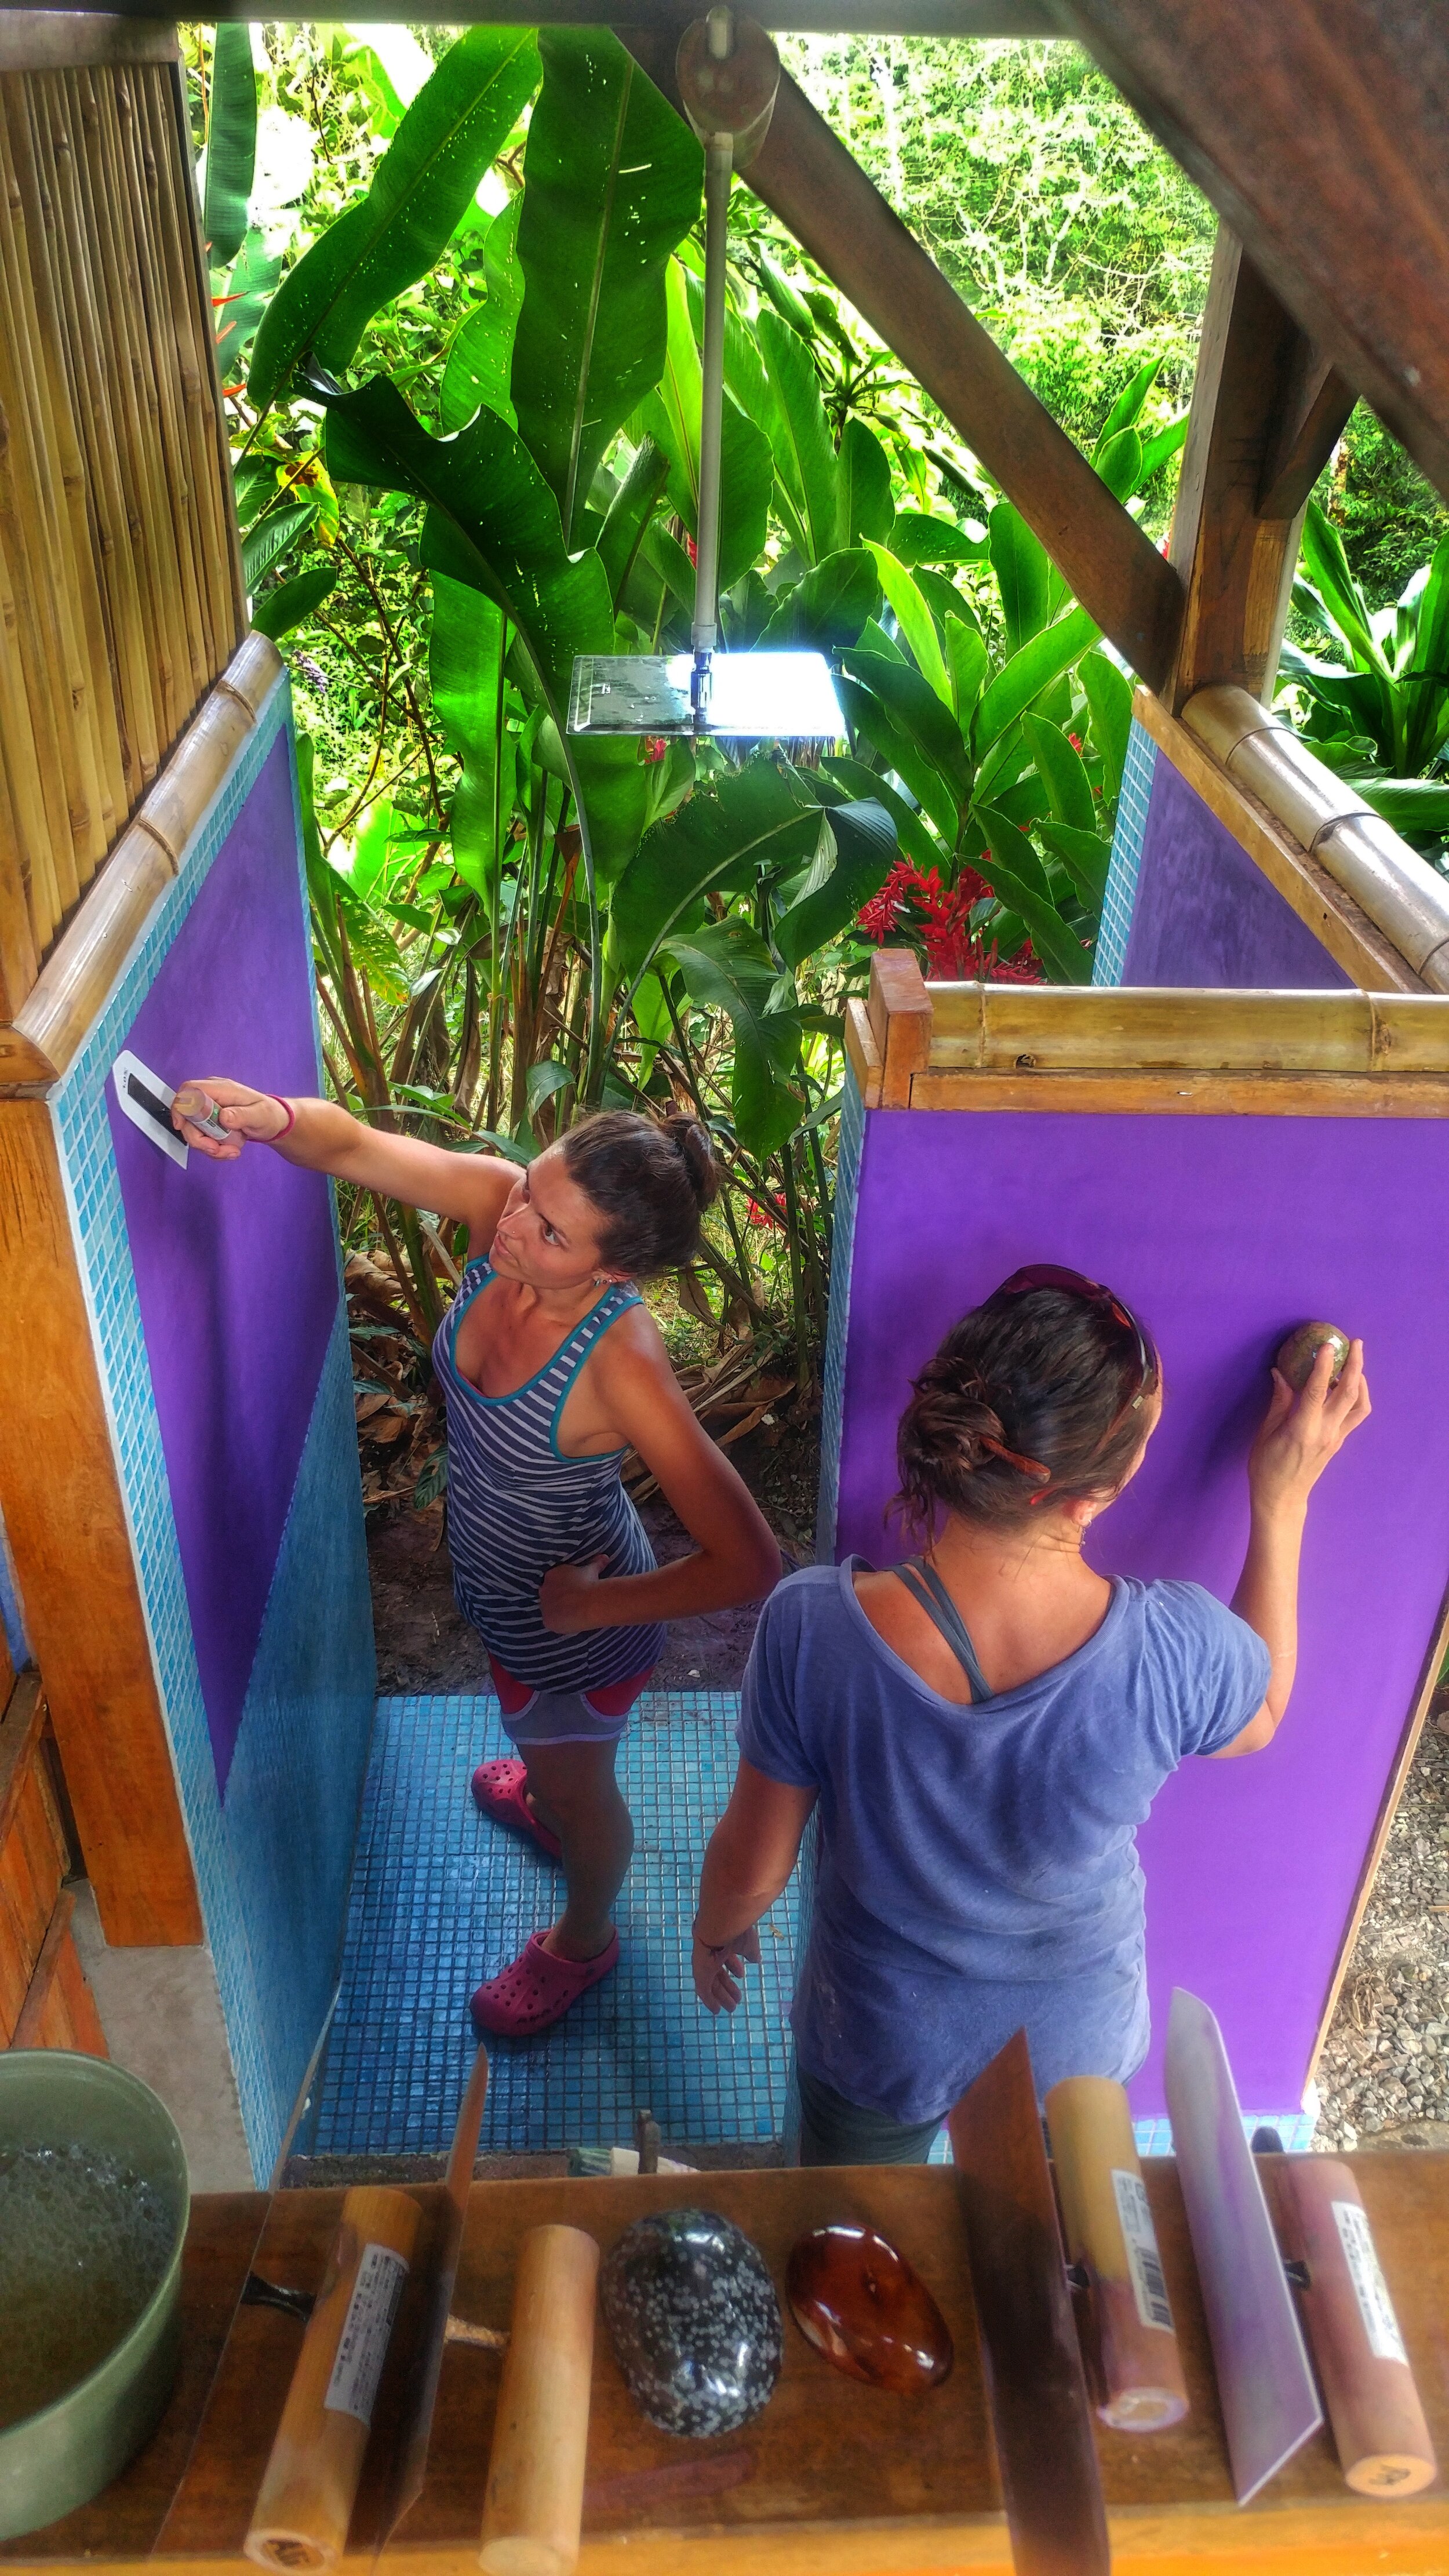
Finishing the tadelakt
The majority of the time we are applying Tadelakt onto an earthen wall, although we have got some walls which are lathe and plaster (no earth) with a Tadelakt finish. Typically on an earthen wall we apply a lime base coat around ¼” (6mm) thick. This is applied to a well keyed, flat earthen wall. It is important that it is flat as this keeps the lime an even thickness which means that it absorbs water from your Tadelakt at an even rate.
We wait around 30 days for our Lime base coat to carbonate and harden up as much as possible before sealing it in with another layer. As you might be able to imagine as lime carbonates it actually seals off the outer surface to the inner parts, not allowing as much carbon dioxide through and consequentially slowing down the carbonation of the full thickness of plaster applied.
After 30 days we apply the finish coat. As it has a very dry lime base coat it needs a lot of wetting down in order to give you enough time to work the Tadelakt, by also applying multiple layers of Tadelakt, the base coat absorbs the water from the Tadelakt mixture and that also helps slows the suction down. Originally we did multiple layers of Tadelakt now we typically do 2 layers of Tadelakt and build about 1/8th (3mm) thickness. It is important that you test the thickness you can apply first, if your aggregate is very fine you may have to do thinner layers.
As the Tadelakt dries you are able to smooth the plaster and move the cream around to create a smooth uniform surface, when it is dry enough you can begin to burnish it with the stone, the easiest way for a novice is to just keep testing the wall with the stone. By using small circular motions you should be able to compress the surface, if you find that your stone is picking up the lime off the surface it is too early.

Finished tadelakt shower
By checking regularly you make sure you don’t miss the window either, and when you get the sweet spot you will begin to see that you are starting to polish and burnish your surface. The next step is going to be to apply your soapy water. This is made by grating some soap into hot water to dissolve it. We aim for a dilution ratio of 1 part soap to 20 parts water. When applying the soapy water you don’t want it to remove your lime so if you notice it is damaging the surface, it is too early, the soap should absorb into the wall without damaging the finish, as you apply your soapy water you should also be able to continue working the plaster with your stone. You will be able to get it even shinier now that you have added the soap!
Good luck with you next Tadelakt project!! If you would like to join us for a natural building workshop check out our workshop page to see when the next one is scheduled for. We also offer a day workshops on a whole host of subjects incuding Tadelakt.
Past Blogs About Natural Building
Building an Adobe Shower with Tadelakt Plaster
Design Ideas for a Sustainable Home in the Tropics
Want to Learn More?
Join us for one of our annual building workshops to get hands on experience in different natural building techniques.

Bioconstrucción en Rancho Mastatal: respuestas cercanas a peguntas pertinentes
Llegar a un curso de bioconstrucción es una señal. Quien busca el conocimiento teórico y práctico en este campo, probablemente haya empezado a transitar un camino hacia el cambio de mentalidad y forma de vida; posiblemente muy pocas personas que aterricen en un curso de este tipo lo harán por azar y la mayoría lo hará como consciente consecuencia de su inclinación por un cambio de paradigma, de estilo de vida, por la búsqueda de coherencia entre el discurso y la práctica. Este fue nuestro caso.
Por Amanda Calvo Santana
Llegar a un curso de bioconstrucción es una señal. Quien busca el conocimiento teórico y práctico en este campo, probablemente haya empezado a transitar un camino hacia el cambio de mentalidad y forma de vida; posiblemente muy pocas personas que aterricen en un curso de este tipo lo harán por azar y la mayoría lo hará como consciente consecuencia de su inclinación por un cambio de paradigma, de estilo de vida, por la búsqueda de coherencia entre el discurso y la práctica. Este fue nuestro caso.
Llegamos a Rancho Mastatal en febrero 2021 (con mascarillas y distanciamiento) para internarnos en el mundo de la construcción natural, guiados por los mejores profesores (Nic, Robin y Ali) como resultado de un proceso lento pero constante, que empezó hace años con pequeñas acciones (reducción de consumo, cambio de dieta, participación comunitaria, acción ecológica, entre otras) y aplicación de filosofías y métodos para intentar vivir en creciente balance con nosotros mismos y nuestro entorno. Sin duda, todas esas acciones originaron, al lado de algunas respuestas, cientos de preguntas, que aún estamos tratando de resolver. Una de esas preguntas fue: ¿Cómo deberíamos construir la casa en la que queremos vivir?
La pregunta es pertinente por varias razones. Por un lado, creemos necesario ser conscientes de las múltiples problemáticas globales relacionadas con la vivienda de las personas y, por otro, nos parece importante ser parte, aunque pequeña, de algunas soluciones.
¿Por qué considerar la bioconstrucción?
a. Contaminación
Según Tiwari (2001) y López-Mesa (2009), el sector de la Arquitectura consume más del 20% del combustible y el 40% de los recursos materiales a nivel mundial y se estima que genera al menos el 35% del total de residuos industriales en todo el mundo. Numerosos autores concuerdan en que las consecuencias de las actividades de este sector son realmente impactantes no sólo en la naturaleza, si no en la salud de las personas y de forma multidimensional en las relaciones económicas y sociales de nuestro mundo. Un resumen de algunas comparaciones entre autores se encuentra en el artículo “Evaluación de los impactos medioambientales de los proyectos de construcción” de Enshassi, A., Kochendoerfer, B. y Rizq, E. (2014), quienes expresan:
Shen et al. (2005) sostienen que la construcción es la principal fuente de contaminación ambiental en comparación con otras industrias. Li et al. (2010) concuerdan con Shen (2005) y señalan que cualquier proceso de construcción requiere diversas maquinarias, recursos naturales y que genera muchos contaminantes. Muchos escritores (Morledge y Jackson, 2001; Ball, 2002; Chen et al., 2004; Lam et al., 2011; Zolfagharian, 2012) resumen estos contaminantes como: contaminación por ruido, contaminación atmosférica, desechos sólidos y líquidos, contaminación del agua, gases dañinos y polvo. Por otra parte, los proyectos de construcción constituyen la fuerza impulsora de la economía nacional y cuyo consumo eléctrico, emisiones medioambientales e impacto social son muy significativos (Chang et al., 2011). (párrafo 2).
Del párrafo anterior, es importante resaltar que los autores se refieren a “cualquier proceso de construcción”, lo que nos lleva a pensar si en sus estudios habrán analizado los métodos y materiales que la construcción natural propone, y si habrán evaluado la diferencia en términos de impacto de su aplicación en torno a todas las variables (contaminación, extracción de recursos naturales, relaciones sociales y económicas, uso de maquinaria entre otros). Probablemente no.

Contaminación con polvo por actividades de construcción y demolición en Beijing. Imagen tomada de http://www.china.org.cn/environment/2015-02/28/content_34913197.htm (sin fecha)
b. Urbanización y sus consecuencias
Junto a los temas de contaminación por parte de sector constructivo, es importante recordar los temas de urbanización. Es en la urbe donde se visualizan los métodos constructivos más violentos, tanto por su densidad e intensidad, como por los materiales utilizados. En contraposición, es en la ruralidad donde se evidencian prácticas constructivas más apegadas al uso de materiales naturales y de fuente local (no siempre) y que muchas veces obedecen a conocimiento y tecnología ancestral.
Desde inicios del nuevo milenio, la mayor parte de la humanidad habita en centros urbanos. “En América Latina, los procesos de urbanización se han intensificado en las últimas décadas” (Narváez, Durán, Menoscal & Jiménez, 2019:1, en: González y Calvo, 2020) debido al rápido crecimiento poblacional y los cambios acelerados en las dinámicas económicas y sociales, que caracterizan a los modos de vida impuestos por el contexto de la globalización (Pujol & Pérez, 2012:1 en: González y Calvo, 2020). Indudablemente, la vida de las personas en las zonas urbanas se ve afectada por la intensidad y rapidez de su crecimiento, resulta sencillo comprender que las relaciones sociales y la cosmovisión de los habitantes son notablemente diferentes entre el campo (zonas rurales) y la ciudad (zonas urbanas). Aunque por naturaleza humana existan similitudes, ambos sitios promueven diferentes ritmos de vida, afloran diferentes satisfactores, distintos miedos, diversas interacciones y muy diferentes soluciones a similares problemas. Para nosotros, una pareja citadina que desesperadamente intenta salir de la lógica citadina y encuentra en la ruralidad de Mastatal algunas respuestas, esto fue bastante evidente y no hizo sino aumentar nuestra inclinación por vivir en el campo y construir con tierra. Dos más a la cola.
En las ciudades en crecimiento, se encuentran dos procesos simultáneos de relocalización de las poblaciones en función de su capacidad adquisitiva: se intensifica la segregación debido a la expansión periférica y se instauran procesos de gentrificación como resultado indirecto de la renovación de áreas centrales de las ciudades. En consecuencia, las ciudades buscan “recuperar el patrimonio arquitectónico y promover el turismo y el desarrollo de actividades terciarias en áreas degradadas o en proceso de tugurización” (Marengo y Buffalo, 2019:10, en: González y Calvo, 2020), aumentando así la plusvalía del suelo urbanizado y promoviéndose el desplazamiento de la población local.

Imagen tomada de https://www.diarioextra.com/Noticia/detalle/308996/vecinos-de-precarios-sin-acceso-a-bonos-de-vivienda?fb_comment_id=1085312144880326_1085411618203712, Septiembre 2016.
La cuidad de San José, Costa Rica, no ha sido la excepción a estos procesos. Con un origen de pequeñas ciudades y poblaciones rurales, la Gran Área Metropolitana (GAM) de San José, ha experimentado una importante transformación del uso de suelo en las últimas décadas, debido, según Pujol y Pérez (2012), al crecimiento poblacional, el relativo aumento de los ingresos económicos familiares y una motorización creciente. Ello, acompañado de insatisfactorias regulaciones locales y regionales, ha causado “importantes externalidades ambientales negativas” y procesos de desplazamiento y sectorización económica cada vez más marcados. Pareciera lógico pensar que, así como la GAM, sus habitantes, o al menos una parte de ellos, experimenten en paralelo cambios en sus ambientes internos, tal vez de manera no siempre consciente, que en el caso personal han dado al traste con la sensación de confort y satisfacción, generando nuevas preguntas, posiciones y acciones, todo esto acompañado por la incertidumbre que a casi todas las personas costarricenses no persigue: ¿Cómo generar el dinero para la tierra, cómo evitar endeudarme para la construcción, cómo mantener mi vida de esta manera? Más preguntas en proceso de resolución. Para quienes, como nosotros, buscan una tierra donde sembrar sueños, este proceso significa una evidencia que nos insta a volver la mirada al mundo rural y nos hace analizar sus potencialidades al tiempo que nos confronta, pues no se trata de invadir el campo, si no de entrar en su lógica y balance, empezando por “el nido” que queremos construir.

Imagen tomada de laciudadparalela.com (http://i1.wp.com/www.laciudadparalela.com/wp-content/uploads/2015/06/la-ciudad-paralalela-planificacion-urbana-san-jose-costa-rica-invu.jpg) sin fecha.
Ante el escenario de un San José que no para de crecer y con cada vez menos zonas verdes y más lejos de los alimentos, es necesario utilizar estrategias que amortigüen los efectos y promuevan la construcción de sistemas de vida que resulten menos depredadores y más proveedores. Rescatar prácticas y elementos que aboguen por la sanidad de las relaciones interpersonales y de las personas con su entorno en un sentido amplio es crucial, incluida la forma en que se construye la casa. (Adaptado de Gómez y Calvo, 2020).
Sin duda, la rápida urbanización es un fenómeno multidimensional complejo, como también lo es enterarse de que el fenómeno en sí está ocurriendo, valorarlo con objetividad y buscar respuestas diferentes a su convulso y acelerado modo de imponerse. Para quienes, aun en medio de la expansión de concreto, ruido y humo, sea posible pensar y poner en práctica formas alternativas de vivir, de construir sus hogares y producir sus alimentos, podrían aflorar posibilidades de regeneratividad social, pedagógica, emocional, política y cultural. En eso estamos.
c. Evidencia para bioconstrucción
La evidencia de la factibilidad y eficiencia de las viviendas construidas mediante métodos de bioconstrucción es tan difícil de encontrar como la evidencia en su contra. A pesar de que se suele escuchar que “es insegura, poco duradera, peligrosa y prohibida” en algunos círculos de arquitectura convencional, existe casi nula documentación que corrobore estos elementos, e incluso no hay normativa en Costa Rica que prohíba su uso, si la construcción se comprueba antisísmica, cosa que la madera bien usada desde los cimientos puede solventar.
El tema tiene cada vez más atención y se ha vuelto toda un área en desarrollo dentro de la disciplina de la Arquitectura, incluso, se han publicado modelos metodológicos para certificación de bioconstrucciones (Carvalho, 2016), análisis sobre el discurso (Montesinos, 2014) y propuestas para la recuperación arquitectónica (Torres, 2017) desde hace años. Existen muchos sitios que proveen listas de revistas, artículos, libros y blogs que pueden demostrar la creciente en el interés y la práctica bioconstructiva, fundamentados tanto en la consecución de modalidades sostenibles de desarrollo como medio de protección de la salud humana y planetaria como en la inaccesibilidad del mercado de la vivienda en general. Algunos de estos sitios los compilan Soto (2006) y Etbul (2012) en los sitios http://www.ub.edu/geocrit/aracne/aracne-090.htm y http://caminosostenible.org/mediateca/construccion-natural/ respectivamente.
Sin embargo, las mejores evidencias se encuentran en las casas y comunidades que existieron desde tiempos inmemorables, algunas de las cuales siguen en pie hoy en día. Desde Grecia y Egipto, hasta Latinoamérica y Asia, civilizaciones antiguas y vivientes han utilizado materiales y tecnología local para construir sus viviendas y ciudades, como piedras, madera, arcillas, mármol. “Incluso las clases menos privilegiadas, a lo largo de la historia y el desarrollo de la Humanidad, han empleado materiales como el carrizo, el lodo, las hojas de palma, para construir viviendas apropiadas para todo tipo de climas, templados, fríos o cálidos.” (Oseguera, Trinidad, Guerrero, Guerrero y Reyes, 2011)
La arquitectura sostenible o bioconstructiva es un tema que tomó relevancia desde principios del siglo XX. Nader Khalili fue uno de los vanguardistas en retomar y adaptar el tema, creando el concepto y técnica del “súper adobe”; aprobada por los altos comisionados de la ONU en materia de vivienda sustentable y digna. “Este modelo de construcción ha sido tomado en cuenta para edificar de manera sustentable no sólo en la comunidad rural, sino en la ciudad con materiales de reducido impacto ambiental.” (Oseguera, et al, 2011)

Fotografía de Rose Marie Hernández Vargas. Casa de Adobe en Santo domingo de Heredia, junio 2012. Tomada de https://semanarioextensionista.blogspot.com/2012/06/198-herencia-cultural-casas-de-adobe-de.html

Fotografía de la casa de campo del expresidente de Costa Rica José María Castro Madriz, en El Salitral de Desamparados, que data de los años 1800, declarada patrimonio histórico arquitectónico desde 1982. Fotografía de Kevin Piedra en https://www.tec.ac.cr/hoyeneltec/2018/06/06/bienal-arquitectura-premio-talento-tec (junio 2018).
Para nosotros, la mayor evidencia se encuentra en las calles de pequeños poblado de Heredia, Escazú y otros lugares de Costa Rica, rurales y urbanos, en los cuales aún permanecen las casas de Adobe y Bahareque entre edificaciones de concreto, cemento y metal, así como las hermosas casas construidas en Rancho Mastatal, unas más viejas que otras, que permiten conocer no sólo el proceso de evolución que esta comunidad ha vivido a través de la experiencia, si no la durabilidad y sensación de bienestar que las mismas edificaciones representan.

Fotografía propia de la primera vivienda de Tim y Robin, construida en Cob y de la cual surgieron muchos aprendizajes sobre el ambiente local y las mejores prácticas constructivas para garantizar durabilidad en esta zona de Costa Rica.

Fotografía propia, de una parte de la fachada del cuarto de estudiantes, en la que e aprecia un gran corredor, paredes más delgadas y amplias ventanas para contrarrestar las altas temperaturas de la zona, así como un techo alto.

Fotografía propia: hermosas formas curvas como parte de un baño con cimiento de concreto y paredes de ladrillos de adobe.
Otros contenidos sumamente interesantes del curso son los cimientos, los pisos de arcilla y sus acabados; las herramientas y los materiales, los cuales merecen realmente un extenso texto, pero que a la vez se encuentran disponibles para quienes tomen la decisión de aventurarse en este fabuloso curso, altamente recomendable y de increíbles alcances. Es sin duda uno de los procesos de aprendizaje más motivadores que hemos podido tener, con la total certeza de haber contado con los mejores y más experimentados profesores del país, que además resultan ser personas encantadoras y dispuestas a compartir sus conocimientos. No está de mas decir que en Rancho Mastatal se come delicioso y muy saludable y que, sobre todo, se encuentra una atmósfera de vida esforzada y pacífica que reconforta en todo tiempo.
A través de la participación en este proceso de aprendizaje una puerta se nos ha abierto, ya la construcción de nuestro hogar de una forma coherente con nuestro discurso, que nos permita un balance y una sensación de bienestar en nuestra forma de vivir y relacionarnos con todo lo que nos rodea dejó de ser una idea y empieza a tomar forma de realidad, poco a poco, con la seguridad de que no somos los únicos, ni los primeros en buscar las respuestas sencillas y eficientes que la naturaleza guarda y con la certeza de estar bendecidos en un camino de paciencia y libertad.

Fotografía propia de una habitación en una de las casas de Rancho Mastatal, que muestra un hermoso fresco aplicado sobre repello de cal en paredes de Bahareque. El piso es de arcilla, sumamente fresco al tacto, el techo alto y hay varias entradas de aire que permiten una estancia fresca a pesar del calor y la humedad.
El curso de bioconstrucción
El curso de Natural Building (Bioconstrucción) en Rancho Mastatal aborda temas amplios y específicos, complejos y sencillos, en una semana intensa y de mucho trabajo práctico. Entre los múltiples contenidos, algunos que llamaron fuertemente nuestra atención fueron los repellos y las paredes.
Las clases empiezan con lo que más tiempo y persistencia representa: los repellos, para poderlos trabajar y mejorar a lo largo de toda la semana. Los repellos son capas de mezcla, que pueden contener diferentes proporciones de arcilla, arena y fibras vegetales; o cal, arena y fibras vegetales, dependiendo de la durabilidad, acabado e impermeabilidad que se quiera obtener. Desde repellos crudos de cal o arcilla, hasta la hermosa y codiciada técnica marroquí del tadelakt, todas y cada una de las distintas posibilidades toman un considerable tiempo de práctica y paciencia, para poder garantizar un acabado que proteja y embellezca el trabajo constructivo interno, ya sea este de cob, adobe, bahareque u otra de las técnicas de construcción con arcilla.


Fotografías propias: paredes de práctica para las personas participantes del curso, sobre las que se aplican capas ya sea de arcilla o cal, en concentraciones diferentes, para aprender sobre la permeabilidad, secado, duración y belleza de estos acabados. En la segunda fotografía se aprecian acabados finales de arcilla, cal, tadelakt y fresco.
Para la construcción de las paredes, se hace necesario entrar en el detalle sobre los tipos y cantidades de los diferentes materiales a utilizar. En la técnica del bahareque, básicamente se utiliza una mezcla de arcilla, arena y fibra vegetal que se vierte con las manos sobre un trenzado de madera delgada o bambú. En esta técnica, las posibilidades de tratamiento para la mezcla son amplias, desde fermentar la arcilla con o sin materiales como la caballaza o el estiércol, hasta utilizar fibras más o menos resistentes para crear un nivel de adhesividad que permita construir mejor. En este sentido, siempre será necesario considerar el ancho de la pared y las condiciones climáticas de la región.

Fotografía propia: pared de varios paneles de líneas de bambú rellenadas con mezcla de arcilla, arena y fibra, todo rodeado de marco de madera.

Fotografía propia: interior con paneles hechos de madera, bambú y mezcla de arcilla, arena y fibra.

Fotografía propia: mezcla de arcilla, arena y fibra lista para aplicar en las paredes.
Para la técnica de bioconstrucción con ladrillos de adobe, se utilizan los mismos materiales, pero en distintas proporciones. Los ladrillos de adobe tienen un grosor mucho mayor al de las paredes de bahareque y por tanto deben contener mayor cantidad de arena, para garantizar resistencia no solo del techo, si no de sí mismos, pues por lo general no se usa un marco de madera que sostenga la pared. La forma de prepararlos es sumamente divertida, pues idealmente hay que hacerlo entre varias personas, pisoteando la mezcla hasta obtener la contextura adecuada. Luego, debe verterse la mezcla en moldes de madera que después se retiran, dejando las formas de ladrillos para secarse al sol. Esta técnica permite construir con curvas y hacer hermosas y resistentes figuras en la construcción.

Fotografía propia: se muestran los ladrillos de adobe que se pegan entre sí con mezcla de arcilla y arena. Se depositan sobre cimiento de concreto.
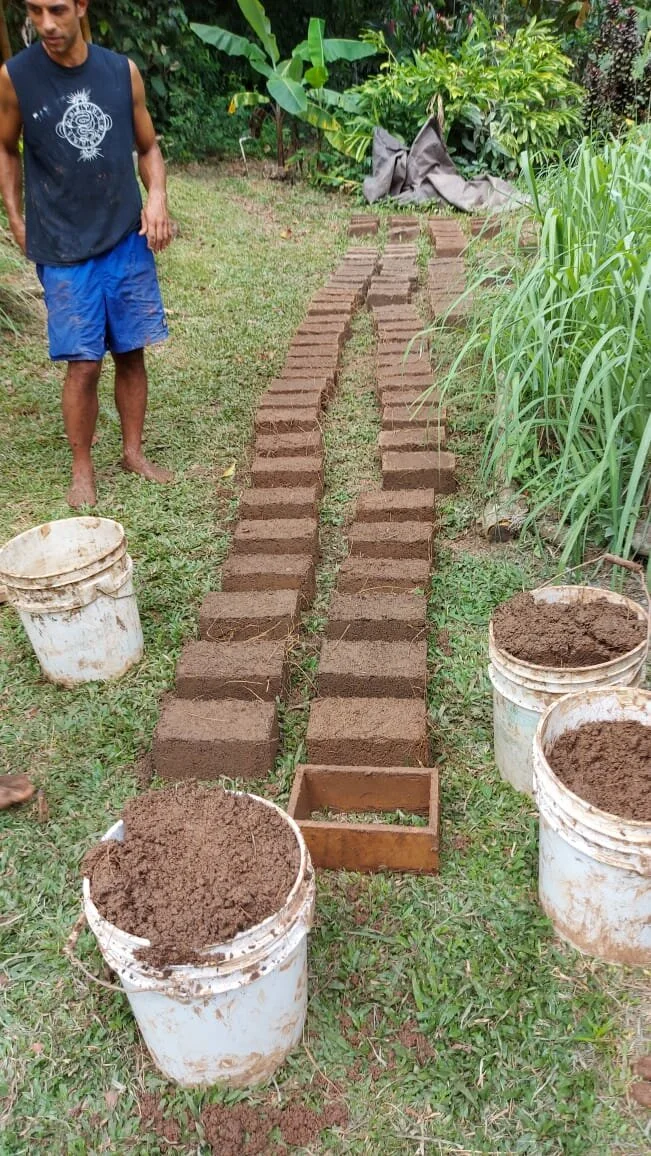
Fotografía propia: Zack, uno de nuestros compañeros, junt a los ladrillos de adobe preparados y secándose al sol.


Ducha exterior en proceso de construcción, que muestra una curva y paredes de adobe bien logradas. Al lado derecho, una pared de bahareque que incluye una malla sintética para hacer puente entre el barro y la madera.

Vista externa de la parte frontal de una de las nuevas casas de Rancho Mastatal. Incluye un arco de adobe increíblemente logrado y hermosas paredes de bahareque en proceso.


A la izquierda, la profesora Robin muestra diferentes pruebas con tintes para los acabados de las paredes. A la derecha, vista interna del arco construido en la misma casa.
Molde para la práctica de pisos. Dentro del molde una mezcla de arena y piedra que simulan una de las primeras capas de piso a colocar después de los cimientos.


En ambas fotografías estudiantes del curso de Natural building aplicando y nivelando capas de arcilla mezclada con arena y fibras para el piso.
Otras fuentes interesantes:
http://caminosostenible.org/wp-content/uploads/BIBLIOTECA/manual_bioconstruccion.pdf
https://dspace.ups.edu.ec/bitstream/123456789/14491/1/UPS-QT12146.pdf
https://www.academia.edu/42332672/LA_PERMACULTURA_COMO_OPORTUNIDAD_DE_COLABORACI%C3%93N_ENTRE_EL_ENTORNO_Y_LA_SOCIEDAD_HACIA_LA_BIOCONSTRUCCI%C3%93N
Bibliografía:
Calvo, S., A. y González, M., T. (2020). Recuperando la colectividad como una aproximación hacia la soberanía alimentaria en las zonas de transición rururbana. Diplomado Agrobiodiversidad y Soberanía Alimentaria, Módulo 6, trabajo final del módulo.
Carvalho, K., M.L. (2016). Herramienta de certificación para la Bioconstrucción. Universidad Politécnica de Madrid. Recuperado de: https://dialnet.unirioja.es/servlet/tesis?codigo=116580
Enshassi, A., Kochendoerfer, B. y Rizq, E. (2014). Evaluación de los impactos medioambientales de los proyectos de construcción. Recuperado de: https://scielo.conicyt.cl/scielo.php?pid=S0718-50732014000300002&script=sci_arttext&tlng=p
Etbul, A. (2012). Construcción Natural. Camino Sostenible. Recuperado de: http://caminosostenible.org/mediateca/construccion-natural/
López-Mesa, Belinda, Pitarch, Ángel, Tomás, Ana, and Gallego, Teresa. (2009). “Comparison of Environmental Impacts of Building Structures with in Situ Cast Floors and with Precast Concrete Floors.” Building and Environment 44 (4): 699-712. doi:10.1016/j.buildenv.2008.05.017. En: En: Mercader, M., M.P., Camporeale, P.E., y Cózar-Cózar, E. (2019). EVALUACIÓN DE IMPACTO AMBIENTAL MEDIANTE LA INTRODUCCIÓN DE INDICADORES A UN MODELO BIM DE VIVIENDA SOCIAL. Rev. hábitat sustentable vol.9 no.2 Concepción dic. 2019. http://dx.doi.org/10.22320/07190700.2019.09.02.07 Recuperado de: https://scielo.conicyt.cl/scielo.php?pid=S0719-07002019000200078&script=sci
Marengo, M., C. y Buffalo, L. (2019). Introducción: crecimiento urbano, una transformación sustentable del territorio. En: Marendo, M., C., Buffalo, L., Silveira, M.L., Bustamante,P., L., Arreortua, S. L., Lima, A., C., Rollan, del C., A., Bachmejer, A., O. y Bel, S., J. (2019). Crecimiento Urbano, hacia una transformación sustentable del territorio. Centro Latinoamericano de Formación Interdisciplinaria (CELFI). Recuperado de: https://rdu.unc.edu.ar/handle/11086/14647. (html). (en línea).
Tiwari, Piyush. (2001). “Energy Efficiency and Building Construction in India.” Building and Environment 36 (10): 1127-1135. doi:10.1016/S0360-1323(00)00056-1. En: Mercader, M., M.P., Camporeale, P.E., y Cózar-Cózar, E. (2019). EVALUACIÓN DE IMPACTO AMBIENTAL MEDIANTE LA INTRODUCCIÓN DE INDICADORES A UN MODELO BIM DE VIVIENDA SOCIAL. Rev. hábitat sustentable vol.9 no.2 Concepción dic. 2019. http://dx.doi.org/10.22320/07190700.2019.09.02.07 Recuperado de: https://scielo.conicyt.cl/scielo.php?pid=S0719-07002019000200078&script=sci
Montesinos, L.A. (2014). El discurso de la bioconstrucción arquitectónica: divulgación y legitimación en revistas profesionales. Universidad Politécnica de Valencia. doi:http://dx.doi.org/10.6035/clr.2014.13.11 ̇issn1697-7750 · v o l. x iii\2014, pp. 201-220. Recuperado de: https://www.raco.cat/index.php/CLR/article/view/292242/380758
Oseguera, F., L., Trinidad, H., J.E., Guerrero, J., N., Guerrero, J. I y Reyes, Z., M.M. (2011). Manual de construcción (Bioconstrucción). Instituto Tecnológico Superior de Pátzcuaro. Recuperado de:http://caminosostenible.org/wp-content/uploads/BIBLIOTECA/manual_bioconstruccion.pdf
Pereira, L. (2017). La bioconstrucción como alternativa de recuperación de la arquitectura tradicional en las edificaciones del distrito de Muquiyauyo-Jauja. Tesis para optar el título de Arquitecta, Escuela Académico Profesional de Ingeniería, Universidad Continental, Huancayo, Perú. Recuperado de: https://repositorio.continental.edu.pe/handle/20.500.12394/3412
Pujol, M., R y Pérez, M., E. (2012). Crecimiento Urbano en la región metropolitana de San José, Costa Rica. Una exploración espacial y temporal de los determinantes del cambio de uso de suelo, 1986-2010. Lincoln Institute of and Policy. Recuperado de: https://www.lincolninst.edu/sites/default/files/pubfiles/2242_1578_Pujol_WP13RP1SP.pdf (en línea).
Soto, V., J.A. (2006). Bioconstrucción. Ar@cne REVISTA ELECTRÓNICA DE RECURSOS EN INTERNET SOBRE GEOGRAFÍA Y CIENCIAS SOCIALES Universidad de Barcelona Nº 90, 1 de diciembre de 2006 ISSN 1578-0007 Depósito Legal: B. 21.743-98. Recuperado de: http://www.ub.edu/geocrit/aracne/aracne-090.htm
Bamboo Treatment
Bamboo is a wonderful fast growing grass, it comes in all shapes and sizes and has an incredibly diverse list of uses from many cultures all around the world. Bamboo is incredibly fast growing and can grow up-to a meter a day and achieves 80% of its height in the first 2months of its life! This ability to grow quickly and produce a huge variety of usable products has got many a permaculturists and green living enthusiasts excited by its potential.
By Nic, Core Team member

What is Bamboo
Bamboo is a wonderful fast growing grass, it comes in all shapes and sizes and has an incredibly diverse list of uses from many cultures around the world. Bamboo is incredibly fast growing and can grow up-to a meter a day and achieves 80% of its height in the first 2months of its life! This ability to grow quickly and produce a huge variety of usable products has got many a permaculturists and green living enthusiasts excited by its potential. Generally speaking bamboo falls into two categories, running or clumping (although there are some that are in between). Running bamboo has the capacity to become very weedy and hard to manage if allowed to get out of control, we spent many years pulling out random culms that appeared throughout the Ranch’s front garden from the “living fence” that had been inherited upon the purchase of the property. This battle against the running bamboo Phyllostachys sp. was not an uncommon story as many people around the world can probably attest to, but was a great reminder of the will to live that bamboo species have!
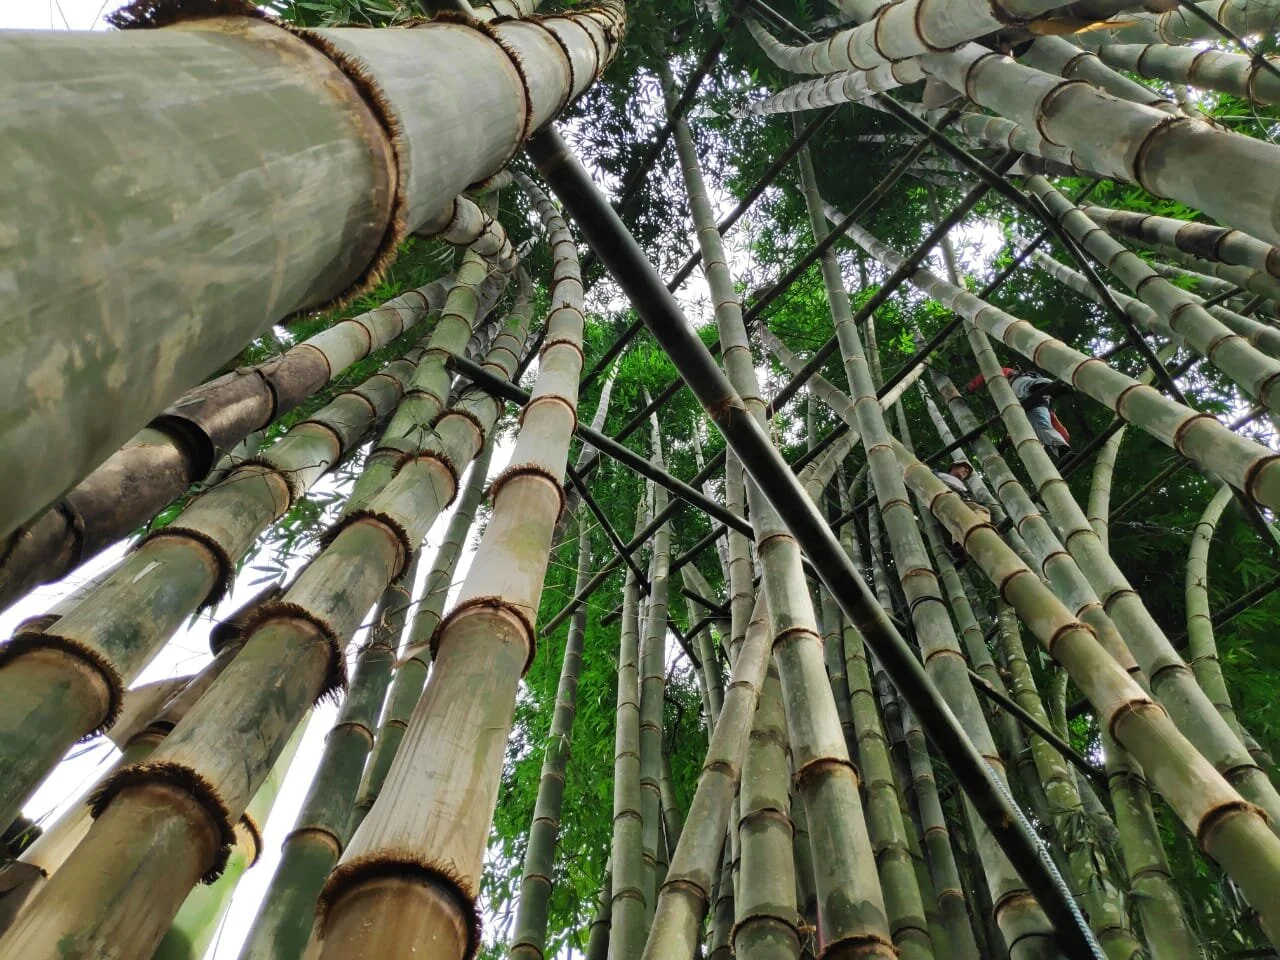
In the early years of purchasing the Ranch property, Tim and Robin sought advice from well-known bamboo builder and furniture maker Brian Erikson. They purchased several varieties of giant clumping bamboos, which we are now learning about how to manage. 20 years later these bamboo have grown to full maturity and tower above some of our orchard spaces and buildings! As the clump matures the culms get successively larger in diameter until they reach their maturation diameter. This varies from species to species, but one bamboo known as Dendrocalymus asper is massive! Each culm measuring 8” in diameter with a wall about 2” thick and approximately 30m tall, this is quite the impressive bamboo. Not only is it incredibly impressive it is incredibly intimidating to harvest!
Problems With Bamboo
Since the very beginning we have used bamboo as a building material. We had always purchased this bamboo and over time have become quite disillusioned by the varying quality of the purchased product, despite paying premium prices for the bamboo (each 6m culm at 4” diameter costs around $30 plus transportation). Not long after buildings were completed we were finding that a significant proportion of the culms were suffering from insect damage (a sign of improper curing and drying) and replacing these pieces, which were now inside of a building, was incredibly challenging and a lot of work.
The other major problem that we were facing was that typically when bamboo is treated correctly it is using an acid or a salt of Boron. Boron is a natural mineral that at approximately 10% solution is toxic to fungus and insects. Boron is an essential element for plant development and by diluting the solution down it is actually used as an organic fertilizer. Boron therefore gained a reputation of being an excellent, organic and safe treatment solution for bamboo and is the most widely used treatment for bamboo around the world. Unfortunately one of the problems of using an acid or a salt (boric acid or borax, disodium octoborate etc….) is that it is corrosive to steel and in order to attach roofing and even to combine pieces of bamboo, steel is often one of the fastening materials used (yes there are others but steel is the most practical and commonly used). We were finding that over time even galvanized steel was corroding and becoming dangerously damaged.
These two major problems had us move to using timber more and more and limiting our use of bamboo to non structural/permanent uses such as harvesting poles, temporary structures, propping posts, trellis etc… We got deep into Timber Framing and structural bamboo became a thing of the past.
Bamboo at Rancho Mastatal

Henry setting up a scaffolding system in our bamboo
We continued to treat our own bamboo for wattle and daub walls through this period and the potential of bamboo continued to intrigue us but just seemed beyond our reach. As our stands of bamboo grew older and more daunting to manage we decided to hire in an expert to help us manage our bamboo. We found Henry Glen, a bamboo expert living in Costa Rica at Finca Bamboo in the south of the country and he was willing to come and help train us in the proper management and treatment of bamboo. With Henry’s help we have been able to (mostly!) get our bamboo under control after years of neglect and we have begun to treat our own bamboo using his very simple modified boucherie technique that I will outline below. He also sells a bamboo treatment solution called “Bam Blue” that is based on boron and copper sulphate (another organic chemical used to treat mold and insects) and also has a penetrant and anticorrosive properties. In one go Henry has solved our bamboo problems and we are now well on our way to building with bamboo again.
Please contact Henry directly through Finca Bamboo to purchase his treatment solution or enquire about his consultation services. He comes highly recommended by Rancho Mastatal.
Modified Boucherie System
Things you will need:
2” high pressure water PVC tube (schedule 40)
2” ball valve
2” Elbow
Fernco couplings
¼” NPT Tap and drill bit
¼” NPT Threaded Male compressor part
Roll of Teflon



Process:
Cut one piece of 60cm 2” PVC and one piece of 15cm.
Glue your elbow to one end of the 60cm piece and the 2” ball valve on the other end. The valve handle should face opposite the direction of the elbow.
Glue the 15cm piece on the other side of the elbow.
Drill your 2” ball valve through the section that is glued to the 60cm piece of PVC and use the tap to create the threads in the hole.
Wrap your threaded male compressor piece with Teflon and screw into the PVC until tight.
One the end of the short section after the elbow attach the Fernco coupling.
Replace the Fernco pipe clamp with the stainless steel pipe clamp by constant Breeze. You can tighten these to 92 in/lb.


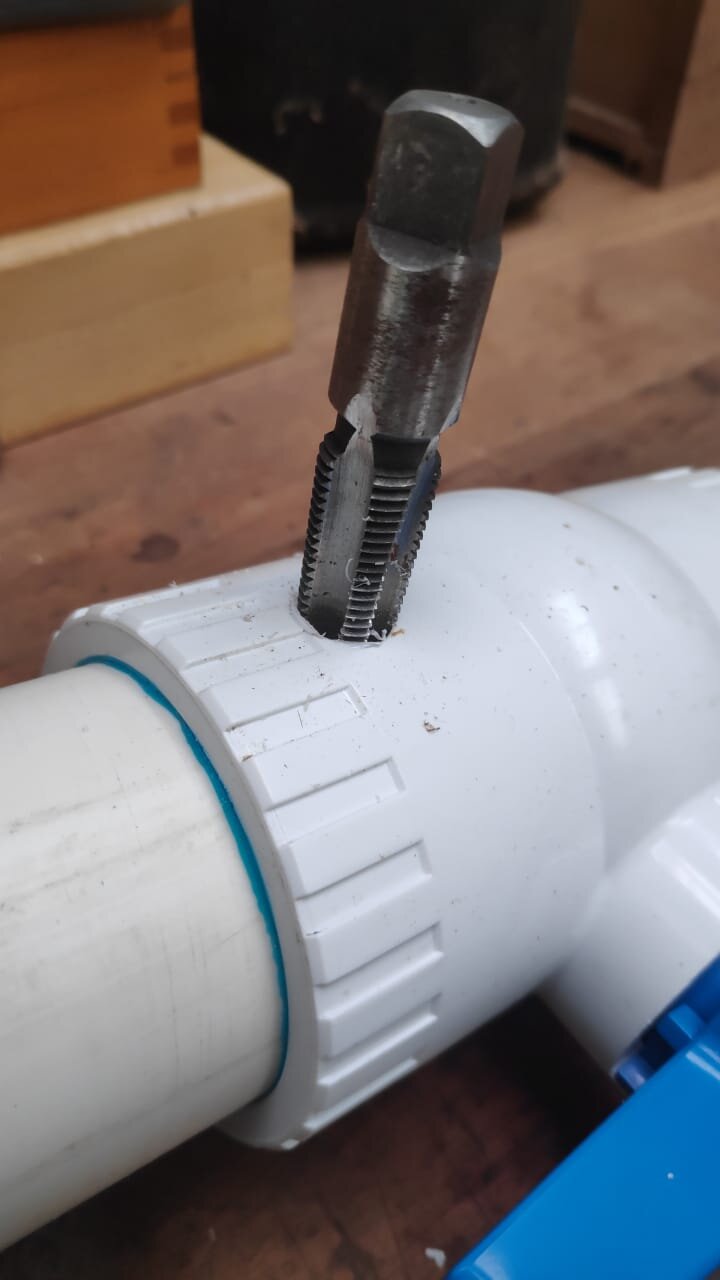

This is your basic modified boucherie set up, from here you will attach the bamboo to the Fernco coupling, fill the solution into the PVC pipe by opening the valve, close the valve and connect the compressor. Its important to keep the pressure low, around 12 PSI otherwise you will blowout the coupling. As you force the solution through the bamboo you will see the water from the bamboo coming out the other end. Soon you will begin to the see the Bam Blue begin to come out and when the full concentration is coming out the other end you can stop it running. Now you have a treated piece of Bamboo, this needs to dry vertically and can then be stored horizontally.

A piece of bamboo hooked up to the boucherie

A treated piece of bamboo
WANT TO LEARN MORE ABOUT BAMBOO?
Read our other blog about Bamboo Shoots
Stay tuned for our annual workshops that cover topics in natural building, permaculture, fermentation, and more!

Lime Plasters Are In
Lime plastering as a craft form has endured the test of time due to its versatility and the accessibility of limestone as a building material. When produced and applied with care and experience, lime plasters yield an elegant finished product.
By Anthony, Apprentice 2020
Plastering is an ancient tradition in the building trades that continues to hold cultural importance in modern times. Amongst the typical plasters that can be found in the building world include clay, gypsum, portland cement, and the focus of today’s blog, lime. The rich history of the use of lime in the plastering trades can be traced back to all continents. Of particular note are the styles that have emerged from Italy and Morocco, as well as the beautiful examples that are found in Japan and the ancient Mayan temples of Mexico. This craft is experiencing a resurgence through the increased global interest in natural building.

A clay carving with a lime fresco background

Tadelakt (water resistant lime plaster) shower- Read our blog about how to make an earthen/tadelakt shower
Why people love Lime Plasters
Lime plastering as a craft form has endured the test of time due to its versatility and the accessibility of limestone as a building material. When produced and applied with care and experience, lime plasters yield an elegant finished product. Some of the many benefits of using lime include high vapor permeability (‘breathability’), flexibility, autogenous healing, stickiness, and durability. Perhaps of greatest interest is the ‘breathability’ factor, which contributes to drying interior spaces and the general avoidance of condensation inside buildings. Additionally, where other stiffer plasters, such as cement, might fail due to the formation of large cracks, flexible lime plasters have the unique characteristic of self-healing (‘autogenous healing’) with which micro-cracks are naturally filled with ‘free lime’. This contributes greatly to the durability of ancient structures, particularly in seismic zones.
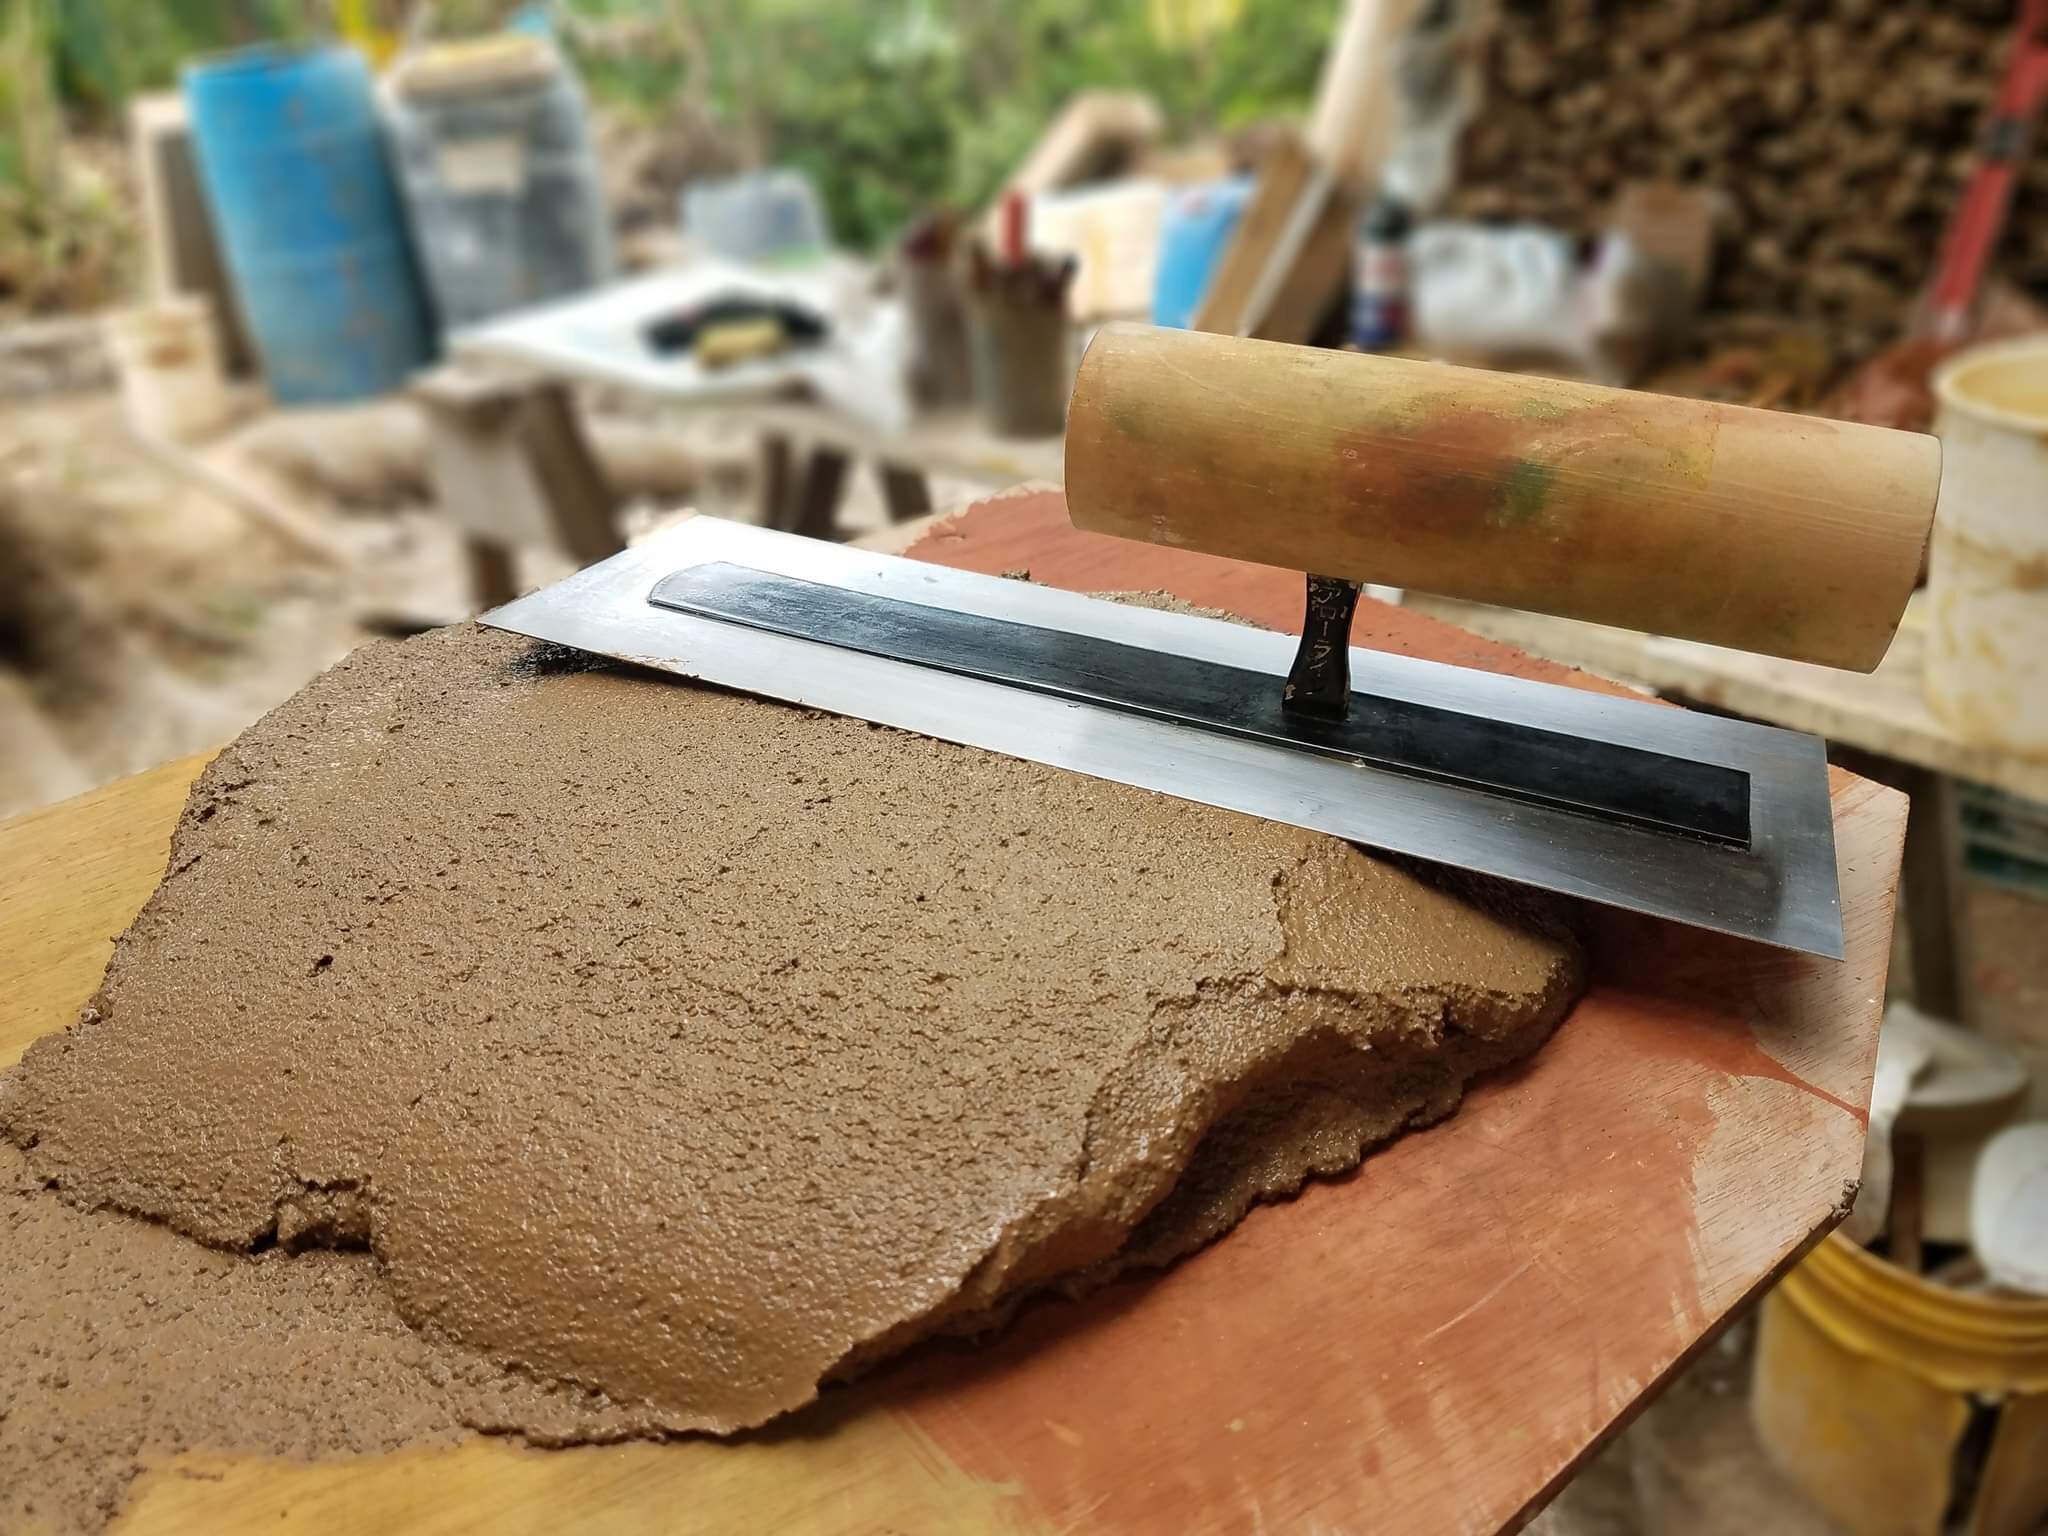
Hawk and trowel
Overview of the Lime Cycle
Understanding the benefits of using lime in our buildings, let’s review the source of these plasters by exploring the lime cycle. Our desired binder begins as calcium carbonate in the form of limestone, coral rocks, or sea shells. This base material is heated to around 900°C (a ‘cherry-red heat’) where it undergoes a chemical change by giving off carbon dioxide gas and forming calcium oxide (quick lime), a highly reactive, dangerous compound. Don’t mess with it. From here, quick lime is hydrated by combining it with water and calcium hydroxide is formed. At this point, our hydrated lime is being prepared for final application by slaking it, that is, to be stored in water. Once we are ready to use this hydrated lime, it is prepared in a mix with aggregate and fiber, according to our desired use of the plaster. Generally, multiple coats are applied with each successive layer receiving a thinner application. The final layer, or our finish coat, can be applied as thin as 1/16th of an inch, or even less.

Lime Plaster Finishes
There are many ways that lime plasters can be applied to create different visual and textural effects. This is where the magic happens. Some of the well-known finishes include frescos, venetian plasters, lime wash paints, and tadelakt. All require a detailed attention to the timing and moisture levels during their application.

Benito Steen stoning our tadelakt shower

Fresco design
Learn Lime Plastering in Natural Building Workshops in Costa Rica
The annual Natural Building Workshop at Rancho Mastatal in Costa Rica is focused on developing simple and elegant wall systems for sustainable homes using readily available natural materials. The course focuses on Natural Building techniques, such as wattle and daub, adobe bricks, cob, earthen floors, and the mixing and application of multiple kinds of plasters, including clay and lime. Workshop attendees have the opportunity to learn from some of the most experienced natural builders in Costa Rica, and to develop their skills in creating elegant lime plaster finishes such as tadelakt, fresco, and venetian plaster. This year’s course was attended by people from more than 10 countries, and was just as diverse in its variety of natural building techniques demonstrated.
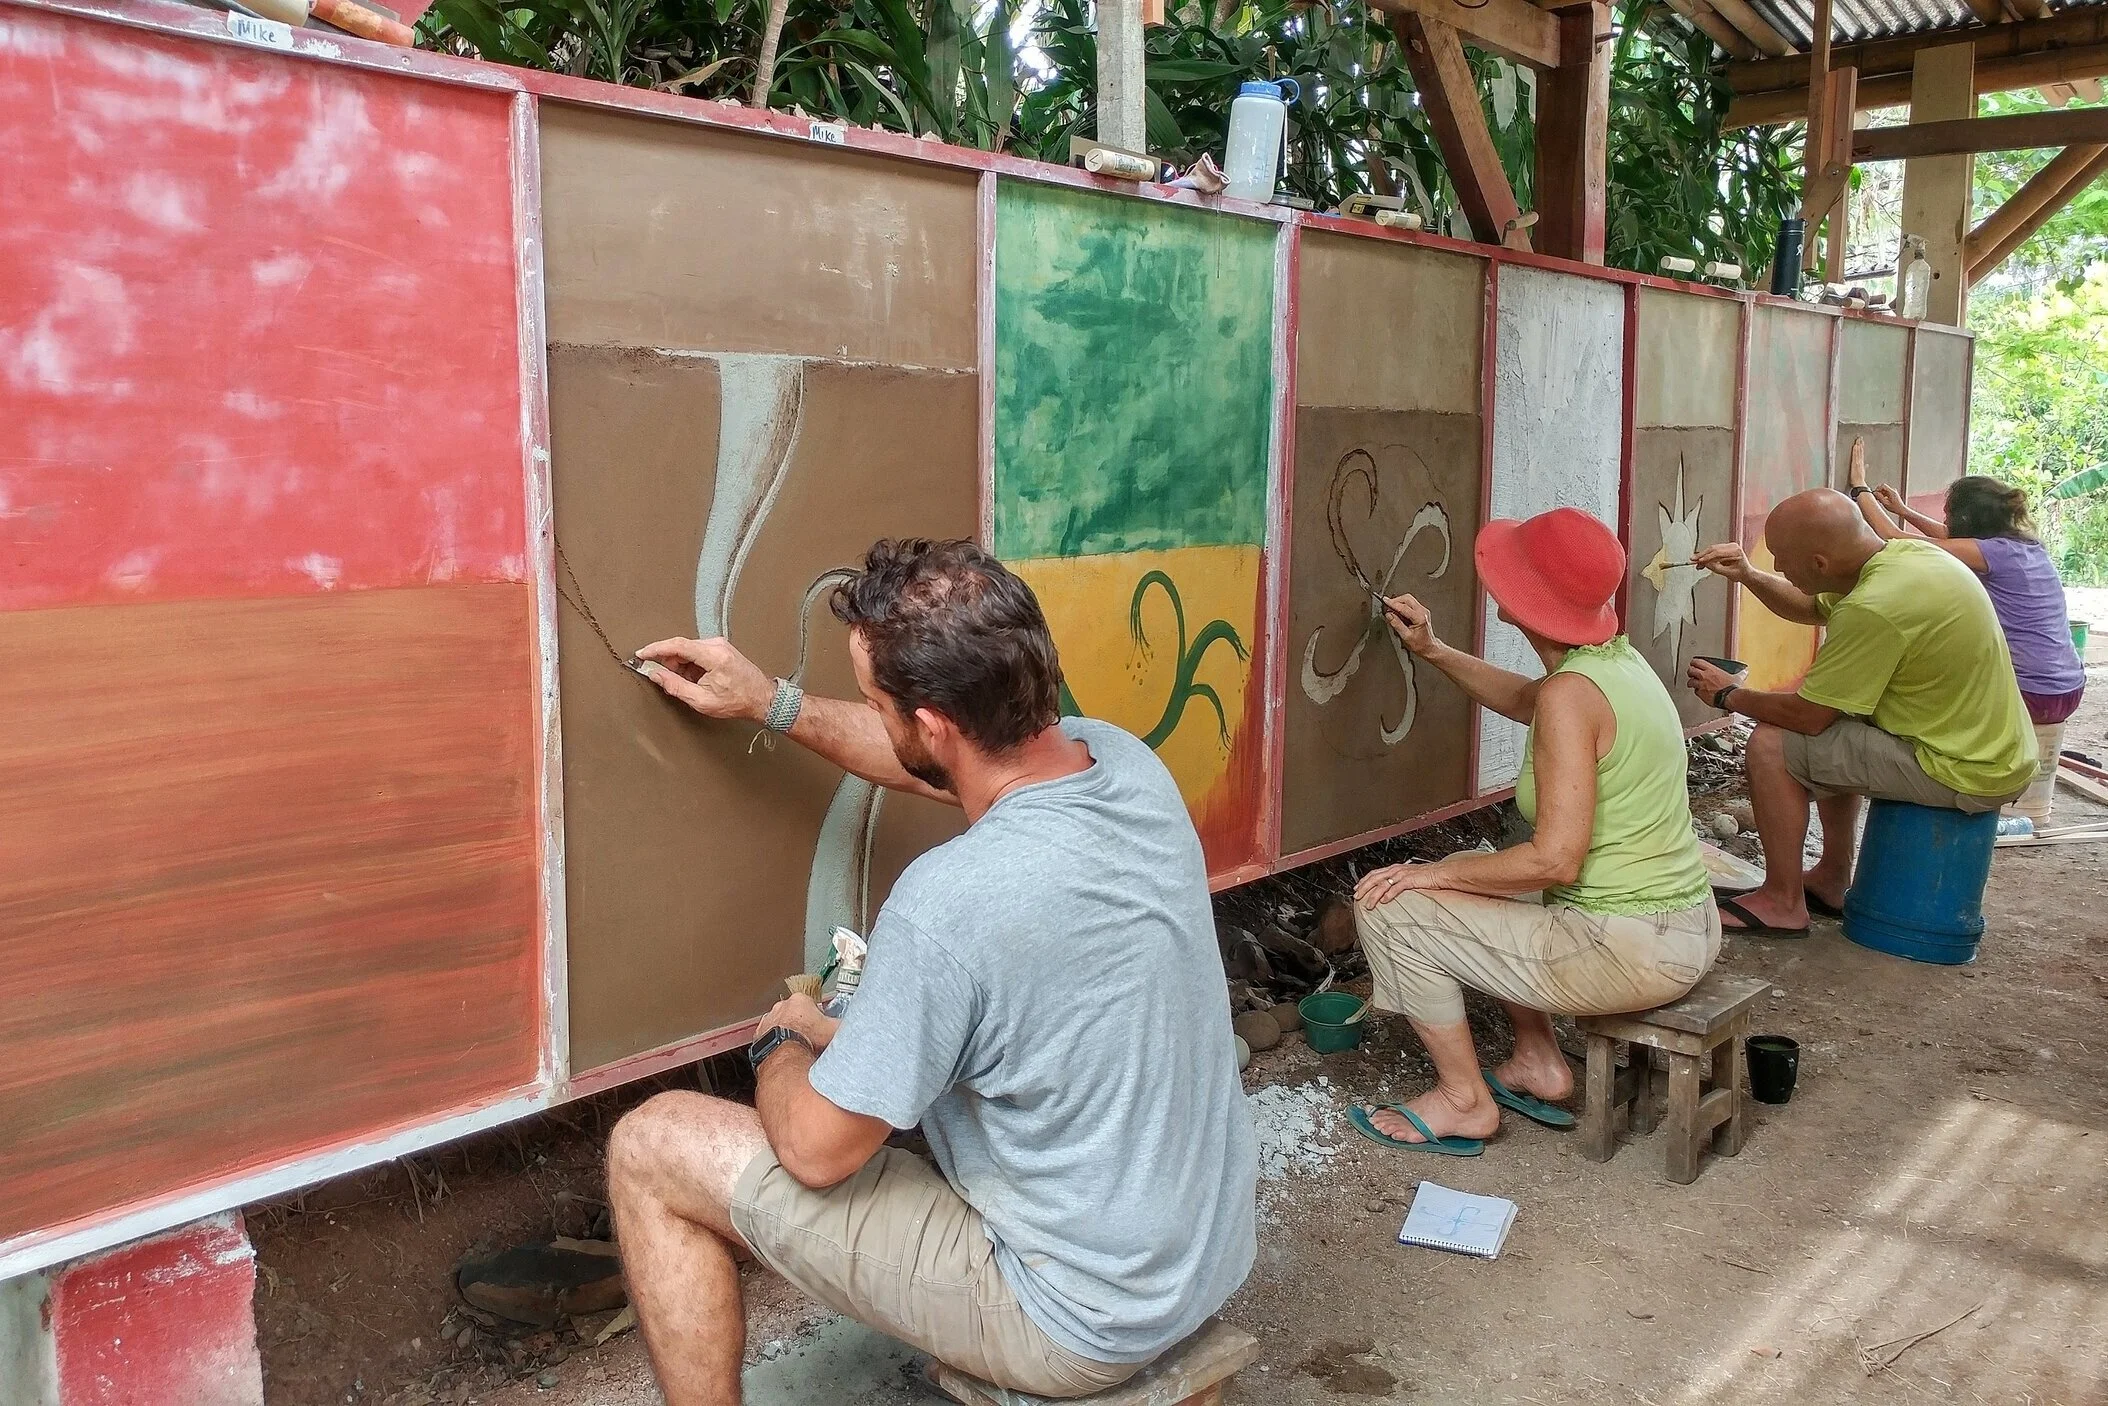
Students practicing different plasters and techniques during our annual workshop

Pigments, fibers, sands, and more
Want to learn more?
Hope you feel inspired to begin learning the ancient art of lime plastering. You can really beautify and add special touches to your home and spaces with a variety of different lime plastering techniques.
If you want some hands on practice and instruction, sign up for our annual Natural Building Workshop.
Also check out Benito Steen’s YouTube channel all about natural building techniques.
Stay tuned for the wide array of upcoming courses conducted at Rancho Mastatal in Costa Rica.
Check out these past blog articles about natural building techniques we practice and teach:
How to Make an Earthen Floor for Your Sustainable Home
Natural Building & Clay Carving: Add Artistic Expression to Your Home

Timber Framing: 10 Things You Didn't Know You Needed to Know (Part 2)
With proper instruction, patience, and focus, it is entirely possible for a beginner to accomplish amazing things with this building technique.
By Kara, Apprentice 2020
(This article continues from Part 1, read that one first to learn some basic tips for Timber Framing!)
Timber framing is an important natural building technique here at Rancho Mastatal, and much of it is done by workshop participants and apprentices-- not people with years of experience! With proper instruction, patience, and focus, it is entirely possible for a beginner to accomplish amazing things with this building technique. If you’ve taken a timber framing workshop with us here at the Ranch, you may find these tips a helpful reminder of the little techniques that often escape our memory. And if you’re planning on building your own sustainable home, these small things might be the difference between a day of frustration and a successful frame-raising.


If you’re interested in building your own home and timber framing check out our latest workshop offerings.

It takes a team to raise a frame
Doing your Lay-up
5. Pulling Horizontal Lines
After you’ve laid your tape and marked your measurements with a crow’s foot mark (remembering to subtract the 10” you’ve burned! See Part 1 of Timber Framing Tips to learn more), you’re ready to pull your horizontal lines around your timber. This means drawing straight, accurate lines around your timber at a right angle to the edge of your reference face, to indicate the cuts needed for each joint. With the crow’s foot ‘V’, pointing towards one long edge of the timber, it’s easy to see where on your mark your line needs to cross, but you still need to make sure that you’re drawing it perpendicular to the edge between the two reference faces. Both a framing square and a combination square can help you do this.
To use the framing square, orient your timber so that one reference face is up, and the other is on the side closest to your body. Hold the framing square with the ‘L’ parallel to the ground, one side resting flat across your timber where it intersects the measurement mark, and hold the edge of the other side flush against the close face of the timber. You’ll have to hold the square at a slight downward angle, but keep it as shallow as you can. Hold the framing square tight to the timber with your hip, and draw your line with a sharp pencil when you have it positioned accurately.
You can do the same thing with your combination square, and it’s not as important to be standing with a reference face facing you, as long as you’re aware each time you’re drawing a line to hold the flat edge of the square against a reference face. Never draw a line while the edge of the square is
resting against a non-reference face, it’s an easy mistake to make, but it can skew your lines and eventually cause misalignment in your joints if you don’t catch the mistake.
To pull a horizontal line around to a non-reference face, where you don’t have the crow’s foot mark, keep your square against a reference face, and draw the line around the timber, being careful to align your pencil lines at the corners. You’ll end up flipping your timber around as you work, so it’s important to mark your reference faces clearly. A thick chalk mark is ideal, so that you can see quickly if you’re using the right face to draw your lines from.
6. Drawing Vertical Lines
To draw the vertical lines for your layup, the ones parallel to the long edge of the timber, using a combination square is quick and accurate. Set the known distance between the edge of the reference face and your cut line, and place the flat edge of the square against the reference face, holding it parallel to the ground to that the ruler is resting fully on the timber. Using square rule, you only actually know the distance between the line and the edge of the reference face, since the corner
between reference faces is where your ‘perfect’ timber within the timber lives, and there could be extra wood on the other sides.
When setting the distance on your combination square, reveal the needed amount beyond the handle, leaving the tick mark on the ruler just slightly covered by the handle. Draw the line by holding your pencil against the end of the ruler, and drag both square and pencil along the length of the line, moving in tandem to draw a smooth line.
By almost covering the tick mark that you’re measuring to on the ruler, you account for the small
distance between the pencil line and the end of the ruler-- a sharp pencil helps, too!

Using the combination square to make your lines, making sure to set it just under the measurement you want, to account for the width of the pencil line
Cutting Joints
7. Don’t Remove Your Line!
Whenever you are cutting any joint remember to not cut away your line! The perfect cut would be cutting your line in half, but this isn’t always easy to achieve, especially for beginners. So instead cut just to the waste side of your line. This is important because as you’re cutting the rest of the joint you need reference of where to cut to! Seems obvious, but many people’s lines seem to disappear.
8. Practice Your Square Cuts
Seriously, you may think using a hand saw to make a square cut is easy… Well it’s not if you’ve never done it! Especially on large timbers. Usually you have a bit of extra timber to spare on either end, do as many practice cuts as you need to get a square cut.
To make a square cut, remember to cut on the waste side of the line. Align your saw blade at the far side of the line, you will move the blade down the line slowly, creating a small cut along the line (a kerf cut). Once you have your kerf cut you will begin moving the saw blade diagonally down the side line that is facing you, keeping the blade in the original kerf cut, and trying to not drop the blade down the other side that you can’t see. Stop cutting once you’ve reached the bottom. Now repeat on the other side of the timber, keeping your blade in the original kerf and moving the blade down the line. If at any point your blade begins to move off the line, stop and correct it immediately. The farther you move from the line the harder it will be to correct it.
The diagonal cuts should line up and create a square cut. You can check it with a framing square to see how far off or on you are.
9. Bevel up or bevel down
First, always make sure you have a sharp chisel! A dull chisel will make everything slower and probably not give you as clean of a cut.
There are two sides to the chisel. The bevel refers to the angled slant at the end of the chisel.
When you are cutting your joints it’s important to orientate the bevel the right way for which way the wood grain is going. When you are going with the grain of the wood, the bevel should be faced down. This will help insure that you don’t dive into the wood. Then when you are going against the grain, the bevel should be up.
10. Get a Team
Yep, timber framing kind of requires at least a few people. You always want someone to check your layouts before you cut anything. It is very helpful to have a partner to help spot you when you’re drilling the holes for mortises. And then when it comes to raising the frame, the extra hands will definitely be helpful and appreciated.

A student cutting this long tenon
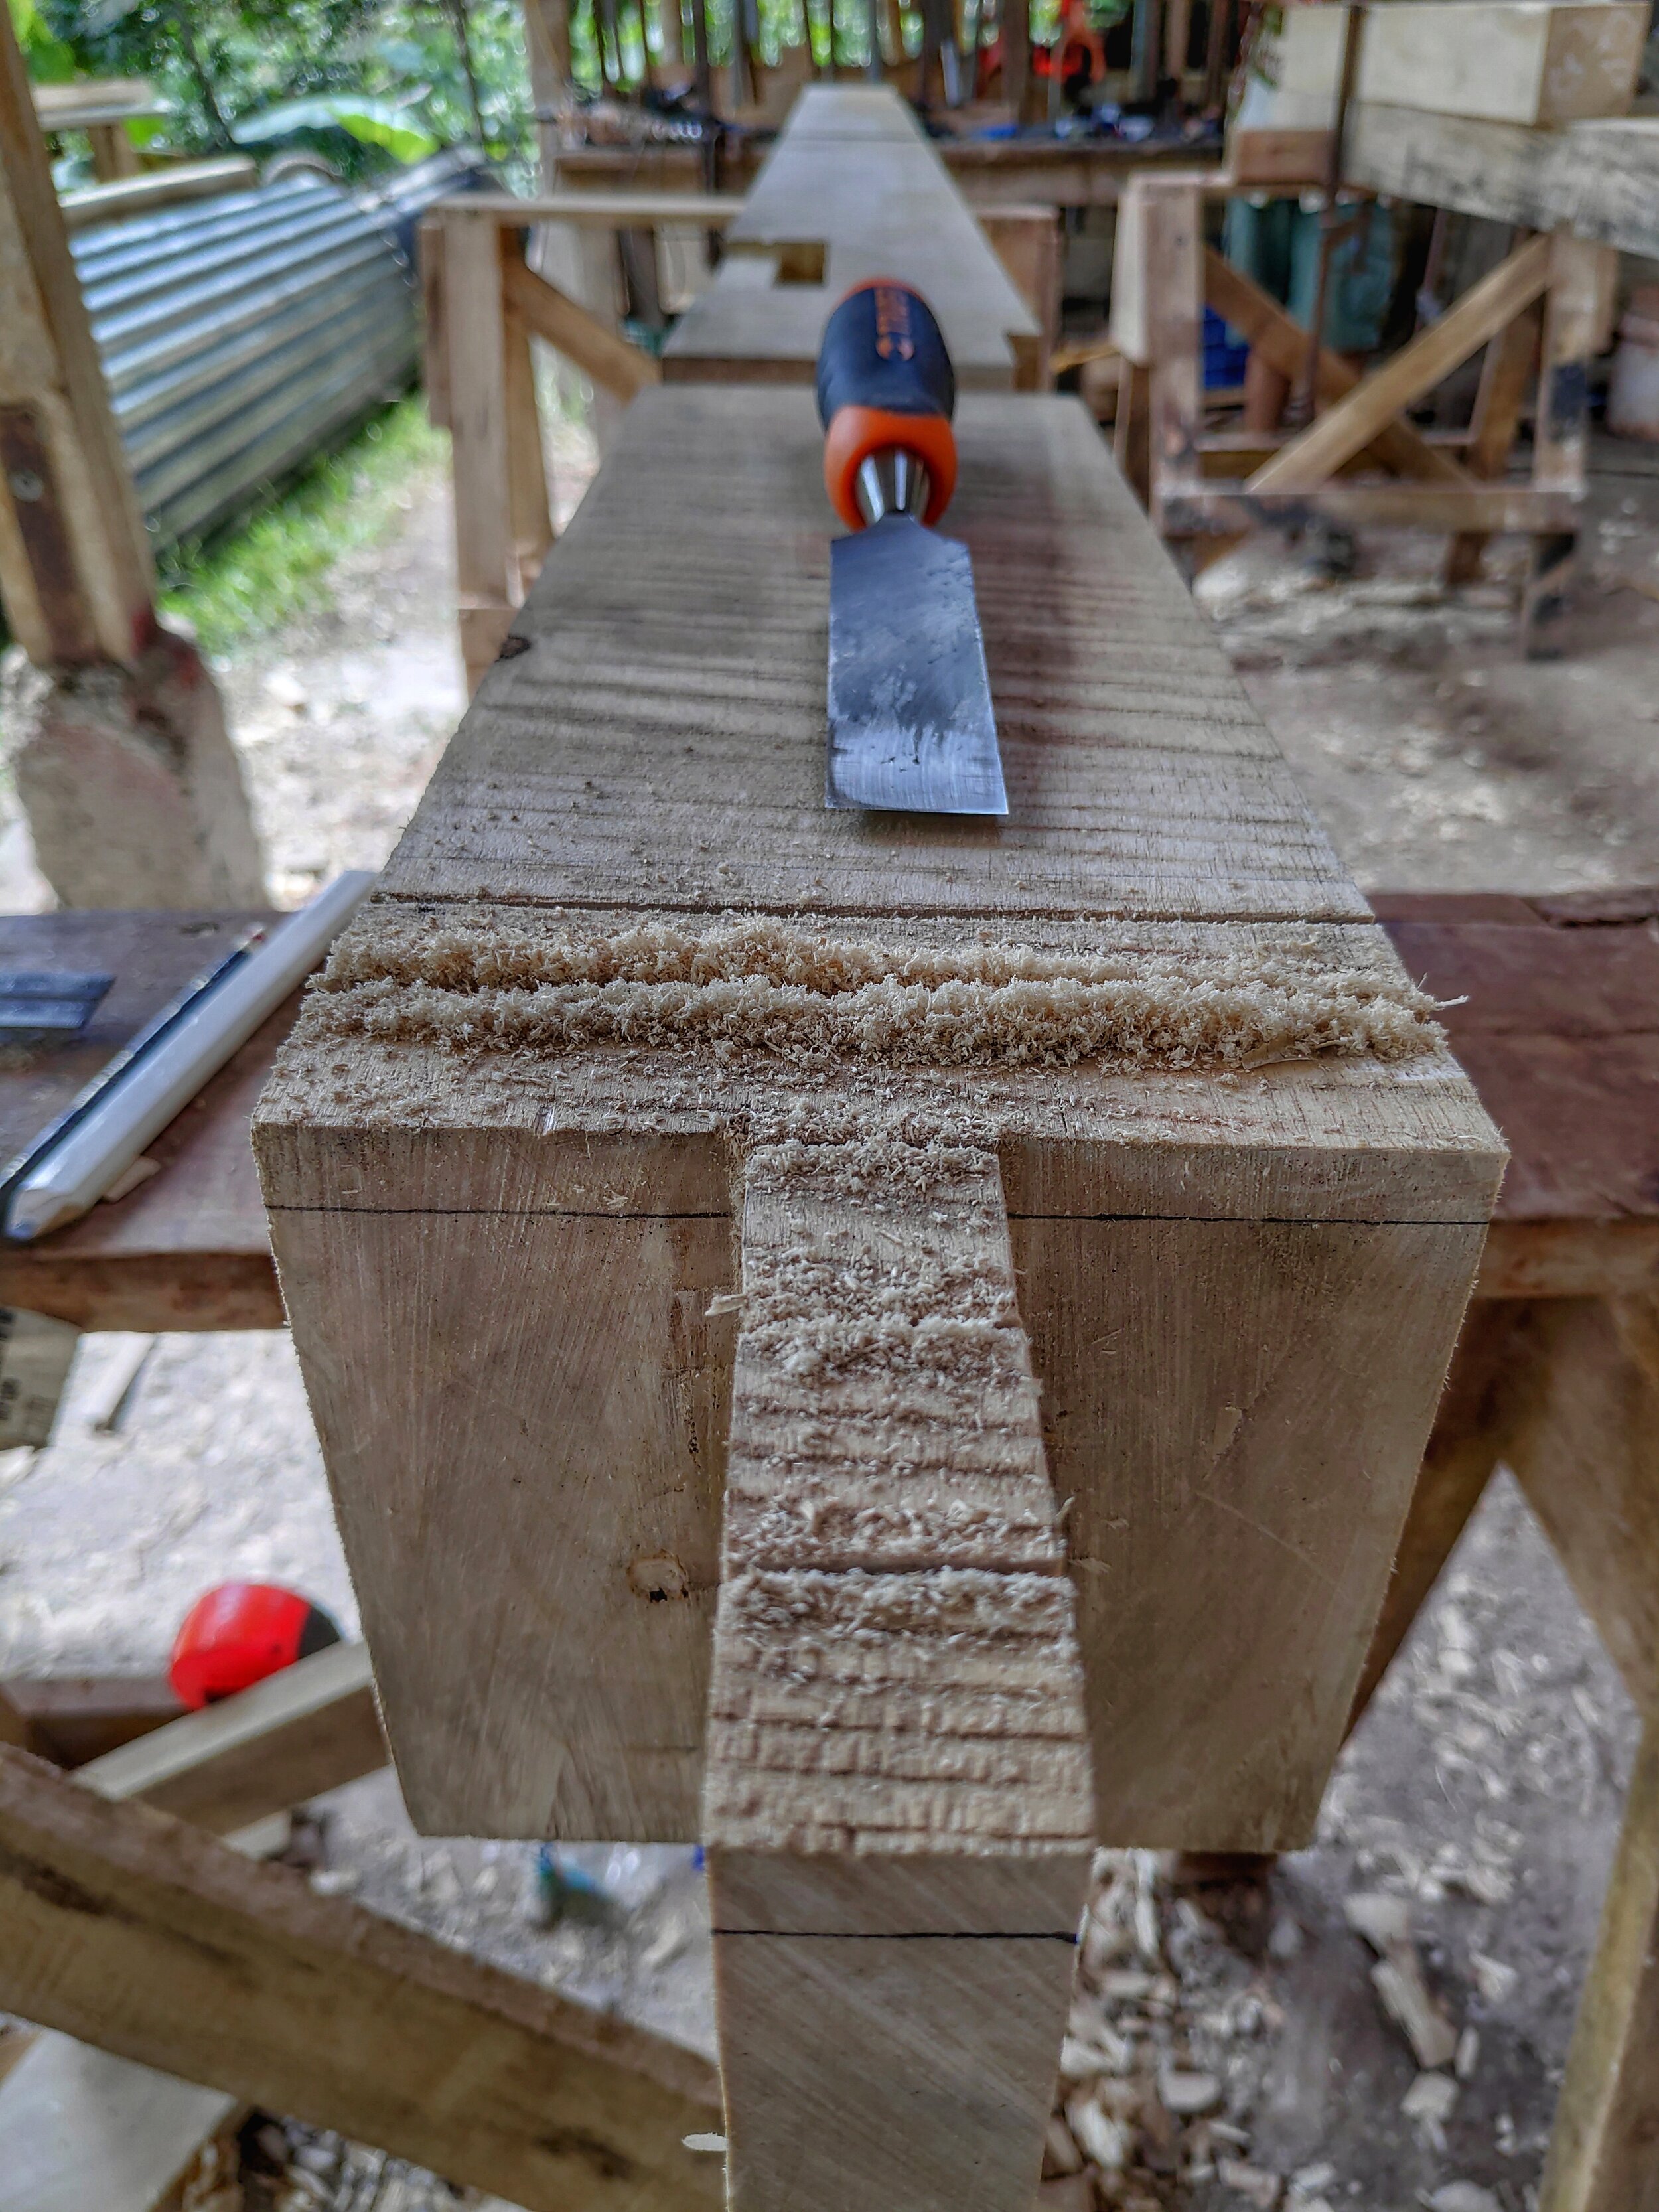
The kerf cuts to remove the housing on this joint
Want to Build Your Own Home?

Timber frame joinery
With over 15 years of experience in natural building including earth building, bamboo construction, and timber framing, Rancho Mastatal is a great learning environment to get inspired and hands on experience in these fields.
Make sure to check out our natural building courses:
Natural Building and Plasters Intensive
We host most of these courses annually, so make sure to stay tuned by visiting our workshop page here.
Past articles on timber framing and natural building at the Ranch:
Timber Framing: A Real Application of Sustainable Forestry Management

Timber Framing: 10 Things You Didn't Know You Needed to Know
Either way it’s important to know that timber framing takes patience and practice if you’re a beginner. The tips in this article are intended to introduce some important concepts in timber framing and to solve some common problems before they even arise, in order to set you up for success in your sustainable home build.
By Kara, Apprentice 2020
Timber framing is an integral part of the natural building techniques we use at Rancho Mastatal. The building style provides a strong framework to combine with other techniques. Adobe, cob, wattle and daub-- can all be used in conjunction with a timber frame. Maybe you’re already planning on building a timber frame house, or weighing options of building types. Either way it’s important to know that timber framing takes patience and practice if you’re a beginner. The tips in this article are intended to introduce some important concepts in timber framing and to solve some common problems before they even arise, in order to set you up for success in your sustainable home build.
If you’re interested in learning the basics of timber framing you can check out our upcoming workshop.
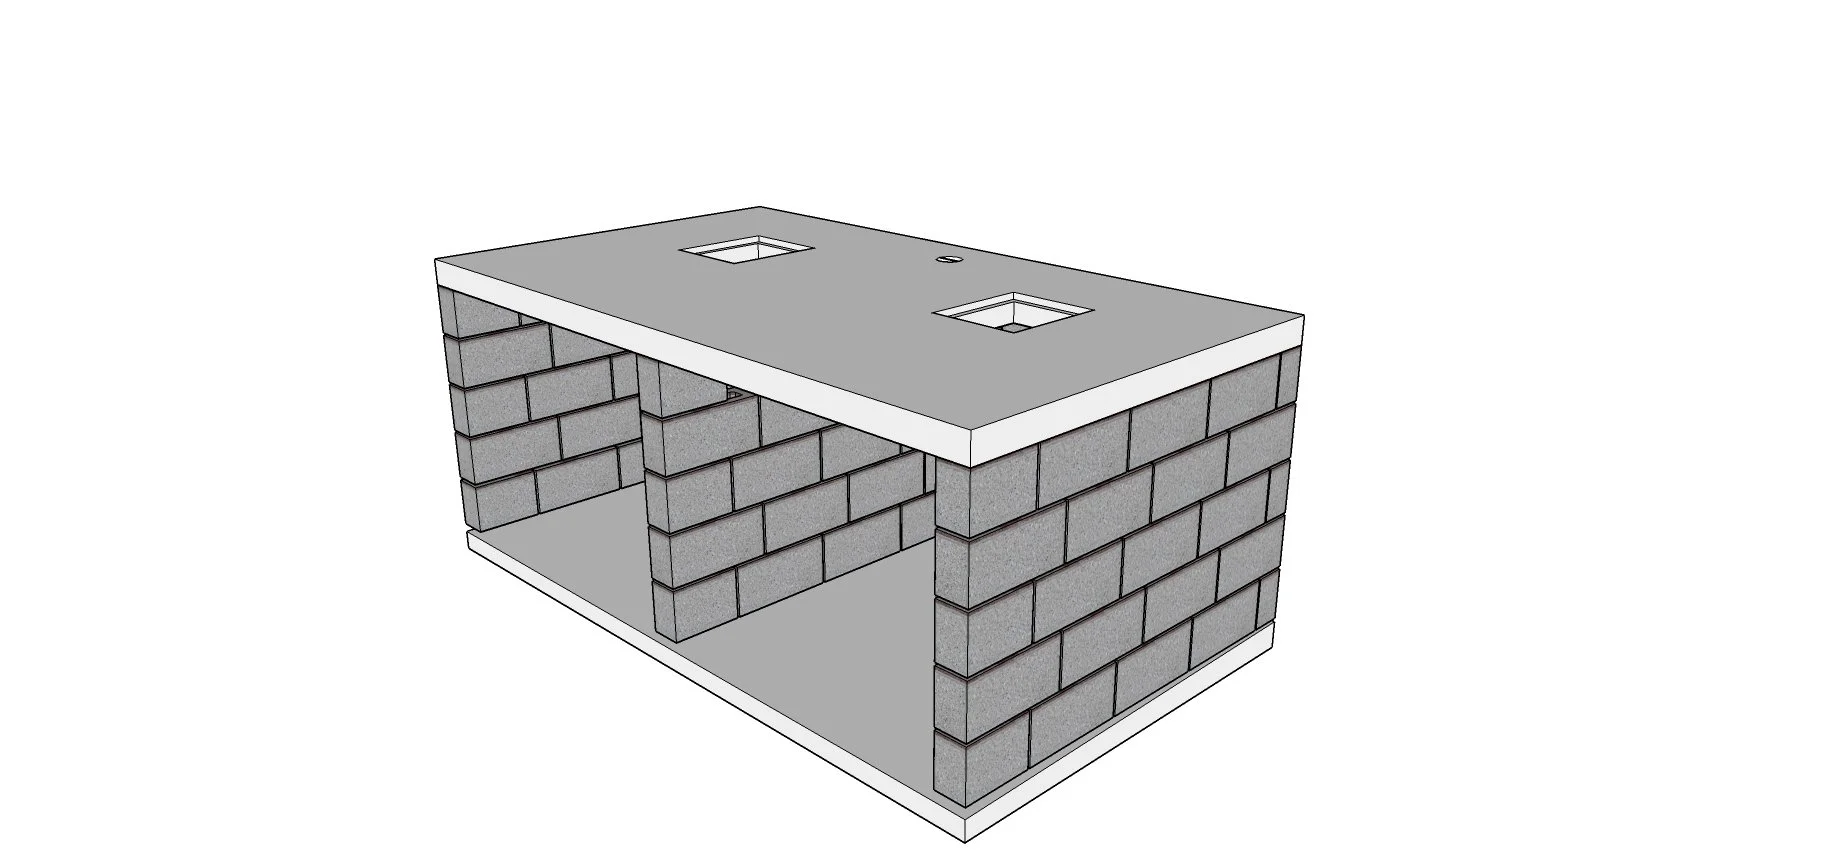

A happy crew after finishing the raising of this timber frame
1. Square Rule
When building your sustainable home it may be possible to work with locally sourced, large-dimension timber, but the pieces provided by your local sawyer may vary in size and squareness. For timber framing, a construction style that relies on accurate measurements, this reality presents an interesting problem. A common solution, and one we use for our natural buildings at Rancho
Mastatal, is called square rule. The basis of square rule is the assumption that a perfect, slightly smaller, timber exists within your uneven timber. By making measurements and joints align to this
imagined perfect timber, the inconsistencies between the actual timber sizes won't affect the integrity of your joinery.
In practice, there are likely to be two adjacent faces on your timber that are at 90 degrees (or close enough to plane one side until they are). These two sides become your reference faces, and thinking in terms of your ‘perfect’ timber, it’s nestled into that 90 degree corner. You’ll measure everything from these two sides, marking them distinctly in pencil or chalk so that you can quickly see where they are.
In planning where your joinery is going to be laid out, you have to keep in mind that the exterior faces must be flush to allow the cladding to be attached as well. This means that one of your reference faces will always be on the exterior facing side of your timber. Along with this consideration, you’ll want most cuts to be on a reference face. Even if they aren’t, joints will be measured to the inner surfaces of the reference faces, so that the inconsistencies in the timber won’t affect their placement.
When cutting, this may mean that you have to cut out ‘housing’ for the joints on non-reference faces. This is a reduction that exposes the ‘perfect’ smaller timber, and allows mated pairs of joints to sit flush against each other. By exposing the ‘perfect’ timber, identical pieces like knee braces
become interchangeable throughout the building-- so you don’t have to plan for the inconsistencies and variations in each piece.
Square rule is a concept that may seem daunting at first, but it can becoming intuitive with practice. By measuring to the ‘perfect’ timber, and cutting housing to expose it, means that each piece can be cut without knowing the unique shape of the corresponding timbers it will fit into. I recommend doing more research into the topic. The book “Learn to Timber Frame” by Will Beemer is a good resource.

Using a framing square to find your best 90 degree sides

And a hand planer to make those sides perfectly 90

A perfectly sharp pencil
2. Sharpening your Pencil
To mark measurements on a rough piece of timber, it’s best to use a carpenter’s pencil. It should be sharpened to a wedge (you can use a chisel or a knife), so that you can make a thin line or a thick one. You can even shave down one wide side flat to the lead, so that it sits flush with your ruler as you draw a line. It’s important to consider the sharpness and the angle you’re holding your pencil as you draw, since it’s easy to skew a line as you draw it along your timber if you’re not paying attention.

Exact measurements are key to your frame fitting together
3. Burning 10”
When running a tape measure over your timber, don’t start measuring right from zero. Sometimes the metal edge is loose, and it is hard to get an accurate read on where 0” actually is. Instead, place your tape measure so that 10” is on your beginning mark. Measure from there, adding the 10” to your measurement. It’s better to use 10” than 1”, because it’s easier to see if you’ve forgotten to account for the burn when you’re checking your layout. Don’t get burned by the burn!
A crow’s foot helps you identify the right measurement
4. Crow’s Foot Marking
When marking measurements taken from your tape measure, use a ‘V’ shape ‘crow’s foot’ mark on
your timber instead of a single line. While carefully holding your tape flat against the timber (being sure not to move it!), draw the crux of the ‘V’ at the mark you’re measuring to, drawing both lines from the point out. A sharp pencil lead is crucial here for accuracy. A single, quickly drawn line can curve, and later it can be hard to tell exactly where on that line the accurate measurement is.

A timber frame joint called a “scarf joint” that allows you to join two long timbers together
Part 2 to Come!
Building your sustainable home using timber framing techniques is an exacting, but rewarding pursuit. Part 2 will continue with more tips to help you measure, layout, cut, and assemble your building.
Want to Build Your Own Home?
With over 15 years of experience in natural building including earth building, bamboo construction, and timber framing, Rancho Mastatal is a great learning environment to get inspired and hands on experience in these fields.
Make sure to check out our 2021 natural building courses:
Natural Building and Plasters Intensive: February 2021
Bamboo Construction: April 2021
Timber Frame Construction: June 2021
We host most of these courses annually, so stay tuned yearly by visiting our workshop page here.
Check out these past articles about natural building and timber framing here at the Ranch:
Design Ideas for a Sustainable Home in the Tropics
Timber Framing: A Real Application of Sustainable Forestry Management

Students in the Timber Frame course raising the frame they cut in class

Natural Building & Clay Carving - Add Artistic Expression to Your Home
Now you have an expanse of clay before you, a blank canvas to express yourself upon. Have fun! Feel the warmth and beauty of the clay, and tap into your inner artist. Get dirty, and share the experience with someone else! With some practice, you might be surprised what kind of beautiful things you can make with just a bit of Earth!
Natural Building & Clay Carving - Add Artistic Expression to Your Home
By Mateo, Apprentice 2020
Clay. Oh noble clay. O beautiful, hardy, earthy clay. Whence forth did you come, and how did we ever come to deserve such a wondrous material? Art thou merely a dream... oh

A Dorodango, using a handful of clay from our soil
Oh sorry... didn't see you there. I was just entranced by this ball of clay I have here in my hand. Why do I have clay in my hand you ask? Well, why DON'T you is what I say!
I'm here today to preach the wonders of clay, and more specifically to try and convince you to go out in your backyard this afternoon and dig a hole and play in the mud. You'll be so busy having fun, you might not even realize that you're making art at the same time! So buckle up, and let's dive into the world of Clay Carving!
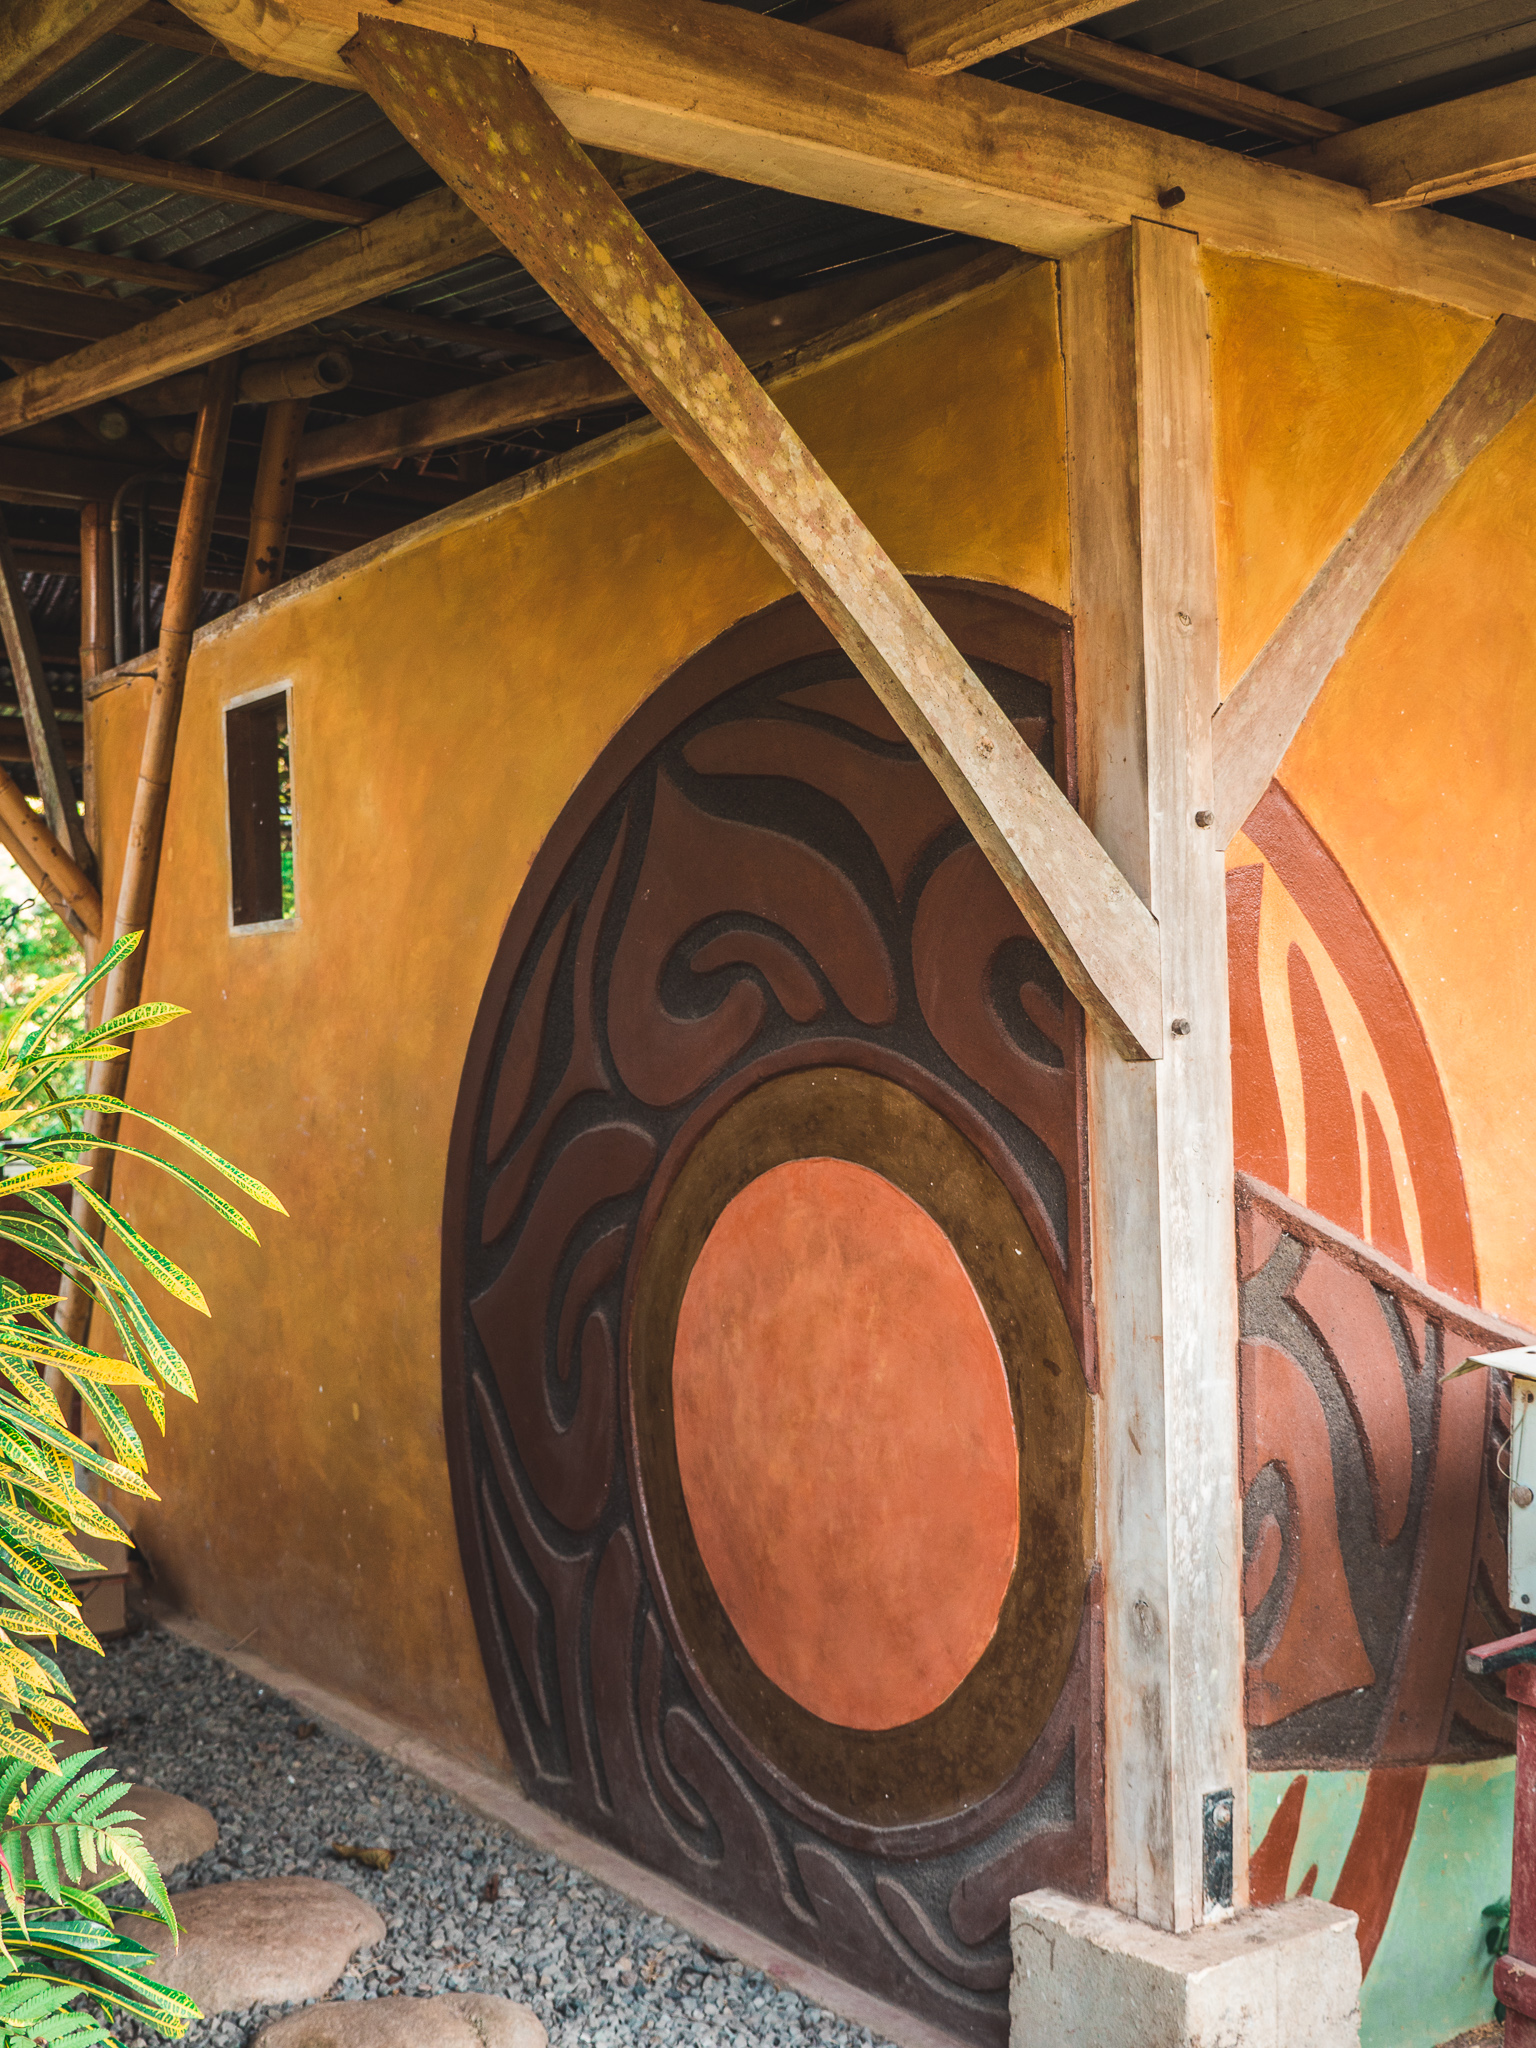
Clay carving with polished lime plaster on the center and a timber frame structure
What is Clay Carving?
Now first off let's get one thing straight. I'm not talking about your classic clay pottery, or your other classic clay sculpture. I'm talking about Clay CARVING. What's the difference you say? Go ahead and take a look at those pictures all around these here words. These are all examples of clay carvings we have adorning different natural buildings here at Rancho Mastatal.
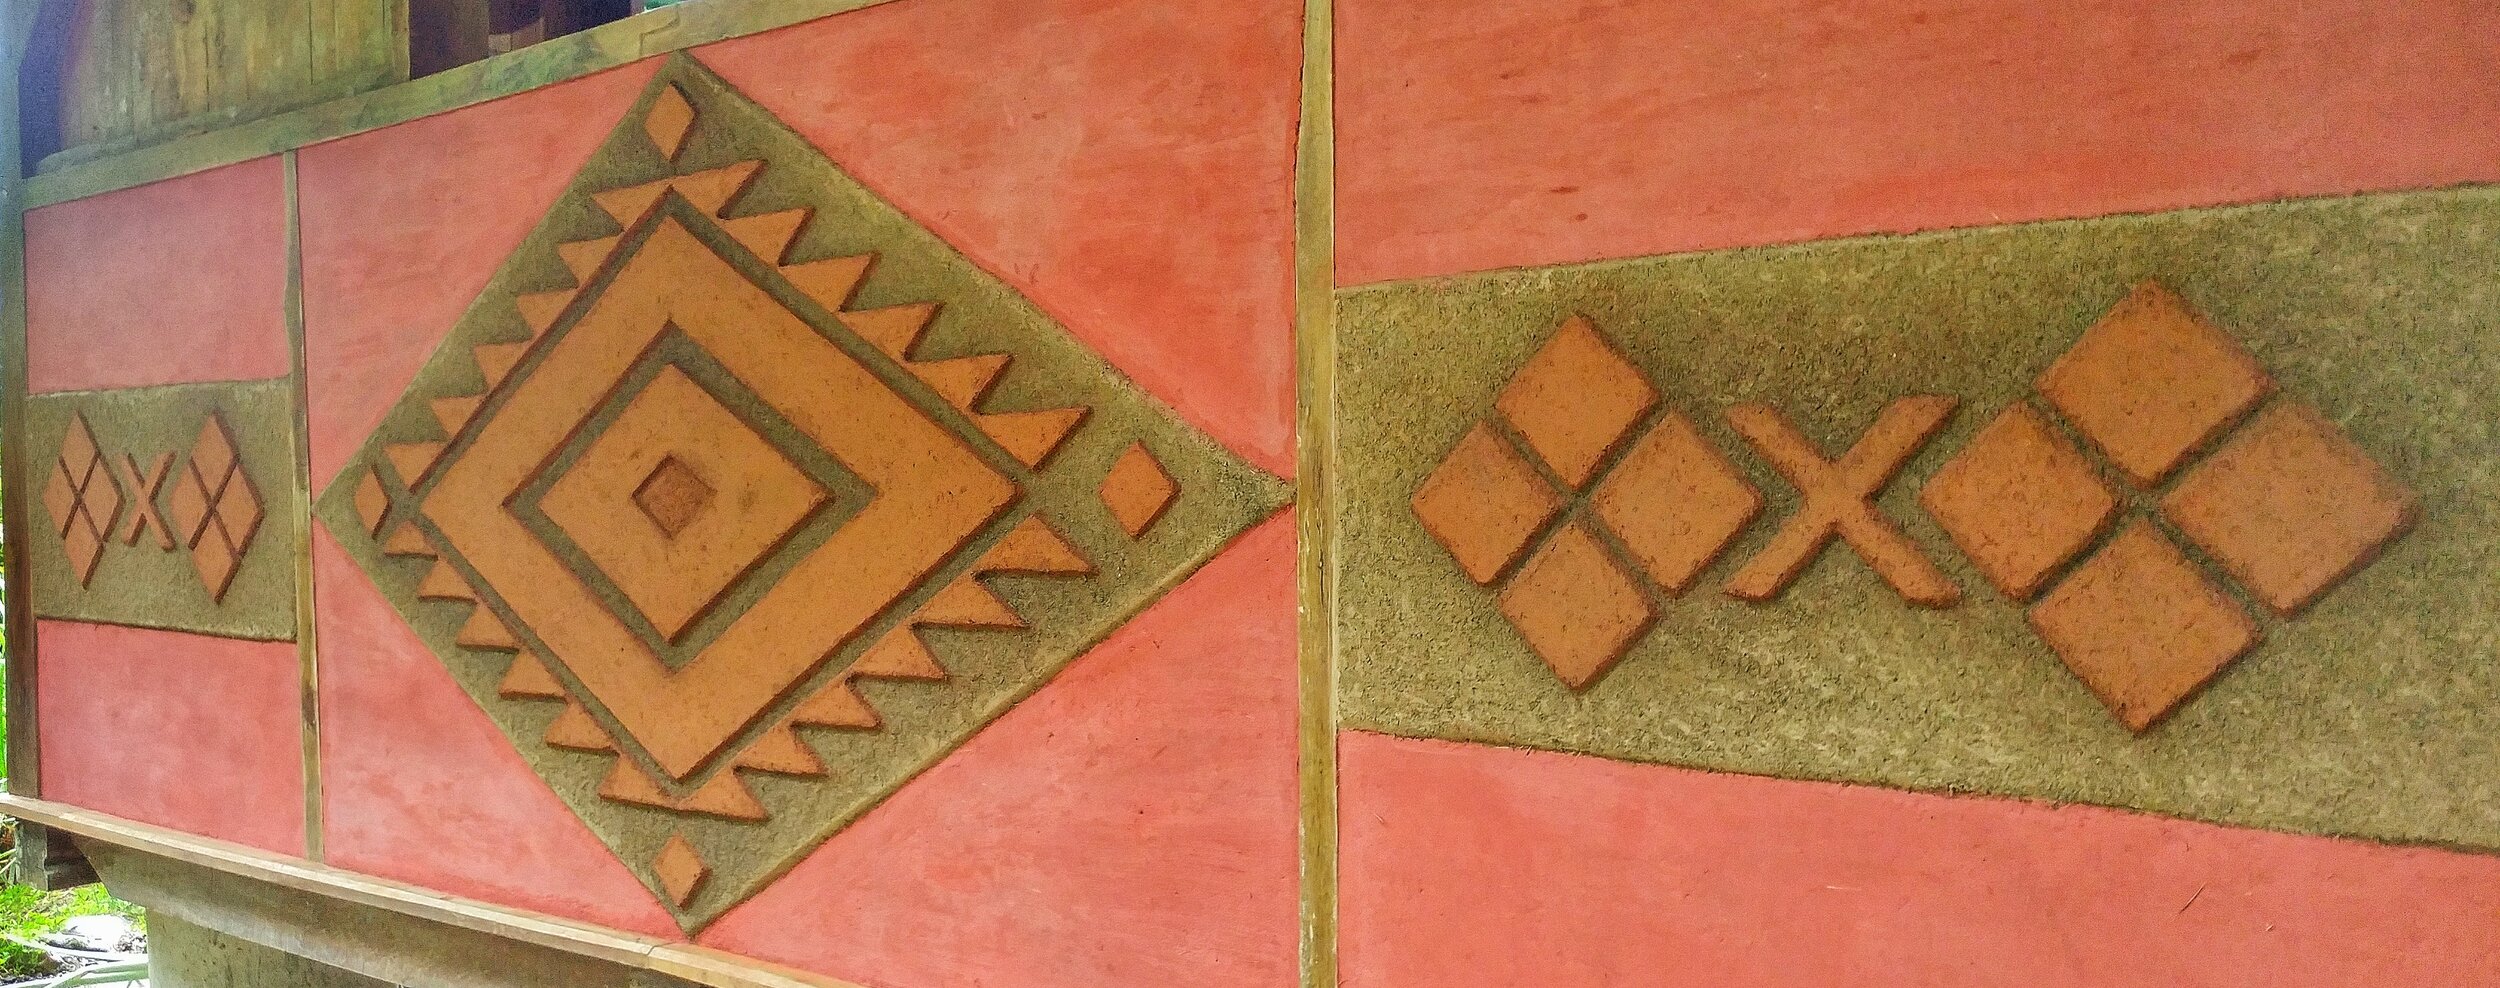
Clay carving is the process of building up layers of clay in differing colors or textures, and then carving away those layers in forms and shapes to create a 3 dimensional "relief" carving. This technique transforms ordinary, flat walls into amazing works of art, and can drastically transform and elevate a space. It also goes hand and hand with natural building techniques like earthen walls and clay plasters.
Building your Clay Carving Canvas
Now that you know what it is, you might be wondering, where would I even do this? The answer to that my friend, is wherever you want.
Well, maybe not wherever. But you could do it in a lot of places! In your home, in your garden, your backyard, your school, your workplace (if your boss is cool), etc. etc. If that 's too much choice, here, take these tips for building yourself a canvas to work on.
Build a rectangular panel out of plywood. You can line the edges with 1x1 in pieces of wood to contain the plaster and clay plaster mix as you apply it. You will probably need to apply a base coat of cement based plaster with some acrylic glue in it to bond to the plywood and create a rough surface for the clay to stick to. A 2' x 3' panel would make for a nice size to practice on, and if you like how it turns out, you can clean the edges up and place it in the garden, on your porch or hang it from a wall somewhere! (If you're thinking about, or already are, building a house, then consider adorning whole walls with an artistic carved clay finish. The beauty of your natural building will astound!)

Practice panels in our annual natural building course
OR make a cob bench, and add a clay carving to the back. Cob is one of the simplest and most versatile natural building materials. By just mixing clay, sand, and straw in the correct ratio (more on ratios in a bit), you can then stack and mold the cob into flowing, beautiful shapes, and the surface will be nice and rough for further Clay coats to stick to. Stack it up into a bench shape in the backyard, and then leave yourself a nice flat area on the back for your carving to live.
Getting Natural Building Materials
At this point, there are two directions you can take, or maybe you can walk right in the middle. You can either buy good quality, pre sifted sand and clay from hardware and/or ceramic supply stores, or you can go into your backyard and dig up some Earth and see what you find.
Soil is different everywhere, and amounts of clay and sand vary widely between locations. Regardless, you'd want to dig down at least 6" (though this varies by location) to get past the topsoil, and then do some tests to figure out how much clay and sand you have at hand. This could mean doing the jar test, filling a jar with a handful of soil and water and letting the parts separate out, sand falling to the bottom and clay settling on top. Or you could send out a sample for precise testing if you want to be scientific about it. Once you have a better idea of what ratios of material are in your soil, you can make a mix.
This process is essential in most natural building endeavors, and is a skill that takes practice. Trust me on this though, getting to know the Earth around you will bring benefits beyond just what you can build with it.
Making a Clay Carving Mix
Clay is naturally flexible, while sand is naturally rigid. Sand provides structure, while clay binds a mix together. The right balance of the two will give you a material that you can carve into shape, and have it stay.
Finding that balance is part of the fun. Try mixing in different ratios, starting with 1:1, and taking some notes along the way. What feels good to work with? What drys well without cracking? What lets you carve without crumbling? Some tips to start: too much clay will cause cracking, and too much sand will cause crumbling. Too wet of a mix won't hold its shape or stay on a wall, and too dry will be hard to apply.

Sample sizes of sand, clay, and straw ratios
Remember, that as you carve you will reveal lower layers of clay. Try finding or buying different colors of clay, or mix in pigment or colorful materials to create contrast and interplay between layers. And don't be in too much of a rush to apply the next layer; if it's not dried enough, your layers may blend together.
Finally, a note on tools
You can do all of this with your hands and a razor blade, laying material down, smoothing it out, and cutting it into shapes once dry. You can also use different tools like floats and trowels to smooth and flatten layers, and other tools like chisels and awls to aid your carving. Start small and easy before you spend money on new tools, and look for used tools or tool rentals before a big purchase.
Summary Step by Step
To wrap up, let's go through a step by step and some final tips:
1. Gather all your tools and materials. It is better to do all your preparation before you start. Think through what you will need from start to finish, including clean up!
2. Prepare your canvas. Whether you're building a new surface or applying to an old one, make sure that the surface is rough or "keyed" so that the clay mix has more surface area to bind and hold on to.
3. Create your mix. Do small batches for tests and samples before going big, so you have an idea what it will turn out like before spending a lot of time and energy. Also keep in mind that you can get finer (as in smaller sand) and creamier (as in more clay) as you add more and more layers, but you'll have to apply in thinner and thinner layers to prevent cracking as these ratios change.
4. Apply your first layer. Smooth and flatten as much as you desire. Let dry enough so that you can add a new layer without the under layer blending with your new layer. You may need to wait several days between layers in a humid climate.
5. Apply second layer. You can now add as many layers as you want to carve away, altering color and texture between layers as desired.
6. Carve away clay to reveal the art within! A razor blade is effective due to its sharp edge, though any knife could work. The basic process is to cut with the knife the outline of the shape, then carve out the interior (with an awl, screwdriver, or even stick). Cut at an angle, widening outwards from the surface, to create cleaner lines and forms. You can smooth the revealed surface beneath with fingers or smooth stones. Dig and carve deeper to reveal more layers beneath!
7. Clean up when you're done, especially your tools to prevent rust. Finally, if you want your clay carving to last longer or be water resistant (though not water proof) you can apply a hardening oil like linseed oil.
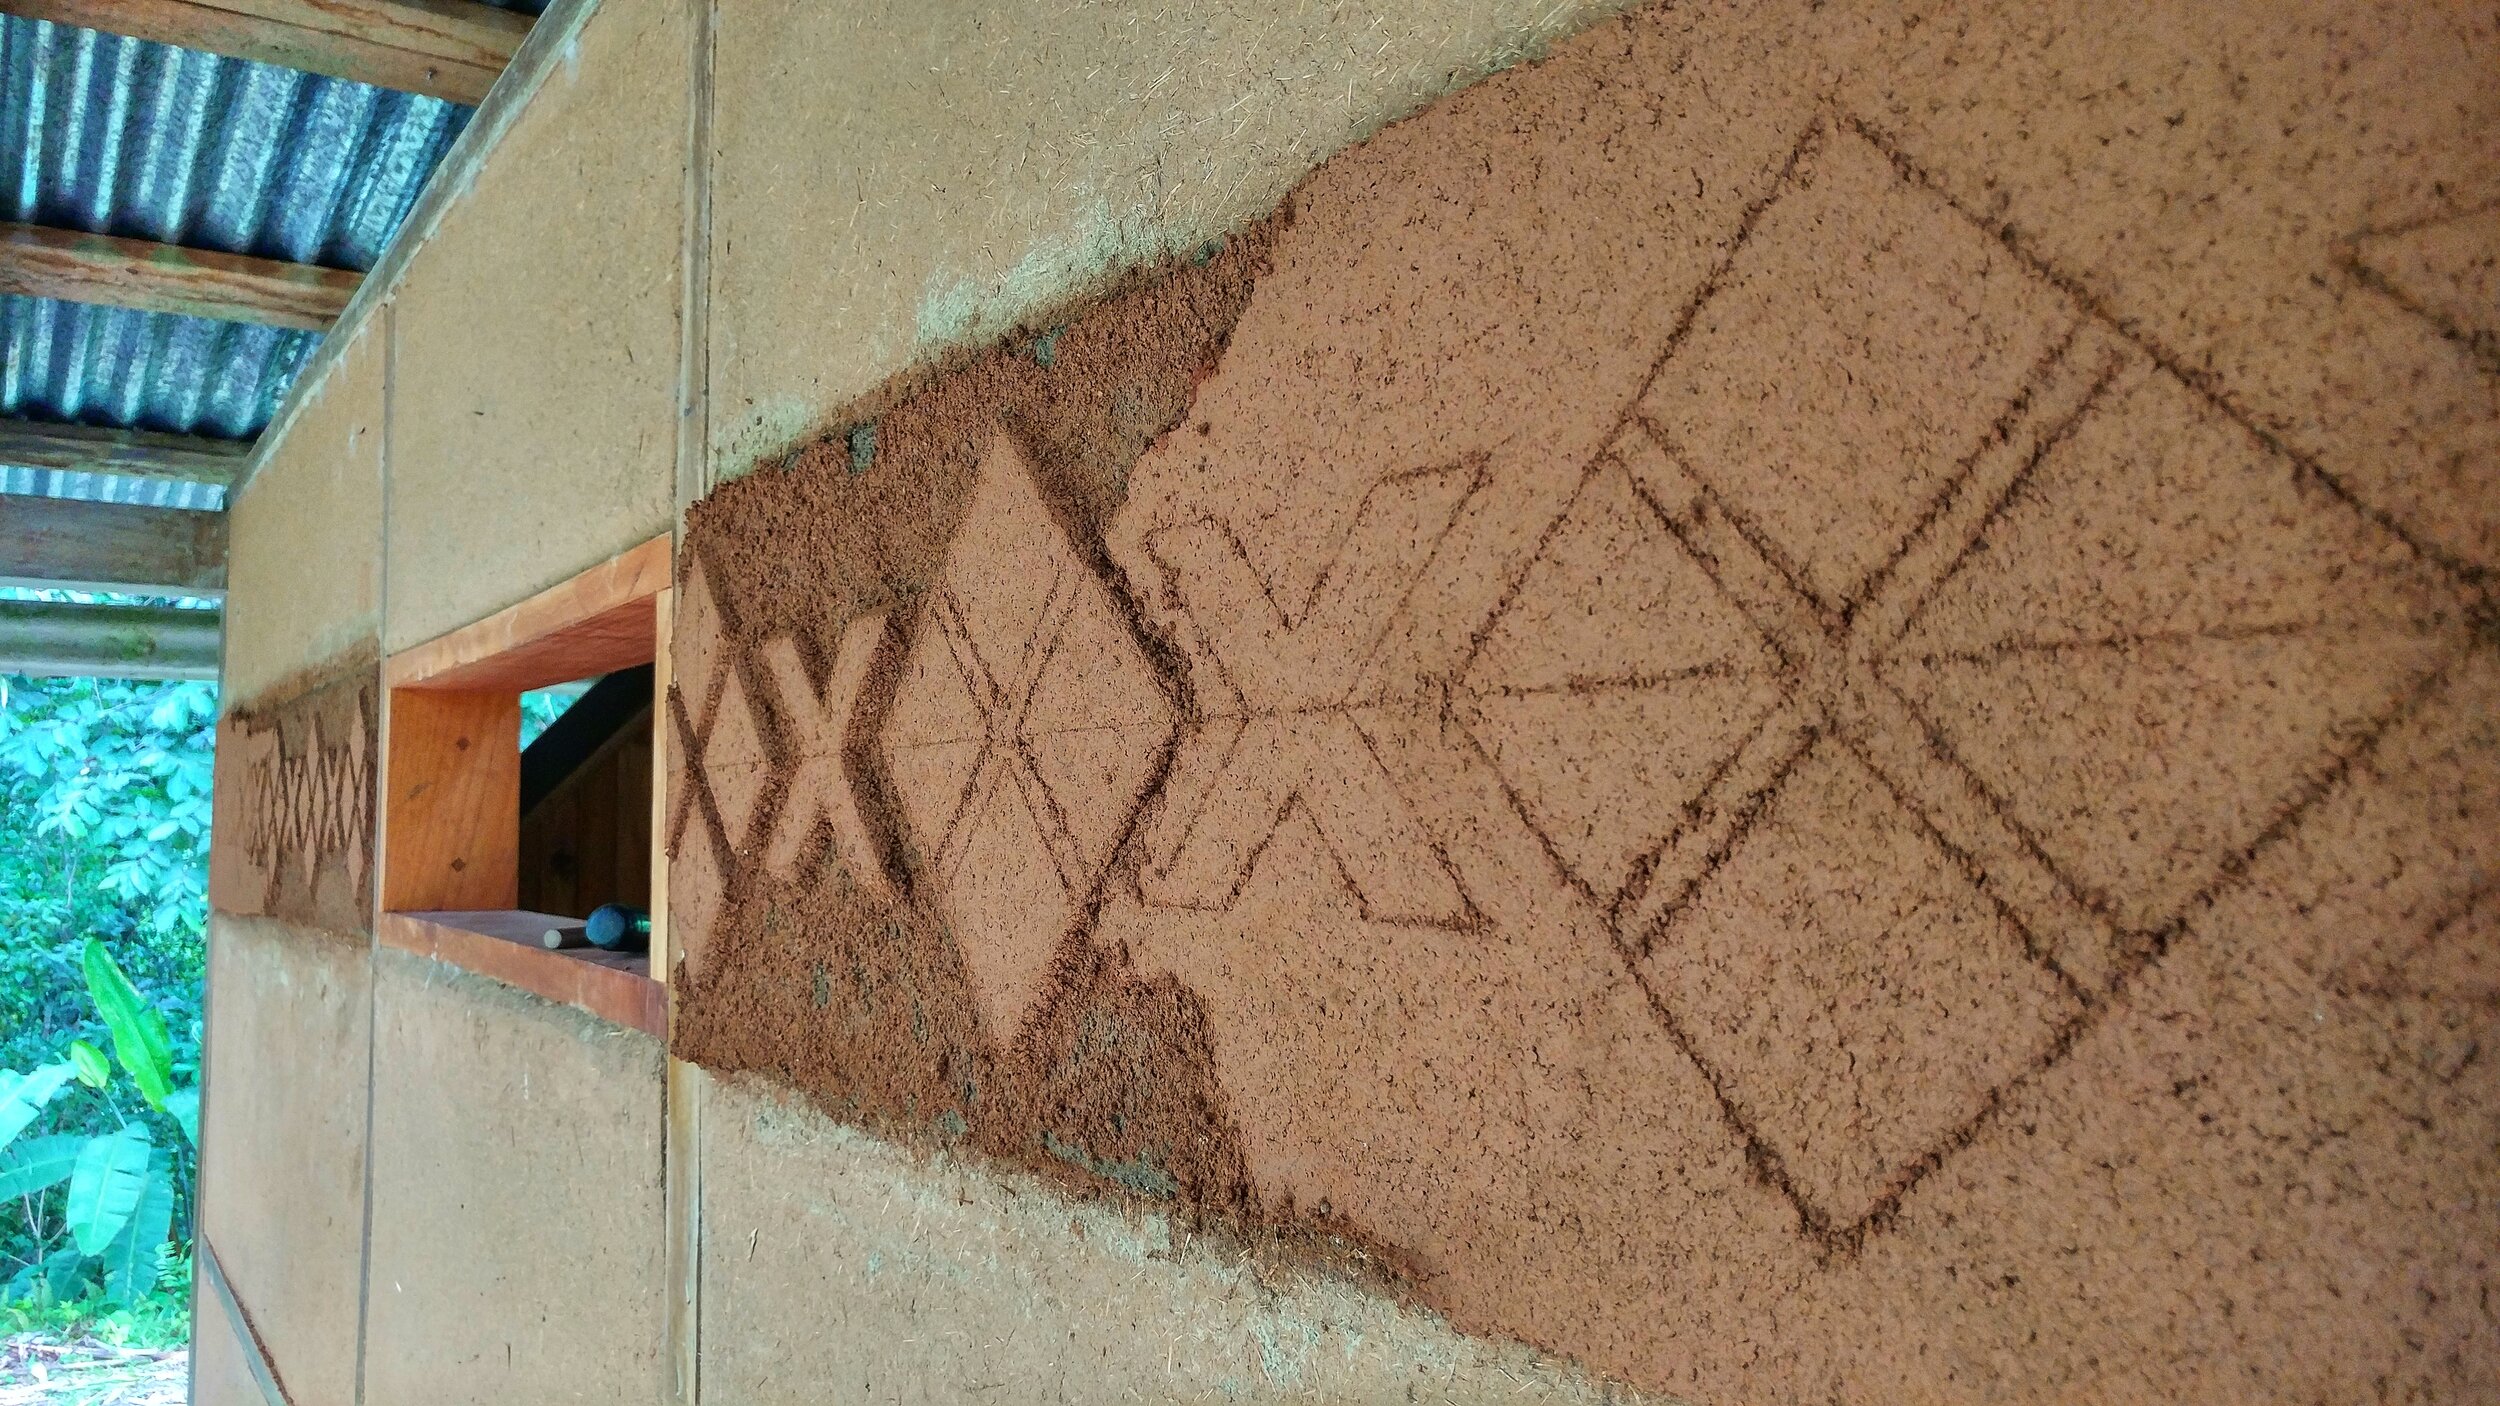
Exposing the different layers of plaster. You can see here the design sketched in, and the first coat of red clay plaster being carved away to expose the underneath grey plaster.
Let the Artist in You Soar!
Now you have an expanse of clay before you, a blank canvas to express yourself upon. Have fun! Feel the warmth and beauty of the clay, and tap into your inner artist. Get dirty and share the experience with someone else! With some practice, you might be surprised what kind of beautiful things you can make with just a bit of Earth!

Working on the Rancho Mastatal mandala on the outside of our food processing kitchen. The yellow is a frescoed lime plaster.
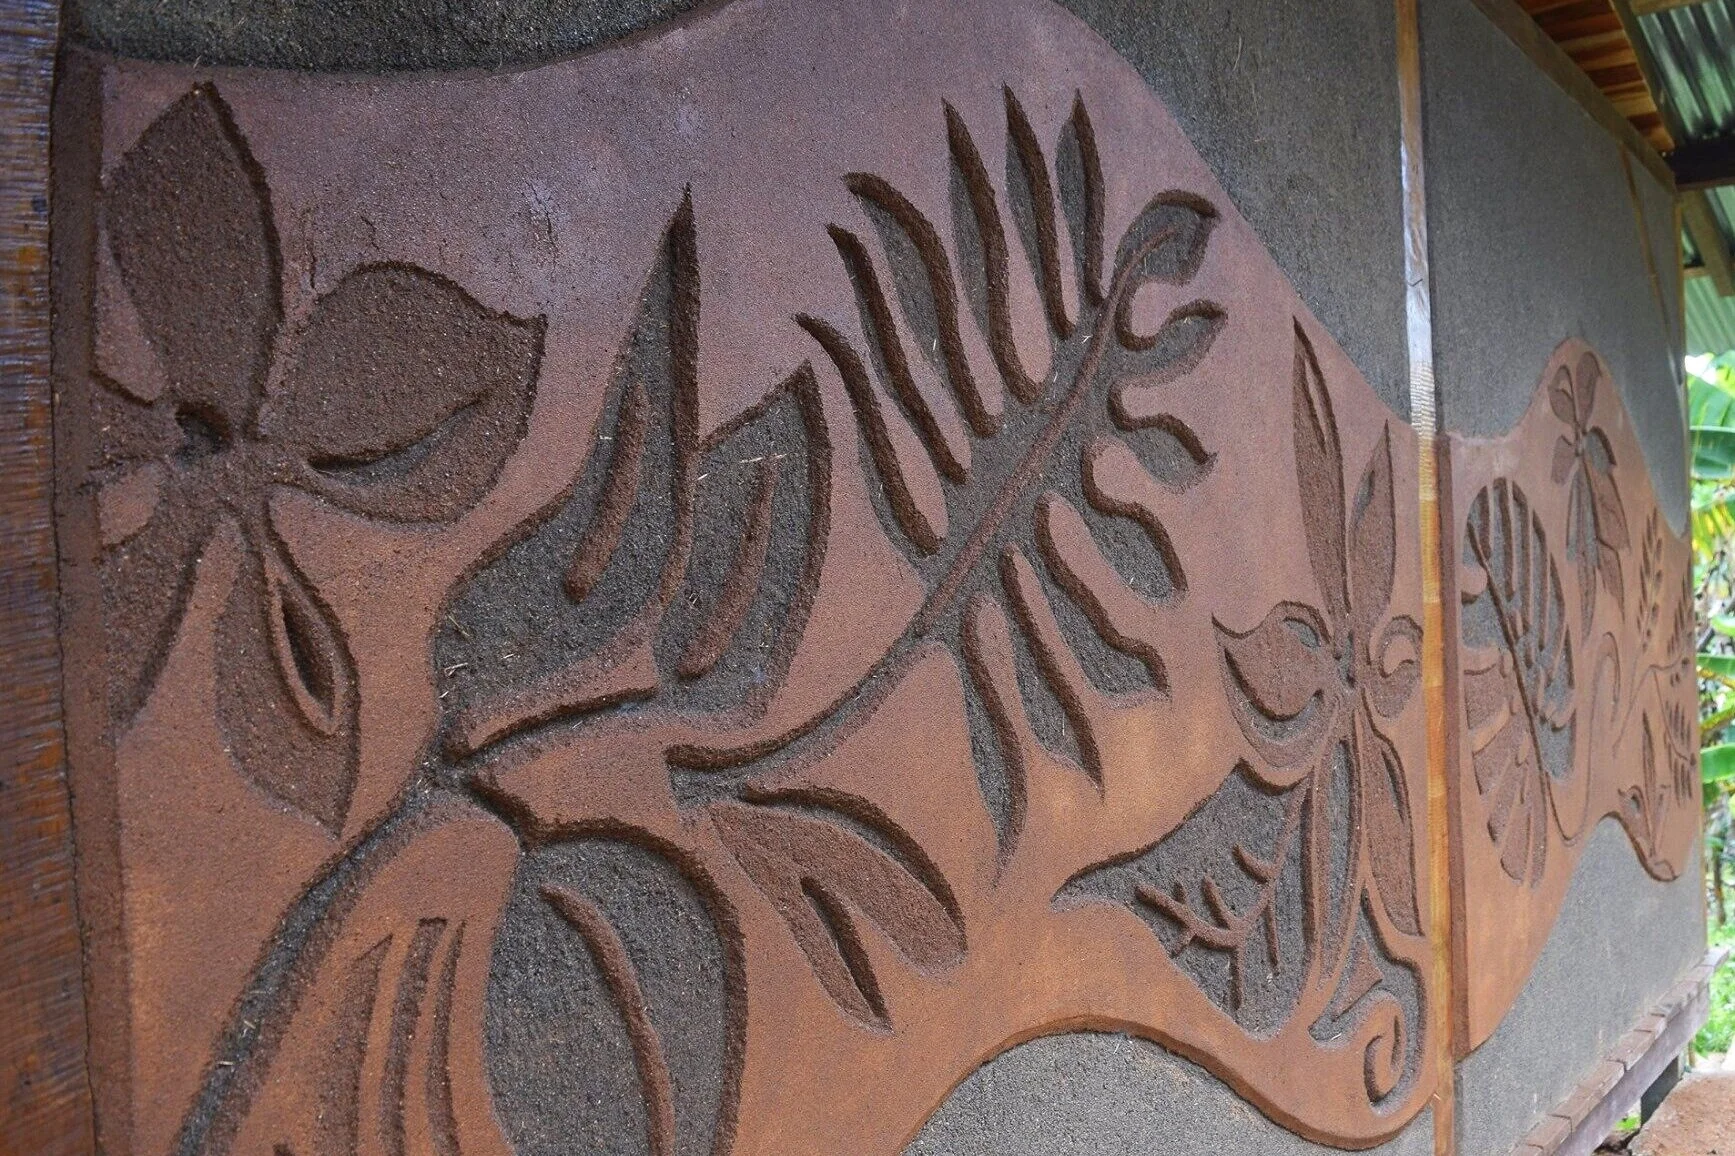
The clay carving done on the outside of a small cabin. The entire project was completed by our 2017 apprentices!
Want to Learn More?
For a great video of a beautiful clay carving in action watch this video by The Nito Project.
To get hands on instruction and learning in clay carving and other natural building and plaster techniques come join us for our annual Natural Building and Plasters Intensive.
Stay tuned about our annual workshops!
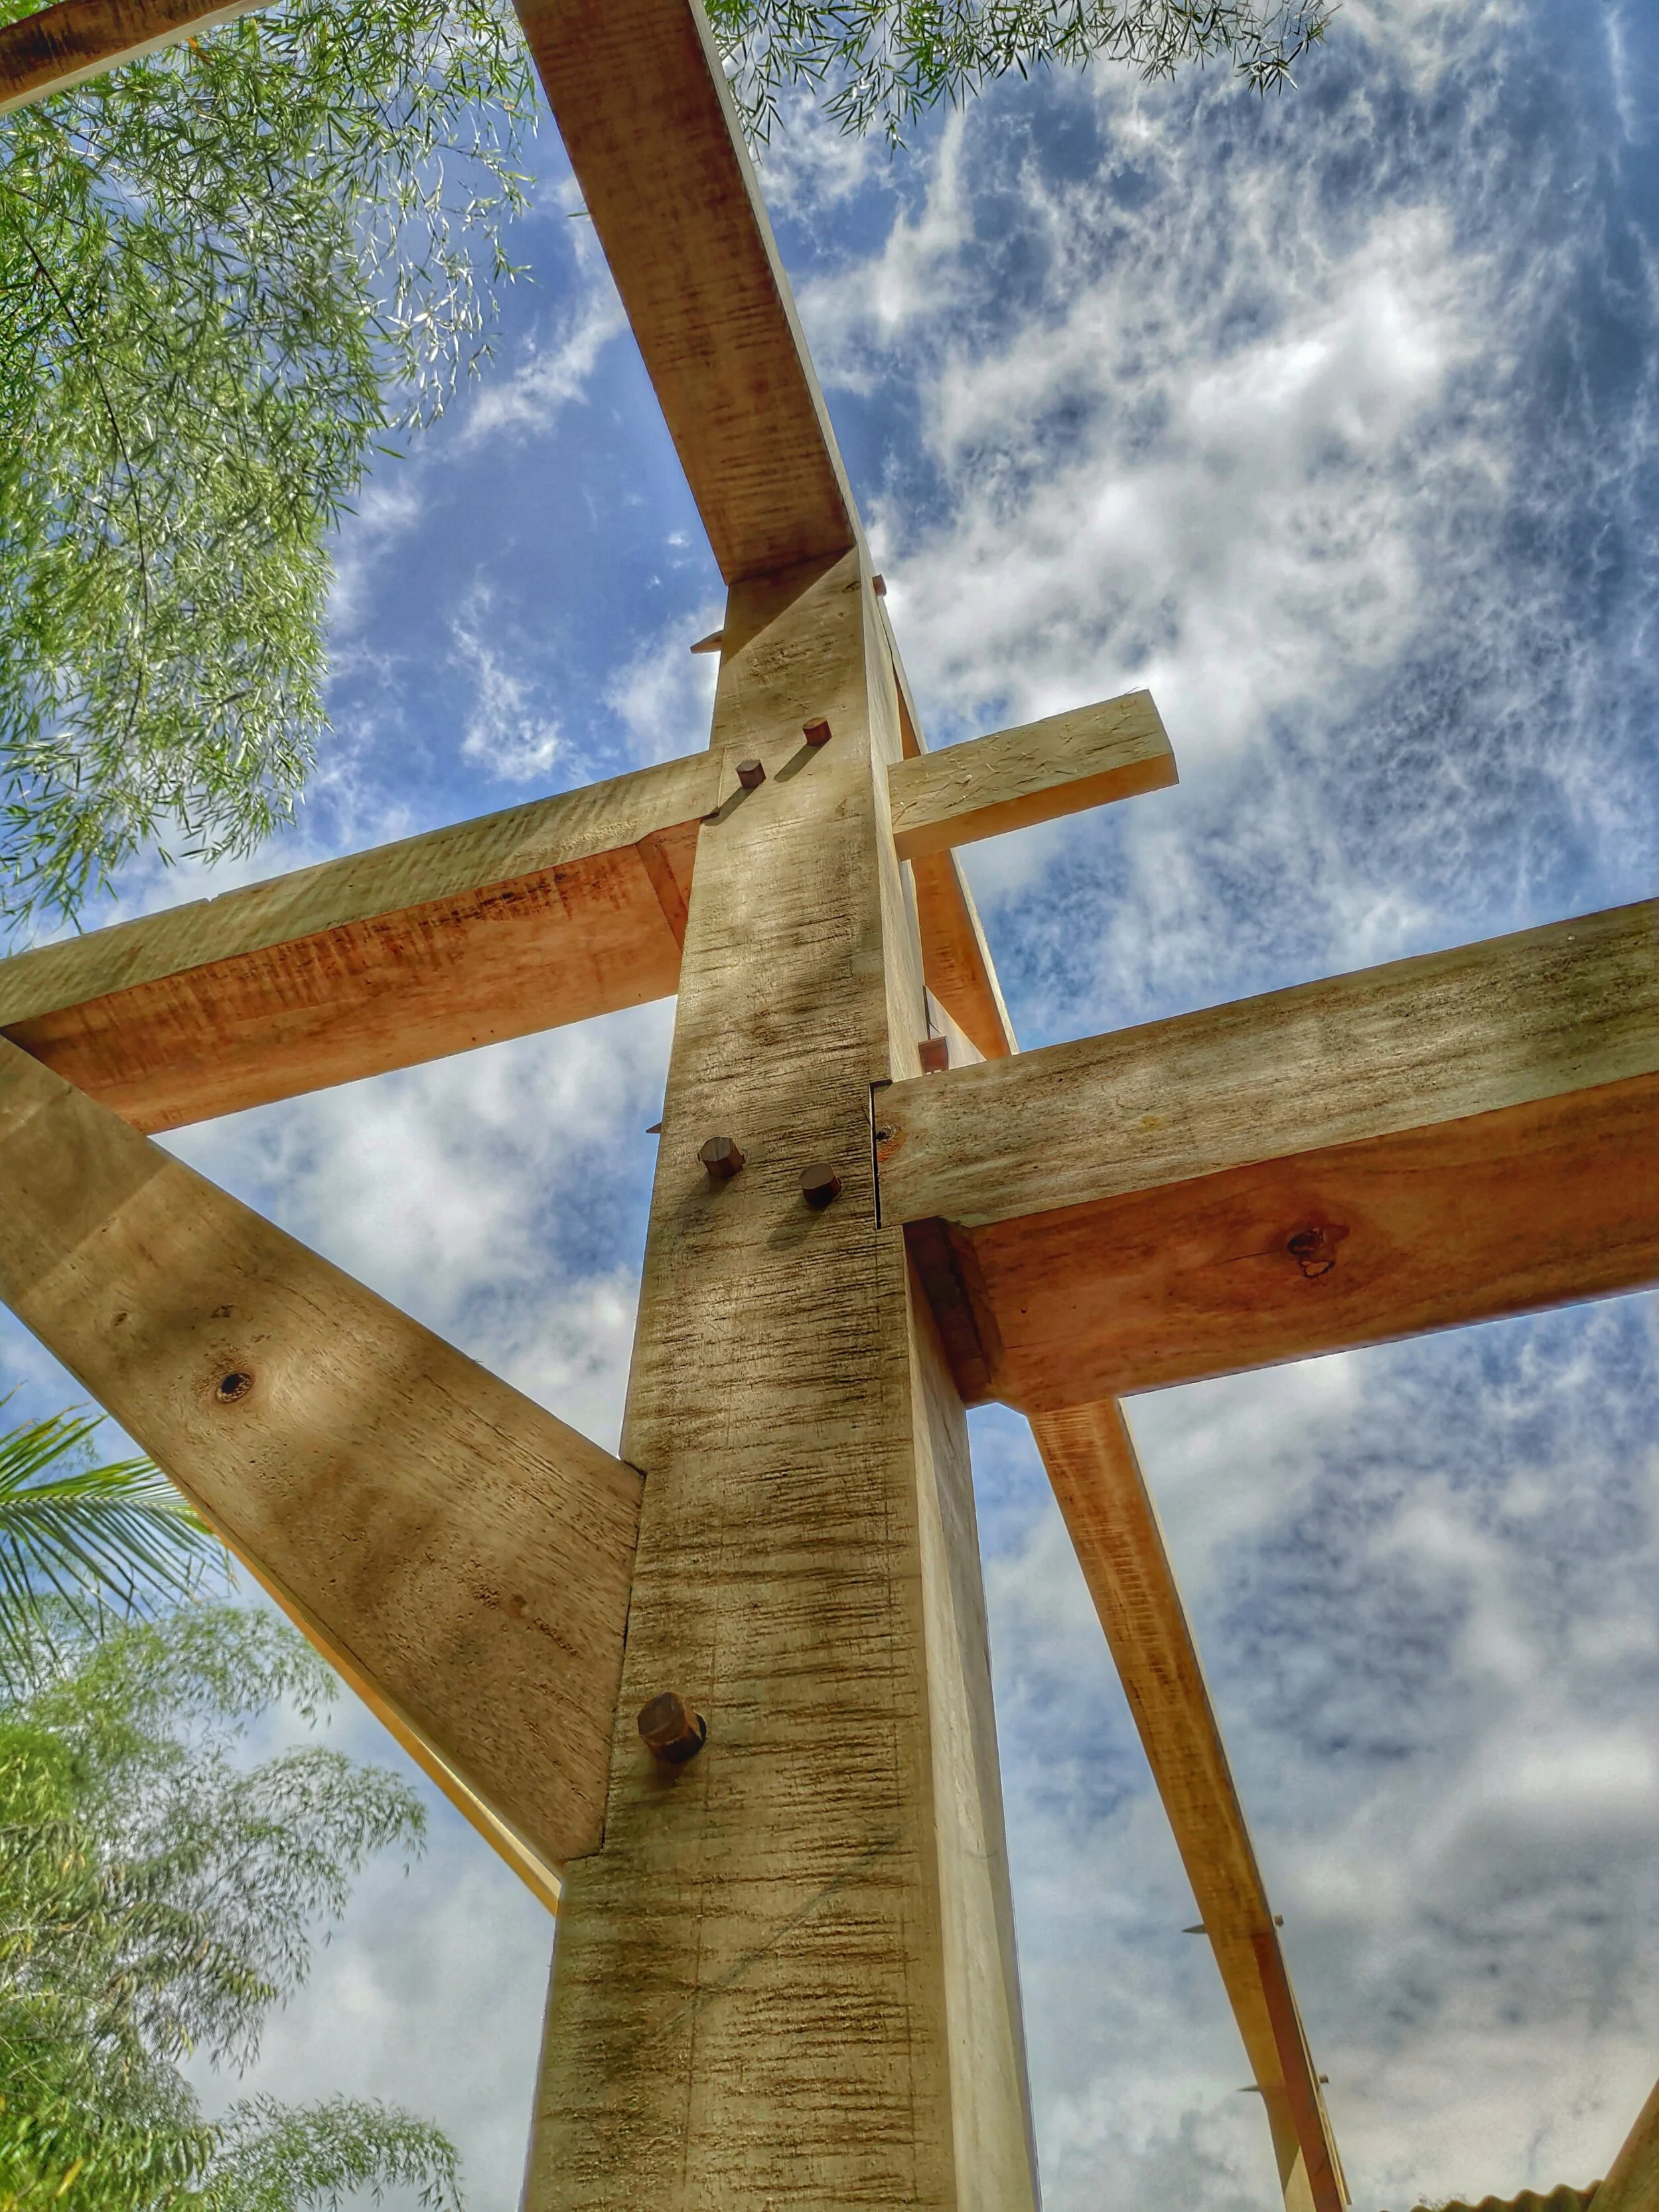
Timber Framing: A Real Application of Sustainable Forestry Management
The deforestation problem that constantly threatens our global forest resources is one that we can overcome. To accomplish this, though, we must again learn to give our forests real value. The main idea here is that our forests must be more economically valuable in their current state than they would be under competing land uses. If not, they will be deforested.
By Anthony, 2020 apprentice
The deforestation problem that constantly threatens our global forest resources is one that we can overcome. To accomplish this, though, we must again learn to give our forests real value. The main idea here is that our forests must be more economically valuable in their current state than they would be under competing land uses. If not, they will be deforested.
Cattle Pasture and Forest,
Latin America’s diverse and astoundingly beautiful forests are constantly under threat. Here, deforestation occurs when forest owners decide that they can earn more money doing something else with their land. Forests are routinely slashed and burned to make room for agricultural systems, cattle ranches, infrastructure, urbanizations, and mining, to name a few alternative land uses.
One real strategy to conserve our precious forests is sustainable forestry management, a practice that selectively and sustainably chooses trees to be harvested within a forest in order to use their timber for construction, furniture, tools, and artisanal products. When well planned and carried out respectfully, sustainable forest management gives way to increased biodiversity within a given forest, offers employment opportunities in rural communities, and, perhaps above all, makes a forest’s continued existence economically possible.
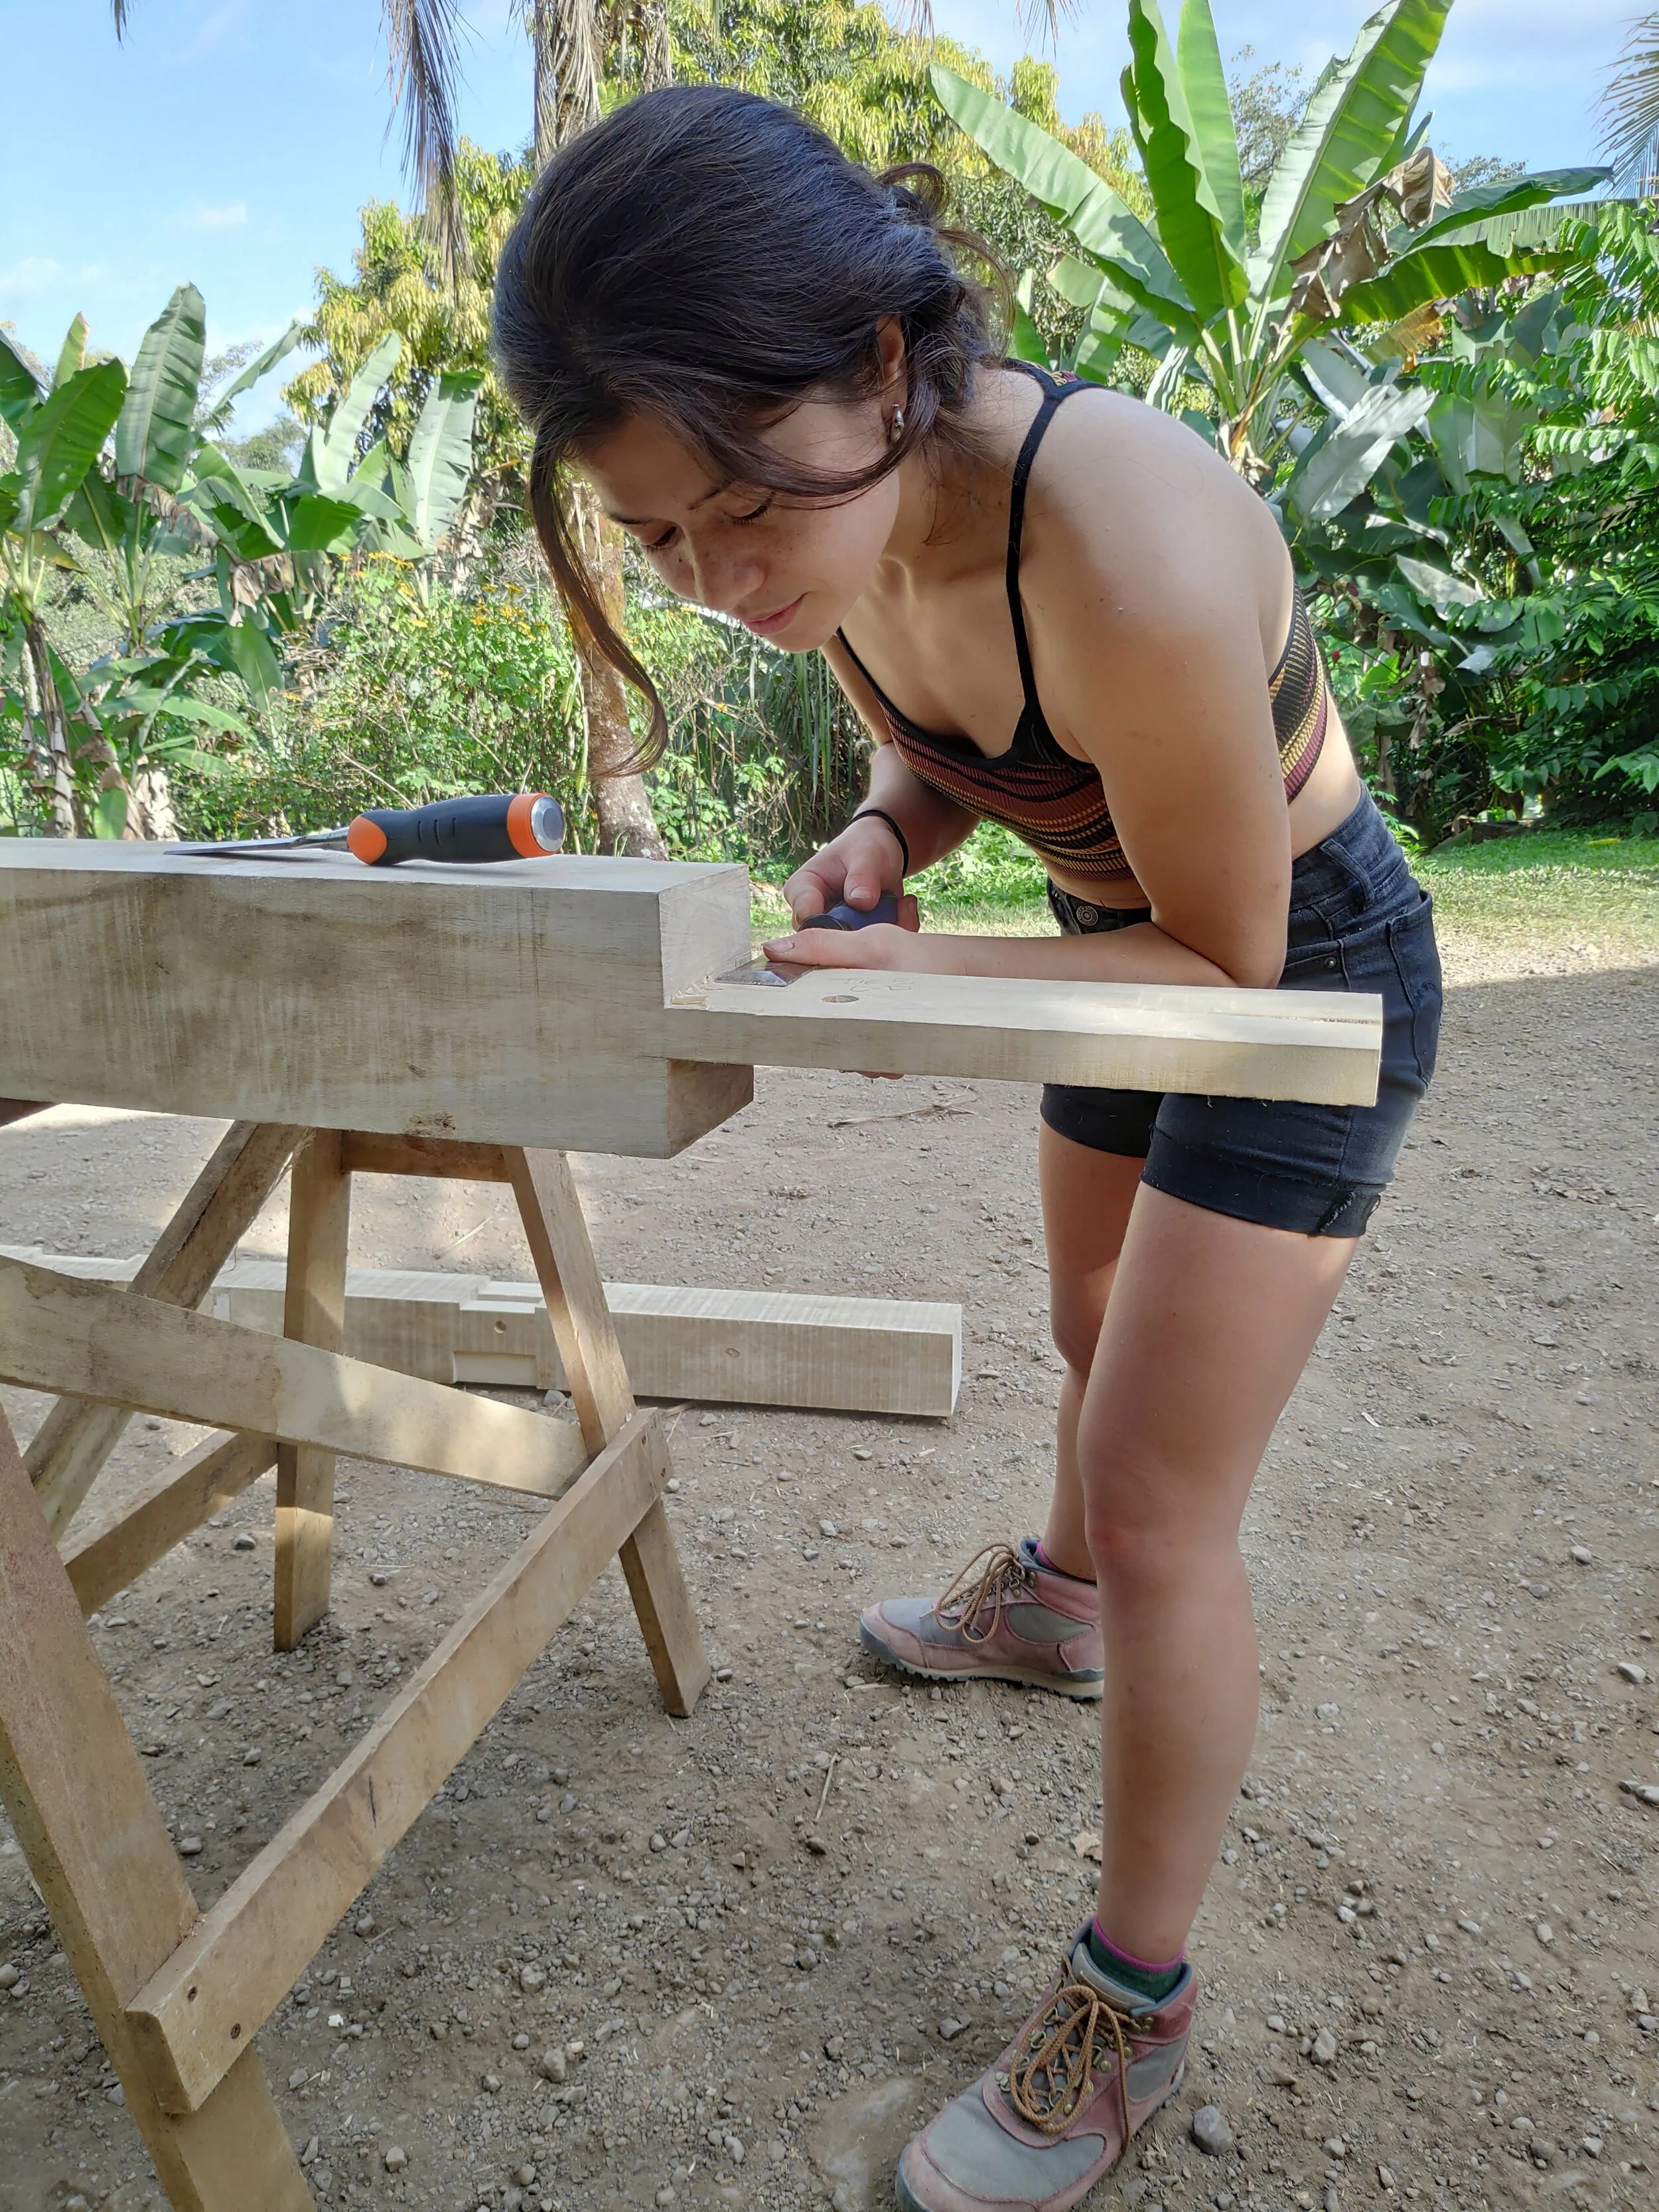
Timber Framing
Rancho Mastatal is putting this plan into action. This Costa Rican-based educational farm offers workshops in diverse areas with an emphasis on sustainable community living in the tropics. One of their flagship courses, ‘Introduction to Timber Framing’ leads workshop attendees through the process of building a simple and elegant timber frame home. Starting with the basics, such as tool sharpening and laying out a timber using the square-rule method, the workshop ends in climactic style on raising day when the students see their work come to fruition. After many days of focused, methodical work chiseling and sawing, the timber frame home is assembled in a swift group effort in a single morning. The workshop is an ideal combination of focused individual development and group camaraderie.
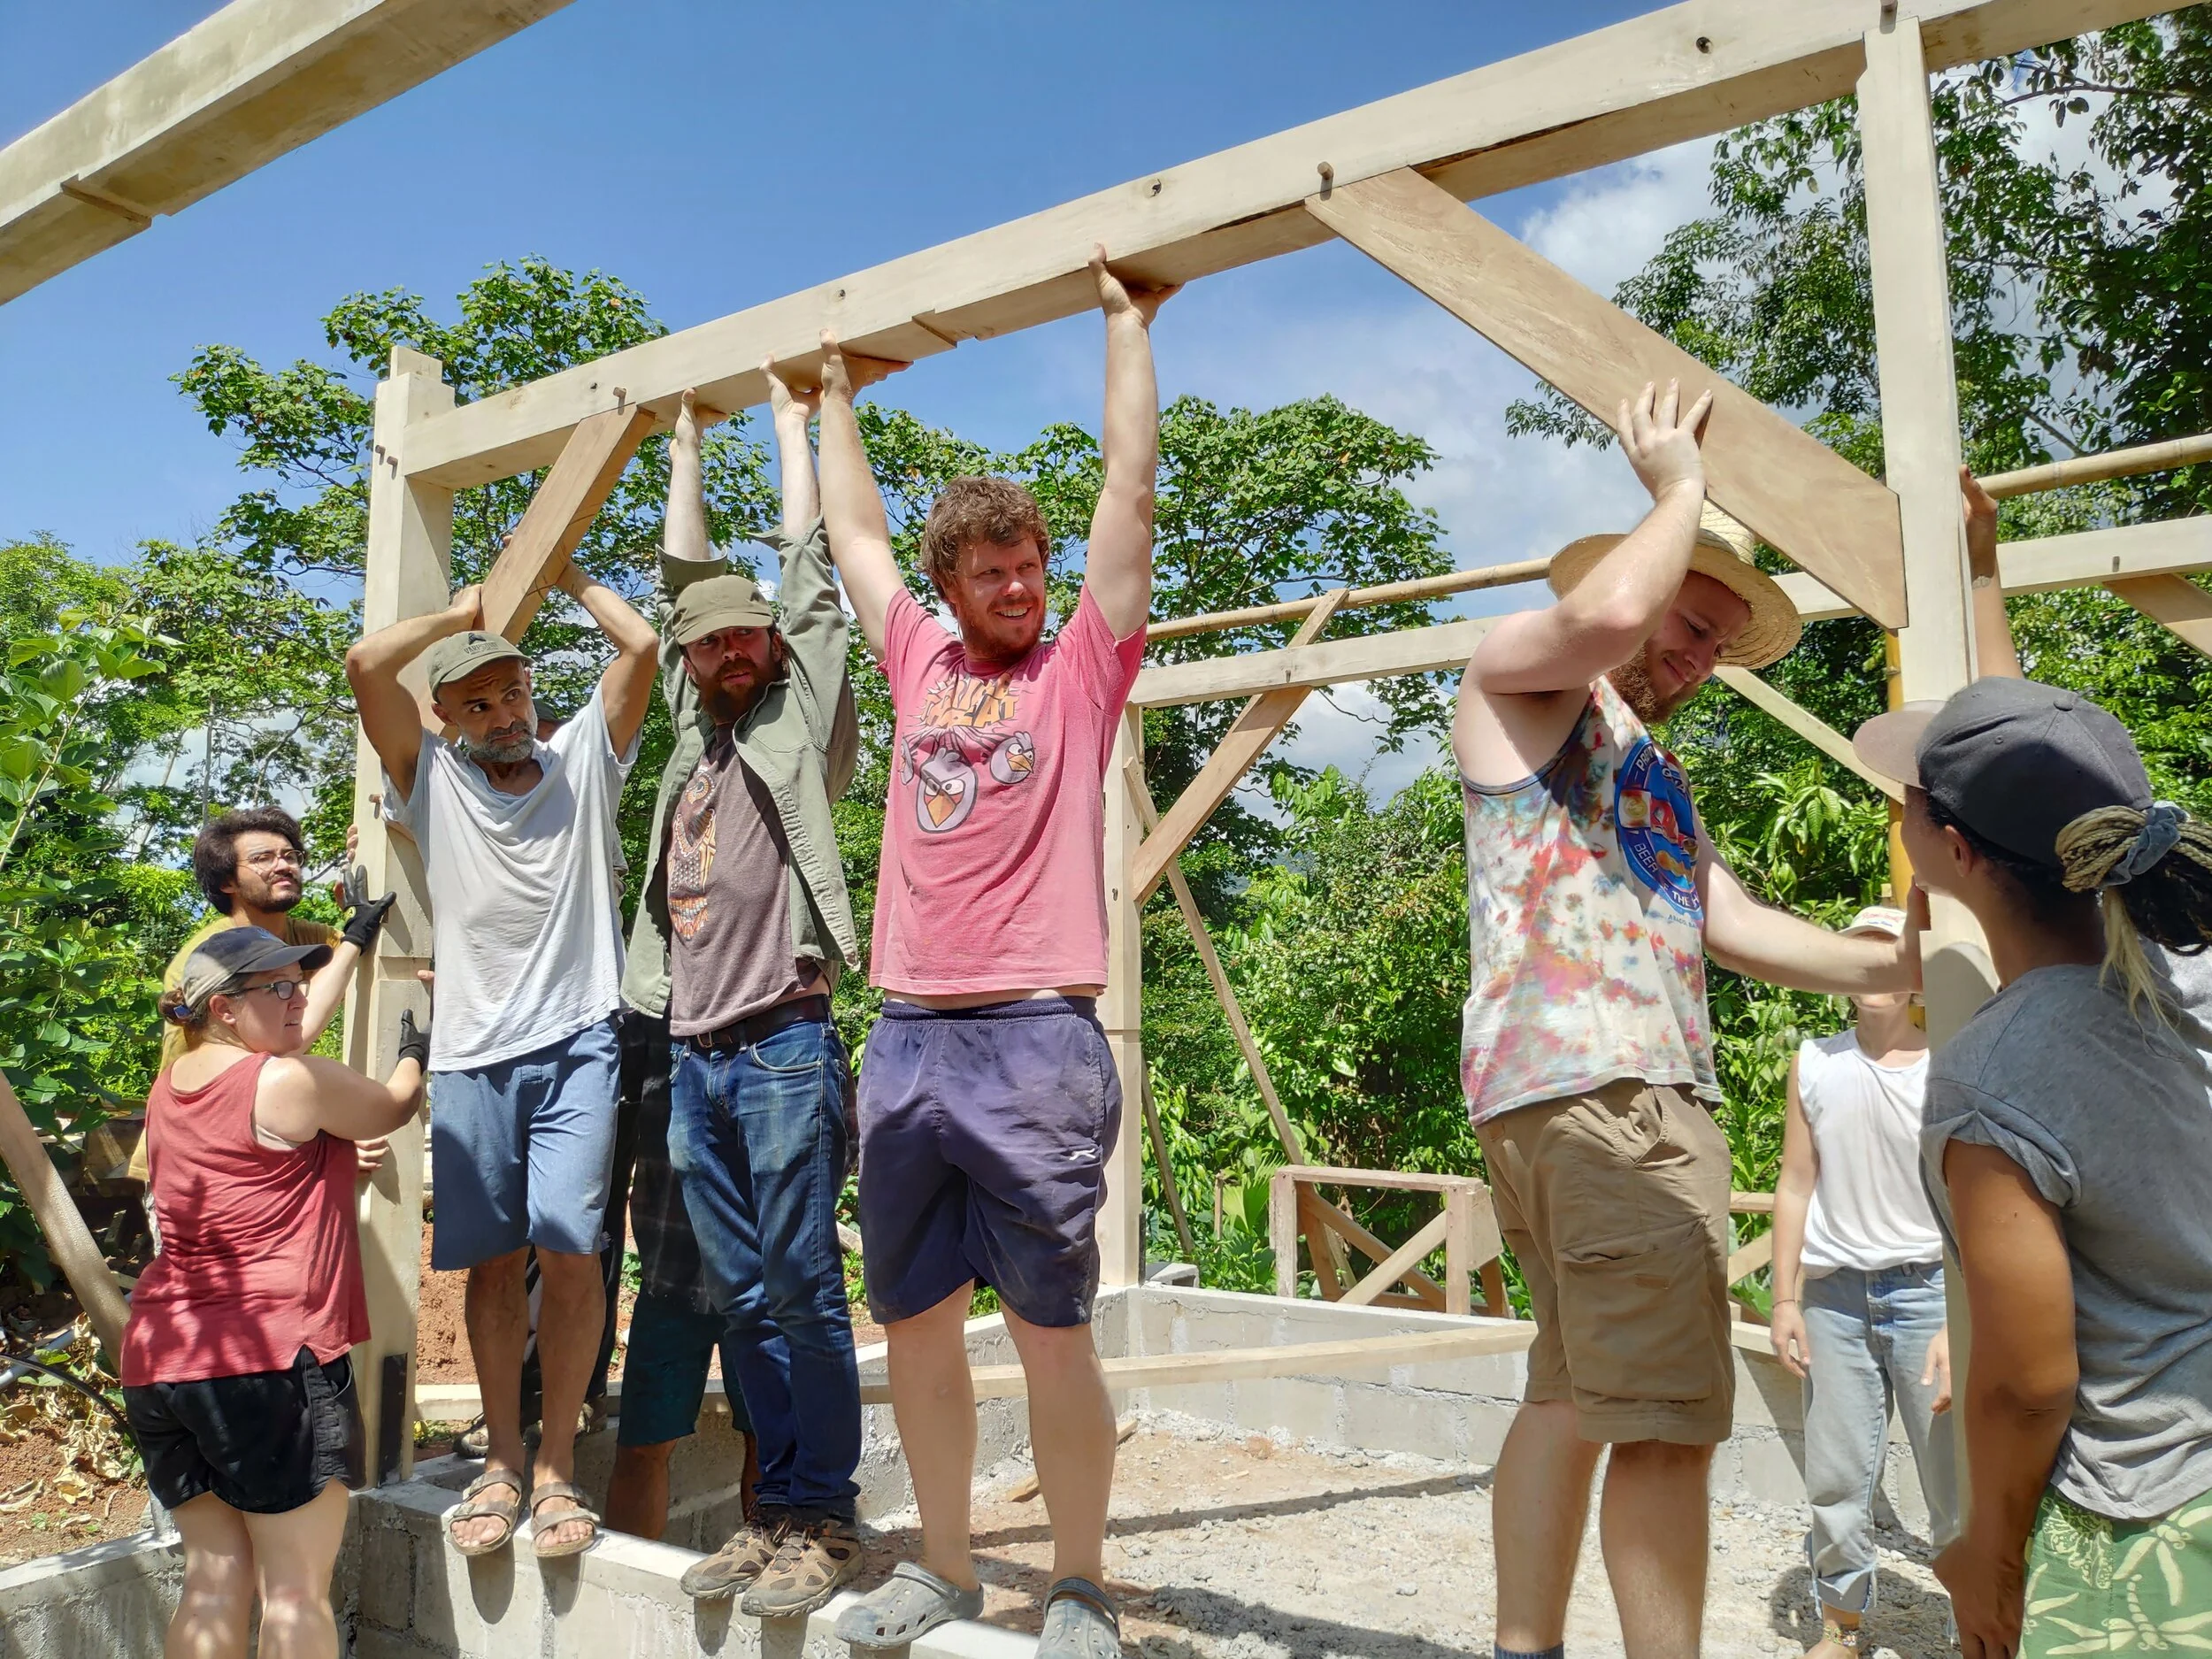
Sourcing sustainable wood
The timber used for the construction of Rancho Mastatal’s timber frames originates from two main sources, both of which are sustainably and carefully chosen: selectively-felled trees from managed secondary forests, and trees planted specifically to be harvested for their wood. Additionally, the national context of the timber frame workshops is significant. Rancho Mastatal exists in a nation aiming to be carbon neutral by the year 2021. So far, large-scale national strategies have been based on a renewable energy sector, yet little has been done for real improvement in the construction sector. Here Rancho Mastatal leads the way toward carbon neutrality while conserving tradition.
To be original, one returns to the origins. Sustainable forestry management and timber frame buildings are ancient traditions that must be practiced in order to be culturally conserved. By integrating these traditions into a business plan through its educational workshops, Rancho Mastatal and its core team aim to realize an originality apt for modern times.
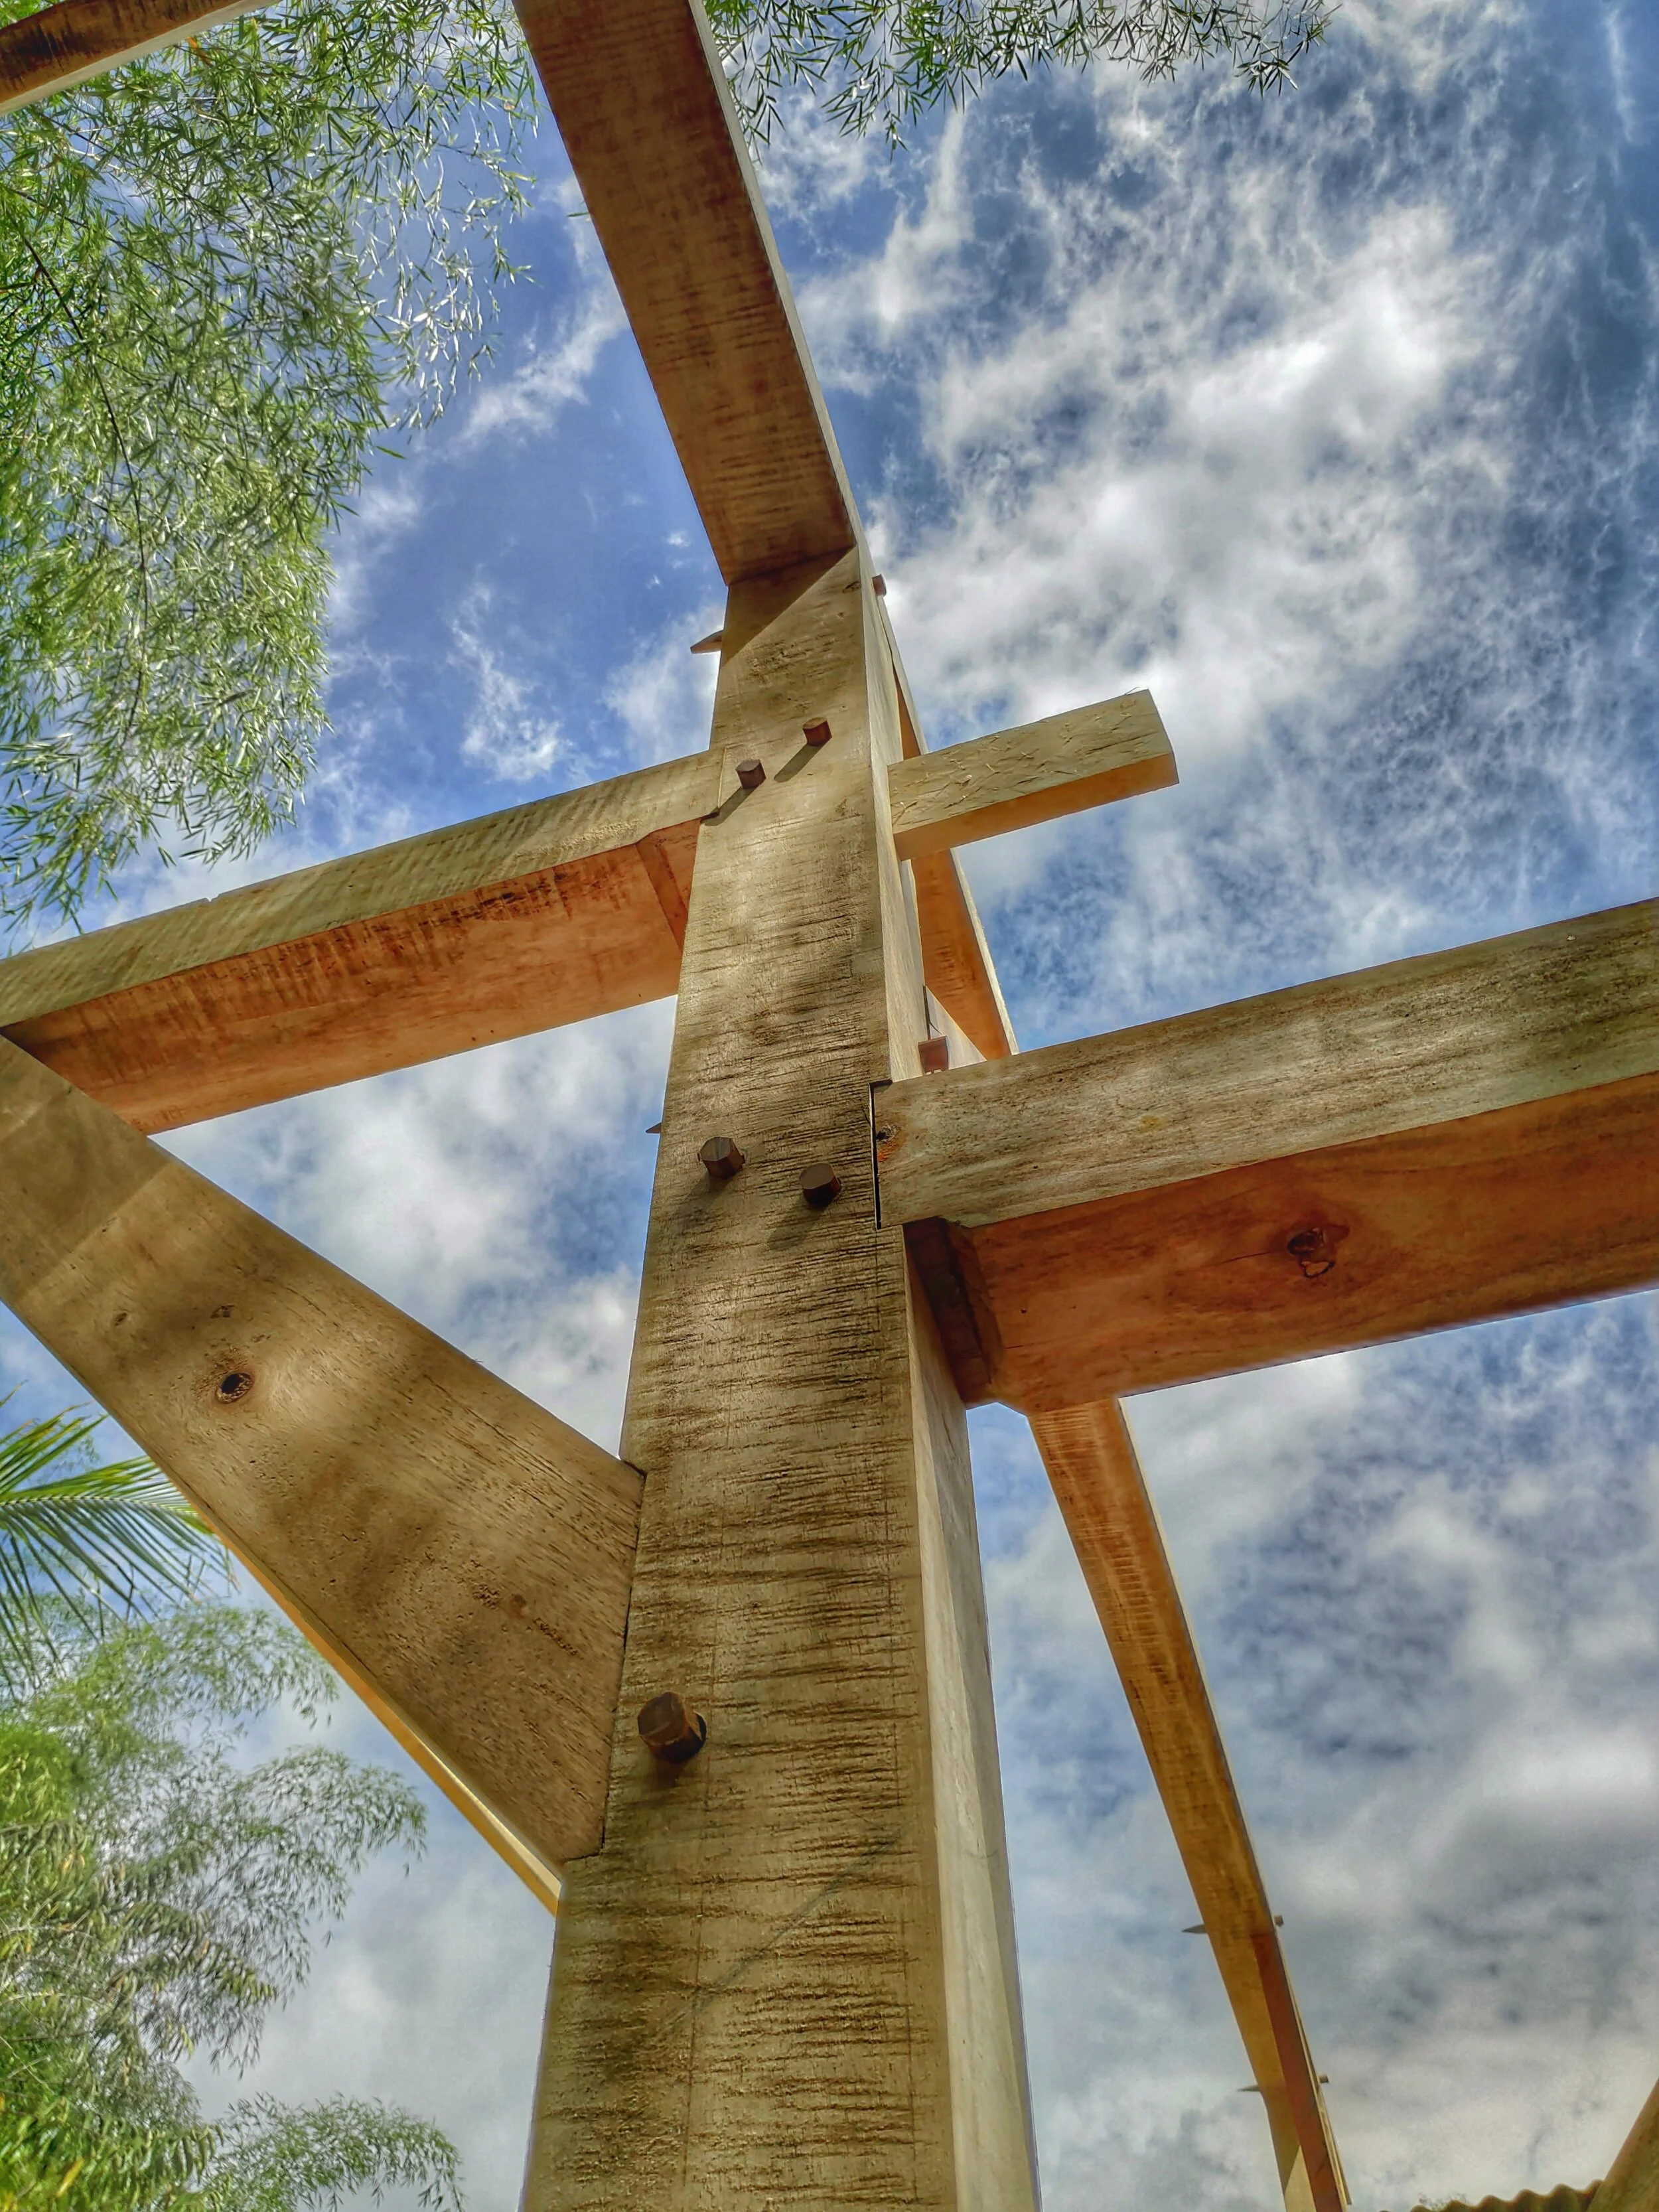
A nice display of the different joinery in one post
Stay tuned for the next blog Timber Framing Tips: The Things You Didn’t Know You Needed to Know.
Join us in 2021 for our Timber Framing Workshop to get hands on practice and instruction on this beautiful and traditional form of building.
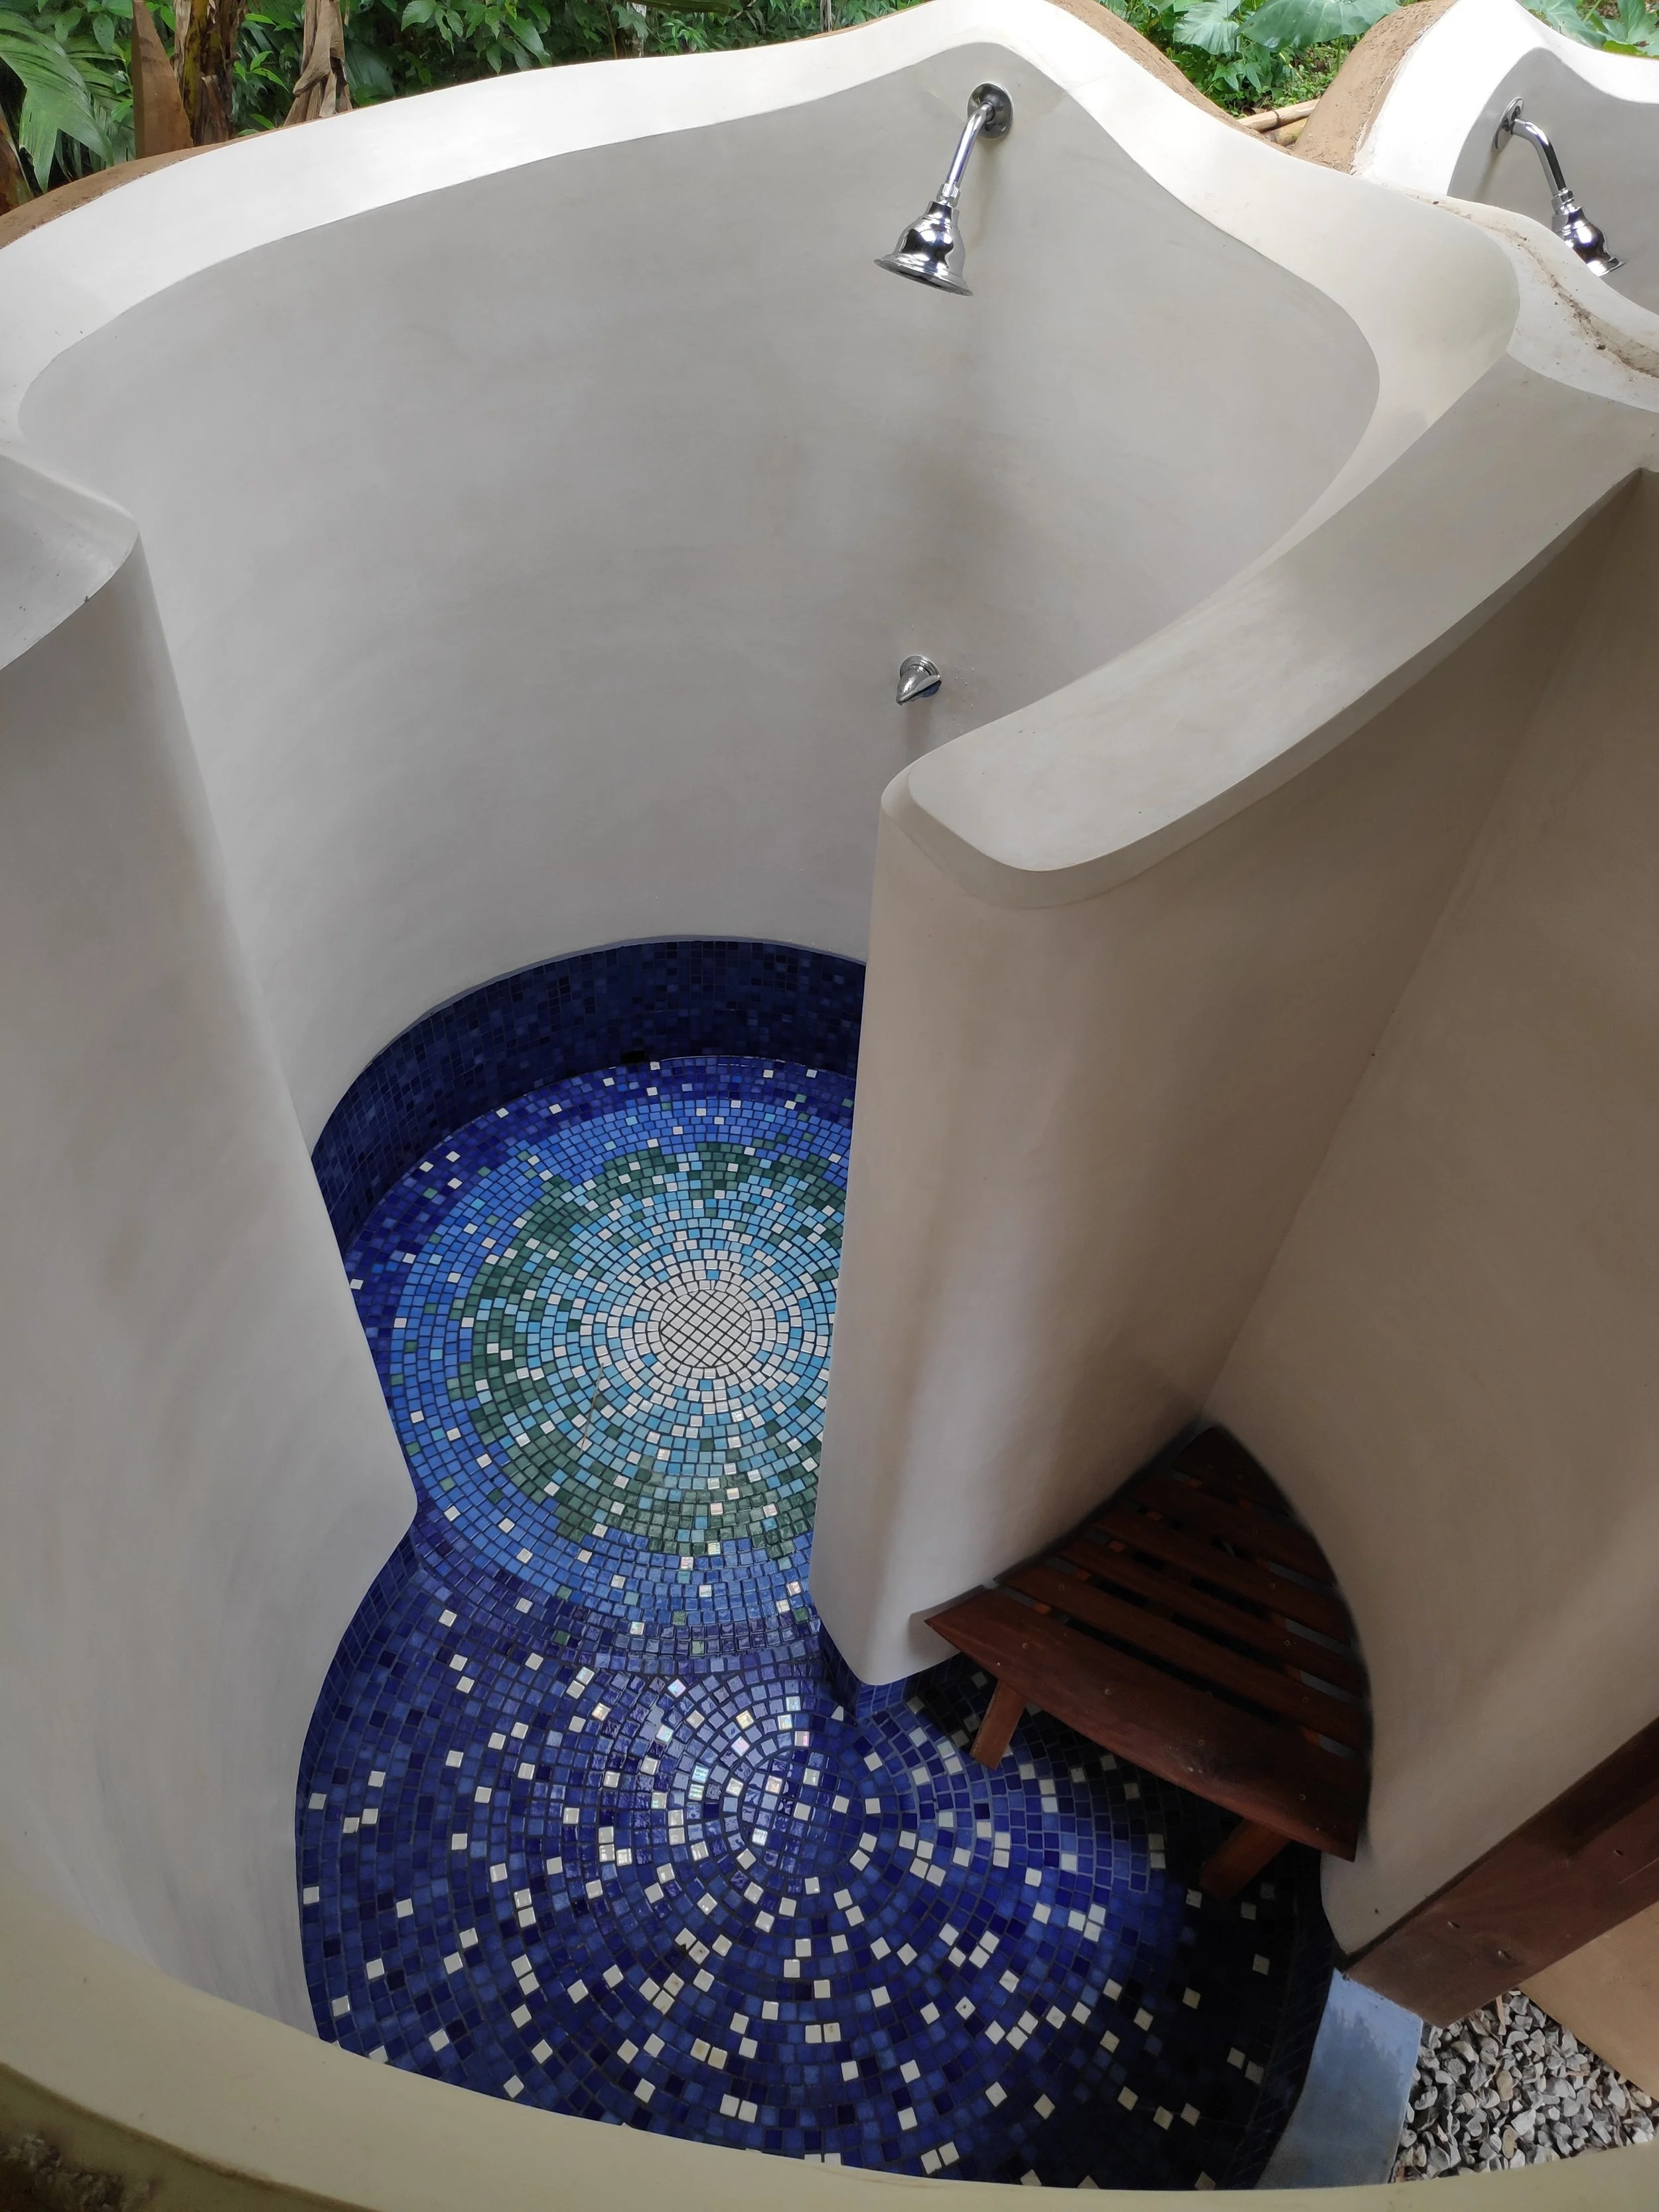
Building an Adobe Shower with Tadelakt Plaster
We recently completed our adobe shower and thought we would share with everybody how and in what order it was executed. The building blocks of the design were Adobes that we made with our 2018 apprentices and student groups that visited us through the year
By core team members Nic & Ali
We recently completed another adobe shower and thought we would share with everybody how and in what order it was executed. The building blocks of the design were adobes that we made with our 2018 apprentices and student groups that visited us through the year. In total we used around 500 adobe bricks at 5” x 5” x 10”.
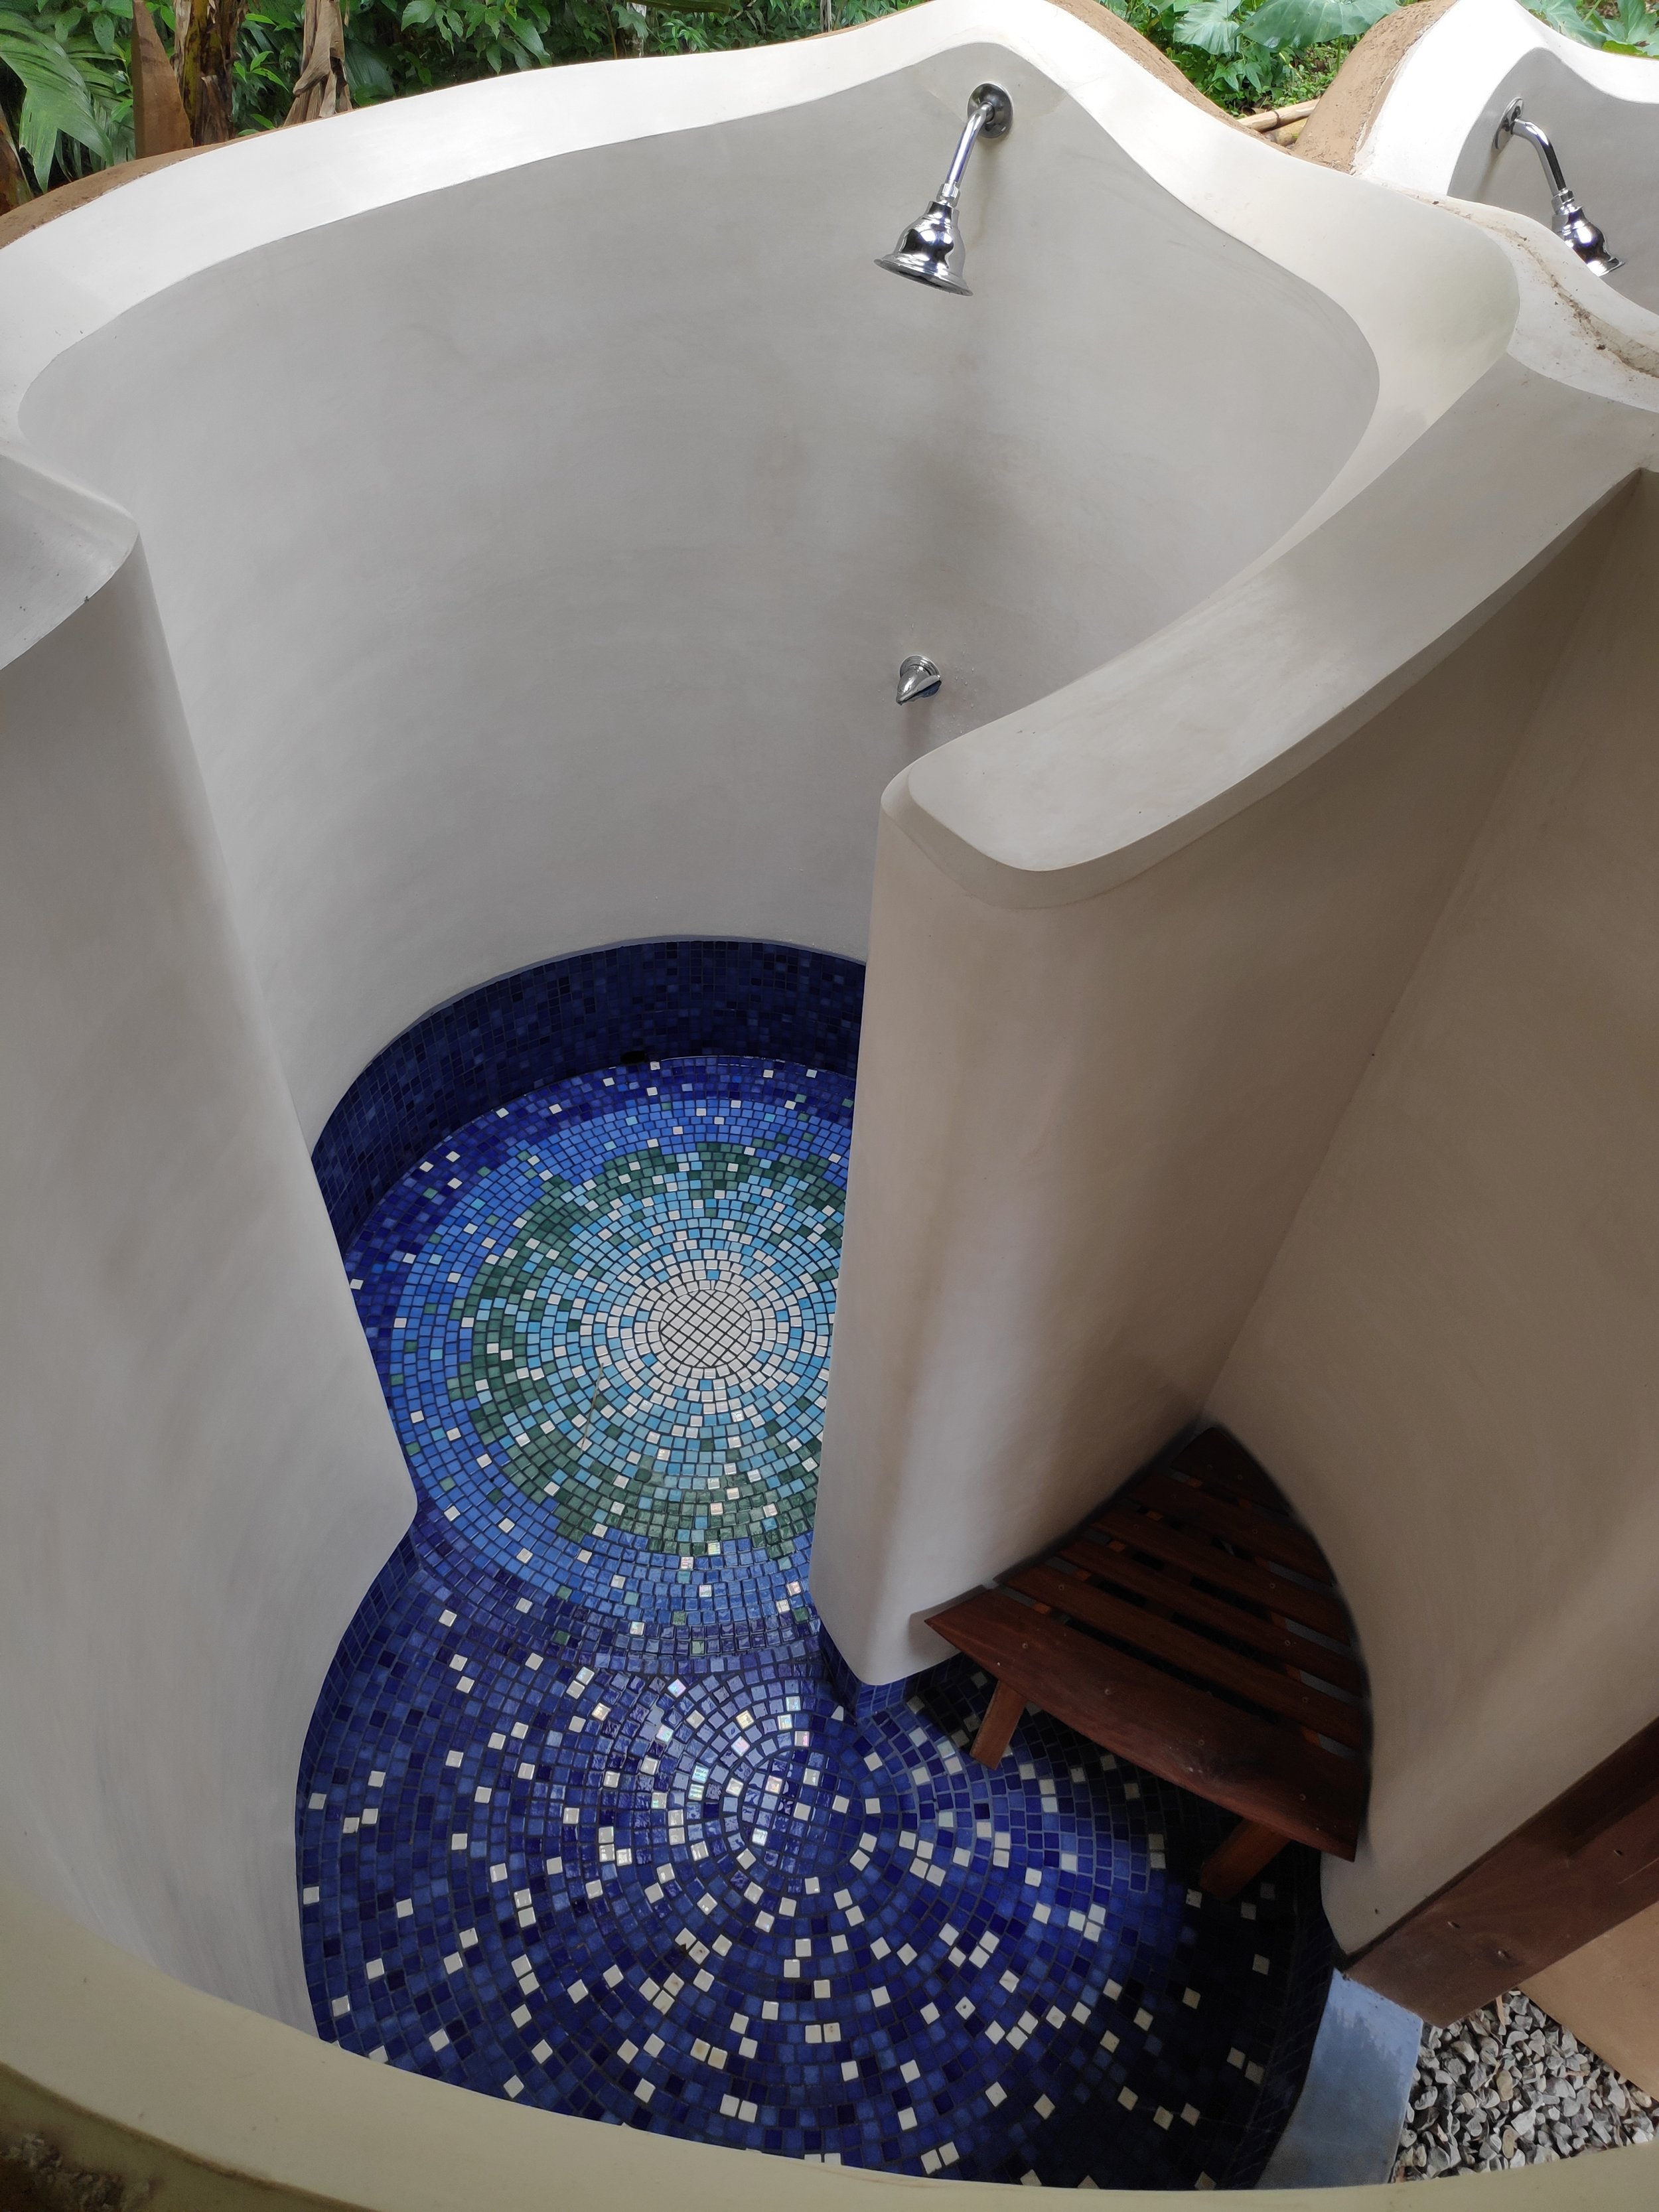
What is an Adobe brick?
An adobe brick is mixture of sand, straw and clay, formed in a mold and sun dried.
How to make an Adobe brick
Start by making tests with your soil, if you are not sure what that means, read this article. Where we live we have an abundance of red clay soil. Using our soil, which is almost pure clay, we can use 1 part soil to 3 parts sand as a good starting point, depending on variations in the soil we may need to mix at 1:4 too. We add about ½ a part of long straw too, this gives the adobes some additional tensile strength. We then put all our ingredients on a tarp and begin to mix it together. Once the adobe mix is ready (one uniform color of mixed sand and clay) the mixture is put into an adobe form. When packing the forms make sure to fill all the corners! The form is then removed and the brick is left in the sun to dry until it dry enough to be moved and stacked. In our climate during the dry season this takes 3 to 5 days.
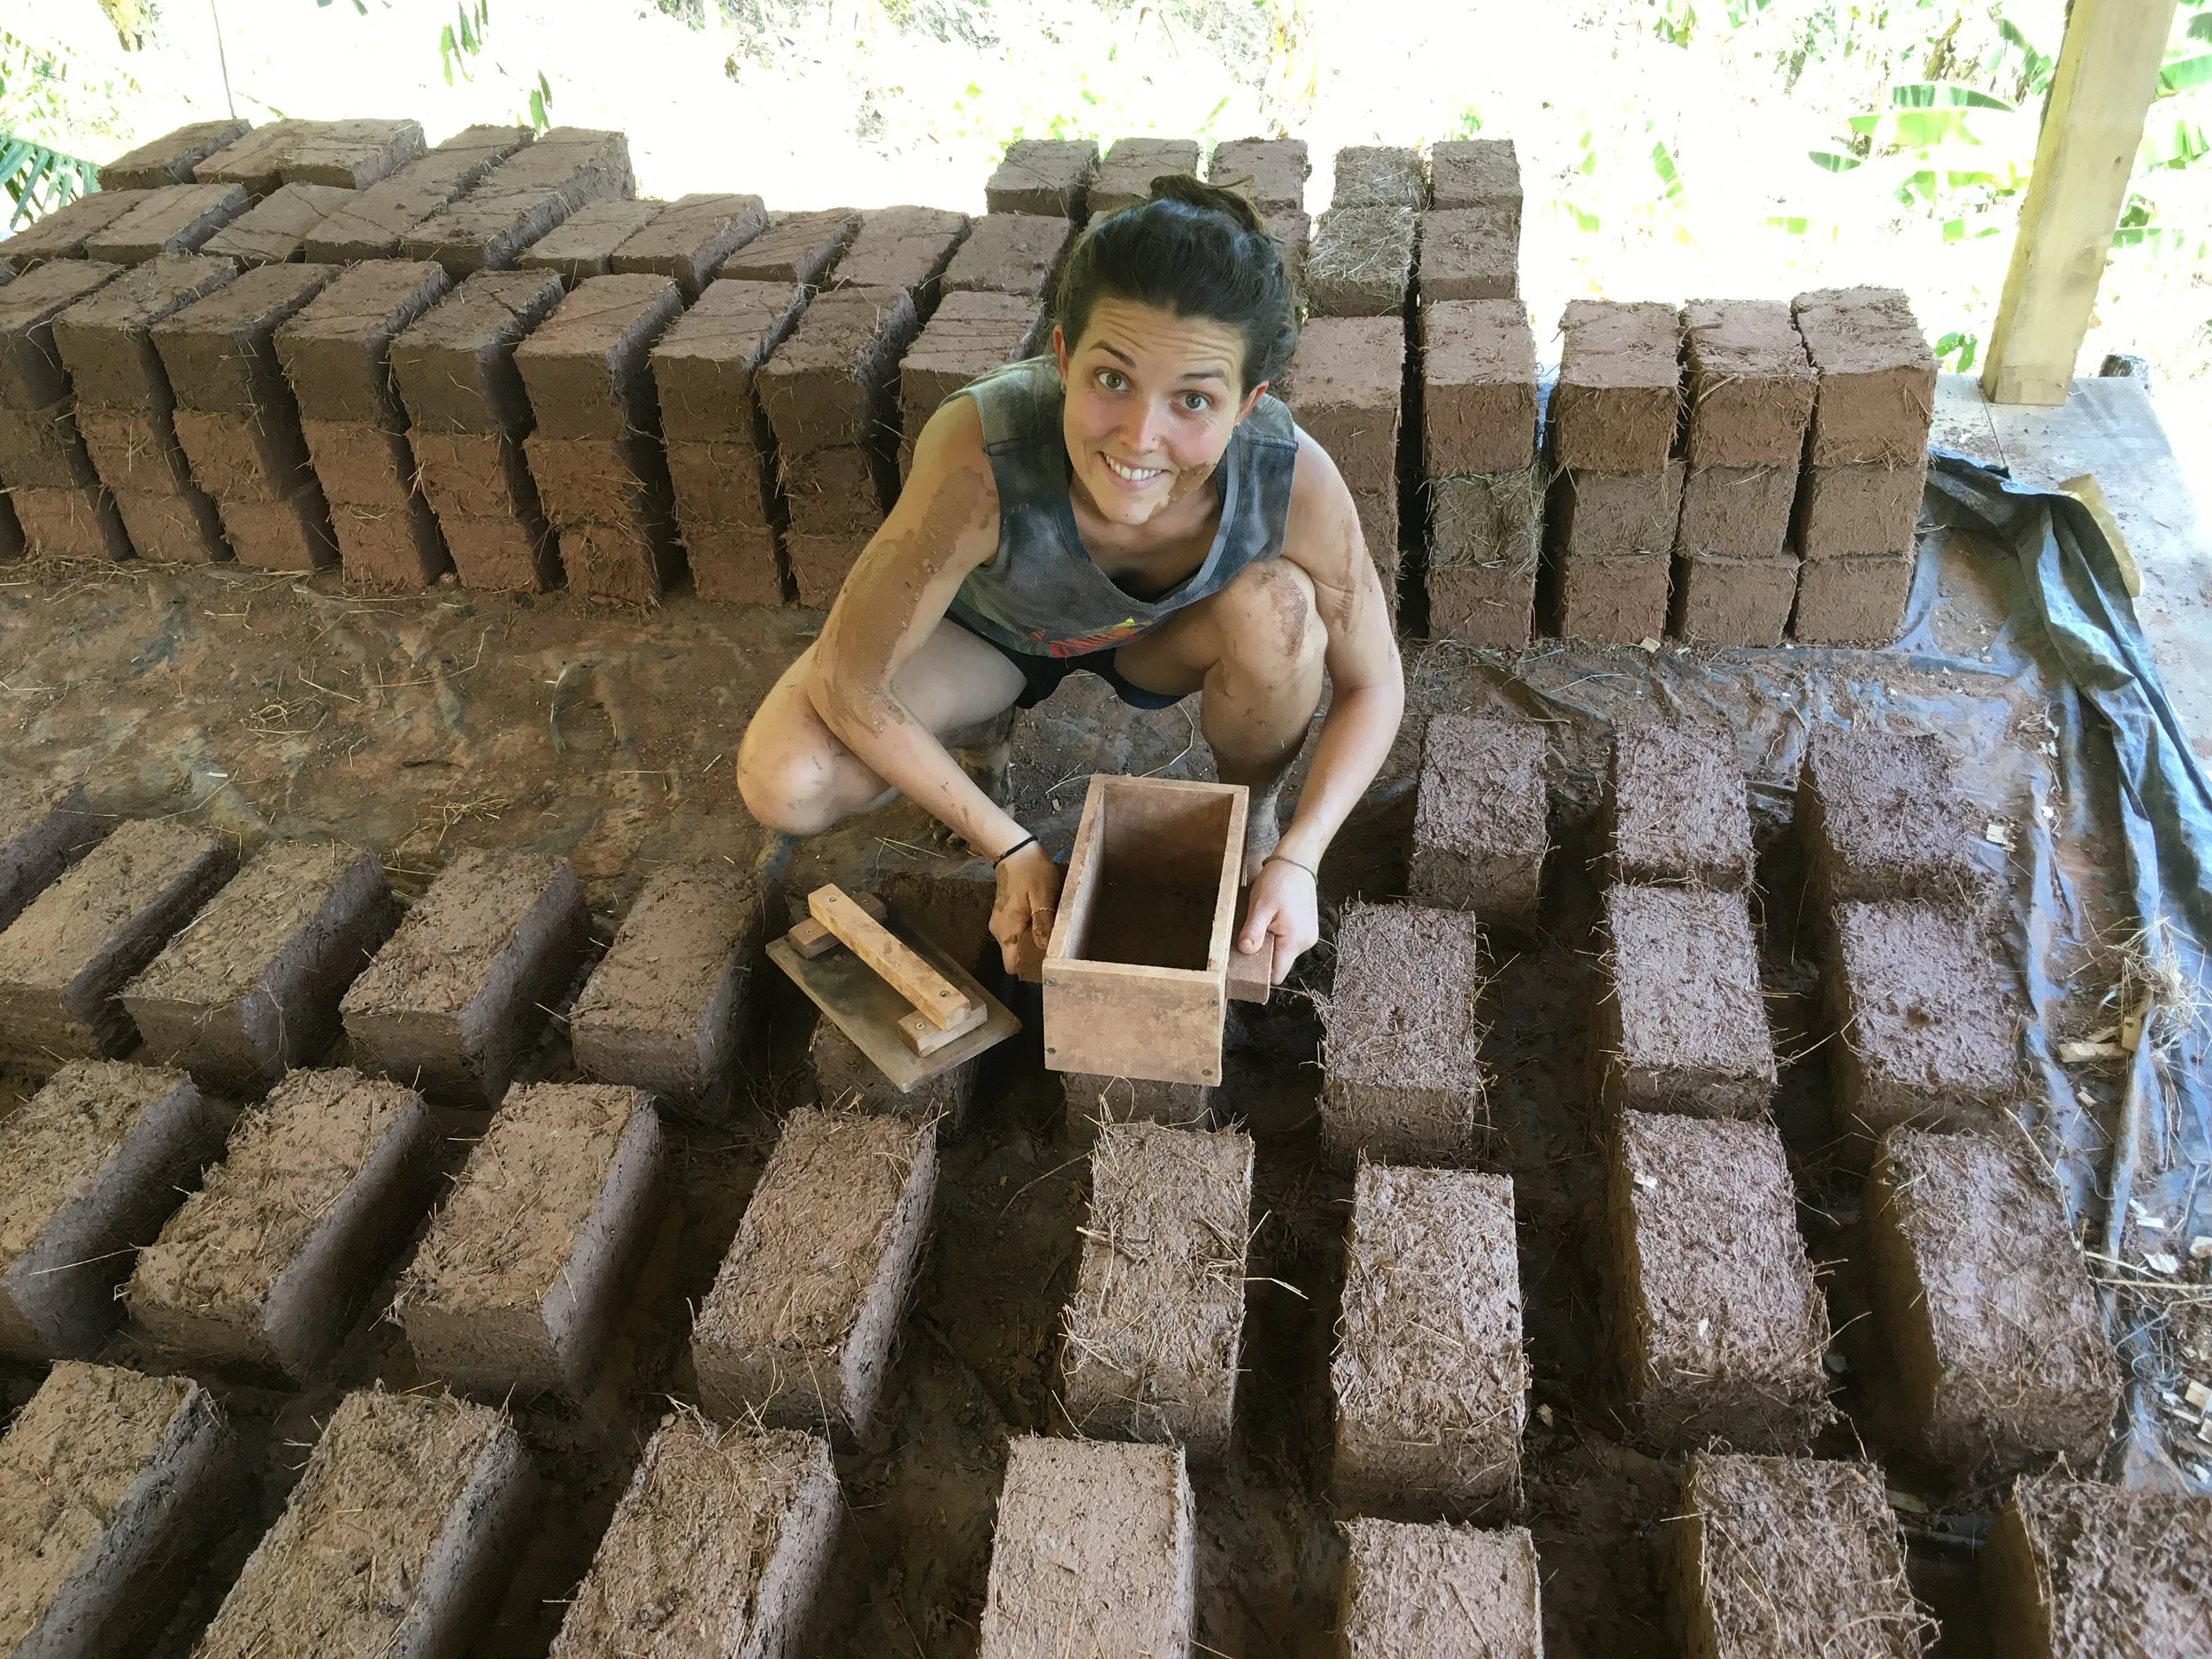
Steps to making a shower
1. Planning
As with all successful projects the key is good planning. We like to use a program called SketchUp to mock up all of our designs, lay out foundations, the frame and even plumbing. Every detail must be planned in advance this makes sure that the correct provisions can be designed in and made in advance.

2. Foundations
For our shower we used concrete blocks cut in half so that they could form the curves that we wanted. A shower is going to be a wet area so it is important that you think about this during the planning stage, where will the water drain to? Are my pipes embedded in my foundation? How is my roof going to be attached. In our design we decided to have a separate Timber Frame to support the roof structure.

Step 3 - Adobe
The first course of adobes were attached to the foundation using a cement based mortar this helped them bond strongly to the concrete foundation.
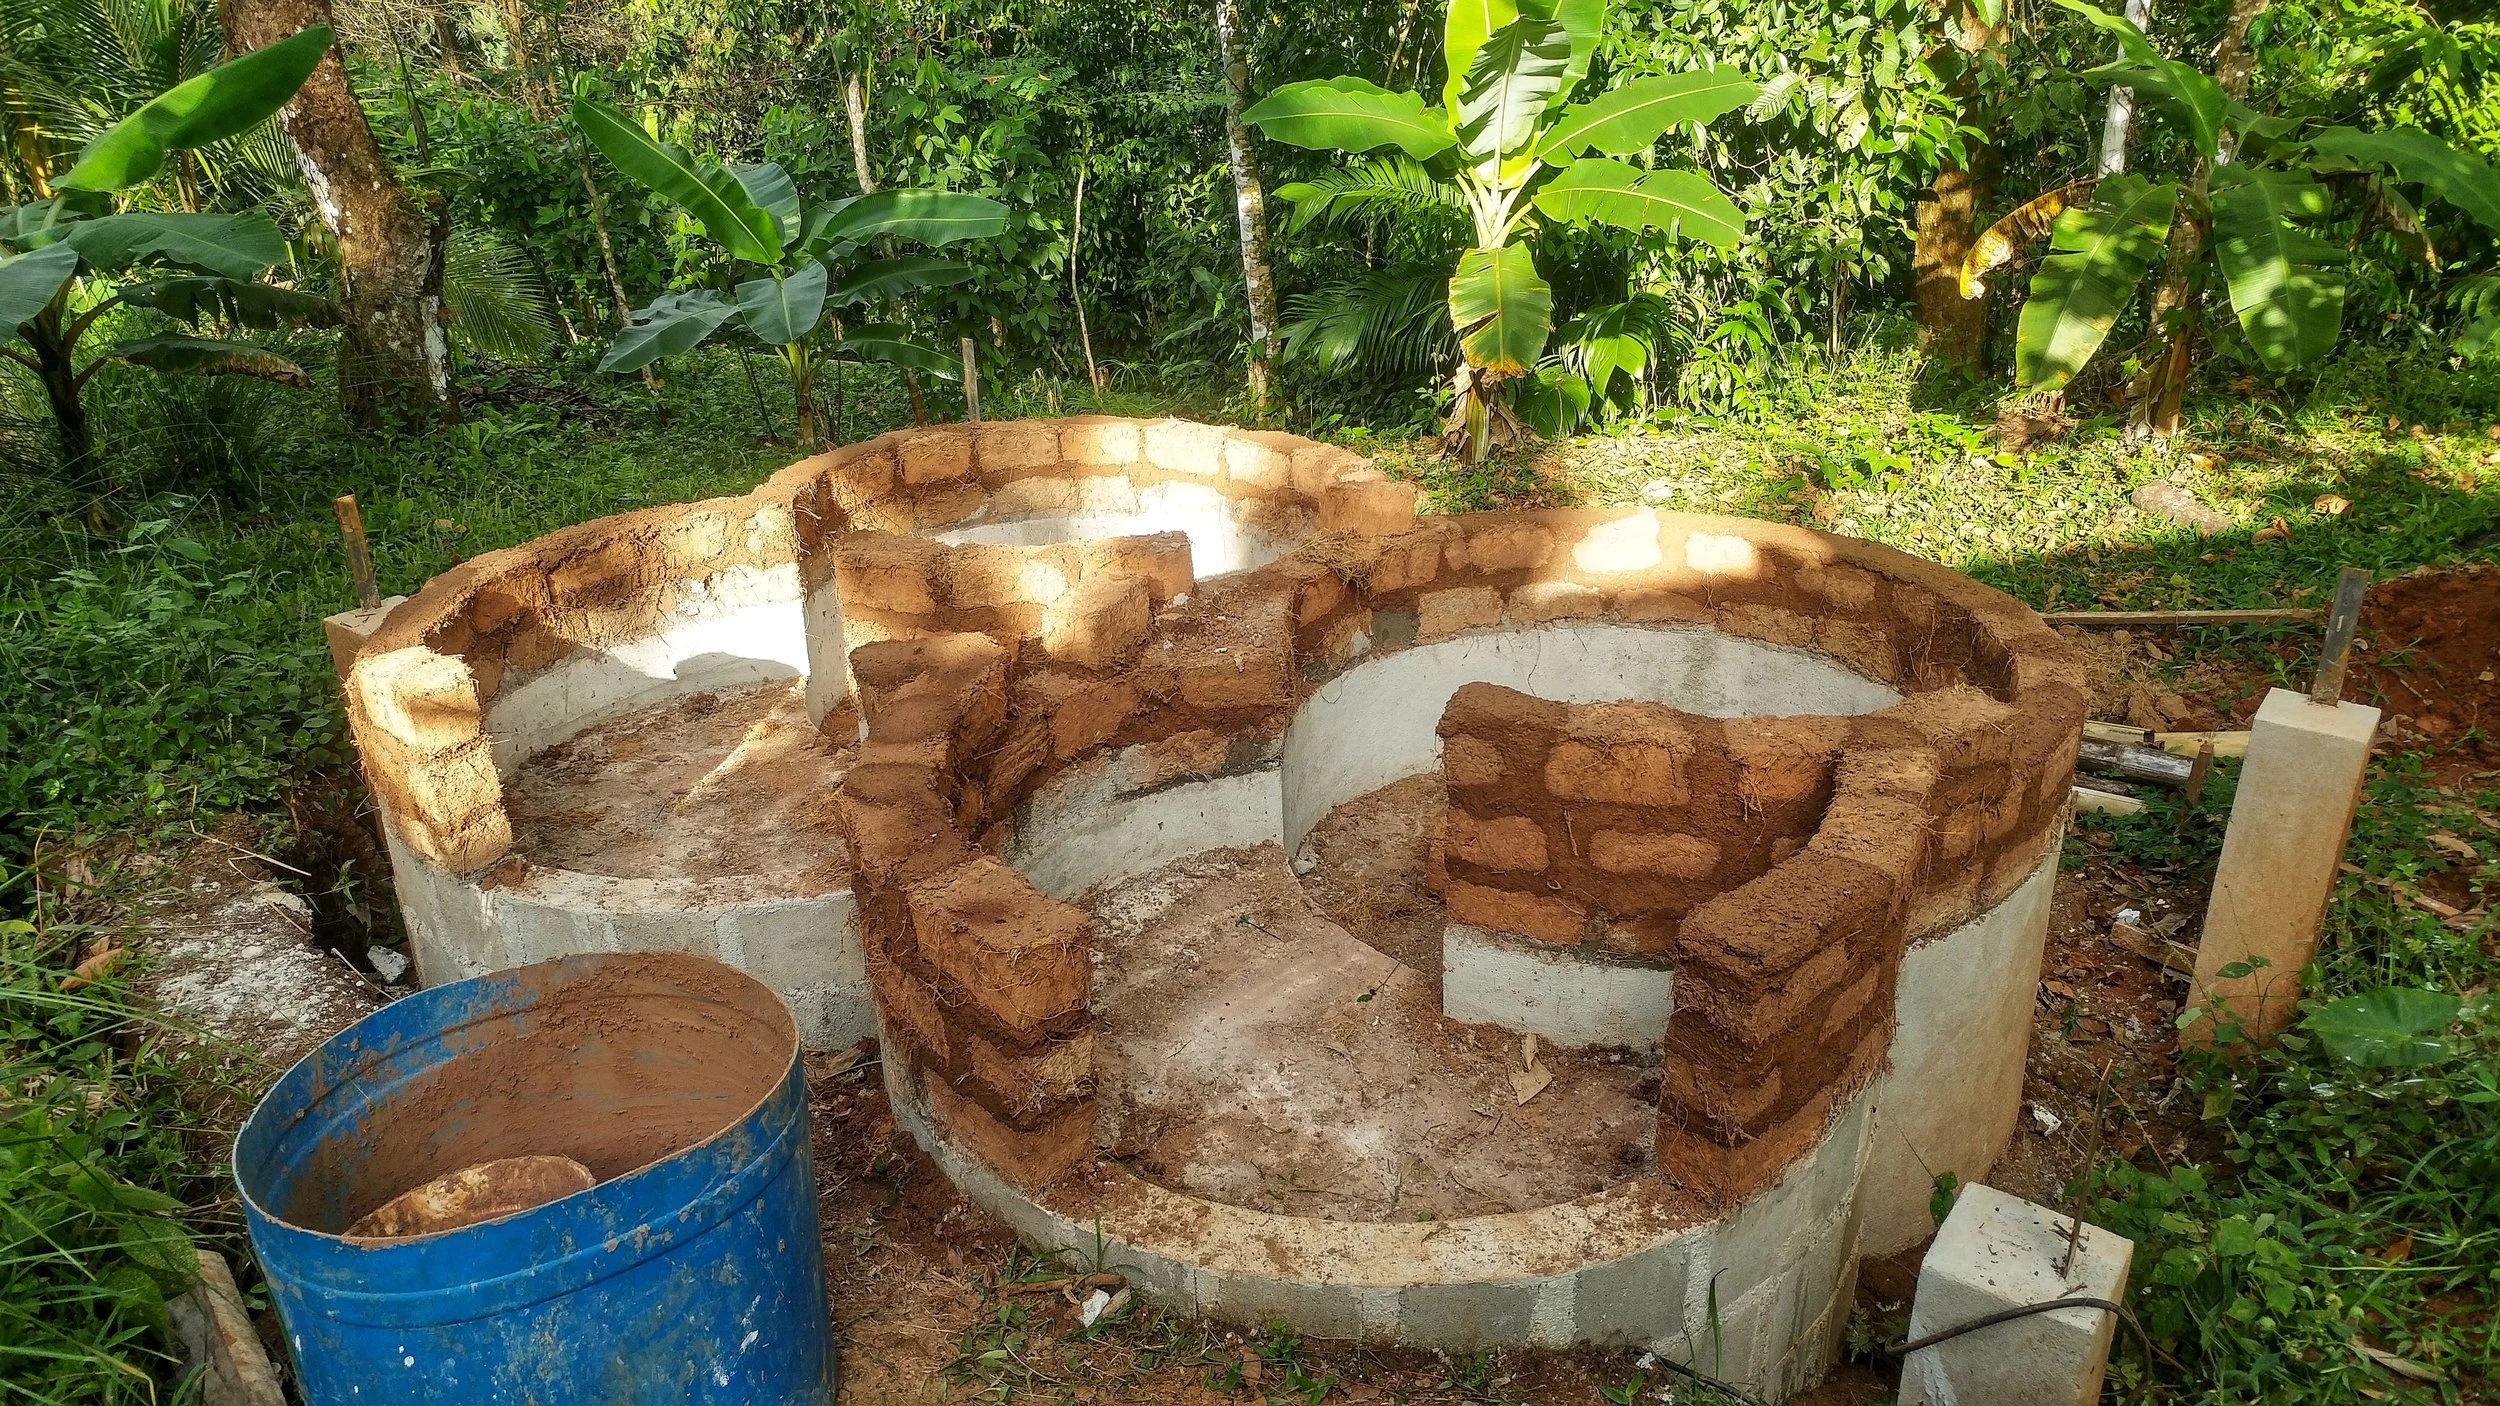
Step 4 - Bond Beam
From the second course upwards we used a sandy clay mortar for the adobes. Every 4 courses of adobes we made a cob bond beam for extra strength.

Step 5 - Gringo Blocks
Wooden hollow blocks (known as gringo blocks) were put at the end of each wall to attach in the wooden frame for the doors and a hollow plumbing box was installed where all the plumbing would be inserted for the shower handle. In Costa Rica the plumbing parts easily purchased in the local hardware store are terrible and always leak so we made most of the plumbing accessible from the outside. It is generally a good idea when making your initial design to plan for replacing parts in the future.
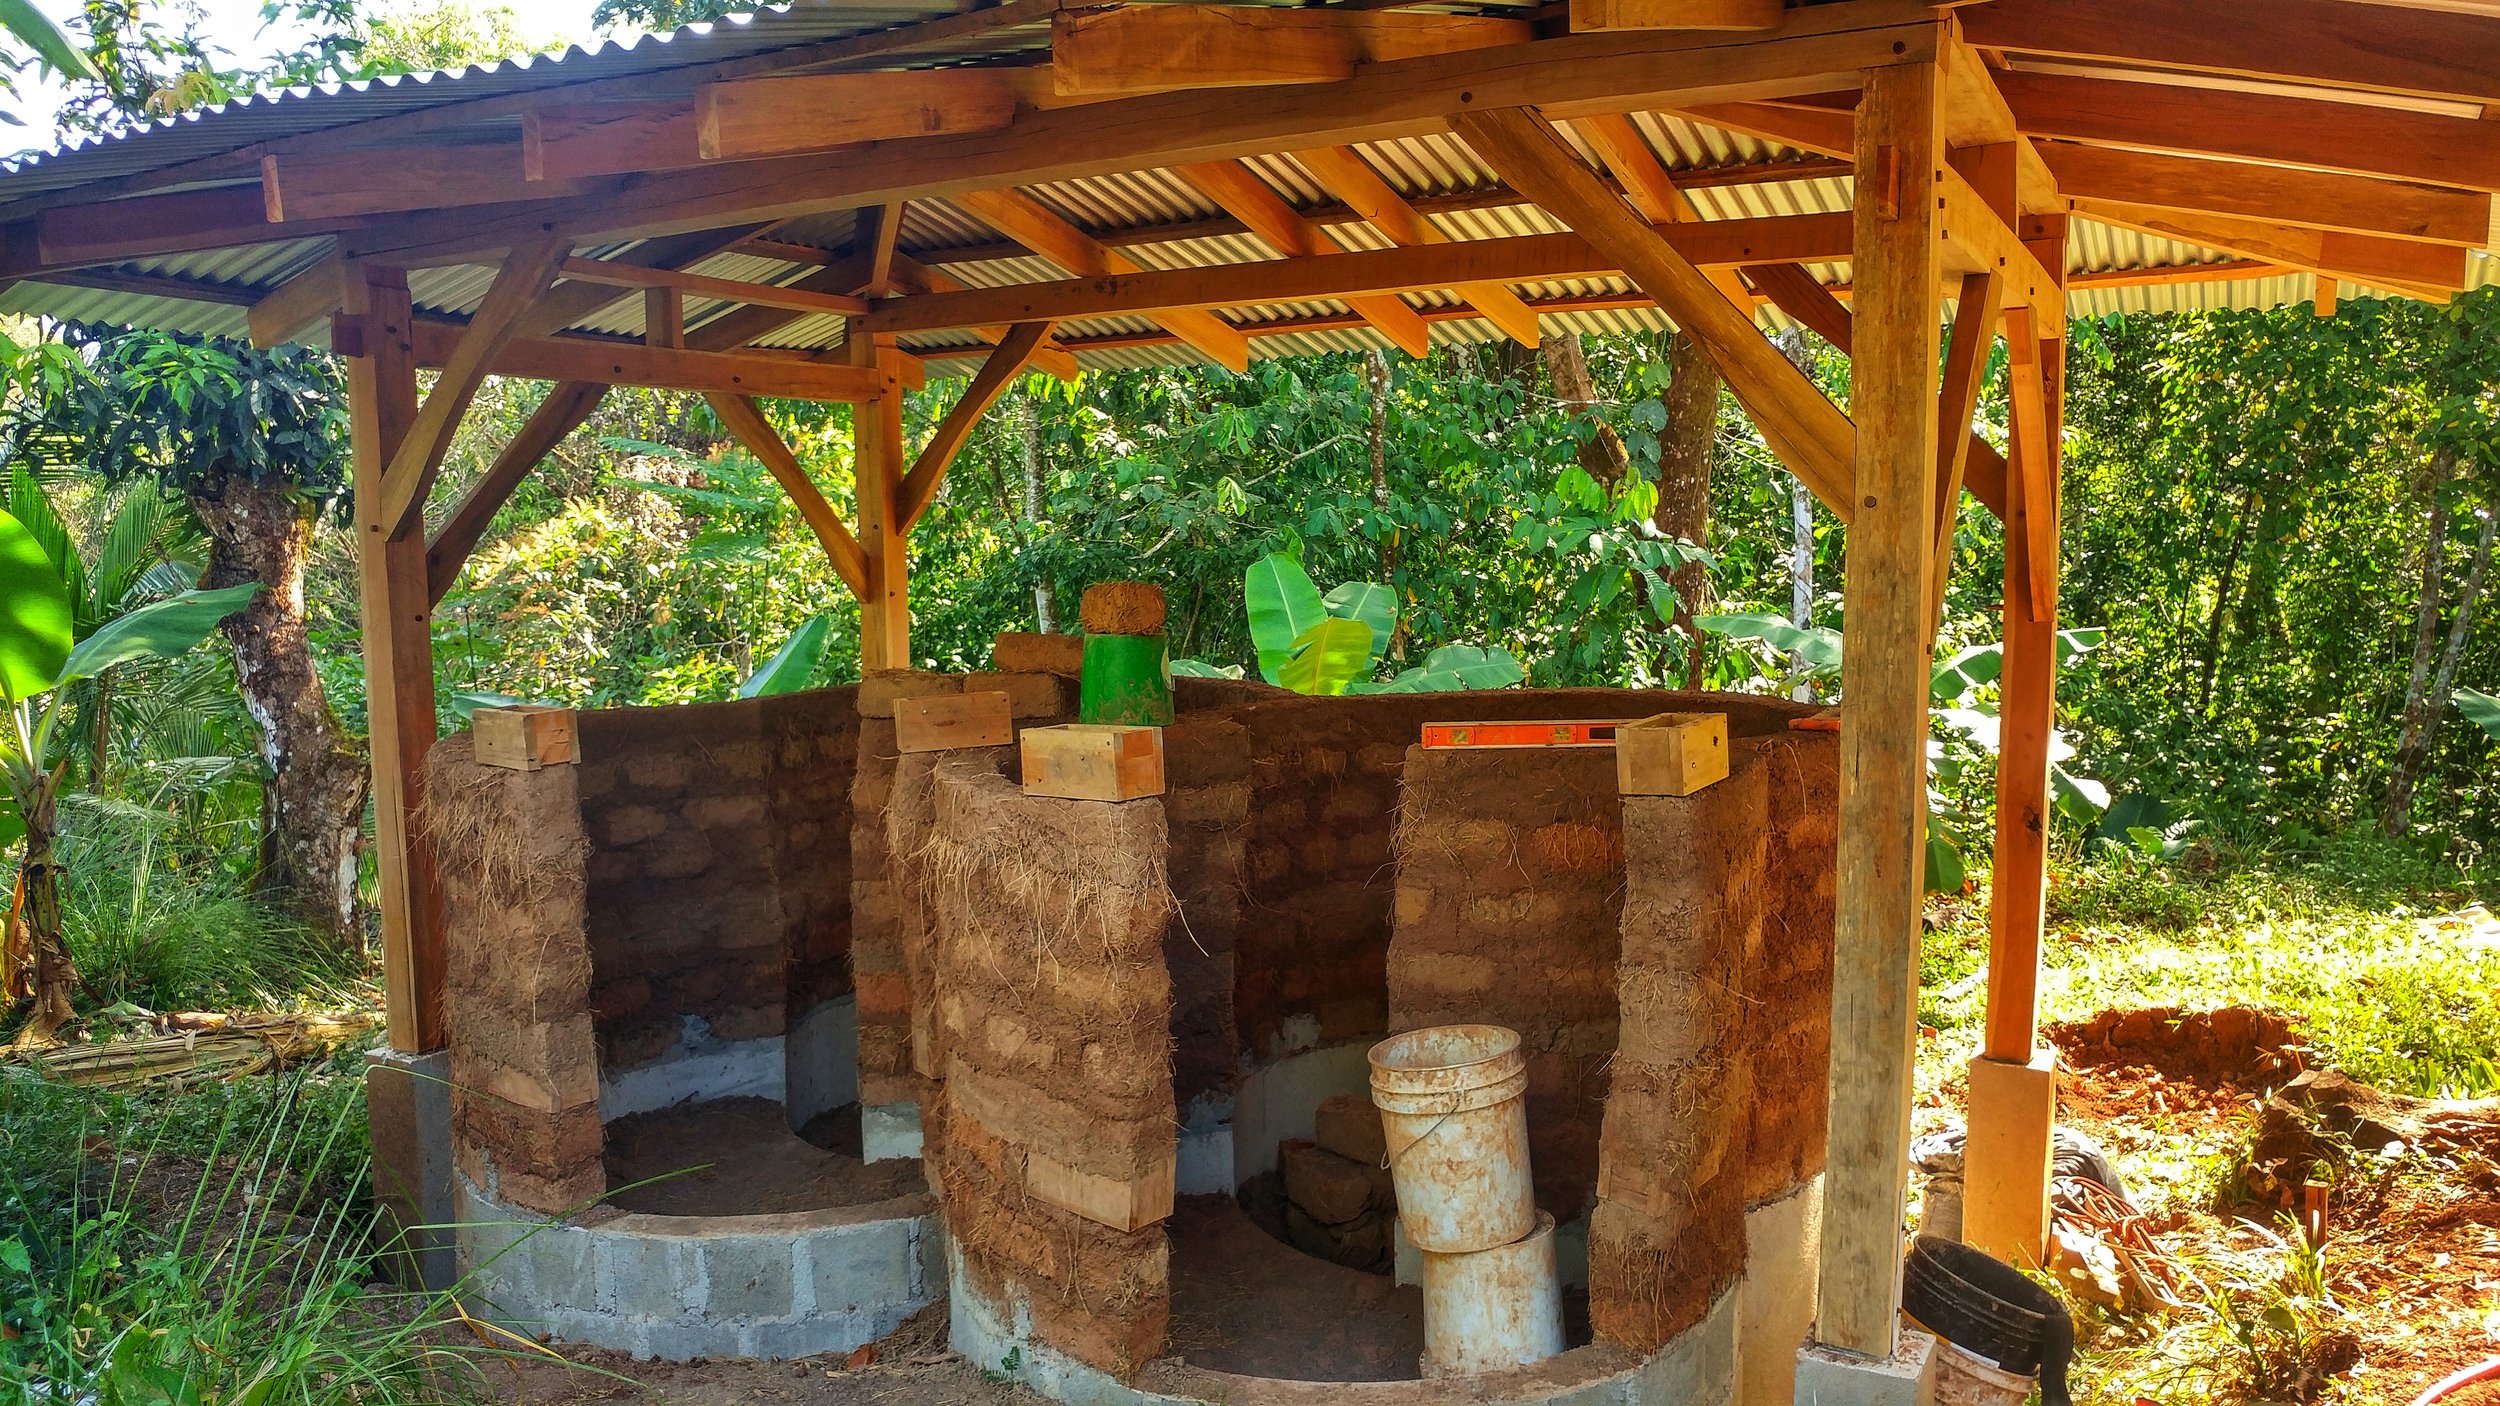
Step 6 - Frames
The door frames were installed at this point and they were screwed into the Gringo blocks. The door frames were also tied into the adobe structure using some mesh, we used what we could locally find which is what they sell for chicken fencing. You could also use a variety of natural alternatives, attaching them to the wood and plastering them in to the wall to give them extra stability.

Step 7 - Leveling
A leveling coat was then applied to sculpt and level the walls, this was tied into the door frame to give extra support too.
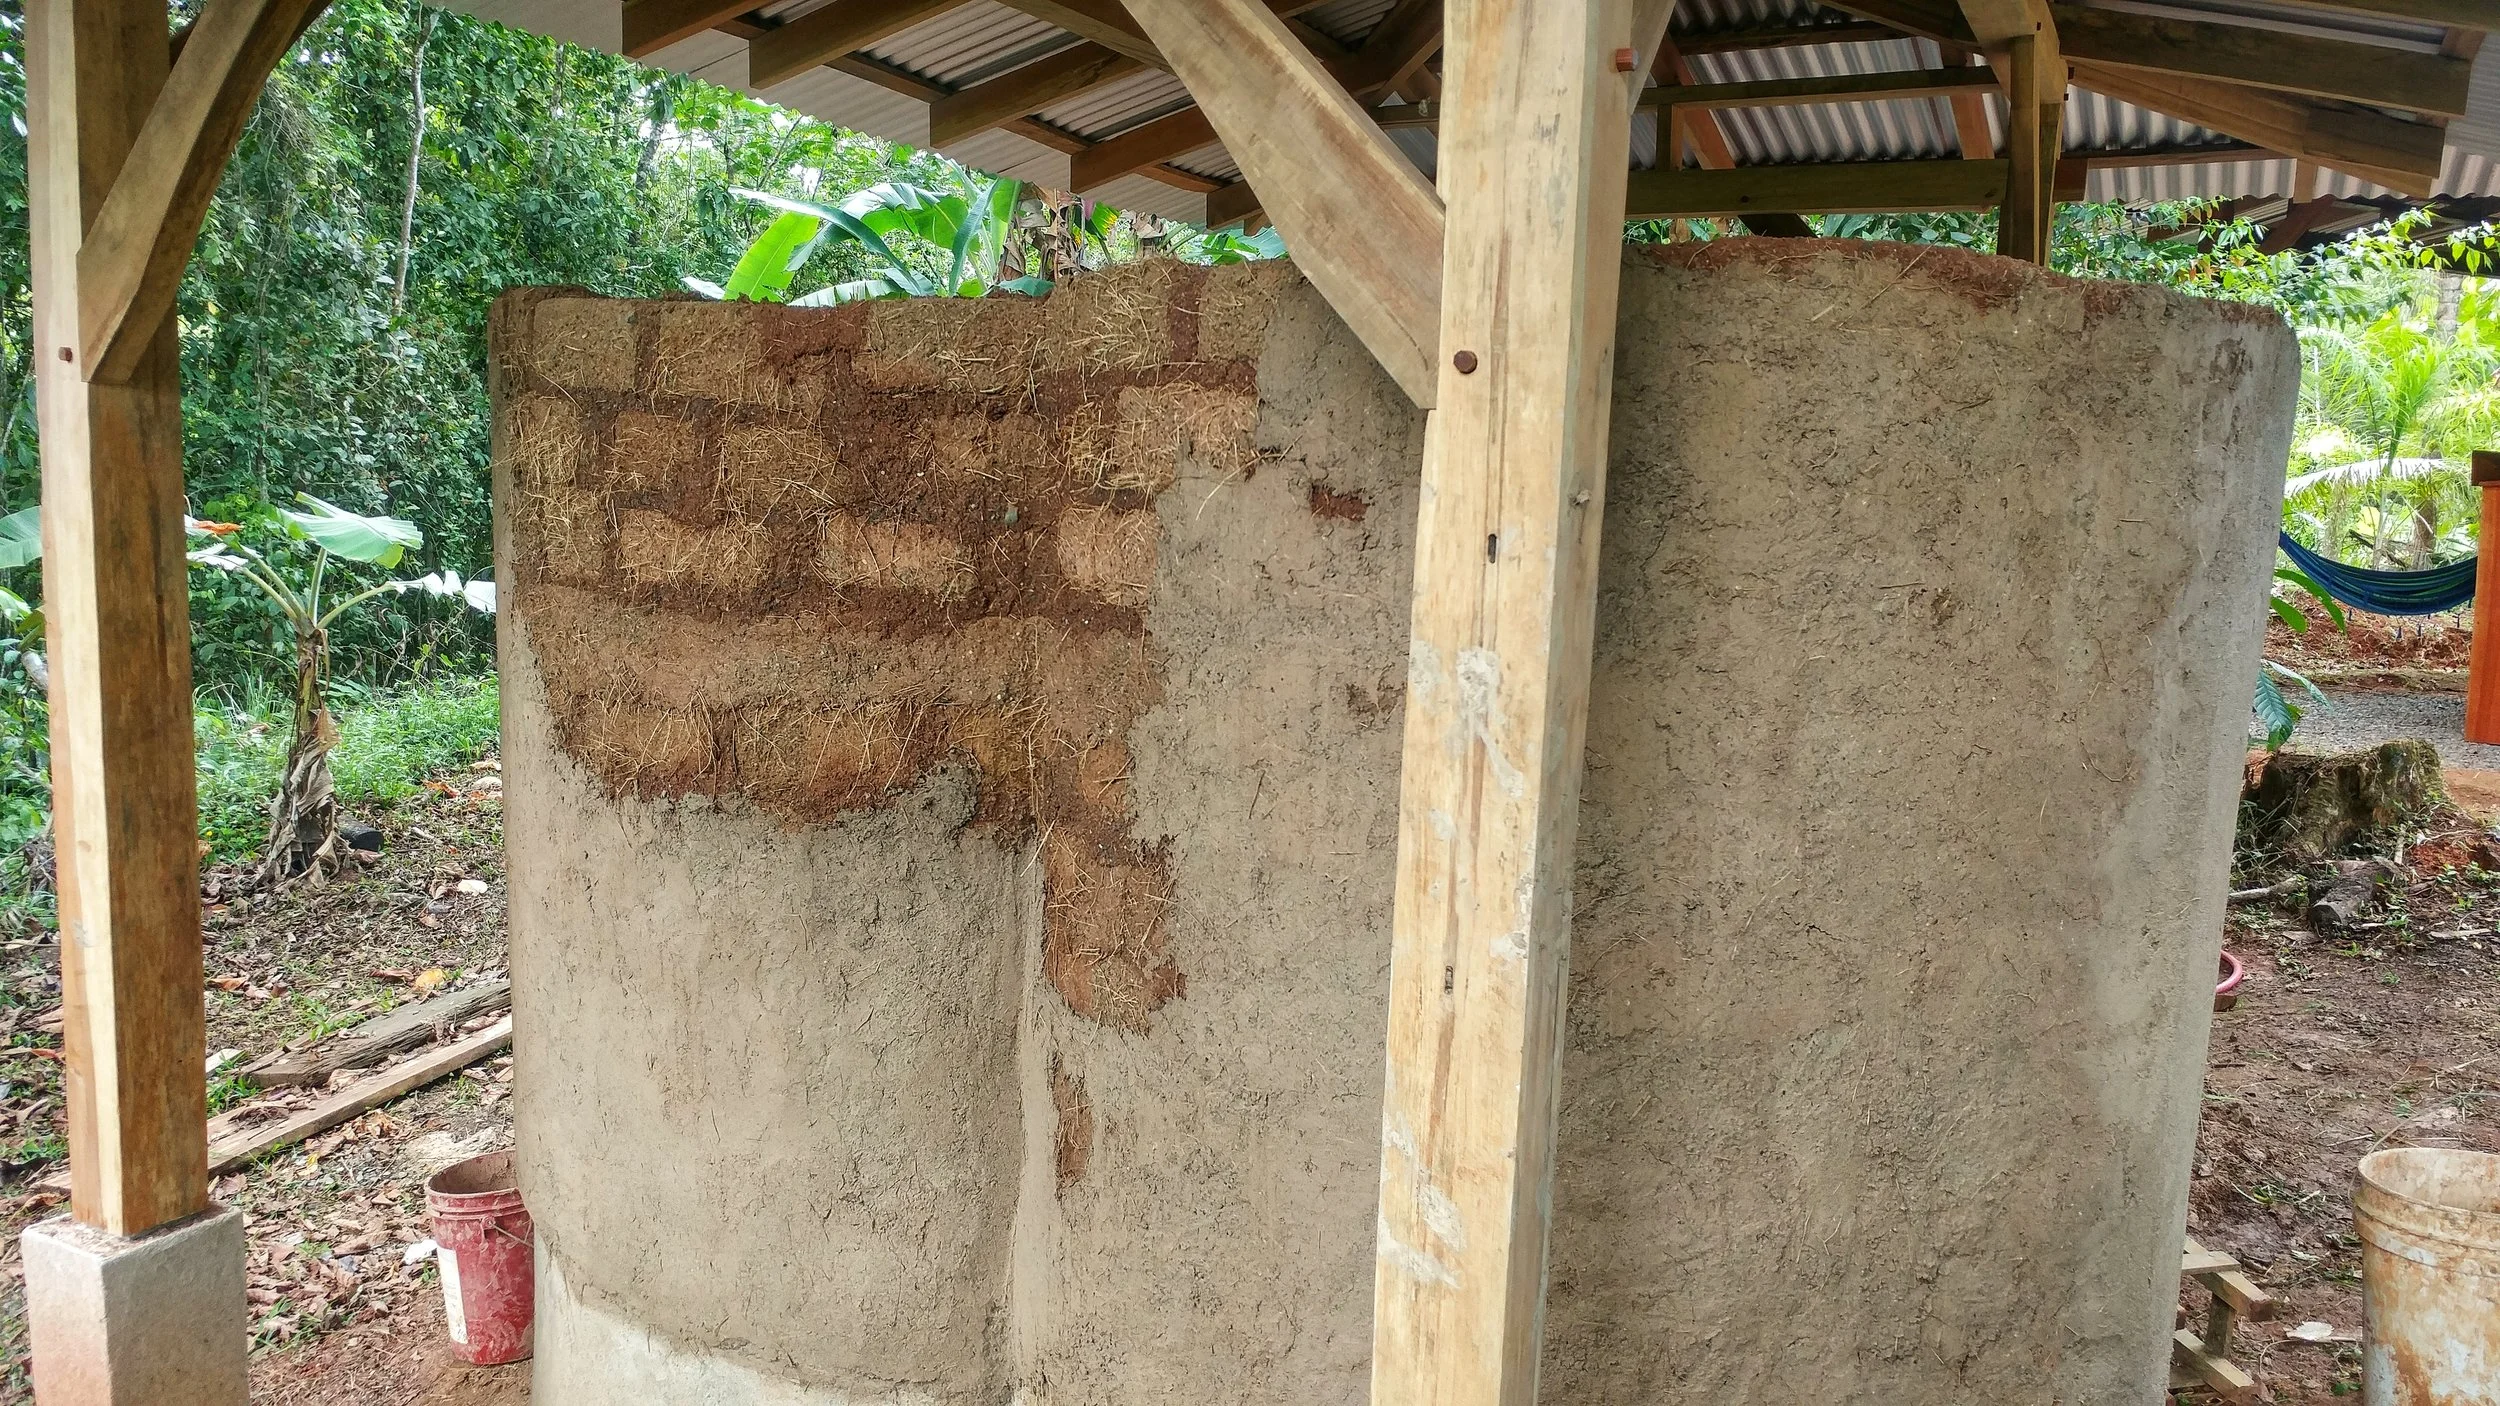
Step 8 - Tiling
The vertical surfaces of the concrete block were tiled to provide a plaster stop on the bottom edge were the plaster would meet the tile.
Step 9 - Plastering
A lime base coat was then applied over the earthen leveling coat. Whilst this basecoat was still damp (before it started wicking moisture again) we applied the tadelakt mix (1 part fine lime sand and 1 part lime). We did the Tadelakt like this as we had such a large continuous surface area to plaster and needed the time to work it all.

Step 10 - Tadelakt
Once the plaster had dried enough we stoned and soaped the wall using our homemade soap. The Stearic Acid in soap reacts with the Calcium Hydroxide (hydrated lime) to make Calcium Stearate which is highly hydrophobic and one of the reason Tadelakt is considered water resistant. Read more about Tadelakt here.
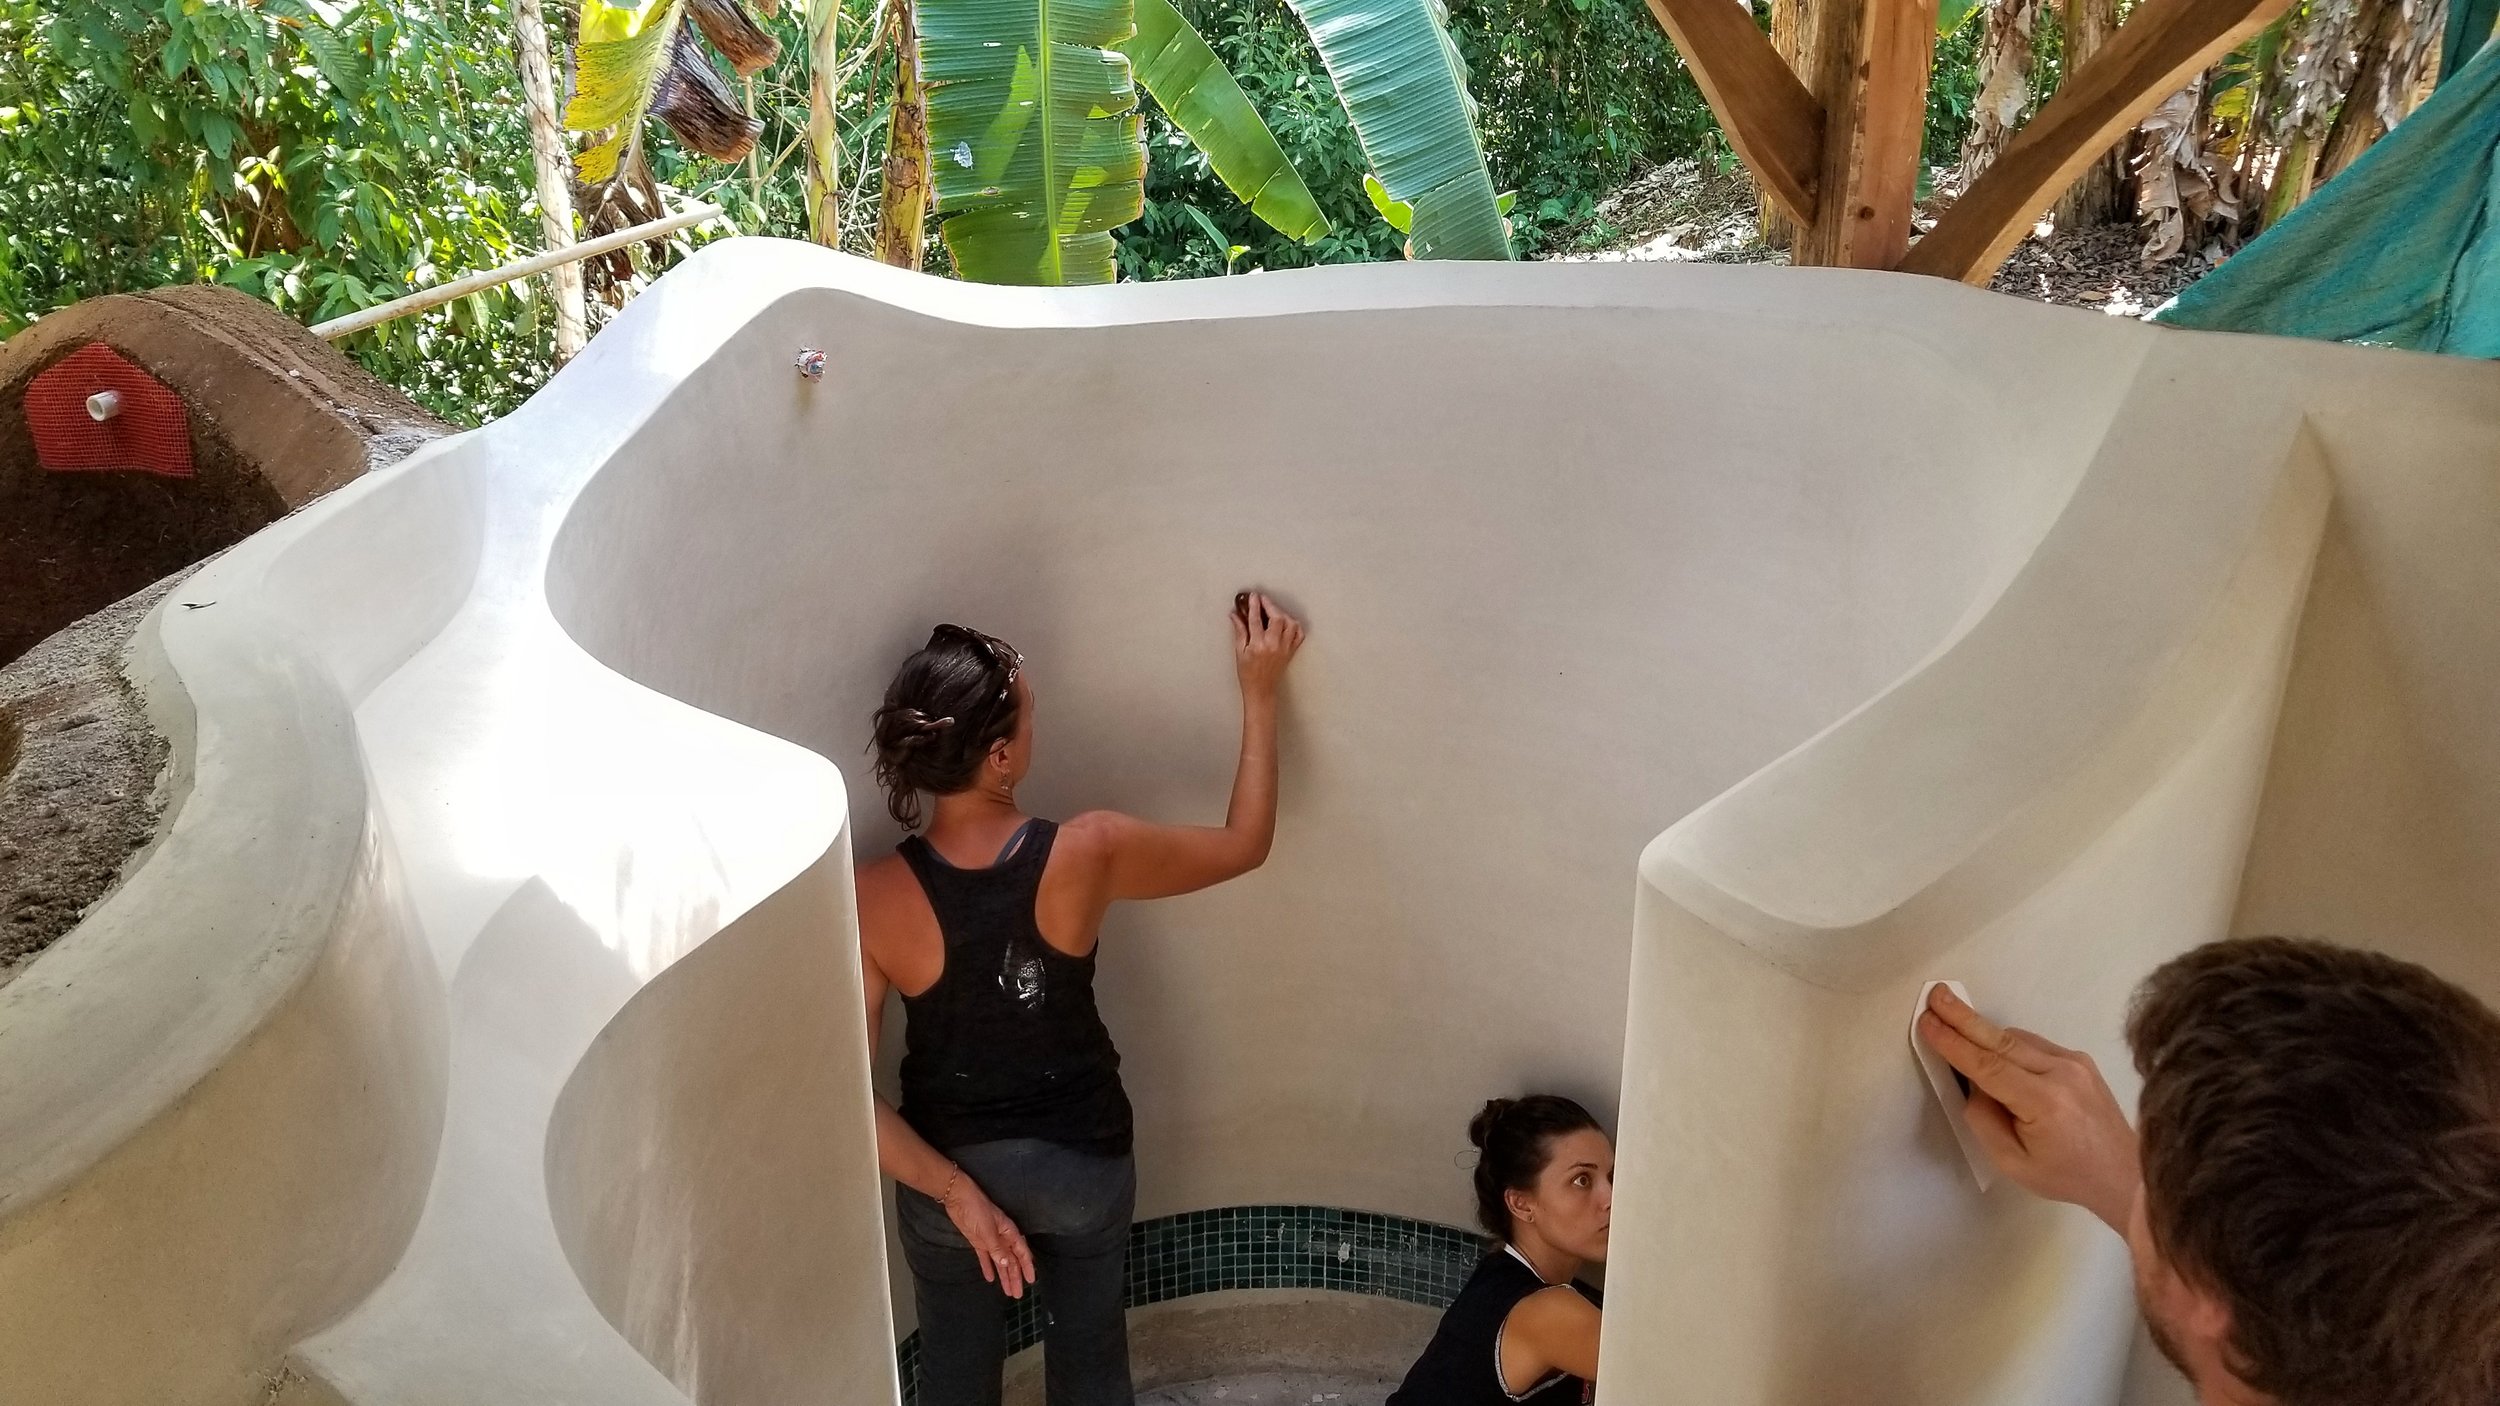
Step 11 - Mosaic
The remaining horizontal surfaces were tiled using different colored swimming pool tiles.

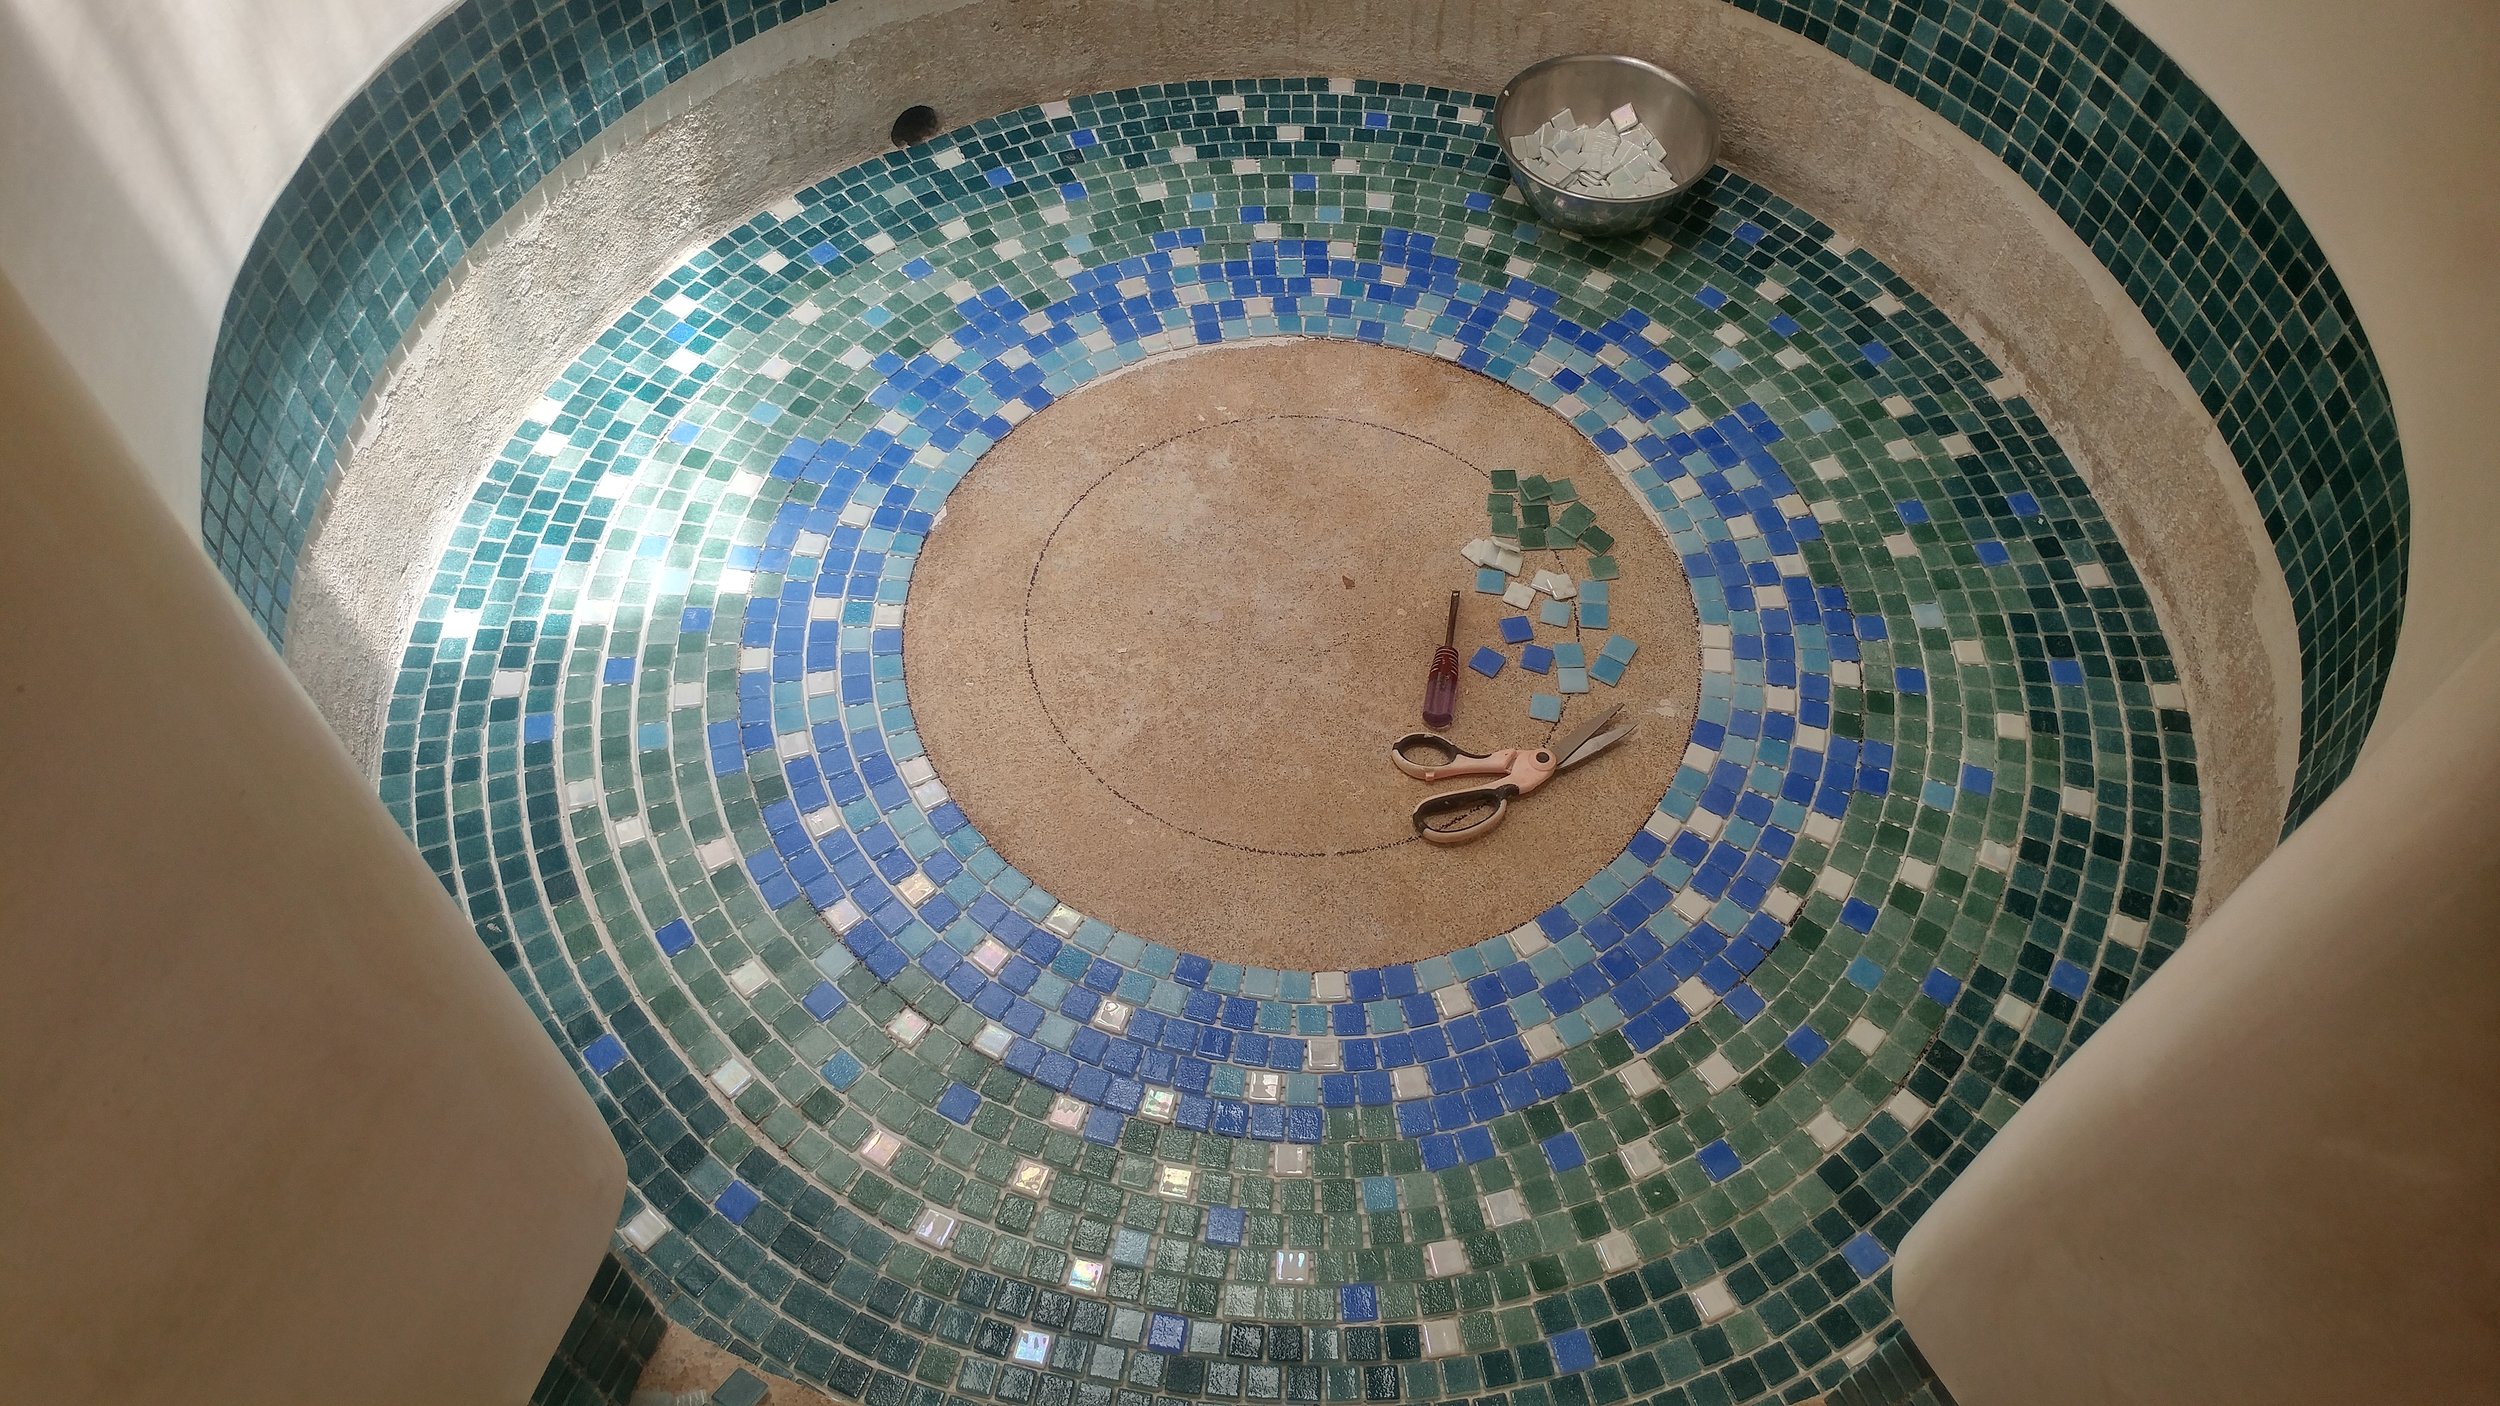

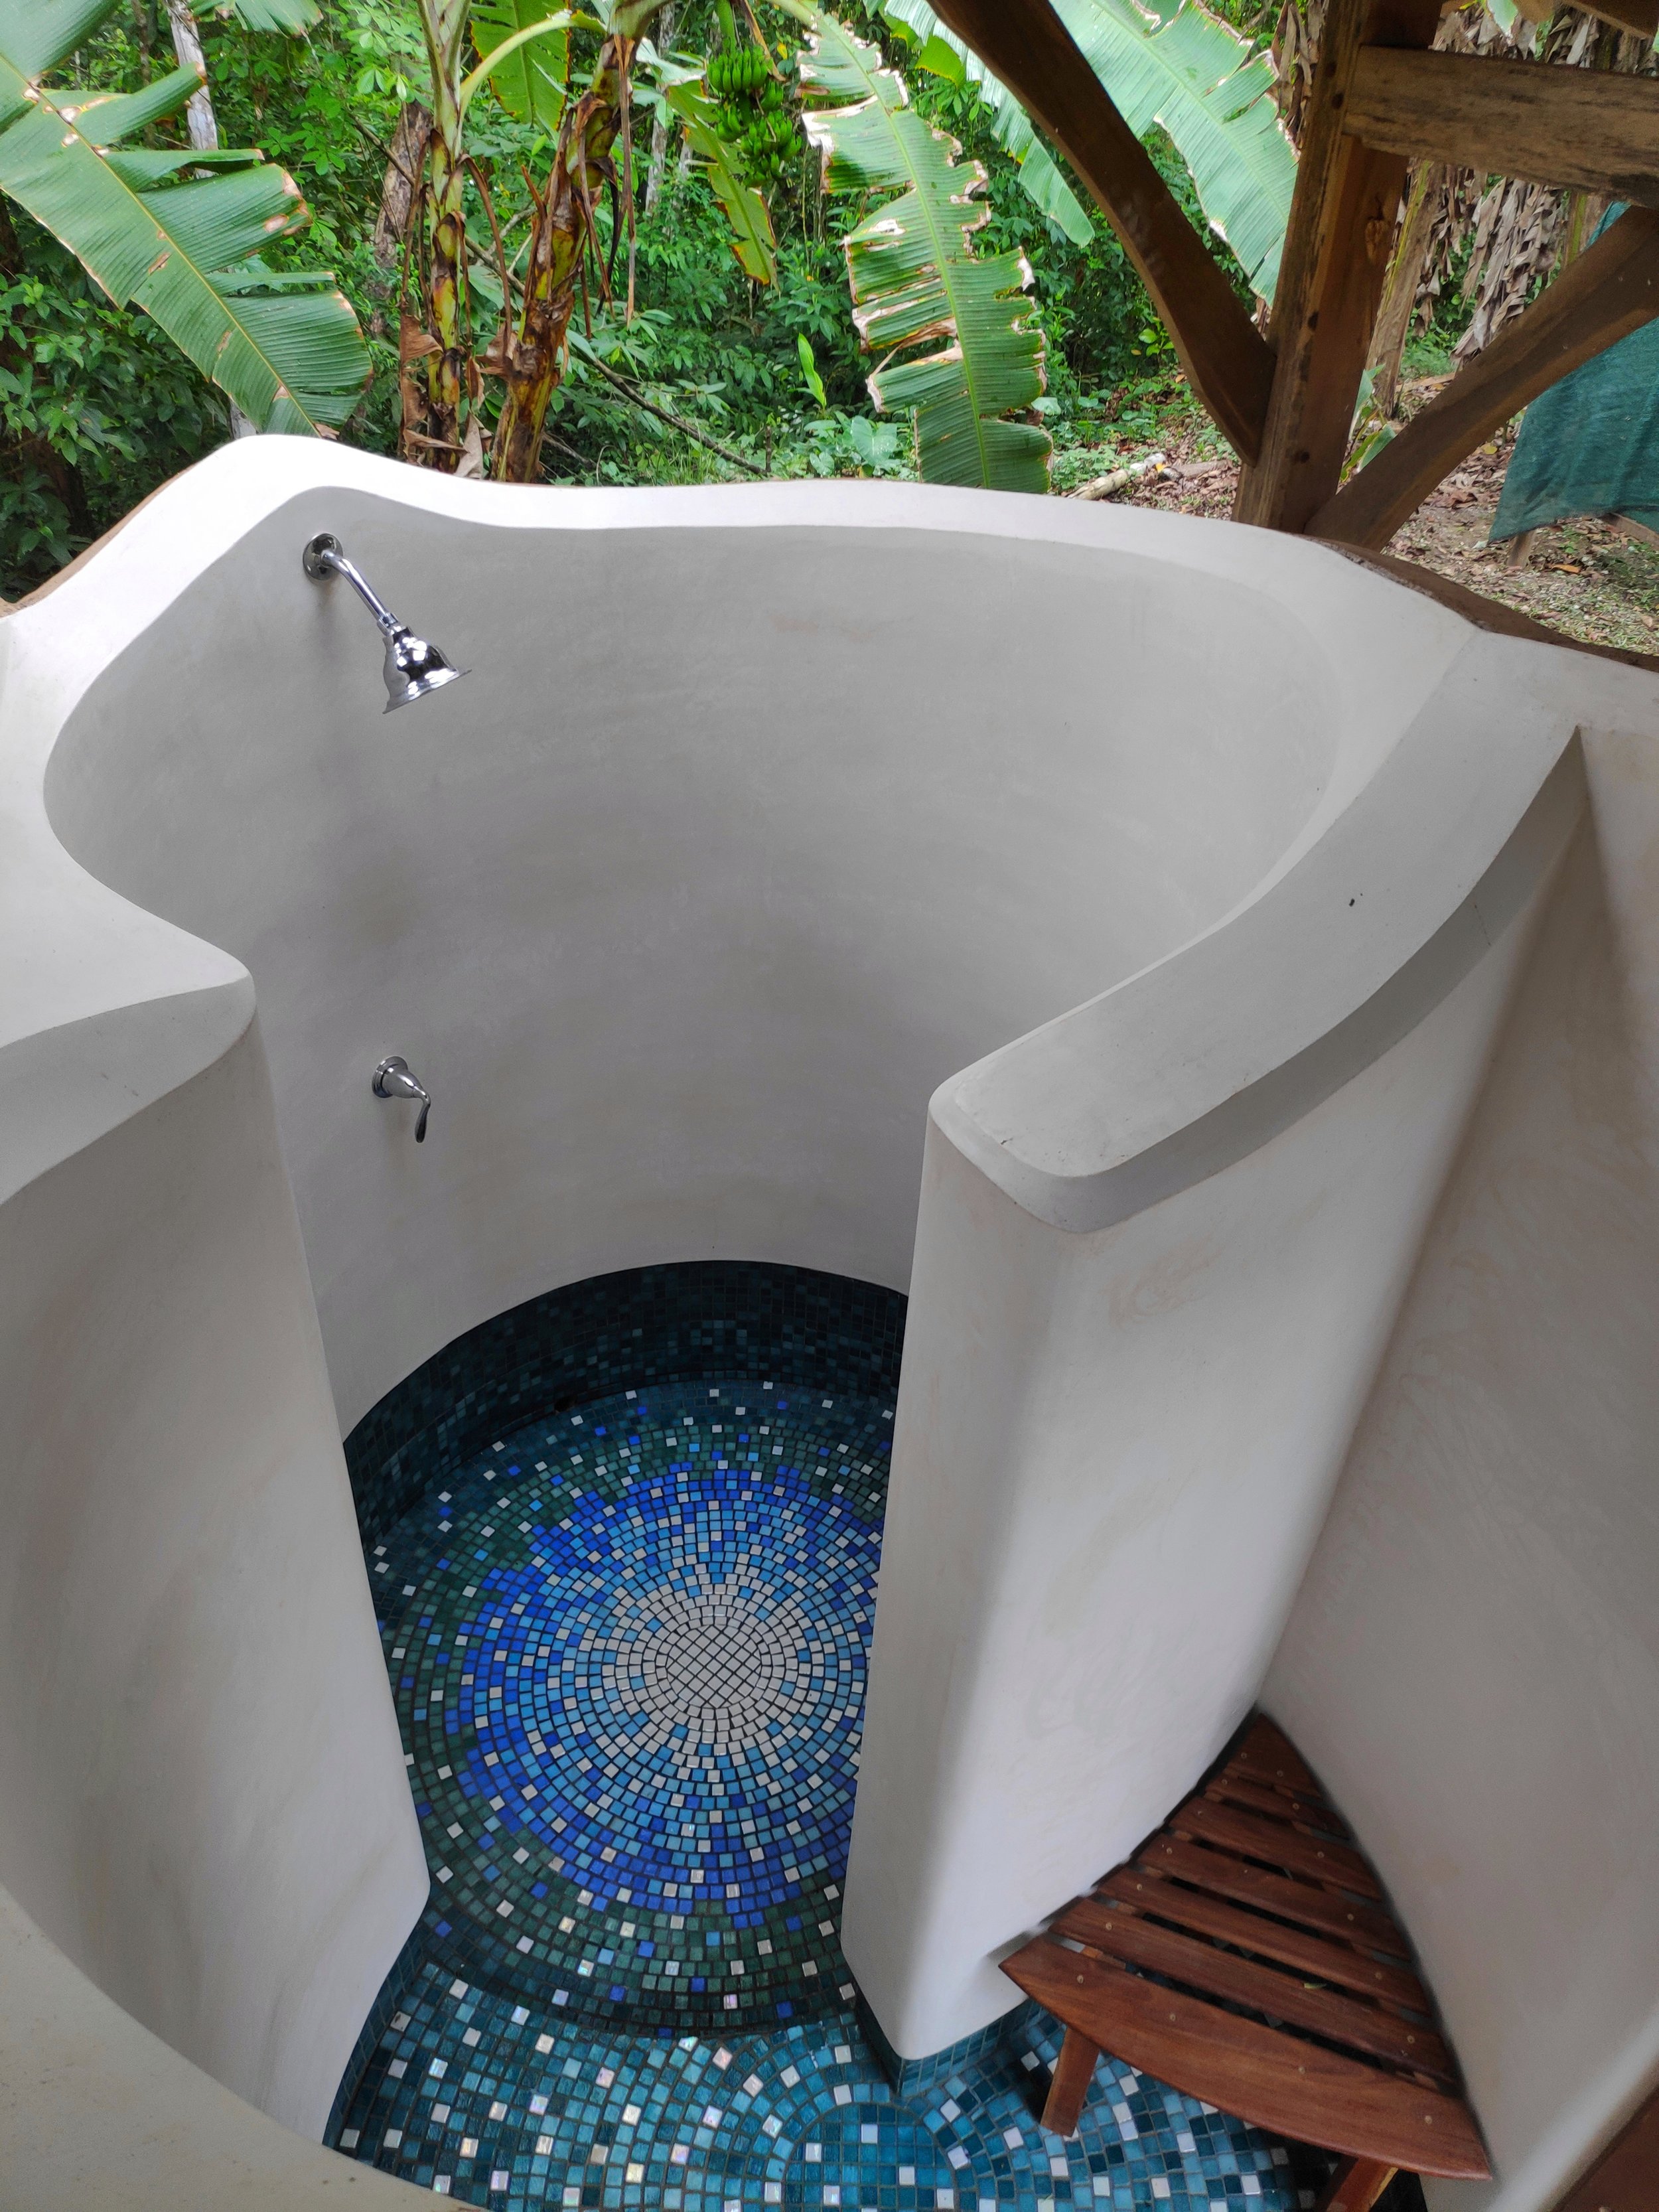
Step 12- Exterior Plaster
We used some of our left over mixes to do a base coat and finish in one pass, adding some pigments to alter the color. We used floats and darbies for the base coat and a sponge float and flexible Japanese trowel for the finish
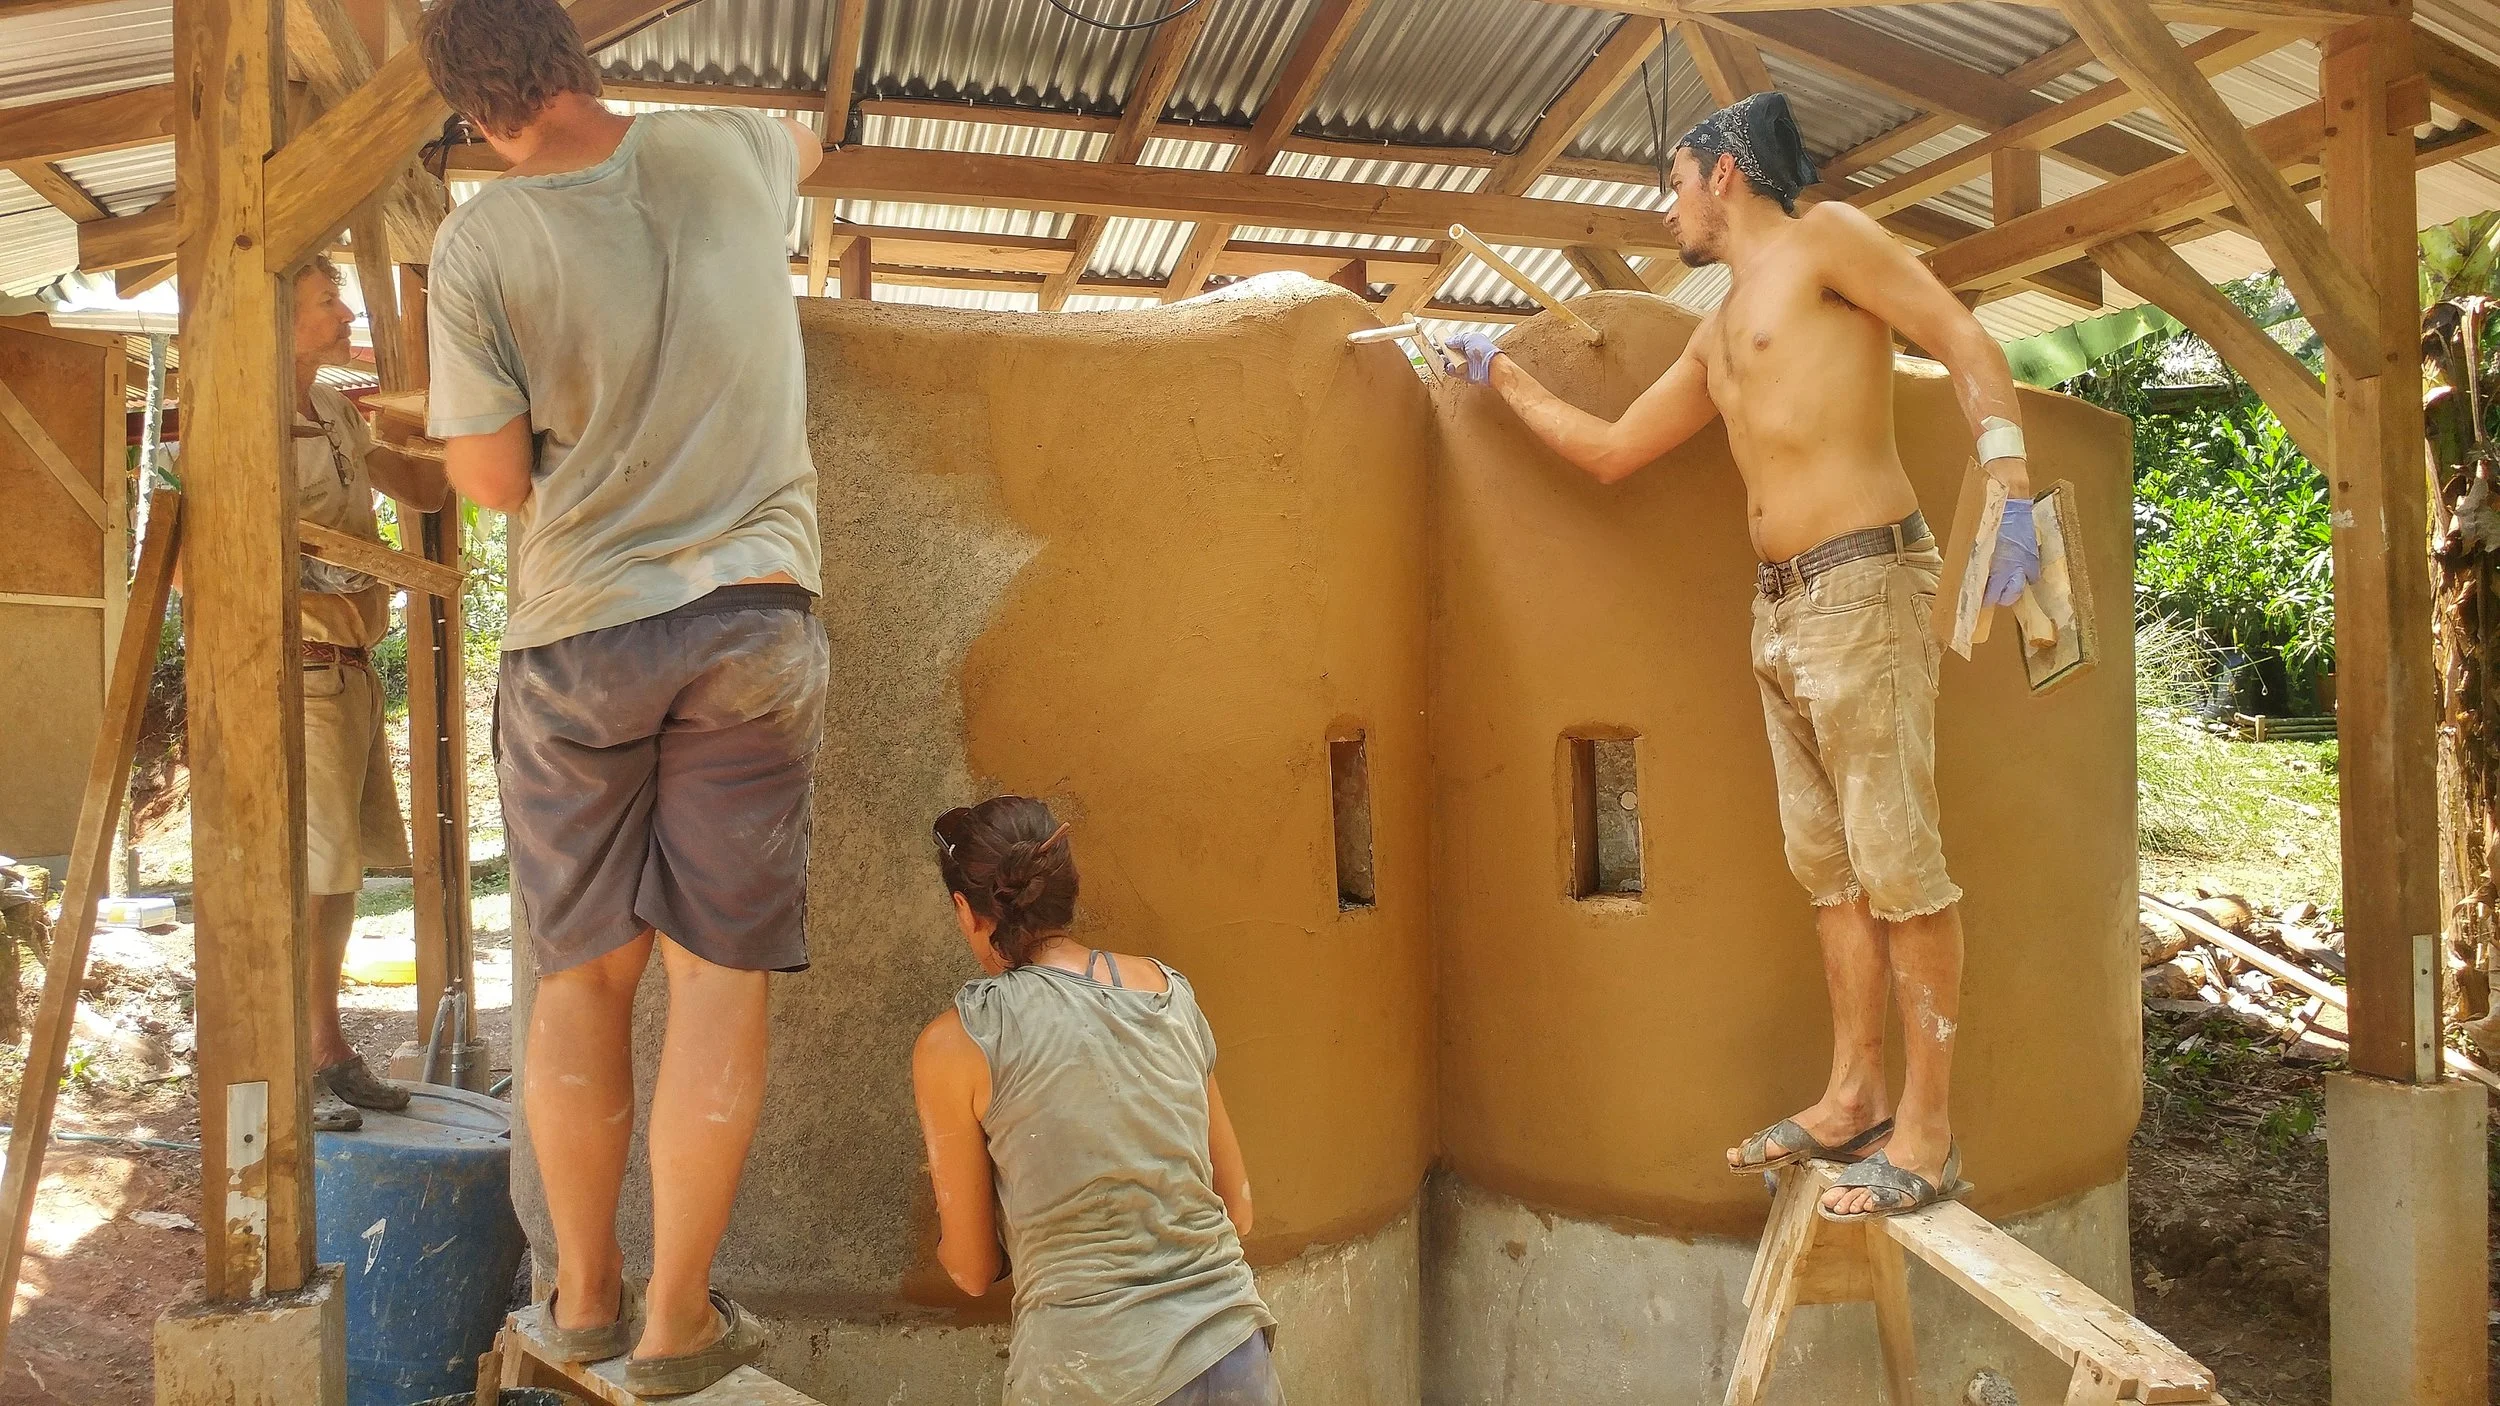
The shower was ready, once the plumbing was connected all that was left to do was enjoy the cool water in these wonderful showers. The two sides of the shower are pretty similar, the main difference being the color combination on the tile mosaic floor. Do you want to bathe in this epic outdoor shower? Come stay with us at Bernies Bungalow!
want to learn more?
Dream of building your own home, outdoor space, or maybe just a simple earthen garden bench?
With over 15 years of experience building and teaching natural building techniques, the Ranch is a perfect setting to get inspired and hands on learning.
Join us for one of our upcoming natural building focused workshops. We generally host a workshop in natural building, timber framing, and/or bamboo construction annually.

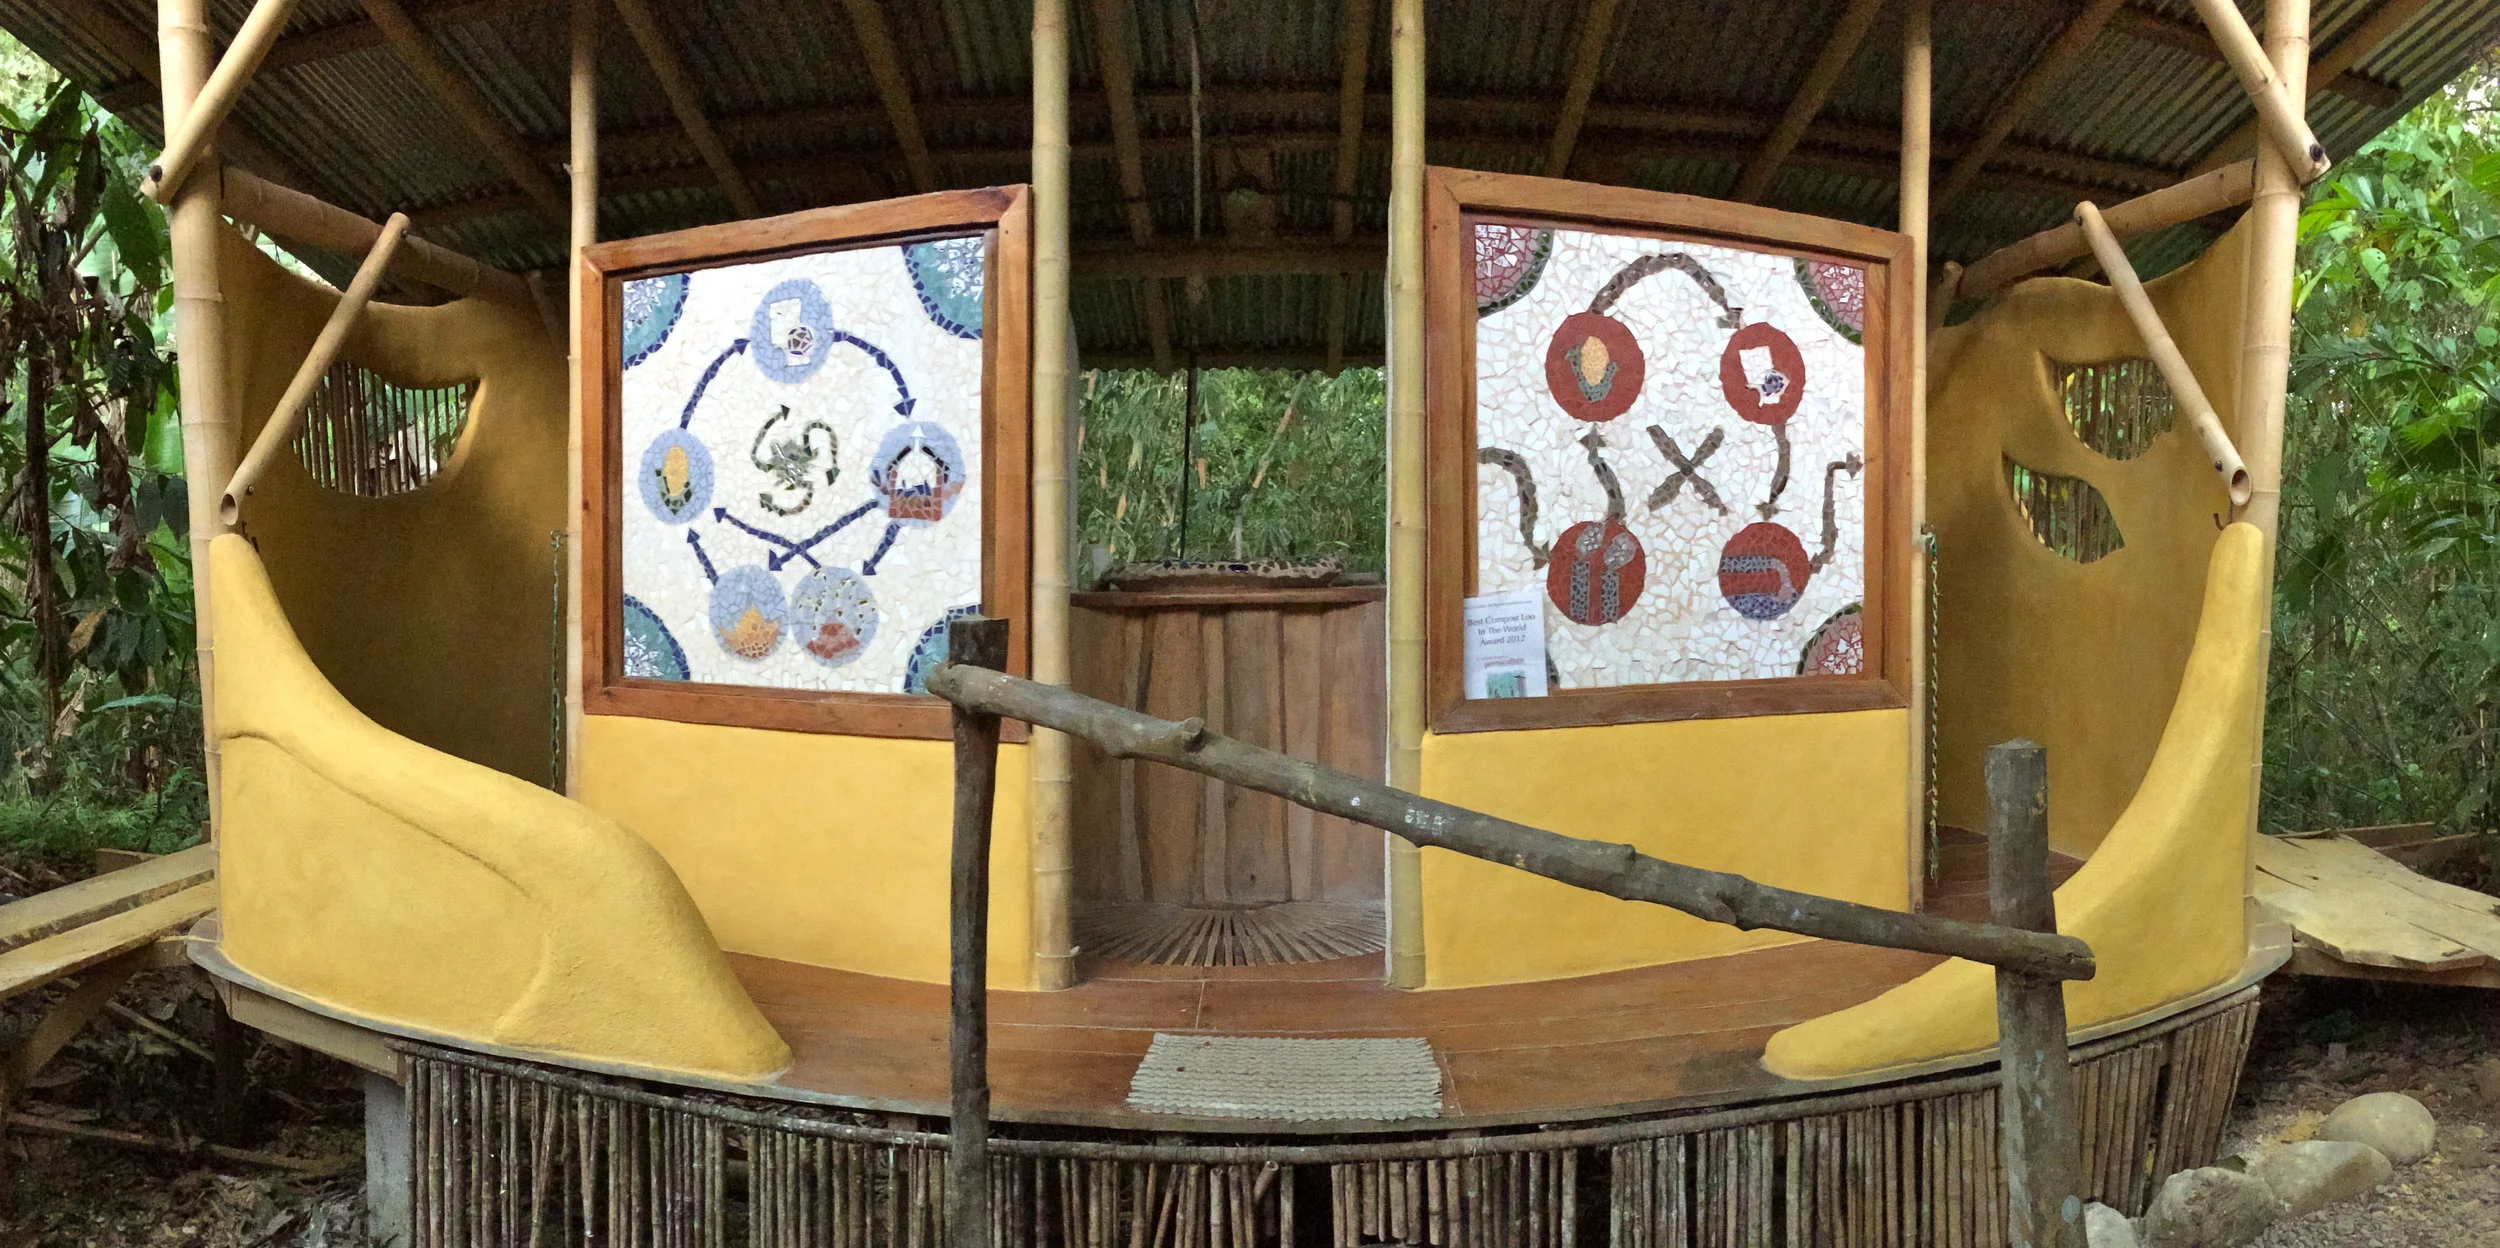
Design Ideas for a Sustainable Home in the Tropics
At Rancho Mastatal we have been building sustainable homes from natural materials in the tropics for over 15 years. In this time we have tried many different styles, building materials, and designs. We would like to share with you our opinion for the best natural and sustainable home design for the tropics.
By Nic & Ali,
At Rancho Mastatal we have been building sustainable homes from natural materials in the tropics for over 15 years. In this time we have tried many different styles, building materials, and designs. We would like to share with you our opinion for the best natural and sustainable home design for the tropics.
For examples and inspiration view our structures here.
We have found that the quickest, cheapest, and most aesthetically pleasing building style consists of a reinforced concrete stem wall foundation, with a timber framed structure, a Dutch gable roof, wattle and daub walls, natural plasters, and an earthen floor. These are the reasons why we chose these methods:

· Reinforced concrete stem wall: resistant to earth quakes and provides good access around the entire house to spot any invading termites.
· Timber framed structure: beautiful and utilizes an abundant and quick growing resource in the tropics.
· Dutch gable roof: provides good protection to your earthen walls on all sides, and allows good ventilation of the roof.
· Wattle and daub: utilizes an abundant resource of bamboo as the wattle, and the thin walls of daub are fast, efficient, and cheap to install. Provides privacy, security, and protection for your home.
· Natural plasters: a logical plaster to put on top of an earthen wall.
· Earthen floor: a perfect combination with a stem wall. Utilizes natural and abundant materials. Far cheaper than concrete or wood floors.
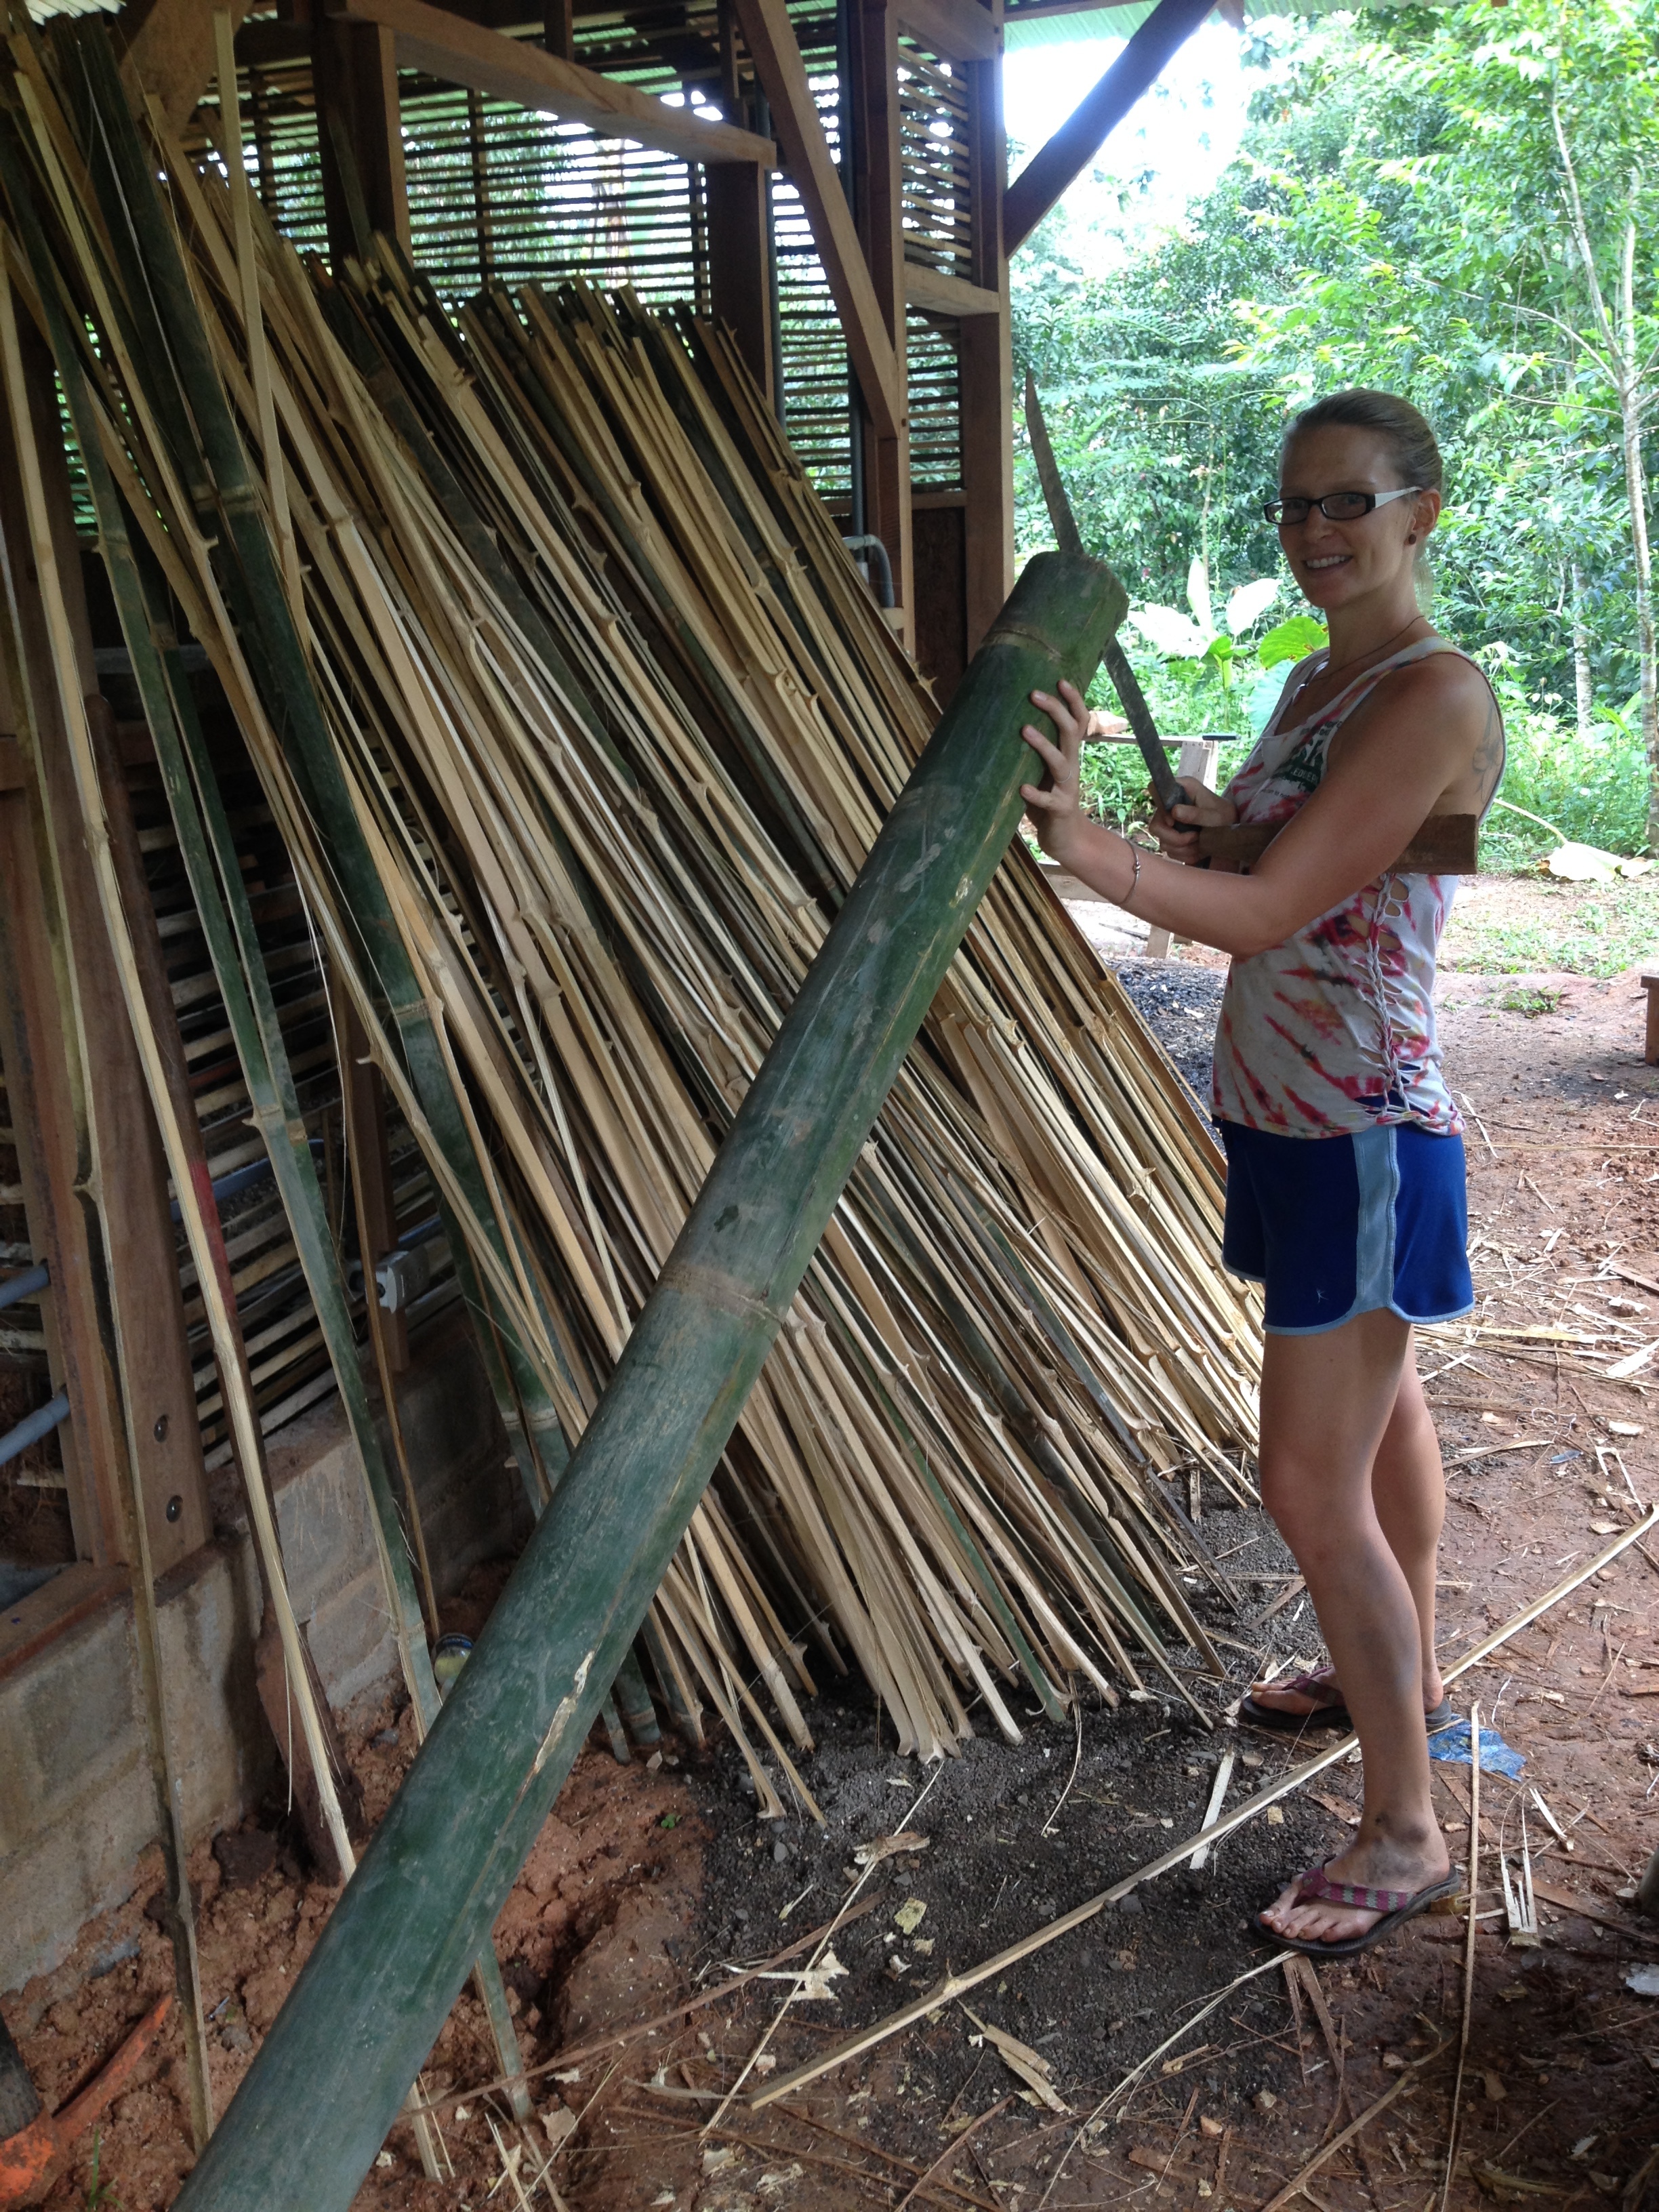
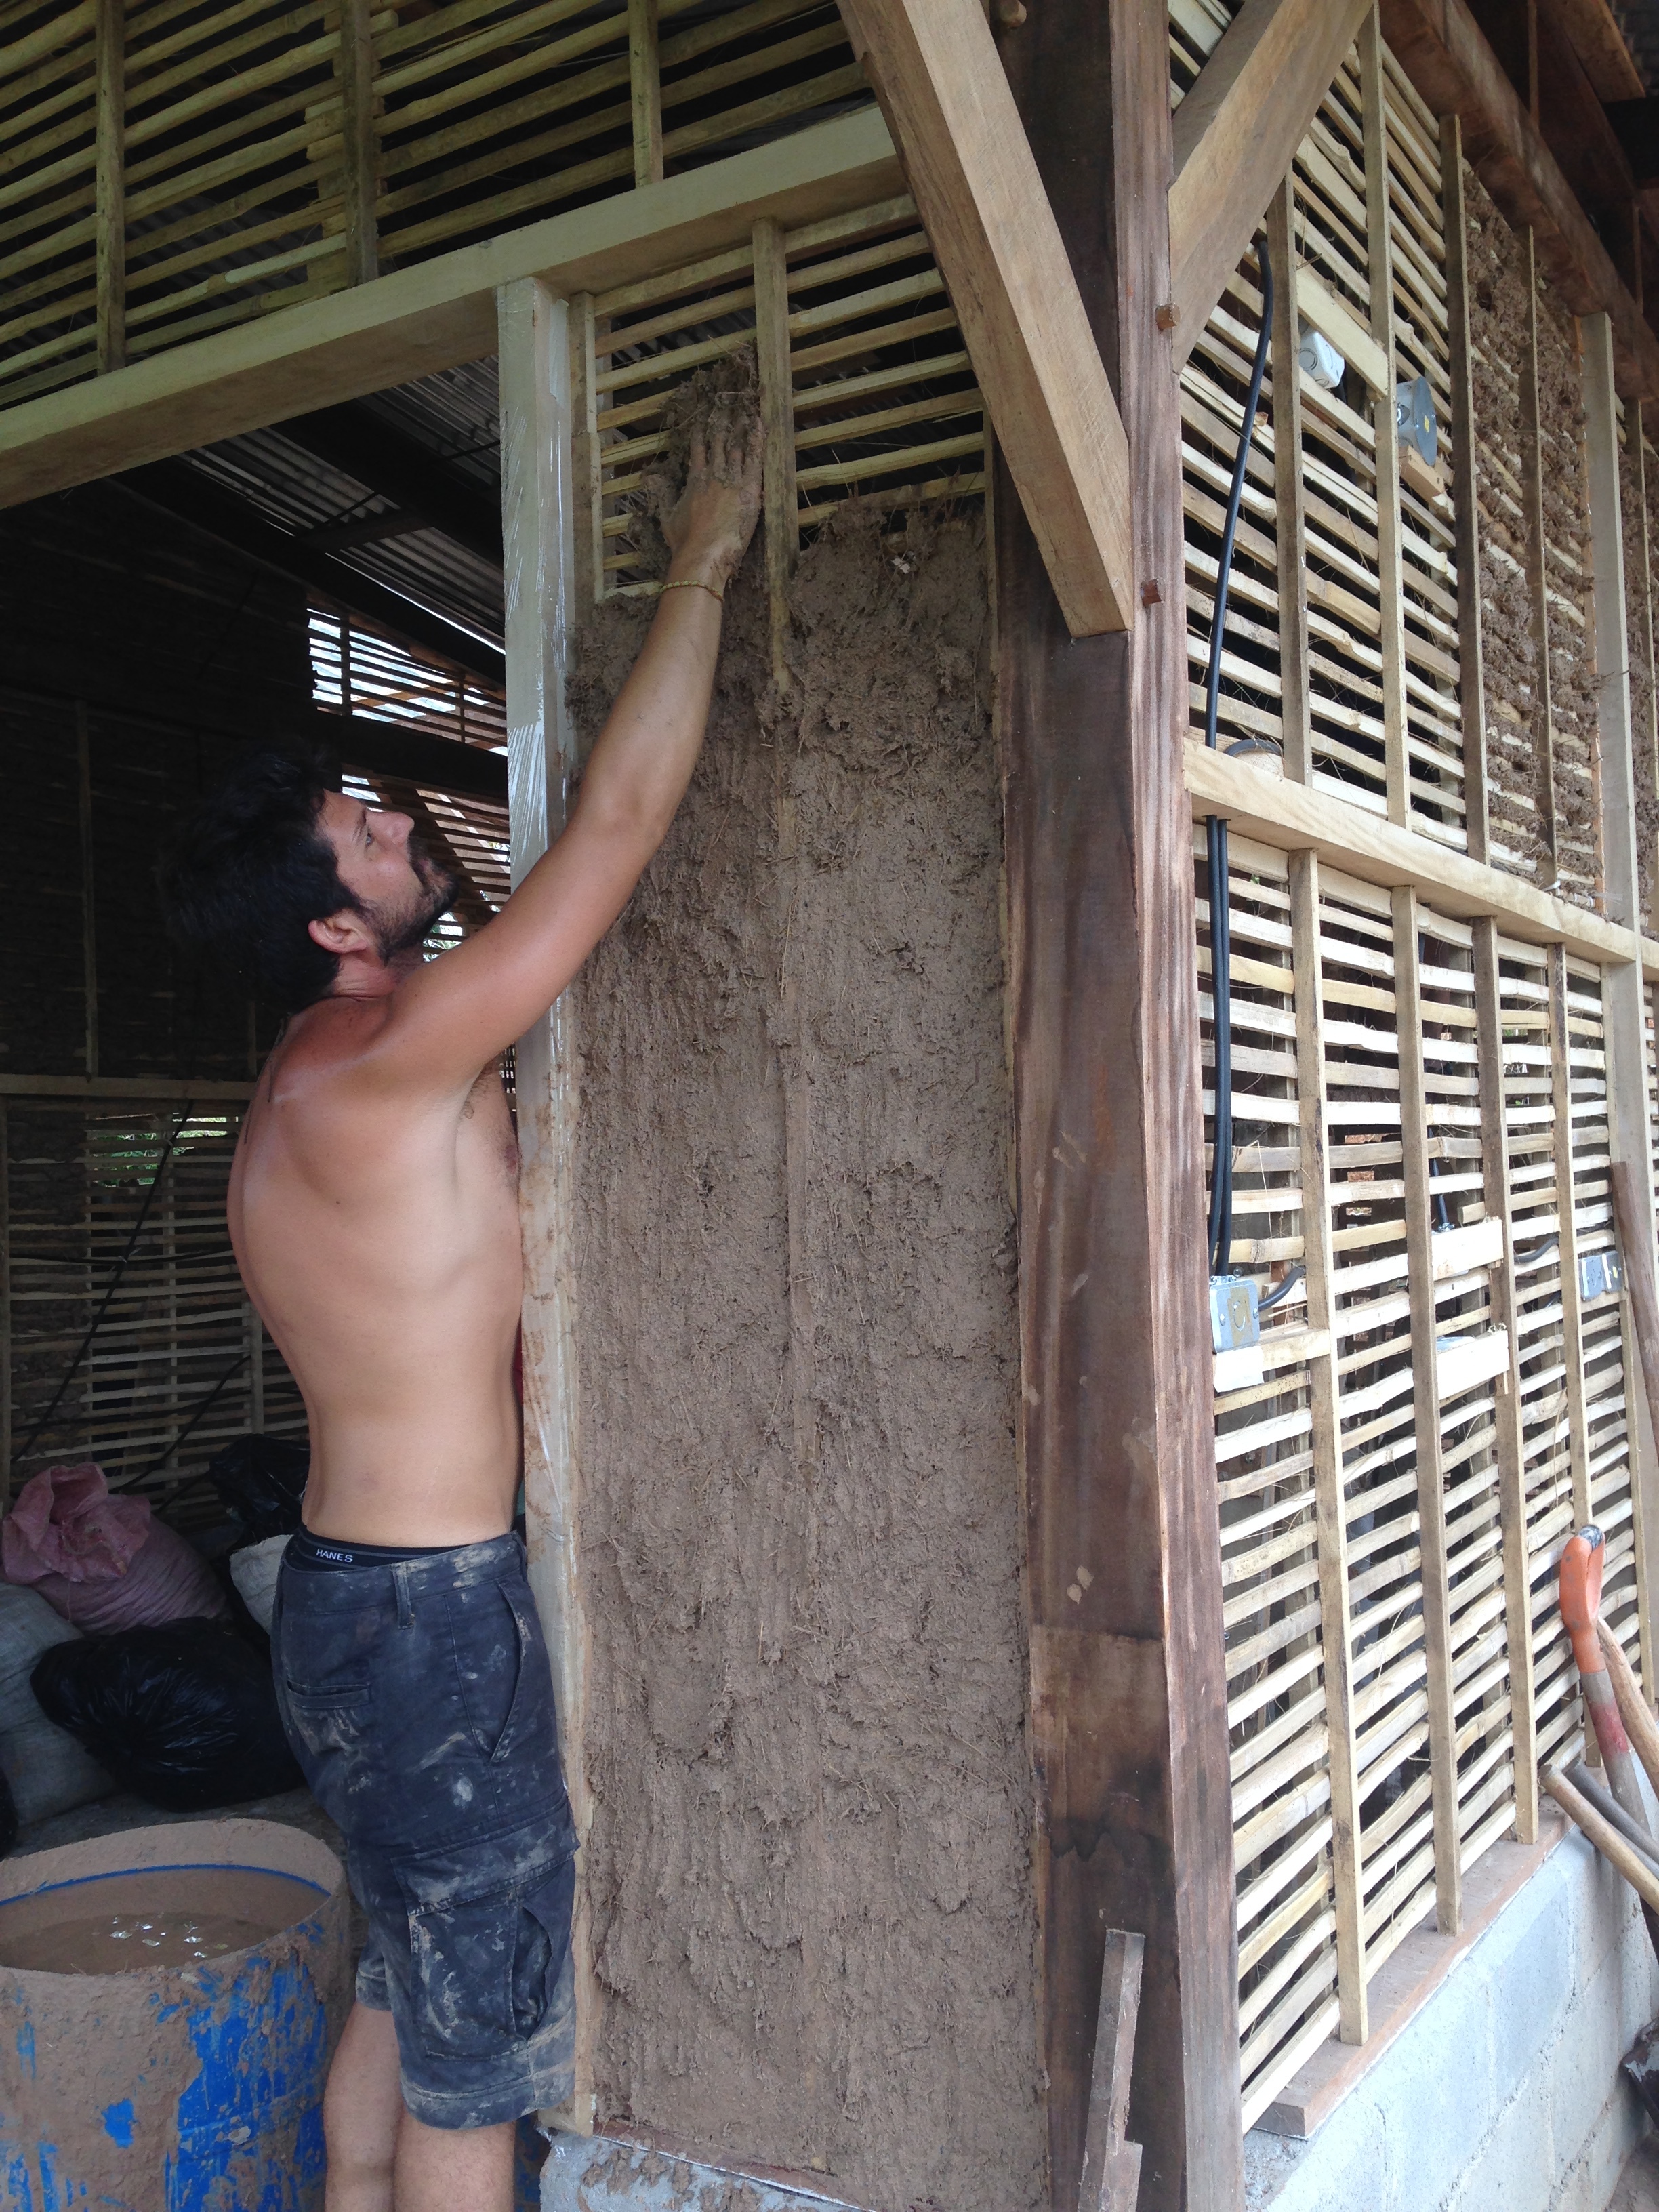
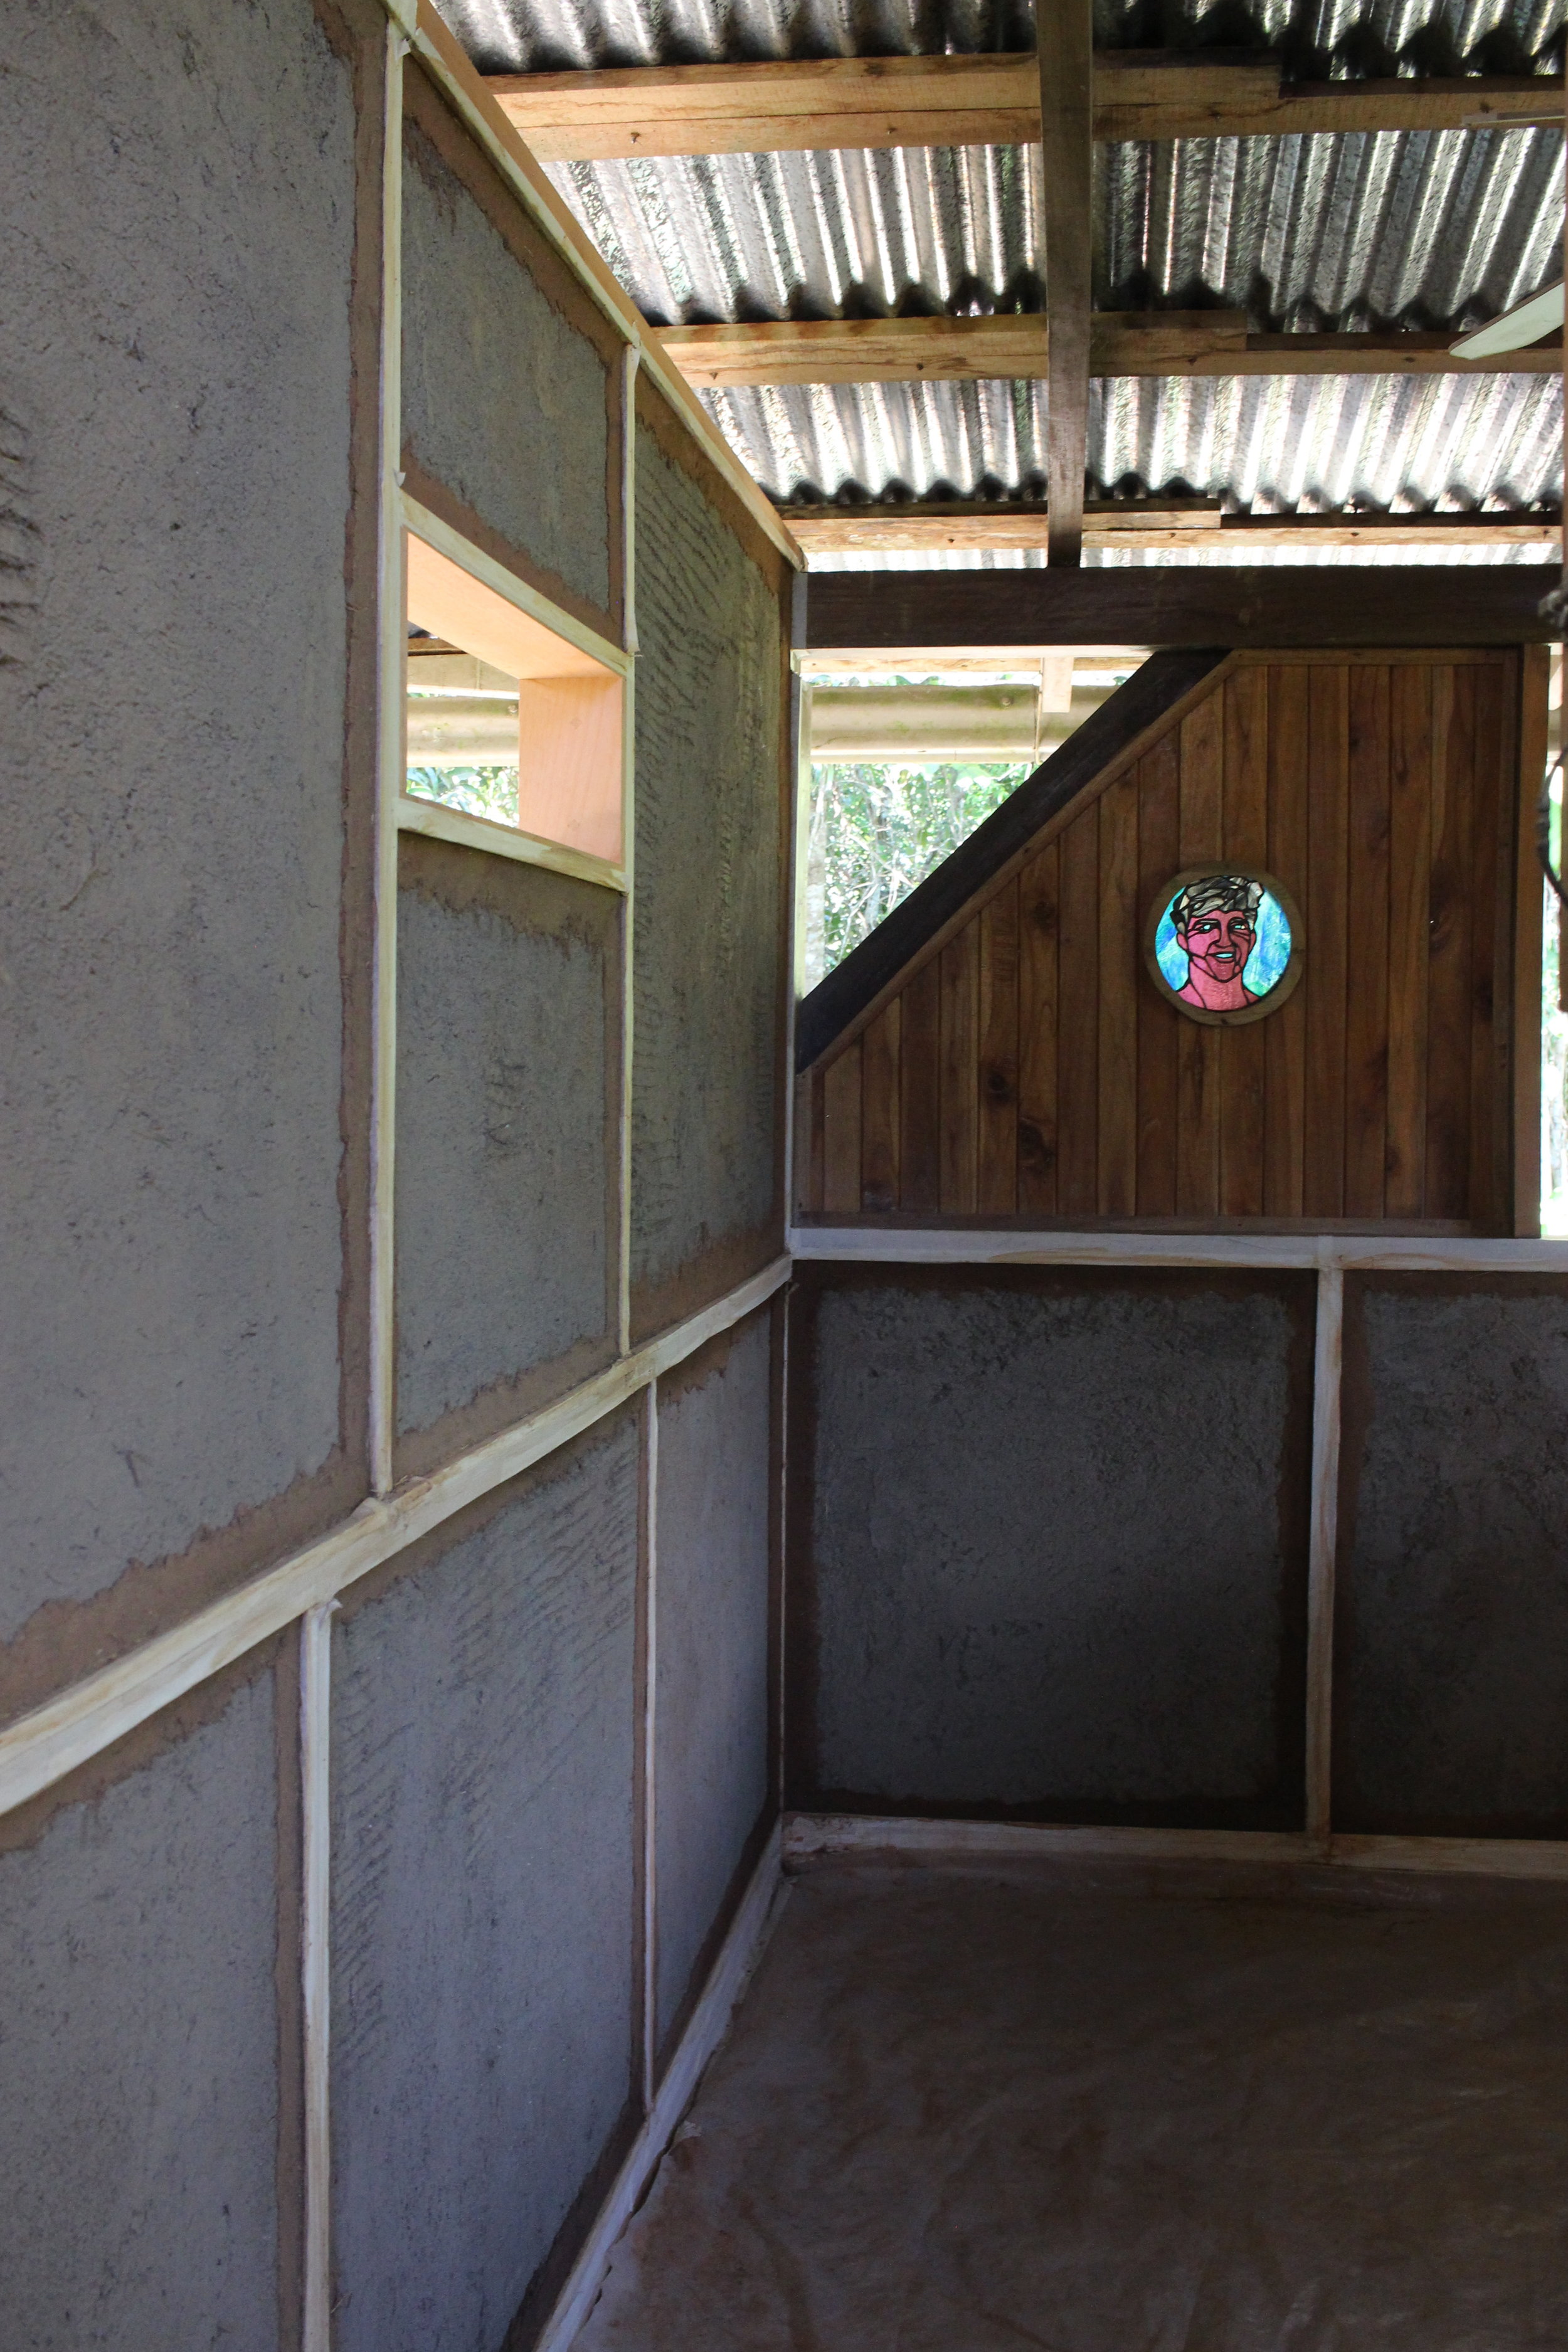
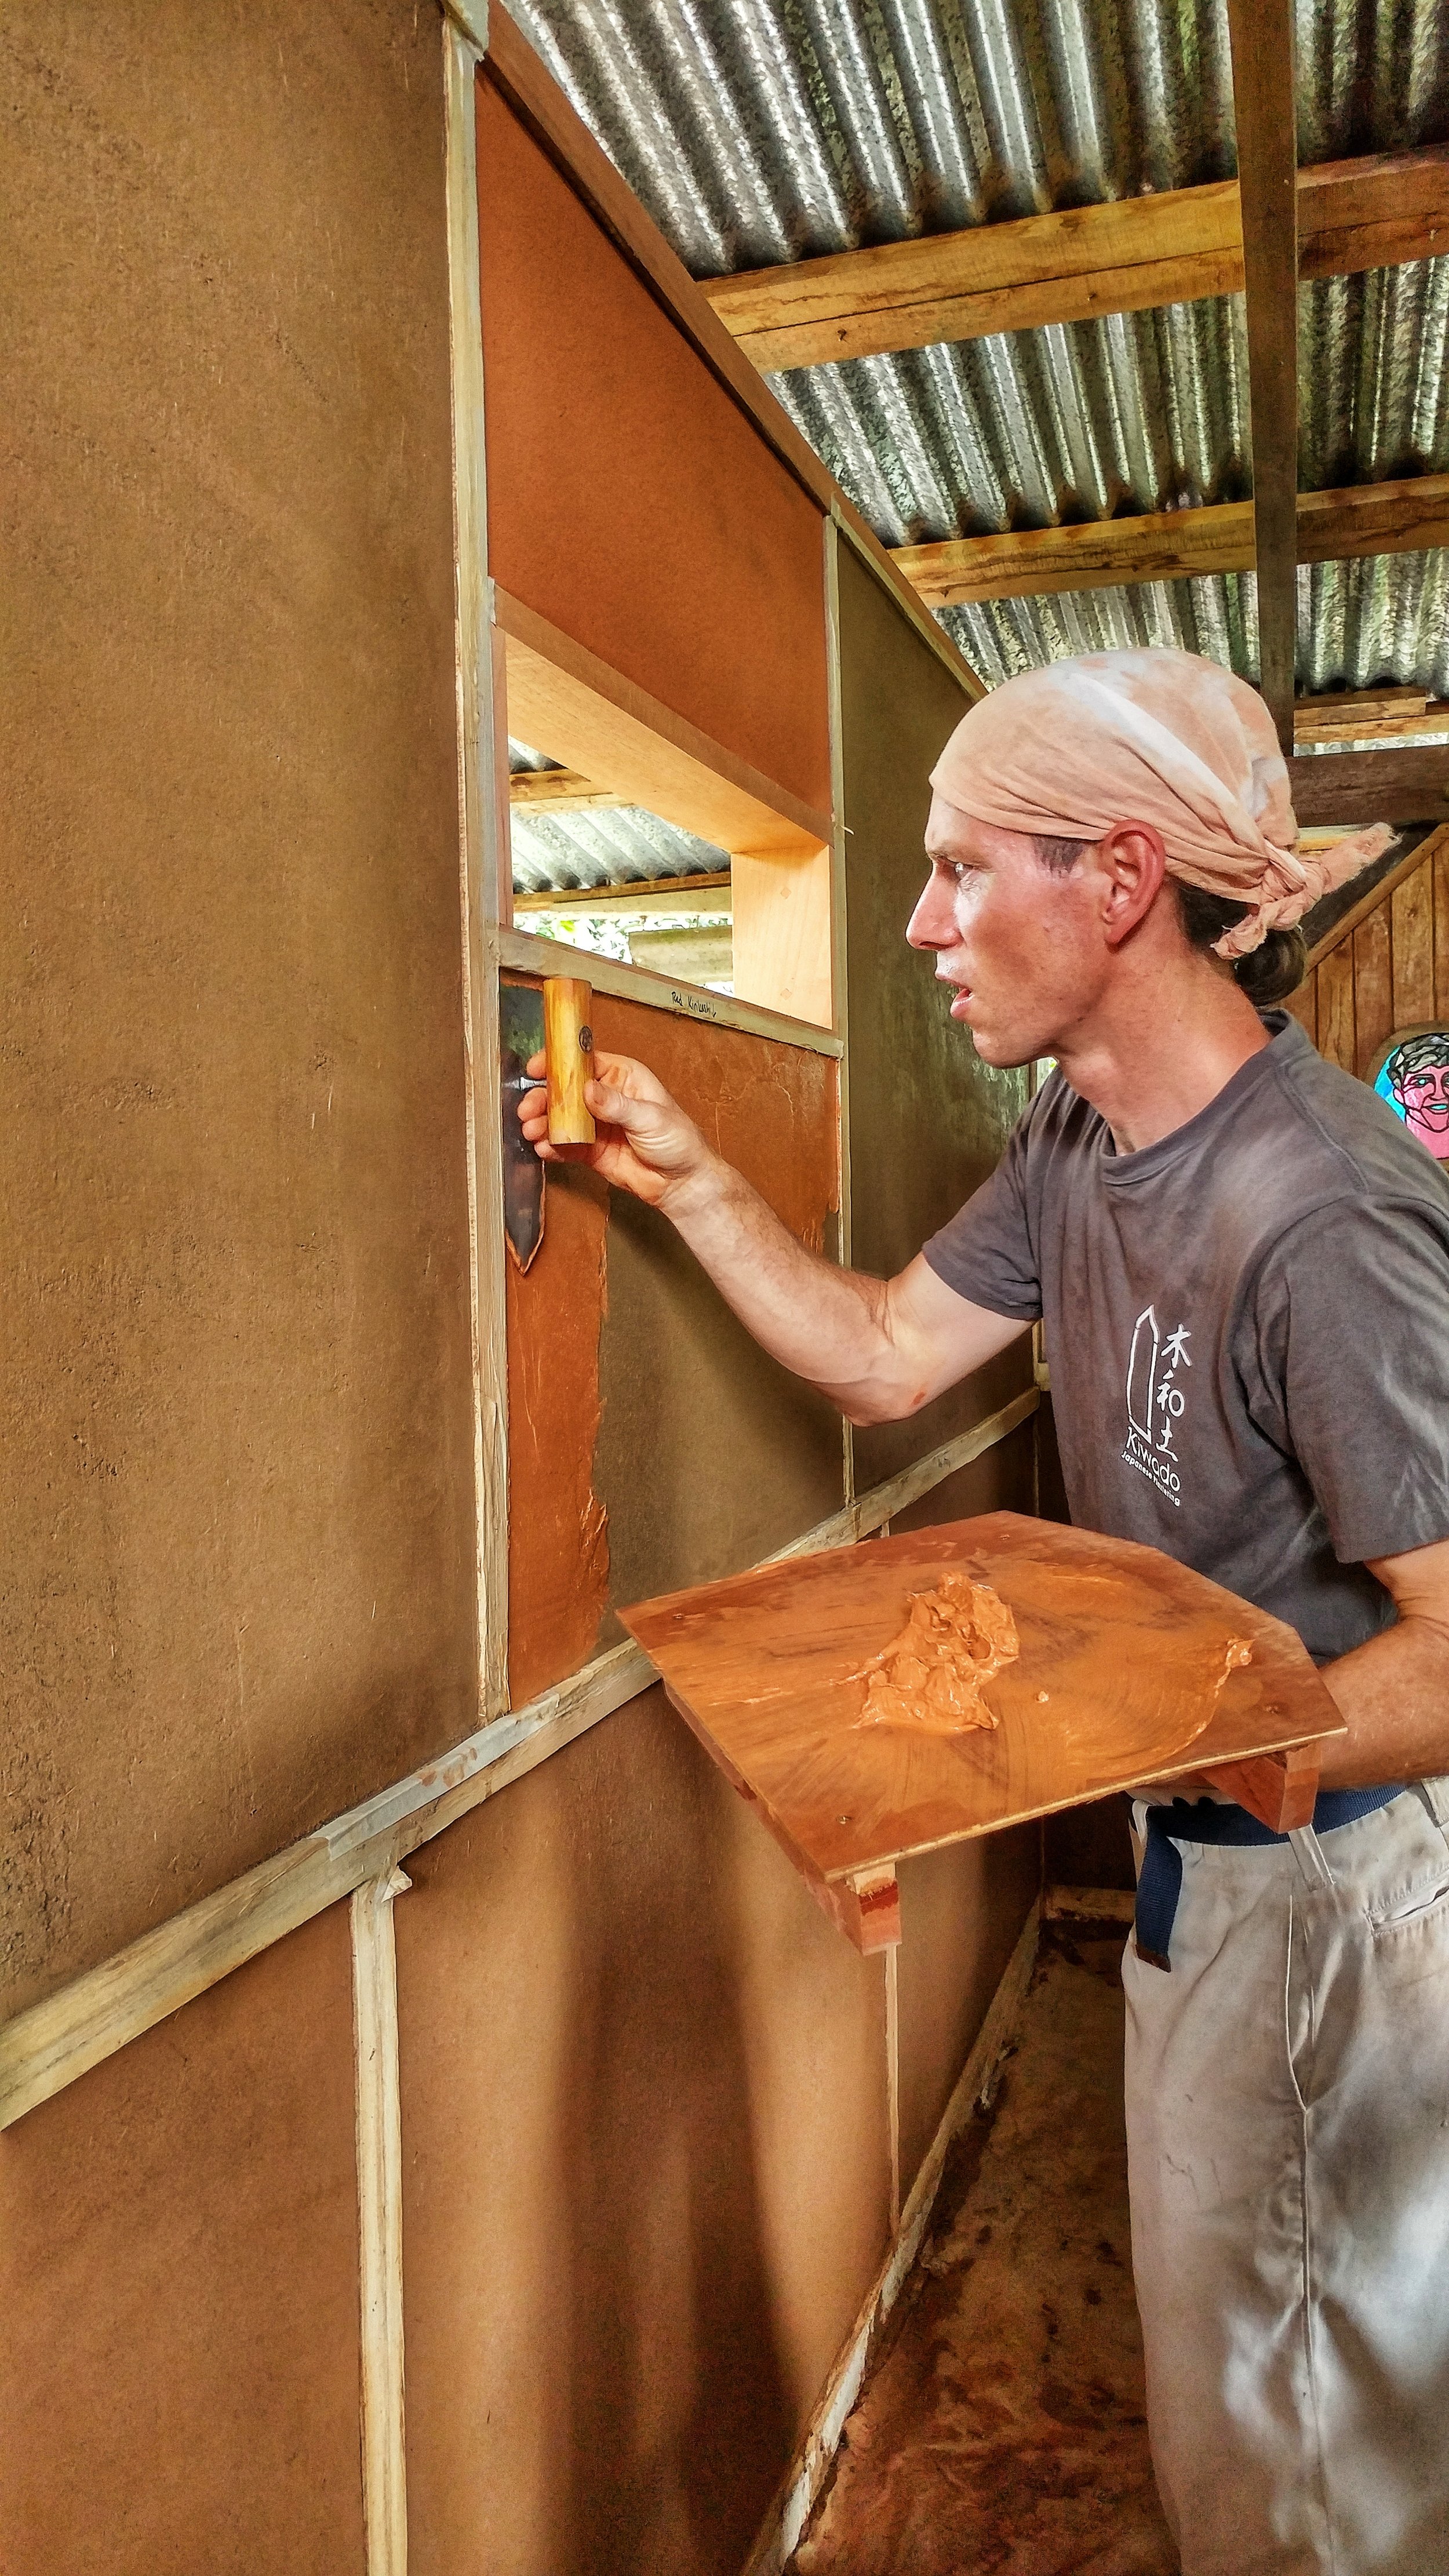
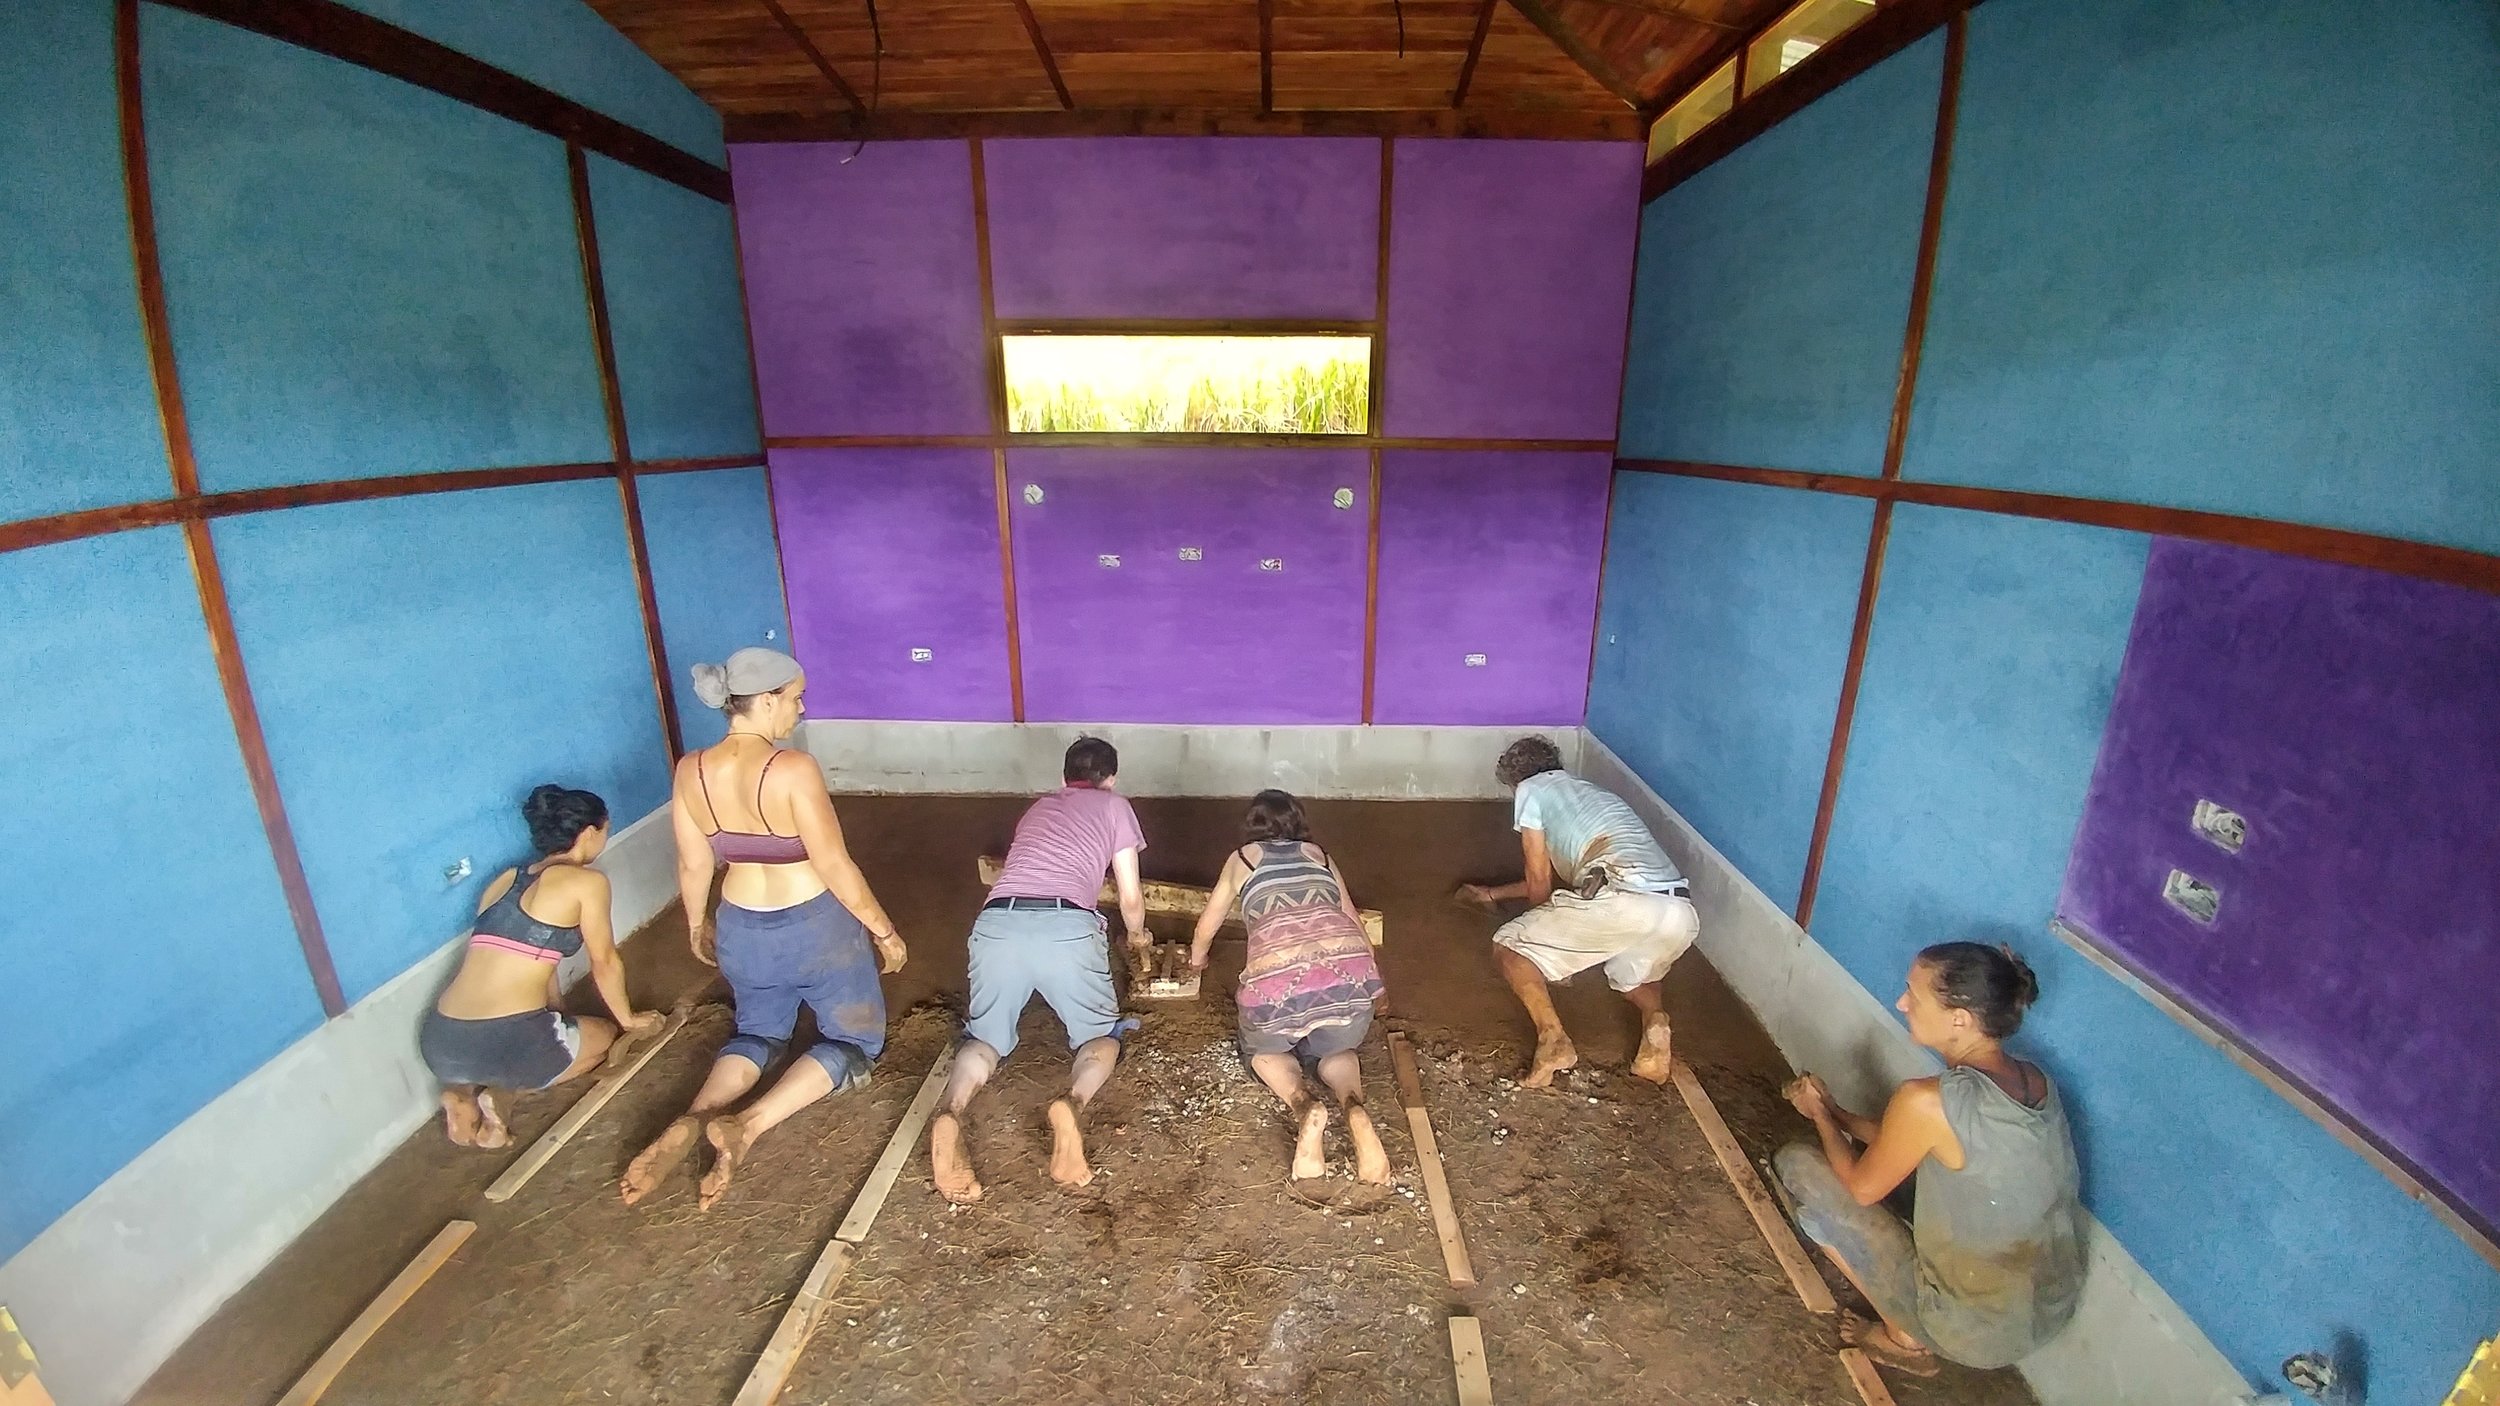
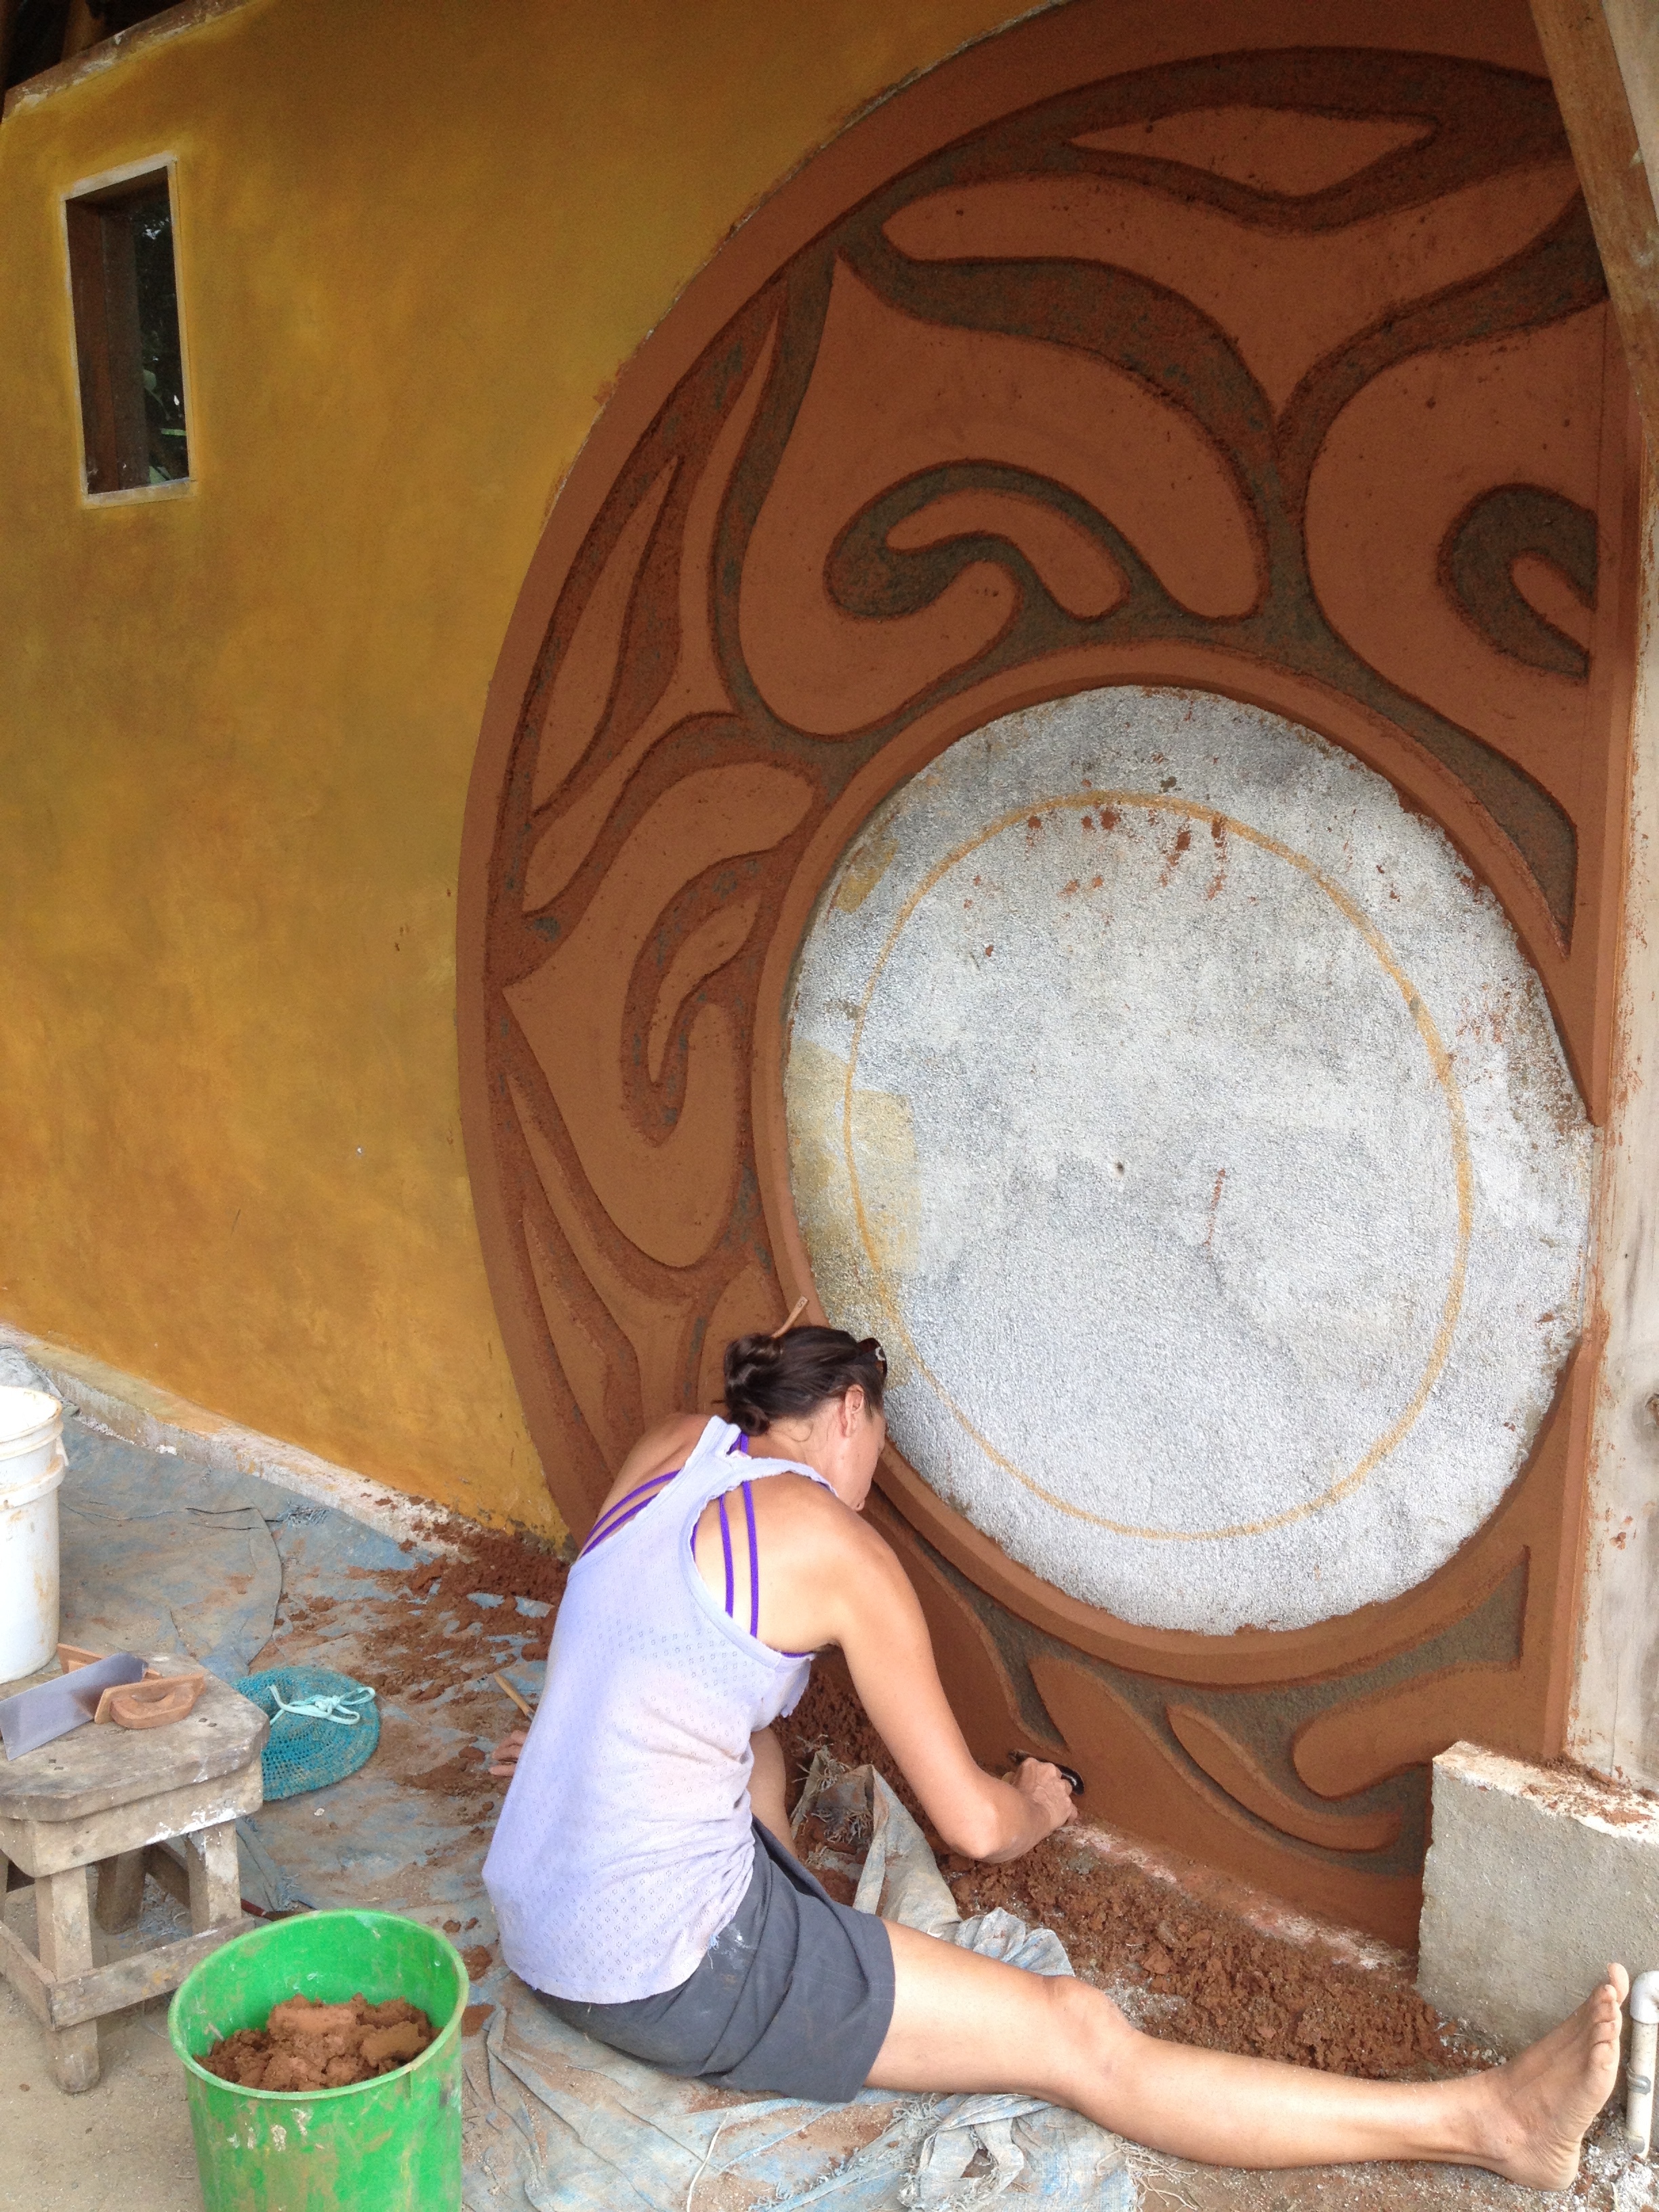
Other design considerations to include in your sustainable home are the following:
· Trees near building site: this is a double edge sword when it comes to building. You want the shade provided by trees, but the risk of them falling on your building is worth considering too. And their root systems can damage your foundations.
· High and insulated ceilings: increases construction cost slightly, but the extra space in your building creates a more comfortable temperature.
· Large overhangs: provides additional covered space around your building, protects areas from the sun, and is essential to protecting your earthen walls from the rain.
· Air flow and fans: depending on exactly where you are, even with a well-designed house you may need the addition of a ceiling fan.
· Covered drying space: always a benefit when it’s raining!
· Outdoor and indoor spaces and screens: it is nice to have spaces that are screened off and those that aren’t so that they can be taken advantage of at different times of the day and year depending on the heat, bugs, rain, etc.
· Orientation: think about where you spend most of your time and orientate those spaces to the best views. Also consider where the sun rises and sets and how that will influence the temperature in your house.

· Water run-off and drainage: make sure to have gutters on your roof and move water run-off away from your foundations.
· Road access: pretty essential to getting anything to your house! Examples: building materials, groceries, etc.
These are some great pointers to start generating ideas of what you would like your house to look like. At the Ranch we are interested in empowering individuals to develop the skills to build their own dream home. If there are some things that we have forgotten please let us know in the comments section!
want to learn more?
If you think this is an interesting article and you are interested in green living and designing your own sustainable home consider joining us for one of our annual workshops. Generally we host a Timber Frame Construction and Natural Building & Plasters Intensive . We will also have lots of other amazing workshops focused on the subjects of sustainable living. See our website for more info!
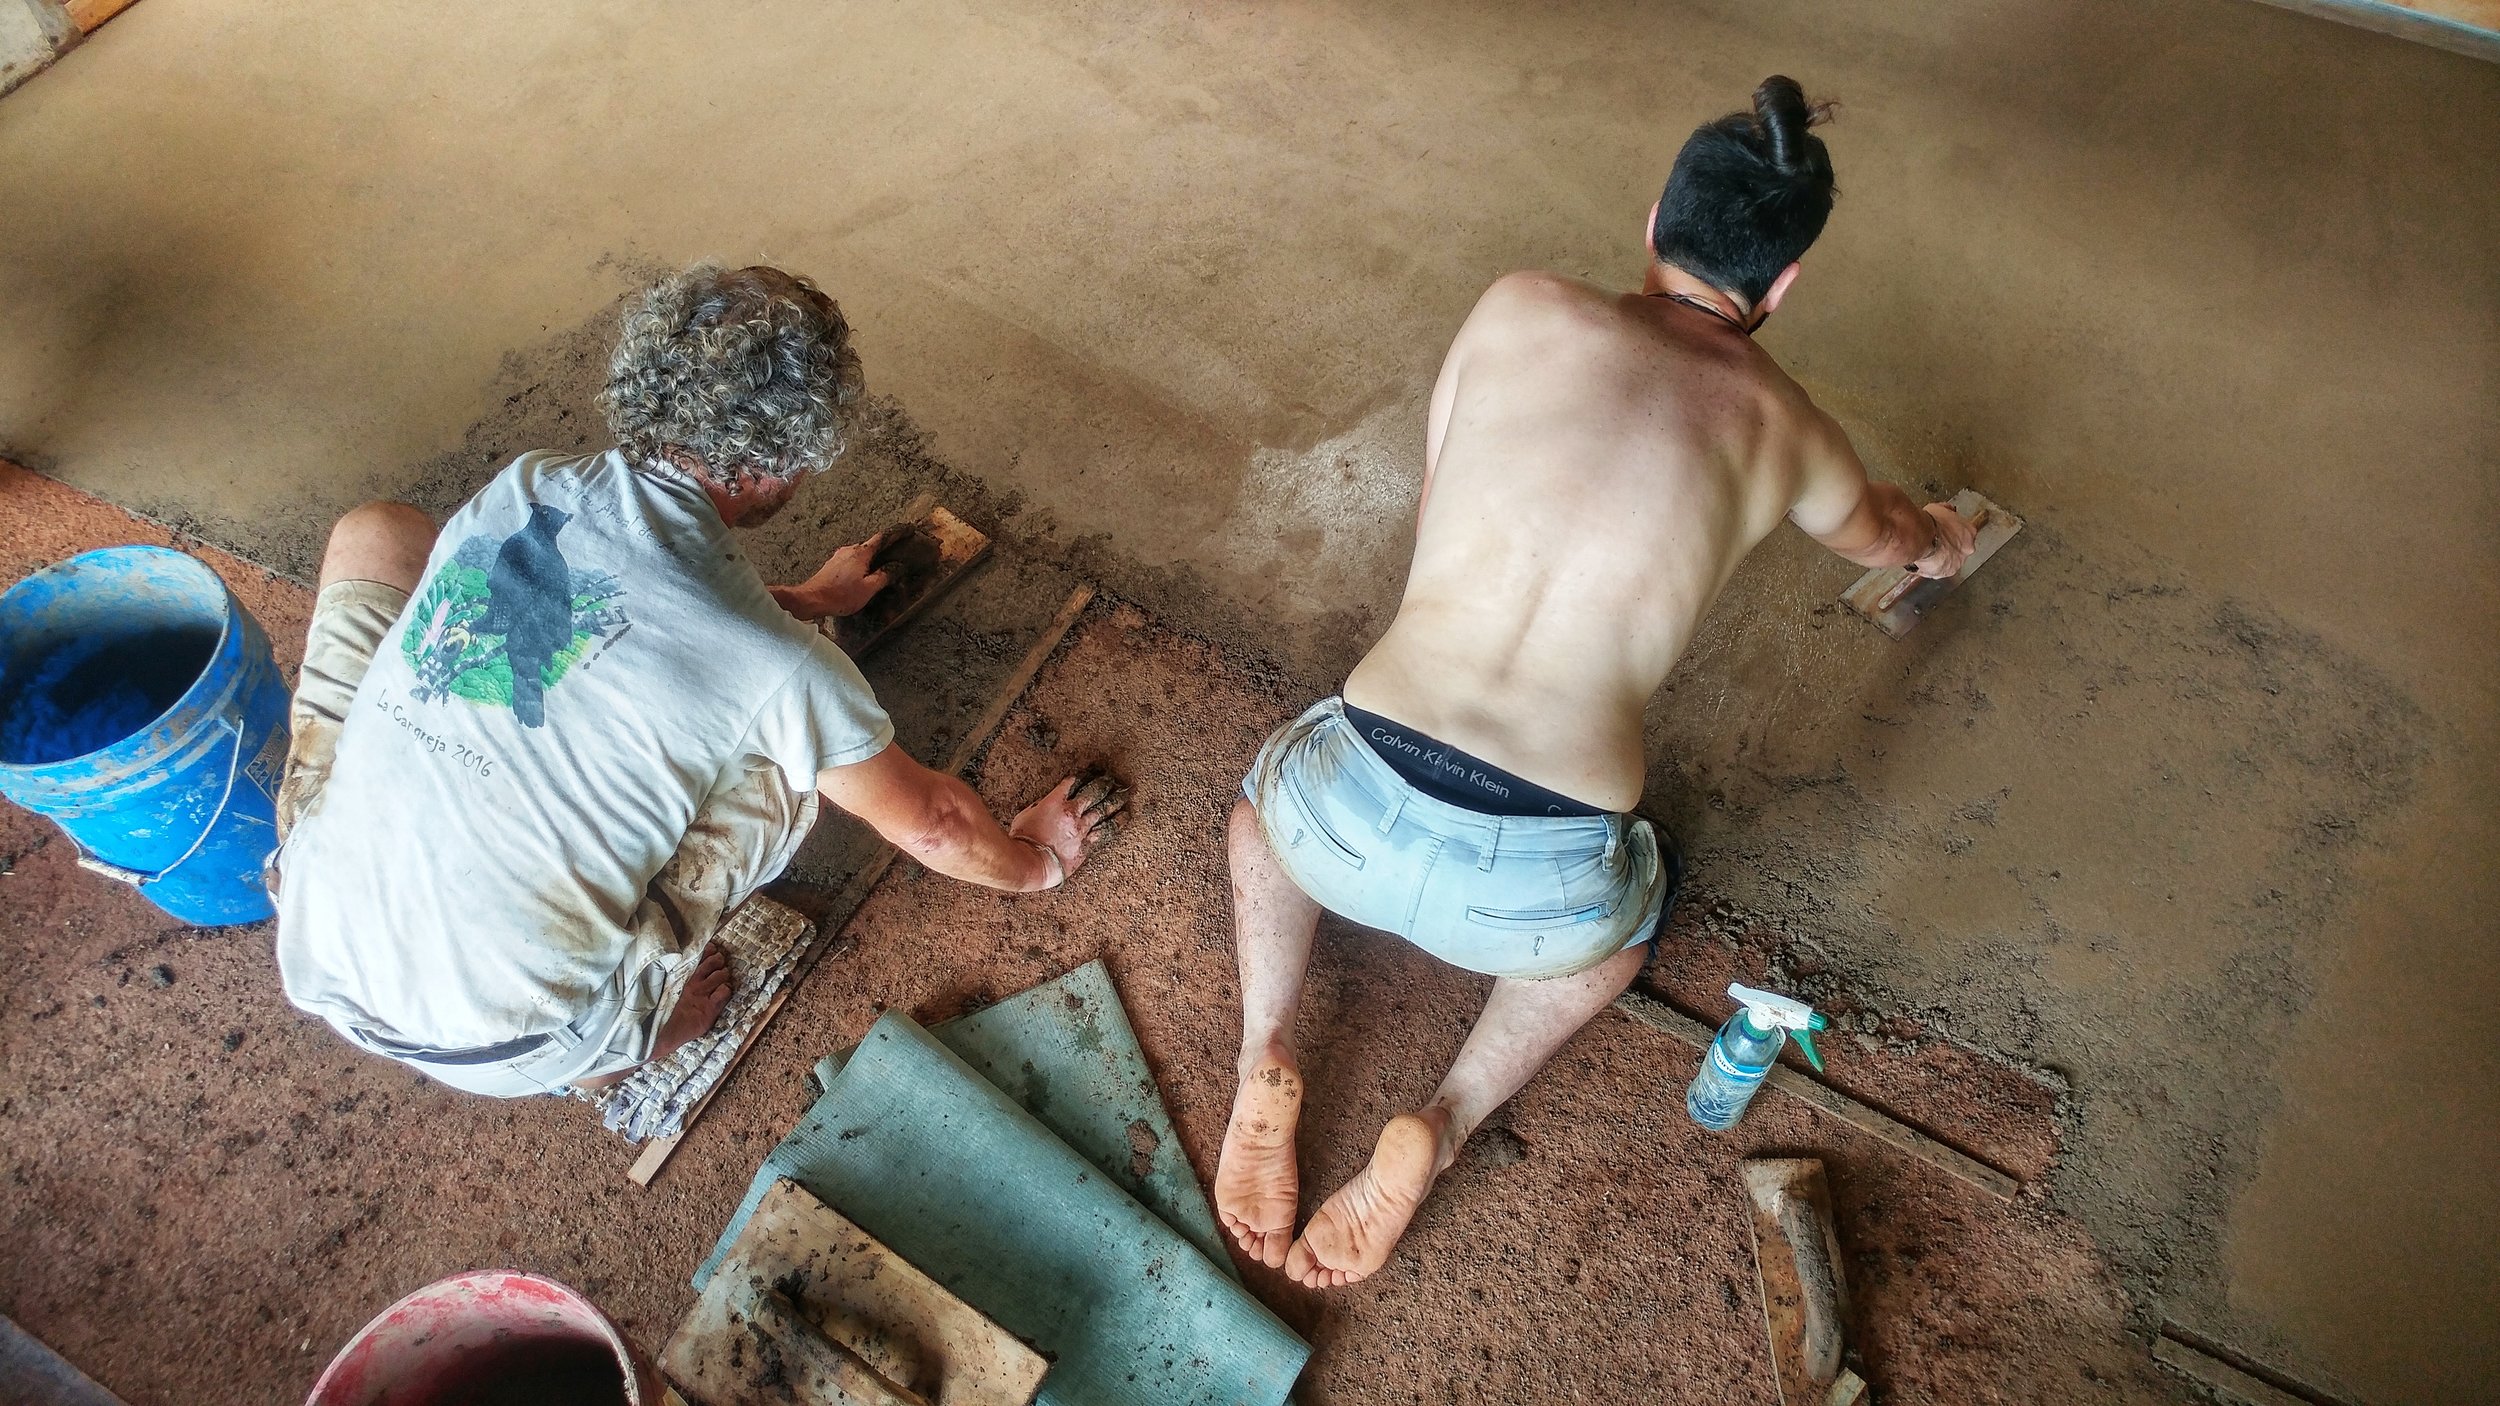
How to Make an Earthen Floor for Your Sustainable Home
Earthen floors add a great earthy touch to your sustainable home; whether that’s in your cob house or conventional stick frame home. They have more give than concrete or tile, meaning they are more comfortable and easy on your feet.
Why Build an Earthen Floor?
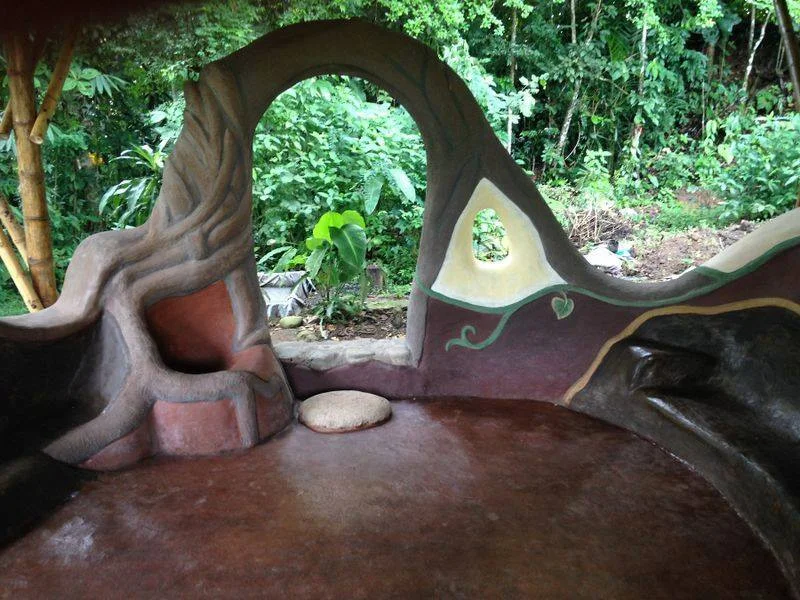
This Earthen Floor adds a wonderful warmth to the Ceiba Lounge
Earthen floors add a great earthy touch to your sustainable home; whether that’s in your cob house or conventional stick frame home. They have more give than concrete or tile, meaning they are more comfortable and easy on your feet. Earthen floors can be durable and last a long time, but are not the best material for all spaces in your home. They will break down faster when there is a lot of moisture on them or heavy items dropped on them. So places like your kitchen and bathroom are not ideal locations for an earthen floor. Earthen floors work great for bedrooms and living rooms.

Mixing by hand gives you a great feel for the mixture
Here at the Ranch we have been practicing and perfecting our earthen floors for more than 15 years. We strive to create sustainable homes from natural, local materials. Natural building is one of the ways we practice green living. We have seen what works and what doesn’t in many different structures and spaces throughout our community. After having an earthen floor in our kitchen, a space that produces three meals a day for an average of 30 people, and after repairing patches again and again, we realized this space is too heavily used for an earthen floor. Spaces like our guest cabins are perfect for earthen floors. Of course with hundreds of people going through these spaces they wear down over time. If you correctly lay an earthen floor in your home, and take care of it, they should last you for a long time.
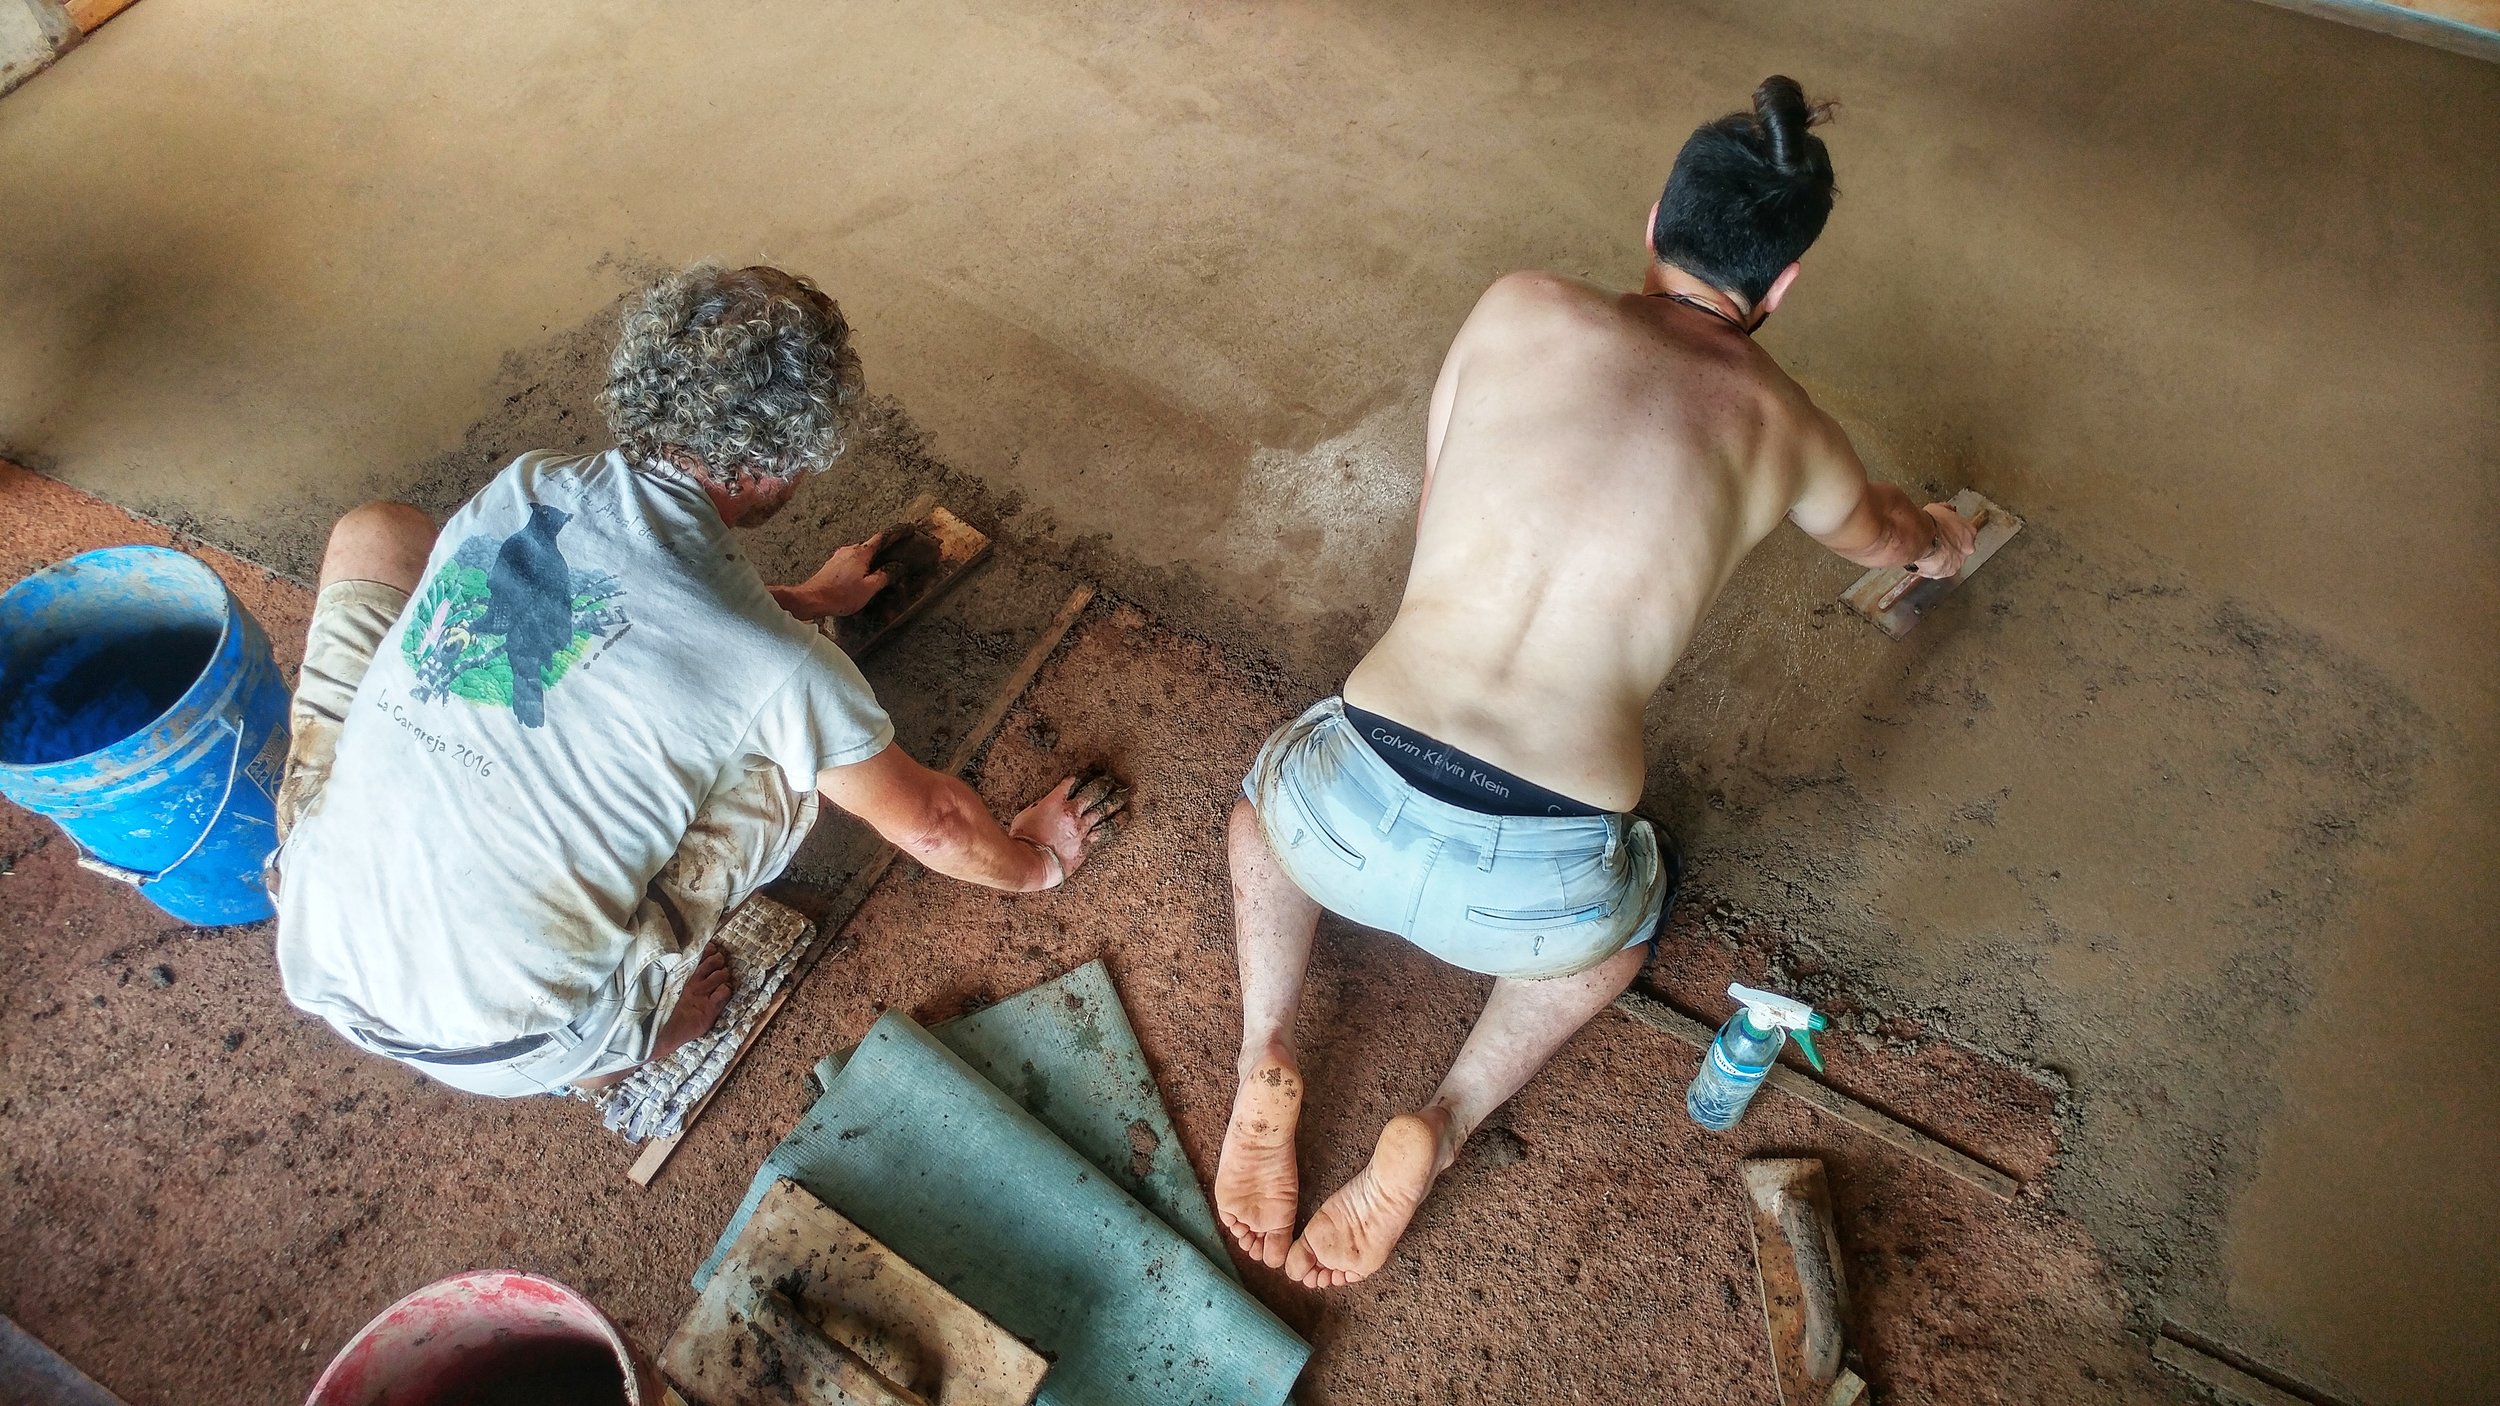
Wooden guides can be used to help keep the correct thickness
How We Build Our Earthen Floors
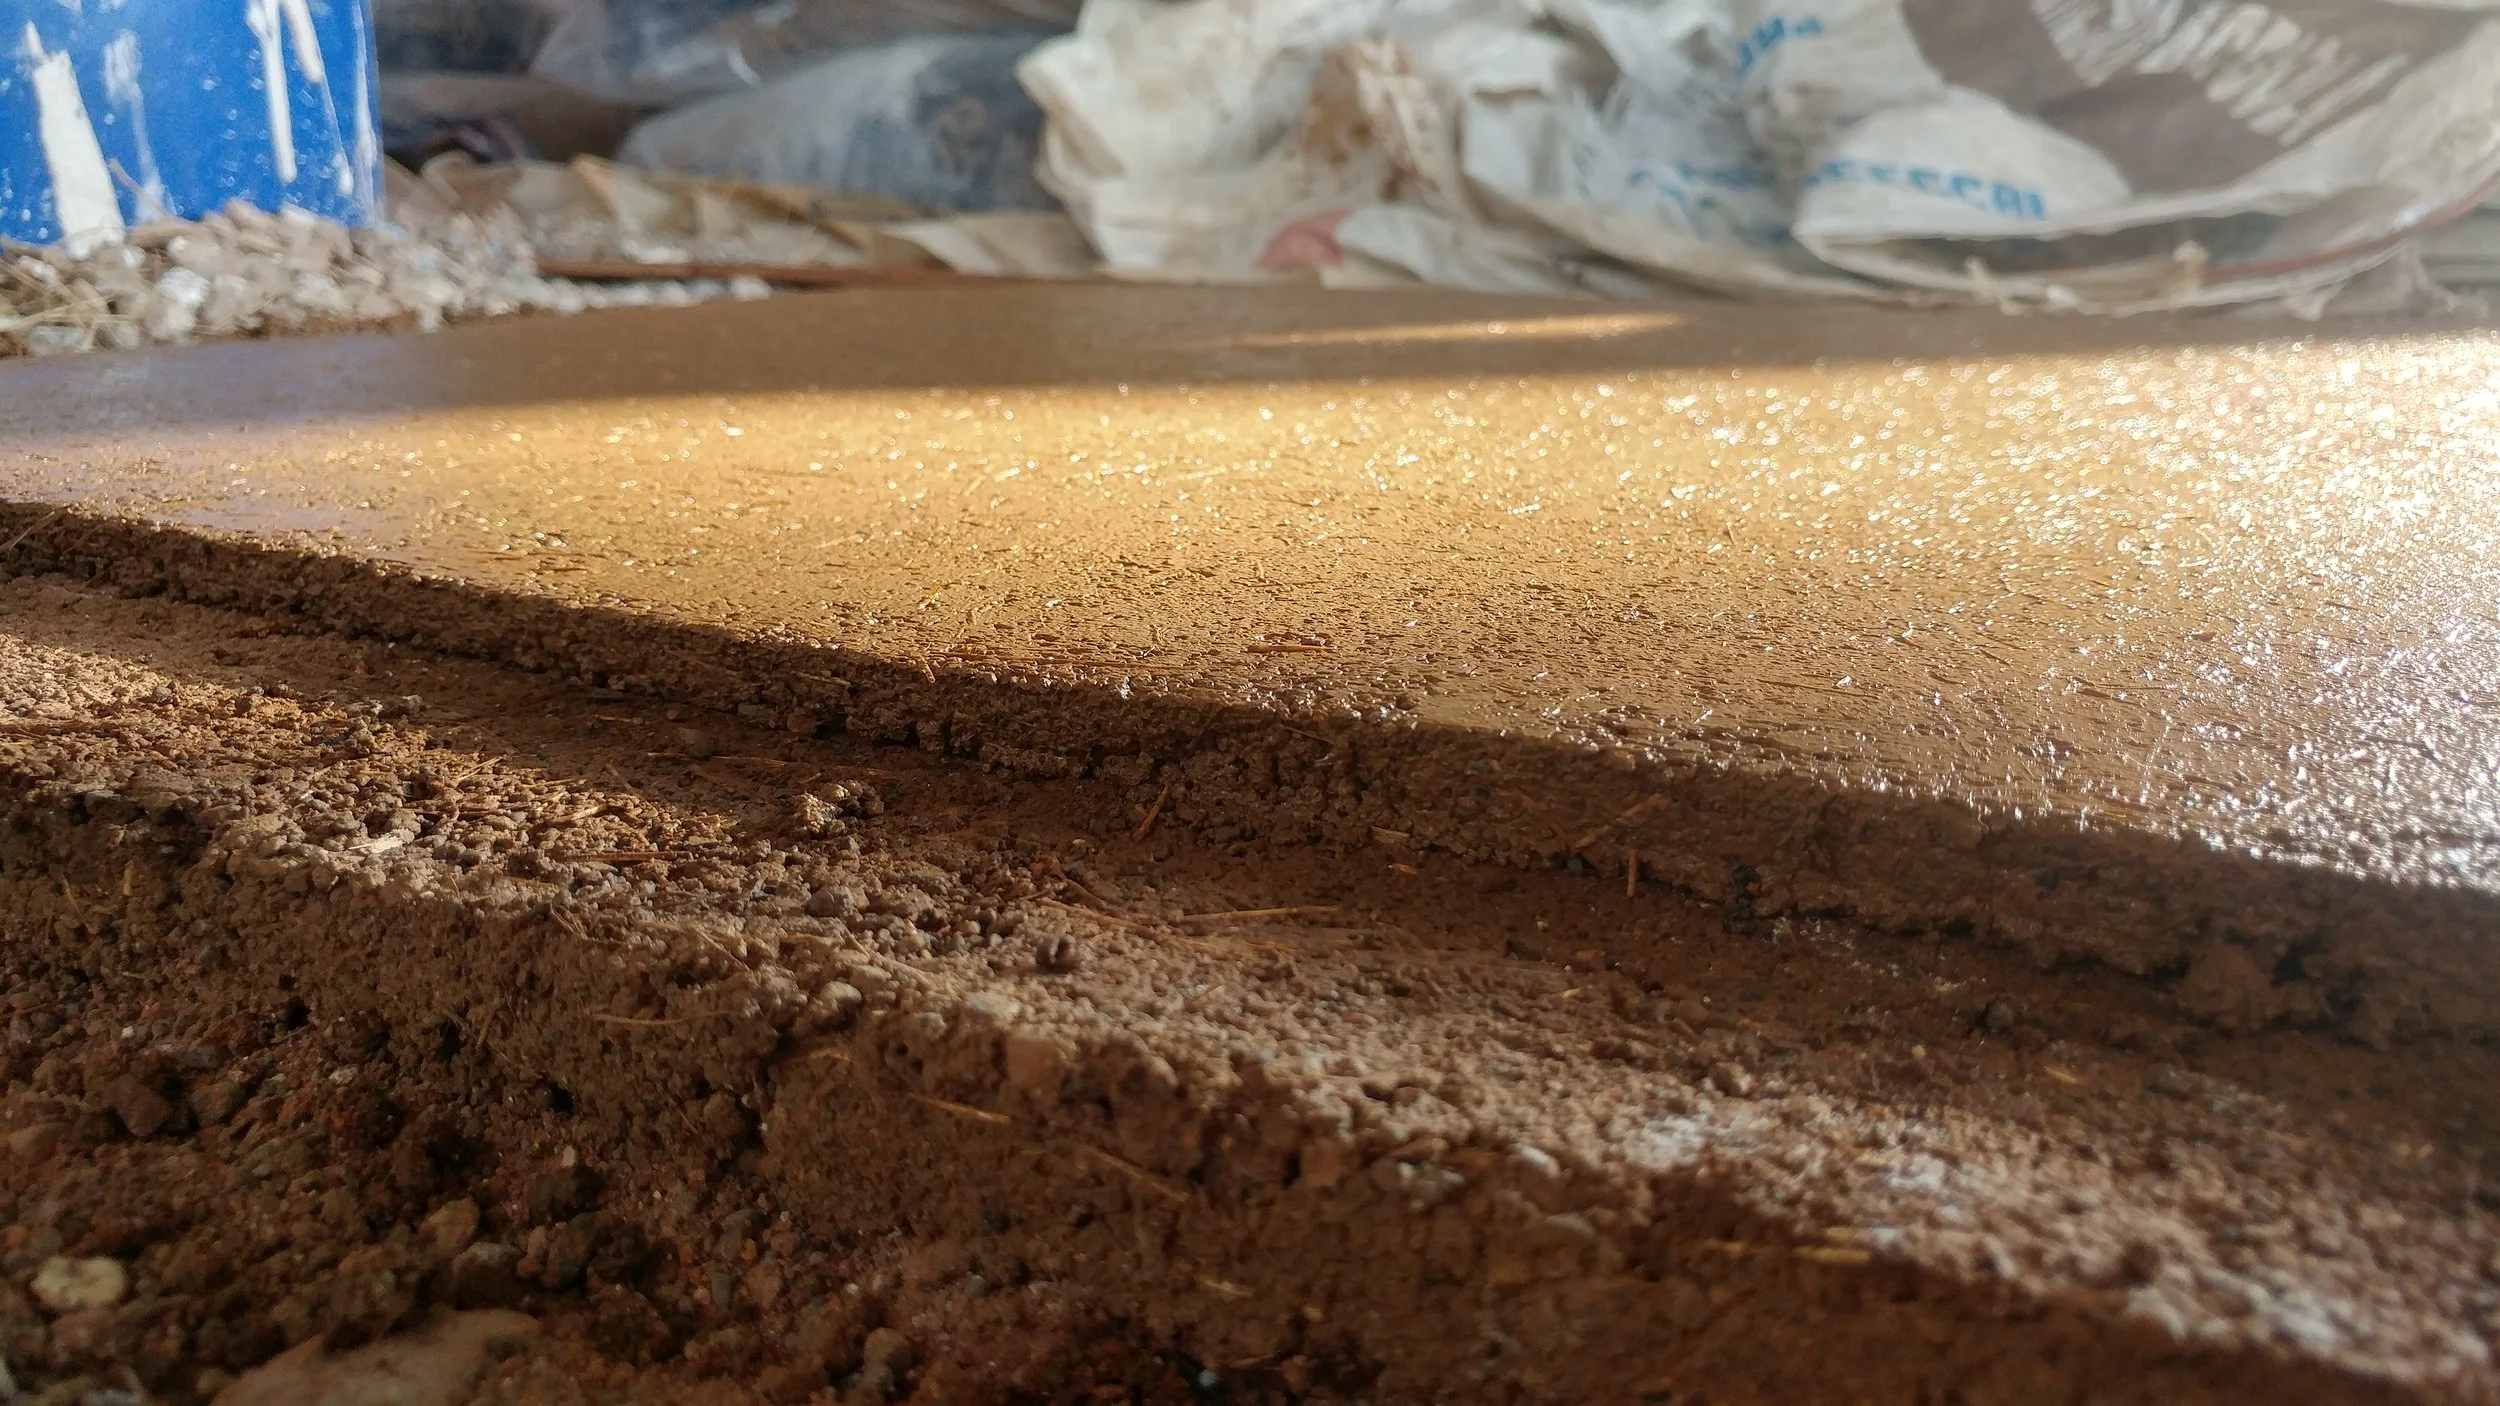
Base and final coat in a sample, always make tests!
Here in our tropical environment, with the materials locally available to us, we have finally figured out a bomber earthen floor. Here is a simple step by step guide on how we lay an earthen floor.
An earthen floor is comprised of 4 different layers
· Water proof membrane
· Tamped gravel (optional to increase total depth)
· Compacted road base (mixture of sand, clay and gravel)
· Two layers of final floor (mixture of sand, clay and chopped straw)
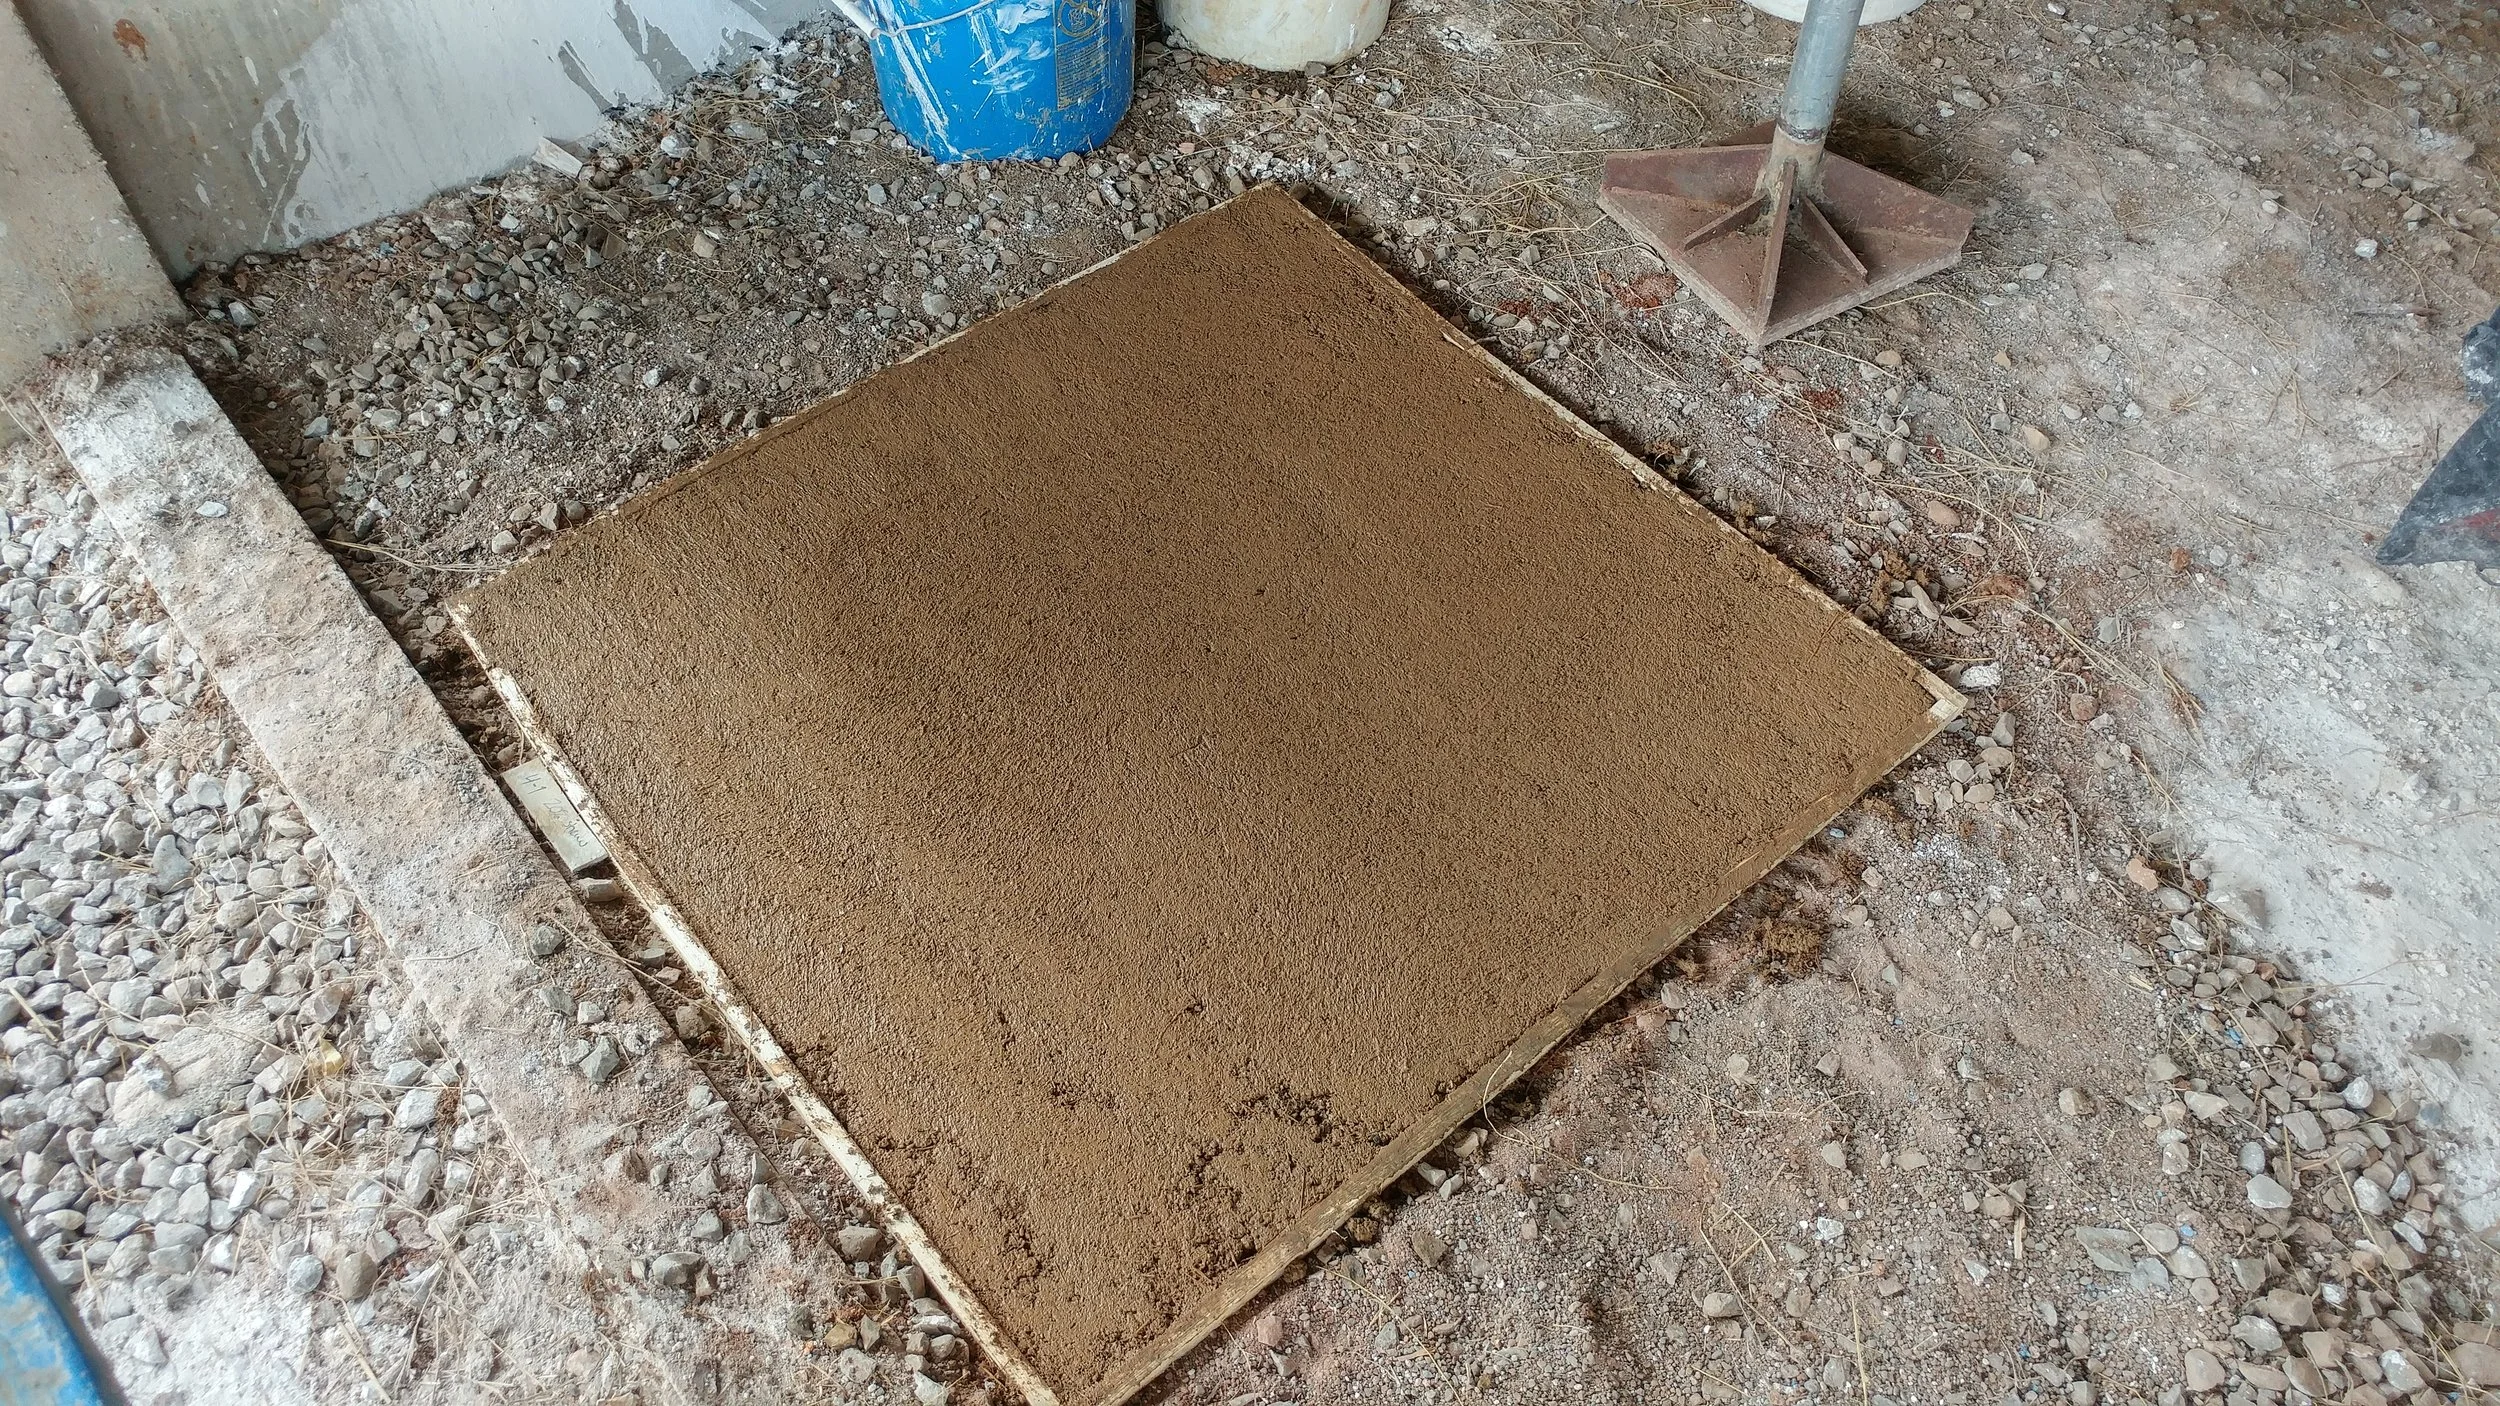
Make sure your samples are large enough to be representative!
Before you begin make samples! Always make samples for anything you plan on building; whether that is for your cob house, outdoor pizza oven, or natural plasters. We recommend making at least 3 samples with different ratios of clay, sand, and straw. These should be at least 1 meter by 1 meter to get an accurate example of the final product.
Steps once you find the correct ratios
1) Lay down a waterproof membrane, wrapping it up the inside of the stem wall.
2) If you need to increase the depth of your floor height you can add tamped gravel.
3) Compact your road base. Minimum depth is 4 inches.
4) Lay down your first layer of final floor. We do ¾ inch thick. Let completely dry.
5) Lay down your final layer of floor. We do ¼ inch thick. This can be troweled smooth to close any holes. Let completely dry.
6) Paint multiple layers of linseed oil/thinners combo at 3:1 ratio. This provides a protective coat that will increase the longevity of your floor.

Want to Learn More?
Perfecting an earthen floor takes time and practice. If you are trying to create a sustainable home consider using earth for your floor and throughout your home.
If you would like to get some hands on experience in natural building join us for one of our upcoming courses check out our workshops page for our latest offerings.
References:
Earthen Floors - A modern Approach to An Ancient Practice By Sukita Reay Crimmel & James Thomson
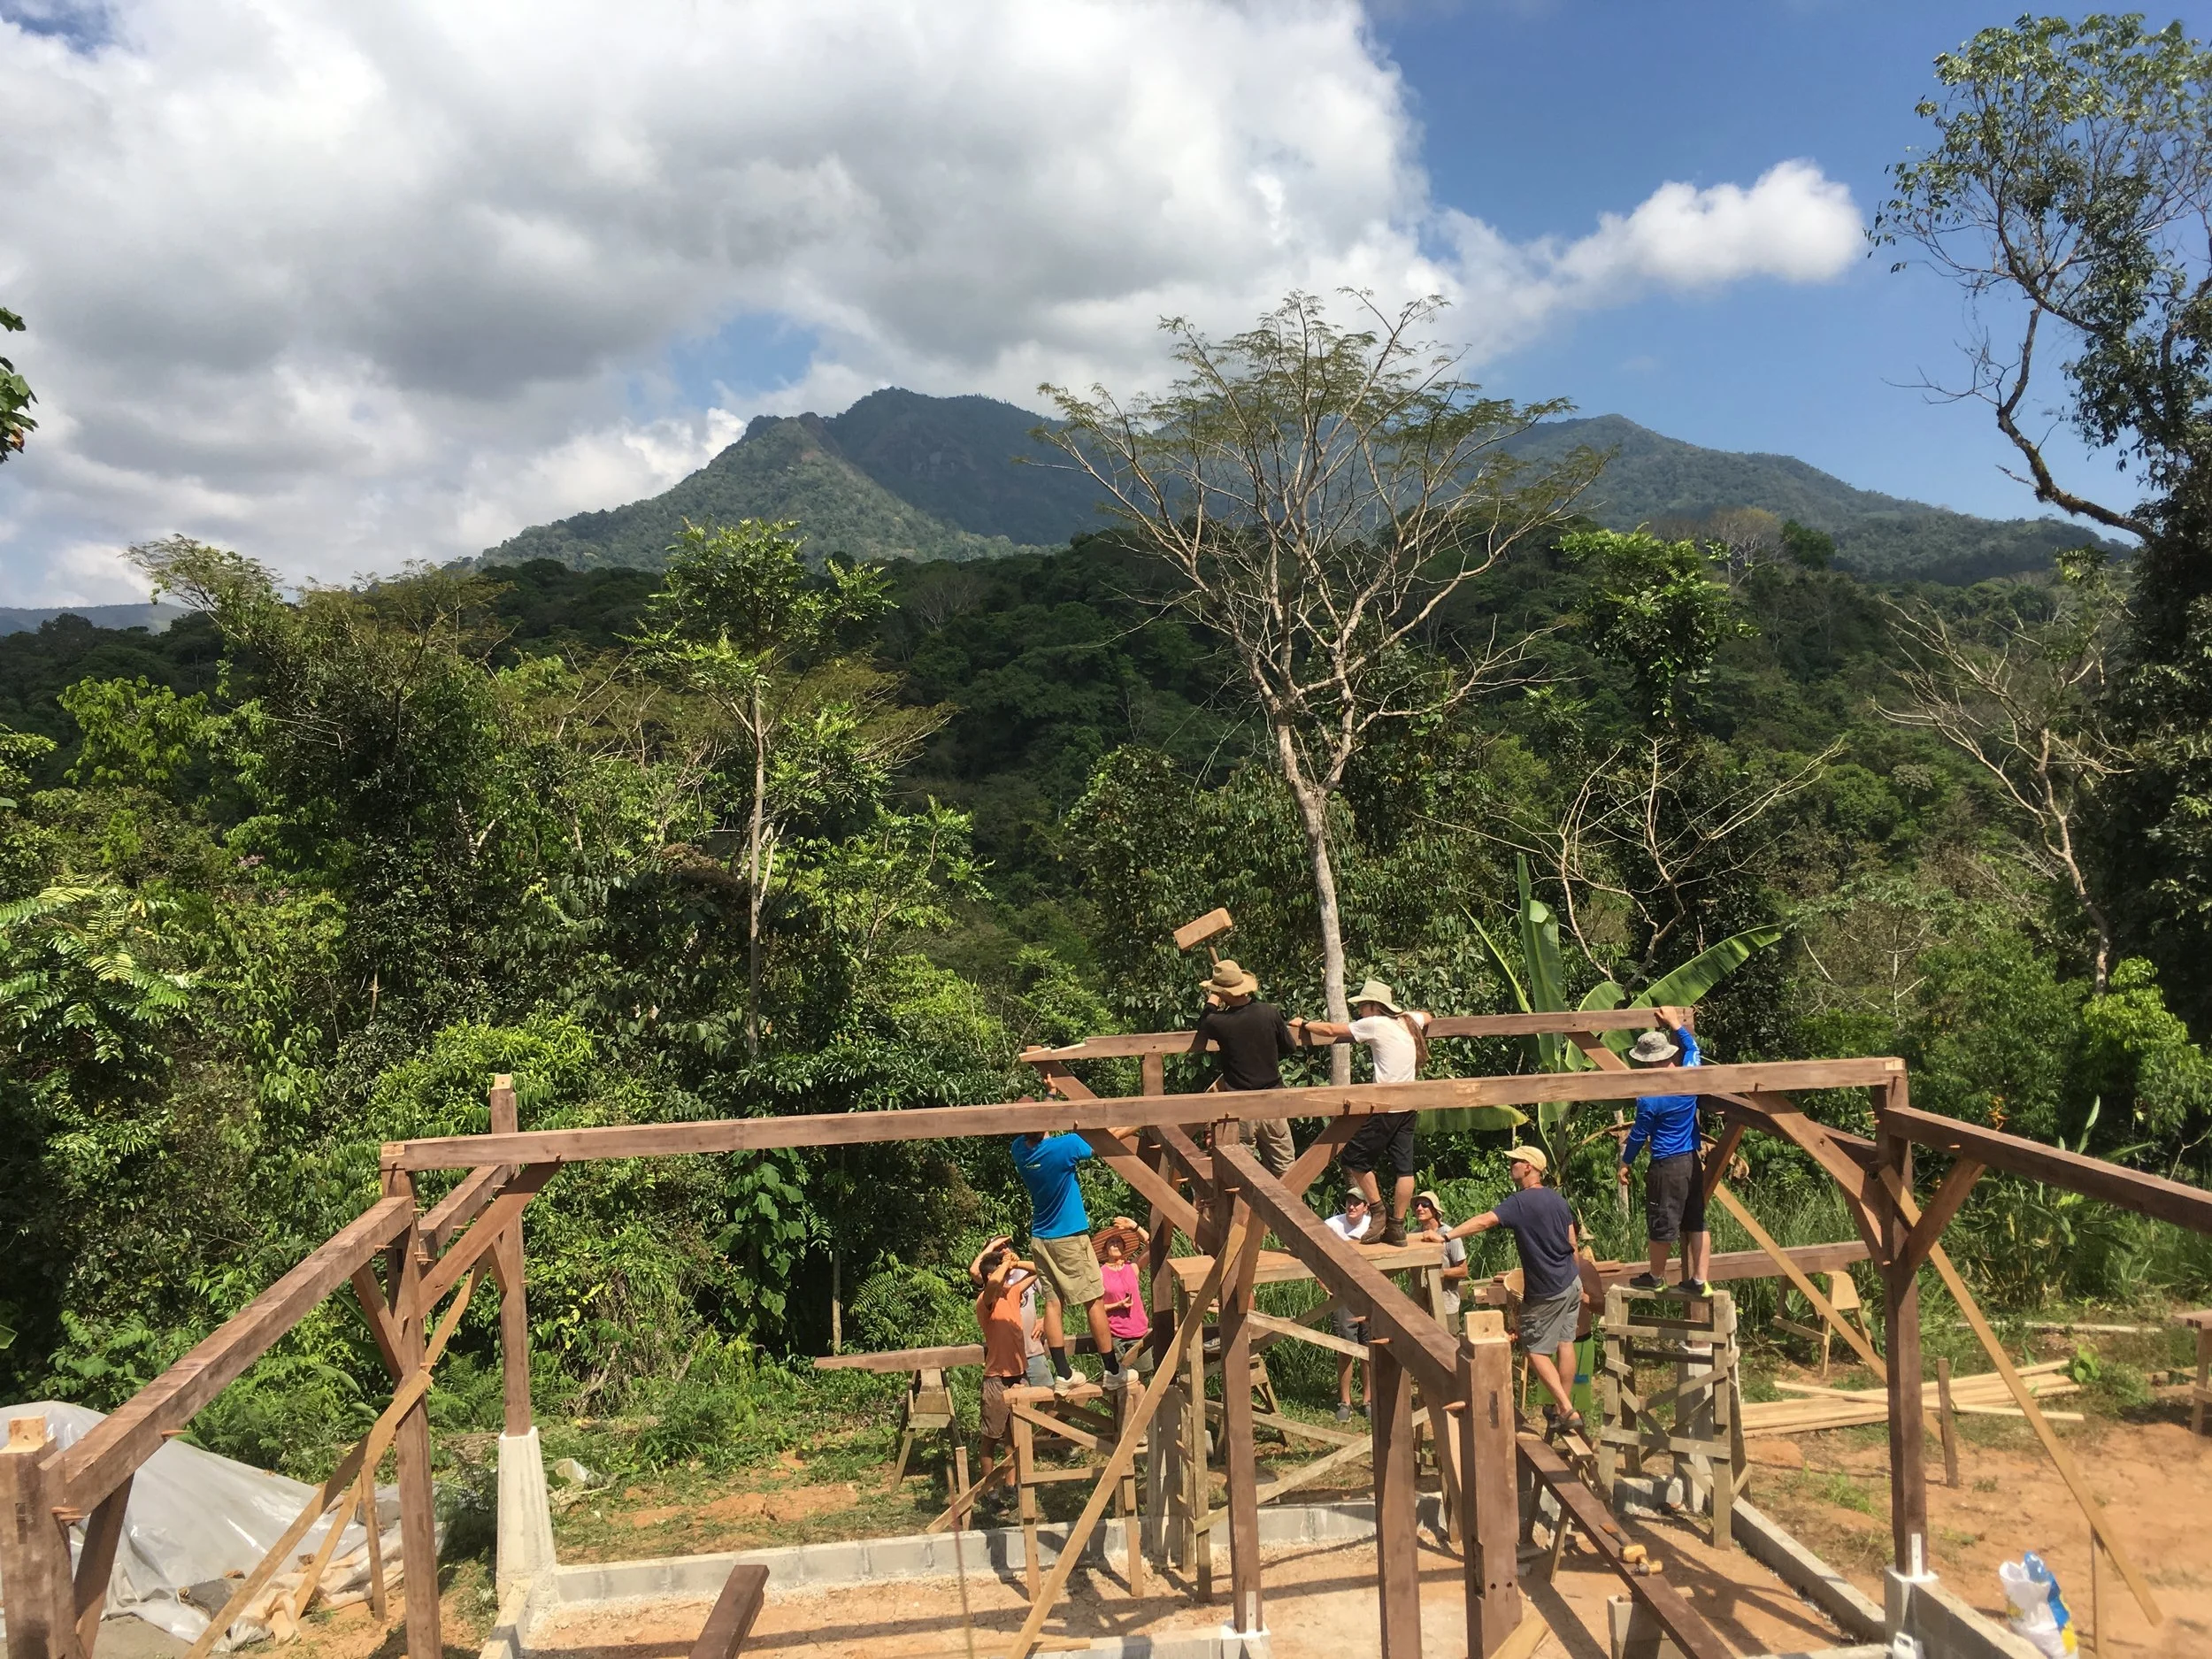
Timber Framing in the Tropics
The rainforests of Central America might not be the first place that you think of when you hear the term “timber frame construction”, but with initiatives in Monteverde and Mastatal, Costa Rica is starting to make a name for itself in the region for this post and beam building technique. We started to build the infrastructure of Rancho Mastatal Sustainability Education Center in the small rural community of Mastatal, Costa Rica in 2001.
By Tim O'Hara

The rainforests of Central America might not be the first place that you think of when you hear the term “timber frame construction”, but with initiatives in Monteverde and Mastatal, Costa Rica is starting to make a name for itself in the region for this post and beam building technique. We started to build the infrastructure of Rancho Mastatal Sustainability Education Center in the small rural community of Mastatal, Costa Rica in 2001. At that time, we did not seriously contemplate this age-old technique of joining large timbers using mortise and tenon joinery. There were no local, established wood mills in the area in 2001 nor had we ever built anything in this manner. In addition, the portable Alaskan mills used by local sawyers are not up to the task of producing a 6'x6'x12' member straight enough to work using the square rule method that we would eventually be introduced to.

The possibility of building a timber frame structure on the Ranch's campus began to gain traction after our introduction to SKIP DEWHIRST and LIZABETH MONIZ in 2003 when these two Vermont-based builders came to Rancho Mastatal to teach a natural building workshop at our site offered through Yestermorow Design/Build School. After a successful first workshop, they began coming down every year to teach courses, though with a non-timber frame focus. Skip, a seasoned timber framer, eventually started to inquire about the possibility of sourcing long, straight, large timbers so that we could begin to incorporate this type of building into our natural building education programming and our infrastructure. During a conversation in 2006, we decided together to give it a try and started planning a 2007 workshop that would focus on the construction of a 10'x15' cabin on the edge of the rainforest. We would in due course call it La Casucha, meaning little rustic house in Spanish. We set about trying to source the cut list for the design that Skip had come up with. When we finally received the wood delivery for the class, banano was the first term I heard uttered by our talented and local worker ALEX HERNANDEZ. Banano in Spanish, as you can probably figure out, means banana in English and is not an endearing term when referring to a piece of wood to be used for the construction of a rectilinear home. It took us more time to plane the timbers to ready them for laying out the joinery than it did to actually cut the joinery with our chisels and mallets. Banano has since worked its way into our building lexicon and is uttered a bit more frequently than we'd like. But that's life in the rural tropics.

For those of you reading this in the comforts of your first world home, we do not have access to a lumber yard or a box store for our building needs. Nor at that time did we have easy access to a bandsaw mill. Almost all of the wood that we used for building purposes had to be straightened, planed and cut before even thinking about a layout. Fortunately for us and others interested in sourcing local wood, in 2010, a local man named CARLOS SOTO set up a portable bandsaw mill about a ½ mile from our town center. From that point forward we were able to more consistently obtain reasonably straight timbers and our foray into timber framing has not waned since. We now have a combined total of 9 timber frame buildings at the Ranch and in our small community. The practice has revolutionized the infrastructure of our organization and how we look at wood as a building material in our timber-rich ecosystem.
We have access to and have used many different species of wood for our projects and continue to learn about the different qualities that each have. There is much less written about the characteristics of the tropical woods that we use than the commonly used temperate species in North America. Much of our learning has happened through trial and error. Pilon, or bull's blood, is a heavy, resistant hardwood that we expected would be good for pegs until we realized how short-grained it was. Melina, a resistant softwood species originally imported from India, is a decent candidate for frames though the wood can be tricky to work with due to inconsistent grain patterns. Teak, another non-native wood increasingly common in Costa Rica, has a tendency to be knotty from some local suppliers and prone to termite damage if harvested too young, as is commonly done in our area. For most of the species that we've used, sourcing wood from older trees, keeping your chisel razor sharp and making sure that your stock of patience is full are all keys to a successful and strong frame.
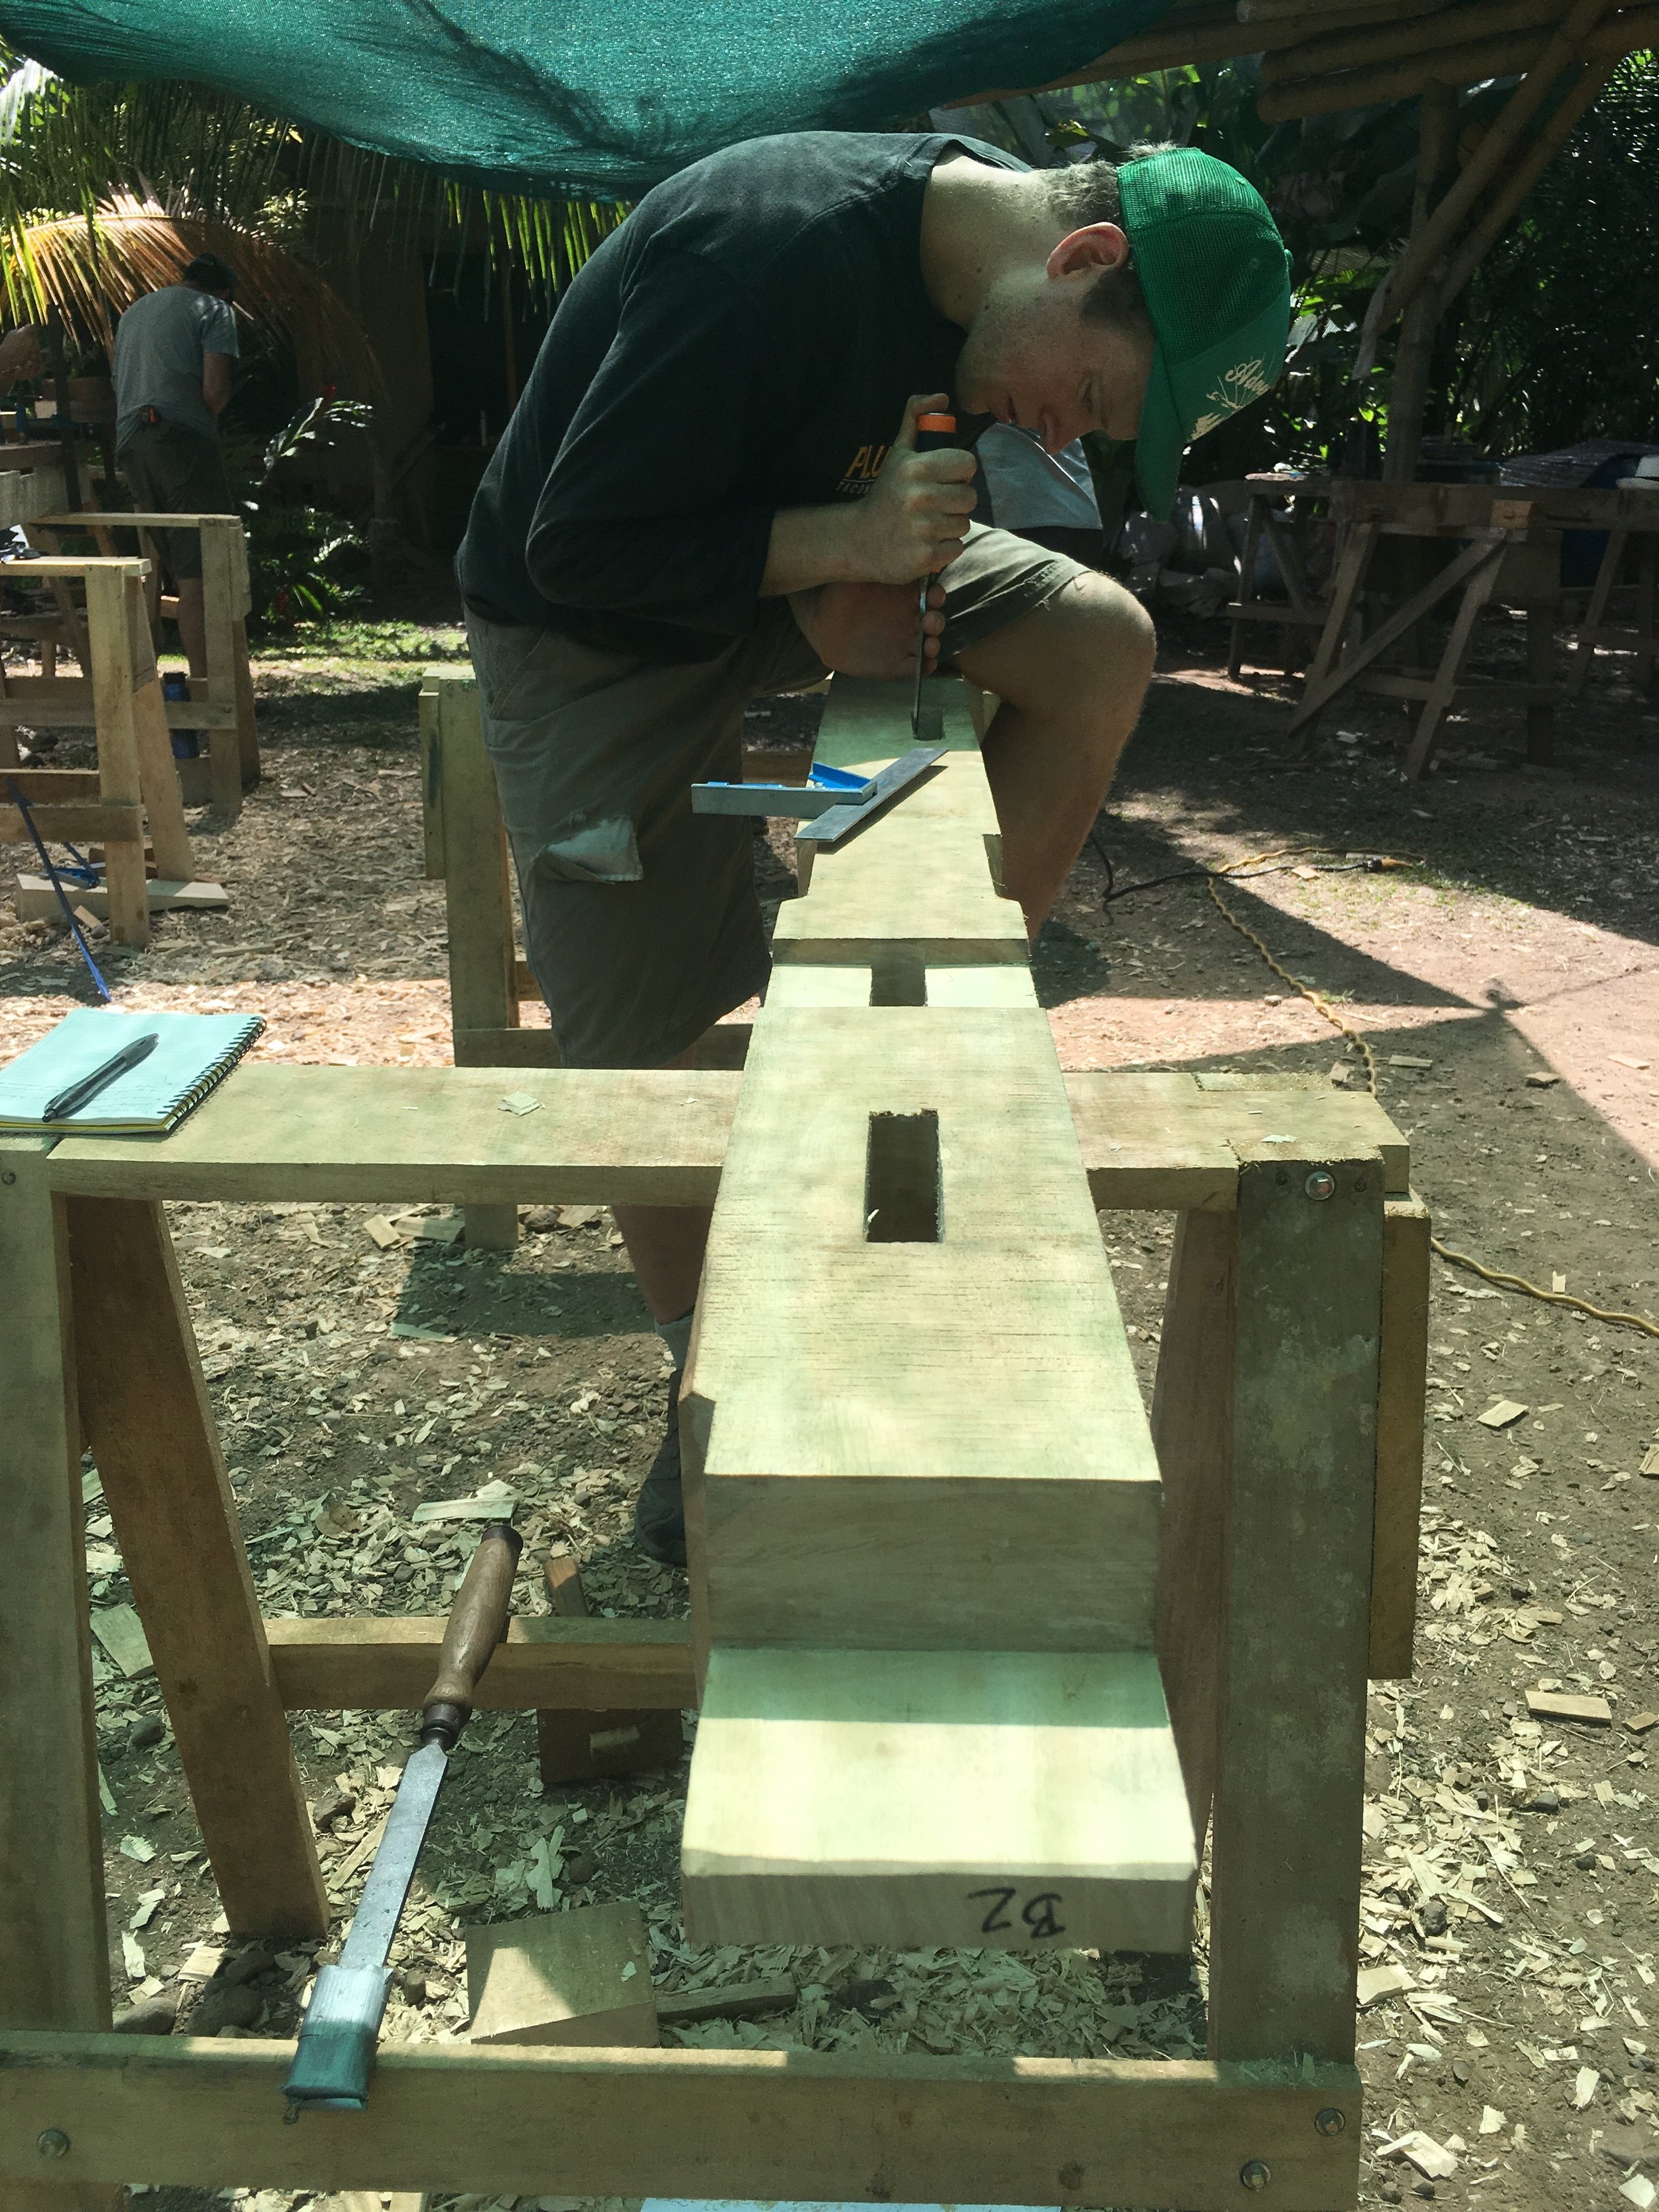
Since opening our doors in 2001, natural building has been one of our focuses. Our site is considered by some to be a leader in the relatively small natural building movement in Central America. All of our buildings are small, simple and nice on the eye with a focus on using materials that we can source in our region. To do this requires a lot of work, an abundance of persistence, and the willingness to slow down the building process. As our campus has organically grown, so has our network of people working in and interested in natural building. We've had the honor of working with and befriending a number of leaders in the sector including BILL, BENITO and ATHENA STEEN, RYAN CHIVERS, LIZ JOHNDROW, MATTS MYHRMAN, CHRIS MAGWOOD, SKIP and LIZABETH and others. We've also had the privilege of experimenting with other wonderful natural building resources such as clay, bamboo and lime that are so rich in our region. It's been a wild ride full of successes and failures but increasingly our infrastructure is starting to catch the eyes and fill the hearts of many a natural building lover with timber frame construction the crux of our building world. Even though this building technique has a shorter history in Central American compared to other parts of the world, our experience has shown that it's a relevant choice for our environ. We plan on continuing our experiments with timber frame construction and invite you to come and join us on our ride to discovering the beauty of building in the tropics. Hope to see you in Mastatal soon!
OPPORTUNITIES AT THE RANCH, IN THE REGION AND BEYOND
Japanese Natural Plastering
Interested in natural plasters? Join us in March, 2018 for a unique experience learning about Japanese Plastering at Rancho Mastatal.
Aerie Backcountry Medicine Semester in Wilderness Medicine
Join Aerie for its Semester in Wilderness Medicine at Ranch Mastatal and Montana this winter and spring. The field portion of this course runs January 31 through April 15th. The Semester offers 15 upper-division UM credits, EMT, Wilderness EMT, Swiftwater Rescue and Avalanche Rescue certifications, as well as training in LNT, wilderness survival and wilderness navigation. Students will live for a month at the Ranch, will help organize and run a free health clinic in Zapaton and will complete rotations in the Emergency Room as well as on an advanced life support ambulance. The cost for UM students, including room, board and all certifications, is approximately the same as in-state tuition at UM, and students can use their AmeriCorps awards as well as their financial aid.
Japanese Cooking at Rancho Mastatal
Love Japanese Food? Join us March 20-23 for a fantastic culinary immersion in Japanese cuisine during our Japanese Permaculture Cooking: An Introduction to Japanese Cooking and Permaculture
We hope to hear from some of you with your updates and stories! Thanks to all of you out there that make the Ranch community so strong and special.
Abrazos,
The Ranch Crew

Our Natural Building World
In the natural building world at Rancho Mastatal there is no lack of projects to be done. I think as a team we have collected a list that will take us past 2020. And we already have been building our infrastructure for the past 16 years. One could say we are natural building addicts!

In the natural building world at Rancho Mastatal there is no lack of projects to be done. I think as a team we have collected a list that will take us past 2020. And we already have been building our infrastructure for the past 16 years. One could say we are natural building addicts!
But as Rancho Mastatal grows as a community, education center, and business our building list keeps getting bigger to accommodate our many needs. Although the upfront cost of building infrastructures is high in the long run the benefits should pay back plenty.
Taking stock of the different building projects that started and finished in the last year amazed me. Up until then I hadn’t thought about all that was accomplished. It is good to step back and look at the full picture, to feel satisfaction for what you have achieved. Especially in those times when you have been working on the same project for what seems like decades.
Here is a brief rundown of what was started or finished in the natural building world at Rancho Mastatal in the past year. With the help and hard work of our core team, apprentice crew, and our local staff we are proud to have accomplished so much!
We began our season with building and completing a timber framed compost toilet for our dorm room. We realized that it was finally time to have two toilets to a house that fits 20! This has definitely paid off!

Then we gave the two bedrooms at the Casucha a face lift. After removing the old plaster, we brightened the place up with a natural lime plaster finish inside and outside. Then we installed a beautiful hardwood floor.
We were honored to have Benito Steen, an amazing natural builder and plasterer, come down to live and work with us for six weeks. In that time, he taught us many new methods for building and plastering. Including a new, lighter earthen mixture for wattle and daub that has revolutionized our wall building; recipes and methods for Japanese clay, lime, tamped earthen floors; a bomber clay, lime, straw plaster; and just his overall skills in the entire building world! Along with all that, Benito helped us finish the floors and walls at the Honey Hut shower.
After a year of construction, in which nearly every group that came through our doors contributed to building the walls; we were delighted to finish the food processing kitchen wattle and daub walls and apply a beautiful burnished lime plaster. The entire food processing kitchen is coming together nicely and providing an area to productively accommodate the many needs surrounding food for our community.

Even with all the building we still seem to have a lack of space. With the hope to have 6-7 apprentices each year, and our current apprentice house only fitting 5, we decided to renovate our old goat barn into apprentice quarters. This structure was started in the Natural Building Course, and will be finished by our current year long apprentices. In the course, students learn to build various different walls systems including: wattle and daub, adobe brick, and cob. We are imagining this as a good cabina for a couple or two single apprentices.
While this was all happening, we also started the foundations and timber frame for our new 800 sq. foot guest cabin called Bernie’s Bungalow. By mid-season we raised the timber frame structure and began to frame the walls for the wattle and daub. We started the wattle and daub walls with our apprentices and then pushed them forward with a Natural Building Practicum which proved very successful. We are excited to finally be done with the walls for our guest cabin and beginning the process of plastering, making the earthen floors, furniture, and everything else to make this a cozy tropical space.
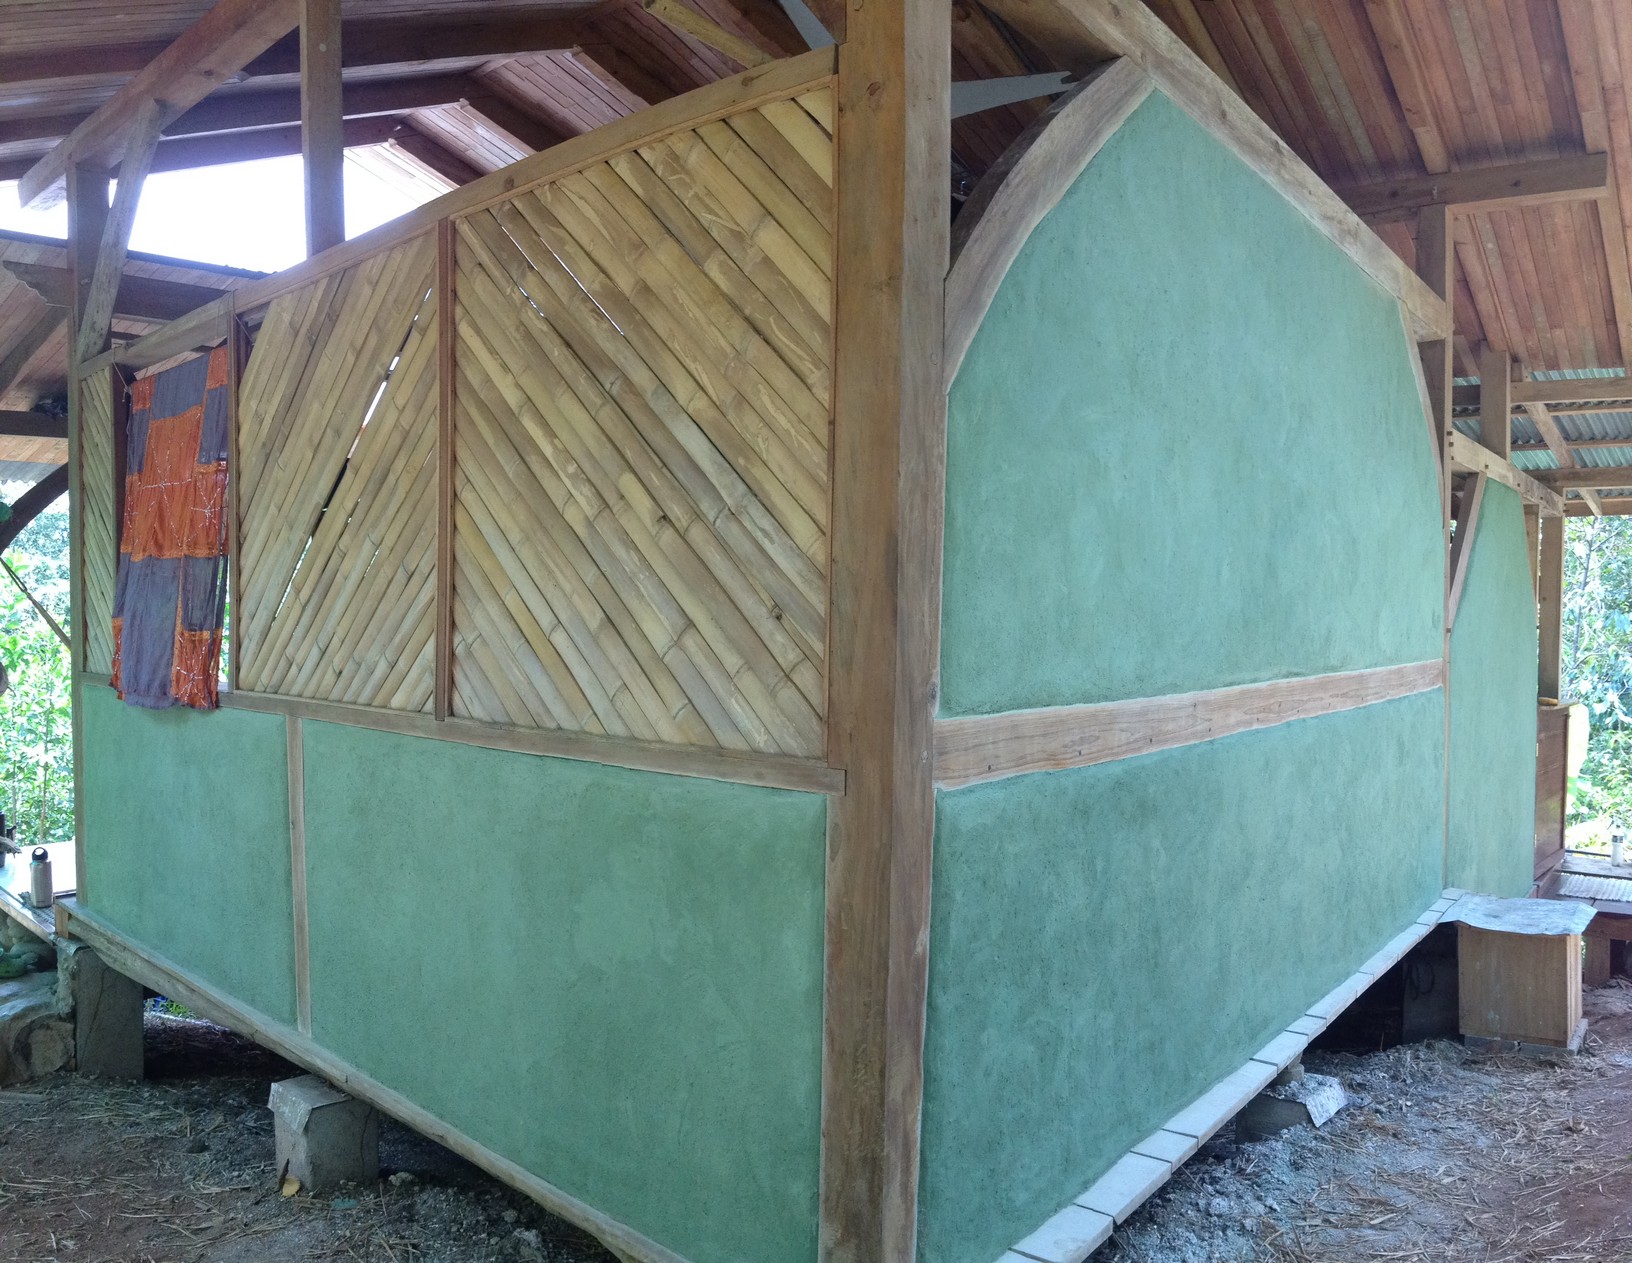
Finally, somewhere in the mix of all this natural building being done throughout the Ranch. We ran a ten-day Timber Framing Course with our good friends Skip and Lizbeth. In this course, we cut and rose the frame for Nic and Ali’s house. We are running a seven-day Natural Building Practicum from May 24th-30th. In this practicum, we hope to be able to start and finish all the wattle and daub walls for this house. It will be a big task, but we think we can make it happen! Participants pay a nominal fee that covers the cost of their food and we spend a focused week long period working on the walls. This allows much faster progress not just because of the focused time but because you can see the walls going up so fast it keeps you motivated, excited and learning. This is a great opportunity for anyone who would like to get some experience of building with earth, work with skilled professionals and come and visit the Ranch for a very affordable “working holiday” or break.
There it is; a recap of our past year's natural building season. Not too shabby of a list. In the process, we have learned a lot, discovered new methods, and bad methods, and everything in between. Even after all these years of natural building at the Ranch there is always something new to learn. We are thankful for all those natural builders that have and will come through Rancho Mastatal.
Cheers to muddy feet!
Across the Permaculture Universe
We still have space in a few upcoming workshops:
- The Art and Practice of Live Culture Fermentation
- Plants as Medicine: Reclaiming the Art of the Home Apothecary
- Agroforestry Skills Inspired by the Forest
Help us spread the word and fill them up!
We are also starting to interview and accept 2018 apprentices. If you know anyone who is seeking a life-changing experience please send them our way.
Abrazos
The Ranch Crew

Getting Inspired About Natural Building
Over the years of natural building at Rancho Mastatal my feelings on the process have gone through many stages. From the initial excitement of- wow, how cool you can build a house from the materials on your land, and all it takes is time, practice, and anyone can do this! To over time, after building many walls, an understanding of how long it takes to build a natural home and all the work that it entails.

Over the years of natural building at Rancho Mastatal my feelings on the process have gone through many stages. From the initial excitement of- wow, how cool you can build a house from the materials on your land, and all it takes is time, practice, and anyone can do this! To over time, after building many walls, an understanding of how long it takes to build a natural home and all the work that it entails.
The style we use at the Ranch for many buildings is a timber framed structure with wattle and daub walls. This is a faster and more effective method of building a natural home than say a pure cob house, which requires much more materials and time. Although, wattle and daub is a faster method, it still takes a fair amount of time and labor. Over the years my excitement for building wattle and daub walls has decreased as I’ve experienced the long, slow, drawn out process of it. Until this year when my hope for natural building was born again!
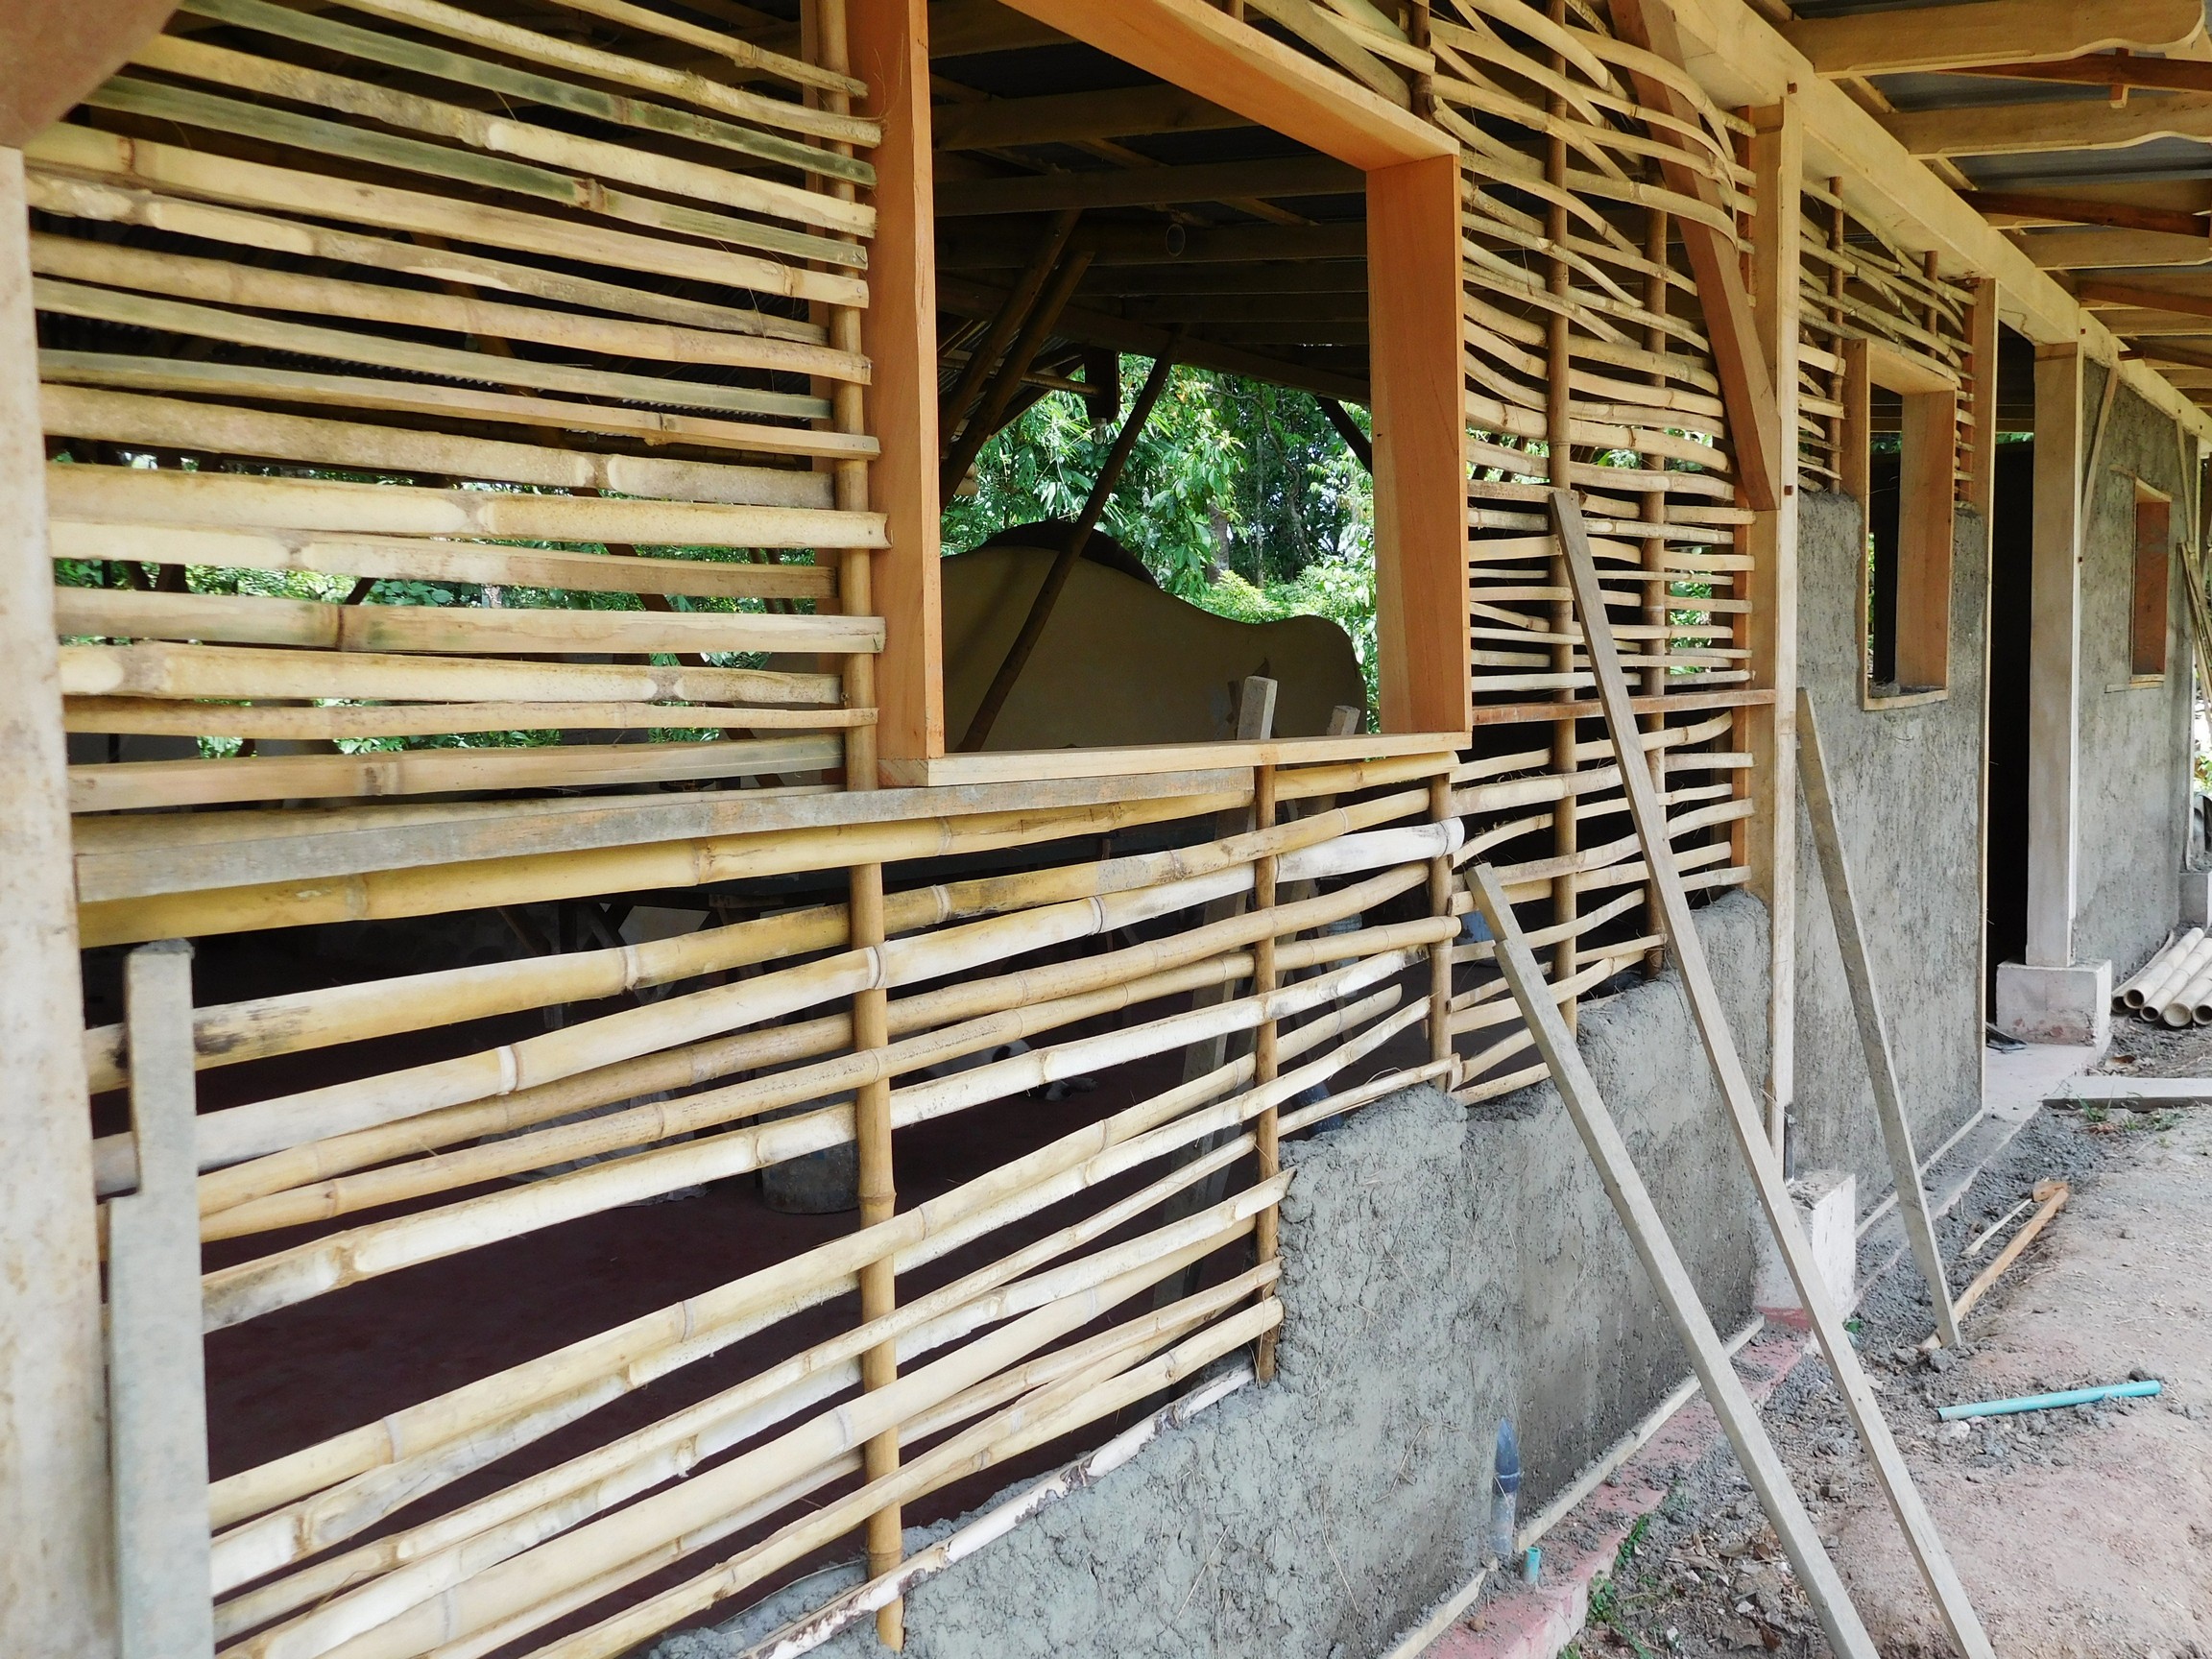
In the past years, we have purposefully left building projects for our educational groups, in order to give them the experience of natural building. Last year it was the walls for the Food Smithery, the year before that was the walls for the Honey Hut shower, the list goes on and on. This year we decided to try a different method in order to move our new guest cabin, Bernie’s Bungalow, forward faster.
Every year we host a Natural Building Course. This course is 10-14 days long and is an intensive break down of many different styles and methods of natural building. This course is more expensive because we bring down well known natural builders from around the world, the students get a diverse exposure to different topics, and hands on experiences with natural building. In these courses the students work on different structures and move projects forward around the Ranch, but finishing a project isn’t the goal for this course because of the wide range of topics covered. So, we decided to trial a Natural Building Practicum. A week-long program that was affordable, but more labor intensive. With the goal of finishing as many wattle and daub walls in the guest cabin as possible.
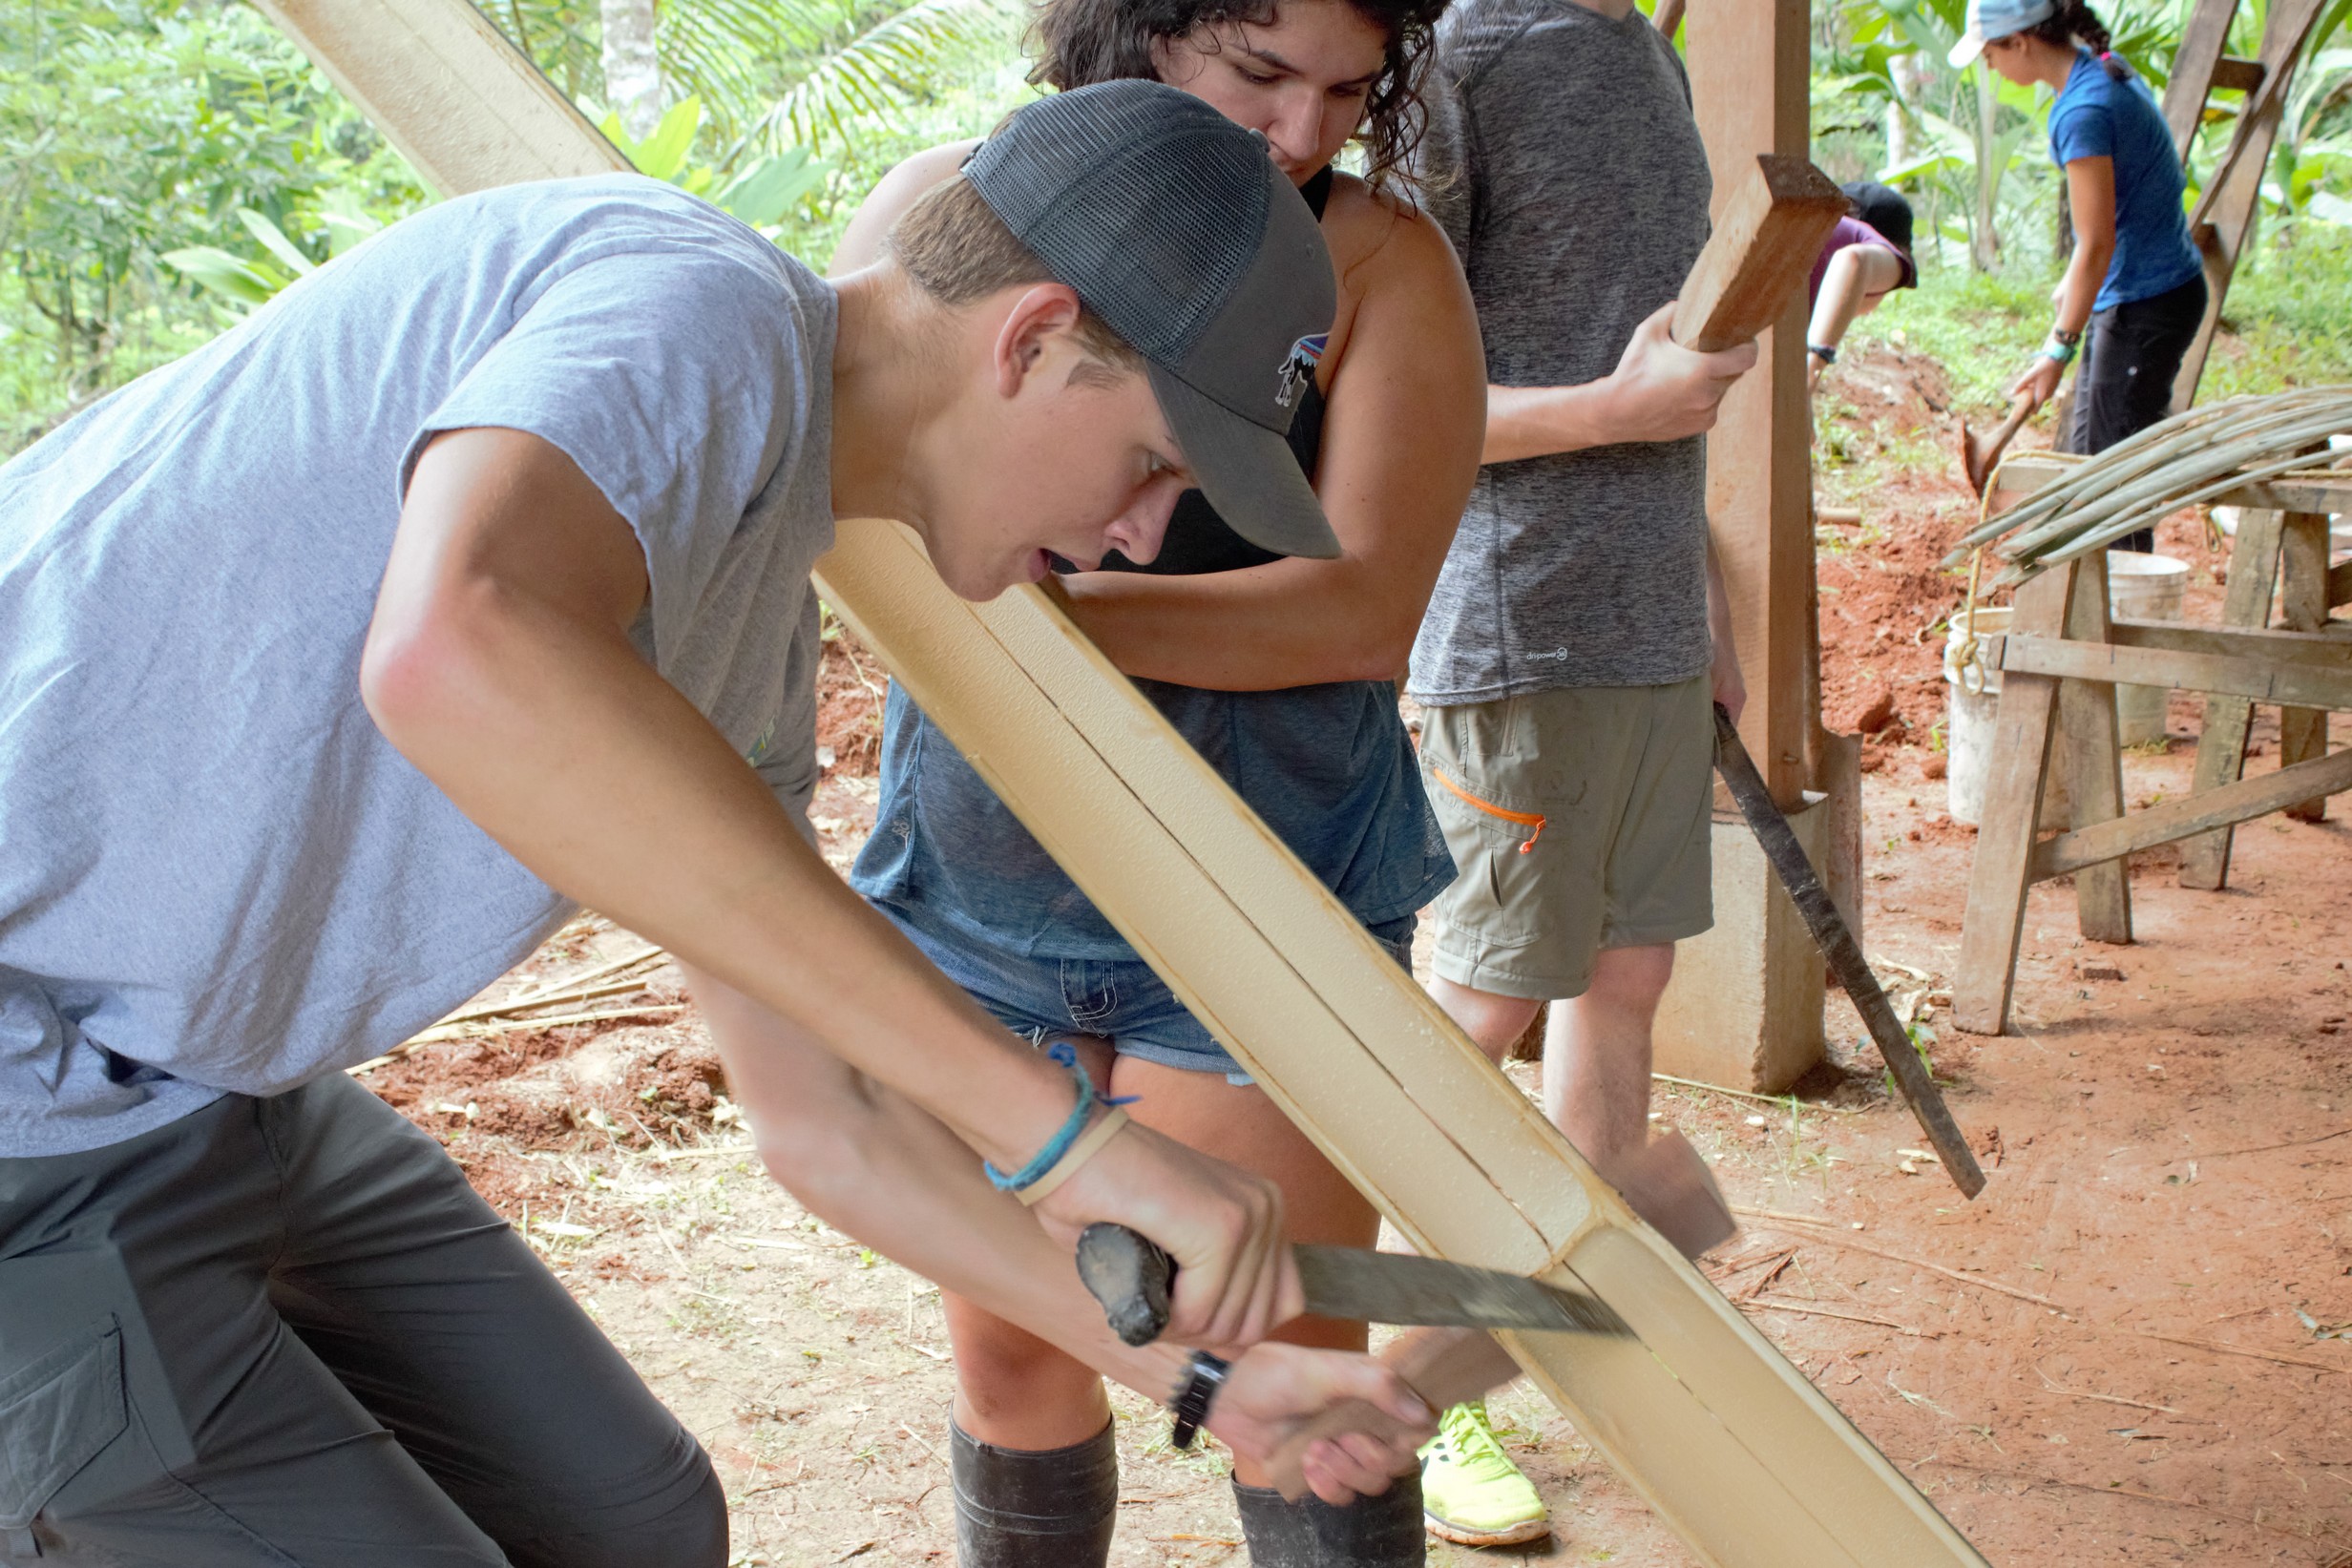
In December we received eleven sign ups, from people from all over the world that wanted to have a hands-on experience with natural building and an affordable way to visit the Ranch. Our first Practicum was under way!
The experience was amazing for myself and I believe the group. We watched every day our progress get better and better and the walls get higher and higher. We worked every day from 9am-5pm for a week. We developed a good system for rotating through the different stages: sifting clay, hauling sand, making mix, and applying to the walls. There were no lectures, power points, or hand outs to this practicum, but there was a general overview of wattle and daub, lots of teachable moments, and many questions from the students as we worked. It was a long and exhausting week, but with that many hands it made the walls fly up!

This made a world of difference to my opinion on natural building. Instead of slowly watching a building get put together over a years’ time, and never really feeling like you accomplished a good amount of wall building in a session. This practicum made it feel like natural building didn’t have to be such a long burden. It gave me satisfaction to see what many hands, working hard for a short period of time can accomplish. I don’t want to sound like natural building is a huge burden and that no one should take on a project, and of course buildings can be built over time with just a few people. But when you have as many buildings on the list as we do it really makes a difference to the moral if they can get pushed forward at a reasonable speed.
We will be offering another Natural Building Practicum from May 24th-30th, 2017 (cost $120 for 7 days). The structure that we will be working on will be much smaller than the guest cabin and we hope to be able to start and finish the entire wall system with the group! So if you’re interested in coming down to stay at the Ranch at a very affordable rate, get a little dirty in the mud, and probably sweat a lot then sign on up and we will see you in May!
Across the Permaculture Universe
Our friends at Black Sheep are promoting a new model of regenerative resource management in Costa Rica. For the last few years they have been finding vulnerable properties in the Puriscal region and bringing together investors to purchase the land and plant timber trees and cash crops. They have once again hired Scott and Rachel to complete the permaculture master plan of a 300 acre property. We are excited to partner up with so many great local change-agents on another great project.
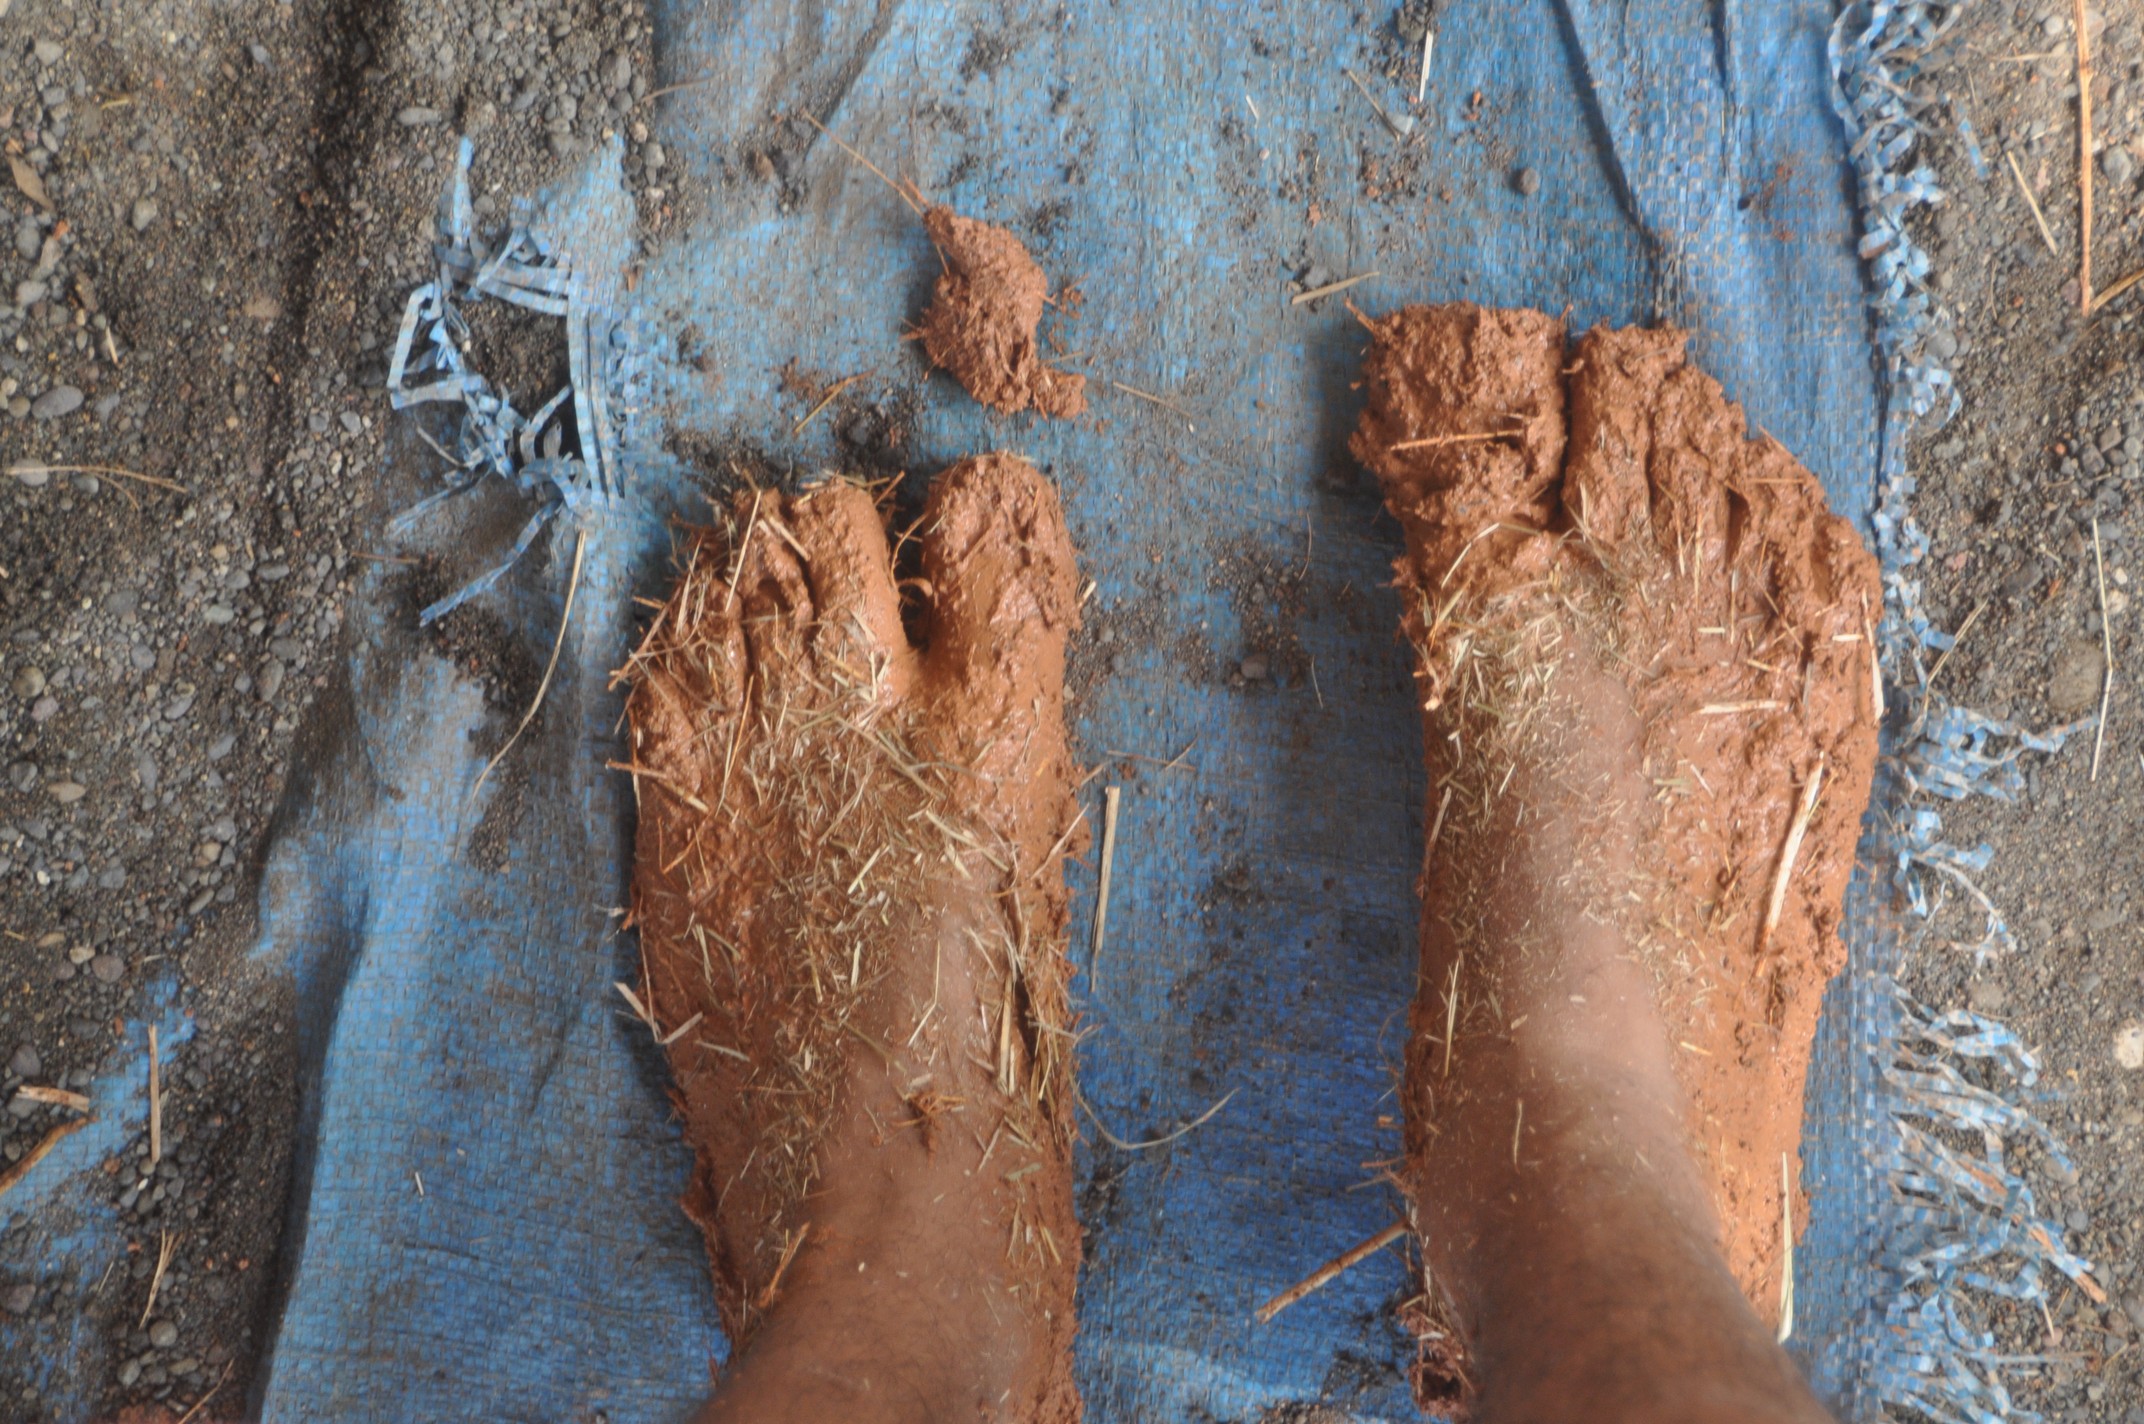
Speaking of permaculture master planning, we want to give a shout out to our friend Zach Weiss of Elemental Ecosystem. Zach is Sepp Holzer's protege and a young permaculture designer you should be paying attention to, especially if you are interested in water management!
And for anyone feeling generous, long time Ranch friend Eileen Richardson is part of the Rocky Mountain Land Library which is on the last leg of a Kickstarter campaign. They are hoping to transform an old cattle ranch into a home for writers and artist. Please support!
Abrazos
The Ranch Crew
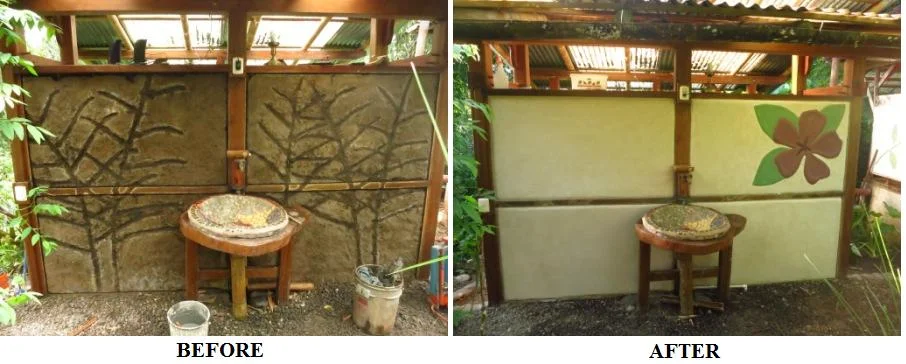
Re-plastering: What will be unveiled?
On the building list one of our goals is to correctly re-plaster old structures to enhance their look and highlight our unique architecture. Over the last couple years we have slowly been giving our old structures new face lifts. Using lime plaster techniques that we have been learning, practicing and perfecting we have transformed various run down plasters into beautiful canvases of art.

On the building list, one of our goals is to correctly re-plaster old structures to enhance their look and highlight our unique architecture. Over the last couple years we have slowly been giving our old structures new face lifts. Using lime plaster techniques that we have been learning, practicing and perfecting, we have transformed various run down plasters into beautiful canvases of art.
This process of remodeling never fails to reveal a variety of problems and headaches. We have learned that you never know what will be exposed once you start to take apart a wall for re-plastering and patching. So, as we have been going back to old structures to prepare for a face-lift we have encountered many different troubles due to past techniques.
In order to apply a new lime plaster you must remove all material from the wall that seems loose or may not allow the lime to adhere well. This is done by chiseling off old plaster materials, which can lead to more of the wall falling apart than planned. Once you’ve taken off the old materials you must go back and fill in the gaps created in this process; which can be a lot of gaps! The quality of the original wall is a big determining factor in how quickly (or not so quickly) this whole process will take. Therefore determining the amount of time a project will take is extremely difficult; you can make an estimated guess, but depending on what you uncover the estimate can change drastically. As in any remodeling job you just never know.
You can tell the difference between the walls that were built patiently with skill to those hurried by the physical amount of material falling off. There are a variety of reasons why there is so much variation in the quality of our walls, but we believe it is mostly due to the transient workforce that was utilised to build many of these structures. High school groups, short term volunteers, and so forth have built much of our campus. Lessons learned during one construction project were not always carried over to the next due to this lack of consistency. It resulted in a huge variety of quality and decisions were made that in reflection were not the best.

During our long evolution we have tried many different earth building methods, mixtures, materials, and tricks with varied success. For example, our previous wattle and daub methods used little bamboo wattle support meaning that the earth mixture didn’t have enough support and the walls ended up being a little wobbly. Now we have moved to weaving many bamboo strips between the uprights, spacing them about one half inch apart rather than a few inches. Our earth mixture has changed through the years as well, experimenting with the ratios of clay to sand, the additions of manure, different straws, and other materials that we were told would make the mix better. We went through a phase of adding manure to our earth mixes and applying a “poo schmer” as a plaster. Looking back the additions of manure possibly led to a weaker final mix and the schmer although an effective plaster was not ultimately what we wanted aesthetically. It has since proven difficult to remove in order to apply a finish that we actually want. We didn’t realize the importance of compressing the edges of your walls, which have resulted in cracks around the edges of our wattle and daub panels; or the importance of bridging between two different materials (eg. wood to be covered by earth).
Over the years there have been many different techniques used and we believe for the moment that we have developed the mixes, techniques, and materials that get the job done efficiently and create great looking walls and structures. Among other plastering projects the main one for this year is to re-plaster the Casucha inside and out, using a method called “poor man's” tadelakt on the inside and a sponge floated exterior. Stay tuned for pictures of the finish!
Categories
Topics
- Agriculture 6
- Agroforestry 21
- Animals 2
- Apprenticeship 19
- Appropriate Technology 6
- Backpacking 1
- Bananas 1
- Basic Pantry 4
- Biochar 1
- Books 3
- Build Your Own Home 1
- Central America 5
- Chiles 1
- Cinnamon 1
- Clay Carving 1
- Climate 2
- Climate Change 1
- Cob oven 1
- Communication 5
- Community 24
- Compost 2
- Composting Toilets 2
- Condiments 1
- Conservation 2
- Cooking 4
- Costa Rica 18
- Design 10
- Earthen Construction 10
- Eat Local 2
- Ecohome 1
- Education 9
- Environment 3
- Ethics 4
- Farm to Table 12
- Fasting 1
- Fermentation 14
- Food 22
- Food Choices 8
- Food Forest 8
- Food Processing 15
- Food Systems 12
- Gap Year 1
- Gardening 5
- Ginger Beer 1
- Harvest 2
- Health 12
- Healthy living 5
- Homemade 2
- Homestead 8
- Internet 2
Due to popular demand we have put together a document that outlines how our composting toilets are designed and made. The documents include
-dimensions for different size chambers based on number of people using it
-door design
-chamber design
We have spent years fine tuning our design and details based on what is easiest and what works. This is the culmination of building 11 different composting toilets and each time improving the design.
It is important that you understand that this design is only for the composting toilet element, it does not include any of the timber frame or bamboo framing that form the structure for the roof that covers these all over the ranch.