
Natural Building & Clay Carving - Add Artistic Expression to Your Home
By Mateo, Apprentice 2020
Clay. Oh noble clay. O beautiful, hardy, earthy clay. Whence forth did you come, and how did we ever come to deserve such a wondrous material? Art thou merely a dream... oh

A Dorodango, using a handful of clay from our soil
Oh sorry... didn't see you there. I was just entranced by this ball of clay I have here in my hand. Why do I have clay in my hand you ask? Well, why DON'T you is what I say!
I'm here today to preach the wonders of clay, and more specifically to try and convince you to go out in your backyard this afternoon and dig a hole and play in the mud. You'll be so busy having fun, you might not even realize that you're making art at the same time! So buckle up, and let's dive into the world of Clay Carving!
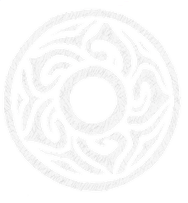
Clay carving with polished lime plaster on the center and a timber frame structure
What is Clay Carving?
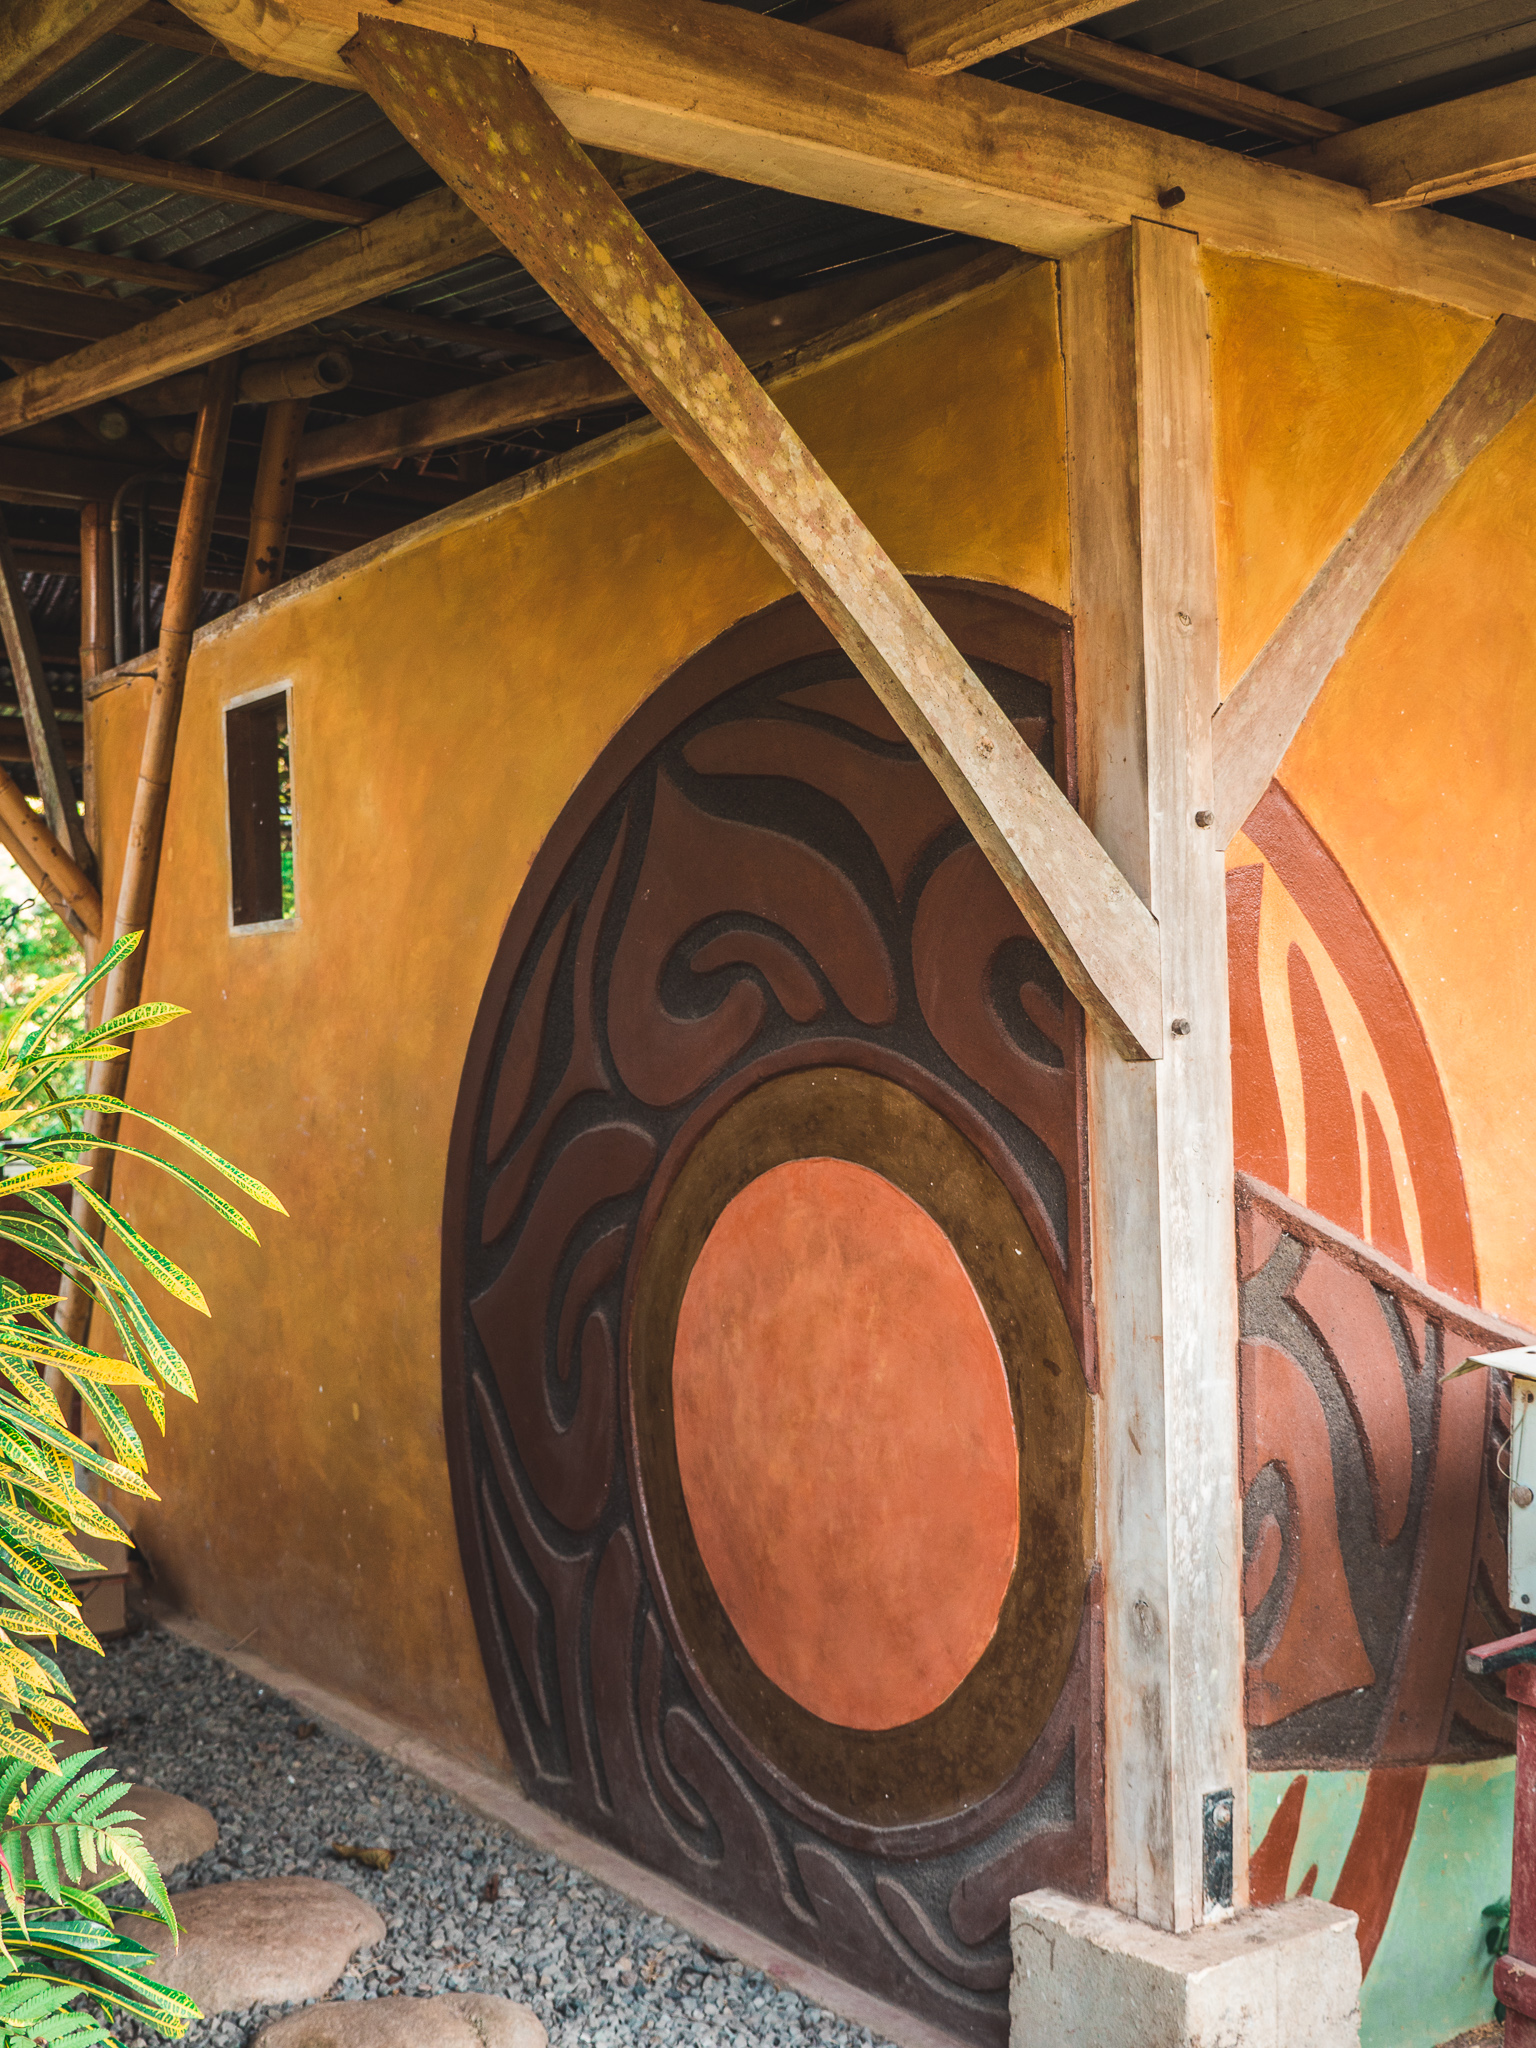
Now first off let's get one thing straight. I'm not talking about your classic clay pottery, or your other classic clay sculpture. I'm talking about Clay CARVING. What's the difference you say? Go ahead and take a look at those pictures all around these here words. These are all examples of clay carvings we have adorning different natural buildings here at Rancho Mastatal.
Clay carving is the process of building up layers of clay in differing colors or textures, and then carving away those layers in forms and shapes to create a 3 dimensional "relief" carving. This technique transforms ordinary, flat walls into amazing works of art, and can drastically transform and elevate a space. It also goes hand and hand with natural building techniques like earthen walls and clay plasters.
Building your Clay Carving Canvas
Now that you know what it is, you might be wondering, where would I even do this? The answer to that my friend, is wherever you want.
Well, maybe not wherever. But you could do it in a lot of places! In your home, in your garden, your backyard, your school, your workplace (if your boss is cool), etc. etc. If that 's too much choice, here, take these tips for building yourself a canvas to work on.
Build a rectangular panel out of plywood. You can line the edges with 1x1 in pieces of wood to contain the plaster and clay plaster mix as you apply it. You will probably need to apply a base coat of cement based plaster with some acrylic glue in it to bond to the plywood and create a rough surface for the clay to stick to. A 2' x 3' panel would make for a nice size to practice on, and if you like how it turns out, you can clean the edges up and place it in the garden, on your porch or hang it from a wall somewhere! (If you're thinking about, or already are, building a house, then consider adorning whole walls with an artistic carved clay finish. The beauty of your natural building will astound!)

Practice panels in our annual natural building course
OR make a cob bench, and add a clay carving to the back. Cob is one of the simplest and most versatile natural building materials. By just mixing clay, sand, and straw in the correct ratio (more on ratios in a bit), you can then stack and mold the cob into flowing, beautiful shapes, and the surface will be nice and rough for further Clay coats to stick to. Stack it up into a bench shape in the backyard, and then leave yourself a nice flat area on the back for your carving to live.
Getting Natural Building Materials
At this point, there are two directions you can take, or maybe you can walk right in the middle. You can either buy good quality, pre sifted sand and clay from hardware and/or ceramic supply stores, or you can go into your backyard and dig up some Earth and see what you find.
Soil is different everywhere, and amounts of clay and sand vary widely between locations. Regardless, you'd want to dig down at least 6" (though this varies by location) to get past the topsoil, and then do some tests to figure out how much clay and sand you have at hand. This could mean doing the jar test, filling a jar with a handful of soil and water and letting the parts separate out, sand falling to the bottom and clay settling on top. Or you could send out a sample for precise testing if you want to be scientific about it. Once you have a better idea of what ratios of material are in your soil, you can make a mix.
This process is essential in most natural building endeavors, and is a skill that takes practice. Trust me on this though, getting to know the Earth around you will bring benefits beyond just what you can build with it.
Making a Clay Carving Mix
Clay is naturally flexible, while sand is naturally rigid. Sand provides structure, while clay binds a mix together. The right balance of the two will give you a material that you can carve into shape, and have it stay.
Finding that balance is part of the fun. Try mixing in different ratios, starting with 1:1, and taking some notes along the way. What feels good to work with? What drys well without cracking? What lets you carve without crumbling? Some tips to start: too much clay will cause cracking, and too much sand will cause crumbling. Too wet of a mix won't hold its shape or stay on a wall, and too dry will be hard to apply.

Sample sizes of sand, clay, and straw ratios
Remember, that as you carve you will reveal lower layers of clay. Try finding or buying different colors of clay, or mix in pigment or colorful materials to create contrast and interplay between layers. And don't be in too much of a rush to apply the next layer; if it's not dried enough, your layers may blend together.
Finally, a note on tools
You can do all of this with your hands and a razor blade, laying material down, smoothing it out, and cutting it into shapes once dry. You can also use different tools like floats and trowels to smooth and flatten layers, and other tools like chisels and awls to aid your carving. Start small and easy before you spend money on new tools, and look for used tools or tool rentals before a big purchase.
Summary Step by Step
To wrap up, let's go through a step by step and some final tips:
1. Gather all your tools and materials. It is better to do all your preparation before you start. Think through what you will need from start to finish, including clean up!
2. Prepare your canvas. Whether you're building a new surface or applying to an old one, make sure that the surface is rough or "keyed" so that the clay mix has more surface area to bind and hold on to.
3. Create your mix. Do small batches for tests and samples before going big, so you have an idea what it will turn out like before spending a lot of time and energy. Also keep in mind that you can get finer (as in smaller sand) and creamier (as in more clay) as you add more and more layers, but you'll have to apply in thinner and thinner layers to prevent cracking as these ratios change.
4. Apply your first layer. Smooth and flatten as much as you desire. Let dry enough so that you can add a new layer without the under layer blending with your new layer. You may need to wait several days between layers in a humid climate.
5. Apply second layer. You can now add as many layers as you want to carve away, altering color and texture between layers as desired.
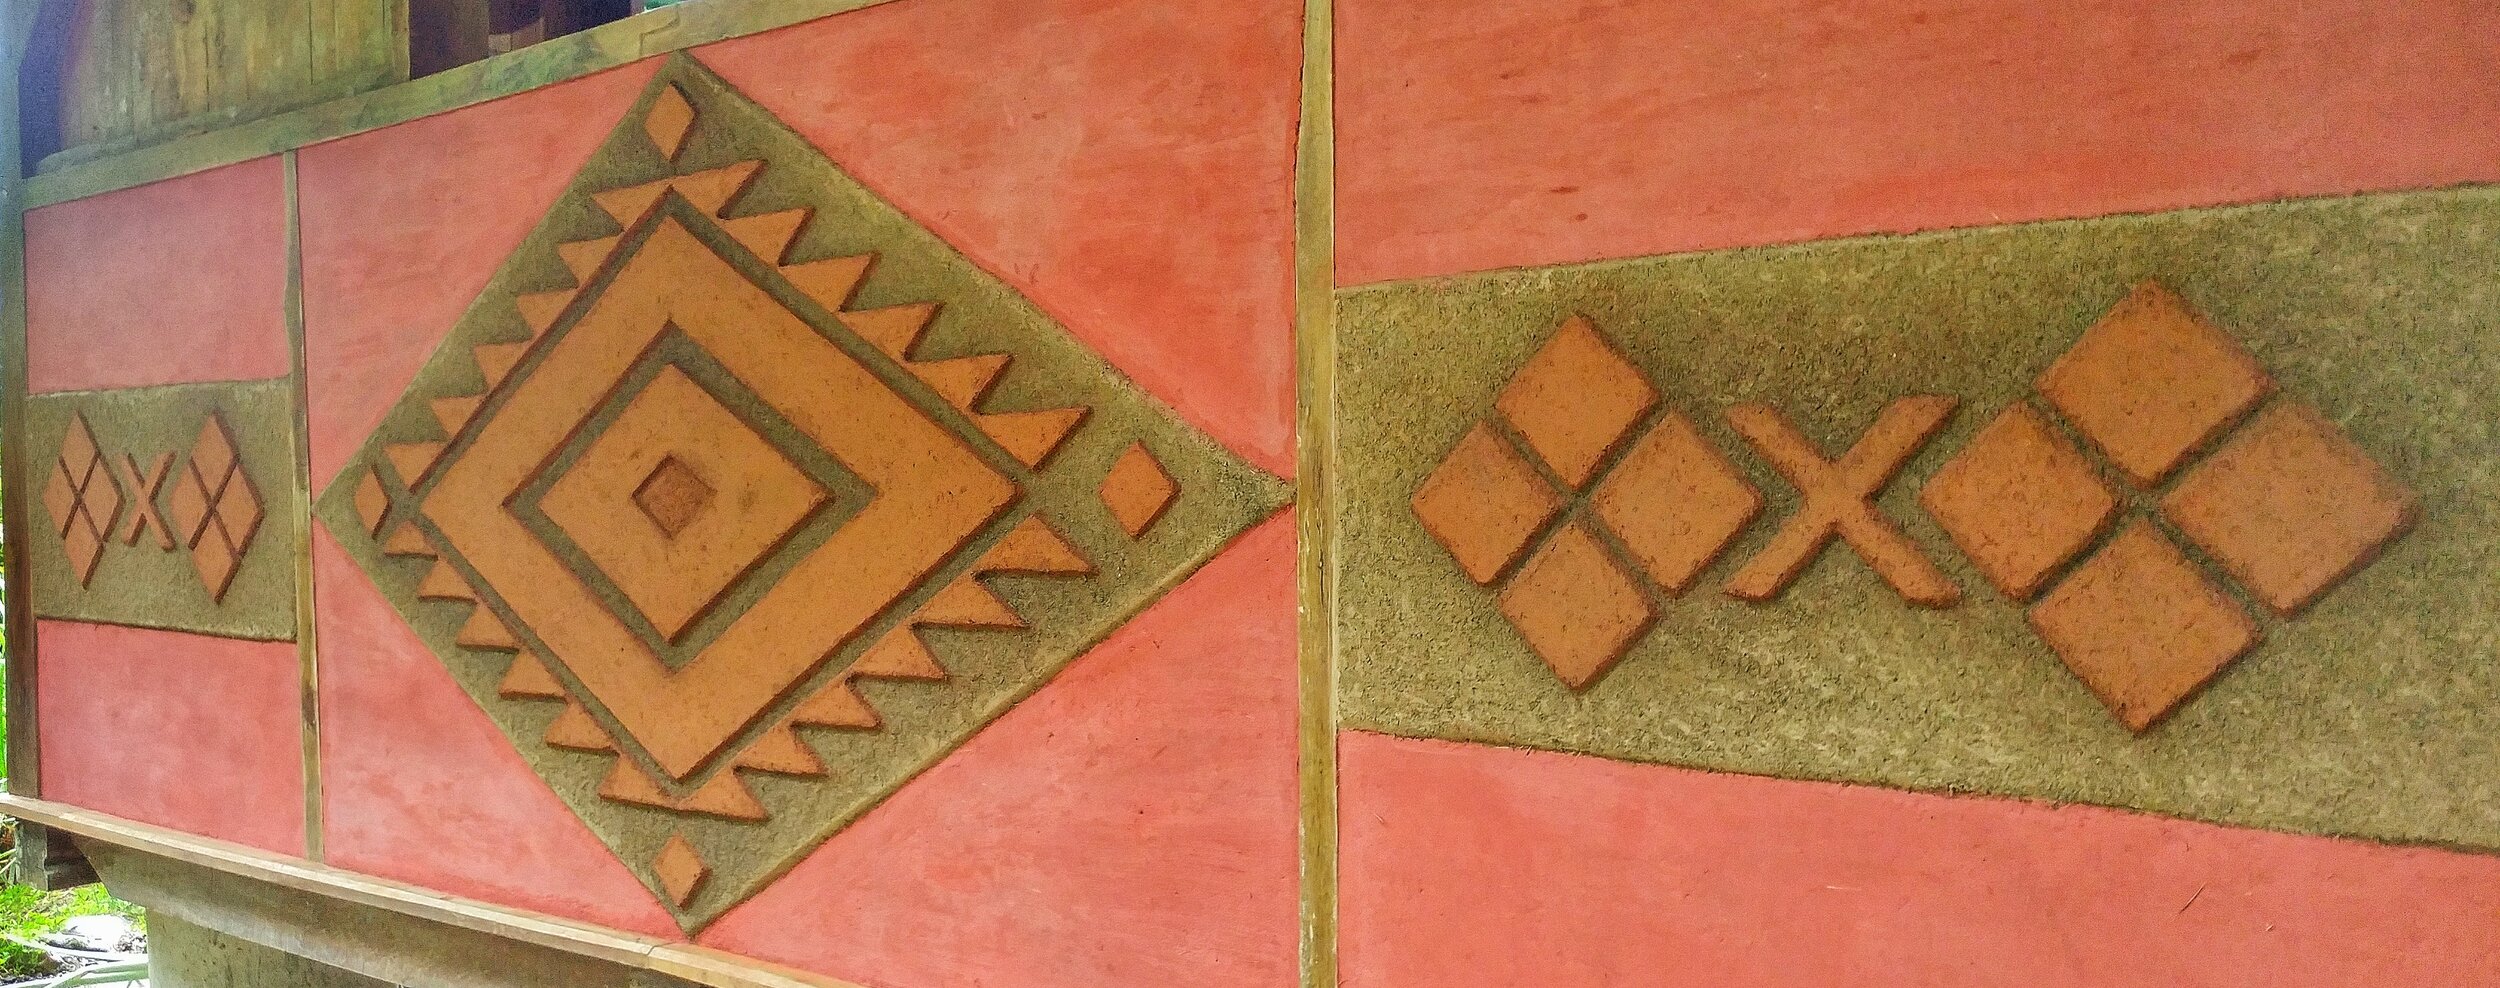
6. Carve away clay to reveal the art within! A razor blade is effective due to its sharp edge, though any knife could work. The basic process is to cut with the knife the outline of the shape, then carve out the interior (with an awl, screwdriver, or even stick). Cut at an angle, widening outwards from the surface, to create cleaner lines and forms. You can smooth the revealed surface beneath with fingers or smooth stones. Dig and carve deeper to reveal more layers beneath!
7. Clean up when you're done, especially your tools to prevent rust. Finally, if you want your clay carving to last longer or be water resistant (though not water proof) you can apply a hardening oil like linseed oil.
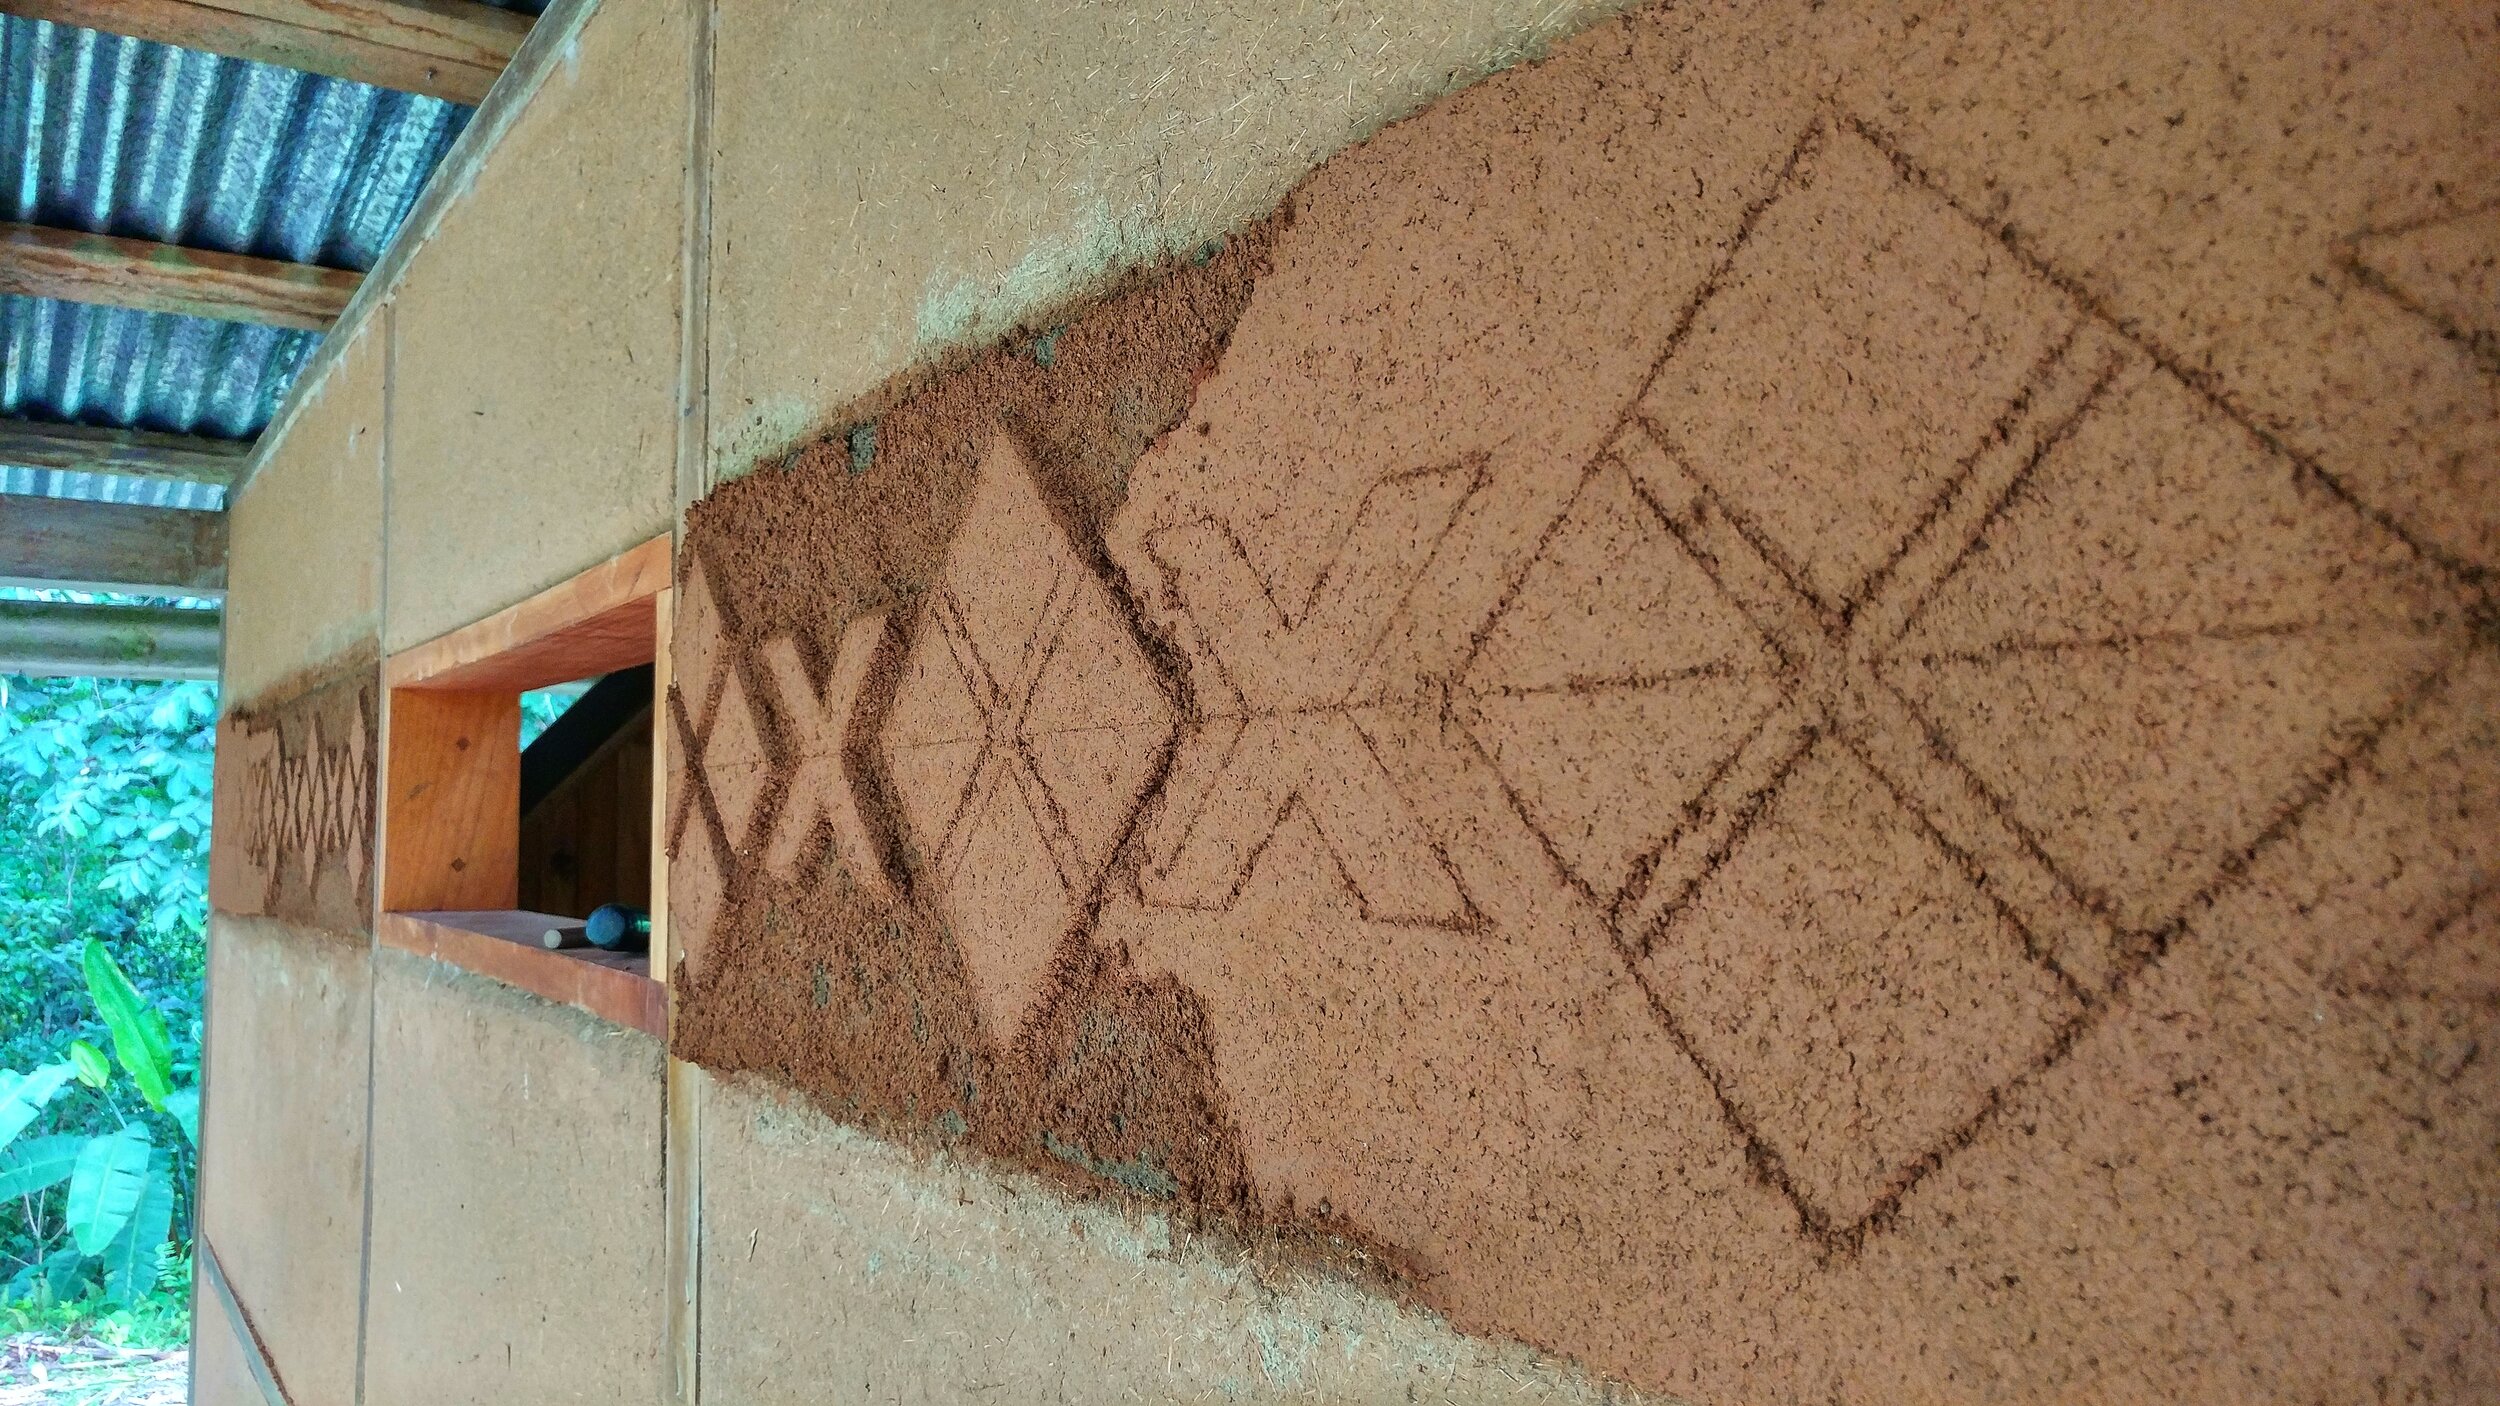
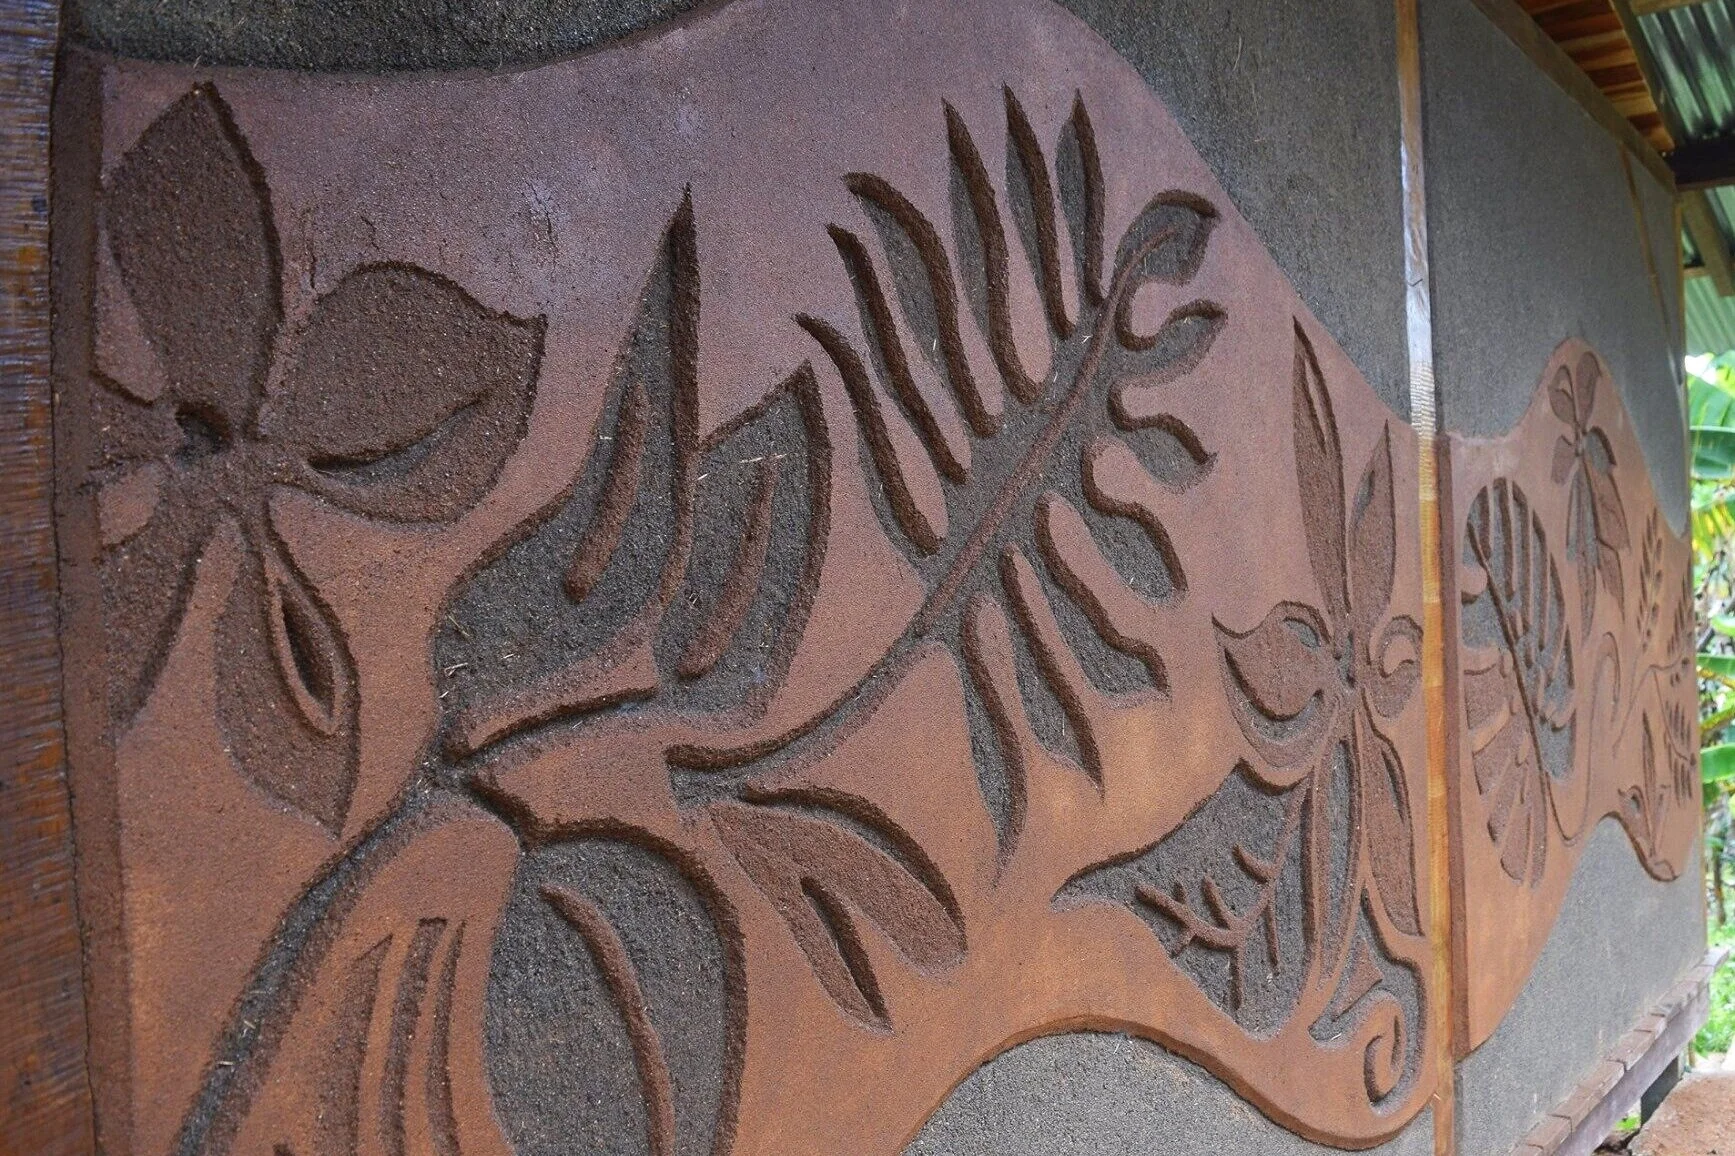
Exposing the different layers of plaster. You can see here the design sketched in, and the first coat of red clay plaster being carved away to expose the underneath grey plaster.
Let the Artist in You Soar!
Now you have an expanse of clay before you, a blank canvas to express yourself upon. Have fun! Feel the warmth and beauty of the clay, and tap into your inner artist. Get dirty and share the experience with someone else! With some practice, you might be surprised what kind of beautiful things you can make with just a bit of Earth!

Working on the Rancho Mastatal mandala on the outside of our food processing kitchen. The yellow is a frescoed lime plaster.
The clay carving done on the outside of a small cabin. The entire project was completed by our 2017 apprentices!
Want to Learn More?
For a great video of a beautiful clay carving in action watch this video by The Nito Project.
To get hands on instruction and learning in clay carving and other natural building and plaster techniques come join us for our annual Natural Building and Plasters Intensive.
Stay tuned about our annual workshops!