

BLOG
Stories, articles, and updates from the Ranch community.
How to Optimize Your Syntropic Agroforestry Site
Syntropic agriculture is based on seeing evolutionary processes as driven by cooperation among members of the living system in a way that benefits the system as a whole. It aims to maximize of diversity and productivity.
By 2023 apprentice Seb W
Syntropic agroforestry is an agroforestry system developed by Ernst Götsch. Its philosophy lines up contrary to the Darwinian model of evolution, being driven by competition. It is based on seeing evolutionary processes as driven by cooperation among members of the living system in a way that benefits the system as a whole. It aims to maximize of diversity and productivity through aligning Stratification (space) and Succession (time) of its plants. Furthermore, it subdivides these plants into target and biomass species which allows for it to become self-sustainable over time. In its essence it means trying to mimic the real forest as close as possible.
What follows are factors to be integrated into your syntropic agroforestry site to optimize its potential outcome. If syntropic agroforestry is new to you, read What is Syntropic Farming first.

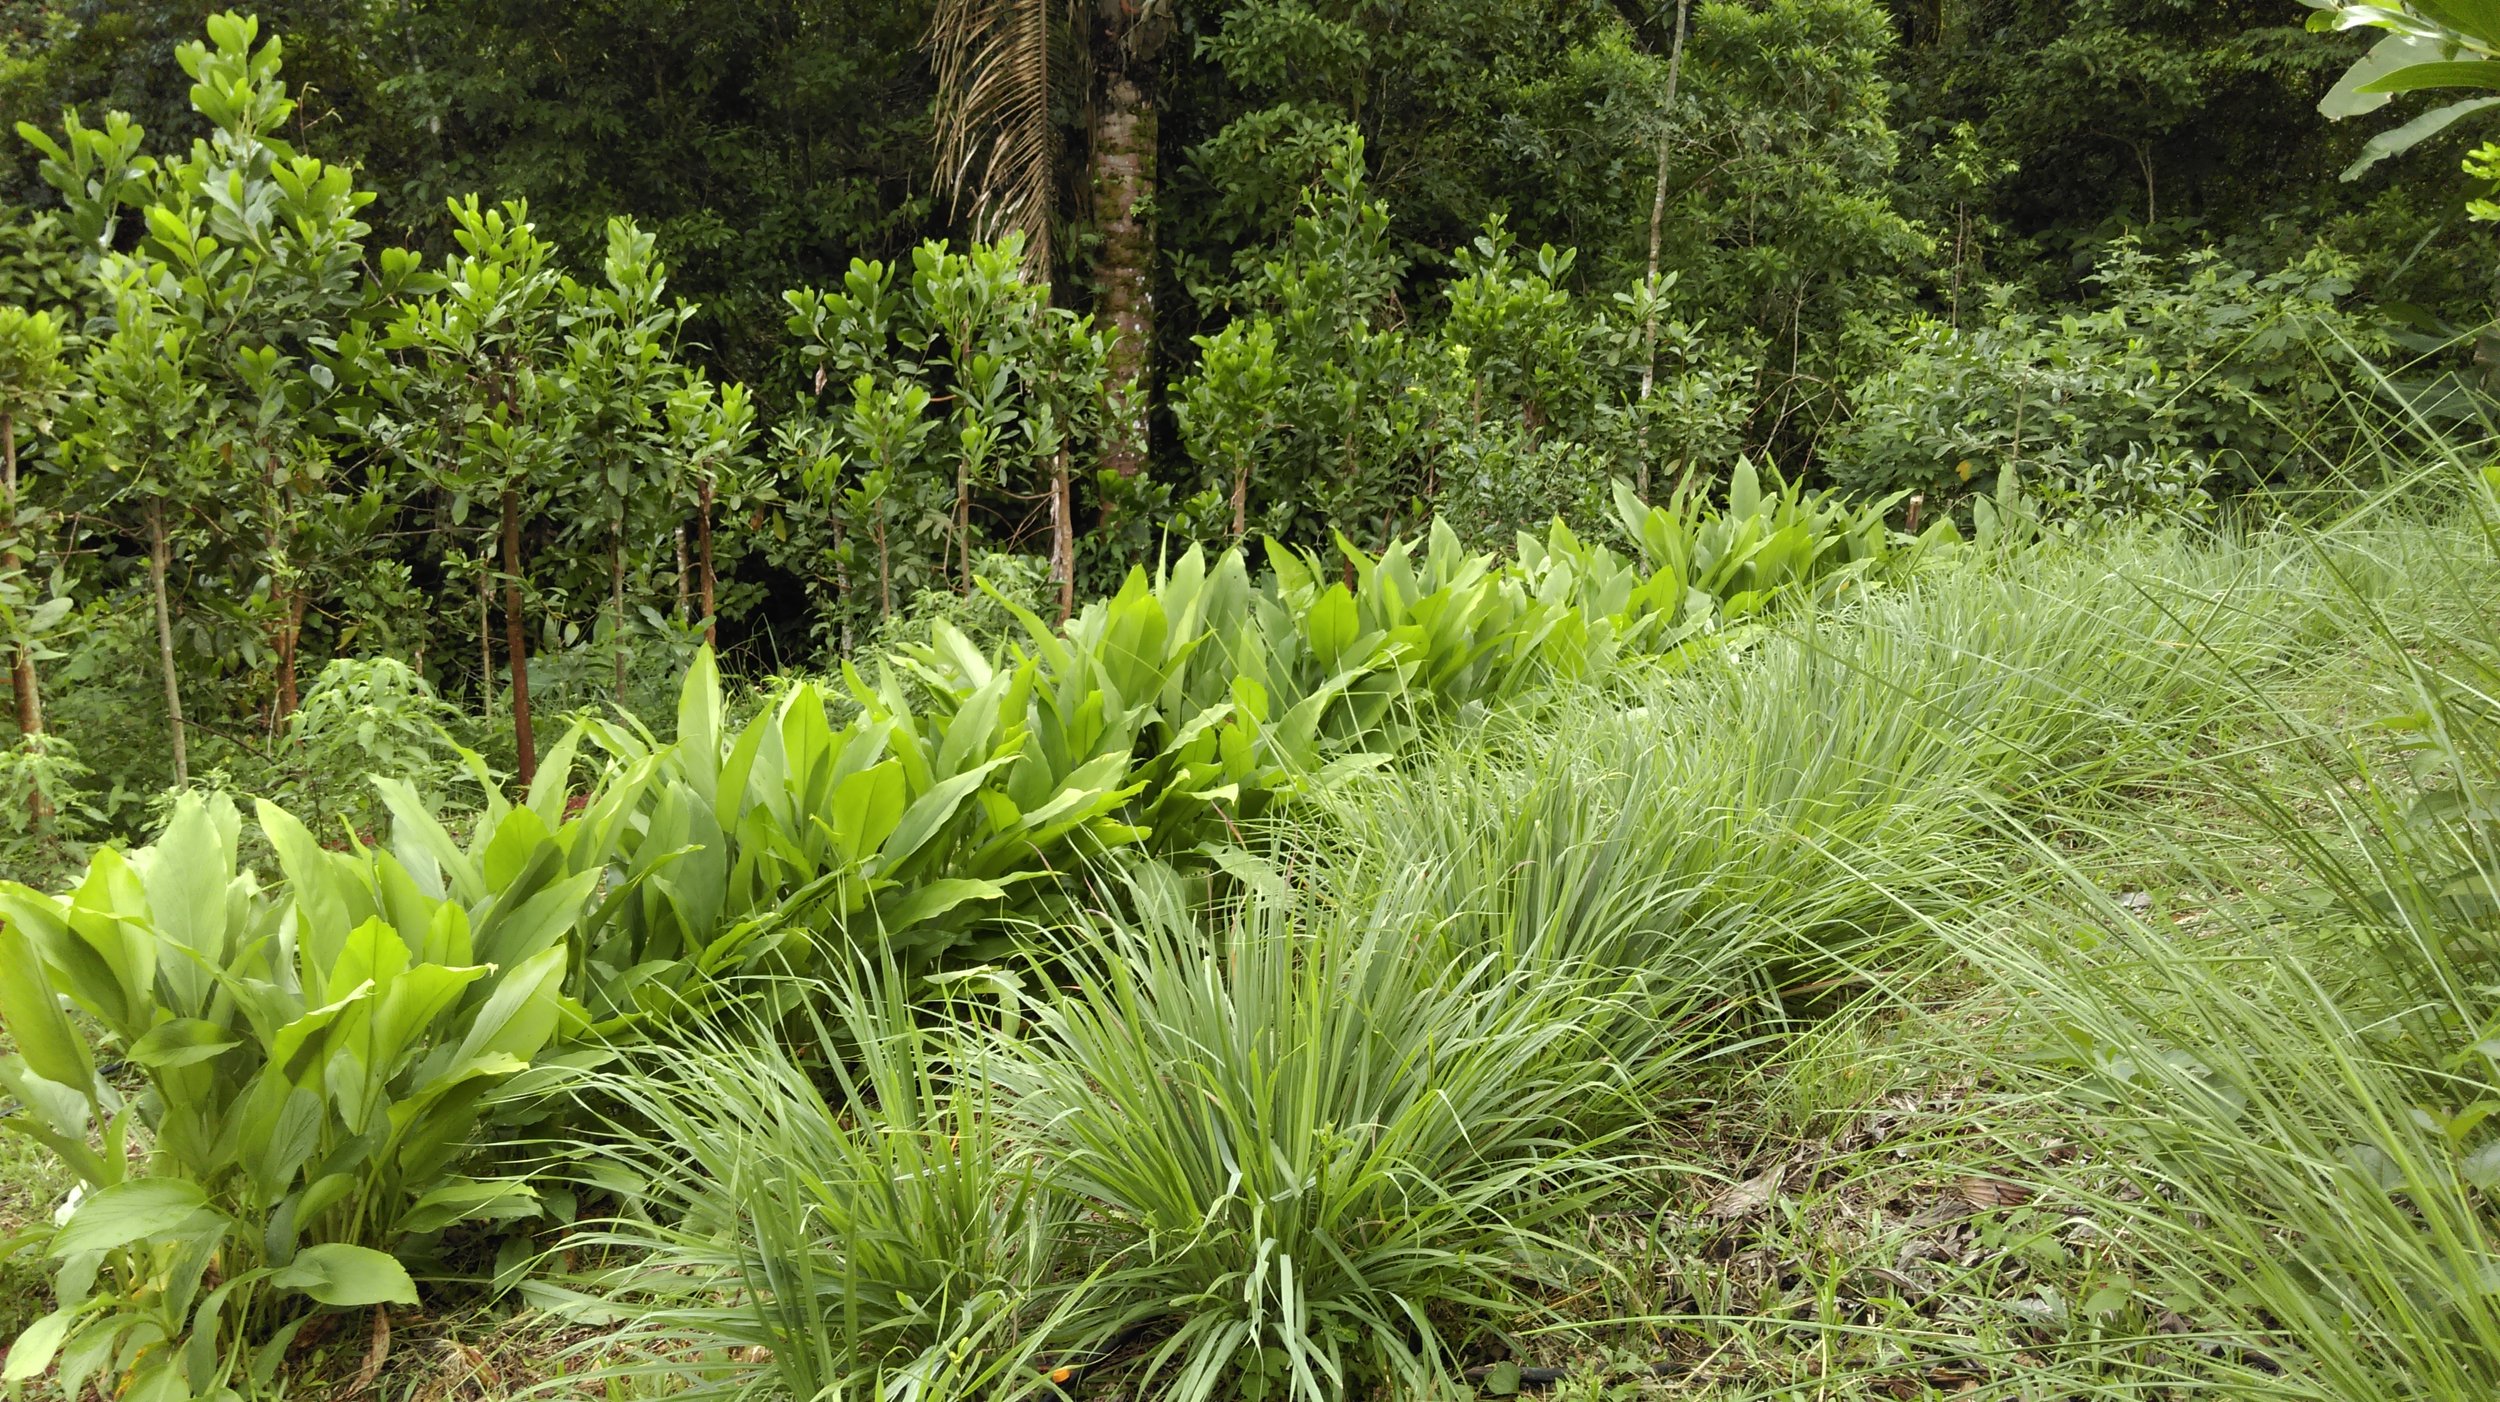
Image by Orchard of Flavours
Consortium of Plants for Syntropic Farming
Since every climate and microclimate offers different qualities, therefore being able to habitat different plants, just putting out a chart of plants won’t help a lot of you. Instead we want to explain at this point how you can write your own consortium. A consortium is basically an optimized garden guild which integrates the succession of its plants over time. Stratification still applies but it is now planned over time. To plan a good consortium you want to research a list of edible plants viable for your microclimate, their height at maturity as well as time until maturity. Based on that you can then categorize your plants into the different strata as well as time stages.
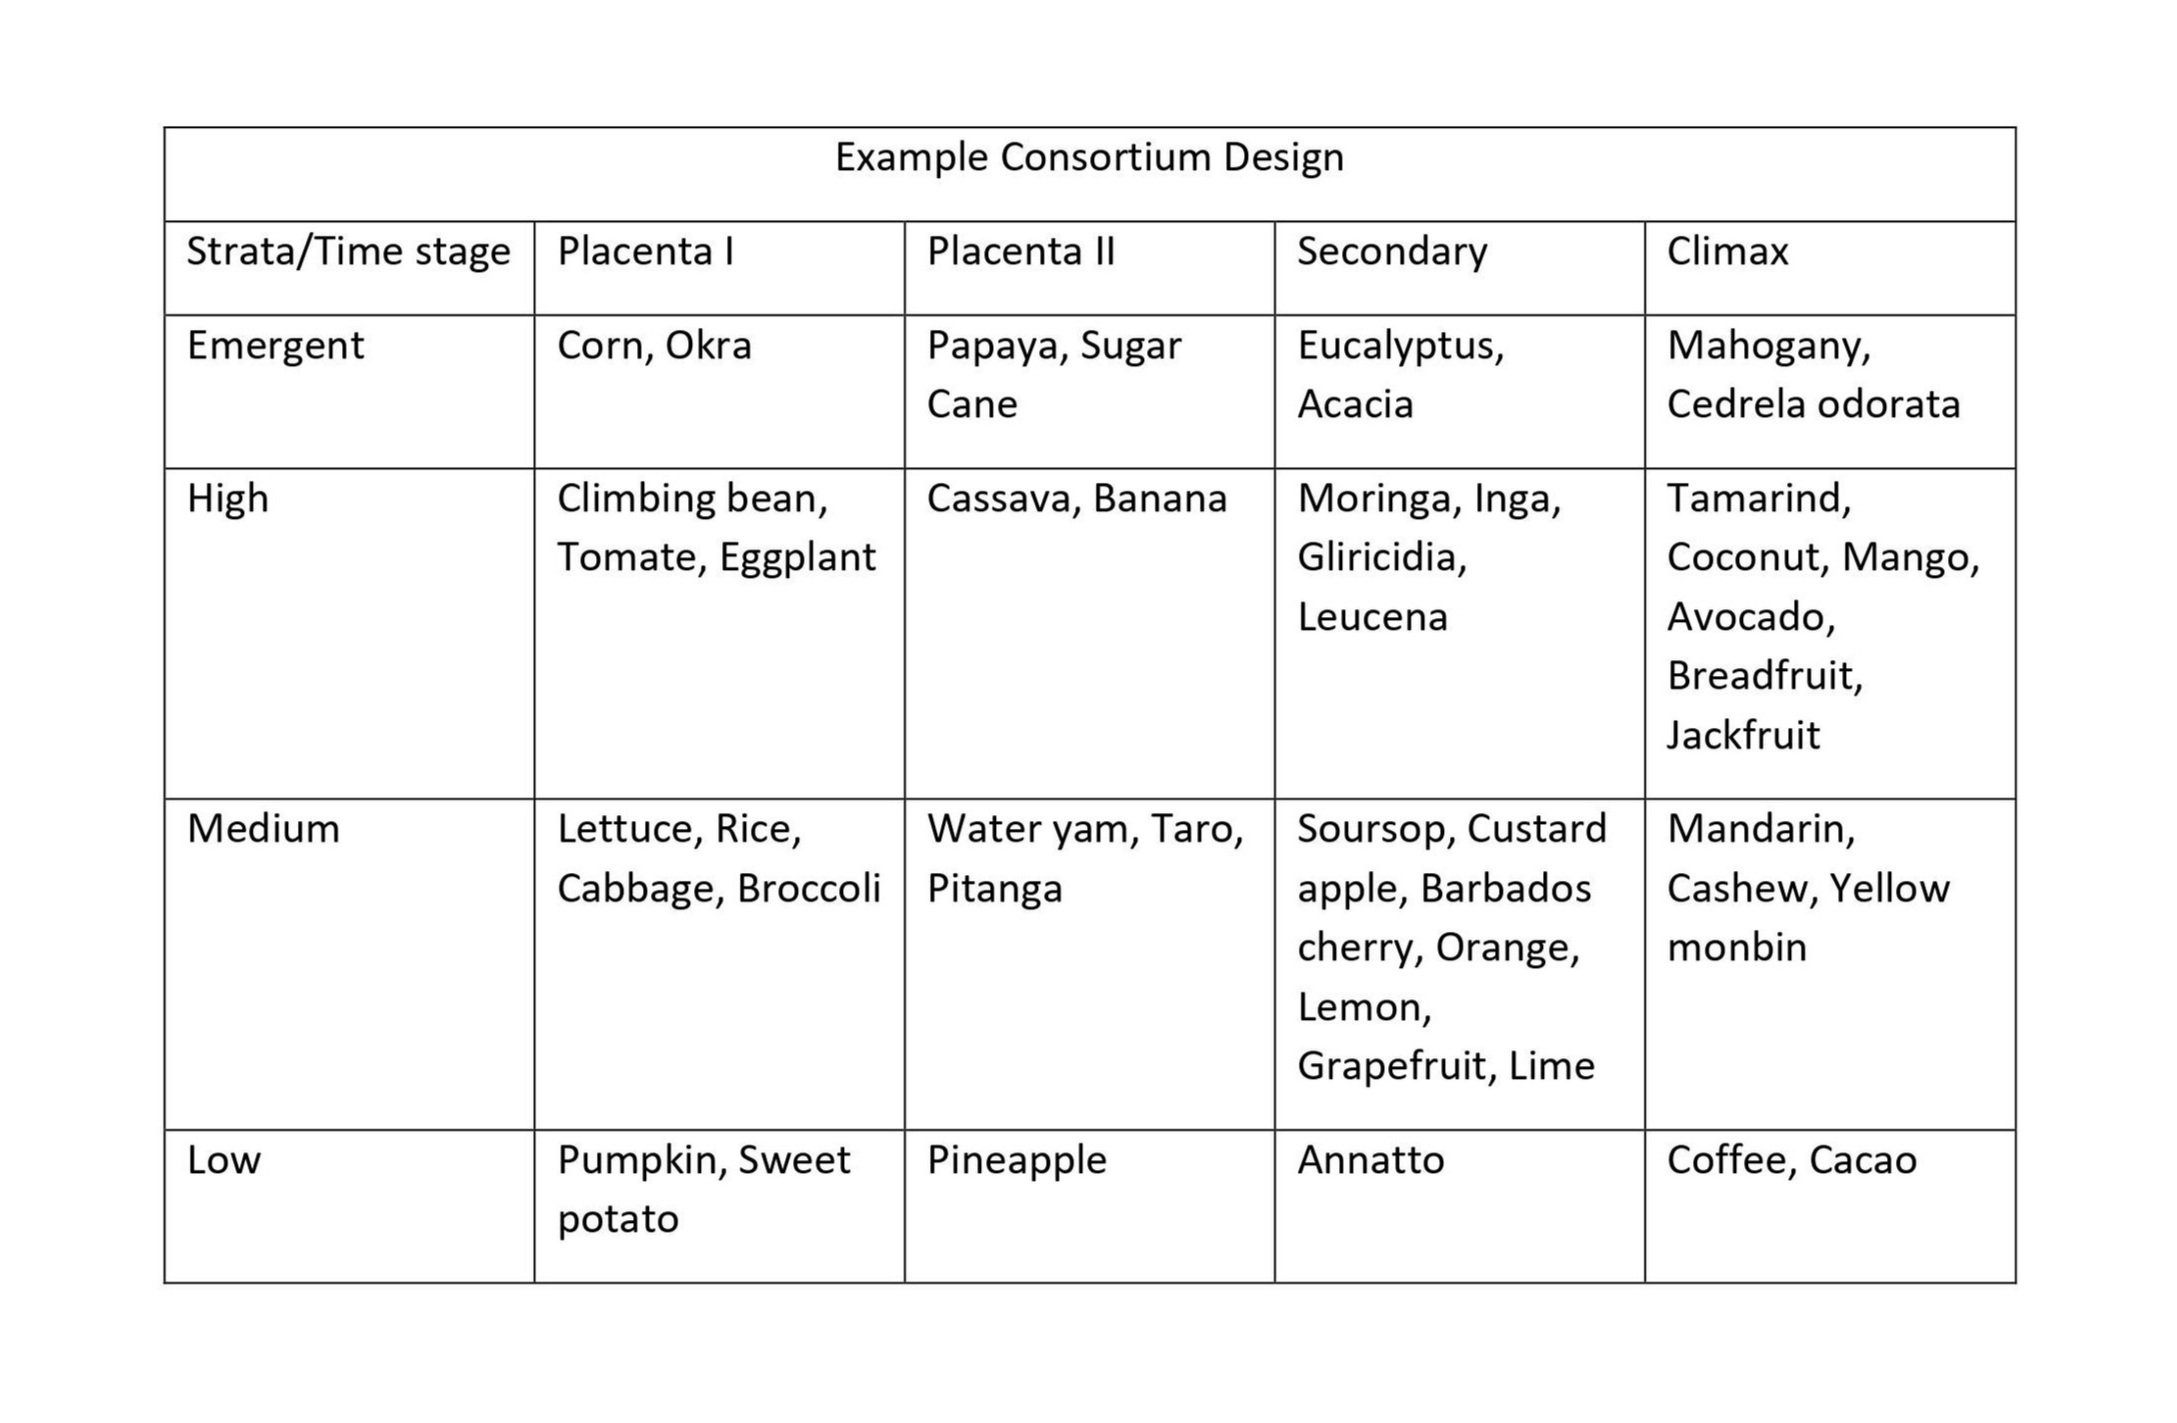
When planning a syntropic site we also want to keep in mind, that it will take at least 20 years until the climax stage is reached (if well managed). Within the first two years (until the end of placenta II) you can still add plants to the system though usually everything is planted in the beginning all at once. The only exception to that rule are climbers (exg. Vanilla or maracuja) as long as there is enough sunlight coming through to the ground.

Types of Plants to Plant
Whatever edible plants you want to grow, in syntropic agroforestry systems edible plants are not the only plants to be grown. Usually one aims to grow around 30% of plants just for biomass, of which again 30% are meant to be nitrogen fixers. Those biomass trees will then be cut down to chest level before the rainy season (or at the end of autumn in temperate climates). Applying this pruning technique will not only build good quality soil over time but also trigger a growth hormone release throughout the whole system pushing growth of everything within it. To attract native bird and insect species you should also consider adding some local plant species even though they might neither add to your table nor fix nitrogen.
Spacing Plants
To get a better understanding of how to finally design such a system, a spacing key is useful:
Tree line to tree line (wideness): 80cm first tree line – 50cm walkway – 70cm biomass plants (e.g.. Vetiver, Mexican sunflower, pigeon pea…) – 200cm filled with veggies – REPEAT
In the lines themselves the trees are planted super dense together.
Depending on size and needs one might combine walkway, biomass plants and/or the veggie area (veggies will only grow until end of placenta II due to shade coverage).

The minimum tree spacing key looks as follows:
Emergent to emergent tree: 12m
Emergent to high tree: 10m
Emergent to medium & low tree: 2m
Emergent to biomass tree: 0.5m
High to high tree: 9m
High to medium tree: 7.5m
High to low tree: 2m
High to biomass tree: 0.5m
Medium to medium tree: 6m
Medium to low tree: 3m
Medium to biomass tree: 0.5m
Low to low tree: 3m
Biomass to biomass tree: 0.5m
Ideally this spacing key is used on contour.
If you, like Ernst Götsch, are not a friend of tree lines, what Ernst recommends doing is: select an appropriate amount of diverse seeds, mix them all together, scatter them over your site and later decide which trees will stay and which won’t (negatives: some edible species vary heavily in flavour and consistency when grown from seed. Positives: way less work, good growing genetics only through natural selection, no row pattern).
Thoughts
Syntropic Agroforestry has received a lot of attention over the past few years. That being said, it is one of many different practices within the field of agroforestry practices and certainly has its negative sides. Contour is often times neglected in favor of north to south rows, invasive grasses instead of the mentioned vegetable rows will be a pain to manage over time, and proper spacing especially regarding tubers needs to be respected.
Hopefully this short how-to helps you get started on planning your own syntropic site to live more self-reliant.

Read These Past Blogs
Applied Permaculture Principles
Learn More
Join us for one of our annual workshops on farming, plants, permaculture and more!
Fermented Plant Juice (FPJ) and Its Application
Learning how to prepare these ferments will not only add macronutrients to your soil system but will increase the bioavailability of preexisting nutrients in your soil. Gardening really boils down to being a soil steward, which basically means we’re ranching microorganisms.
By Connor Gilmartin, apprentice 2022
Earlier this year, I wrote a short article on preparing a garden amendment called Water Soluble Calcium (WCA). That short essay focused on how to make small batches of WCA in the comfort of your home using discarded eggshells and vinegar. Water Soluble Calcium is one of the five pillars of Korean Natural Farming (KNF). The remaining four recipes KNF methodology encourages us to utilize are Lactic Acid Bacteria (LAB), Fermented Plant Juice (FPJ), Oriental Herbal Nutrient (OHN) and Fish Amino Acid (FAA). Because this article won’t cover the remaining three ferments in-depth, I highly recommend looking into the University of Hawaii’s College of Tropical Agriculture’s papers on this subject. The authors of those articles do a great job at explaining the process of making and applying these homemade amendments. These KNF ferments we’re talking about have a symbiotic relationship with one another. Generally speaking, they serve your garden’s needs best in the presence of each other – especially when they’re used to inoculate biochar or indigenous microorganism (IMO) culture.

It’s worth mentioning the obvious here - everyone’s gardening environment is completely unique, and every soil system has different nutritional requirements. For the sake of brevity, it’s necessary to generalize a bit. If you’re interested in diving deeper into soil science and plant nutrient uptake, I would highly recommend Jeff Lowenfels’s books Teaming with Microbes and Teaming with Nutrients, as well as Steve Solomon’s The Intelligent Gardener.
I chose to write my first article for Rancho Mastatal on Water Soluble Calcium simply because of the abundance of eggshells we have here, and our robust supply of homemade vinegars. While Calcium is an essential macronutrient in plant growth and fruit development, it is only one piece – albeit a very important piece - of the puzzle of plant nutrient uptake. So, with that being said, lets learn about another pillar of Korean Natural Farming, Fermented Plant Juice (FPJ).
“Growth is controlled not by the total amount of resources available, but by the scarcest resource.”
Before we learn about FPJ’s, dynamic accumulators, and the fundamentals of fermentation, I want to ramble about Justus Von Liebig’s Law of the Minimum - a very important concept in regard to plant nutrient uptake. Liebig’s law states, “Growth is controlled not by the total amount of resources available, but by the scarcest resource.” This is particularly relevant when trying to rebalance minerals and macronutrients in your soil. In, Teaming with Nutrients, Jeff Lowenfels discusses the Law of the Minimum and writes, “plant growth is limited by the least abundant mineral, no matter how abundant the other minerals happen to be.” So, with that in mind, we can make more informed decisions when choosing how to fertilize our gardens.
Before we fertilize at all, a soil test is probably in order. The informed gardener understands that N-P-K listings on commercially available fertilizers only account for three of the seventeen elements necessary for plant life. Many of us have been tricked into thinking Nitrogen, Phosphorus and Potassium are the only elements we need to consider when fertilizing our soil. This couldn’t be farther from the case, and has resulted in massive amounts of excess nutrients polluting our watersheds and harming aquatic life essential in maintaining Earth’s homeostasis. I am a firm believer in a balanced approach to gardening, and certainly don’t believe all bagged fertilizers and amendments are the devil’s work. There are amazing, conscious companies that specialize in producing ethically sourced organic fertilizers. I have purchased bulk earthworm castings, mycorrhizal inoculants, crustacean meals, bokashi grain blends, and many more amendments that did not come from my garden. Does this violate Albert Howards’s Law of Return? Certainly. I am importing ingredients from hundreds, maybe thousands of miles away into my garden’s soil. The very nature of gardening for consumption violates the law of return. This is okay – gardening is a dynamic process, yields can be achieved and measured in many ways. As Masanobu Fukuoka writes in One Straw Revolution,
“It doesn’t matter how the harvest will come out. Just sow seeds and care tenderly for the plants and soil… The ultimate goal of farming is not the growing of crops but the cultivation and perfection of human beings.”
I learn something every season I germinate seeds. I feel an overwhelming sense of satisfaction and joy when I feed my plants a nutrient-rich tea, or spread a cover crop on a resting hugelmound. Maybe these more philosophical “yields” are really what I crave… Who am I kidding – I also want massive, nutrient-dense broccoli, that I can brag about – and share – with my neighbors. Point in case, there are many ways to address fertilization requirements in the garden. I’m not a devotee of any gardening guru, and I’m not advocating for any one specific strategy. I’m interested in holistic plant and soil stewardship that integrates many approaches.

Now, lets get down to business. FPJ’s are made using two simple ingredients. Chopped up biomass and brown sugar. There are a whole lot of plant species that can be used to make FPJ’s. I’ve used the young, vigorously growing tips of mugwort, comfrey, stinging nettle, wormwood, tulsi, and Mexican sunflower to name a few. I’ve also used unripe persimmons, pumpkins, and other fruits and vegetables to make Fermented Fruit Juice (FFJ). There are a whole lot of individual plant species and combinations that experienced horticulturalists have found to be beneficial in their gardens. It’s been observed that certain plants have a tendency to accumulate one macronutrient more than others. In the Korean Natural Farming and biodynamic gardening community, these plants are generally referred to as, “dynamic accumulators.” The concept of dynamic accumulators is a bit contentious, and some people doubt the idea. To be fully transparent, I do not know enough to say with 100% certainty that certain plant species have an affinity to accumulate one macronutrient over the other. However, I’ve visited many extremely productive, beautiful garden spaces whose caretakers embrace this idea, and it certainly doesn’t seem to be hurting anything. I will leave this entirely up to you to decide for yourself. Horsetail (Lorim ipsum) is known to have a high concentration of silica in its stalky biomass. Bamboo shoot FPJ is known to contain high amounts of nitrogen. FfJ made from young, unripe fruit can contain high amounts of phosphorous. With mindful intervention, we can amplify the nutritional impact these biomasses have on our garden by utilizing the friendly yeasts and other microorganisms drifting about. By feeding the microorganisms that reside on the biomass of these plants organic brown sugar, we catalyze the process of fermentation. The weak alcohol that is produced by the yeast as they nibble on the sugar we’ve so graciously provided them extracts chlorophyl from the biomass and other ethanol-soluble compounds contained in the plants via the process of osmosis. These compounds are called phytochemicals. The following section will cover the materials needed and list the step-by-step process to produce and apply FPJ.

Materials
I’ll begin by listing the materials you’ll need to make a batch of Fermented Plant Juice (FPJ). They are as follows:
Glass jar or food-grade plastic container
A sharp, clean knife to chop up the biomass
Organic brown sugar
A breathable cloth to act as a “lid” (cheesecloth or nut milk bags work quite well)
How To Prepare a batch of FPJ
Collect plant material
It is ideal to harvest the biomass before sunrise. Cut the young, vigorously growing tips of your desired plant and store in a clean container
Harvesting before sunrise ensures the plants are in respiration-mode, not photosynthesis-mode
Avoid collecting biomass during or after a heavy rain event
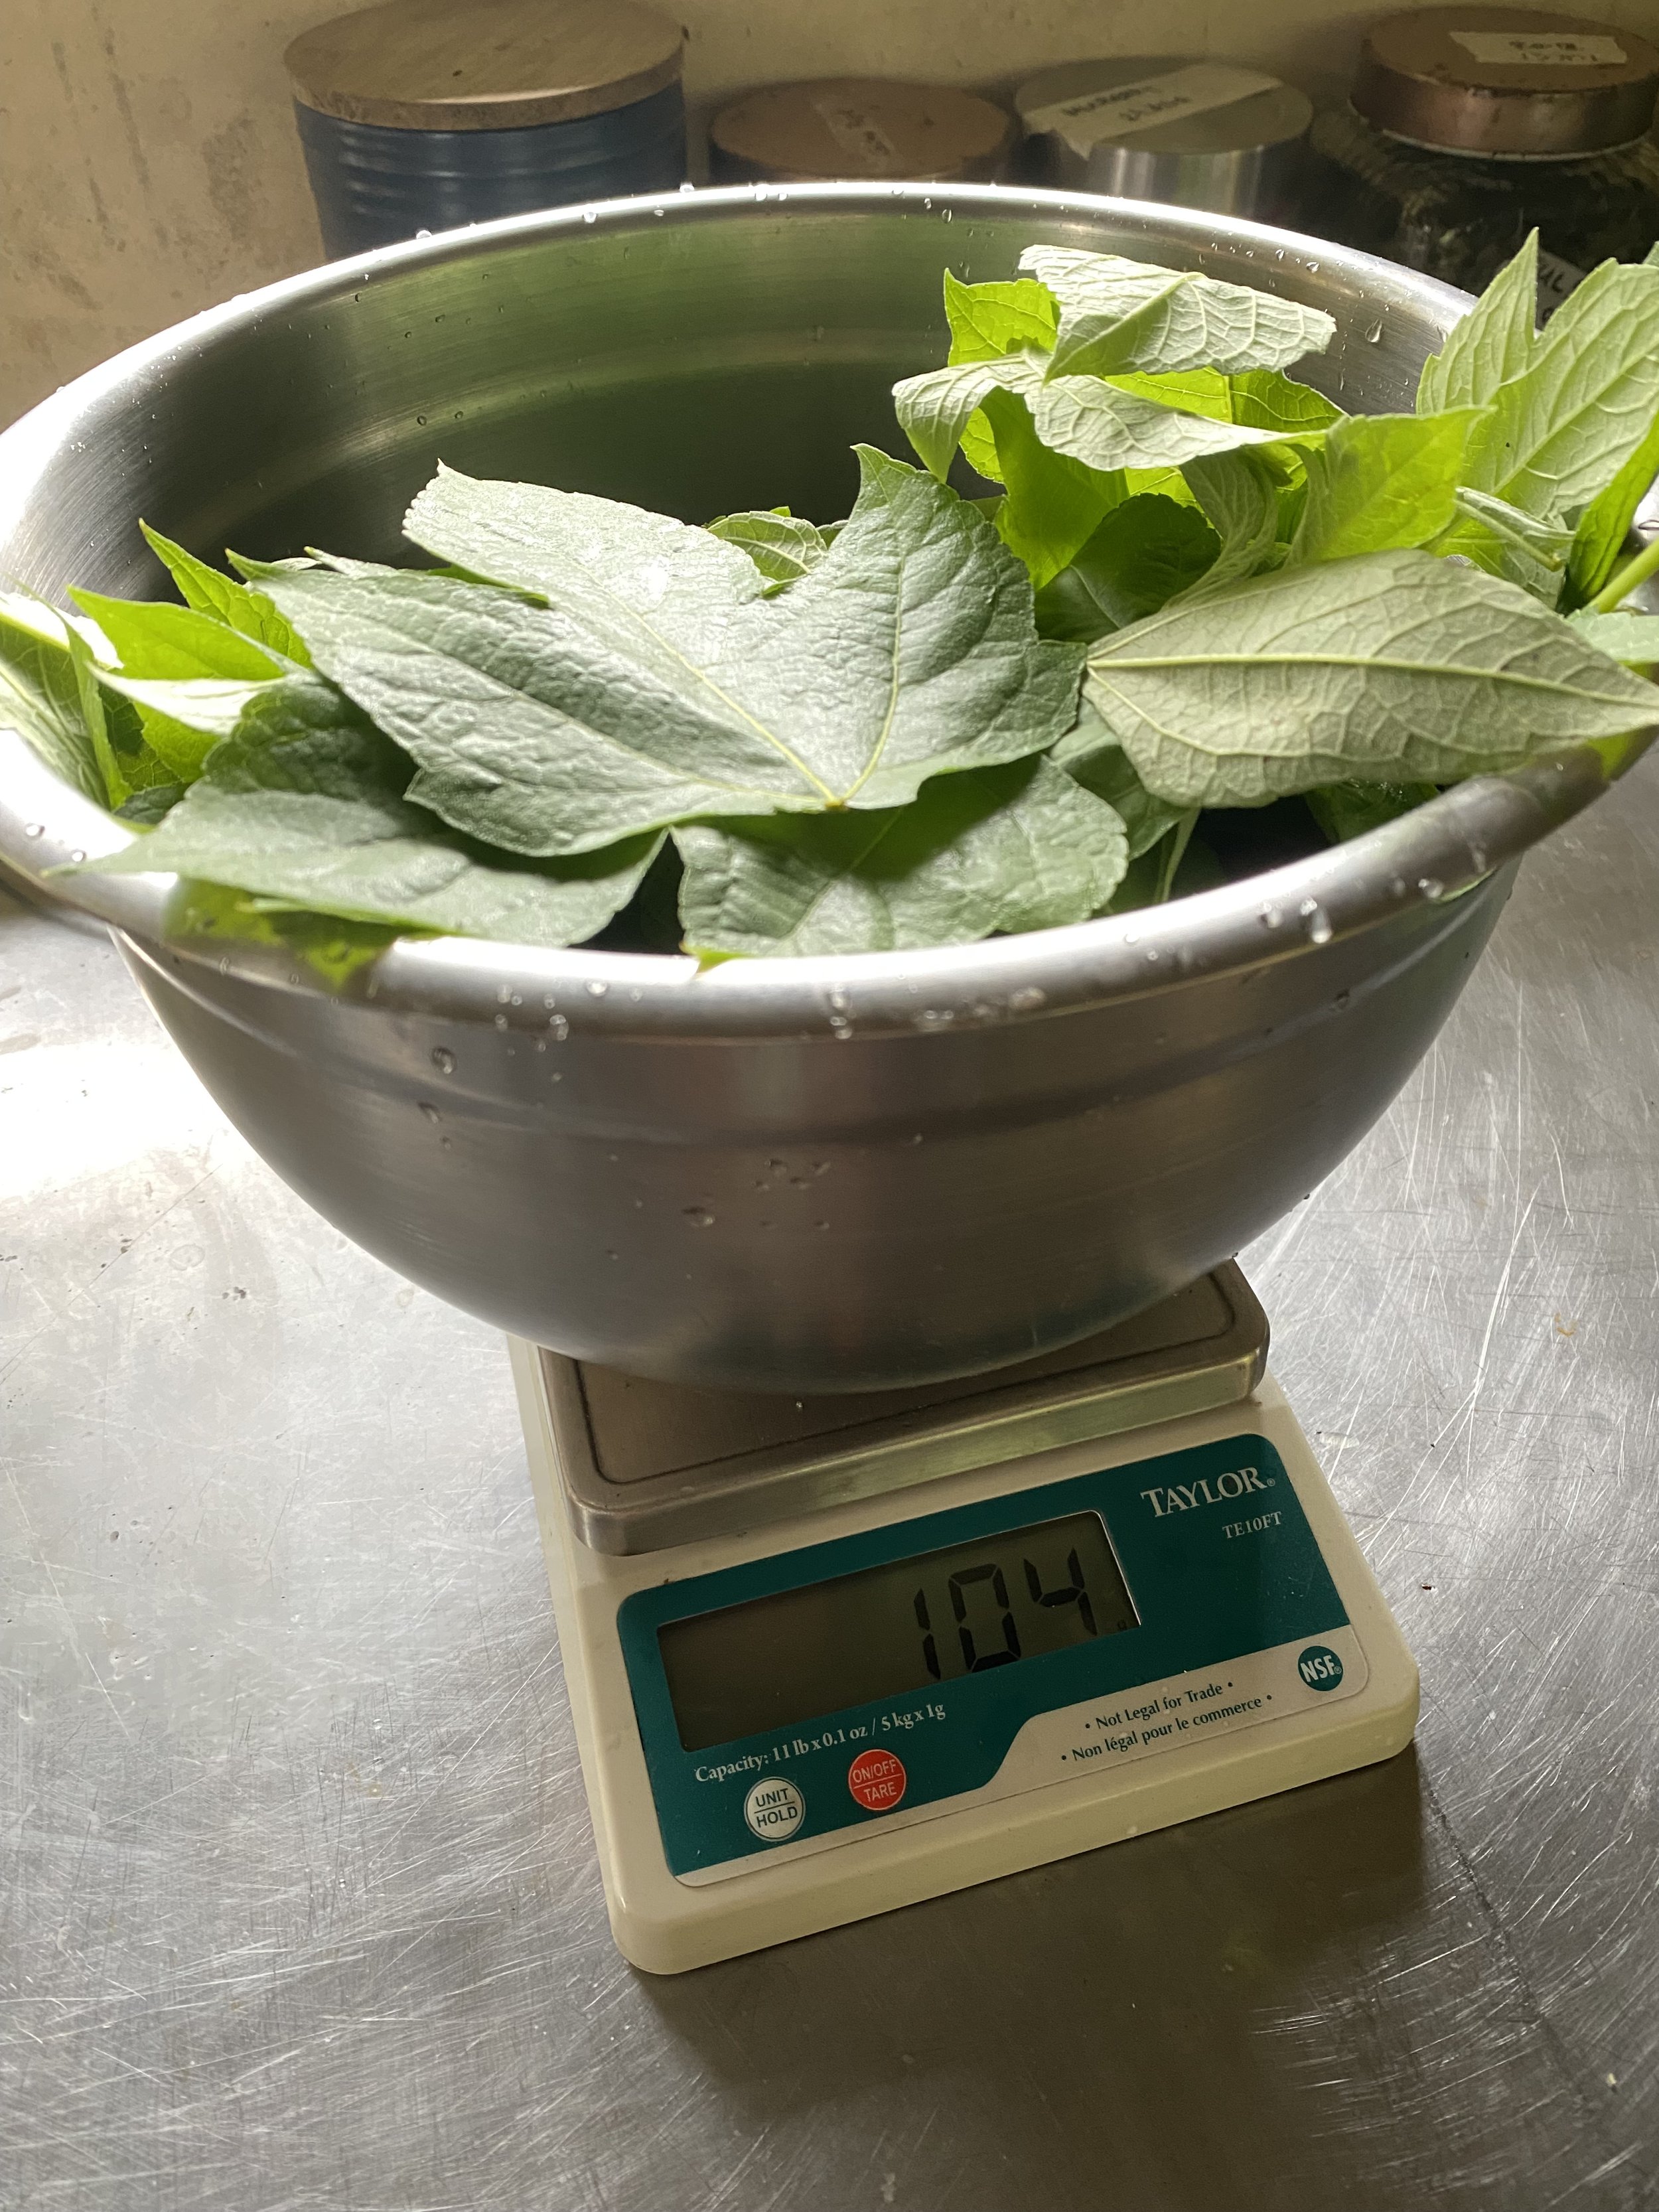
Cut and weigh the plant material
Do not rinse collected plant parts, to conserve surface microorganisms
Record weight of biomass
Add brown sugar
1:1 (brown sugar to biomass) ratio. If you have one pound of comfrey, put in one pound of brown sugar. Coat as much of the surface area of the plant material as possible to encourage the fermentation process
Pack the brown sugar-coated biomass into a fermentation vessel
Pack tightly
Attach breathable lid using string or a rubber band, depending on the size of the fermentation vessel
Store the covered container in a well-ventilated area away from light and extreme heat or cold
Check the container after 24 hours and adjust the volume if necessary
Your fermentation vessel should be no more than 2/3 full. If the container is too full, the microbes will not have enough air to properly ferment.
Let the contents ferment for 4 -7 days
You will know that fermentation is occurring when bubbles start to form in the liquid
Fermentation is complete when the plant material floats and the liquid settles at the bottom, there is a slightly alcoholic smell due to breakdown of chlorophyll and the liquid tastes sweet, not bitter. It is possible that the plant material doesn’t form a distinct layer in the solution, so these are loose guidelines – everyone’s fermentation environment is different. This process is heavily influenced by the ambient temperature of the environment you live in.
Strain the solution
Separate the plant material from the liquid
The spent biomass can be added to compost or mulched directly into your soil
Store the FPJ
Transfer FPJ into a clean ball jar or food grade plastic container
Cover with a loose lid - the microorganisms in the solution are very much alive and will continue to produce carbon dioxide as they consume leftover sugar. This could cause a jar to explode if the lid is on too tight.
How To apply FPJ
Dilute at a ratio of 1:500, 1:800 or 1:1,000. This translates to 4-8ml of FPJ per gallon of water. It’s powerful! You can always add more, you can never add less.
The dilution of 1:800 or 1:1,000 should be used if:
You’re applying a mixture of different amendments (ex. WCA + FPJ + FAA)
You’re applying FPJ in hot weather
FPJ can be applied as a soil drench (diluted in a in a watering can or other water dispersal system) or as a foliar spray. Apply the solution once a week or so, no more than once a week. Try and apply FPJ’s that were prepared using biomass that was collected at a similar stage of the plant’s growth cycle to the ones you’re feeding. For example, use a light dilution of young mugwort FPJ for young plants, and use an FFJ of unripe, green fruit when those plants are beginning to enter their reproductive stage of development.
Korean Natural Farming is a dynamic process that requires familiarization with the unique terroir of your gardening environment. Just like baking sourdough or making kombucha, preparing KNF amendments might require some trial and error. I feel inclined to repeat – “dilution is the solution.” These ferments are highly concentrated. Apply wisely, consciously, and out of direct sunlight. Take your time, enjoy the process, and revel in the beneficial microorganisms you’re stewarding.
Learning how to prepare these ferments will not only add macronutrients to your soil system but will increase the bioavailability of preexisting nutrients in your soil. Gardening really boils down to being a soil steward, which basically means we’re ranching microorganisms. Imagine yourself as a benevolent god, feeding trillions of beneficial soil macro and microbiota for the betterment of the world. Your plants will thank you.
Happy gardening, mulch love.
Connor can be contacted via email with any questions or professional inquires (connorjgilmartin@gmail.com).
“I sometimes think that never blows so red
The rose as where some buried Caesar bled;
That every Hyacinth the garden wears
Dropt in her lap from some once lovely head”


Salak: A Productive Understory Crop
The risks of cultivating this species are beautifully contrasted by the enjoyment and health benefits of the fruit it produces.
By 2022 apprentice AJ Nolan
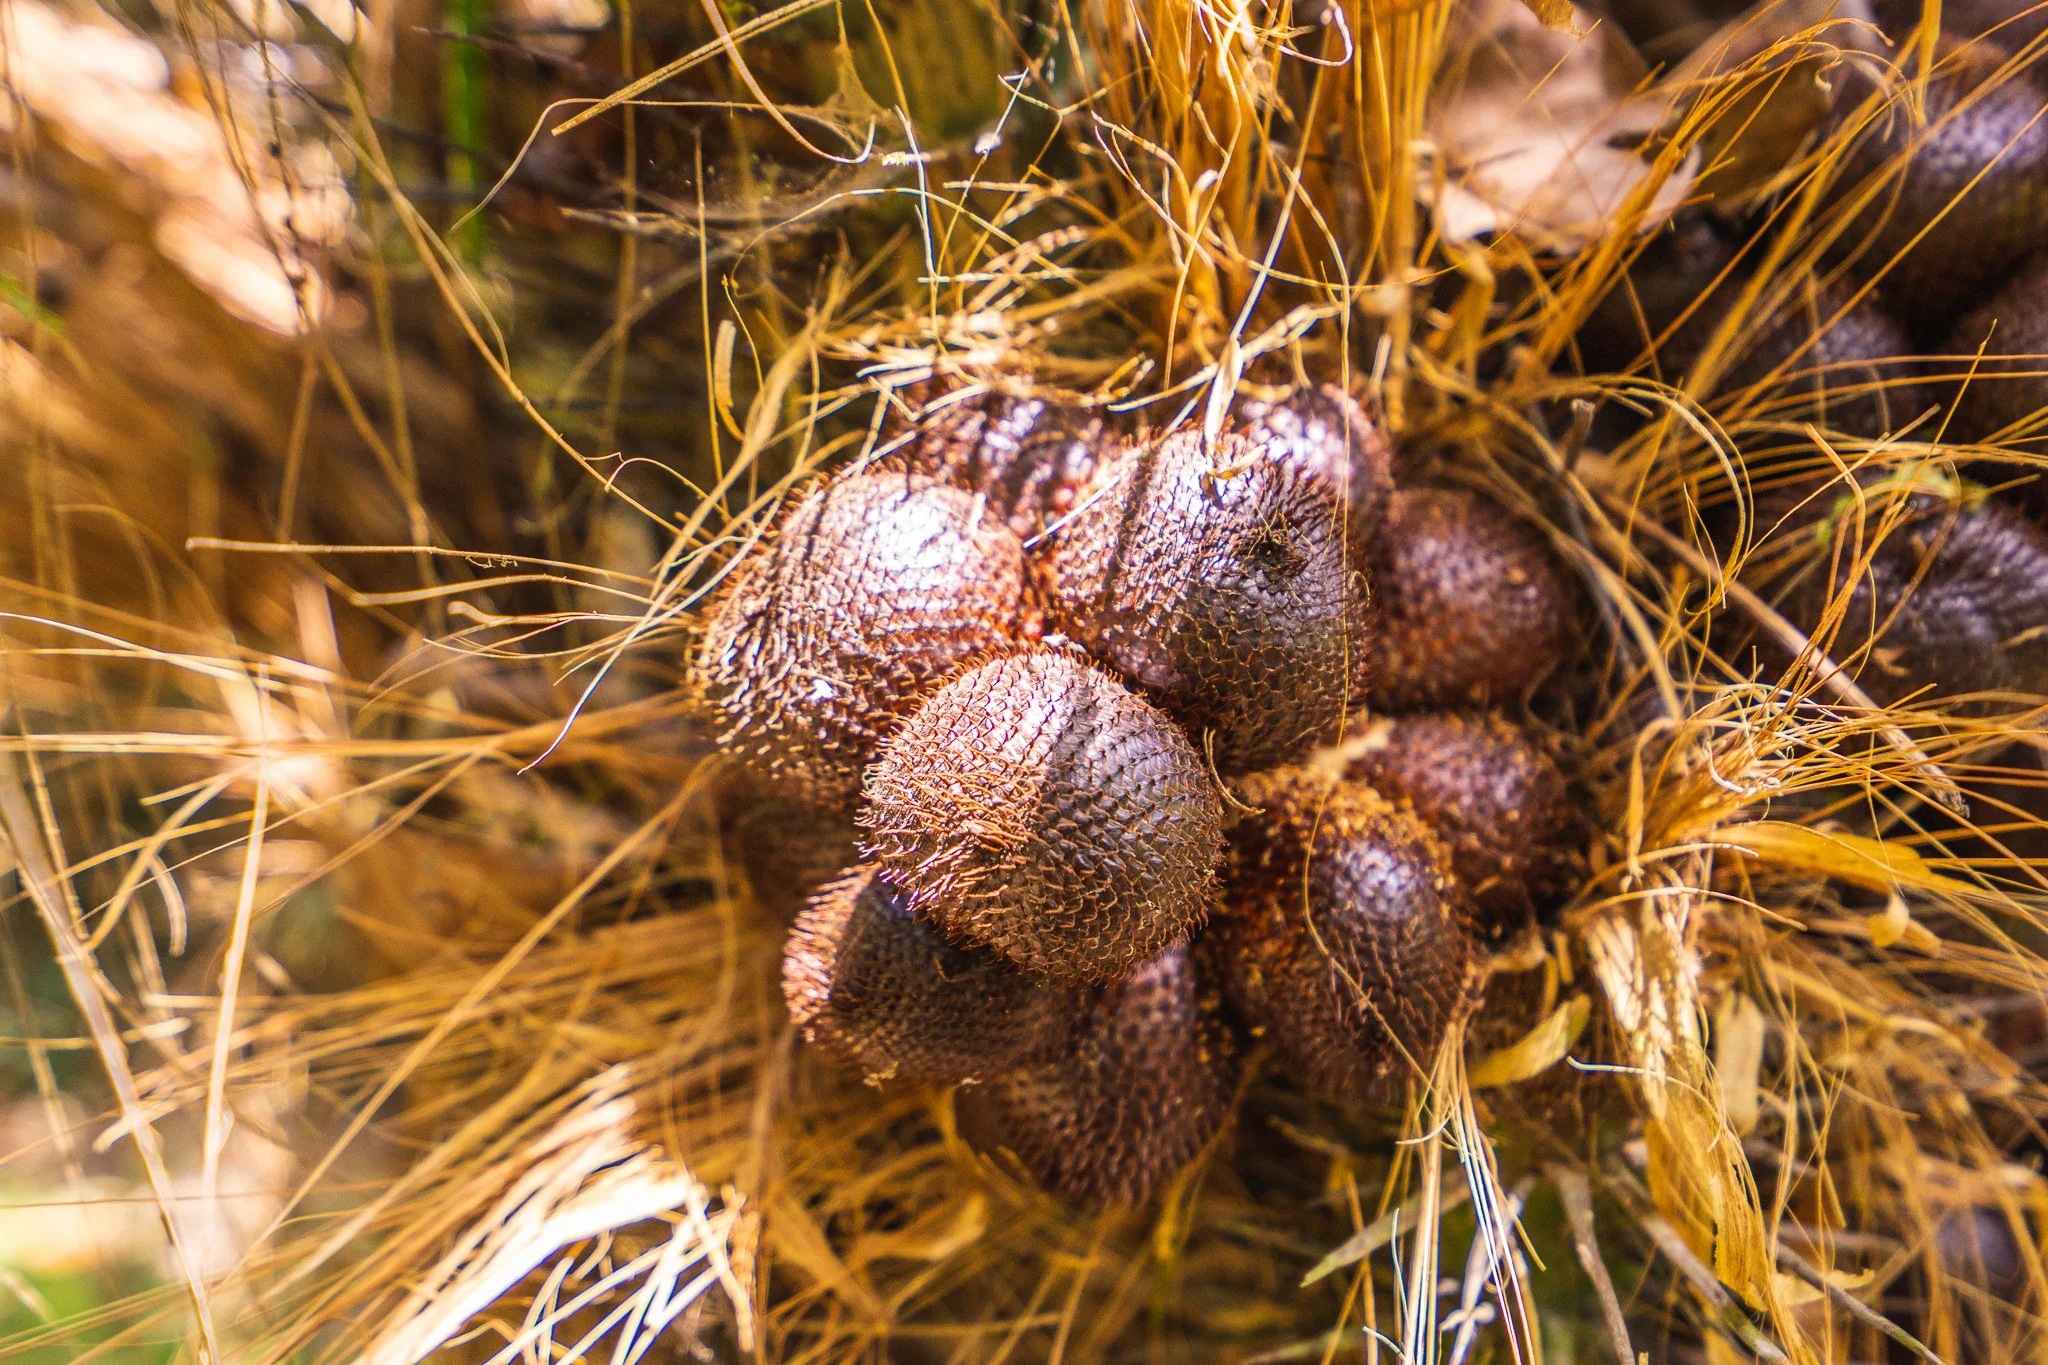
Salak palm is a great option for an understory species for a permaculture tropical agroforestry system. The risks of cultivating this species are beautifully contrasted by the enjoyment and health benefits of the fruit it produces. You truly get what you pay for. The fruit can be eaten right off the palm and makes for a great snack after working in the orchards.
Salak palm is native to Indonesia and is often cultivated in analogous climates. Here at the Ranch, we have around 40 palms both male and female.

A bowl of freshly picked salak
How to Start Growing Salak
Propagation
In order to establish salak in your agroforestry spaces you’ll need to start with propagation. Salak can be started from seed and should be placed sideways and half buried in a well-drained potting mix.
Both males and females are needed for successful fruit production. There is no way to determine the gender of the palm until 3 years after planting, when they begin to flower. Having 3 female plants for every male plant has proved to be optimal for our orchard space of roughly 4000m2. Once the plants reach maturity and begin to flower you can then identify any excess males you may have. Replace them as needed to reach your ideal ratio (3 female : 1 male)
Planting
The best time to plant is at the start of the rainy season.
The soil around the palm should be heavily top-dressed with compost.
Each plant should be planted 2-3 meters apart and are best planted in the same area for safety reasons and pollination needs (more on pollination below).
Keeping in mind the spiked nature of salak, it is good practice to avoid planting where any fruit or nuts may fall from overstory species. The palm is best planted under a low-maintenance canopy of fruit and nut trees. The individuals that have done the best in our orchard spaces have been ones that receive about 50% shade.
Maintenance

Using the macana to help remove dead material
Maintenance of the salak palm is where your patience and physical fitness will be put to the test.
Once the plant reaches maturity, it is time to start pruning. Remove any dead material and any leaves that are blocking easy access and visibility to the flowers. It is recommended to remove any hijos that are growing on the mother plant. Hijos are competing with the mother plant for sunlight and nutrients so it is best to use them as mulch seeing as they inhibit fruit production. The mother plant can be identified by following the roots. The roots lead into the mother plant which is curved and looked to be in an upward dog position. Any other segment not attached to the roots, but are instead attached to the mother plant are known as hijos.
After pruning, we make donuts around the palm, using mulch from around the orchard space. Read this blog “5 Grow-Your-Own Mulch Plants for the Tropics”. We have moved away from using the salak prunings to mulch the trees with, as it makes for further maintenance and pollinating challenging. We pile the cuttings and let them decompose in a pile or burn them and add to the trees.

Helpful pruning tools
When it comes to pruning, always have both of your hands occupied so you don’t accidentally reach out and grab the spiky palm. For optimum pruning our tools are: a macana, machete, garrabato, loppers, and a pruning saw with a long blade or handle. Using a macana and a pruning saw is an effective way to pry the hijos off of the mother plant. This takes practice and it is best to have at least two people to pry the hijos away. Then, using a garrabato to move the fronds around, I use my machete to move the cuttings to the pile.
Unlike most tree species, salak’s growth pattern is not one of vertical extension. As salak continues to grow, it will shuffle along the ground (much like a snake) and will begin to hover, the roots acting as it’s foundation on the forest floor.
Pollinate
In addition to the efforts of pruning, you should also pollinate the female flowers with the male flower. The native pollinator can only be found in Indonesia so whilst native pollinators will give very low levels of production, if high yields are desired it is necessary to hand-pollinate (learn more about pollination here).
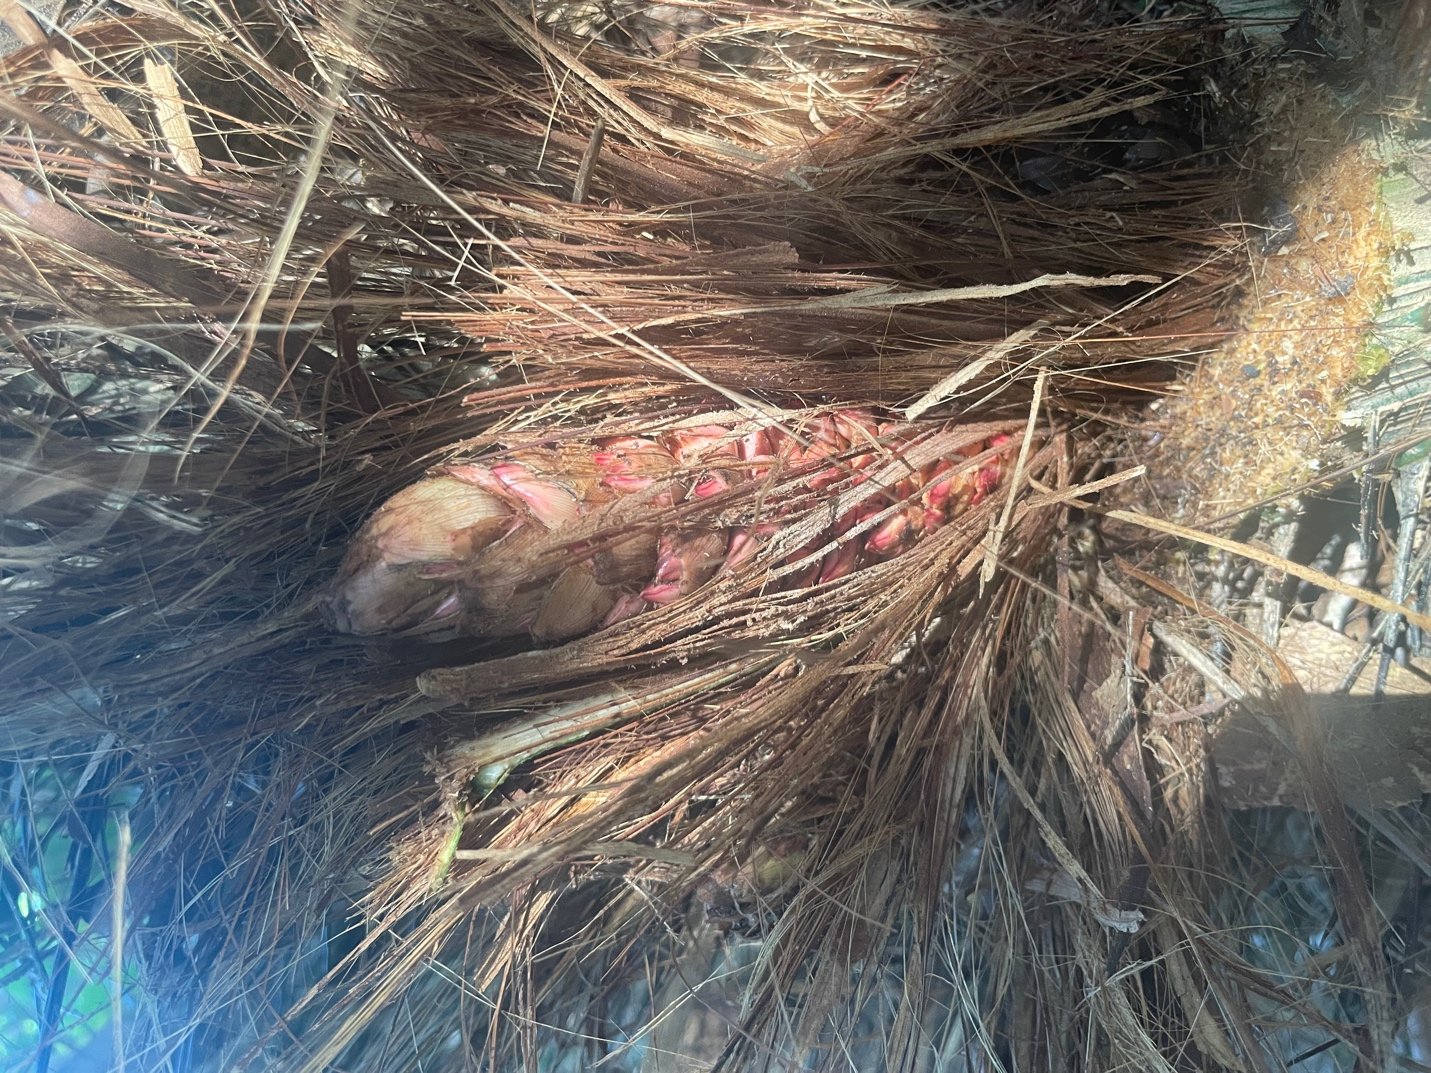
Female flower
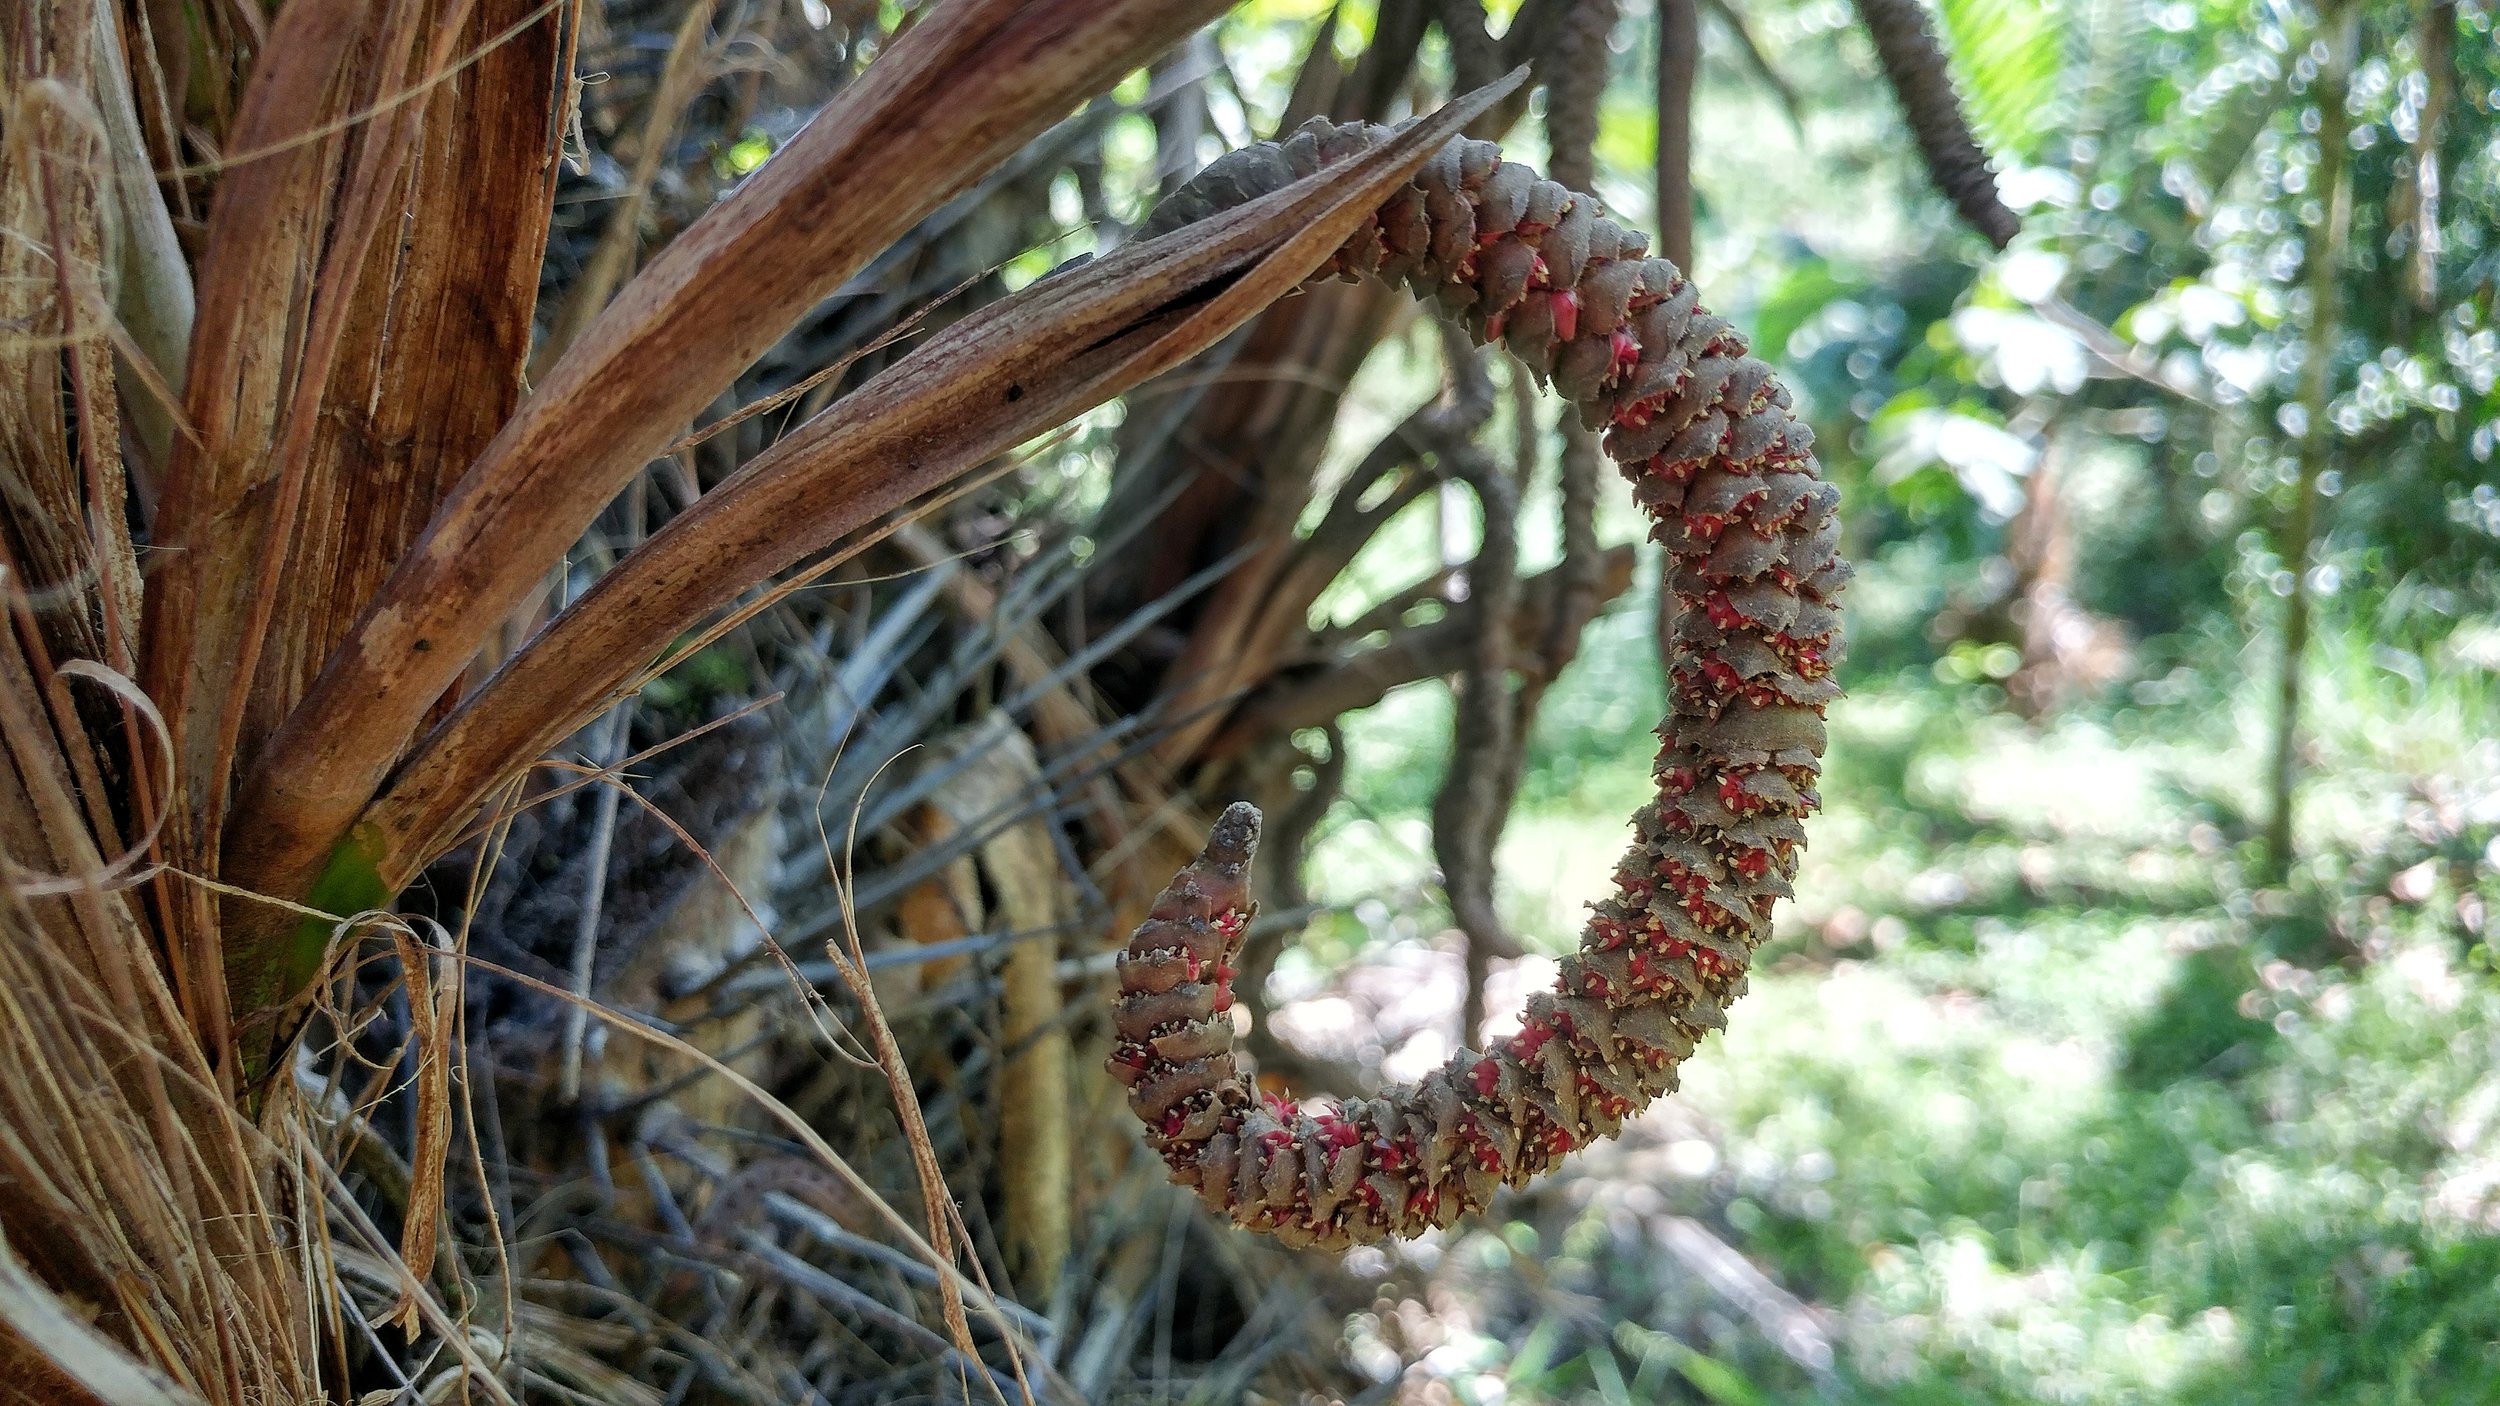
Male flower
Salak flowers all year round, so we have found it very useful to mark the females with red flags for easier management. This is because you only need to check to see if the female plants have any receptive flowers and then go and find a male flower if needed. The female flowers are cone-shaped and covered with a dense outer layer. The outer layer is shed over the course of a couple of months and the pink flower is revealed. The male flowers should be removed and brought to the female plant to dust the open flower. Within a few days the flower should harden up, which indicates a successful pollination.
Harvesting
Now comes the best part....harvesting! To determine if the fruit is ripe, take one off towards the base of the clump of fruits, after eating the flesh, see if the seed inside has changed from white to a brown color. If the seed is brownish and the taste is sweet and satisfying, you’ll know the time is right! If the seed is light brown or white and the fruit is astringent then you will know to leave the clump of fruits on the palm to mature further. Harvest when you can to avoid competition from pests but don’t be too indulgent because the fruit does not ripen off of the plant. After repeated successful harvests you will begin to be able to identify when the clumps are ready for harvest without needing to taste one first.
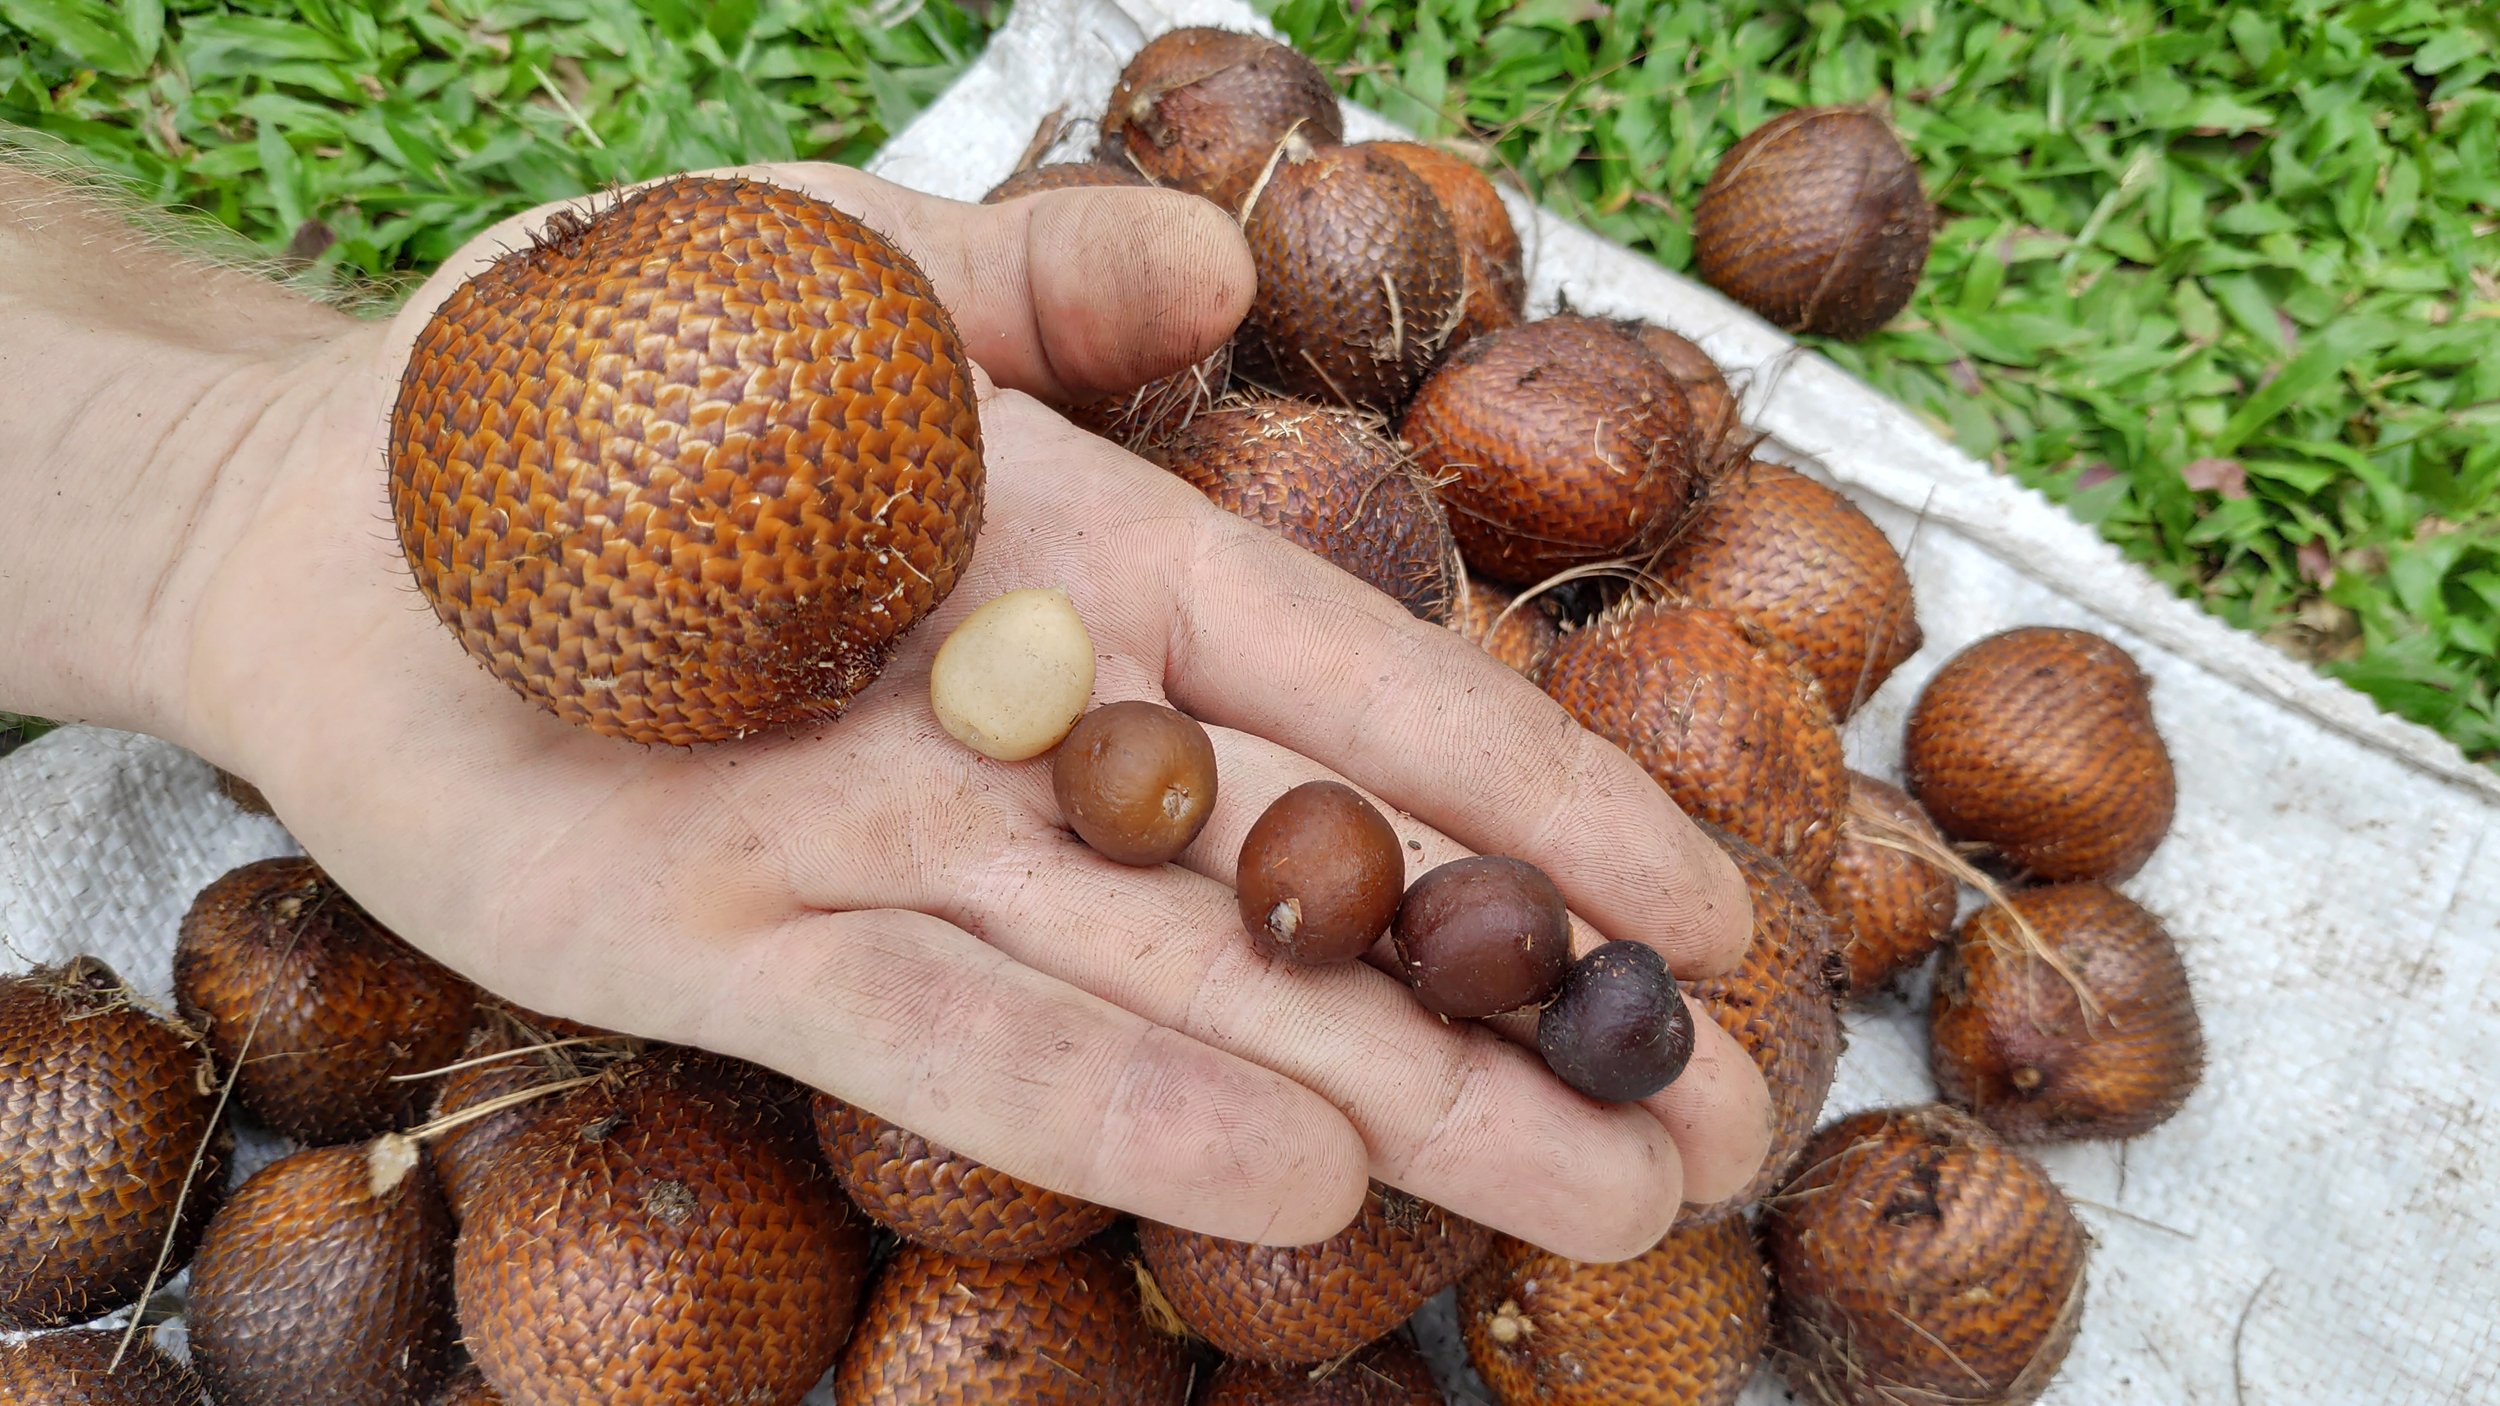
The different colors of the seeds to determine ripeness
Overview
Salak is a valuable companion in your agroforestry spaces, able to be planted underneath mature fruit trees. Like anything worth doing it involves work and dedication, but the rewards are well worth the effort and the work will not be in vain. The fruit is delicious and nutritious and maintenance is a great way to truly earn the fruits of your labor.
References :
El Arbol “Al servicio de Agricultor” Vol 2. Guia de Especies
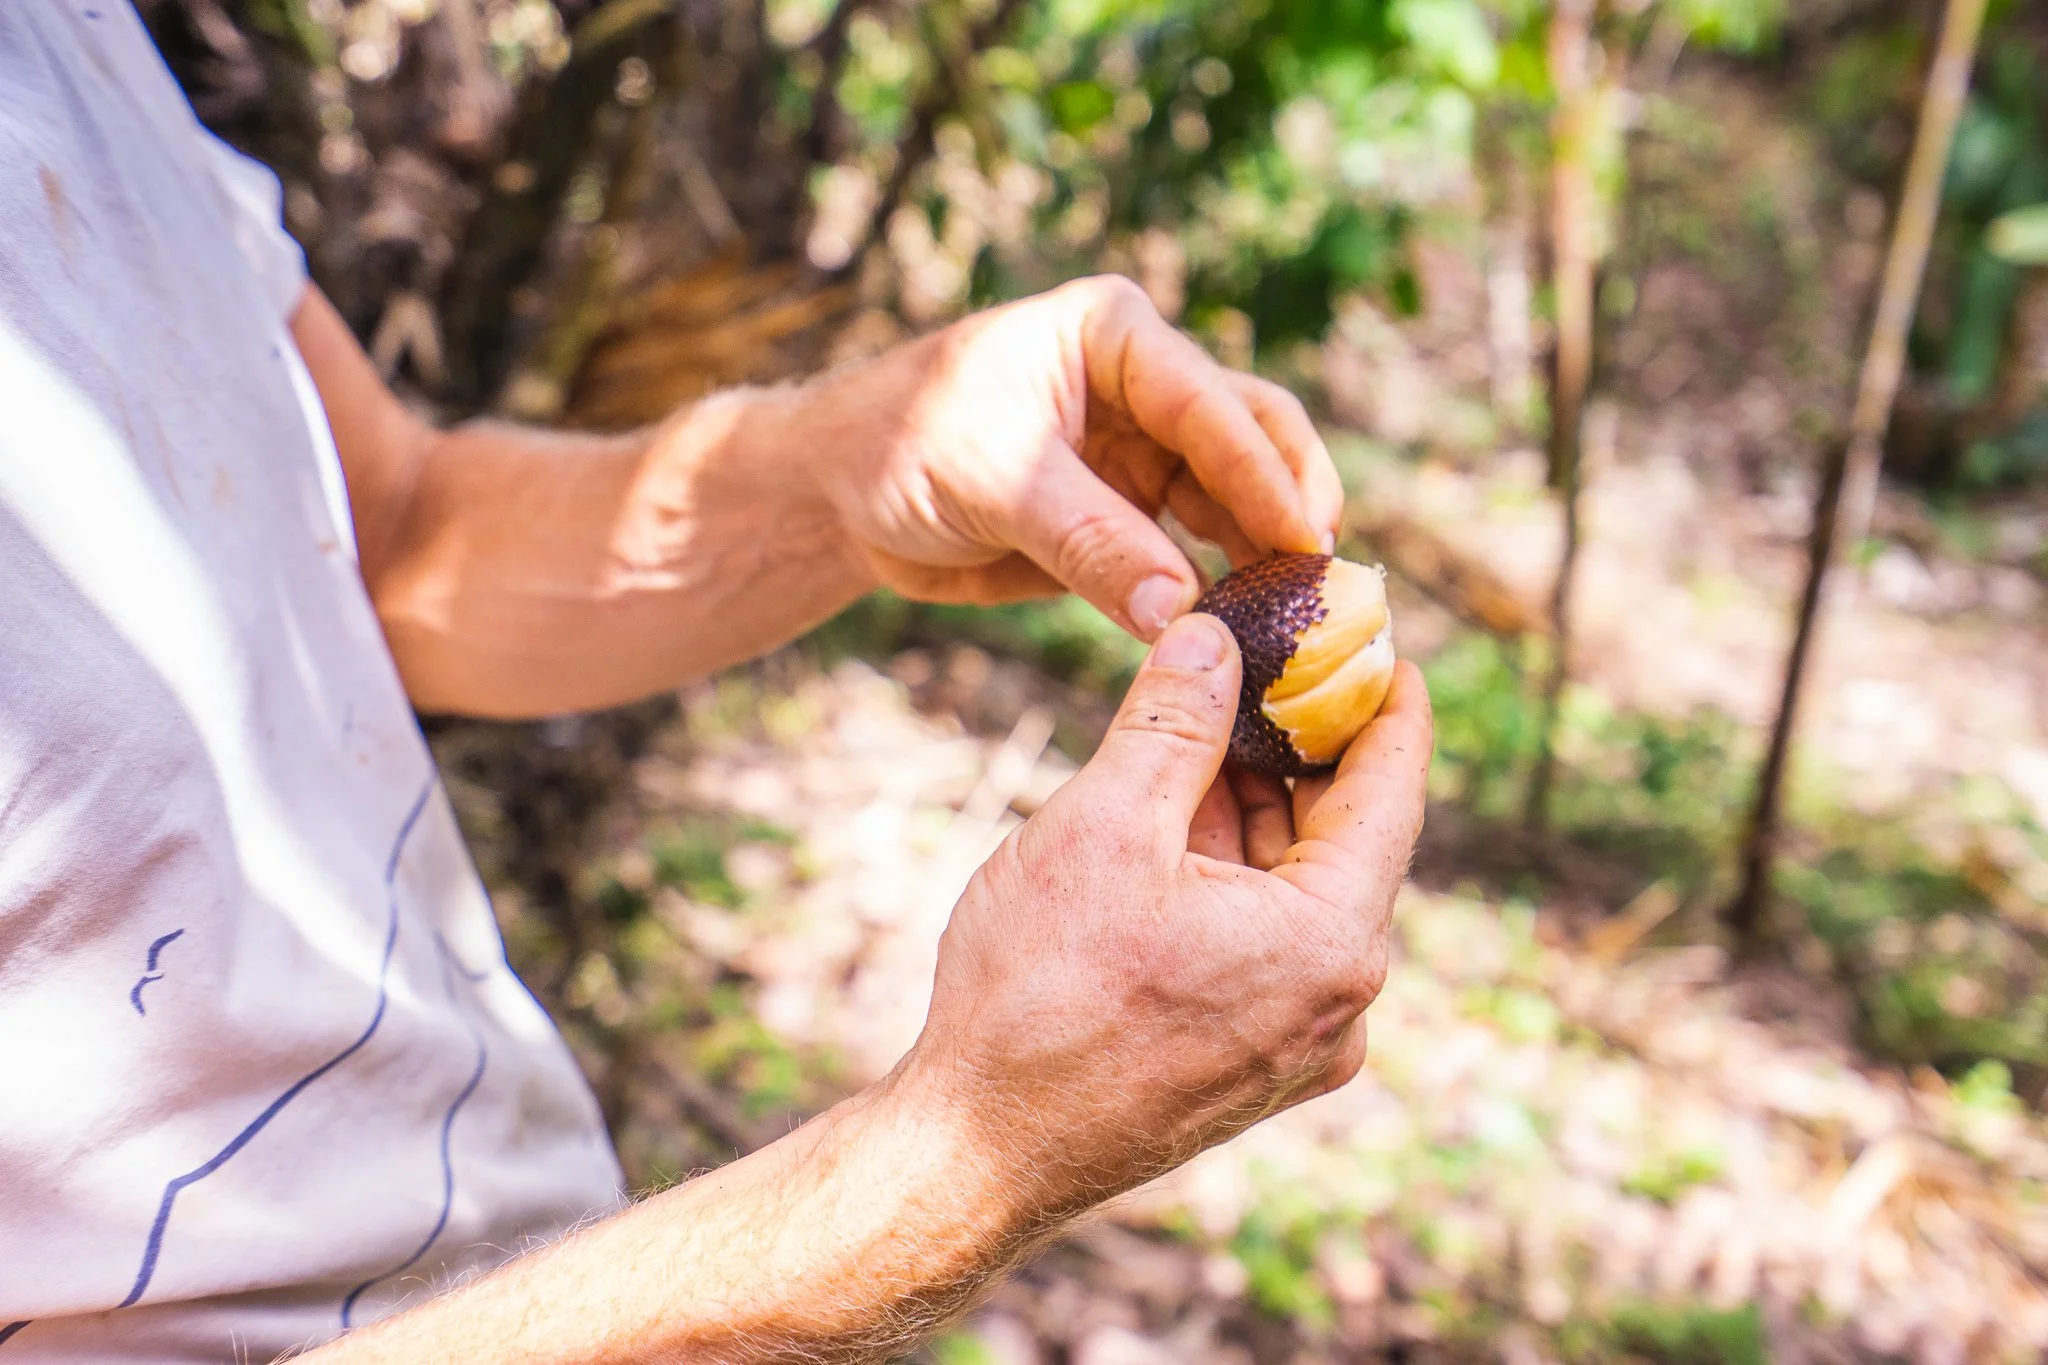
Check Out These Other Blogs About Salak & Permaculture
Salak Palm: A Guide for Tropical Permaculture
Ameding Calium-Deficient Soils - A Tropical Permaculturists Approach
LEARN MORE
Join us for one of our educational workshops about permaculture design, natural bulding, fermentation, and more. Check out our yearly workshops here.

Amending Calcium-Deficient Soils – A Tropical Permaculturist’s Approach
By 2022 apprentice Connor Gilmartin

A walk through our orchard systems
Wade Davis once wrote that the Kogi people of Columbia believe “The surface of the Earth itself is an immense loom upon which the sun weaves the fabric of existence”. The garden and orchards of Rancho Mastatal are proof of this eloquent observation. While walking through the orchard spaces of the Ranch, your field of vision is overtaken by a mosaic of emerald green foliage, and gem-like, plump tropical fruits. This intentionally designed agroforest is abundant - however, a productive tropical orchard or garden does not come without hard work. Without mindful intervention, these orchards and gardens would not reach their fullest potential. It is our goal to listen to Madre Tierra, and help her achieve her most resilient, healthiest form.
Tropical Soils
While the jungle soils of Mastatal are abundant in in biodiversity, they are lacking in potential hydrogen (pH), which results in acidic soil. This low-pH, high acidity soil presents a bit of a problem for a gardener like myself, who is keen on optimizing a plant’s growing medium, in search of nutrient-dense, boast-worthy fruits and vegetables. Simply put, acidic soil results in low levels of available calcium. It is a known fact that calcium plays a crucial role in plant health and development. So… how can we remedy this issue? I’m glad you wondered.
A tropical permaculturist in this predicament is faced with two options; purchase bulk calcium carbonate in the form of ground limestone to apply as a top dress, OR use all those eggshells sitting on the top of the compost bucket to make Water-Soluble Calcium (WCA). WCA is one of the five inputs developed by Master Han Kyu Cho, the prolific South Korean gardener responsible for what is known globally as Korean Natural Farming (KNF). I’ll note that topdressing with limestone (CaCO3) does play a role in our agroforested zones - foliar feeding 12 acres of orchards would be unrealistic, to say the least. Foliar feeding a quarter acre of raised garden beds is a different story. Preparing WCA is fulfilling and presents a phenomenal opportunity to help close the loop between your garden and kitchen, while also providing your plants a calcium-rich tonic they’ll thank you for. When you see your pepper’s shiny leaves praying towards the morning sun, you’ll see what I mean.
How to Make Water-Soluble Calcium
I’ll begin by listing the materials you’ll need to make a batch of Water-Soluble Calcium (WCA). They are as follows;
1.) Two clean glass jars (I am personally Ball Brand loyal, but any clean glass jars will do)
2.) Eggshells (Rinsed after cracking to remove organic matter)
3.) Brown Rice Vinegar (3% acetic acid is what you’re shooting for if you make your own vinegar like we do here at the Ranch)
4.) A cast iron skillet
5.) A breathable cloth to act as a “lid” (cheesecloth or nut milk bags work quite well)

Washed egg shells and homemade bottles of vinegar

One of our alternative wood fired cooking stoves
I chose not to list specific quantities of eggshells and vinegar because the amount of WCA you might want or need is variable, depending on the size of your garden space or application schedule. By weight, the solution will be prepared using a ratio of 1:10 (eggshells to brown rice vinegar).
To prepare the WCA solution:
1.) Collect eggshells, gently wash with water after cracking.
2.) Lightly roast the cleaned, dried eggshells in a cast iron skillet for approximately 30-45 minutes. This removes any potential leftover organic matter stuck to the shell. Shells should be dry and toasted golden but not charred.
3.) Add toasted shells to a glass jar filled with brown rice vinegar. You will see carbon dioxide being released as the eggshells float up and down the vinegar. This is good. This is a sign the calcium is being dissolved into the solution.
4.) Cover your jar with a breathable cloth. This prevents pests or large organic matter from entering your prized water-soluble calcium solution.
5.) Place jar in a cool, dry location for 7 to 10 days.
6.) After this time has passed, check to see if the solution is still bubbling. If it’s not, that means your solution is saturated and all set for the final step.
7.) Strain your solution into a clean glass jar to remove eggshells. Cover with airtight lid, label, and store at room temperature out of direct sunlight.

Toasted egg shells

Egg shells sitting in vinegar
Voila! A week has passed and now you have a jar of homemade water-soluble calcium. You must be excited to go give your plants a taste. I’d recommend doing so in the early morning. Greet the sun, sing to your plants, and remember, your mind is a garden, your thoughts are the seeds, you can grow flowers, or you can grow weeds. Happy gardening!

Want to learn More?
We have been applying permaculture principles to our agriculture systems for the past two decades. Join us for our yearly Permaculture Design Certification to learn more about designing and implementing sustainable tropical systems.
Check out these past blogs on Tropical Agriculture
Tips for Working with Tropical Soils
Using Mountain Microorganism to Create Organic Fertilizer

Nitrogen Fixing Plants at Rancho Mastatal
A nitrogen fixing plant is a common term used to describe plants that have symbiotic relationship with microorganisms on their root nodules that allow them to fix nitrogen. These are the top ones we use here at the Rancho.
By Nic Donati, Core Team Member
What are Nitrogen Fixing Plants?
A nitrogen fixing plant is a common term used to describe plants that have a symbiotic relationship with microorganisms on their root nodules that allow them to fix nitrogen. The vast majority of these plants are in the Fabaceae family (the legume family), but there are other families of plants that have relationships with microorganisms that allow them to fix nitrogen. There are many trees and soft stemmed plants that have symbiotic relationships with microorganisms on their root nodules that allow them to fix nitrogen. We often in permaculture design refer to all of these as NFTs (Nitrogen Fixing Trees) for simplicity although some of the plants we are referring to are not actually trees.

Root nodules on a Poro sapling
What is Nitrogen fixation?
Nitrogen is essential to all life forms as it is used in the biosynthesis of all nitrogen containing organic compounds such as amino acids and proteins. Nitrogen makes up approximately 78% of the earth’s atmosphere, so it is in abundance, however in its gaseous form (N2) it is not readily available to plants as it cannot be easily metabolized by them. Nitrogen fixation is the process of converting N2 into a compound that can be readily metabolized by most organisms such as Ammonia (NH3).
Nitrogen fixation takes place naturally in the soil by microorganisms. Some species of plants are able to form symbiotic relationships with these microorganisms and we are interested in those plants in permaculture because of the role these species can play at increasing the fertility of our soil in a natural way. Permaculture adheres to the philosophy of working with nature rather than against it and capitalizing on these naturally occurring phenomena is a great practical application of this. We use them a lot at Rancho Mastatal in our food forests, alley cropping systems and our annual vegetable garden system.
Getting Nitrogen into the ground
Nitrogen is one of the most important nutrients for the growth and survival of plants and deficiencies in this key element will lead to problems in plant development. In recent decades this has been dealt with in conventional farming by applying chemical fertilizers. The application of these fertilizers, however, has led to huge environmental degradation. Organic growers may use naturally occurring nitrogen rich amendments like manure, blood and bone etc…. Either way it requires the addition of amendments to our soil. At Rancho Mastatal we absolutely use natural soil amendments, typically we apply dried cow manure, compost, vermicompost and other amendments that we have locally available or make ourselves, this requires a huge amount of work, collecting, hauling and applying them. We ideally want to generate all of the nutrition that our trees need right near our trees so that we don’t need a lot of resources to look after them. NFT’s present a wonderful opportunity to use the natural processes that are taking place in the soil to benefit the trees we are interested in being productive.
Agroforestry

An agroforestry system at the Rancho
Our warm, humid, tropical environment lends itself to the development of agroforestry systems. Our natural ecosystem is the rain forest and our goals as a tropical agro-forester is to create a forest environment utilizing tree species that have yields for human consumption. We typically think of these yields as food, but they could also be fodder for feeding animals, timber for building and branches for firewood amongst others, from now on we will refer to these as tree crops. We also need support species for our tree crops, which we may or may not directly use the yields of. NFTs are good examples of these support species as their roots and leaves are richer in nitrogen than other species. It means when we prune our nitrogen fixing tree and arrange its biomass around our tree crops; we are feeding the soil in multiple ways:
1. The leaves and branches around the tree break down over time and add organic material, and nutrients to the soil
2. Whilst they are breaking down, they are also protecting the soil from the harsh sun and rain.
3. The root die back that is created by pruning our NFT releases nutrients and helps aerate the local soil.
4. Even when not pruned the roots stabilize the local soil and the leaves provide protection and shade from sun and rain.
In our environment we use many different species of NFTs and we would like to share the 9 main species we use, what we use them for and why. Not all NFTs are created equal and some provide different functions than others. As I said earlier we also use the term NFT rather liberally as some of these species are actually not trees!
1. Black Wattle (Acacia mangium)
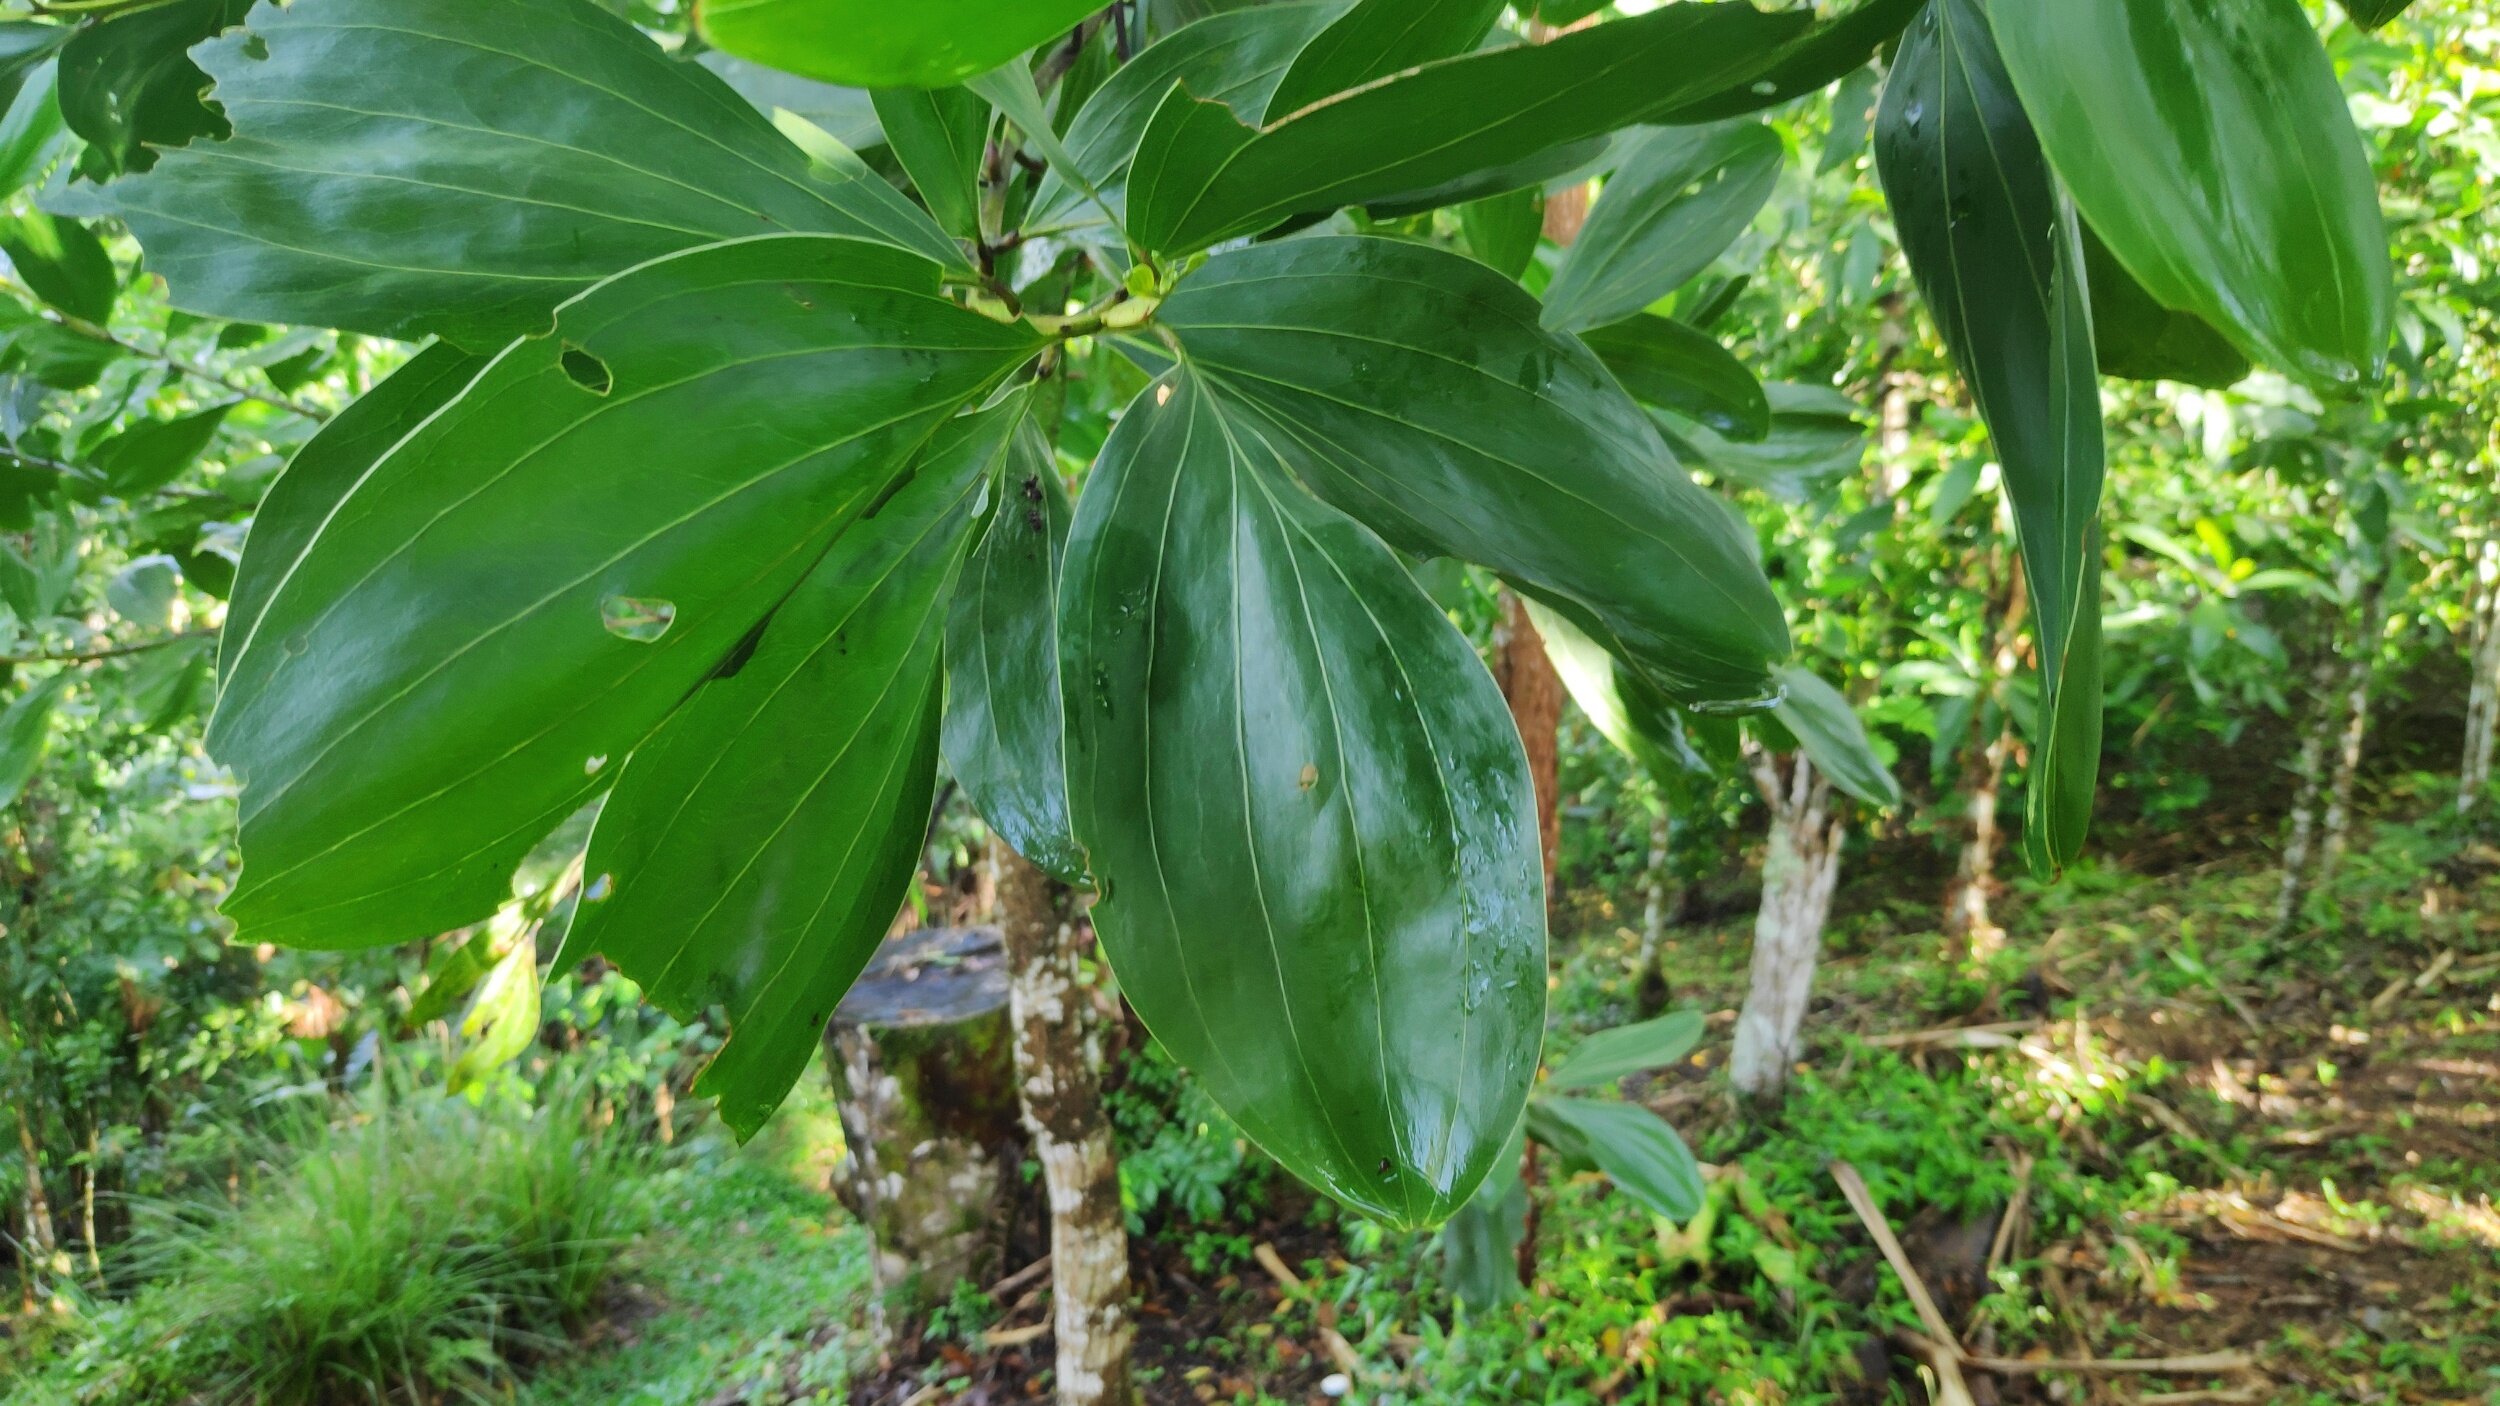
This is number one on the list as it is the most abundantly used NFT on our site. In recent years we have moved away from using it, as it can quickly get large and unwieldy, though there remains a significant number still on our site. It grows fast like most NFTs and handles pruning relatively well, but not great with a fair few dying each pruning season in comparison to some others on this list. It needs full sun and will naturally form a tall straight trunk. It is commonly used in other countries as a valued timber species. The interesting thing about this species is how it really doesn’t look too much like an NFT. Most species in the legume family have a very characteristic leaf pattern. Acacia mangium though does not have this characteristic leaf pattern and you would not think it was an NFT by looking at it. However its first emergent leaves do possess the familiar NFT leaf pattern and give away its family! It is not super easy to propagate from seed like some other NFTs and we have had no success with cuttings. We mainly used this species planted along contour lines when establishing new orchard spaces and since then have moved away from using it so much. We plant it at tight spacing and prune at the end of each dry season to provide biomass for our tree crops.
2. Cratylia argentea

This is the one species on the list that isn’t technically a tree, it is more of a climbing vine, and boy does it climb fast!!! It is an abundant source of nitrogen rich biomass, it handles pruning excellently and pretty much always bounces back. It grows very easily from seed and produces really beautiful, abundant purple flowers (great for pollinators) at the beginning of the dry season, which really facilitates the collection and storage of seeds. You have to be careful with this species as it loves to climb and it will quickly swamp tree crops if left to its own devices and can strangle and kill them. Its greatest characteristic is its speed of growth and abundant biomass, but this is also the feature which gives us a love hate relationship with this species! It loves full sun but will tolerate some shade. We are using this a lot to fill in gaps in our contour plantings of Acacia mangium where a tree has died.
3. Mountain immortelle (Erythrina poeppigiana)

Known locally as Poro, but be careful as there are several species that are known as Poro in Costa Rica. It does really well from cuttings which makes it an excellent choice as a living post for fences or a living post for trellises for climbing crops like passionfruit or dragonfruit. It has an attractive flower which is great for native pollinators and grows easily from seed. The one drawback of this species is it is typically spikey which can make it a little unfriendly to work with and to use as biomass.
4. Brazilian Fire Tree (Schizolobium parahyba)

Is by far the fastest growing NFT on the list along with Cratylia argentea, the main difference being them is it is a tree rather than a vine and it grows straight up…. Very quickly! It can grow up to 30m in 5 years, as you can imagine the wood is very light and spongy. It doesn’t produce a huge amount of foliage and creates a very light shade, it is supposed to keep its leaves during the dry season too as one of its major advantages, however in recent years it has dropped all it leaves so I will leave that one up to you. We typically grow this from seed and use it as a light shade for tree crops.
5. Quickstick (Gliricida sepium)

This species is known locally as Madero Negro, grows well from seed and has about a 50% chance of survival when planted from cutting. The mature tree is a low growing, typically not straight, that produces excellent high quality heartwood timber. The heartwood timber is known for its durability, rot resistance and is used a lot for foundations. It is also used a lot as a living fence post and the leaves can be used to deter fleas and kill rats. At the Ranch we typically use it as a living post for vanilla and black pepper. It tolerates shade, as in it will survive in shade, however don’t expect a lot of growth.
6. Ice Cream Bean (Inga Edulis)
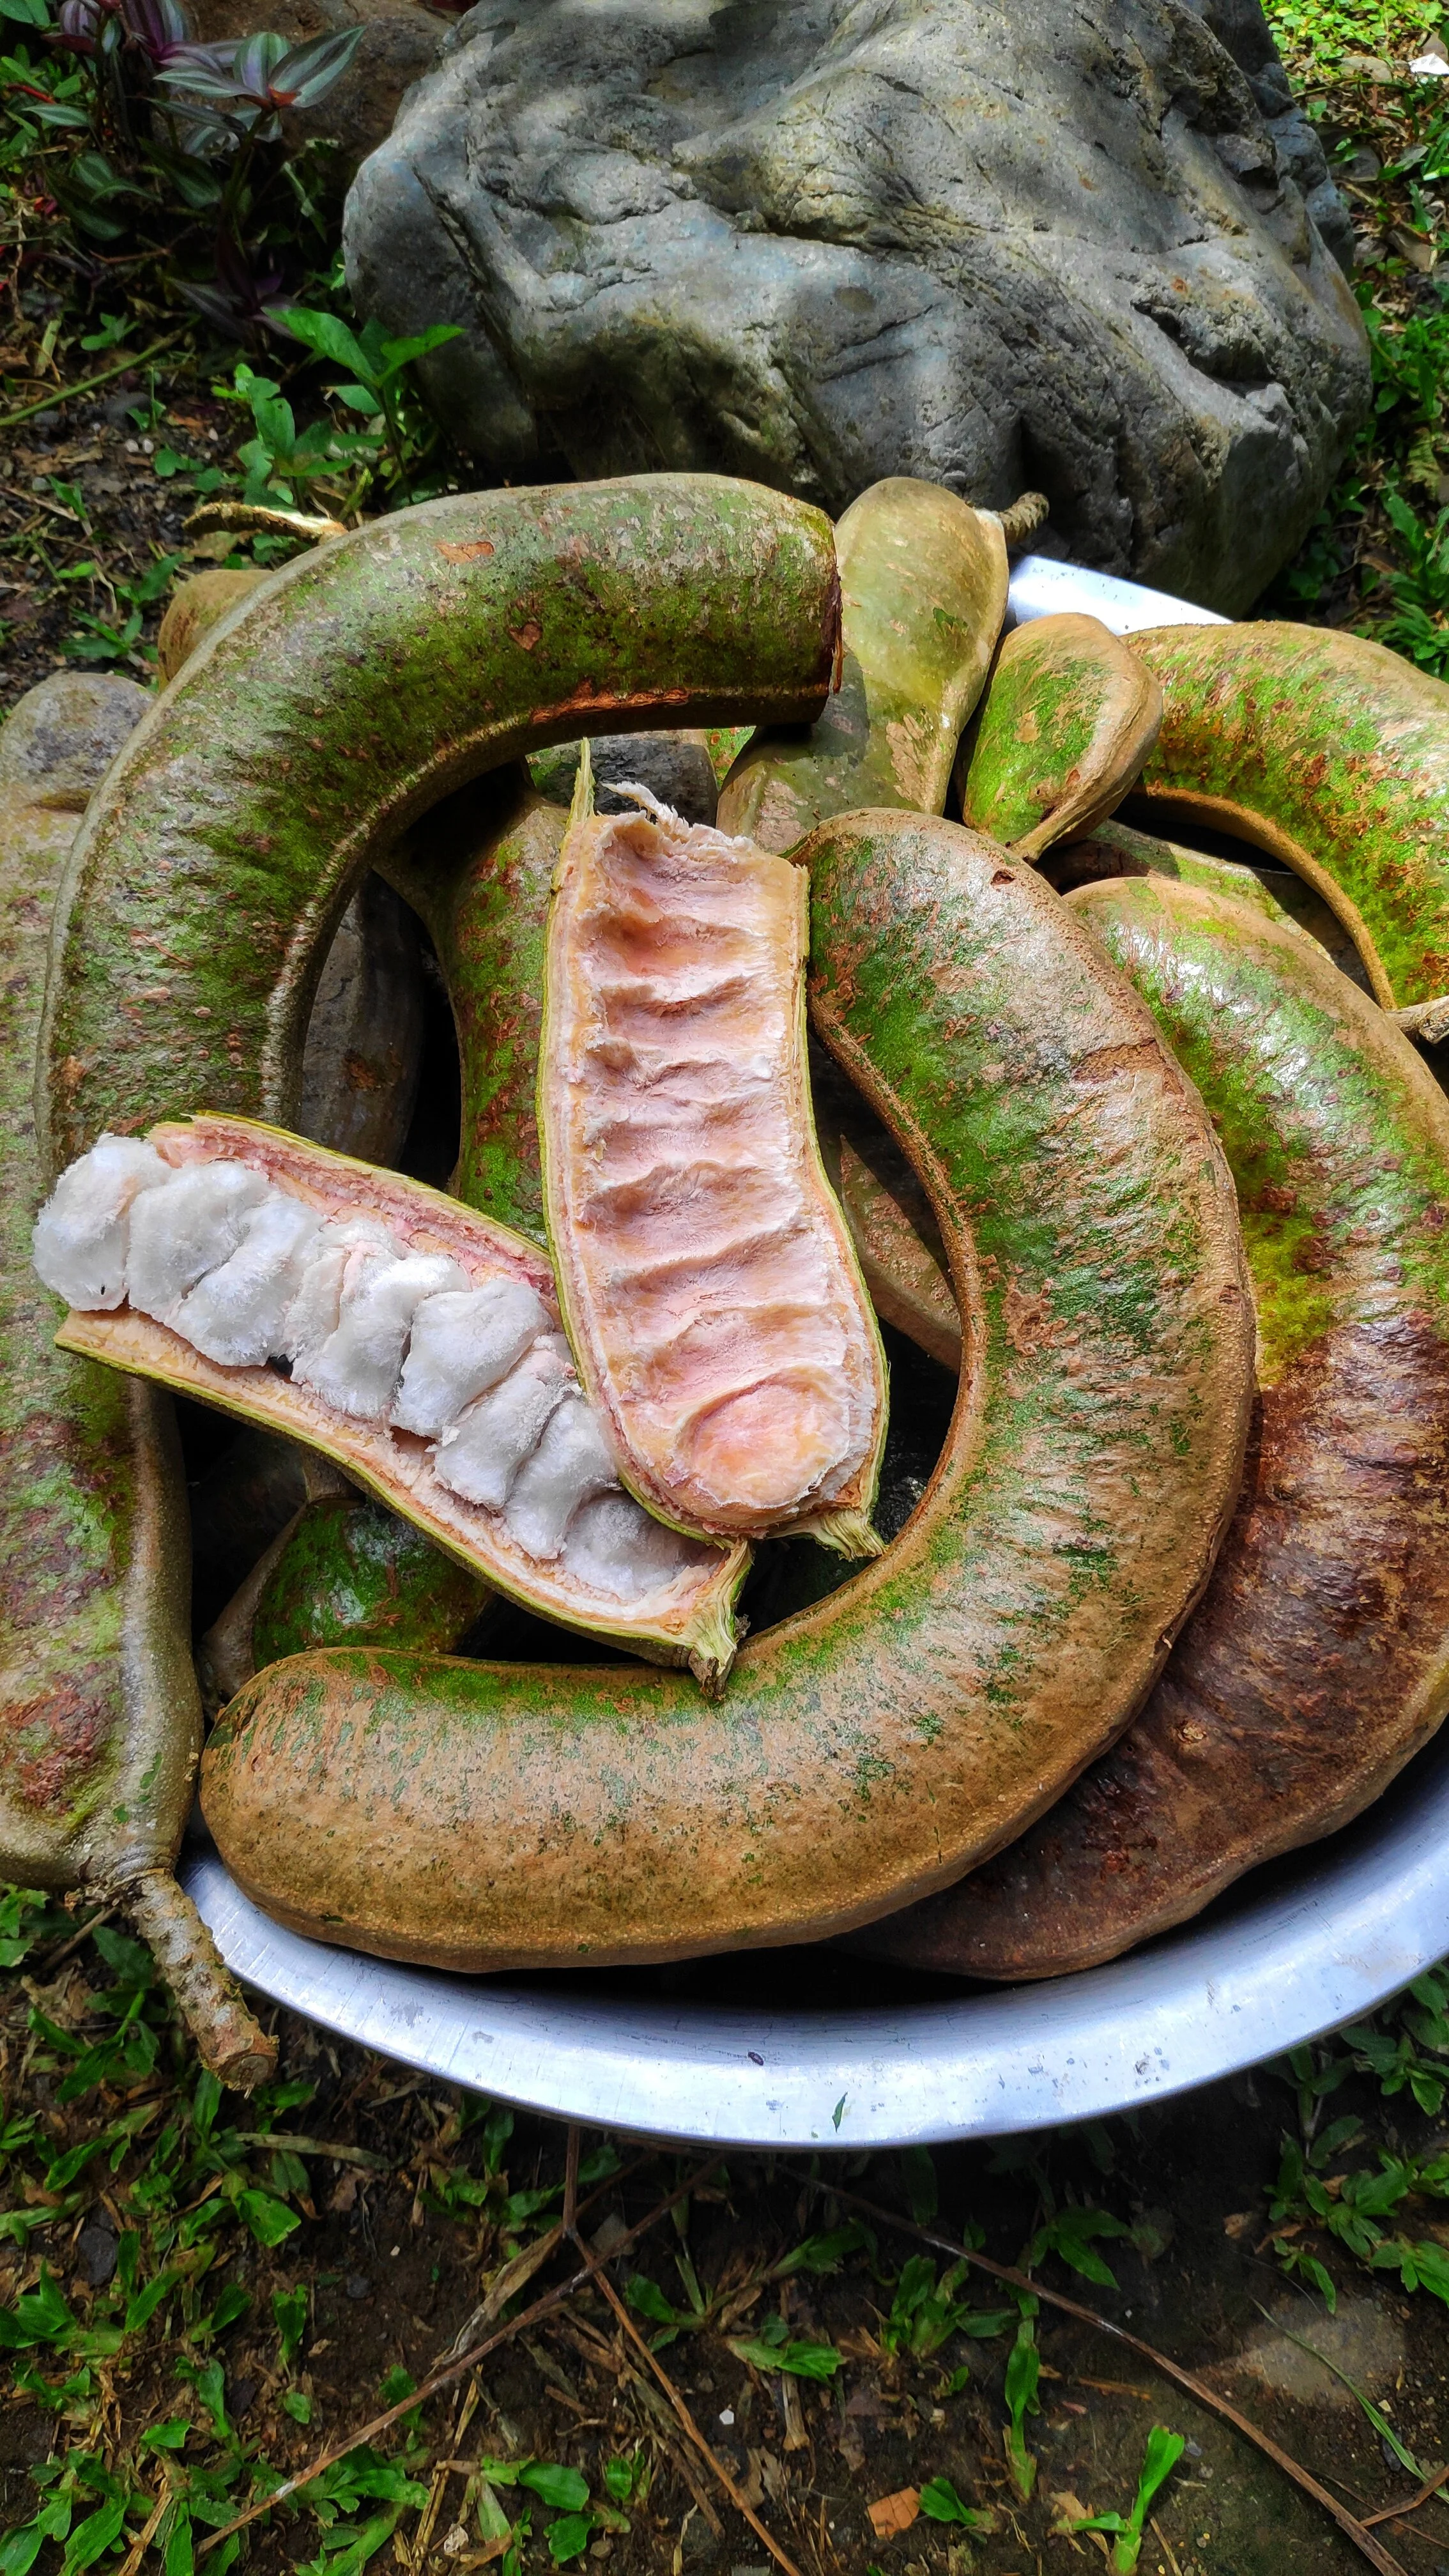
The fruit of the ice cream bean
This is one of the few NFTs that also produces an edible fruit in our environment. Locally the fruit is known as Guava or in English it is called Ice Cream Bean. There are often many wild forest varieties of this tree, some of which produce beautiful heartwood timber. Inga Edulis however produces useable timber, but it is prone to termite damage and should only be used for furniture and non structural elements. It produces huge and abundant leaves and reacts quite well to pruning, making it an excellent choice as an NFT. If you are continually pruning it though for biomass don’t expect to get any edible harvest from the tree. This will grow into a very large tree if left unmanaged.
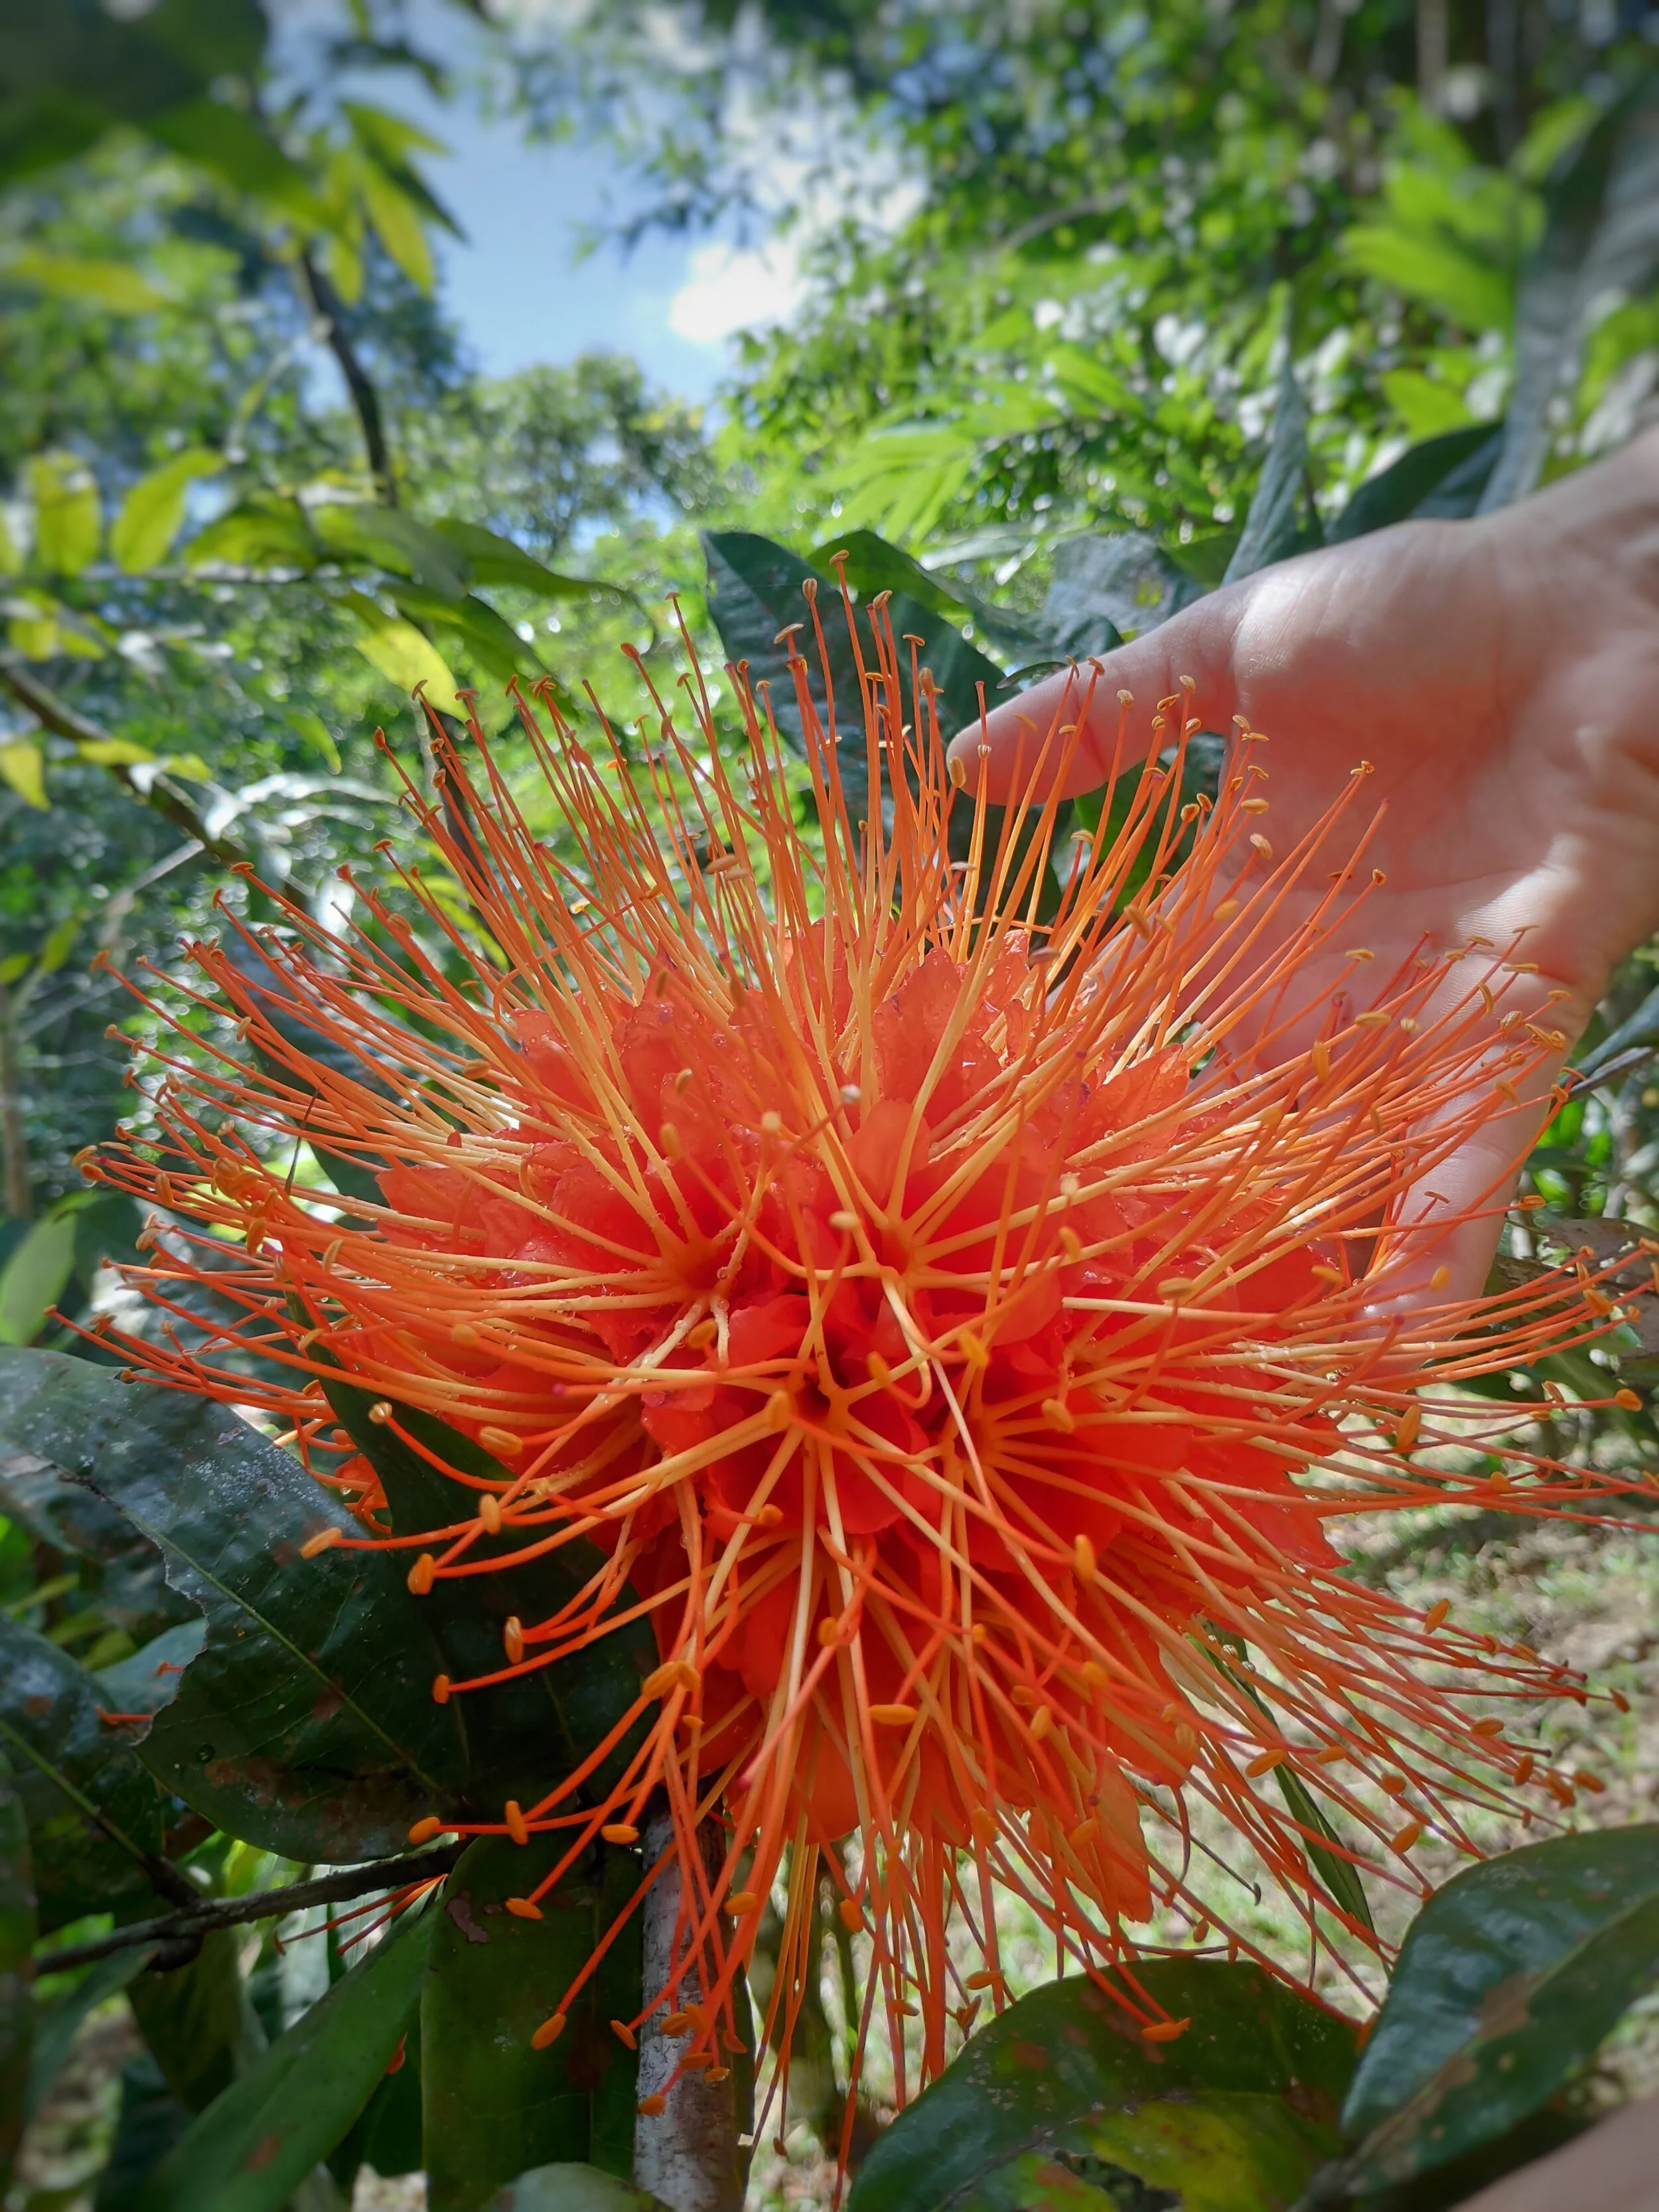
7. Venezuelan Rose (Brownea macrophylla)
This is primarily planted as an ornamental, that produces a very beautiful and striking flower at the end of the rainy season. It also tolerates shade quite well and will still produce some flowers. It can be frequently pruned but doing this will effect flowering. We struggled for many years to source this rare beauty!
8. Peanut Grass (Arachis pintoi)

Again not technically a tree but provides a formidable and fast growing ground cover. One of the important permaculture principles that we apply is covering all of our soil. Peanut grass is able to do this quickly and effectively even in very poor soils and can survive our harsh dry season and bounce back quickly once it starts raining again. It produces pretty yellow flowers and is very resistant to mowing or weed whacking. We try to use this as much as possible as a groundcover however it prefers full sun and whilst it will survive in shady areas does not really grow or spread quickly. It is most easily produced by cutting and has a very, very high success rate. Seeds can be purchased but really why would you bother? It is easier to plant via cutting.
9. Wild Hops (Flemingia macrophylla)
A bushy shrub that doesn’t get taller than a couple of meters on our site which is one of its biggest benefits! It is easy to propagate from seed and cuttings making it a great choice for our site. It seems to tolerate shade relatively well, but does prefer full sun. Its low bushy growth habit means it doesn’t swamp other plants like the Cratylia can, but it doesn’t produce nearly as much biomass. Although relatively small amount of biomass is produced in comparison to some of the other NFTs the leaves do take comparatively long to break down and provide excellent mulch. In comparison to the Schizlobium’s feathery leaves that break down incredibly quickly. We mainly start these in our bamboo planters either from seed or cuttings and use them to fill holes where other NFTs have died or not taken well.

Want to learn More?
These are the main NFTs we use at the Ranch. If you are interested in learning more about how to use Nitrogen Fixing Trees in your landscape why not join us for a Permaculture Design Course or Agroforestry workshop.
We also have some of these trees available seasonally in our nursery, so get in touch if you would like to buy some.
Happy planting!
Other blogs related to soil fertility
Improving Soils in the Humid Tropics
Making Microbes: Fungal vs Bacterial Soil Life

Natural Log Cultivation of Shiitake Mushrooms in the Tropics
Even though growing shiitake in bags of synthetic logs is more common due to labor and material costs for bigger scale production, we decided to go for the traditional natural log cultivation, as it has been grown for thousands of years. So if you’re thinking about starting mushroom cultivation, here are a few tips on how to do it:
By Nico, Apprentice 2020

Apprentices inoculating the logs
Managing an orchard space involves dealing with a lot of biomass, especially here in the tropics. From weeding, to pruning, chopping down NFTs that are getting way to big, etc. We are then left with a lot of plant material. Most of this biomass is returned to the soil around our beloved fruits trees, decomposed by microorganism and turned into a nutritious soil, hence completing the life cycle of our healthy ecosystem. But, every once in a while we are faced with the dilemma of having to take down bigger trees. At the Rancho we always try to honor the life of those trees by using them in the best way possible. Following permaculture principles, we don’t see any by-product as waste but rather as a resource. So when we had to take down a magnificent Pau d’arco for safety reasons, we took this opportunity to give it second life. The biggest logs were milled by 2 local sawyers, and are currently drying in the barn to be turned into the next piece of beautiful furniture. We used the smallest logs/branches to make a tincture, since the tree has so many wonderful medicinal properties. The bark, a powerful botanical medicine that restores the immune system, has been cited traditionally to treat the following health problems: anaemia, arteriosclerosis, arthritis, asthma, bronchitis, boils, cancer, candida, colitis, colds, constipation, coughs, cystitis, diabetes, diarrhoea, emphysema, dysentery, eczema, fevers, flu, gastritis, gallbladder problems, infections, liver problems, lung problems, leukaemia, pain relief, parasites, prostatitis, pyorrhoea and wounds!
*Learn more about Plants as Medicine in our annual workshop*
Finally, having noticed that the wild Oyster mushrooms are growing pretty well on this species once dead, we decided to use the medium sized logs that were too small to be used for furniture, to tackle one of my many long-time wishes: growing shiitake mushrooms. Shiitake is one of the most popular and important mushrooms in many countries. It has a long-standing history as a culinary delicacy and an immune system booster that produces lentinan, which is recognized in Japan as an
anti-cancer drug. An anti HIV property has also been detected along with other health benefits that are still being studied. It is widely cultivated not only in Southeast Asia but also North America, Europe, Australia and New Zealand, and each year more and more small scale farms are popping up.
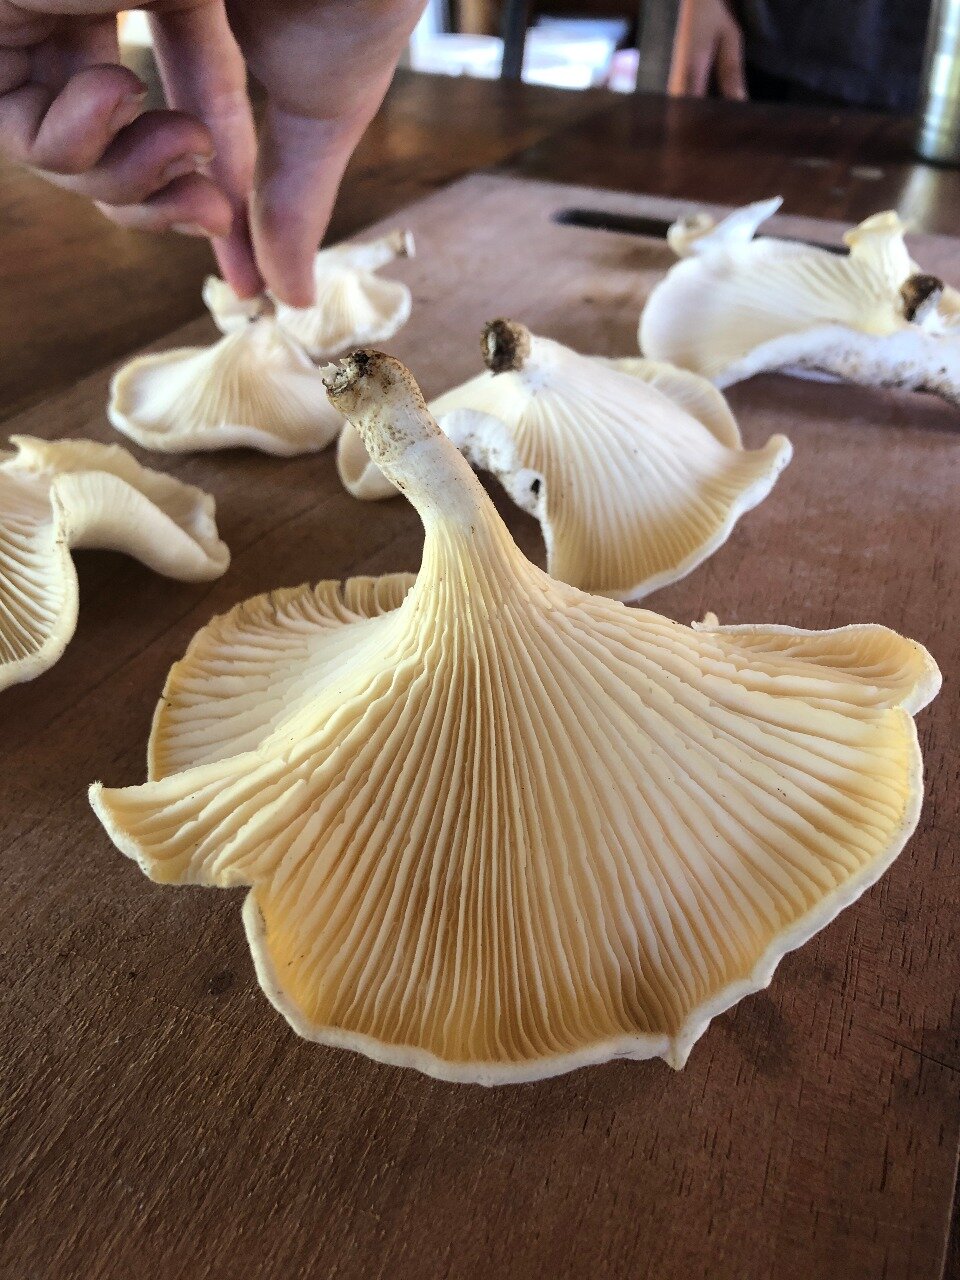
Wild oyster mushroom harvest
Even though growing shiitake in bags of synthetic logs is more common due to labor and material costs for bigger scale production, we decided to go for the traditional natural log cultivation, as it has been grown for thousands of years. So if you’re thinking about starting mushroom cultivation, here are a few tips on how to do it:
Selecting the logs
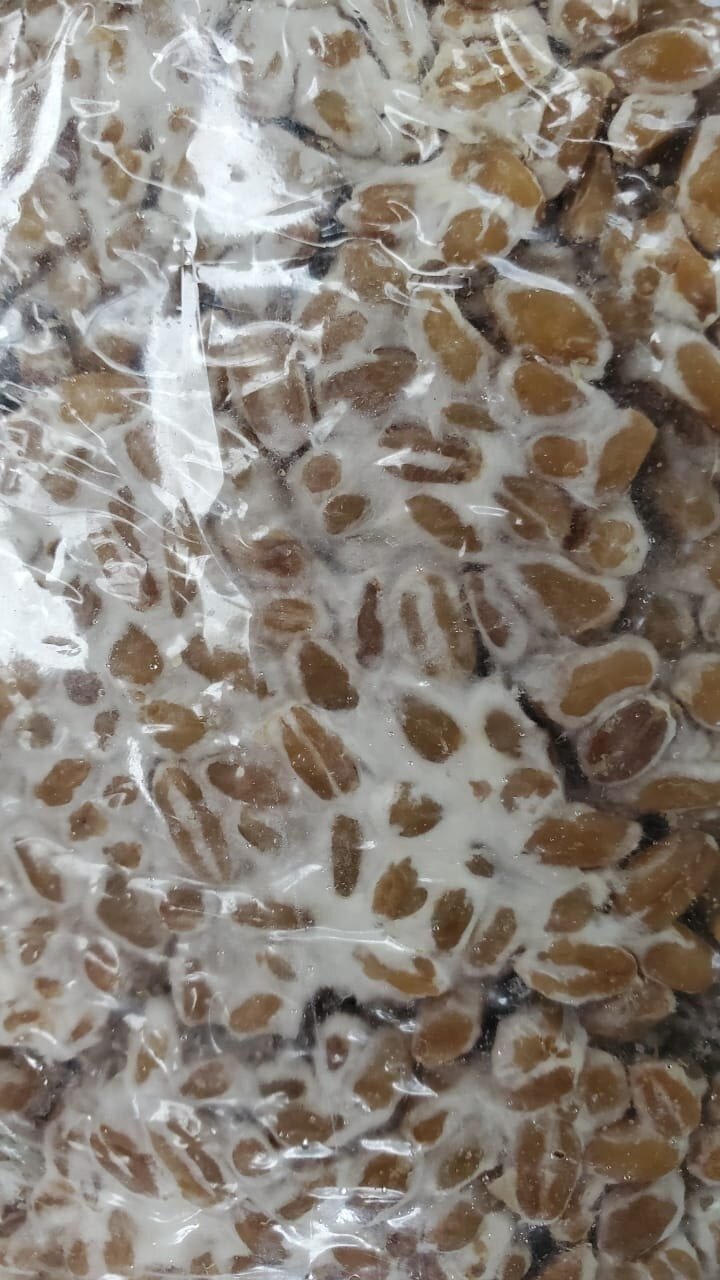
Mushroom spores
The most common species for growing shiitake in temperate climates are Oaks, Poplar, Alder, Maple, Birch, Elm and Sweetgum. On softwoods such as alder and birch, the mycelium will colonize the logs faster, but hardwood will give you a longer production time and less risk of contamination by other undesired mushrooms or molds. Growers should check to see what kind of suitable trees are available locally. Once you know which tree you will use as a substrate, you can start selecting and cutting the logs. Shiitake grows best in the sapwood and cambium because they contain the most readily available nutrients and have higher moisture content than the heart-wood, so the larger the sapwood area, the better. As Shiitake is a saprophyte, it can only grow on dead wood, so you want to make sure you inoculate your logs at least 2 weeks after the tree was chopped down so all the wood cells are dead. If inoculated sooner, the trees' natural chemical defenses against invasion may still be active and could prevent the shiitake fungus from growing. It is a good idea to soak the logs in water 24h before inoculation in order to increase the moisture content above 40%. The Ideal size for logs is about 1m in length so they are easy to manipulate, and a diameter somewhere between 7 and 15 cm (3”-6”). You want to select logs with an intact bark and try to keep it on as long as possible, as it creates an extra layer of protection against other wild molds, fungus or contaminants. Lime water can be applied on the exposed surface at the end of the logs for the same reasons, or you can also seal them with wax when doing the next step.
Inoculating the Logs
Inoculation is the introduction of the live fungus into the log. This live fungus is mixed with sawdust, grains, and other nutrients or is grown on a wooden dowel. This mixture, called spawn, is the mycelium of fungi growing on a substrate and prepared for propagation of mushrooms.

Brushing wax onto the ends of the logs
To inoculate, simply drill holes into the logs and fill them with spawn. The holes should be 0.8 cm in diameter and about 3cm deep. As mycelium spreads faster along the wood grain than across, you can place those holes 5cm apart around the log, and 10 to 15 cm apart lengthwise. Place the next row of holes diagonally, creating a diamond pattern and fill them with the spawn. Once all the holes are filled, seal them with melted beeswax to prevent drying and contamination.
Contamination is the most common reason of failure in mushroom cultivation, hence it is really important to always work in a clean environments and with sterilized tools. The more you pay attention and dedicate time towards this, the higher the chance of success.
Aftercare
Once all your logs are inoculated you want to let them sit in a warm and shaded area, in order to give the spawn the best conditions for propagation. What you’re looking for is a good balance of humidity, shade, ventilation and temperature. Each strain of mycelium has its optimal conditions, so make sure to get as much info as possible to find the perfect place. Too much heat with high humidity increase the risk of contamination, and you can balance that with good ventilation, but too much ventilation will dry out your logs, and you want to keep a stable humidity level. Think of it as having to choose a place to hang your hammock if you had to spend a whole day in it: you want it to be warm and cozy, but not in direct sunlight so you don’t start sweating. You want to have access to water (humidity) and a nice small breeze to rock in your hammock while you fall asleep.

Inoculated logs in a warm, shaded area
Give it Some Time
There you have it! Your logs are now freshly inoculated with the shiitake spawn (or any other variety you choose). The only thing left to do is give it some time to propagate and colonize the log before fruiting starts. Don’t forget to control humidity level and temperature, and check for any contaminants that might spread and steal the thunder from your precious shiitake. For fruiting to start, you can either let nature do the work or induce fruiting through different techniques that we will develop in next post, when or shiitake spawn is ready to fruit. Stay tuned for more info about fruiting, harvesting and all the next steps in your mushroom cultivation!
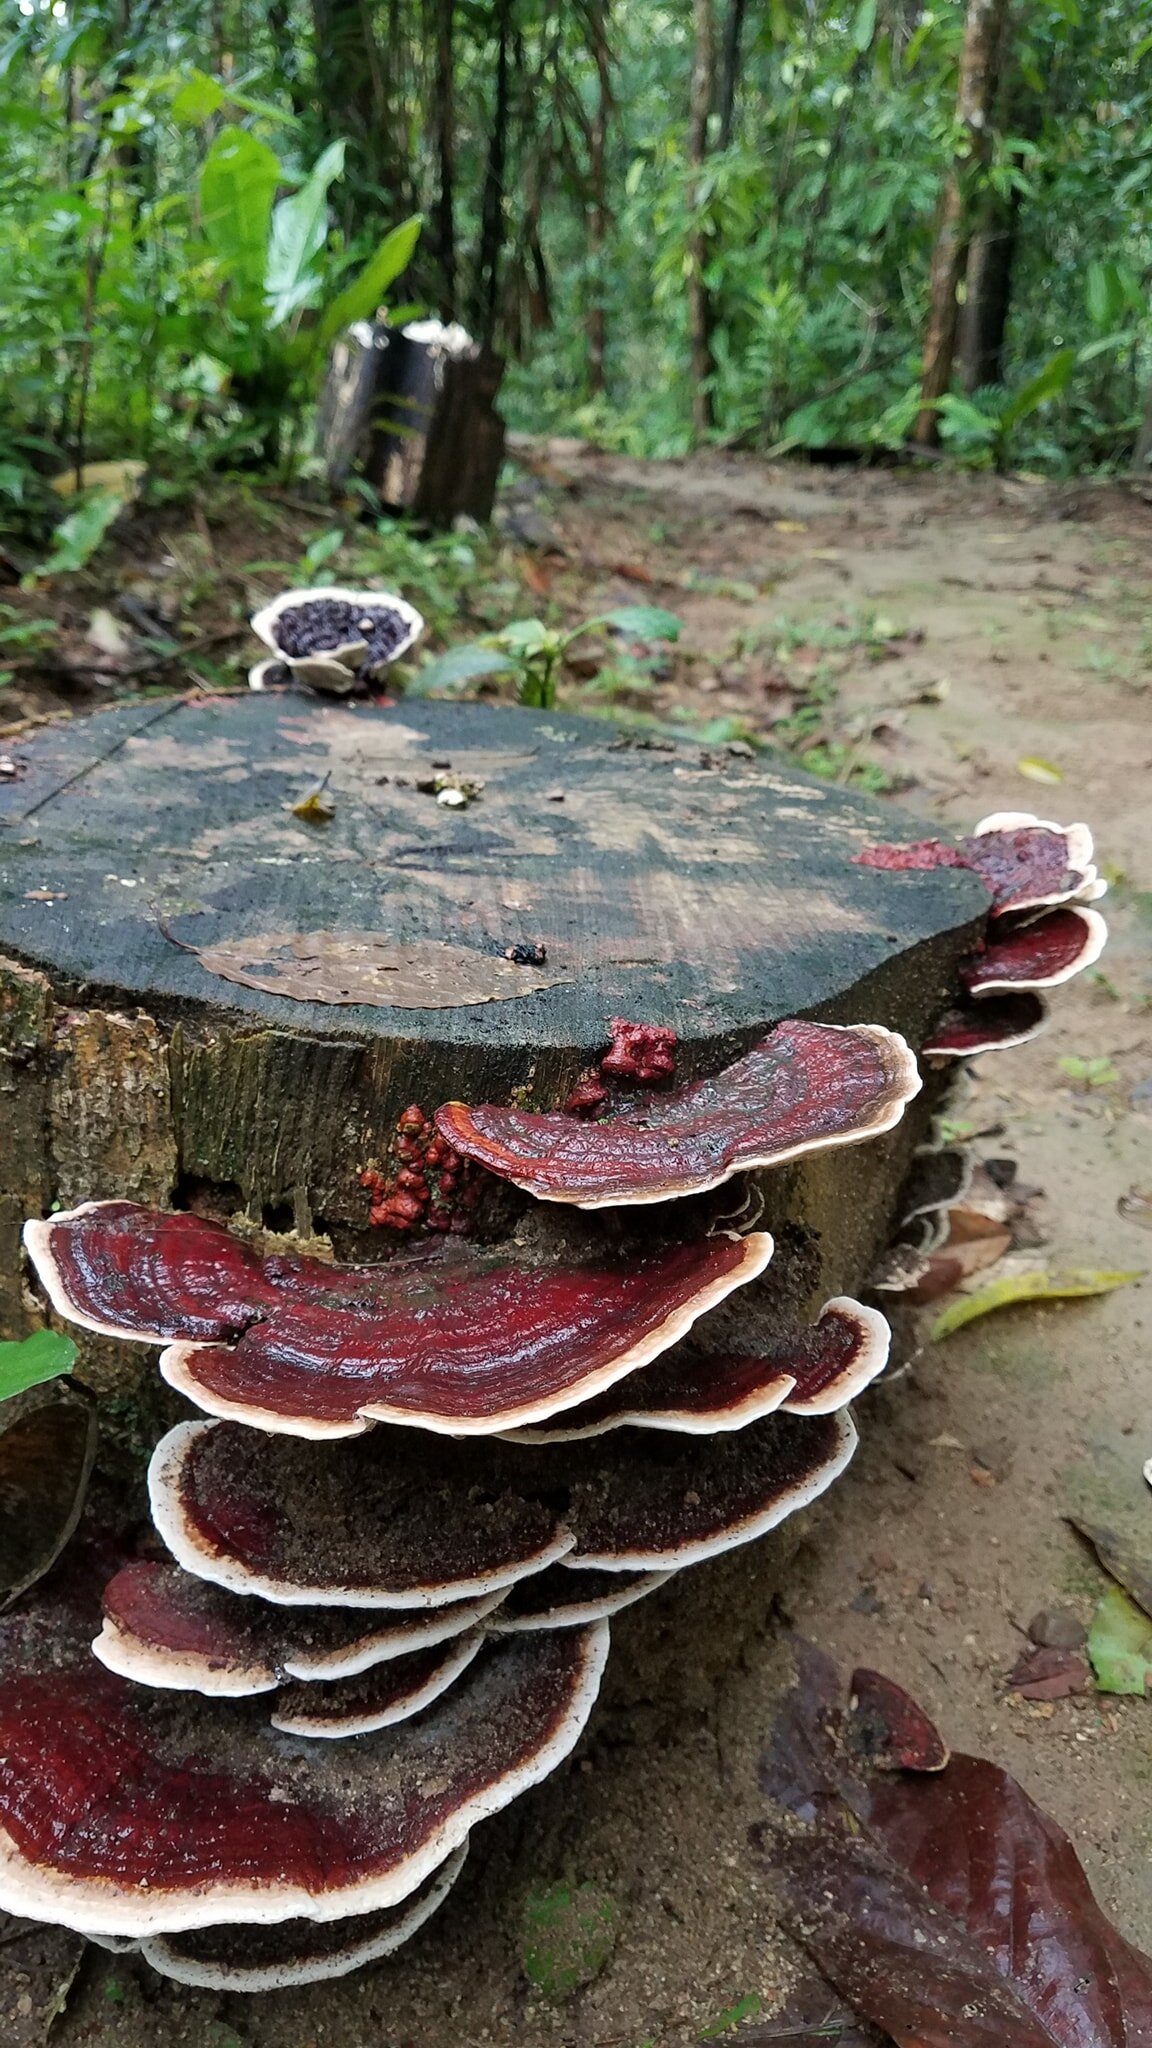
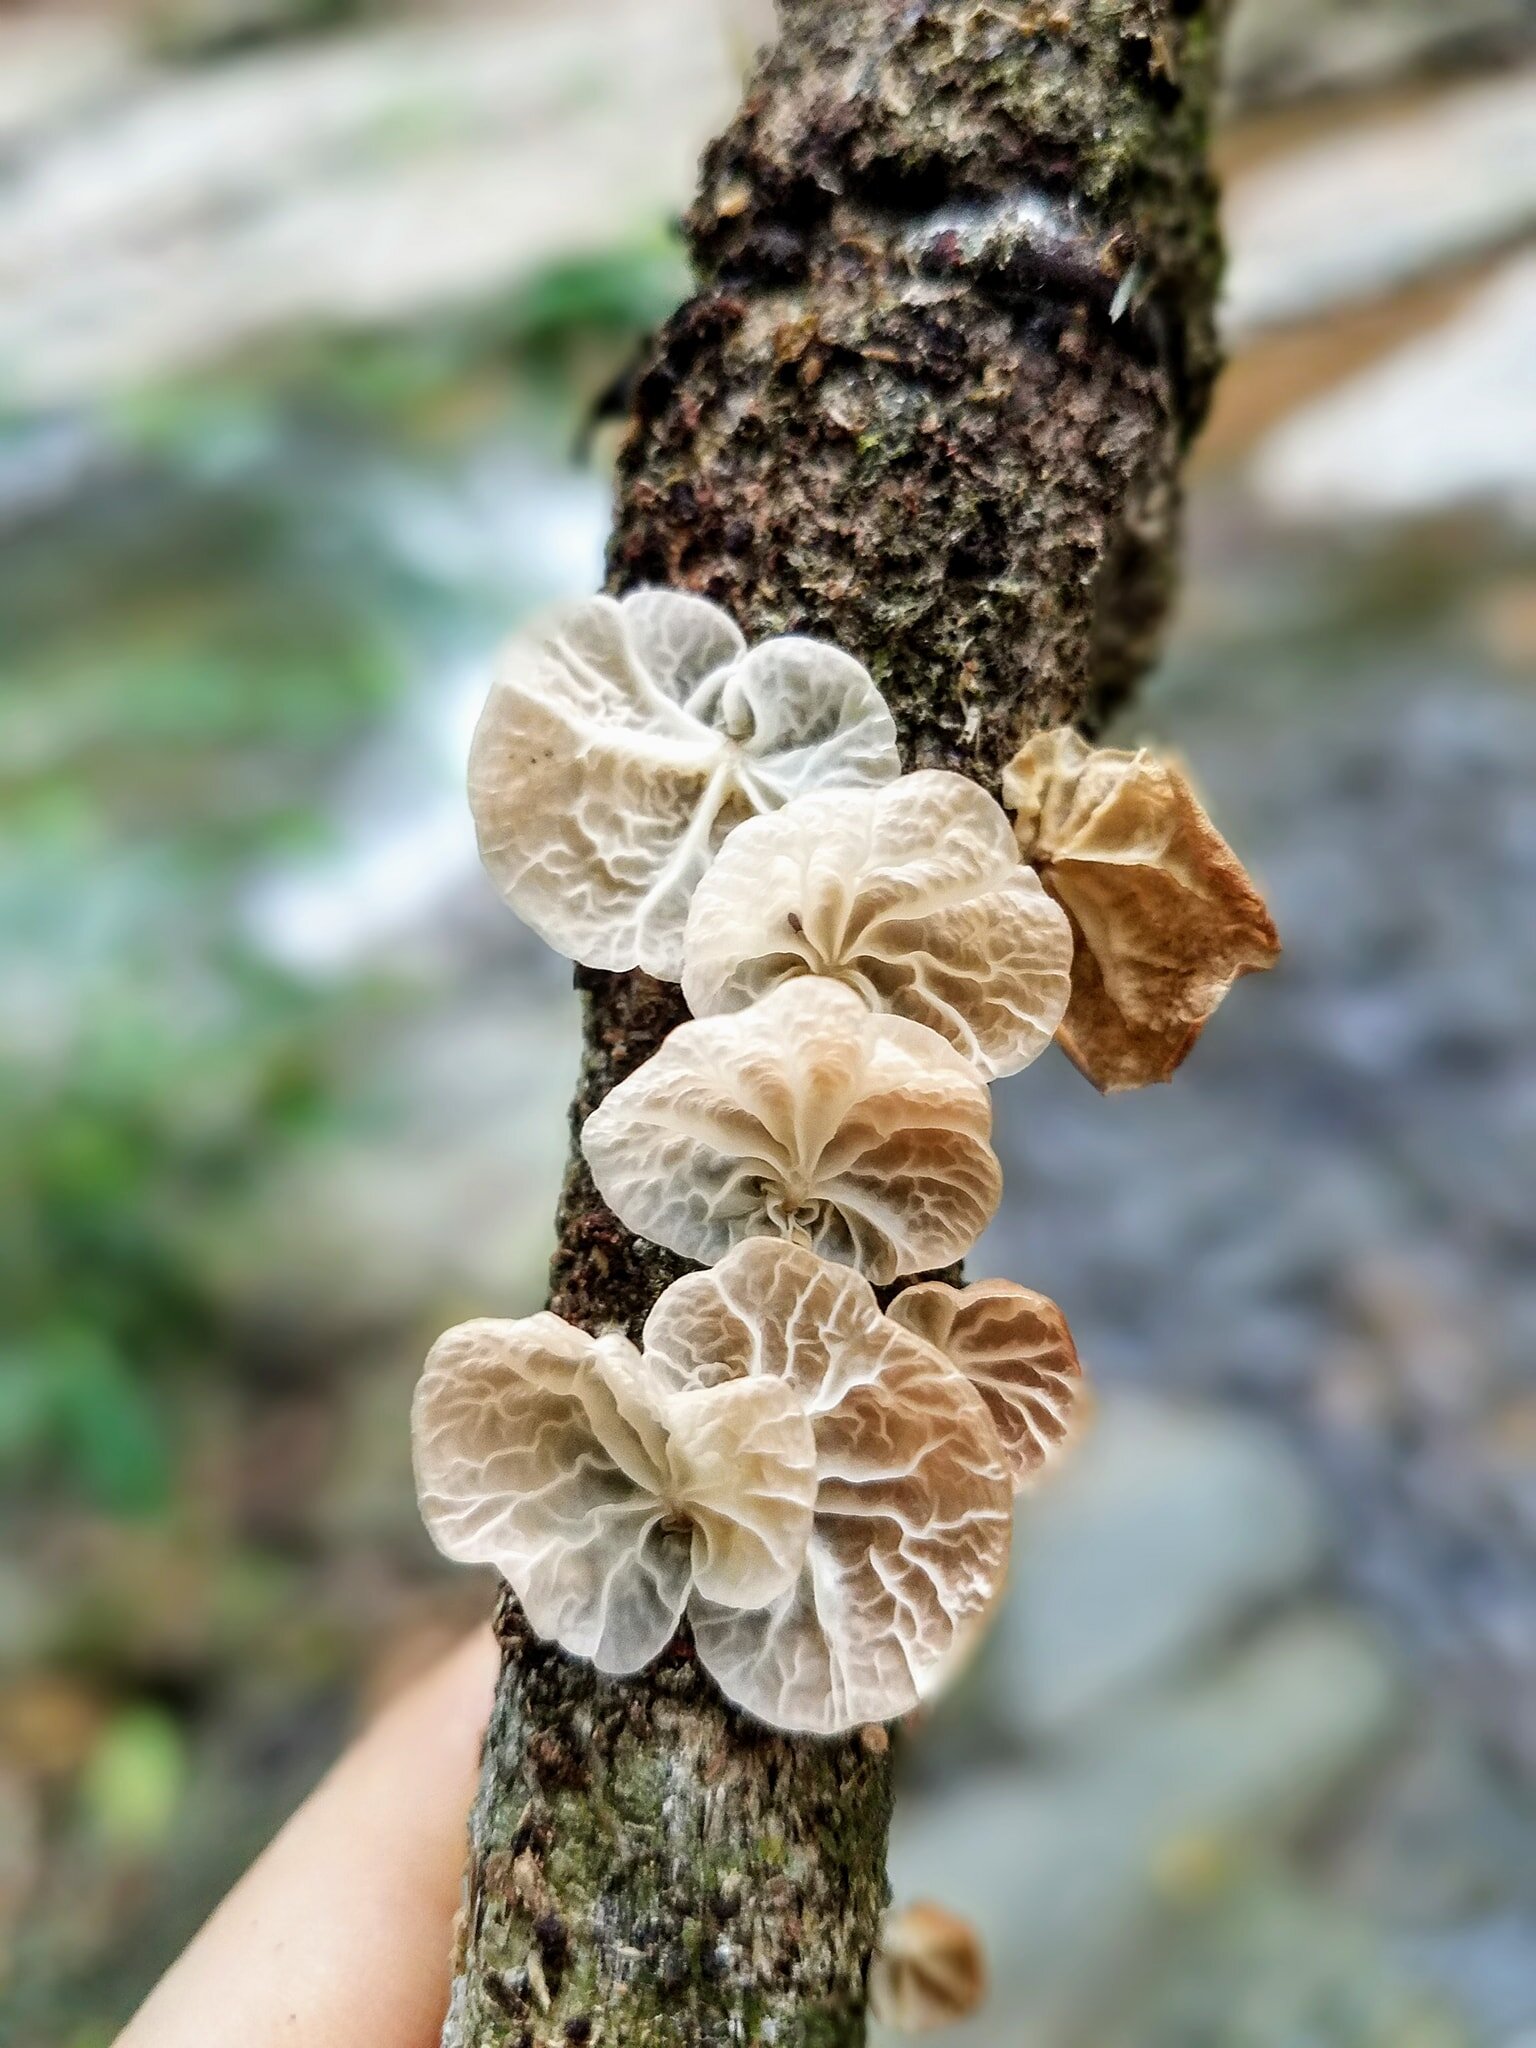
want to learn more?
Don’t forget to check out our yearly workshops and our apprenticeship program to get some hands on experience in sustainable living in the tropics!
Yearly workshops related to plants and homesteading include:
Happy mushroom growing!

10 Things You Didn't Know About the Banana
They are funny looking, absolutely delicious and have so many gifts – here’s why everyone should go bananas for the banana.
By Moanna, Apprentice 2020
They are funny looking, absolutely delicious and have so many gifts – here’s some interesting facts about the banana.
The banana with the permaculture lens on is an element that serves many more than just 10 things. Especially with the diversity of varieties that is grown here at Rancho Mastatal in Costa Rica, with 13 different types of both edible and ornamental bananas in our agroforestry systems. We are always looking at how to work with nature, and in case you already knew all of these amazing things about the banana, this blog shares how the banana can be used as a perennial staple and an easy farm to table crop.
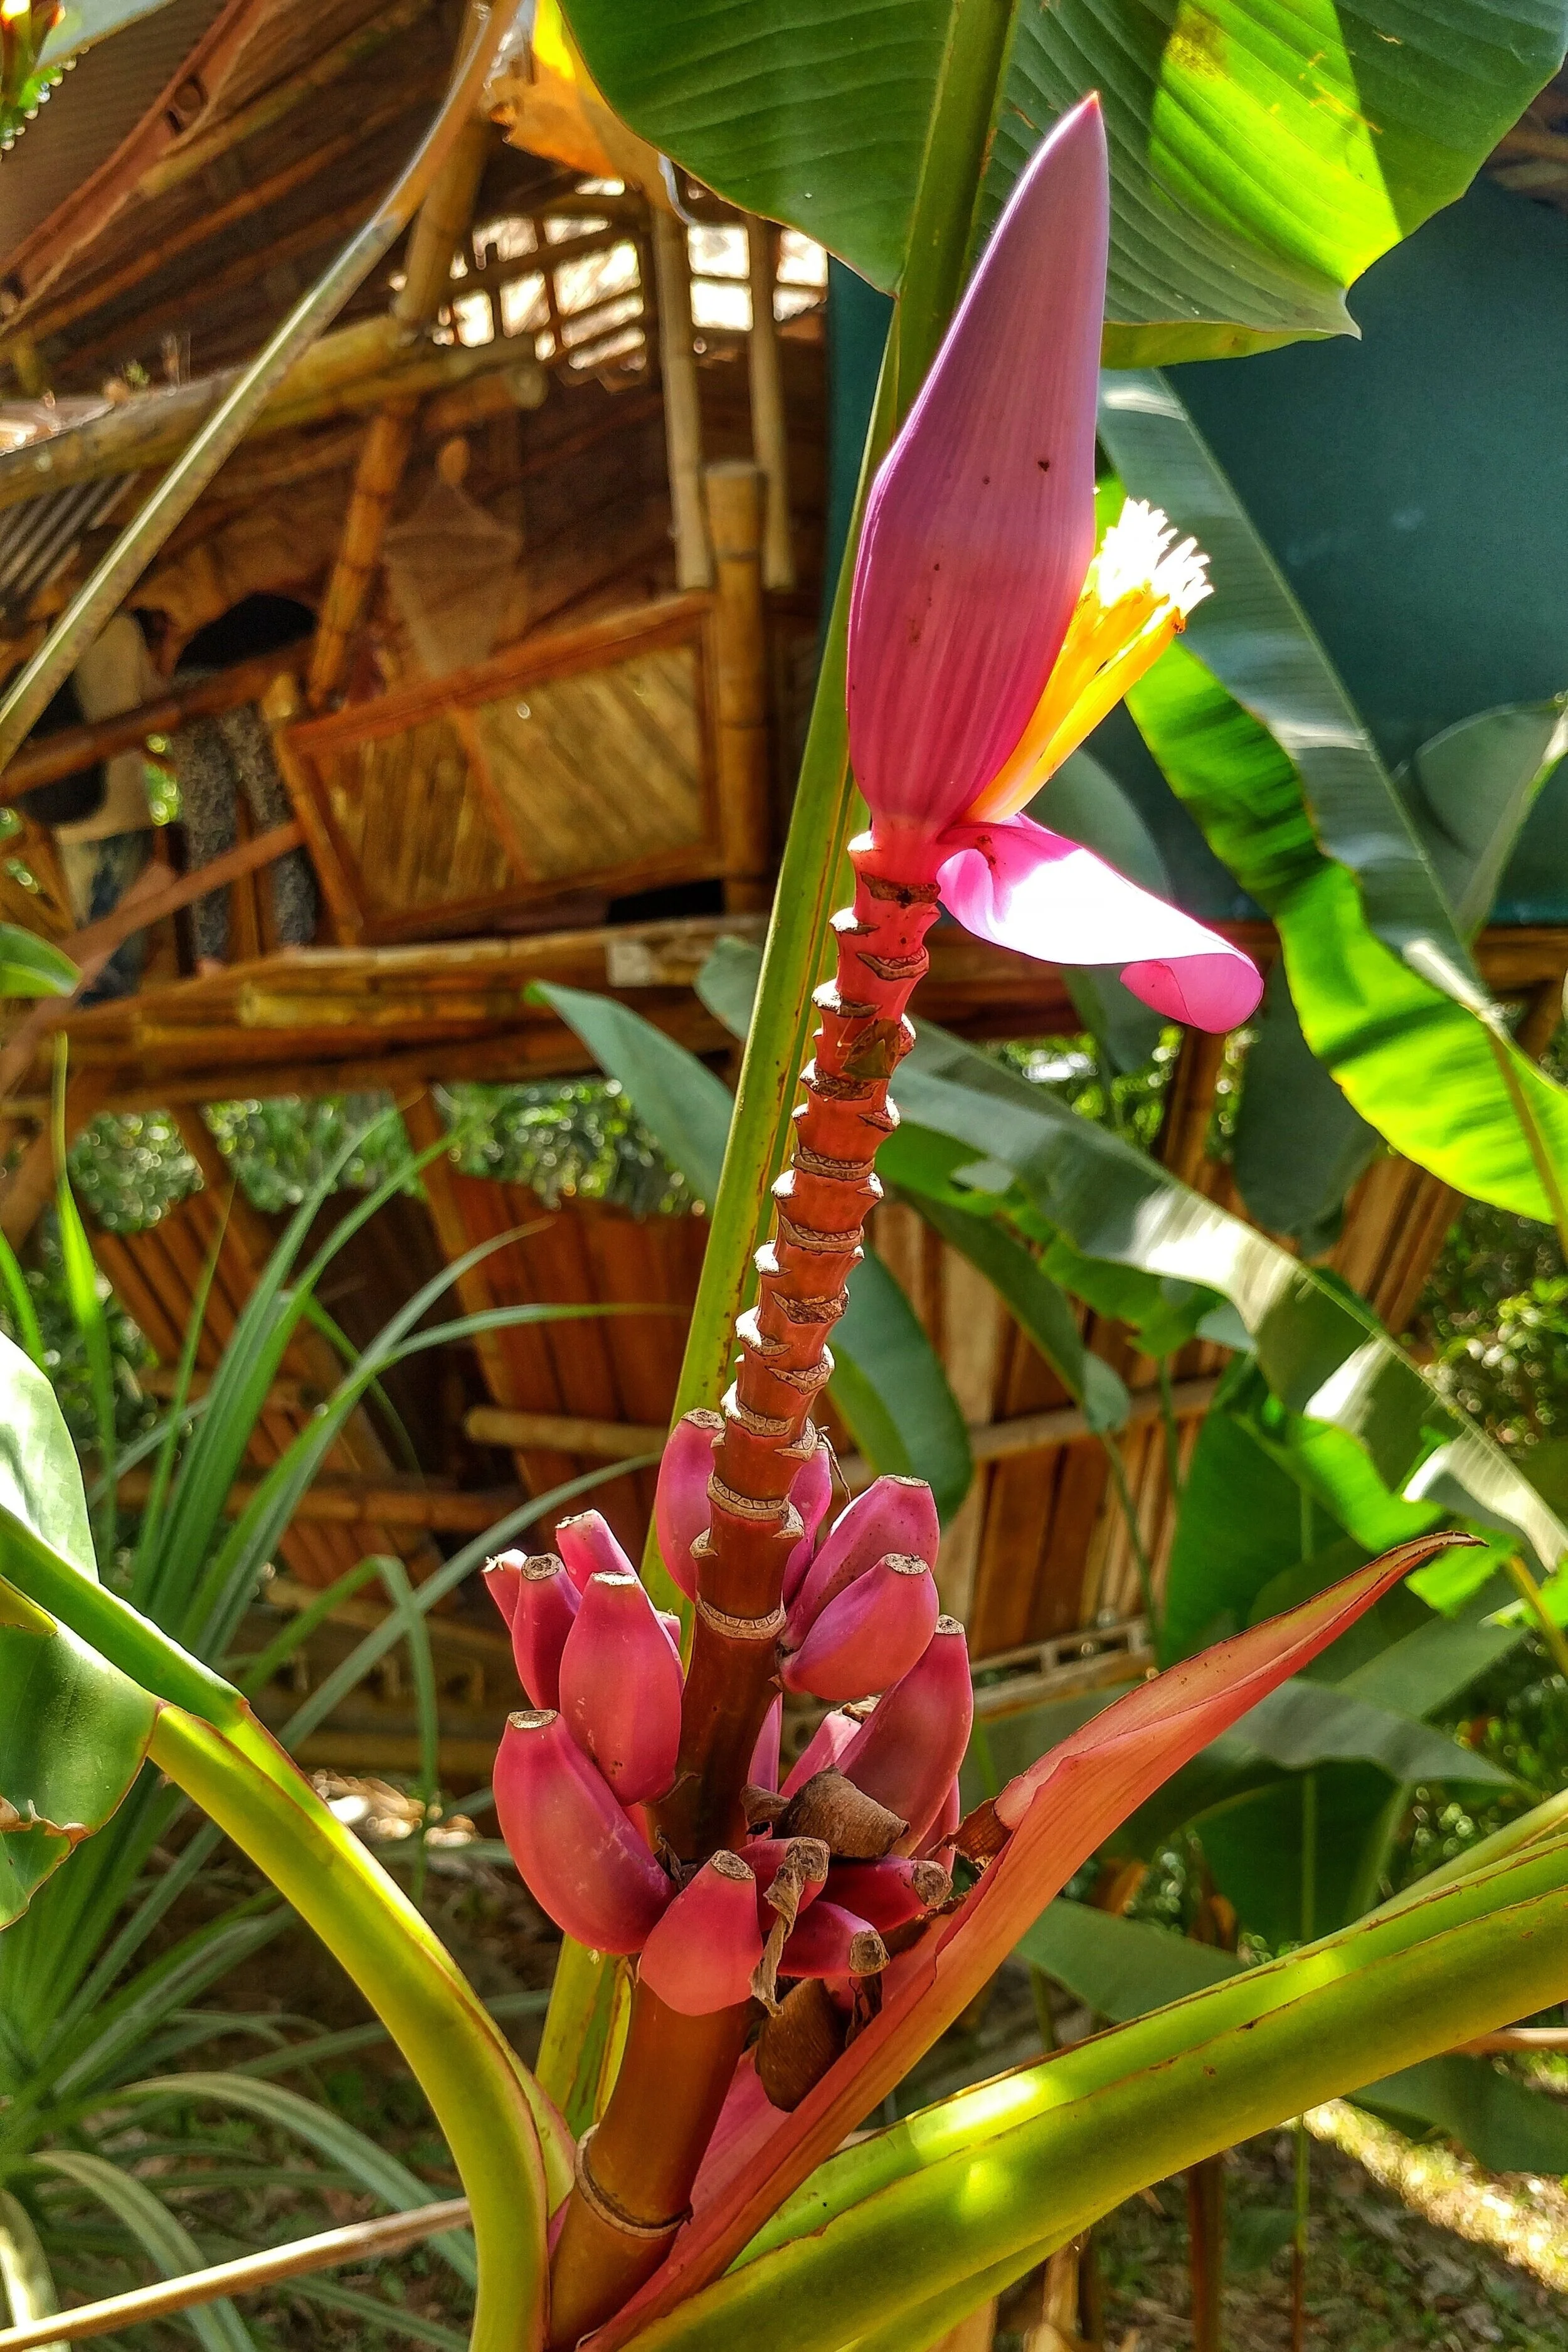
A pink ornamental banana in front of our guest, bamboo cabin, the Hooch
10 Amazing facts about Bananas
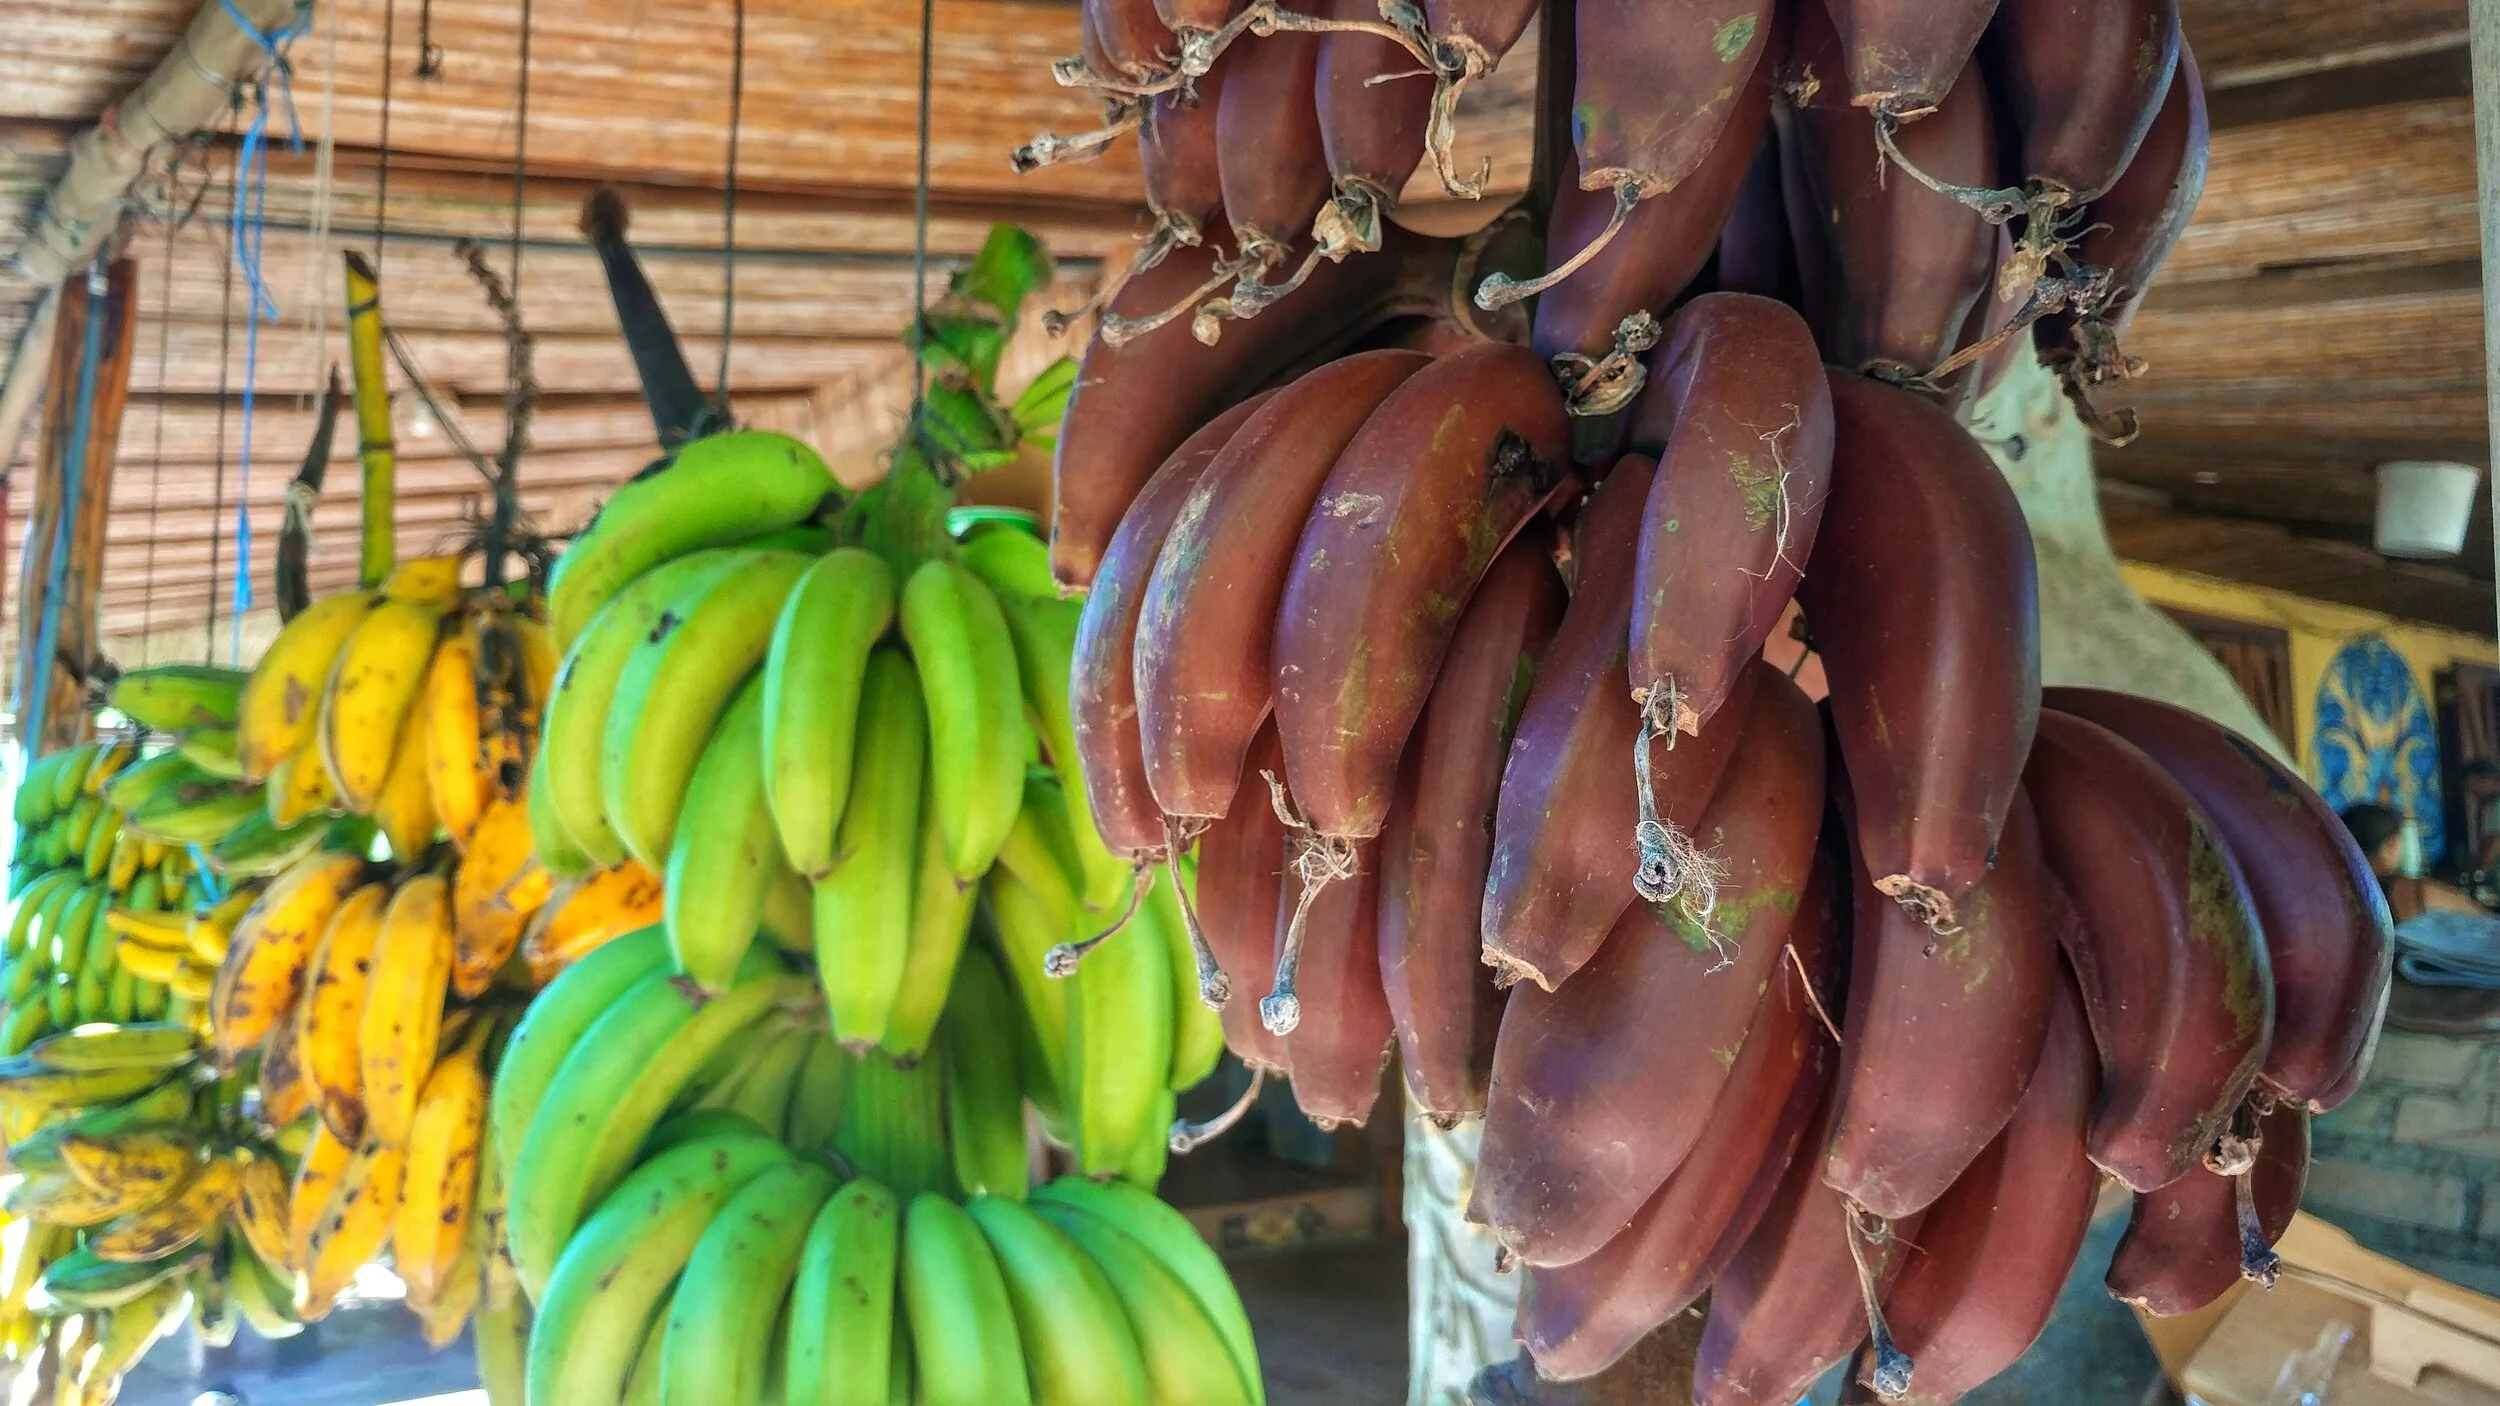
1) Bananas can be black, red and blue!
Red and blue, long and thin, fat and short, round or softly squared, there are more than 300 varieties of the Banana, which is in the Musa family. The classic yellow banana found in supermarkets is called the Cavendish, after a British dude who found a way to grow them in greenhouses in England, making it possible for Iceland to be one of the biggest exporters of bananas. Mostly people who leave Rancho Mastatal and who live outside of the tropics, stop eating bananas because the supermarket ones (grown in monocultures far away or in greenhouses) are just not worth eating anymore.

They can be very tiny too!
2) Bananas are not a tree, but a very big herb!
Bananas are such a majestic fruit, but they do not grow on trees as they have no woody trunk or bough. The “trunk” of the banana is rather a leafstalk, as it is a dense clump of leaves ready to curl out.
3) You can eat the flower.
Like so many wonders of the world, it is both beautiful and edible! Here at the Ranch we have cooked it into a picadillo: chopped fine and cooked down with a bit of oil, salt and farm to table pepper. It is delicious. Especially if you’re a lover of the consistency of artichoke or mushroom!
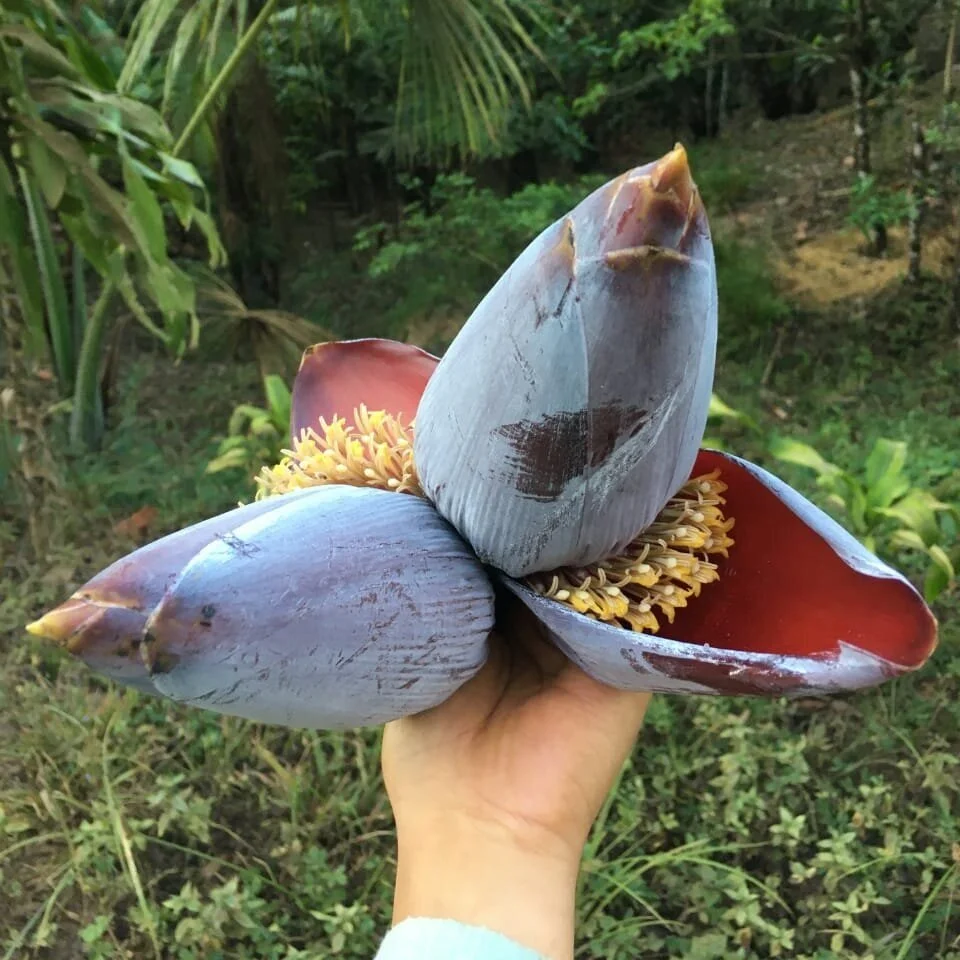
A banana flower
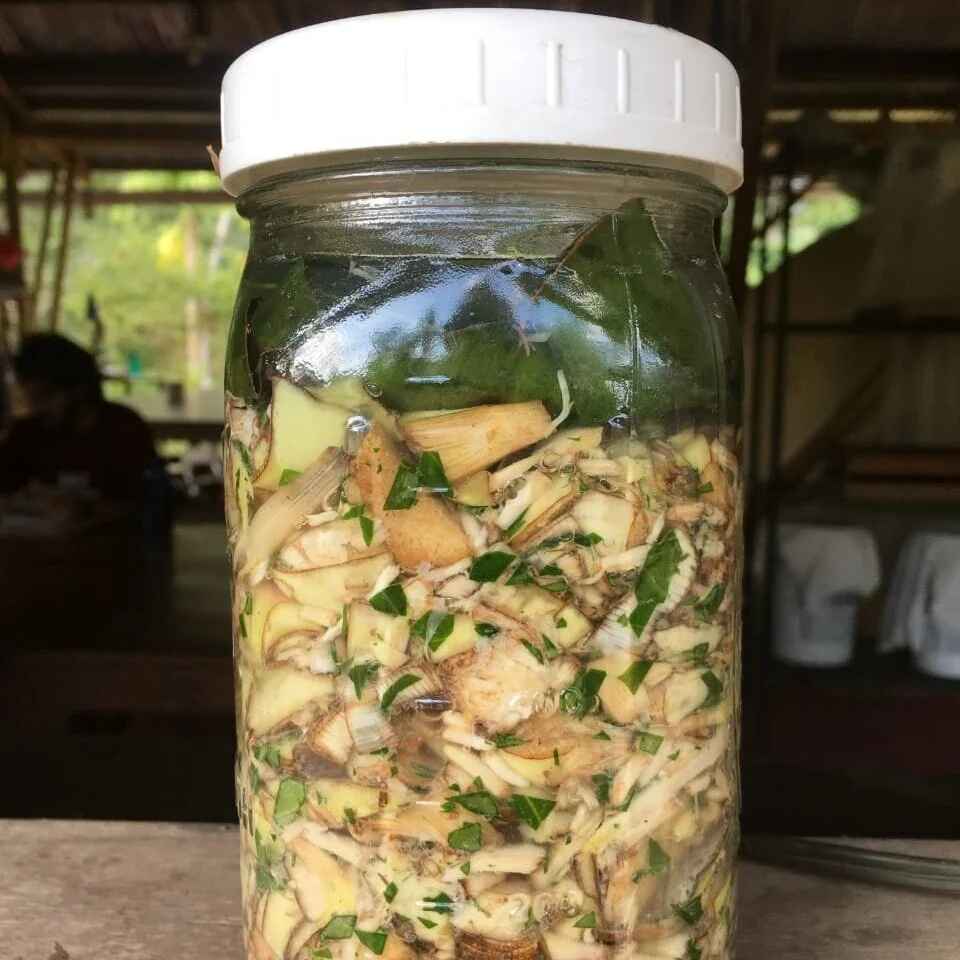
Lacto fermented banana flower
4) The “trunk” can be turned into weaving material.
Peel the skin of the “trunk” from top to bottom, dry the strips in the sun and you’ll have very strong fiber material to make baskets, mats or belts out of. Banana fibers can be woven into an attractive silk like fabric, which in Japan and Indochina are used for clothes and hats. In Tahiti the leaves and “trunk” of the fe’i variety is used as weaving material and turned into thongs, lashings and fans!
5) You can eat the trunk.
If you are actively managing your bananas you probably cut away younger ones in the clump, only keeping the three generations (grandmother, mother and daughter) growing. In south East Asia they eat the young “trunks” as commonly as lettuce! Very thinly sliced, and then soaked in water and vinegar for a while, they add it as a fresh garnish in their soups, or turn it into a salad adding herbs, fish-sauce and toasted peanuts.
6) Green bananas are a perennial staple.
They can be used in cooking like we use the potato, simply boil them in water – the whole thing with its skin – and do as you please! You can also cut them into smaller pieces to add to a delicious stew, blend them with herbs and fry them into fritters, grate them and make a green banana hash, slice them thin and dehydrate to make banana flour. We enjoy all these creative ways to use a local food as a staple in our diets.

Green bananas getting ready to be boiled
7) Banana skin helps reduce itching.
The plant itself flourishes in tropical, hot and damp environments, mostly filled with mosquitoes – fortunately the banana skin eases the itch. I’ve tried it, and it worked!
8) Dirt or ash helps remove its sticky juice.
Harvesting bananas gives off all kinds of juices, especially when you process the green banana and flower. You can clean the machete, knifes or cutting boards by rubbing dirt or ash on it. It may sound crazy but it works.
When harvesting, rub the stem in dirt; when processing/cooking them green, use as much banana leaves/paper to protect table and other material from the juice. But once you have it on a knife or cutting board, it helps to rub any kind of dirt or ash and then wash.
9) Once they are too ripe, you can turn them into wine or vinegar!
You can never have too many bananas. Well maybe you can have too many to eat out of hand, which happens to use often. That’s when we make homemade banana vinegar! The super ripe, falling off the bunch-juicy-black-kinda ripe, means loads of sugar, which is an opportunity for yeast to have a big feast, eating the sugars and making alcohol! Permaculture principle- produce no waste.
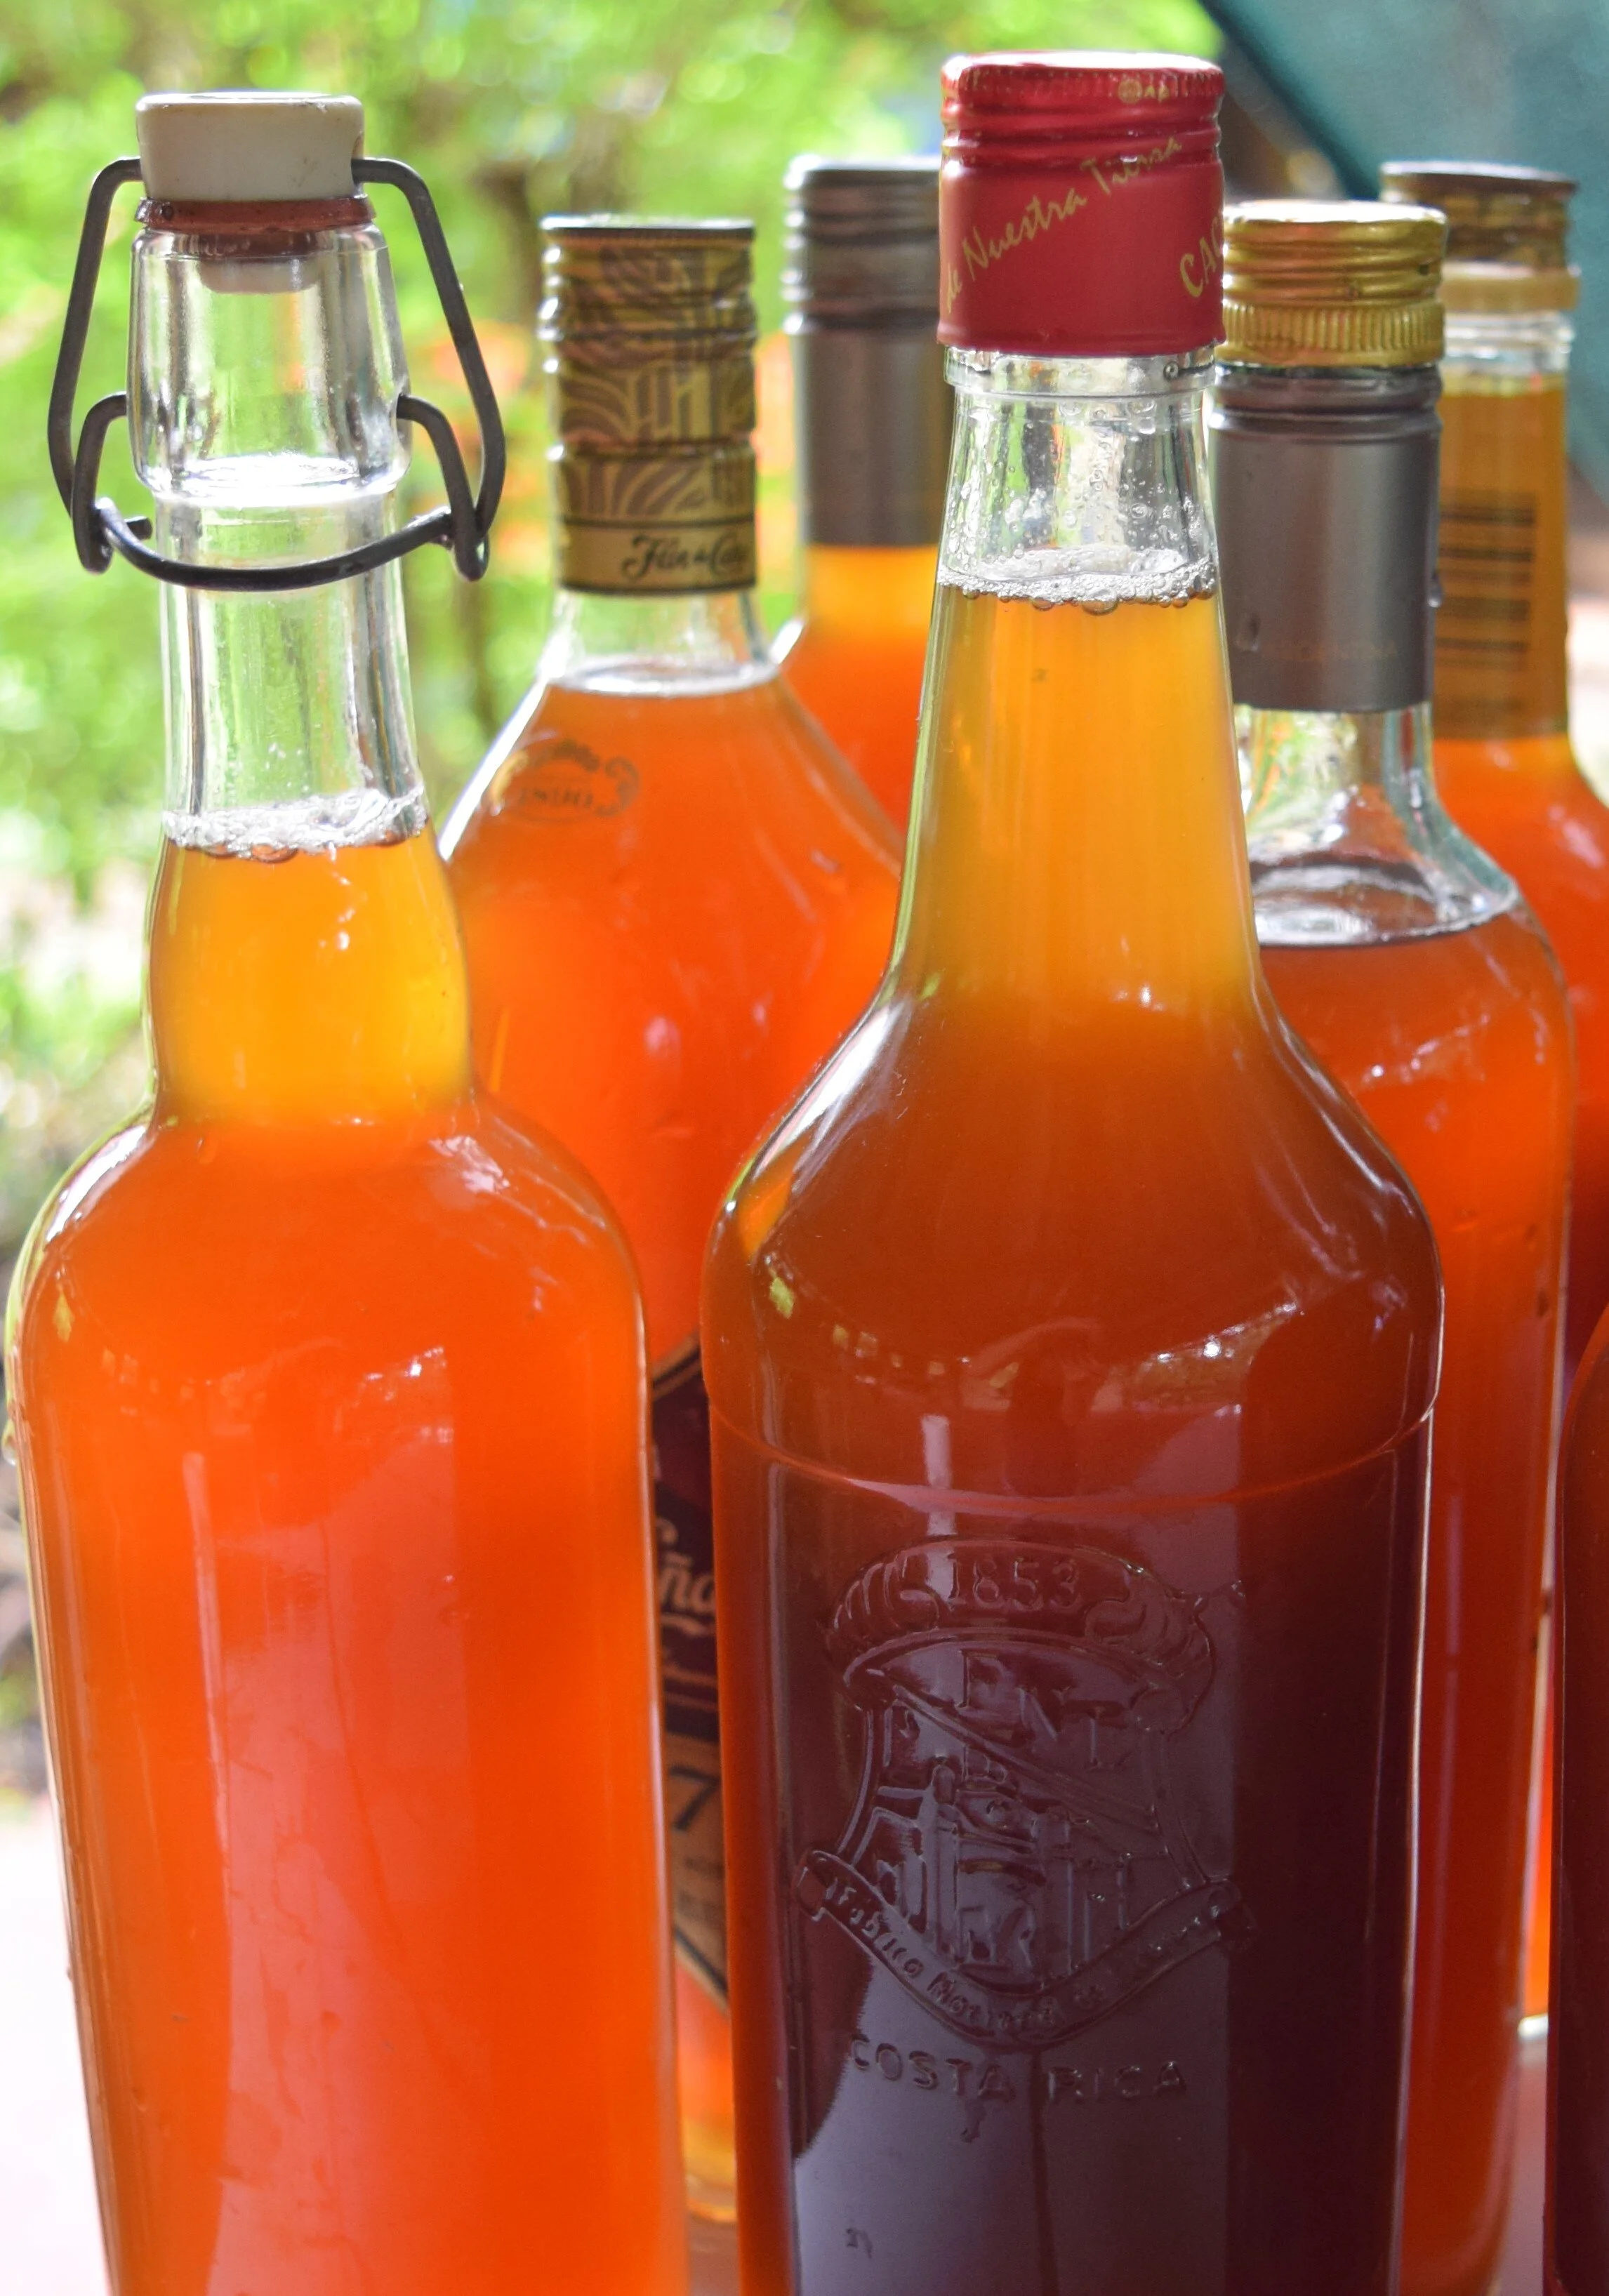
Aging banana vinegar
10) PACKED with potassium that reduces muscle spasms very efficiently.
After one month on the Ranch, where the average daily banana intake is about 3 to 5 bananas, many find that their muscle spasms has completely disappeared. Bananas also contain the neurotransmitters, dopamine and serotonin that lifts up the mood.
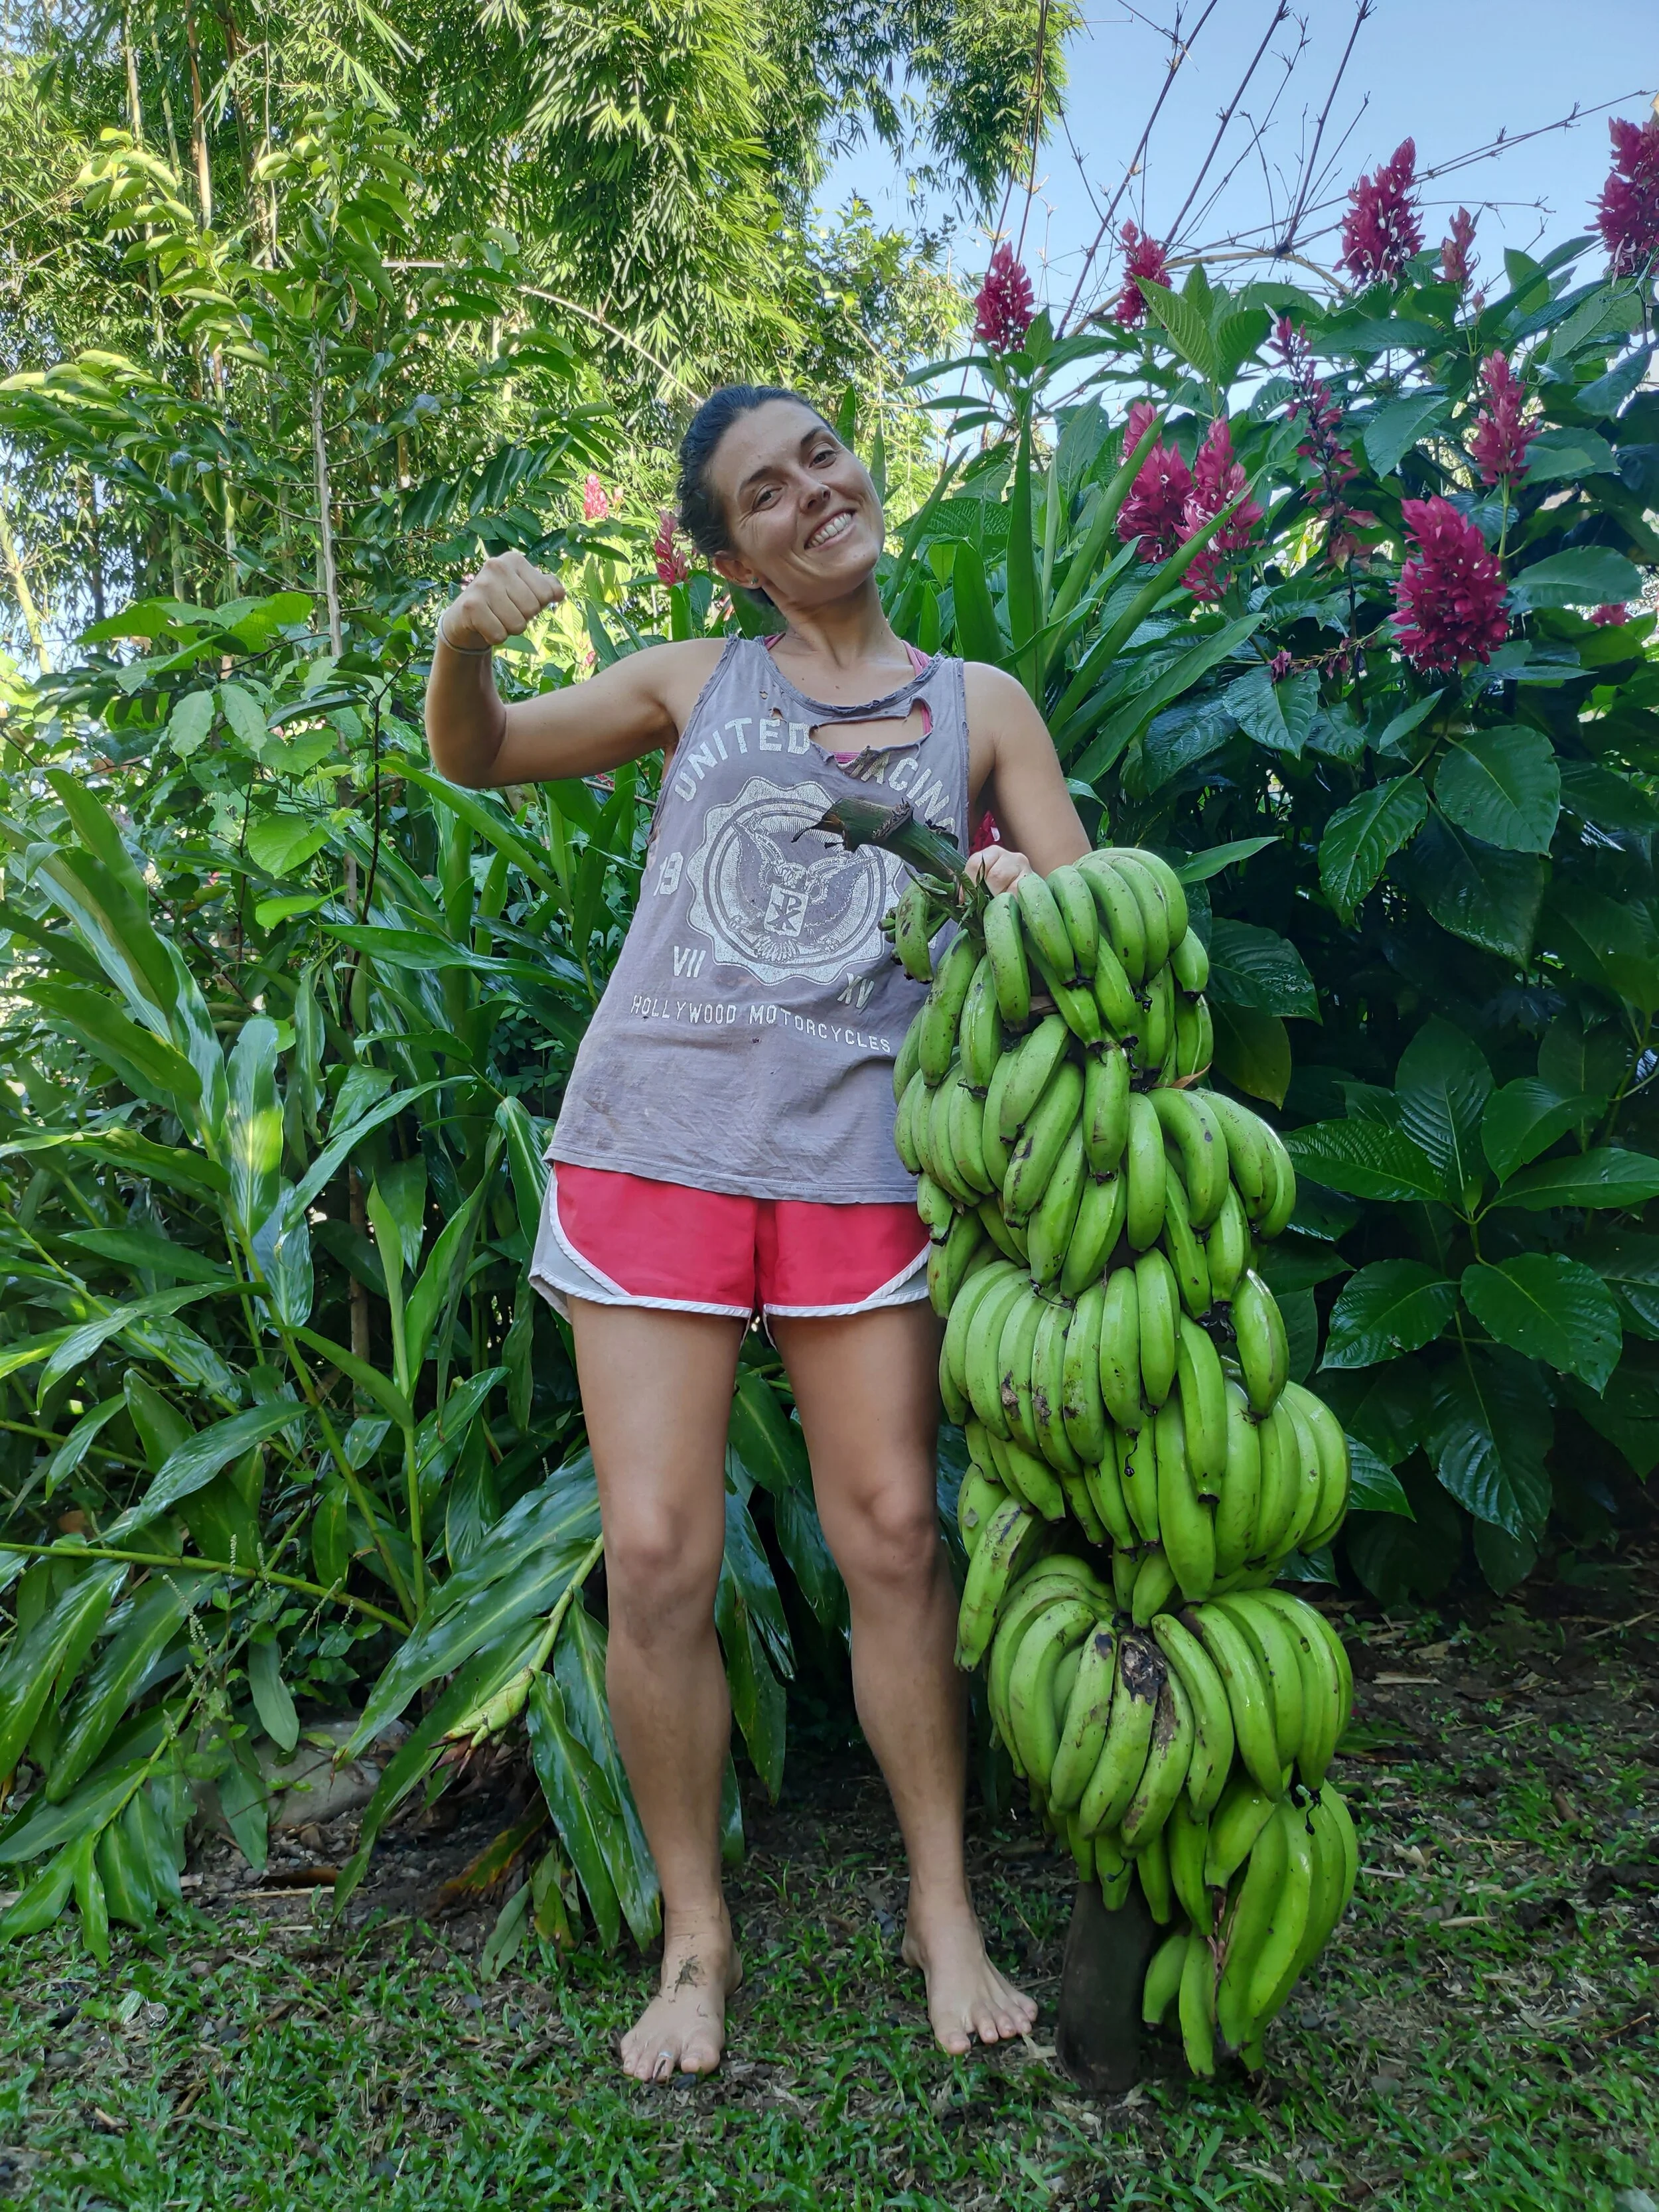
Bananas make you strong too!
Do you understand why we’re going bananas over the banana? May the awe and excitement that you felt going through this list make you want to go deeper into the world of bananas. They serve well in the tropical permaculture garden or agroforestry system, provide a variety of uses, and are a nutritious food to be used as a perennial staple.
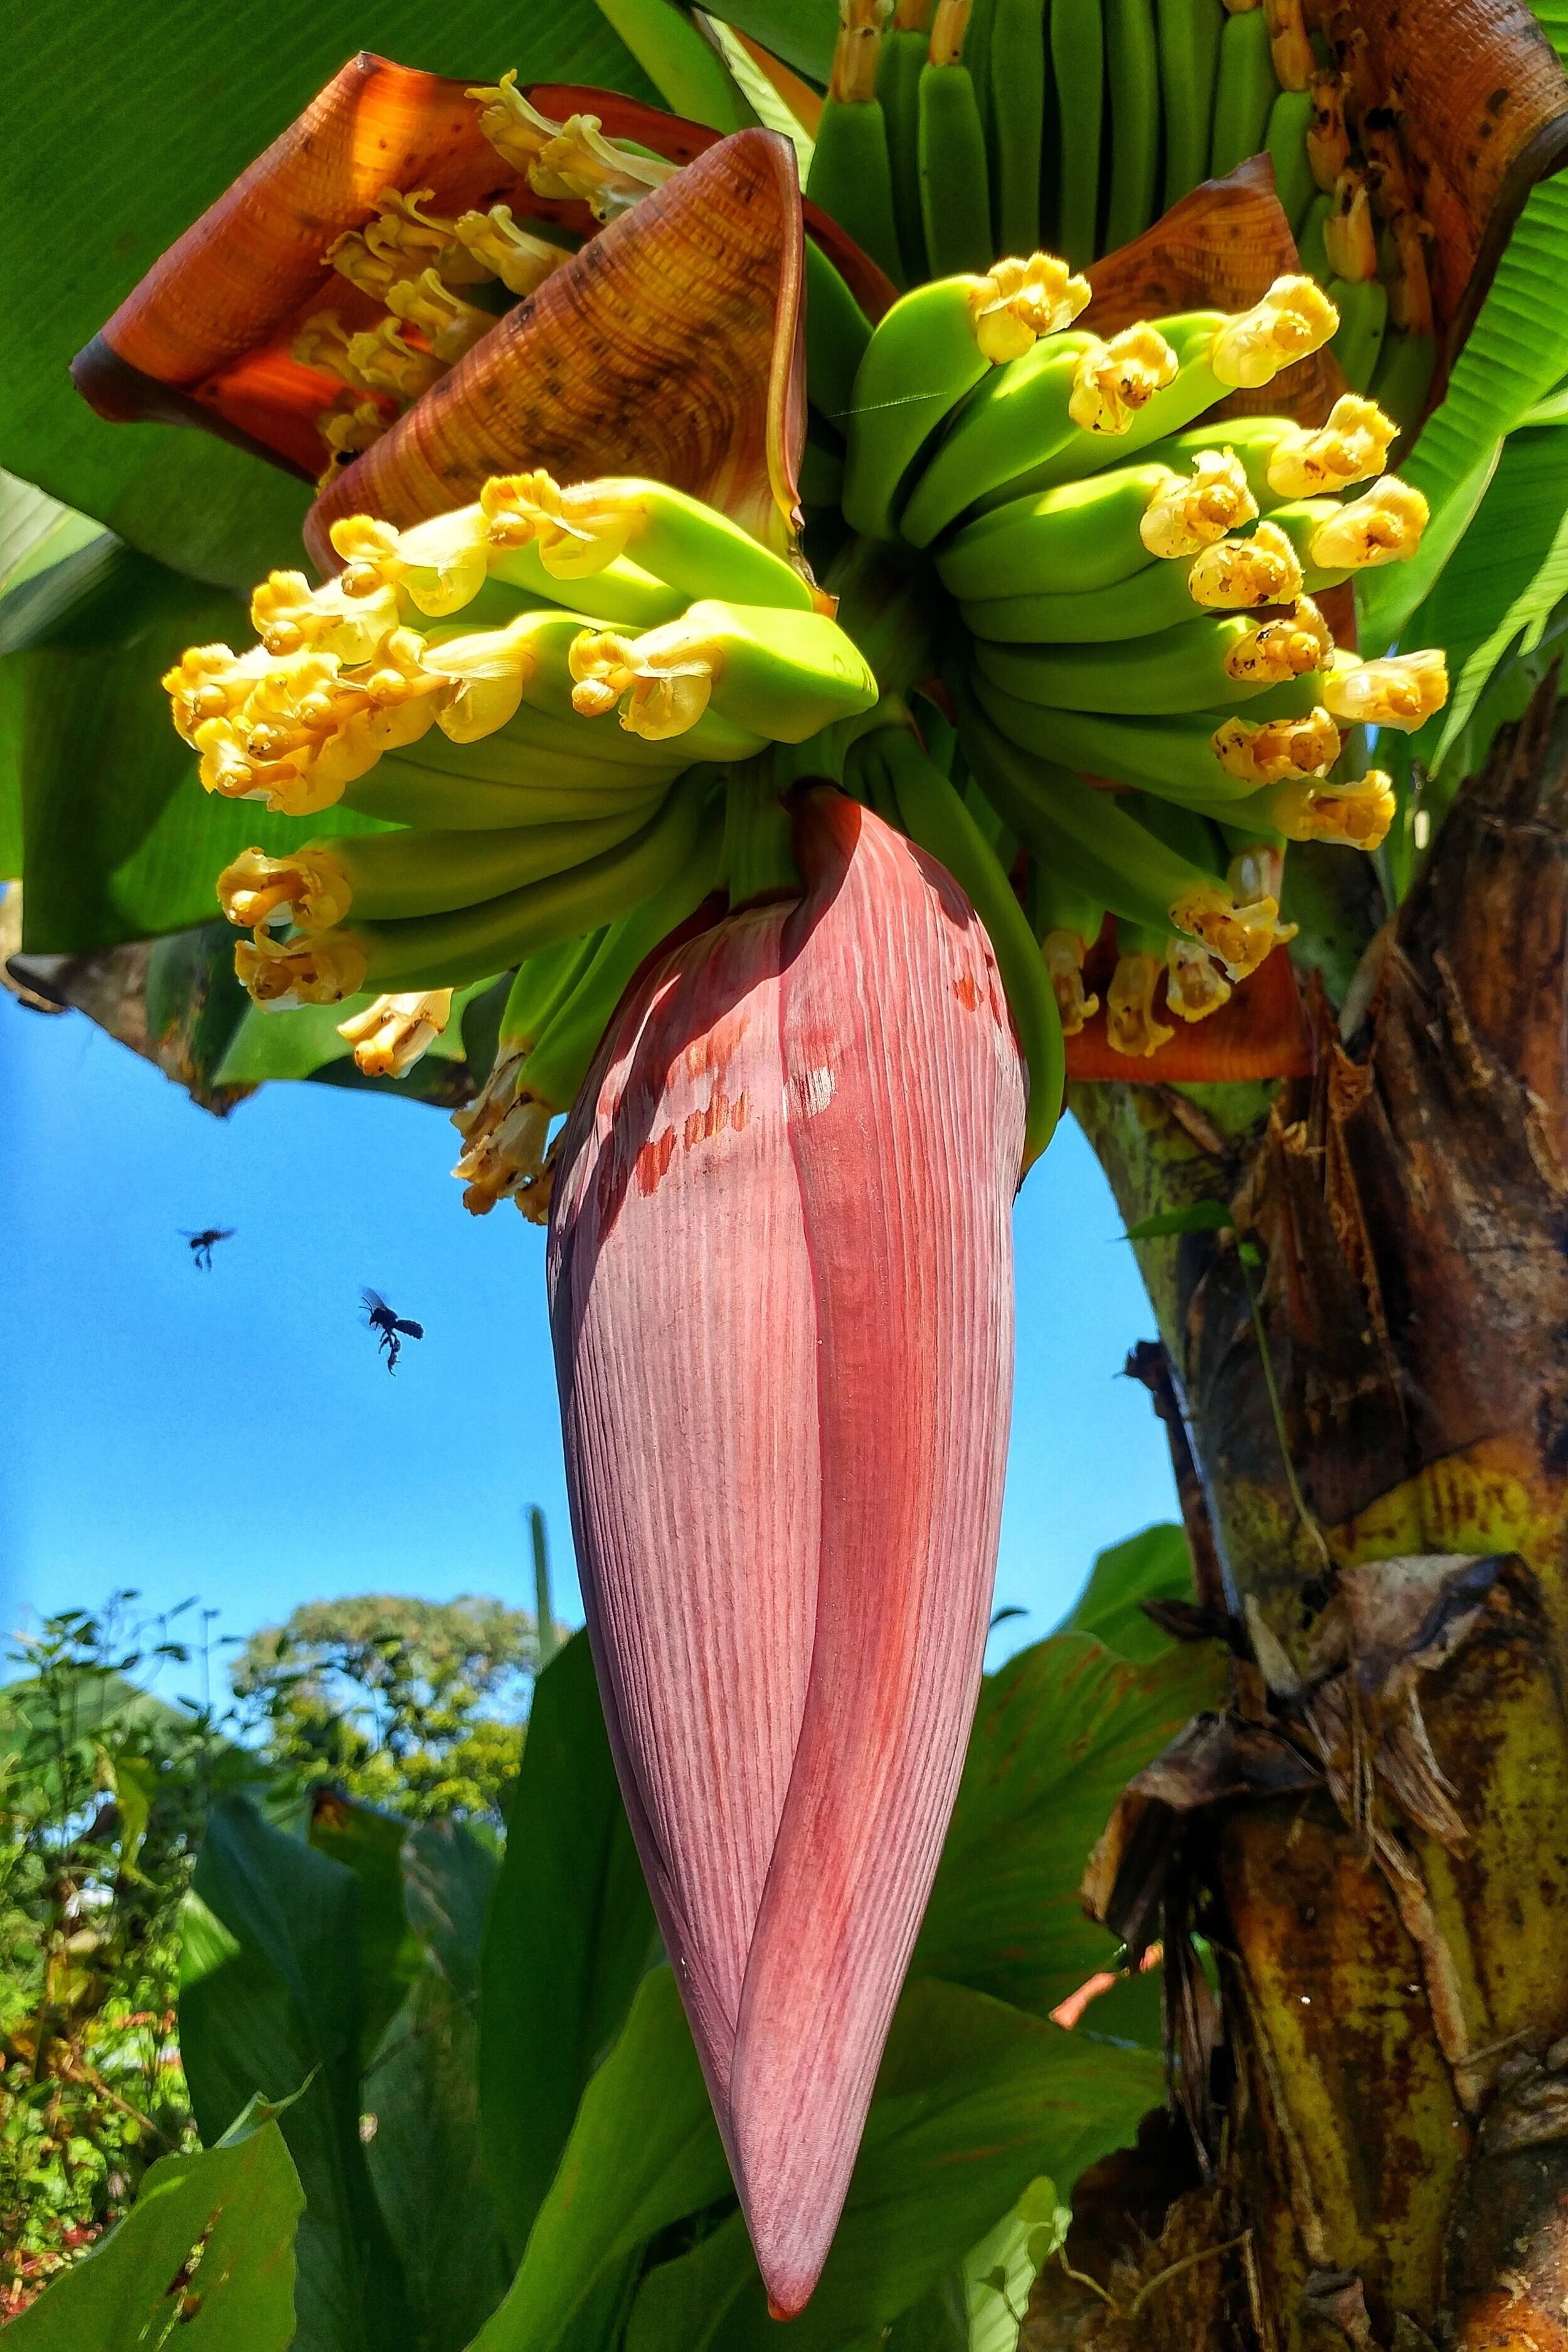
A bunch of bananas blossoming
Hope you’re as excited about bananas as we are! If you live in the right environment, go plant some, they’re super easy to plant and maintain!
want to learn more?
Join us for our upcoming Permaculture Design Course or Agroforestry Skills Course to learn about bananas and more! Learn more about all our upcoming educational workshops on our website here.
Check out these past blogs that are also about the banana

Improving Soils in the Humid Tropics of Costa Rica
In permaculture and agroforestry circles it’s common to hear the idea that we’re not growing plants so much as we’re cultivating rich, healthy soils in which plants will do their own growing.
By Anthony, Apprentice 2020
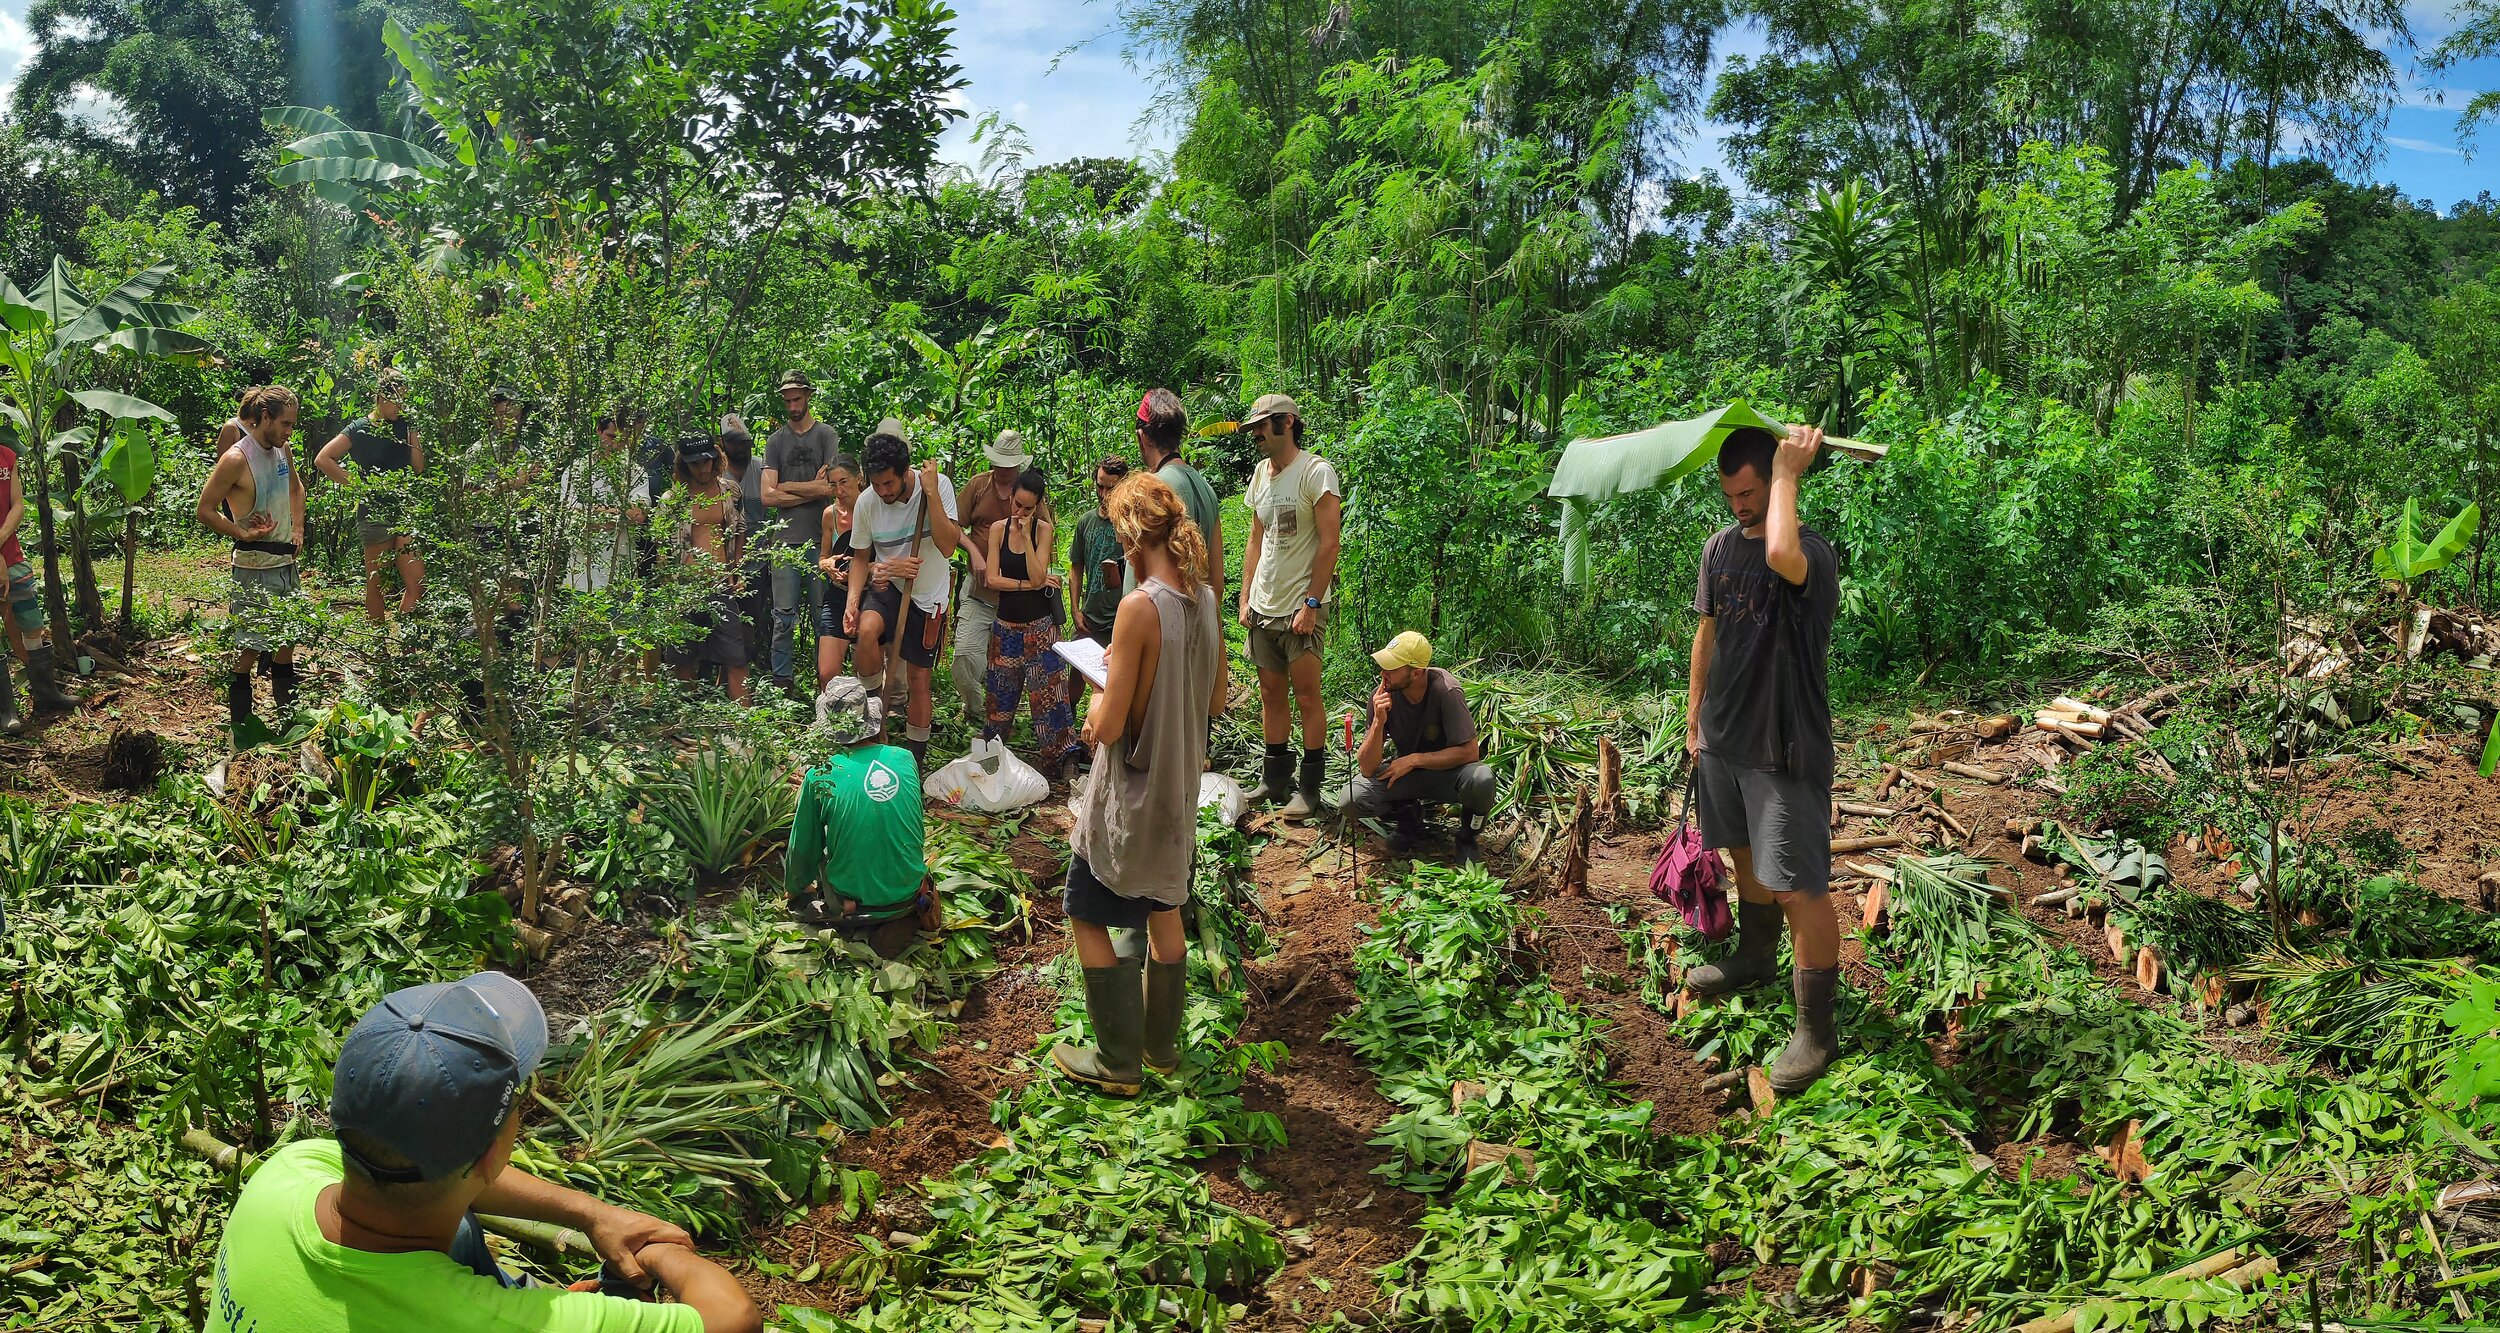
Syntropic farming workshop at Rancho Mastatal
In permaculture and agroforestry circles it’s common to hear the idea that we’re not growing plants so much as we’re cultivating rich, healthy soils in which plants will do their own growing. Yet, to this end changing the make-up of soils seems like a daunting job. So how can we go about the task of improving our soils in a simple and efficient way that corresponds with permaculture principles?
The challenge of Tropical Soils
Soils in humid Tropical America are generally found to be eroded and leached. In this region’s ecosystems, about 85% of nutrients are held in plants and animals, so the soils themselves are infertile. Only terraces, floodplains, and new volcanoes keep some soil fertility replenished if land is cultivated (Mollison, 2004). This yields soils that are high in clay content, poor in nutrient content, and often quite acidic. As we say here at the Rancho Mastatal, a permaculture farm in Costa Rica, it’s soil that’s great for natural building, yet not ideal for growing an abundance of food.
The goal with soils like ours is to improve soil texture, increase mineral and nutrient content, reduce soil acidity, enrich microbial life, and increase the quantity of organic matter held in the soil.
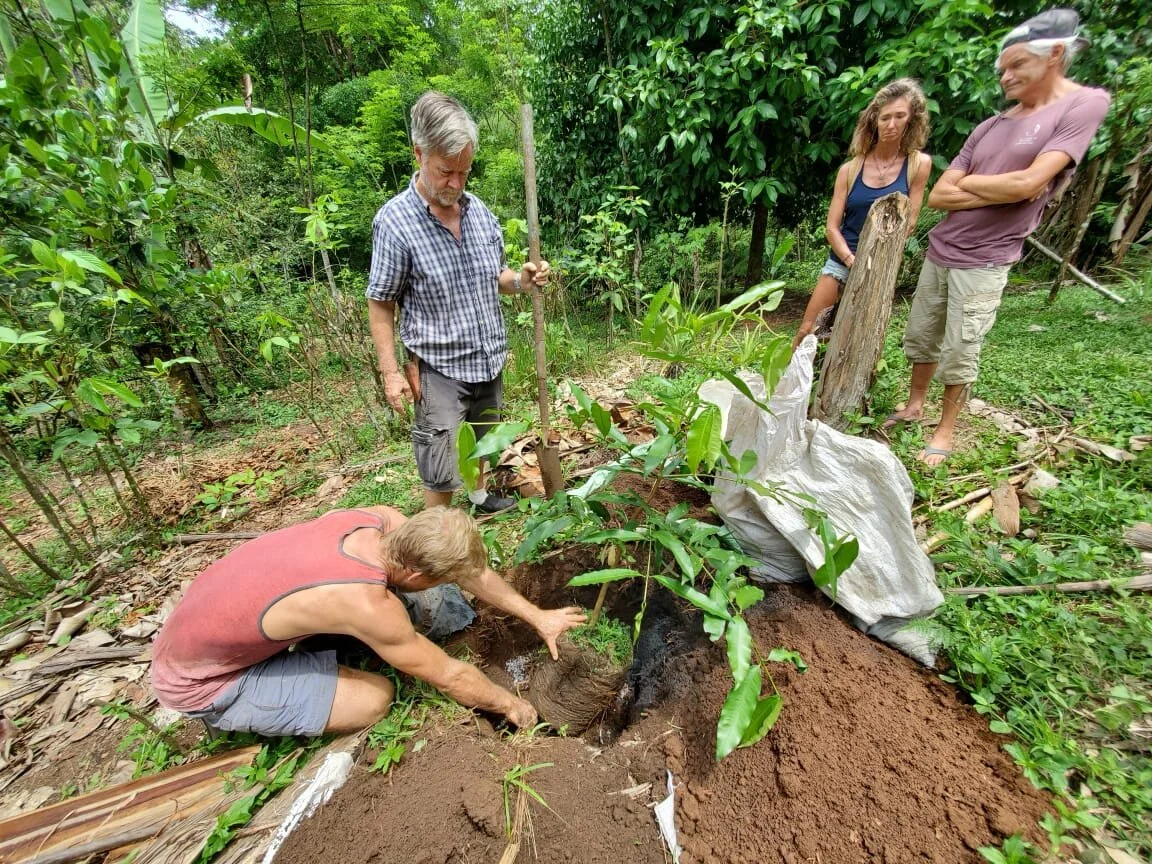
Planting a fruit tree during our annual Agroforestry Skills Workshop
Permaculture & Agroforestry based strategies
In a recent agroforestry workshop held at the Rancho Mastatal here in Costa Rica, a class that worked through concepts of a multi-strata, diverse style of permaculture, the holy trinity of soil amendments for the humid tropics was revealed. The three pillars of improving cultivated soils are
Biomass
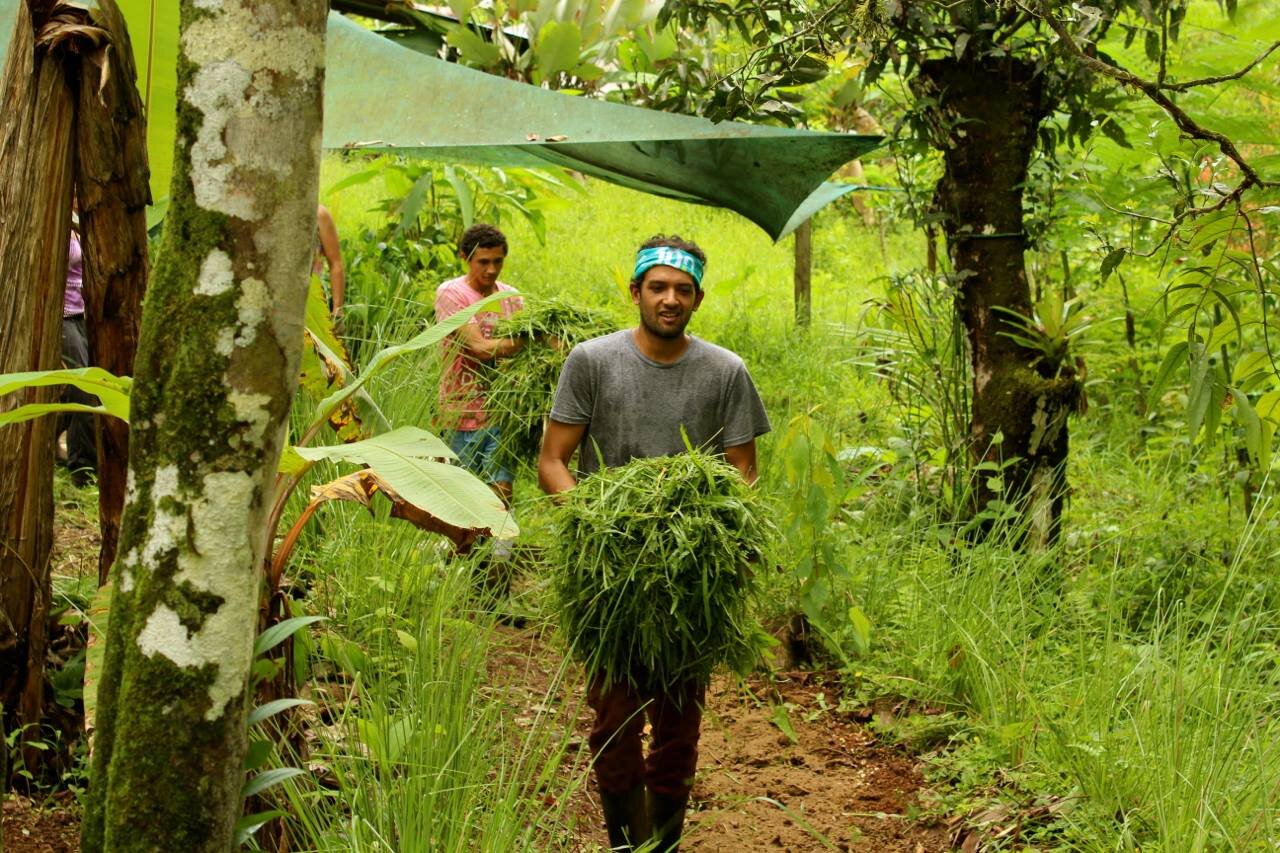
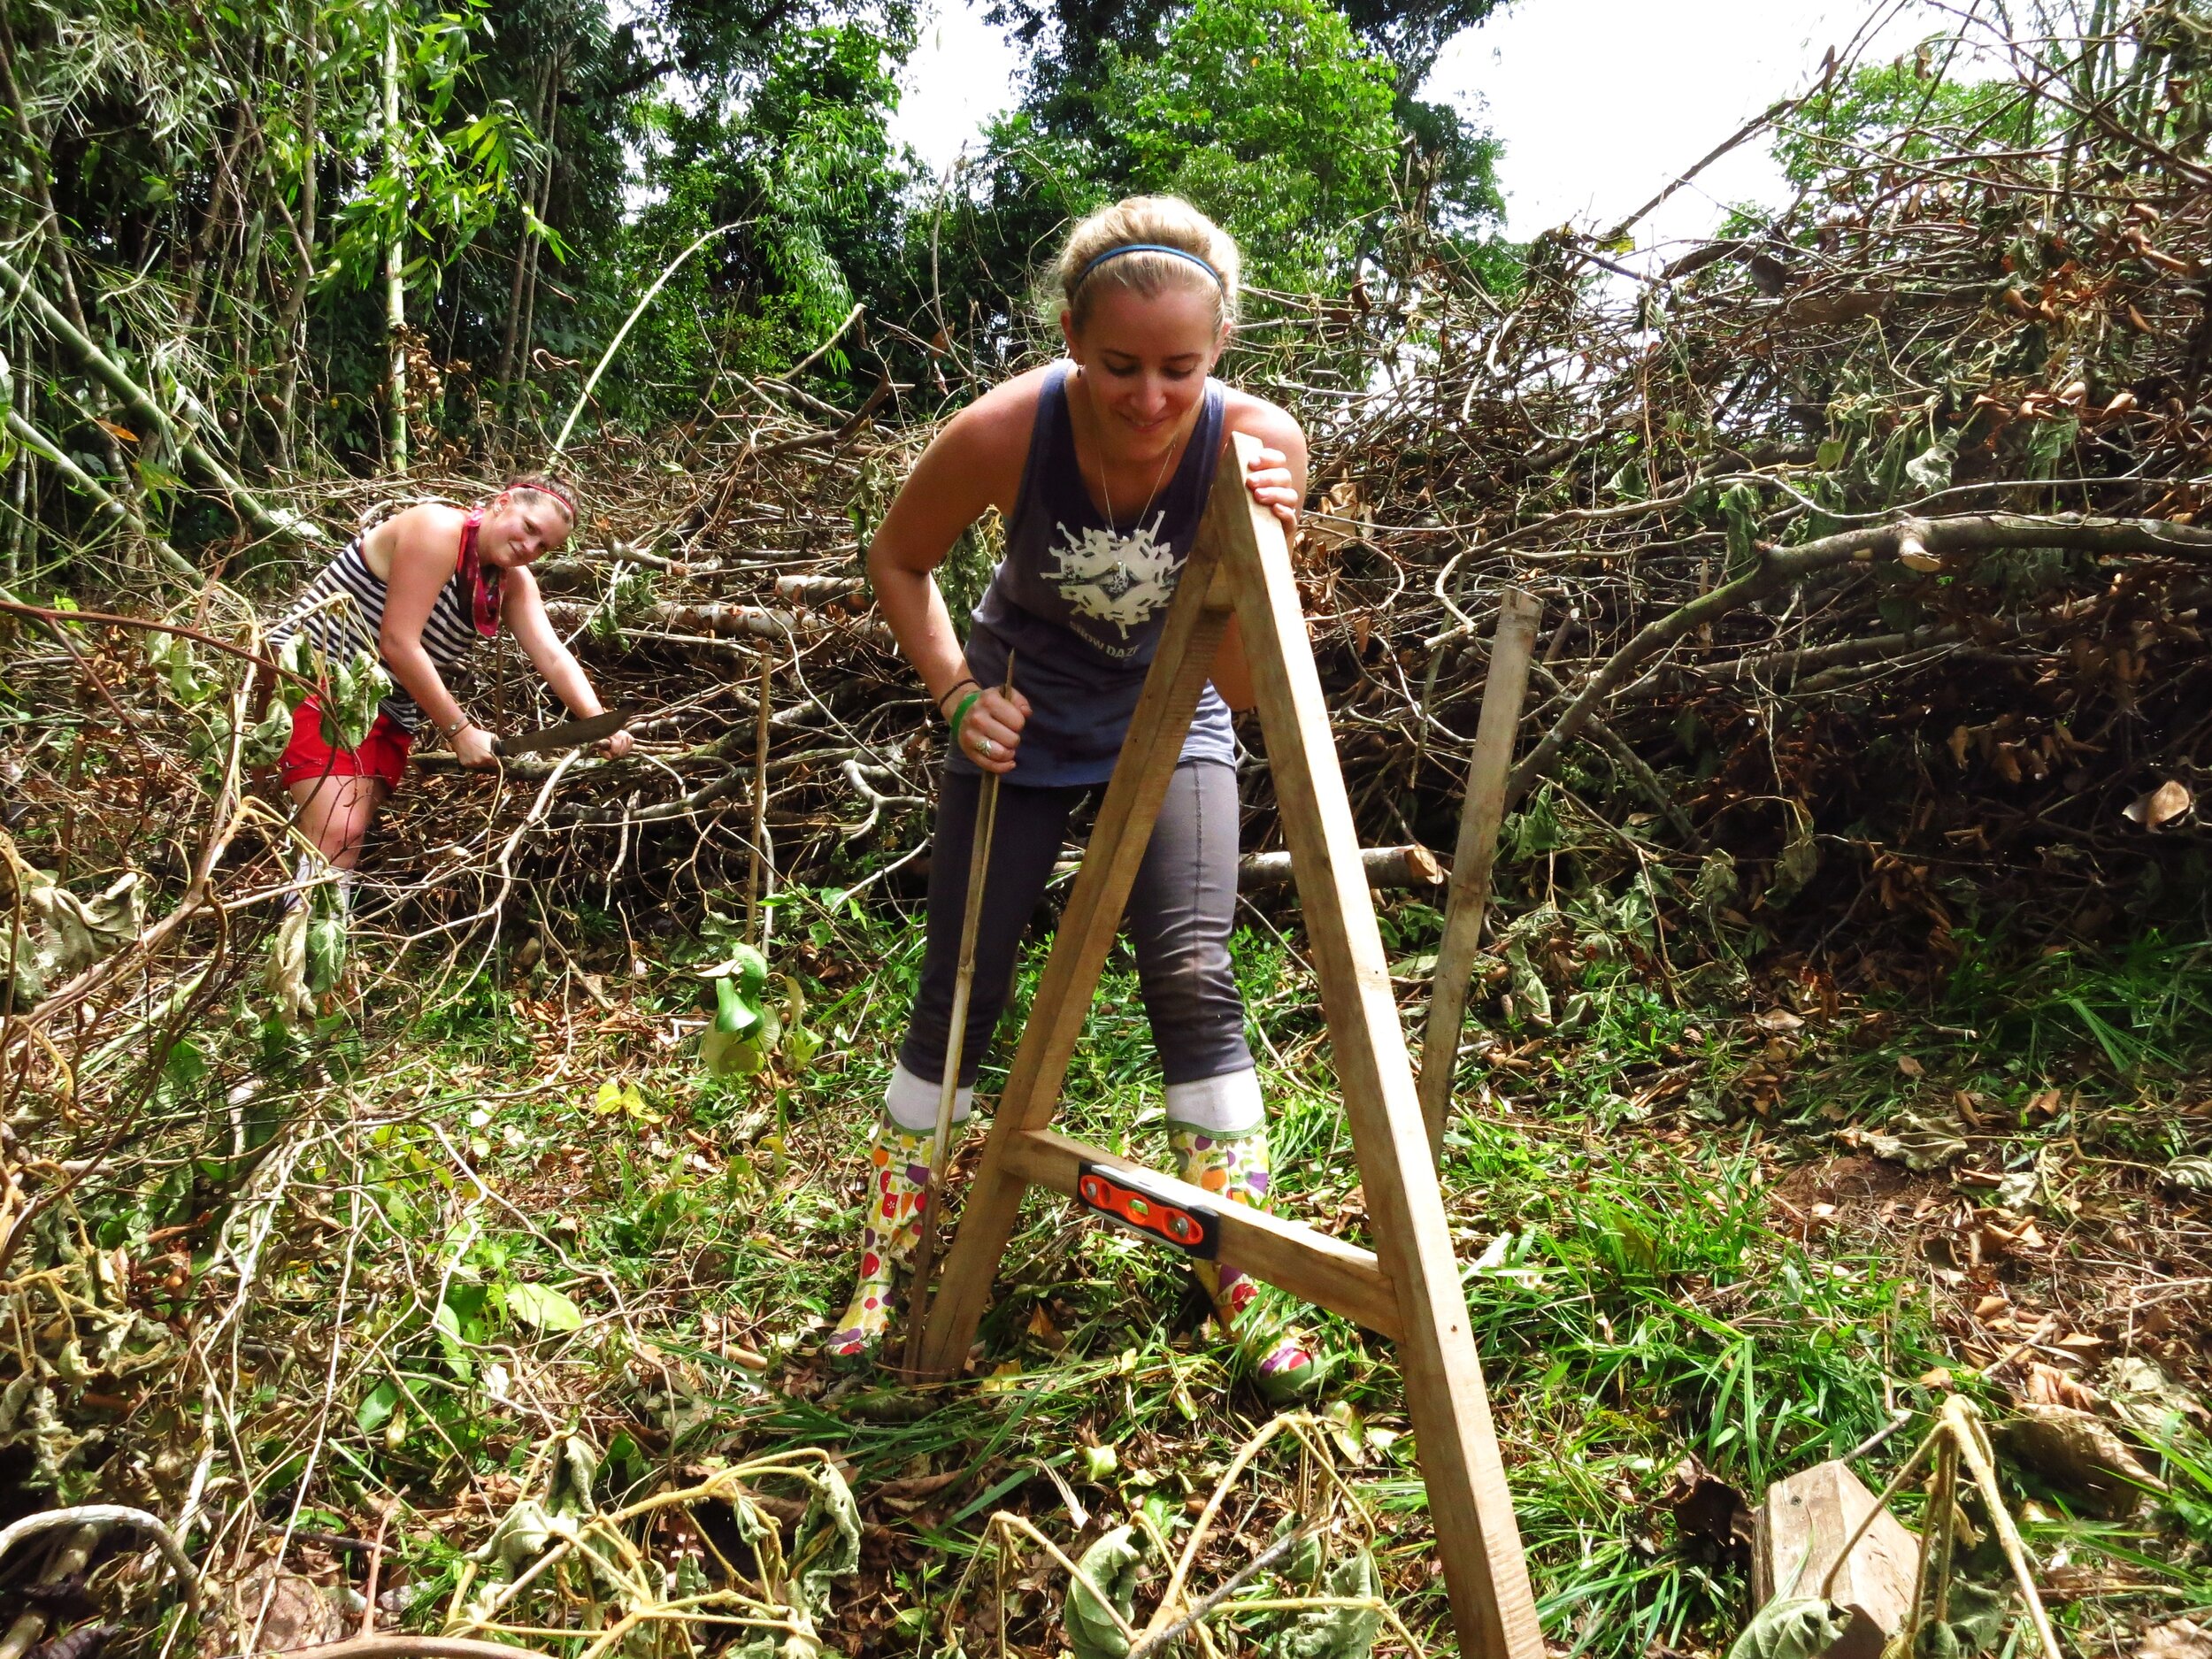
The strategy of biomass organized on contour (lines running perpendicular to the direction of the cultivated slope) is the most visible method used here at Rancho Mastatal to improve the soil’s structure and nutritional/mineral content, our ‘organic’ way of applying fertilizer. In the humid tropics, biomass tends to be available in great quantity, and can be used to build up the mentioned contours. Over time these will build to form terraces that greatly reduce soil loss related to erosion and leaching.
Mountain Microorganisms
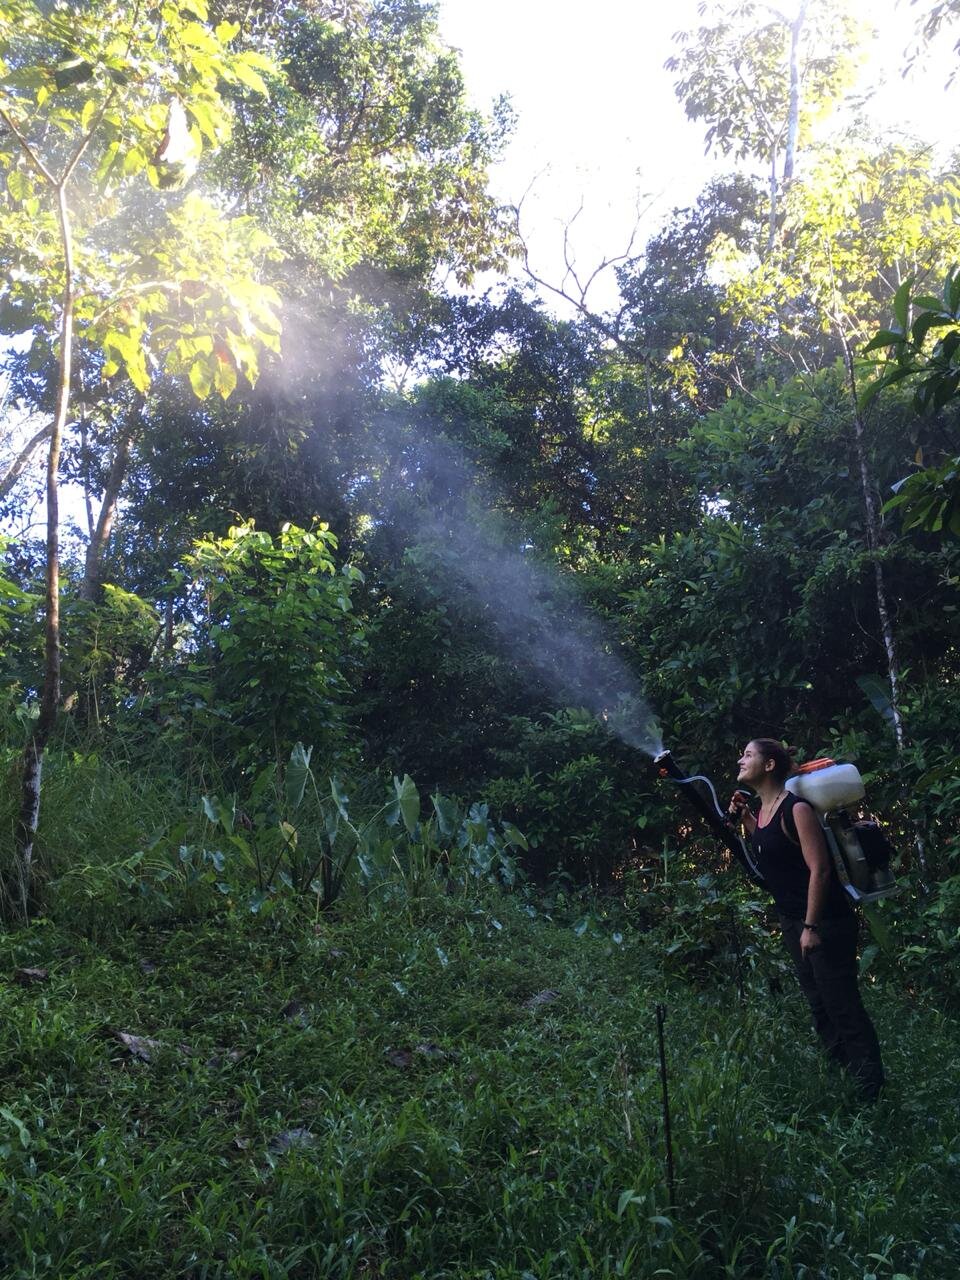
Mountain microorganisms is a world of its own. Through the fermentation of leaf litter from nearby forests, we cultivate microorganisms which are then applied to our soils, the foliage of our plants, and our compost. We are reproducing healthy bacteria and yeast that, when used in our permaculture systems, will in turn help our plants absorb more nutritional benefit from our soils. To read in more depth about how to make Mountain Microorganisms read this article.
Biochar
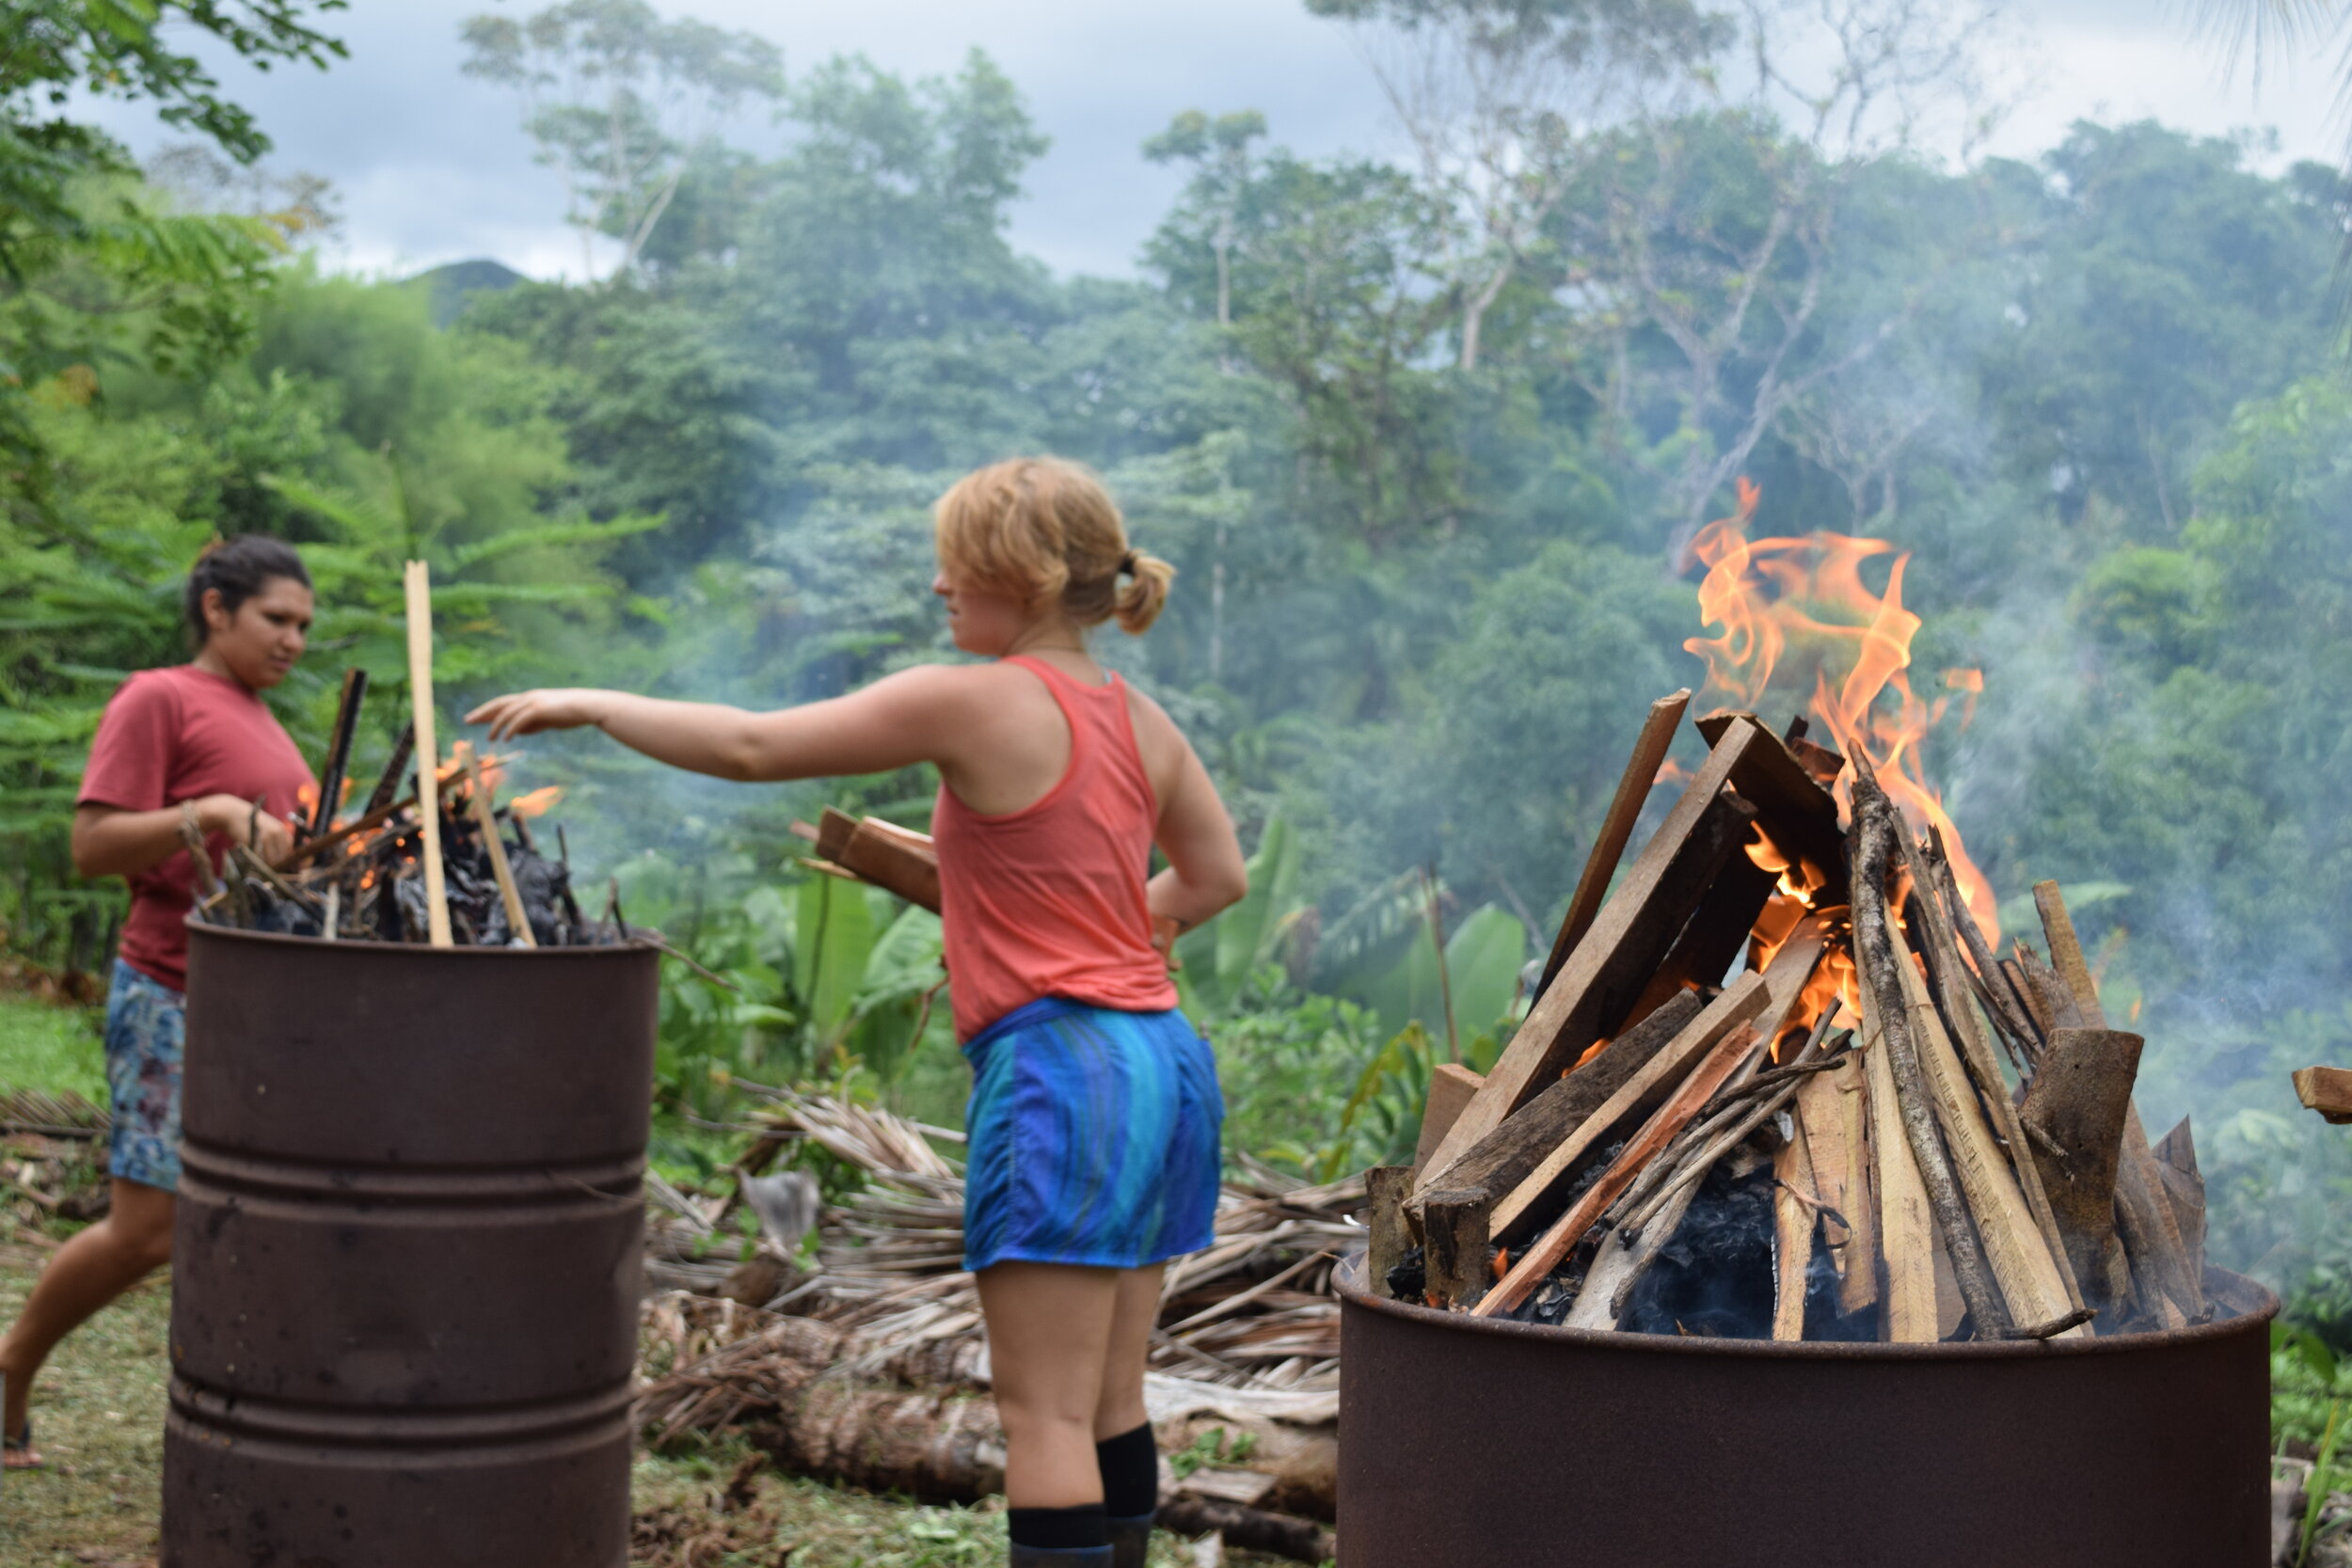
Biochar will then provide a long-lasting refuge for these beneficial microorganisms. This is due to its incredibly high surface area within its structure. This special form of charcoal is extremely slow to break down and both directly provides nutrients and minerals to our soils as well as creating a positive feedback loop of topsoil production.
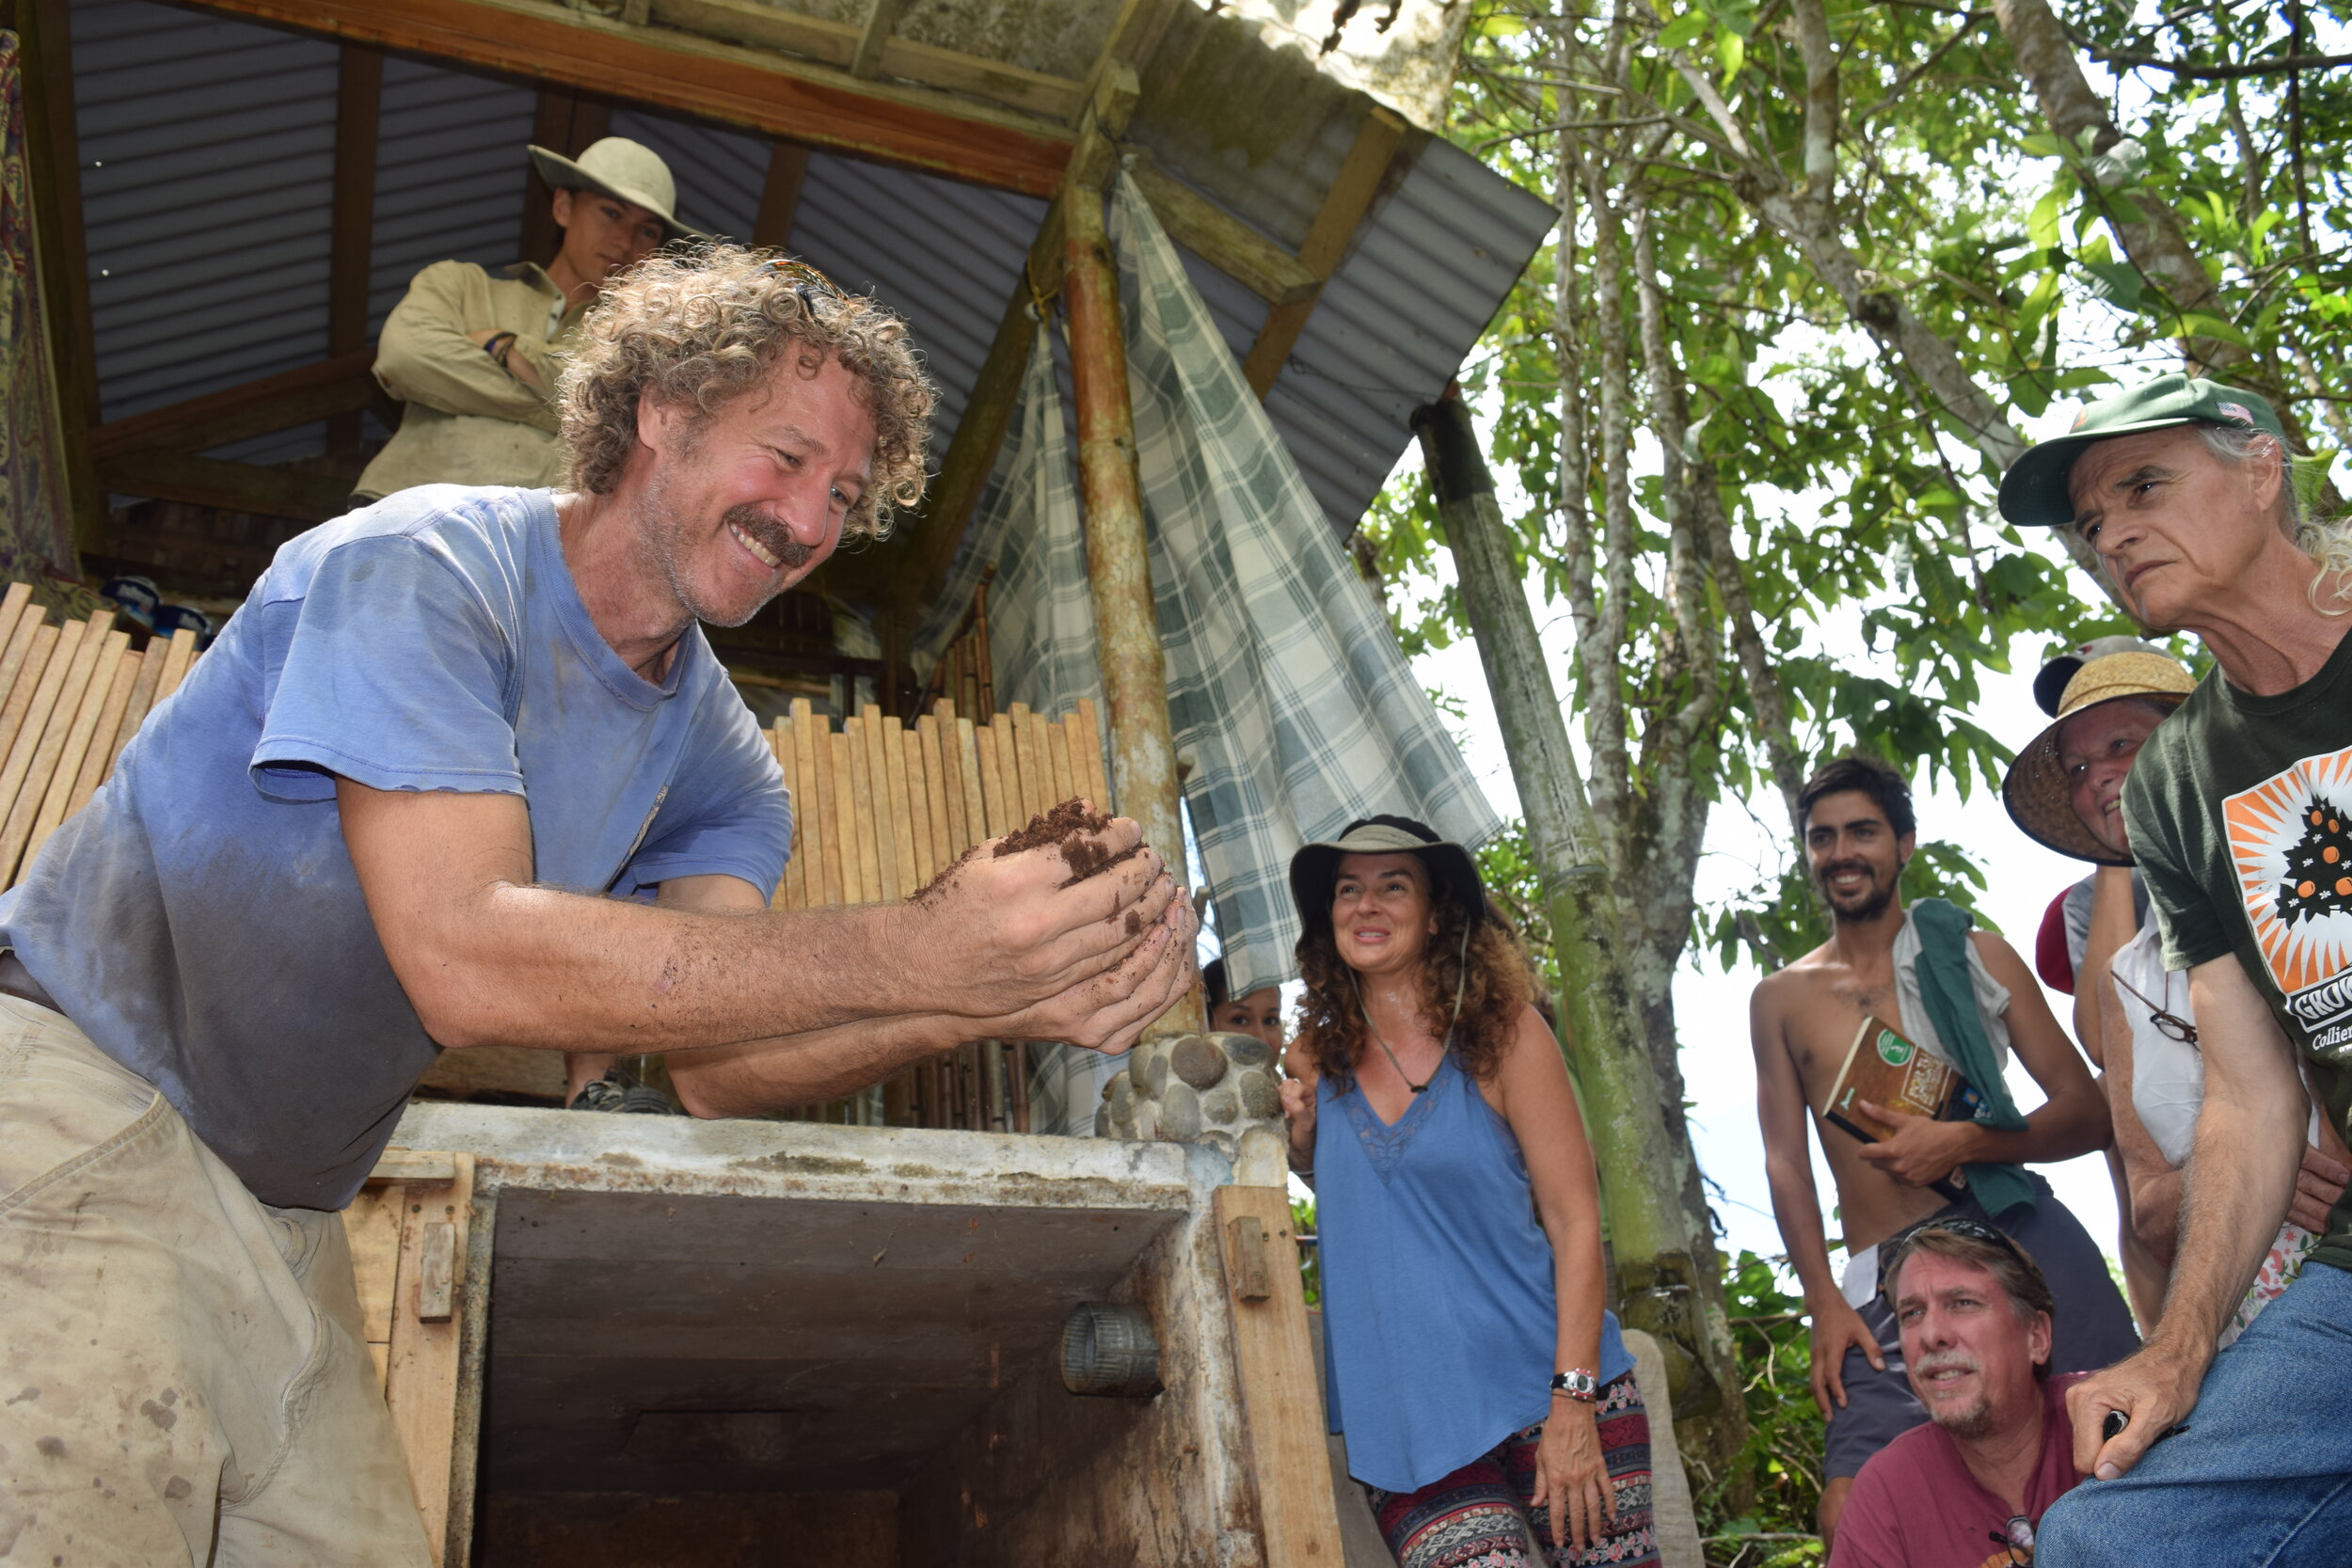
Many ways to develop tropical soils
There are other solid permaculture concepts for improving soils in the humid tropics that should be mentioned here. To deal with highly acidic soils, adding lime at regular temporal intervals is a useful strategy. We tend to avoid planting annuals while opting for perennials, by which we disturb the soil less and reduce potential erosion. Read our article about which perennial greens do well in the tropics here. Over time these plants will help build humus and topsoil. There are plenty of pro tips from the world of permaculture that you’ll find helpful, like adding shredded cane and bamboo species as a mulch for silica and calcium enrichment. This will in turn help to raise pH levels (lower acidity) of soils and reduce leaching and erosion. We add Humanure and effluent from our Biodigestors, this helps build our soil and use commonly wasted products to grow food!
Want to Learn More?
If you’re interested in agricultural concepts such as improving soils, make sure to check out Rancho Mastatal’s workshops, including:
Past Blogs on Soil and Permaculture in the Tropics
We have a lot of past blogs on this topic. Here are a few to read:
Applied Permaculture Principles

Our apprentices doing some chop and drop in the orchards
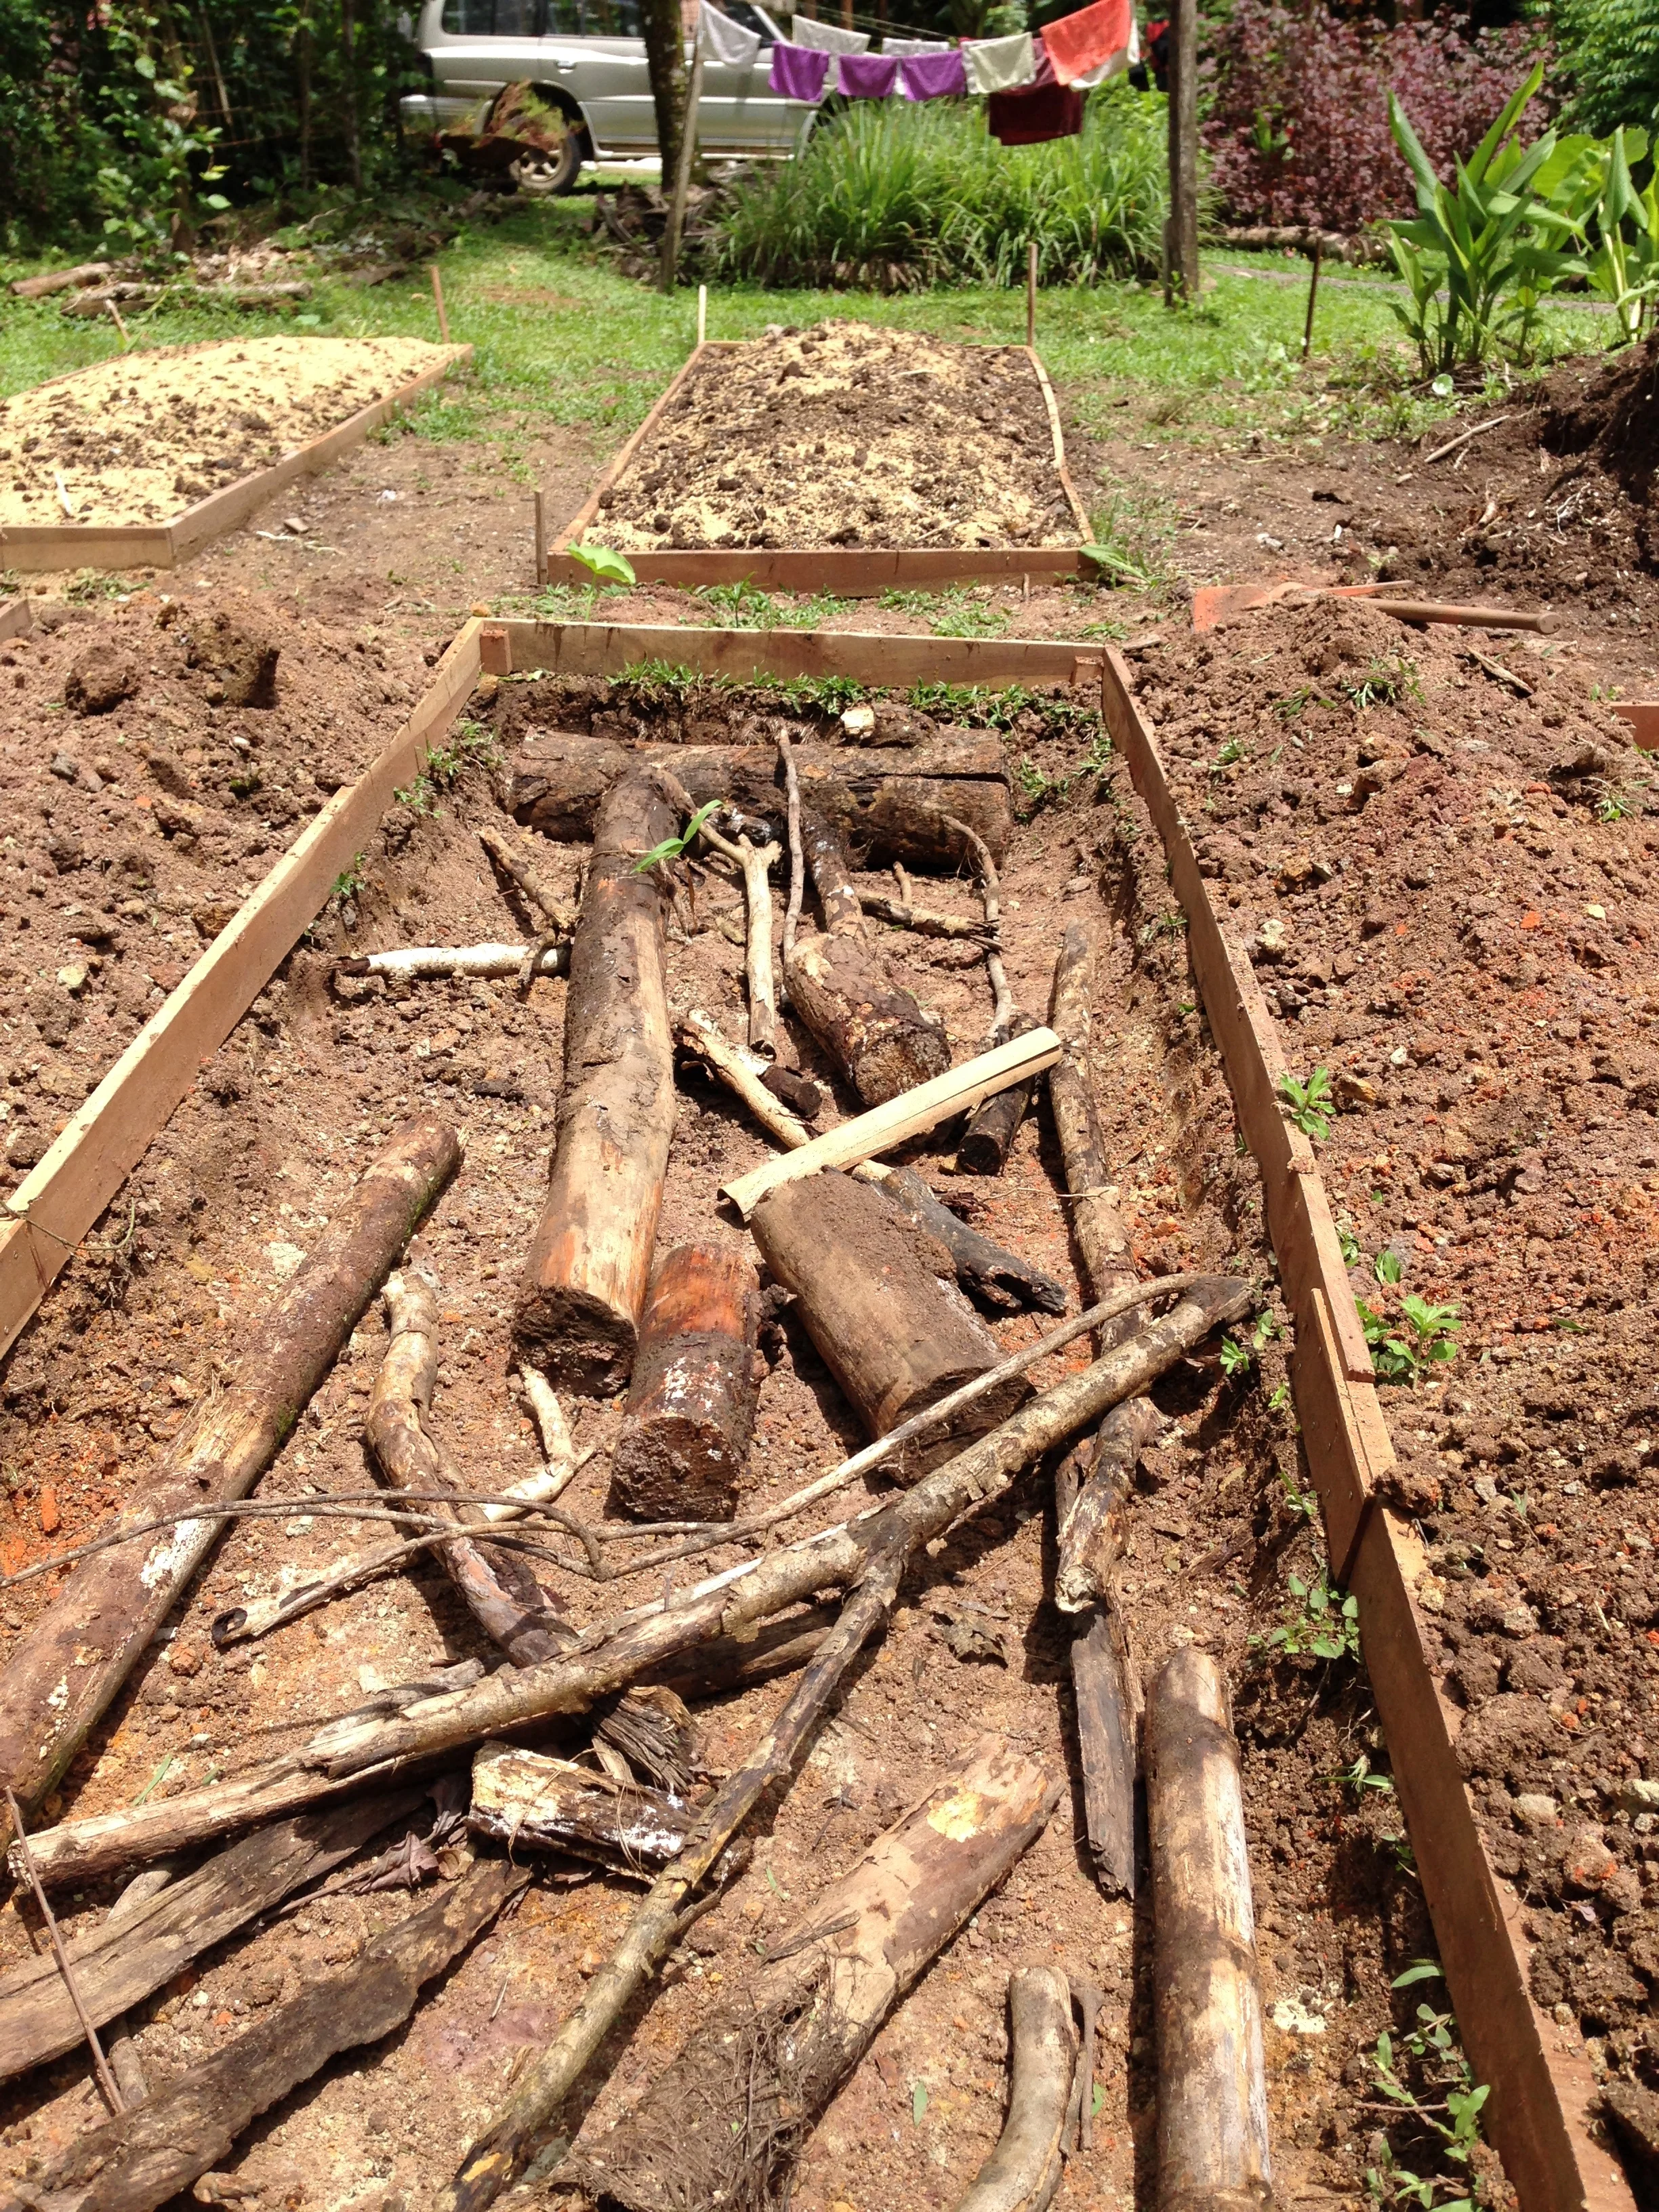
Hugulkultur in the Tropics
Hugelkultur means hill or mound in German combined with culture. It has been practiced in Europe for hundreds of years. Hugelkultur is a simple agricultural practice that doesn’t take much to set up and provides numerous benefits.
by Ben Behrend, 2019 Apprentice
Hugelkultur means “hill” or “mound” in German combined with “culture”. It has been practiced in Europe for hundreds of years. Hugelkultur is a simple agricultural practice that doesn’t take much to set up and provides numerous benefits. As the wood decomposes it creates air pockets; it releases nutrients slowly and also absorbs and retains water. This retention of water is important during drier periods or places like the desert or the dry season in the tropics.
This year at Rancho Mastatal, it has been hot and dry, causing strain on many of our plants. Immediately surrounding our main gathering area/kitchen is zone 1 which would be a great place to experiment with hugelkultur. Not much has been written on Hugelkultur in the tropics. Several groups of apprentices have trialed using woody material underneath garden beds. Whilst it is difficult to say with certainty that due to the hugelkultur practices yields have increased, it is safe to say that yields have increased and i would summarize that this due to many factors one of which is the use of hugelkultur. I feel inspired to continue experimenting myself and see how it works first hand. Below are instructions that you can follow to make your own hugelkultur.

· Dig a foot or two of the top soil and put that aside.
· Pile in decomposing tree limbs the more “rotten” the better, biggest on bottom and working up with smaller. Some people use burned logs, or add ash for extra potassium. Not all woods are created equally when it comes to hugelkultur
o It is not good to use Cedar for example as it takes longer to decomposes due to its natural pesticides/ herbicides/anti-fungal/anti-microbial properties. Black locust won’t break down fast and is very toxic. Based on this i would guess that Spanish Cedar and any hardwood used as fence posts may not be suitable in the tropics either eg Guachipelin, Madero Negro etc…
o Woods that work best: Alders, apple, aspen, birch, cottonwood, maple, oak, poplar, willow in temperate climates. For the tropics i would guess that any wood refered to as “semi-duro” would work i.e. any medium strength hardwood eg. Roble, most fruit tree woods etc…
o Layer the sod on top of this
· Layer sheet mulch an example
o 5 inches well aged compost
o 4 inches manure
o 8-12 inches of hay, straw, dead decomposing leaves, seaweed
o 1 inch of newspaper/cardboard
o Soil amendments (blood meal, bone meal, manure)
Letting the mound “rest” for several months, or even 1-2 years before planting is sometimes recommended. Beds are built up in a mound that can be up to waist height, any desired a length, and a narrow width (one source recommended three feet width). The recommended angle of the mound is 60-85 degrees by some sources, creating a triangle. Others, make a less steep slope that is also documented to work well. Over time as the wood decomposes it creates a sponge like bed underneath. This holds the moisture and produces lots of nutrients and fungal friends.

Toby Hemenway mentions in “Gaia’s Garden”, you can start potatoes a month early in this kind of bed. “Some naturalists theorize that roots and fungal mycelia may translocate water from these woody caches to plants and fungi many feet away.” (Gaia’s Garden, pg. 70). Wood locking up nitrogen has been a concern by some yet Hemenway feels wood decomposes so slowly that very little nitrogen is tied up by microbes gnawing at logs.
Over the first year, your hugels may sink as much as a foot depending on the climate. This is a natural settling of the pile, as the mound breaks down and decomposes. If you want to “rebuild’ hugels at the beginning of each year you can add more compost, otherwise you will produce excellent humus by the time your hugel levels out. Hugelkultur offers an attractive way to build top soil and retain water during the dry season.
We will keep you updated with our progress, in the mean time let us know what you are trying to do at home or have done with hugelkultur!
Interested in having the opportunity to learn whilst doing? Why not apply for our year long apprenticeship. Can’t dedicate the time to our year long apprenticeship, why not join us for our shorter internship?

Gardening and Permaculture practices at the Ranch
Here at the Ranch the year long apprentices have various roles and functions that support the Ranch community. By taking on responsibilities and managing certain areas we the chance to learn and experience those areas on a deeper level . Part of the educational model created by the ranch team is a monthly rotation of these so called life skills. Each apprentice transitions their life skill to the next apprentice, passing on all of the relevant information to their colleague in order to complete the various tasks associated with each life skill.
by Diana Dagash
2019 Apprentice

our front gardens
Here at the Ranch the year long apprentices have various roles and functions that support the Ranch community. By taking on responsibilities and managing certain areas we the chance to learn and experience those areas on a deeper level . Part of the educational model created by the ranch team is a monthly rotation of these so called life skills. Each apprentice transitions their life skill to the next apprentice, passing on all of the relevant information to their colleague in order to complete the various tasks associated with each life skill.
One of the life skills is currently called the Garden Gnome. I would like to share some of my experience and reflections from doing this task every morning for a month. The garden gnome is in charge of maintaining the front gardens. This is referred to as our zone 1 garden using permaculture lingo. It is the area that is in closest in proximity to the most frequently used space- the main house. In the Zone 1 gardens we grow herbs, annual and perennial crops such as mustard greens, katuk, Haitian basket vine, hibiscus, cucumbers, squash, yard long beans,wing beans, radishes, sweet potato, moringa, basil, oregano, mint, parsley and curry leaf and other amazing tropical goodies which we use in our kitchen everyday. Having these crops growing in close proximity to where we spend most of our time allows us to easily provide the daily maintenance of this space such as watering, harvesting and weeding.
In Rancho Mastatal we approach gardening through a permaculture lens. By mimicking the patterns in nature we are able to create micro climates in which our crops thrive. We create systems that have many functions and support other systems in their functions, allowing them to thrive in harmony with nature. We apply a range of those practices at the ranch and we continue learning and experimenting with new possibilities.
Given that we live in the tropics we have two opposite seasons, about half the year its is dry and the other half rainy. Although the dry season has its own challenges I can only speak from my own experience taking care of the garden in the rainy season, for instance i believe that in the rainy season there is a lot of weeding whereas in the dry season there is a lot of watering!
As the rains increase in volume and frequency it is a time when everything begins to grow rapidly. The jungle fills up with even more green vegetation, popping out of every space available. It rains consistently every afternoon , sometimes all day and night. The soil is saturated . It is a happy time for ALL living things to thrive, including some of the more challenging species like mold, fungus and insects. Some of our crops were over taken by fungus or eaten by insects, others became over saturated with water as they were lacking sun and/or air flow. As with every challenge, i found an opportunity to research and experiment with natural recipes for pest and fungus control.
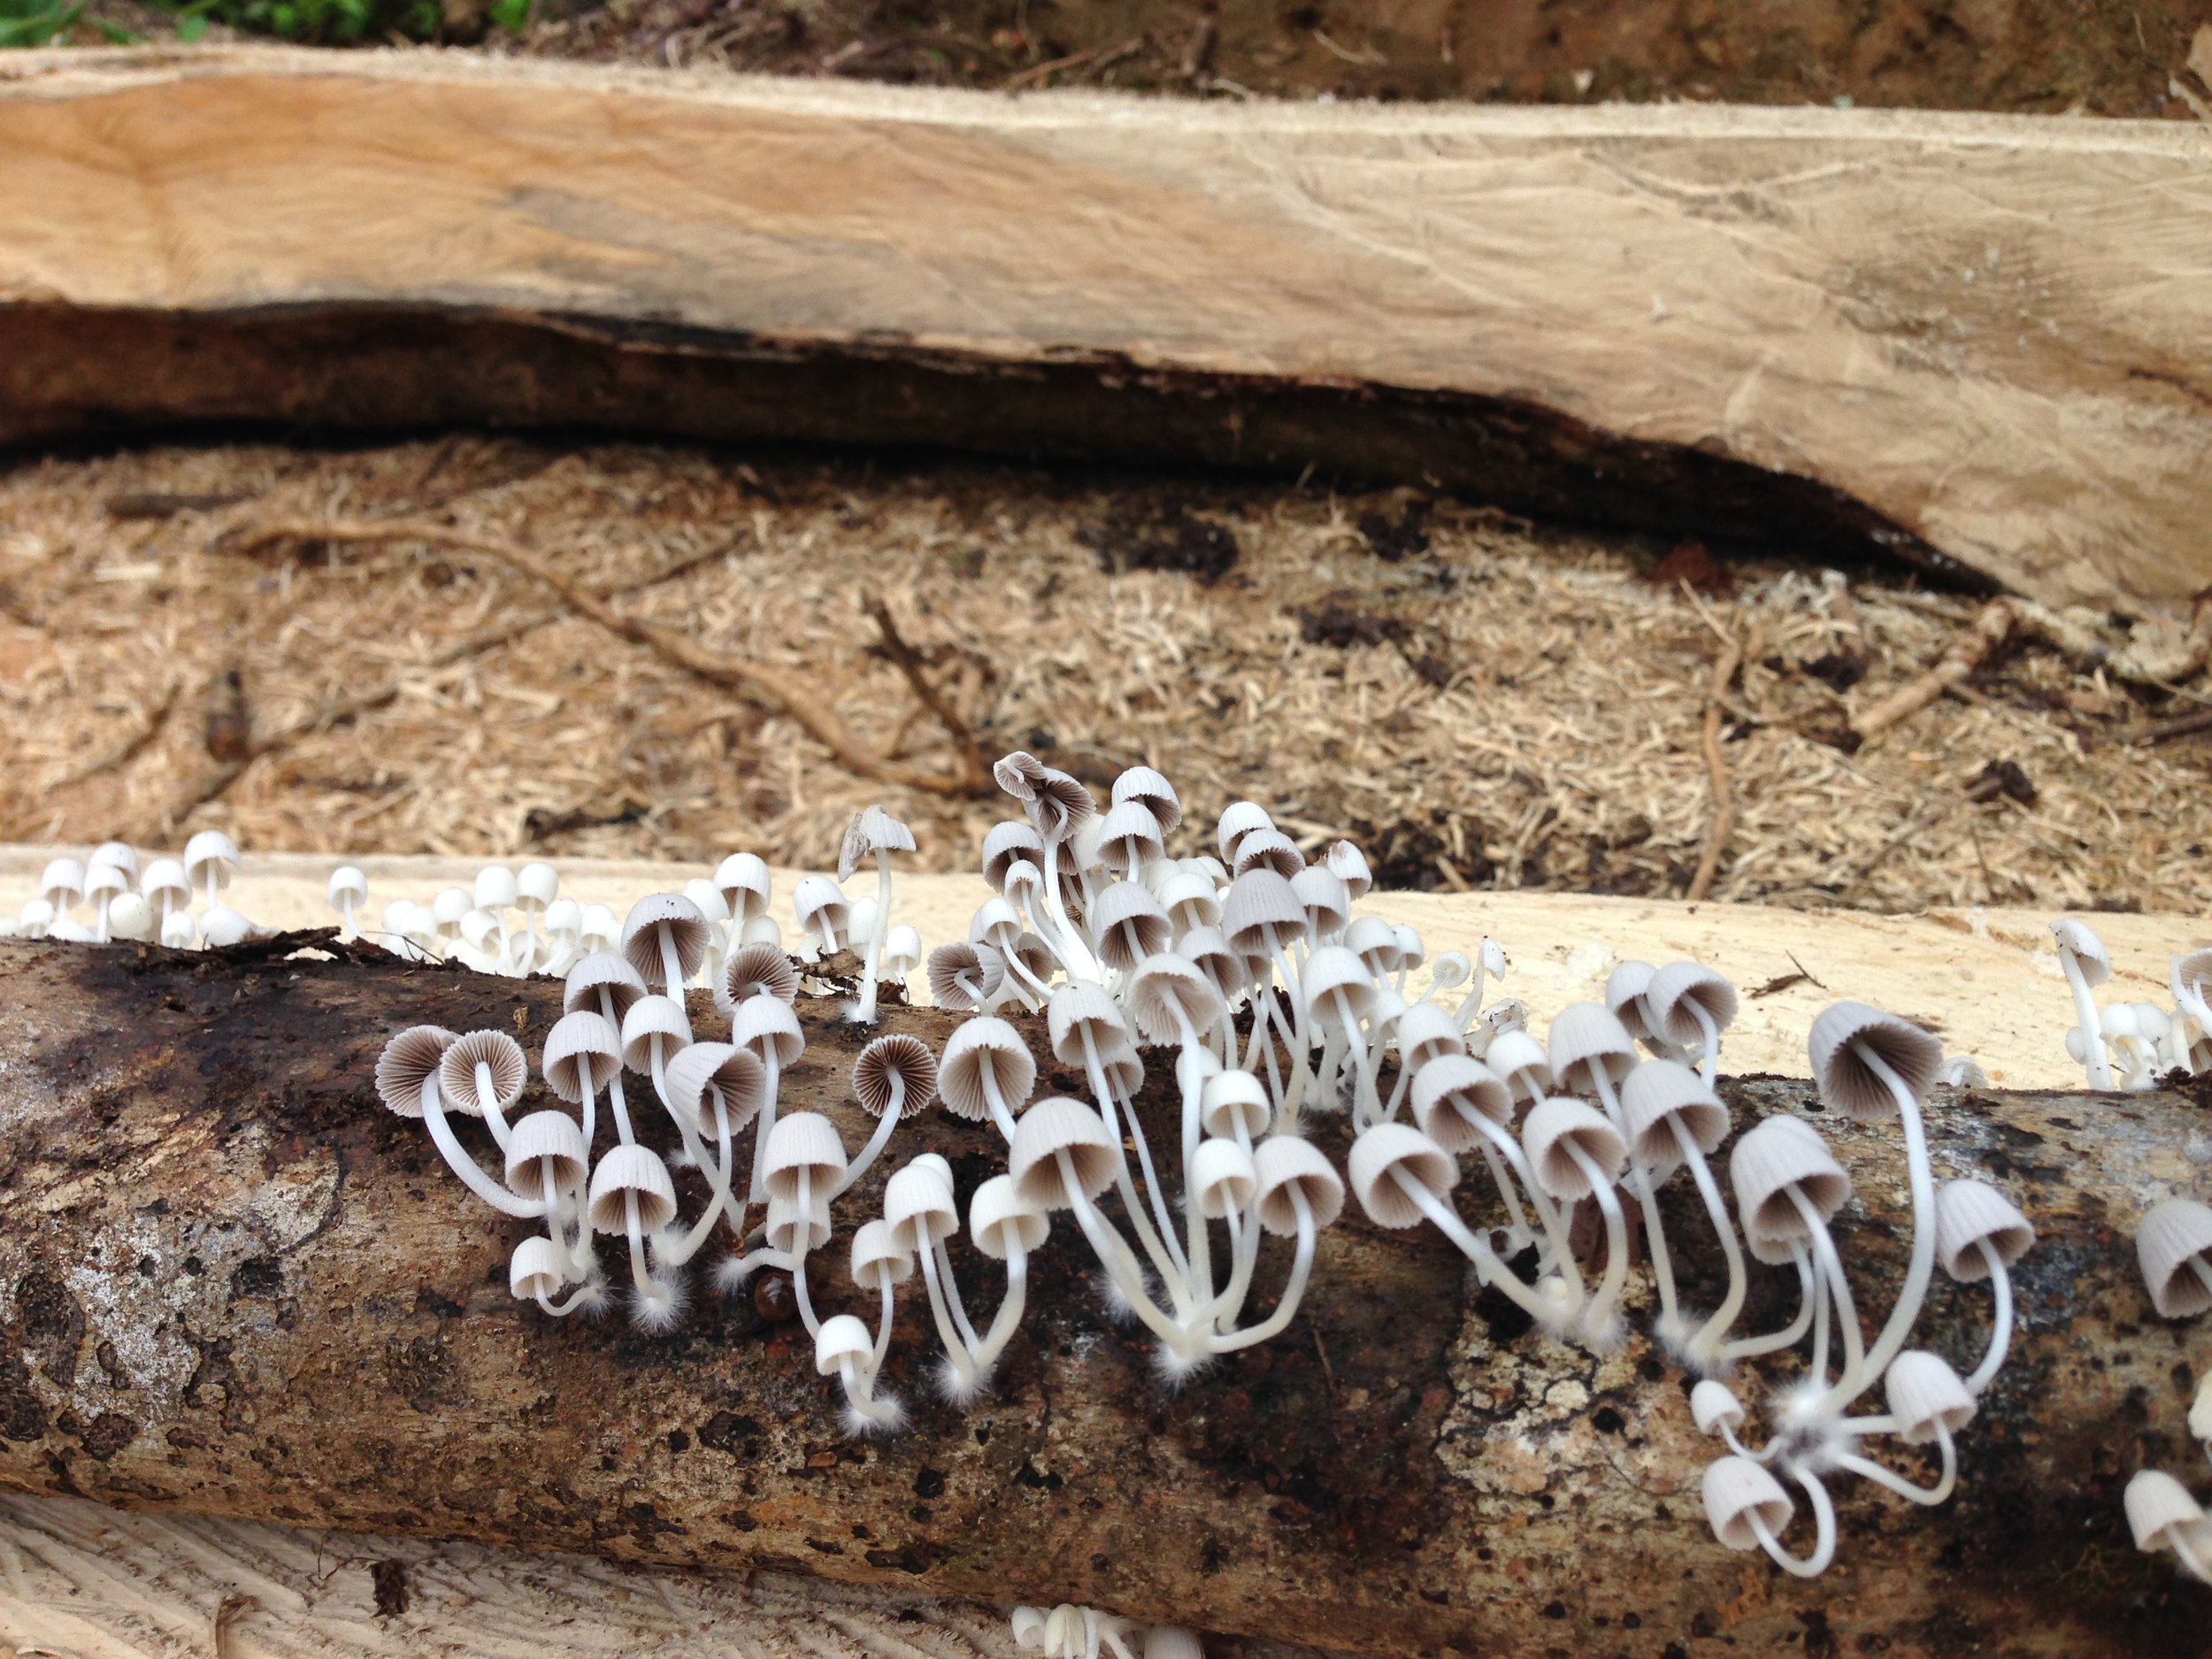
with the onset of the rains, mushrooms started popping up everywhere
My days started early in the mornings with a walk through the garden, observing the plants and checking the soil moisture levels. As I walked I noticed plants that seem to be struggling and tried to identify what might be affecting them. This is then communicated with the garden manager so we could discuss further ideas and solutions. We researched potential natural insecticides and fungicides that could help solve these issues.
Here is some of what we have learned and the practices we apply here at the ranch.
We are surrounded by amazing medicinal plants growing all around us, thriving under the jungle canopy or occupying disturbed pockets. These plants contain medicinal properties that can benefit humans as well as plants.

For example turmeric contains anti-inflammatory and antibacterial properties beneficial to humans and when planted among the roots of a tree, benefits the tree with those same properties This is referred to as companion planting. By planting diverse species next to each other they are able to support, protect and ultimately benefit one another. This can be as simple as providing shade or wind protection. Not only can companion planting by a useful tool in our belt to fight against disease and pest pressure but we can also use the properties of some local herbs. Here are some examples of what we have been doing.
Jackass bitter - the most bitter herb known, contains antifungal and antiparasitic properties. Spraying this tea onto diseased plants can repel insects and prevent fungal issues.
Inter cropping aromatic herbs like oregano, lemon grass and basil with certain food crops can confuse and repel insects with their scent and prevent disease with their antimicrobial and antifungal properties.
Using the shade of the cucumber trellis to help shade and shelter more delicate herbs underneath them.
Using peanut grass as a living mulch to crowd out weeds and provide nitrogen to the soil underneath some of our taller perennial crops such as Katuk and Cranberry hibiscus.
Planting Marigolds everywhere to reduce nematode populations, there is controversy about the effectiveness of this though.
Working in the front gardens has also made me reflect on the ideas of closed loop systems. As i am partially responsible for management of the kitchen compost. I really like the idea that there is no such thing as waste. Everything can be transformed into something useful. All of our food scraps are composted creating a finished compost that can then be added back to the soil to enrich it, closing the loop.

Another big part of the practices we apply when it comes to the food forests is observation of the environment and meeting the land's needs by mimicking patterns in nature. Thanks to all the researches and life long practices in the agro forestry and gardening world, a network of knowledge has been created for us to share our experience and knowledge. We are continuously learning and working towards improvement of our systems.
With each piece of land we carry the responsibility for the history, present and future of it. It is up to us to create a relationship with our land, to observe it's needs and potentials.To be stewards of the land and assist it to become a healthy ecosystem in which we can humbly live and feed ourselves.
This experience, of being an apprentice at Rancho Mastatal, has opened my eyes to a new world of possibilities, inspiring ideas, regenerative solutions, discovering new ways to live lighter on the planet and in harmony with nature .

I am inspired by the movement towards an ecological , sustainable lifestyle and feel grateful to be a part of a project that focuses on sustainability, permanent culture and agriculture.
I invite you to share your experience and discoveries with growing food in the lowland tropics.
What interesting practices have you learn about recently?
Which annual crops did well for you in the tropical rainy season of Costa Rica?
What kind of companion planting worked well for you?
Would love to hear from you!
Blessings,
Diana D.
For more information about Permaculture consider joining us for our Permaculture Design Certification. For info about being an apprentice please go to the apprentice page. Here you will find in depth descriptions of what life is like in Mastatal.
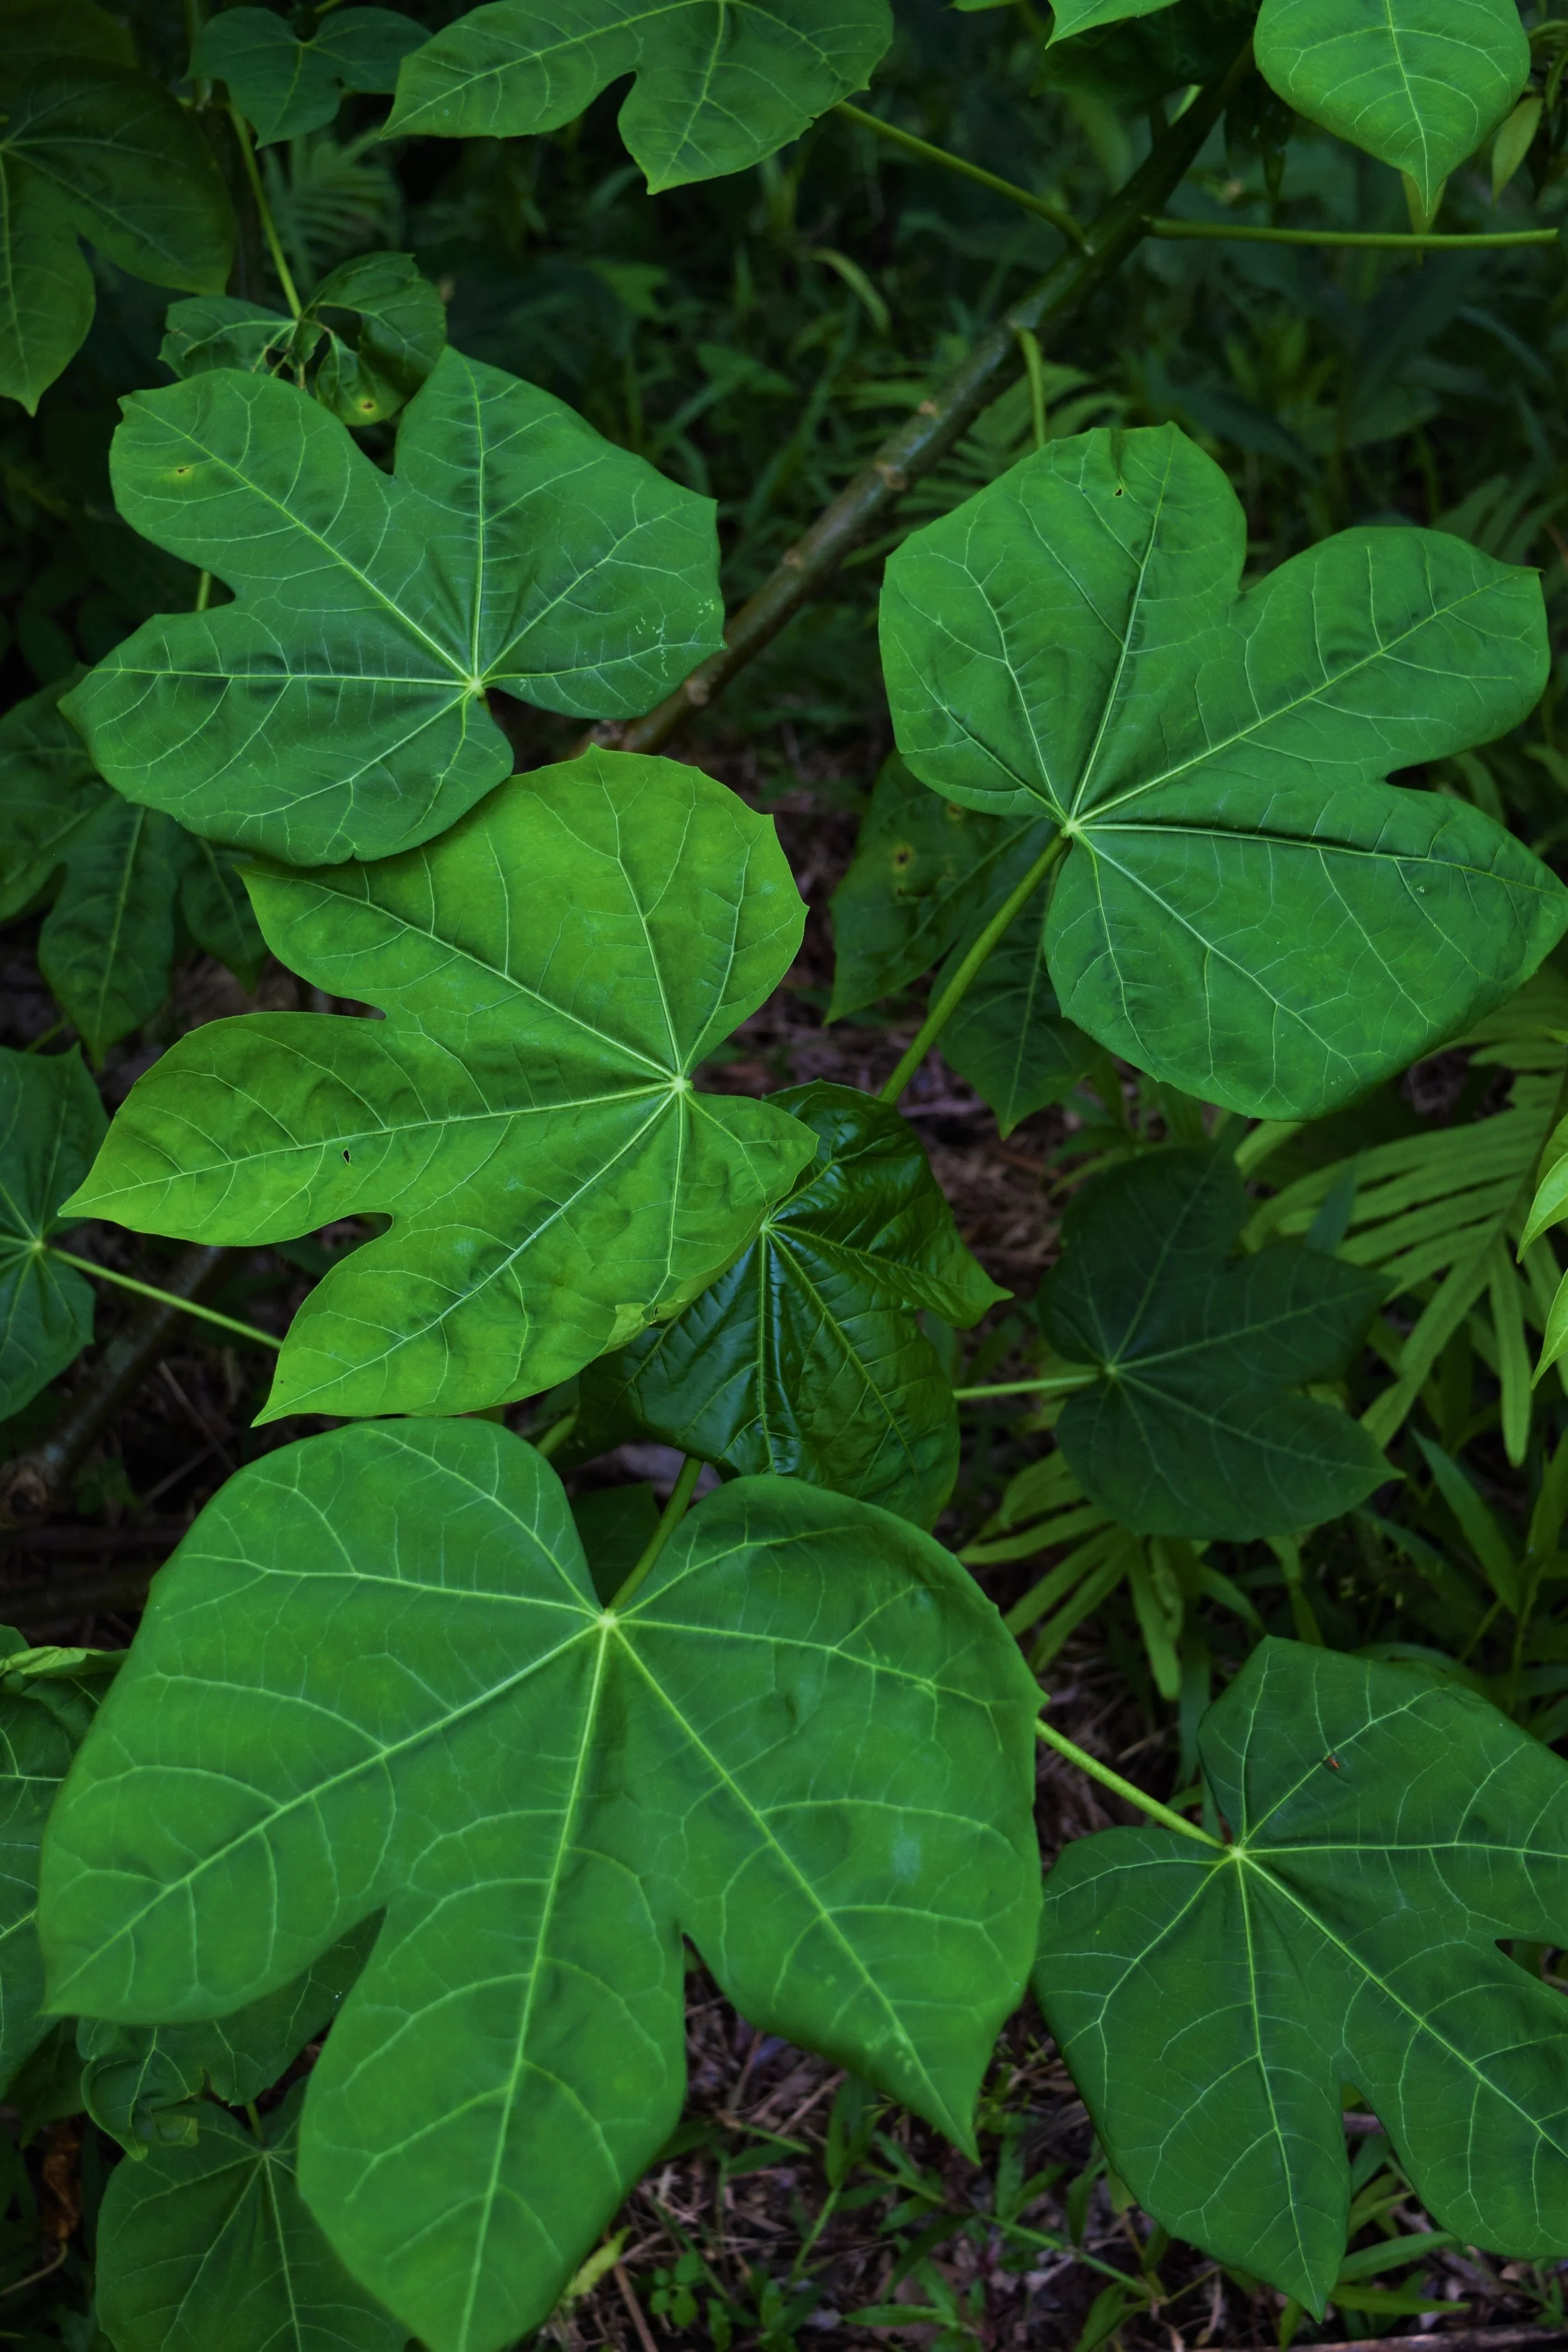
Vegetables & Greens that Thrive in the Tropical Rainy Season
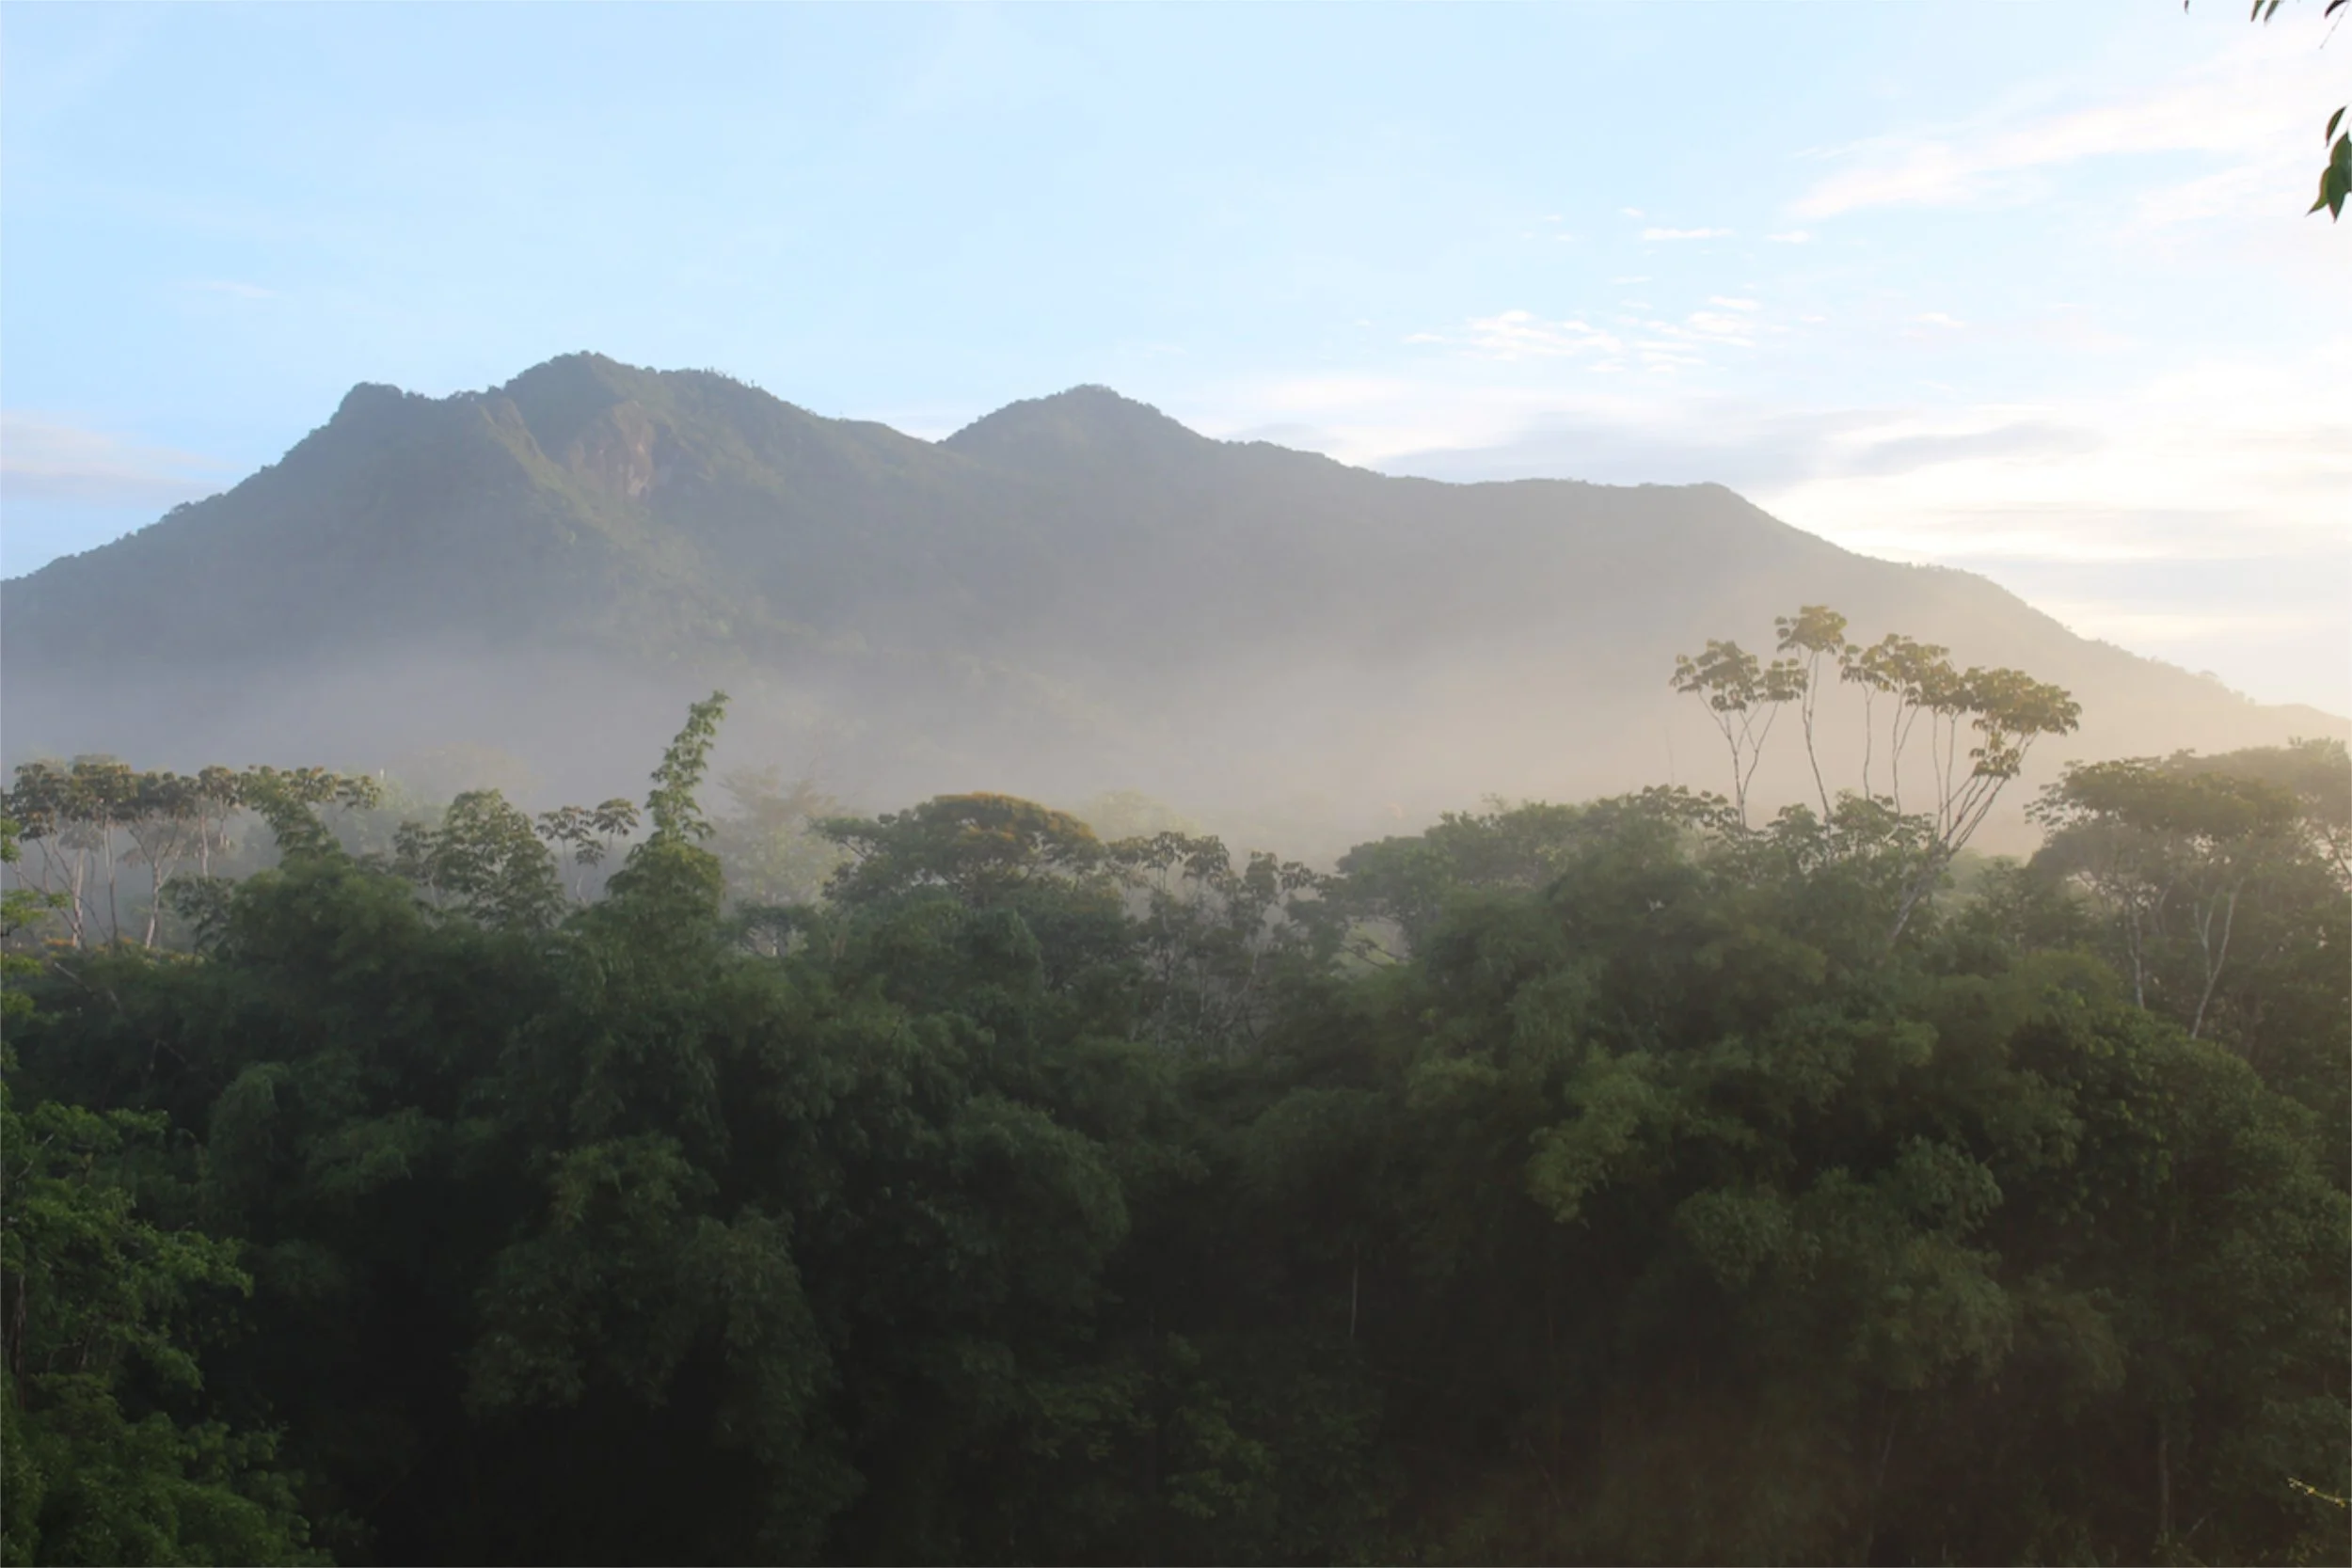
When the rainy season arrived, it started with a sense of relief - dry season went on longer than expected and our trees and plants were scorching in the heat. For myself the cooler air was welcome comfort, and the rains a reminder of home and getting cozy. Mornings were beautiful with the sight of the sun rising through the dewy mist.
By Amy Dodds,
2019 Apprentice
When the rainy season arrived, it started with a sense of relief - dry season went on longer than expected and our trees and plants were scorching in the heat. For myself the cooler air was welcome comfort, and the rains a reminder of home and getting cozy. Mornings were beautiful with the sight of the sun rising through the dewy mist.
But very soon our zone one vegetable gardens with our recently planted greens began to suffer - the sheer force of the rains and the humidity brought fungal and mildew issues. Faced with the reality that our beans and delicate greens were going to die out, I thought about the potential of using cover crops, such as sweet potato, for the rest of the year. But this did not seem to fit in my idea of what permaculture asks us to do: observe and interact with the environment we are situated in and use that to our advantage. With this in mind, we at Rancho Mastatal have been planting crops that thrive both in the intense heat and thumping rain. Below are some of the most popular vegetables that we are growing in the Ranch that are suitable for the rainy season:
Cucumber:
Cucumbers have been abundant in our garden this season with us pumping out quick pickles nearly every day. Not bad for a community feeding 30-40 people daily! Thankfully, cucumbers like warm, humid weather. We grew ours by seed on a trellis to allow for more air flow and for the fruit to stay above ground.

Okra:
Described as among the most heat-tolerant vegetable species in the world. It is planted for its seed pods which can be cooked, pickled, eaten raw, or included in salads. It does become mucilaginous so do consider this if you're sensitive to the slime.
Kang Kong spinach:
This leaf green is native to southeast Asian and is delicious stir-fried with soy sauce and garlic. It is a semi aquatic plant, a creeper that grows in or near the water on moist soils, so it is ideal for our climate.

Hibiscuses:
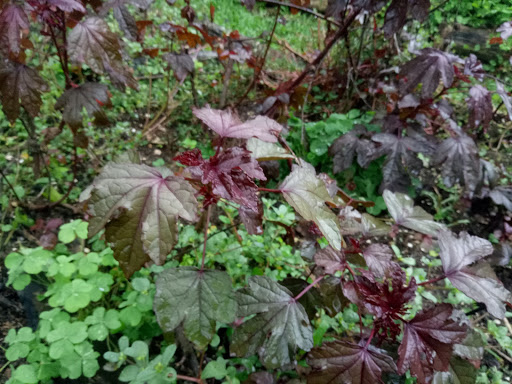
Both Green and Cranberry Hibiscus are delicious perennials that thrive in the warm and wet. They self seed easily during dry season so when the rains come you have a whole bunch of babies to keep your salad zesty and fresh. The leaves do contain oxalic acid so cannot be consumed in large, consistent quantities.
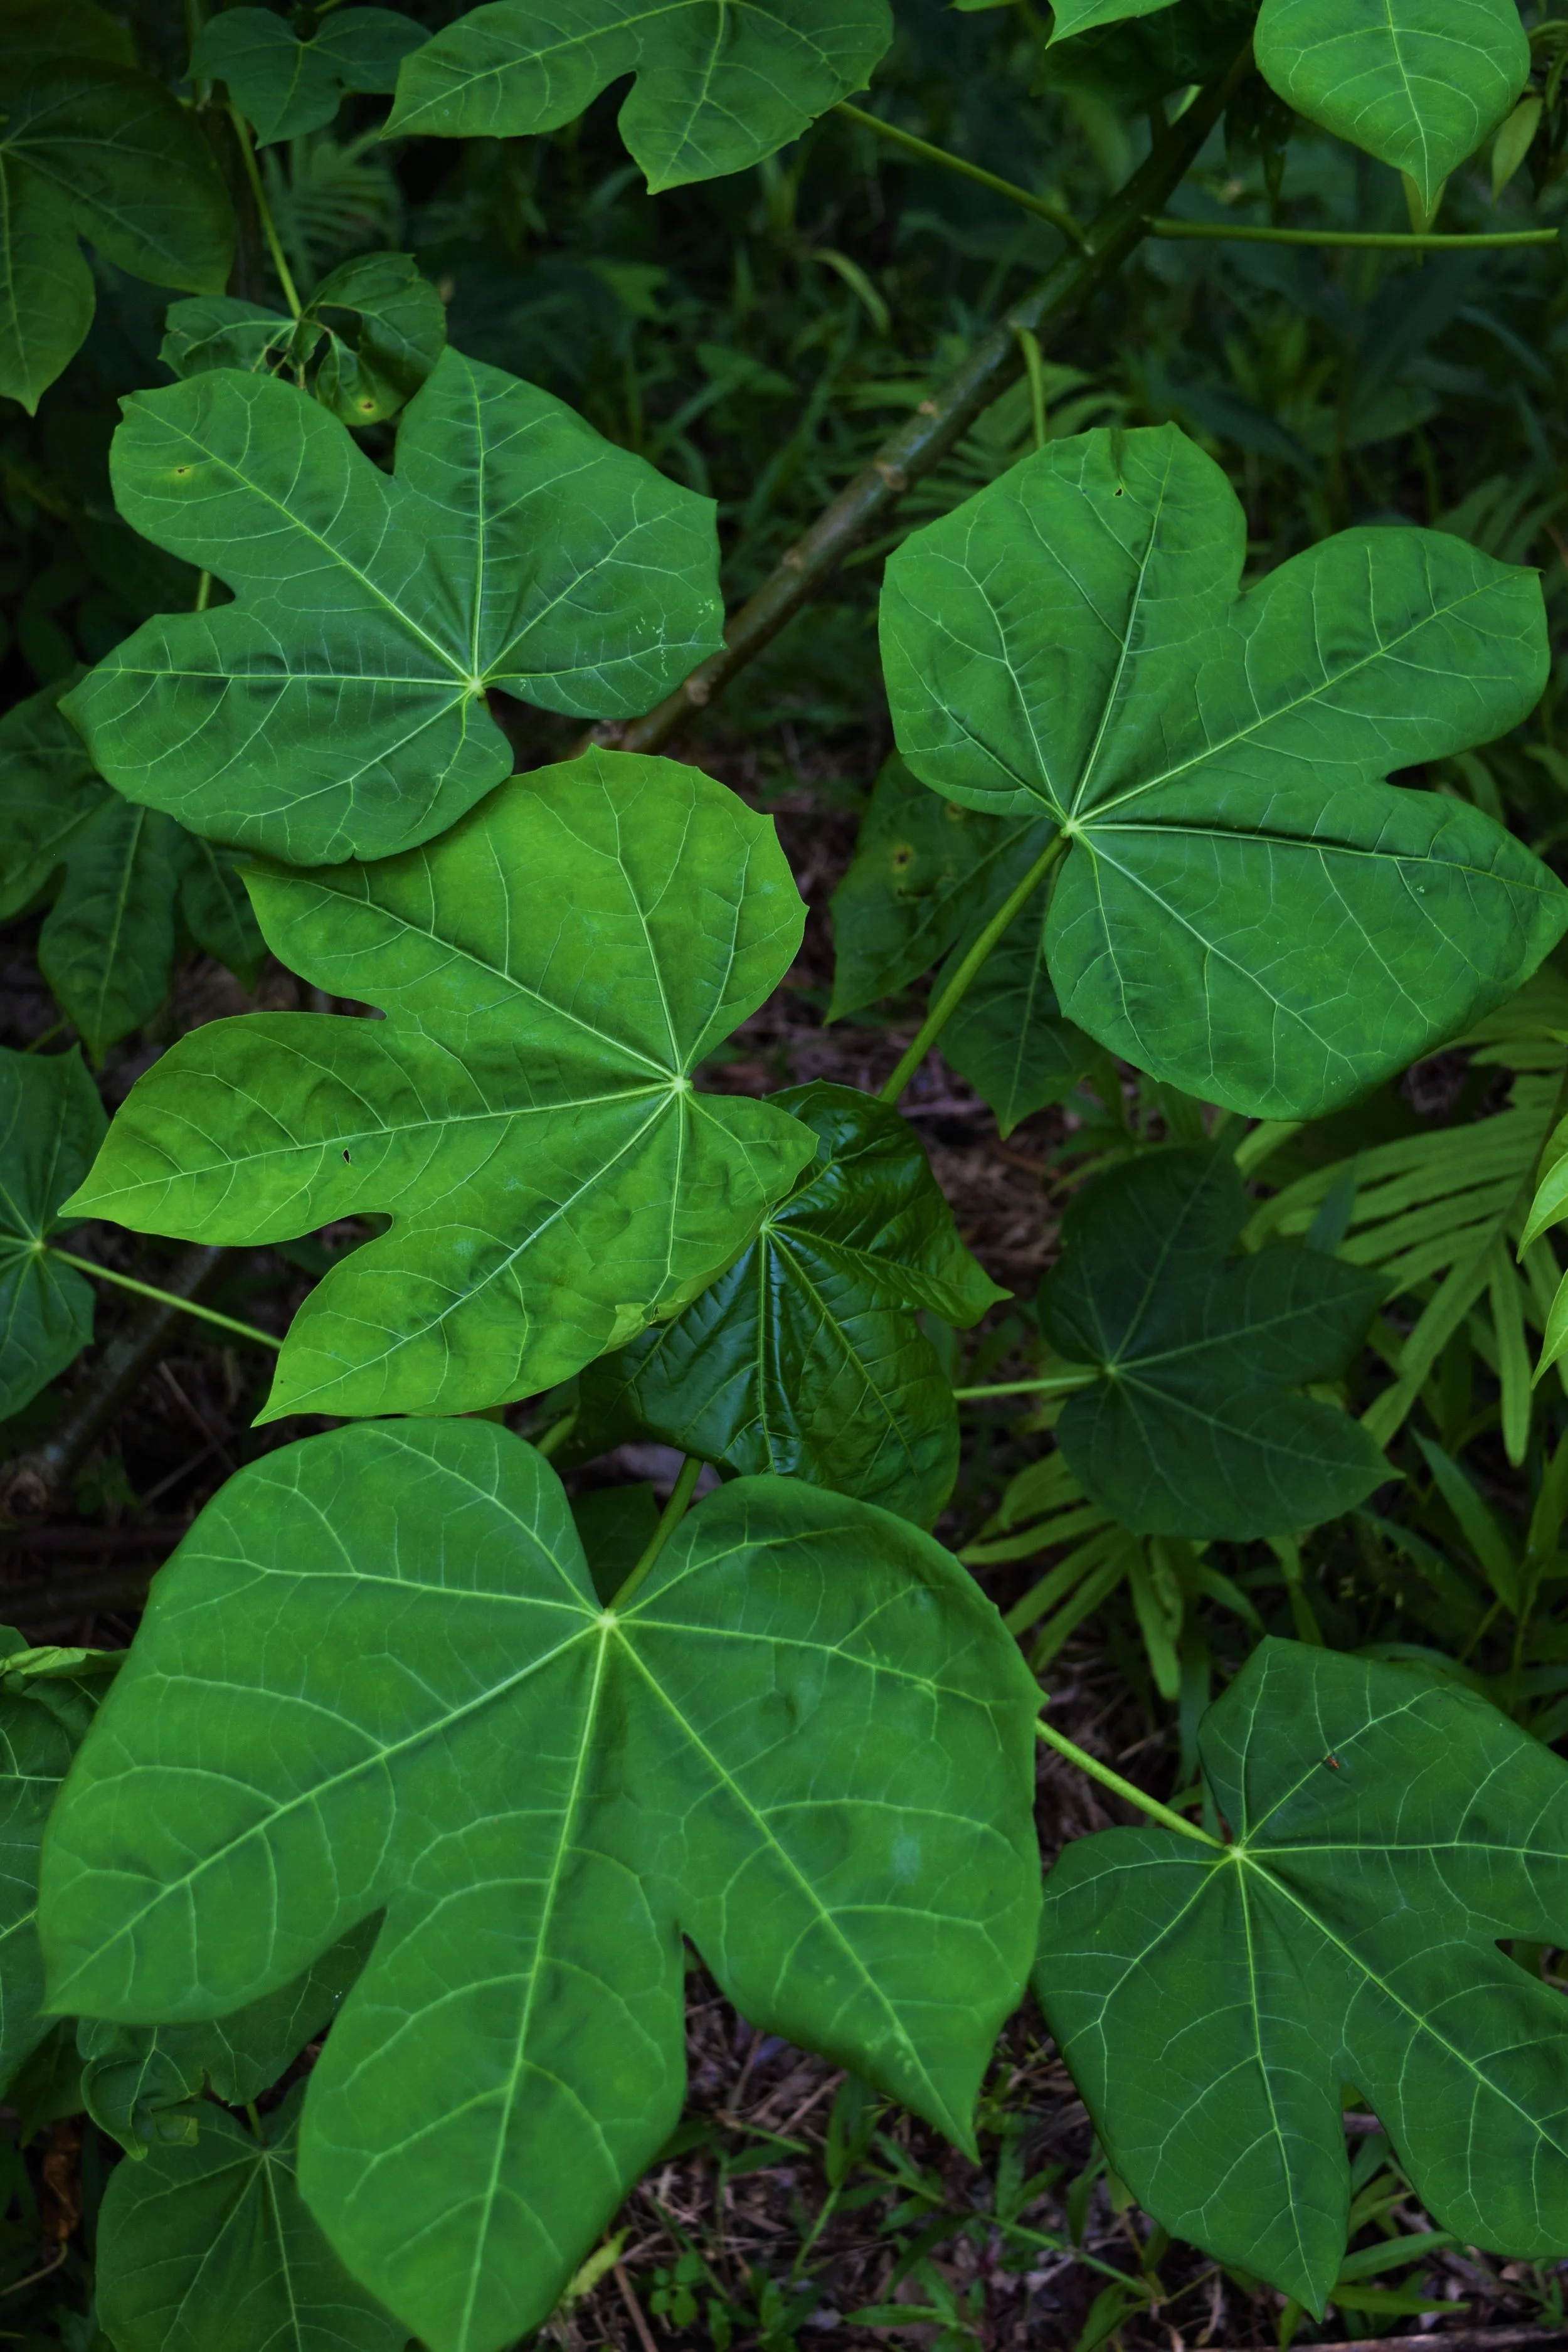
Chaya:
Also known as tree spinach this is an excellent perennial green native to Mexico. It's leaves are edible once cooked, like spinach. It's easy to propagate by cutting and loves the heavy rain.
Malabar spinach:
Malabar spinach is another heat and moisture-loving spinach-like green. The succulent leaves can be eaten both raw and cooked. We have only a few plants so we are trying to improve the population. We use a trellis to support its tendency to vine.
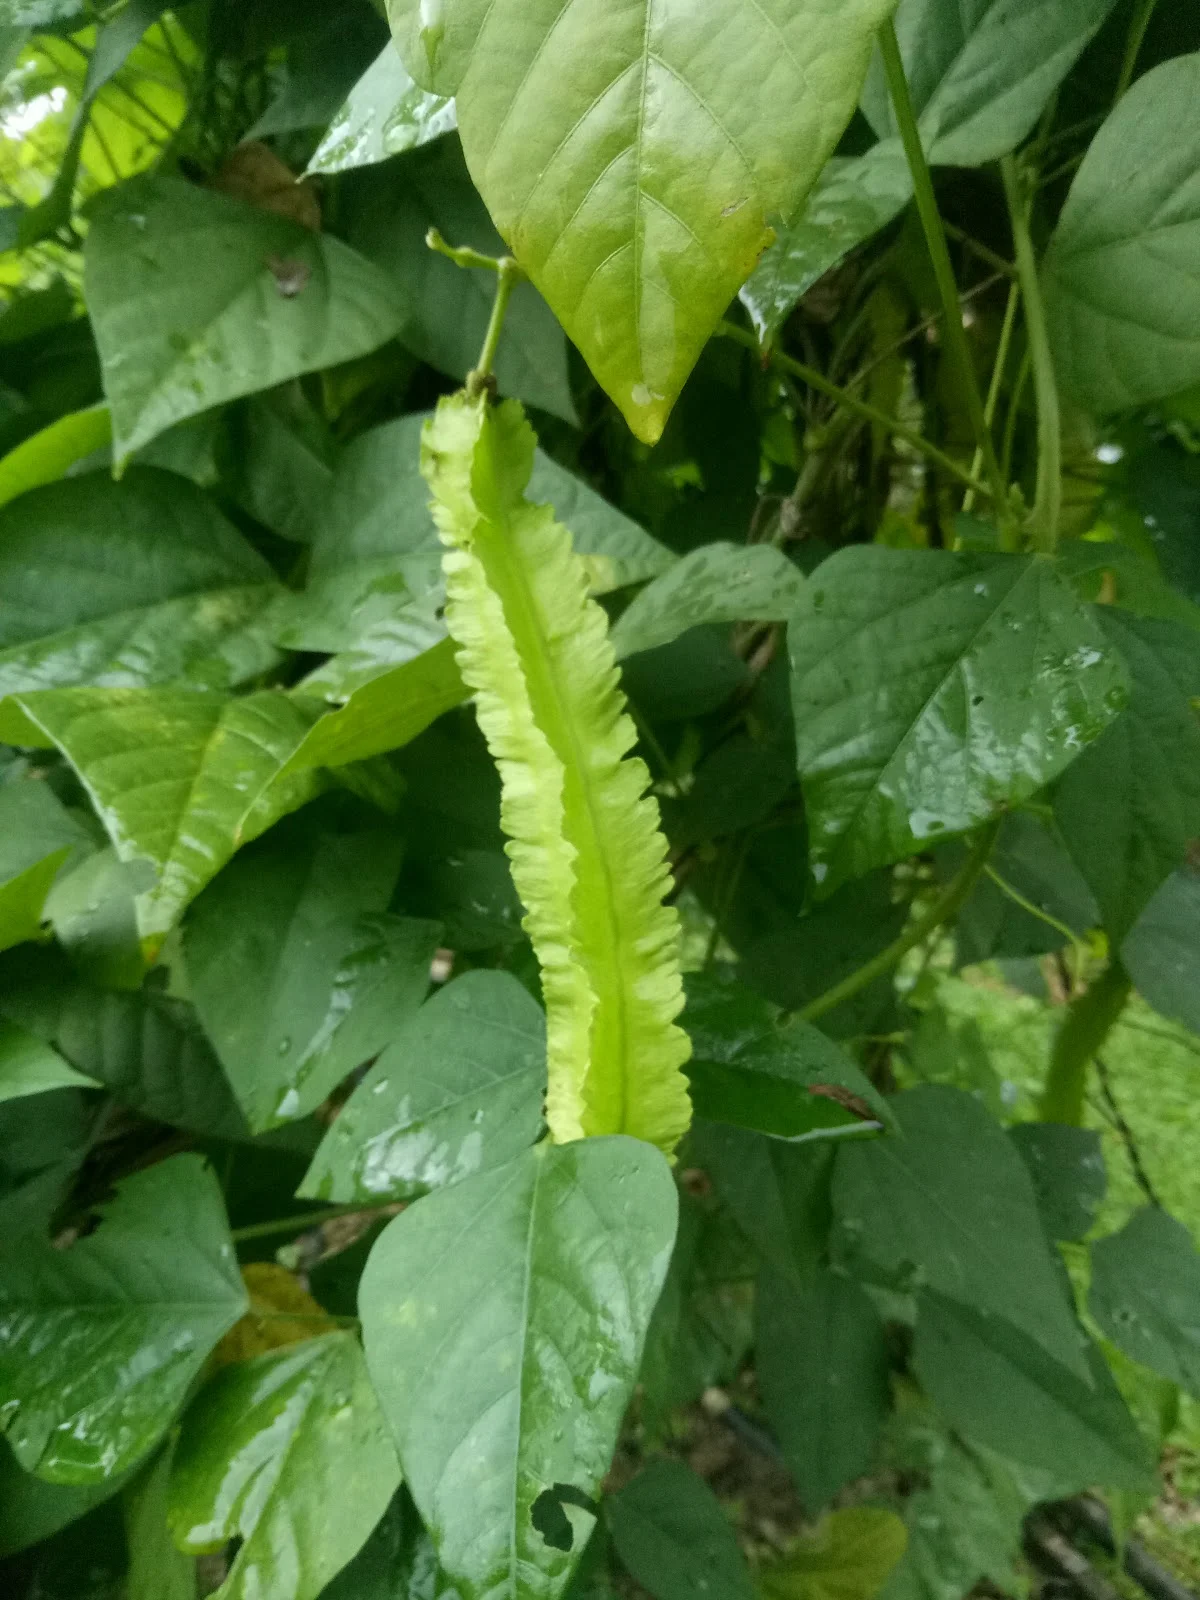
Winged bean:
Also known as Goa bean and princess beans, these are sweet protein packed vegetables that do well in heat and humidity. They can fix their own nitrogen when the bacterium Rhizobium is in the soil. They are best harvested young and tender, and great raw in a salad.
Other more delicate greens we are growing in our nursery as they don't require as much water, such as Arugula, mustard greens and Asian cabbages.
By having our covered nursery space we are able to grow things under cover that otherwise would not do so well outside, we are also experimenting with making some movable covered spaces for out outdoor garden beds….. we will update you with progress so make sure to Like and Follow us on Facebook & Instagram

Salak Pollination
As apprentices at Rancho Mastatal, we take on a Plant Skill, where we each are responsible for a plant variety in our agroforestry system. When we began as apprentices many of us wanted to avoid the Salak palm, as it has splinter inducing spikes throughout the stem and leaves. Following my intention to dive into challenges this year, I decided to take being caretaker of the prickliest palm on the Ranch.
Salak Pollination - dangerous work, with a delicious pay off
By Amy Dodds, 2019 Apprentice
As apprentices at Rancho Mastatal, we take on a Plant Skill, where we each are responsible for a plant variety in our agro-forestry system. When we began as apprentices many of us wanted to avoid the Salak palm, as it has splinter inducing spikes throughout the stem and leaves. Following my intention to dive into challenges this year, I decided to take being caretaker of the prickliest palm on the Ranch.
This is a breakdown on my experience, playing Cupid by pollinating this spiky palm!

Salak palm, or Snake fruit palm, originated from Indonesia, South East Asia. The main reason for planting in an agro-forestry system is that is produces a crunchy fruit that tastes like a tropical apple, which you can eat immediately after peeling the snakelike skin. It does well in humid lowland tropical areas, so is perfect for our climate at the Ranch. It is best to plant in a forest as an under story crop, especially as the young palms require heavy shade. They have superficial roots and therefore needs to be watered regularly, making it thrive in rainy season. Interestingly, pollination is most effective by hand. This can done by insects but is much more productive with human intervention.
While it may appear a harsh plant, I have found the Salak palm to be a rewarding plant to interact with. So far it has meant that every few days I get to go into the lush and cool Fern Gully and practice being mindful in the forest. I have to be slow and calm when navigating the spikes and surrounding orb spiders. And I get the joy of sharing the tasty fruit with my friends!
The main task is pollinating the female flowers with the male pollen at least 3 times a week. I am essentially playing matchmaker in Mastatal’s forest. Salak plants are either male or female. At the Ranch we have 20 plants, with the ratio of 3 females to males in our orchards. The female palms are the fruit producers. Their flowers develop in a hard pointy sheath, which you open with clippers once it becomes more hairy. This allows you to see when they develop a deep pink colour, meaning they are ready to receive the pollen. You can tell the male stamen is ready when they also become pink with small yellow pollen granules. I clip the male stamen at the stem and carry it carefully to the female flower, shaking the male spike on the ripe pink open flowers. Within a few days the flower should harden. If it becomes soft and dry pollination is unsuccessful.
When the fruit is ready it should fall off easily from the bunch. Taste can help indicate if it is ready - unripe Salak has a dry astringent flavour, whereas a ripe fruit should taste juicy and sweet.
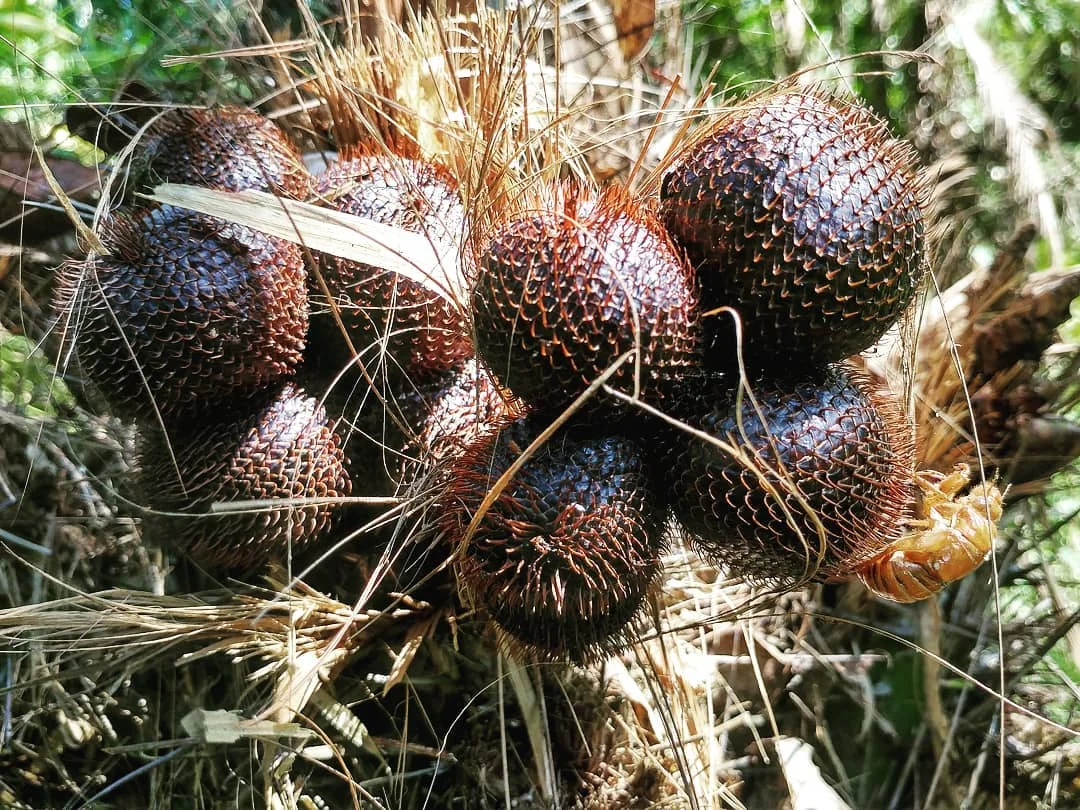
Included in the pruning process is clipping the suckers to prevent reproduction, pruning the leaves to keep only 4-5 mother leaves and removing any dead female and male flowers.
Other uses for Salak besides food production include using it as a hedge if you don't like neighbours or visitors. Or you can use it as an intimidating potted plant!
Overall this experience has been an important one to improve my permaculture skills of observation and interaction with this particular species. Plus it has become a mindfulness practice!
For more further reading on the propagation and care see our blog article on Salak.
Interested in tropical agro-forestry systems and their design, why not join us for our year long apprenticeship or check out some of our upcoming workshops

Using Mountain Microorganism to Create Organic Fertilizer
The need to cultivate a “living soil” that is full of microbes is something I hear frequently in the organic farming and permaculture world. As an apprentice at Rancho Mastatal this year, I have the unique opportunity to look further into the universe of these small and unseen allies. A way into this world was through the Ranch’s process of making organic fertilizer, one that harvests and inoculates the soil with Mountain Microorganisms (MM). This is similar to compost tea, where we create a fermented fertilizer with microorganisms such as manure.
By 2019 RM Apprentice Amy Dodds
The need to cultivate a “living soil” that is full of microbes is something I hear frequently in the organic farming and permaculture world. As an apprentice at Rancho Mastatal this year, I have the unique opportunity to look further into the universe of these small and unseen allies. A way into this world was through the Ranch’s process of making organic fertilizer, one that harvests and inoculates the soil with Mountain Microorganisms (MM). This is similar to compost tea, where we create a fermented fertilizer with microorganisms such as manure. MM differs from this by using forest soil and duff layer to create a fertilizer. You can create MM fertilizer anywhere in the world so long as there are forests in your area that has a healthy amount micro life!
In just the second week of our apprenticeship, the Ranch hosted guests from Ecogrecia, another local farm and research centre who are using MM. We were were privileged to get a demonstration of how we can cultivate our own indigenous microorganisms. I will detail this below so you can create your own MM fertilizer but first here’s a bit on the science.
There are many diverse living organisms that improve the soil ecosystem, these include invisible bacteria and fungi and visible worms and insects. A few of the benefits of fostering this micro-community include: aeration of the soil, making nutrients available, fix nitrogen and prevent pathogens. With this in mind we want to cultivate soil in our orchards that is full of microbial life.

Agro-forestry systems at Rancho Mastatal
Our main farming practice at the ranch is agro-forestry. This is essentially using trees with other crops to create an ecosystem that mimics the tropical rain forest environment of Costa Rica. Most forests need a fungal dominated ecology, while still needing bacterial organisms, for optimal soil. The “fungal to bacterial biomass ratio” needs to be 10 parts fungi to 1 part bacteria. Especially important is the mycorrhizal fungi that live closely with tree roots to allow the plant to take up nutrients and water. Therefore we want to harvest a fungal dominated fertilizer. In the past Rancho Mastatal has used manure fertilizers which work well for gardens and vegetables but are less tailored for forest soils, due to their high bacterial rate. This is where Mountain Microorganisms come in!
Mountain microorganisms was originally a Japanese practice that take forest leafs and soil from native forest within the land you are growing in to create an anaerobic ferment (without oxygen). I see this is as beautifully symbiotic as we are inoculating the soil with indigenous microbes from the local environment. We essentially take the mother culture which contains the diversity and variability perfectly suited for your local forest.
Mountain microorganism fertilizer is a better process for our agro-forestry systems, than say compost tea made from manure, due to the high fungal microbes available in our mother culture. Rancho Mastatal has been using the MM process consistently for 3-4 years and noticed improved conditions in their food forest.
One of the first steps in this process, which we did with our apprentice team and the crew from Ecogrecia, is going into the forest and gathering the local microorganisms to create our current solid fermentation. Around the large well established trees, we harvested leaves and sticks that are crumbly and breaking down. They have the delicious white mycorrhizal growth on them. Under the leaves we collect the soil that contains the visible fungi.
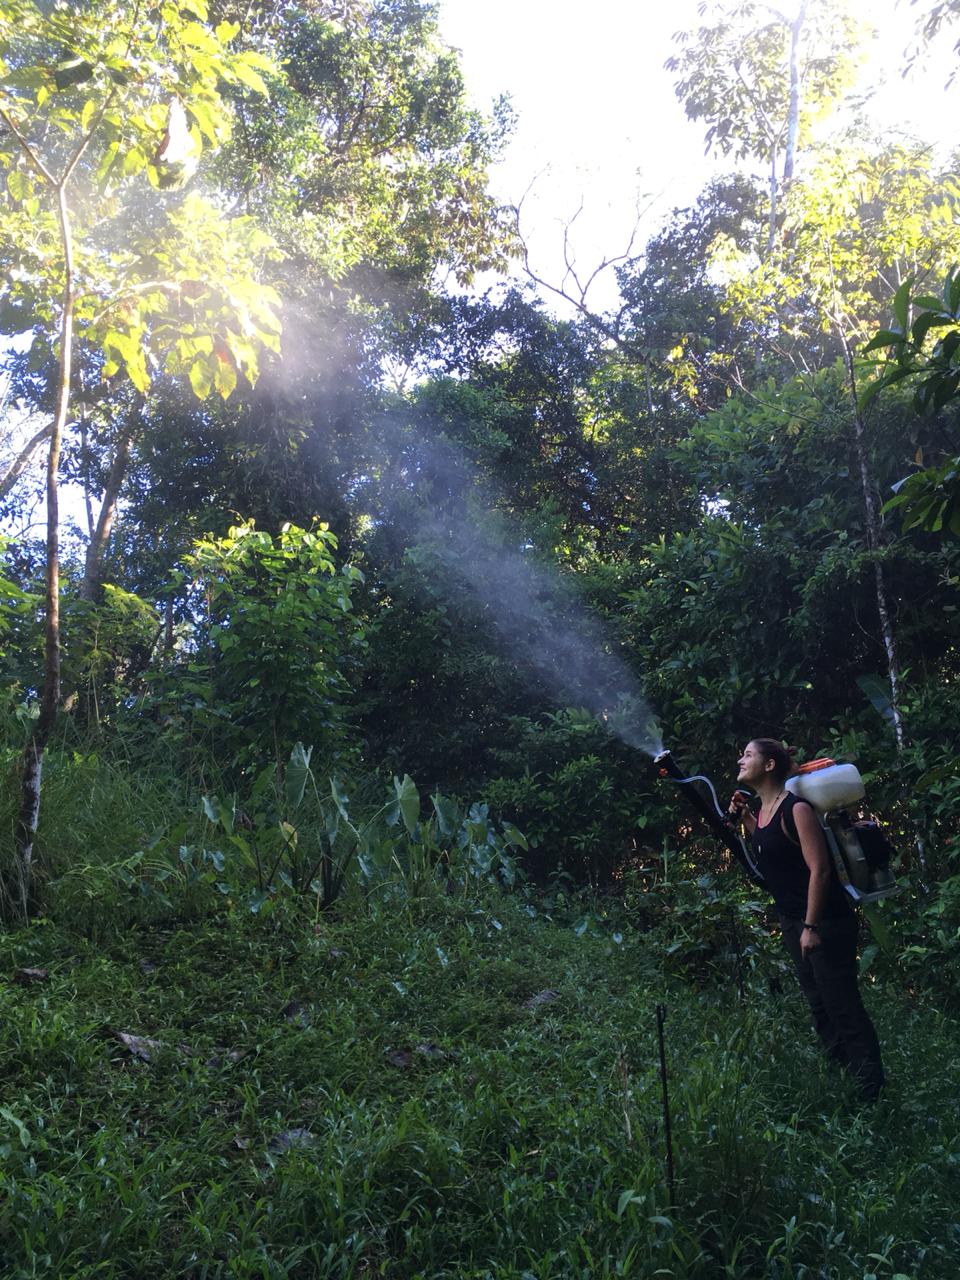
Spraying the orchards with an organic fertilizer
From this we can create a solid fermented product and then a foliar spray that will inoculate our soil with the microbiology that we need to improve our soil life. Once it is in foliar spray form we take our backpack sprayer once a week to our orchard trees. Below are the recipes for creating your own microorganisms:
Mountain Microorganism Recipe
MM Solid
3 sacks of Microorganisms
- This is the duff layer of brown leaves and sticks that contain the mycorrhiza
2 sacks of semolina
- This acts as the protein, other flour work such as yucca or green banana
1 gallon of molasses
- This is the sugar that provides the microorganisms with energy
- Alternatives include fruit or cane juice
1 gallon of water to dilute molasses
3kg of rock dust phosphate
55 gallon plastic drum to store (never metal)
Mix a layer of the duff with the semolina on a tarpaulin with your hands. Sprinkle the molasses and water over this as you are mixing layers of the duff and semolina.
Shovel the mix into your drum, while you have a friend stamp inside to compress and release any air (as this is an anaerobic ferment). Seal well and store for at least one month in the shade.
This lasts 3-4 years :)

mixing the the recipe above
MM Foliar Spray
5 kg MM Solid
1 gallon of molasses
55 gallon plastic drum filled with water
Add the molasses to the water. Use a screen sack to hang the MM into the liquid. Seal and let it sit for 5 days.
Use within 3 weeks.
When applying as a foliar spray, you can dilute with water. Make sure there is at least 10% MM liquid to be effective.
Inoculating the soil with micro-life is only one step in this process. Fungi thrive in high carbon environments so mulch, mulch, mulch! Watering and composting still need to be continued, especially in the tropical dry season.
Happy foresting and fermenting!
If you are interested in Permaculture and Agroforestry check out some of our upcoming workshops!
References:
Jeff Lowenfels & Wayne Lewis Teaming with Microbes: A Organic Gardener’s Guide to the Soil Food Web (2010)
Craig R. Elevitch & Kim M. Wilkinson The Overstory Book: Cultivating Connections with Trees (2001)
Phil Nauta Building Soils Naturally: Innovative Methods for Organic Gardeners (2012)
Scott Gallant Making Microbes: Fungal vs Bacterial Soil Life
https://permaculturenews.org/2016/11/14/making-microbes-fungal-vs-bacterial-soil-life/

Where to Buy Your Trees and Seeds in Costa Rica?
Ever have a challenging time finding your favorite plant in Costa Rica? Or wonder where to get supplies for a new greenhouse? What about organic pesticides? After nearly a decade working in country, our team has compiled a comprehensive list of nurseries, seed banks, botanical gardens, and farm/garden suppliers.
By Nic, Core Team
Costa Rica has always been a challenging place to source your materials, as more places are getting online though, it is getting easier and easier to find things that were once impossible.

We are delighted to be able to share with you some of our favorite places to buy grafted fruit trees, seeds and so much more
Gary Zill is one of the leading produces of tropical grafted trees in Costa Rica and the tropics. A must visit in Orotina area. Check his website out for more info
Peter Kring runs a fantastic botanical gardens in Puerto Viejo and has many rare and difficult to find grafted fruit trees. Check out his Facebook, he also sells fruits at the puerto viejo farmers market every week.
The La Garita area in Alajuela just off the pan american highway near the airport is a place with many many nurseries, it is probably one of the best areas to purchase your more commonly available fruit trees like mango and citrus, but they are unlikely to have any more niche trees like Durian or Salak. El Punto is one we have used in the past.
CATIE in Turrialba area has a large seedbank of cover crops, native trees, timber species and some fruit trees. you can contact them through their website for upto date info about what they currently have.
ICE, Costa Rica’s electricity company usually has stock of native trees and nitrogen fixers available for free for reforestation projects. They can be phoned for free on 800-VIVEROS (800-8483-767) for more info.
For local annual vegetable seeds, our friends at Semillas Plantae have a fantastic selection of organic seeds available in country that can even be delivered to your house!
At the Ranch we also have a small nursery with a variety of Nitrogen Fixing Species, grafted fruit trees etc.. Please contact us if you would like to know what we currently have in stock.
The Earth University also maintains an extensive nursery, David Guido can be contacted on +506- 8639-9928
Join us for our annual Permaculture Design Course to learn more about designing, implementing, and maintaining your own farm and project.
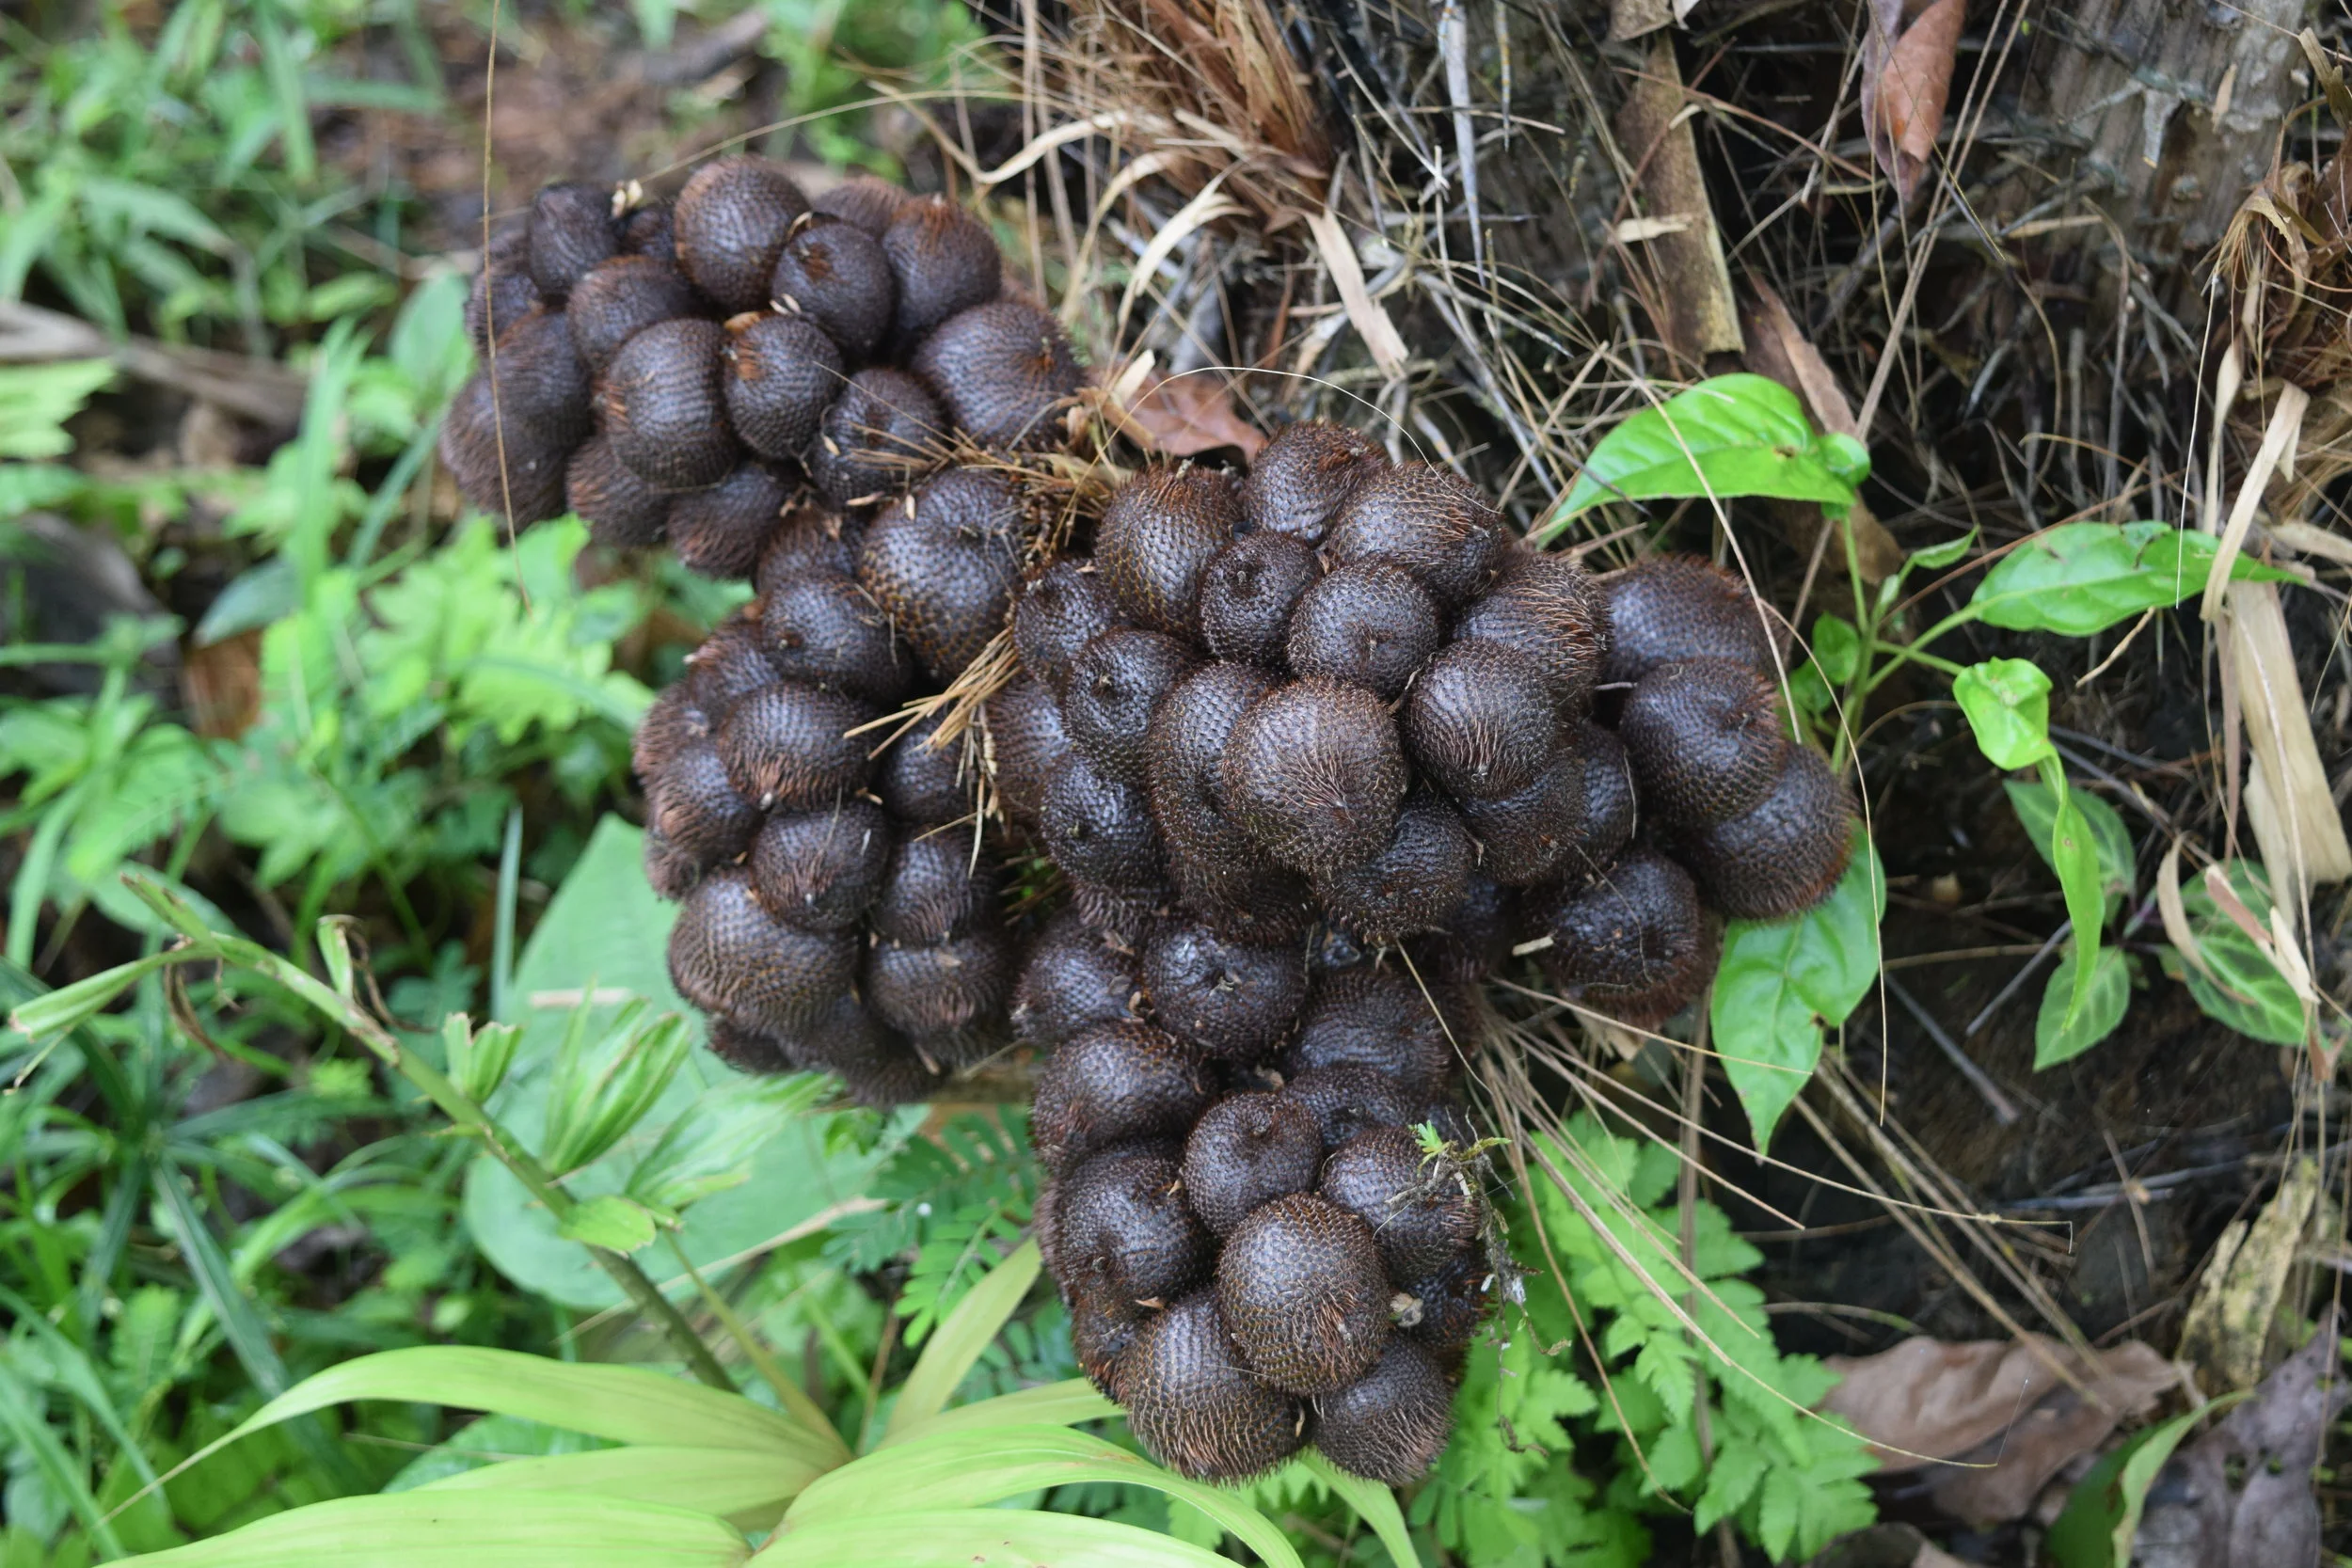
Salak Palm: A Guide for Tropical Permaculture
This article was originally published at the Porvenir Design blog.
Salak palm or snake fruit (Salacca edulis or Salacca zalacca) is a high value understory species for tropical agroforestry plantings. Salak palm is native to southeast Asia, where it is commercially cultivated in Indonesia, Malaysia, and Java, in their wet tropical lowland climates. At higher elevations the "Bali" variety can be grown. It produces a delicious fruit, eaten out of hand, with a taste similar to strawberry with an apple-like texture. The fruit transports well and can be stored at room temperature for a week with little degradation in quality.
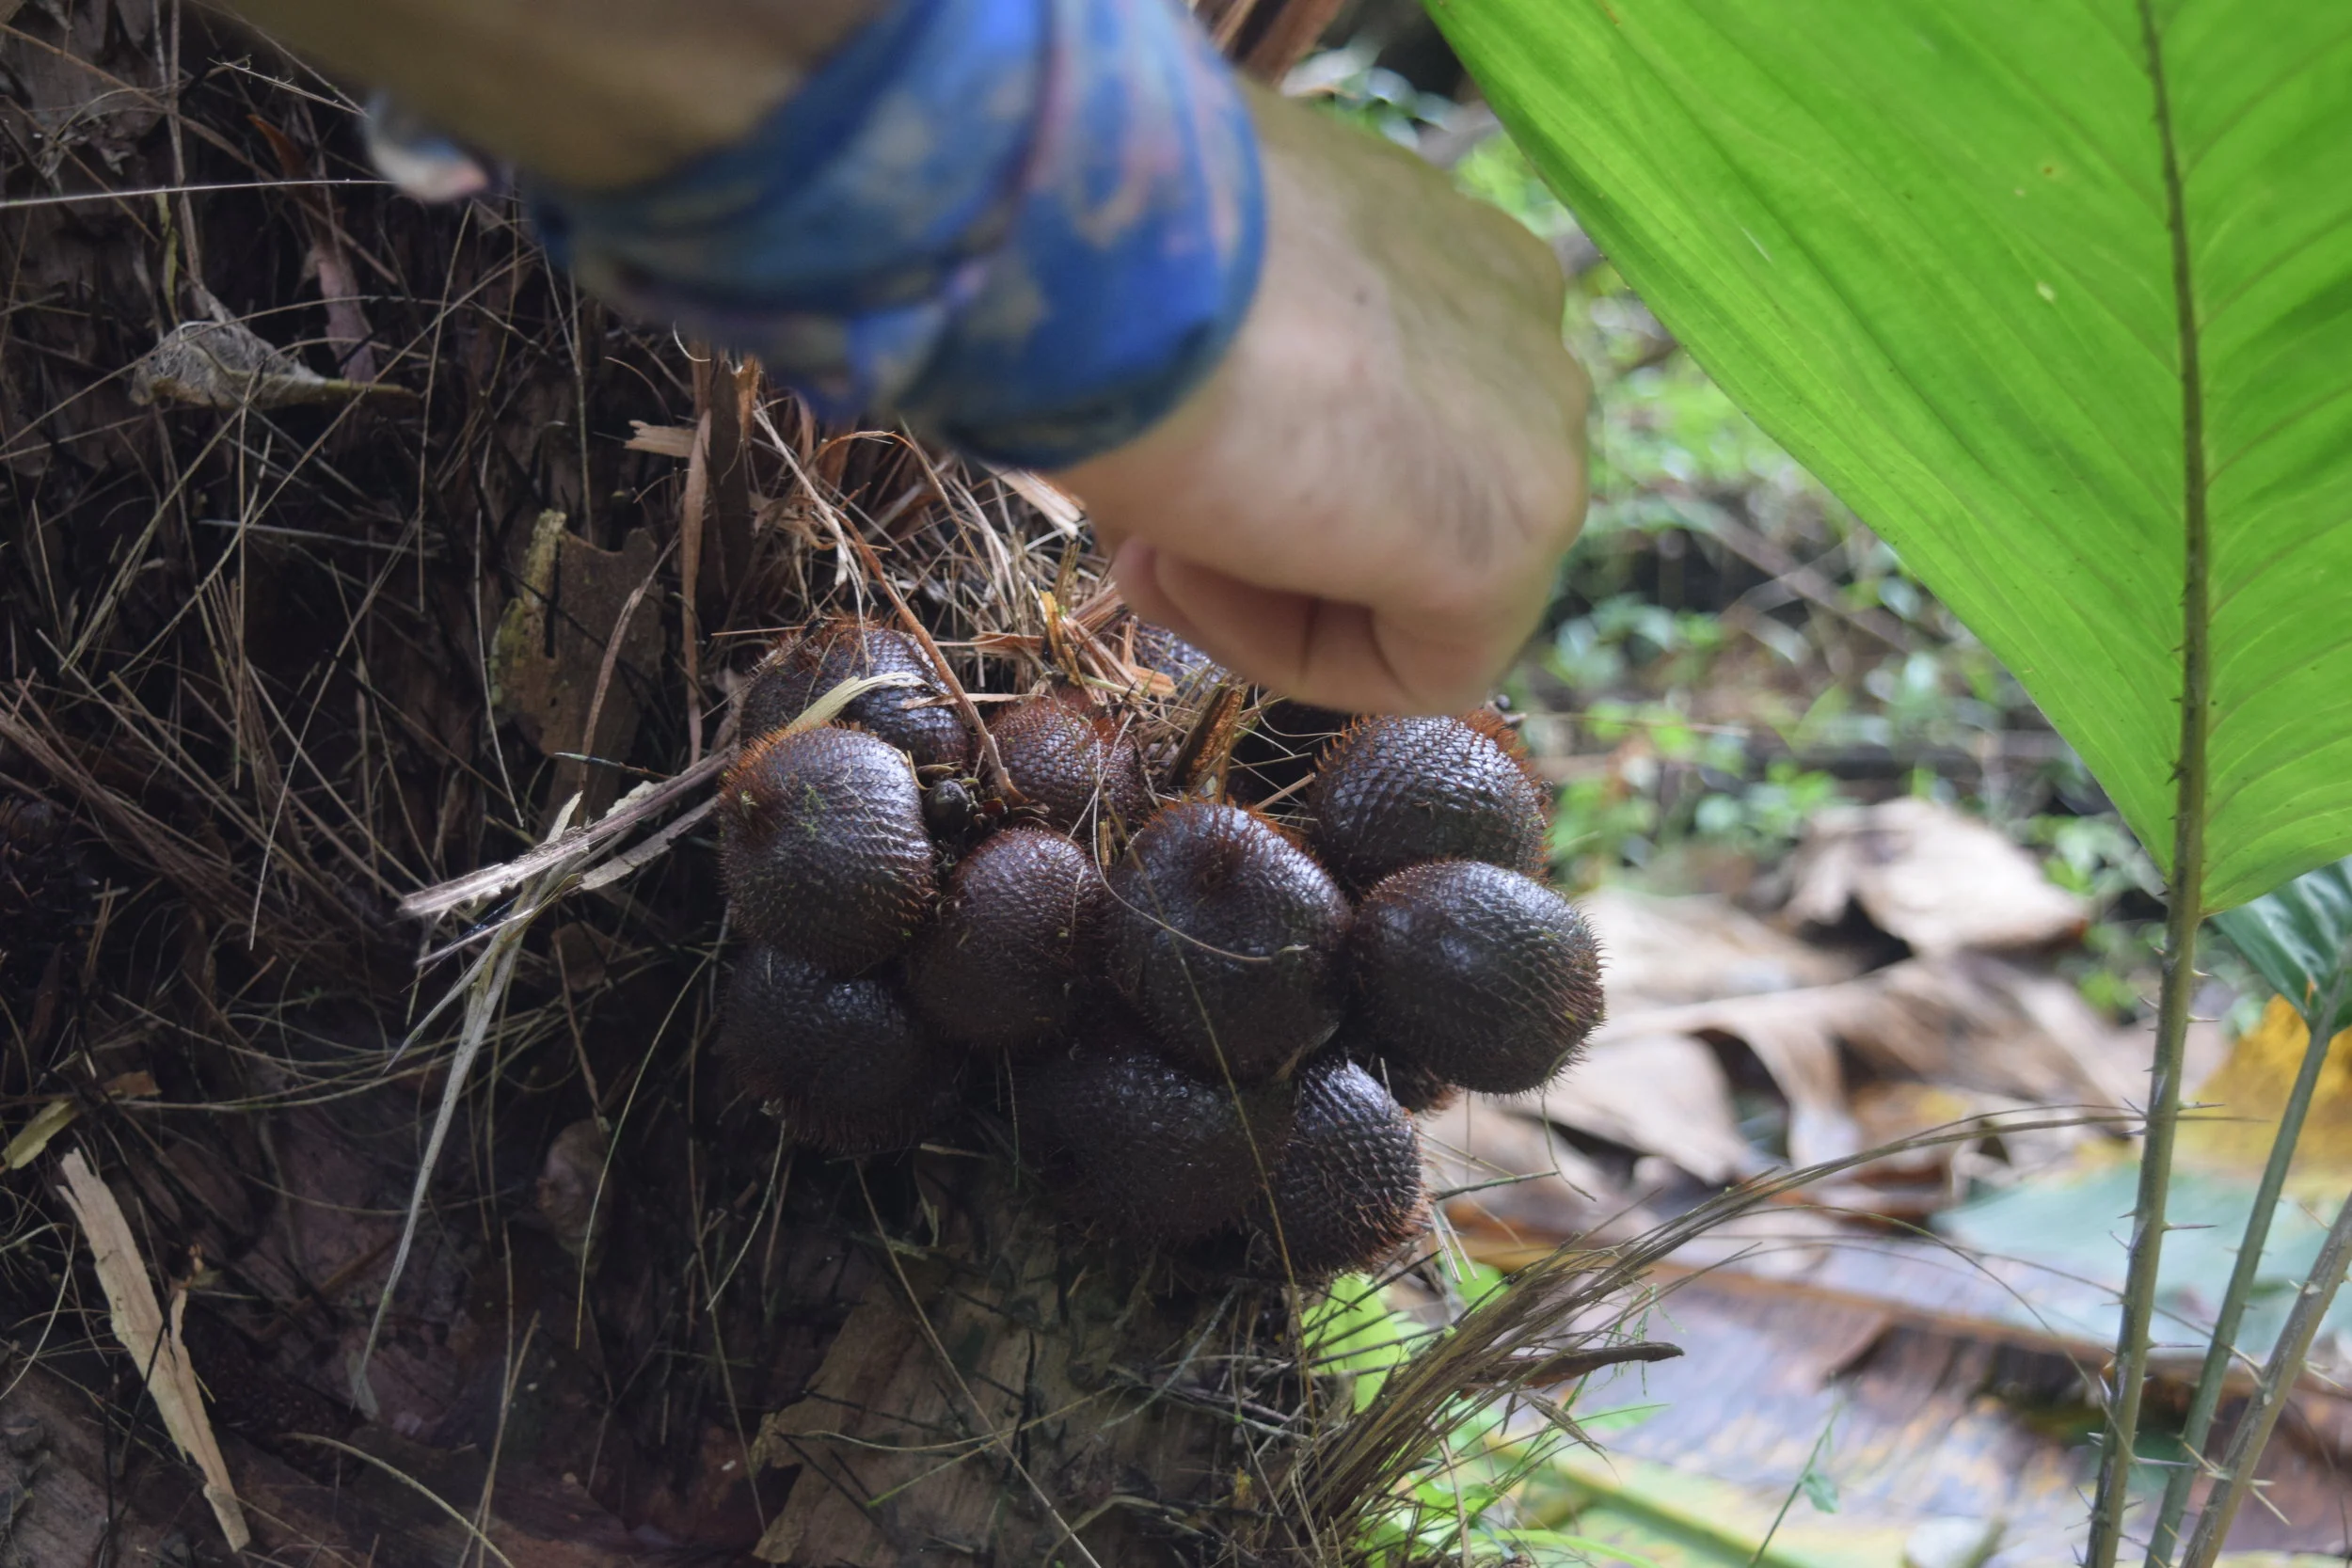
This article was originally published at the Porvenir Design blog.
Salak palm or snake fruit (Salacca edulis or Salacca zalacca) is a high value understory species for tropical agroforestry plantings. Salak palm is native to southeast Asia, where it is commercially cultivated in Indonesia, Malaysia, and Java, in their wet tropical lowland climates. At higher elevations the "Bali" variety can be grown. It produces a delicious fruit, eaten out of hand, with a taste similar to strawberry with an apple-like texture. The fruit transports well and can be stored at room temperature for a week with little degradation in quality.
This guide has been created based on the experience of growing a small number of plants, 30 palms, at Rancho Mastatal Sustainability Education Center in Costa Rica. It was created with the support of Peter Kring of Finca La Isla, a fruit farm in Puerto Viejo, Costa Rica, that has been growing and selling Salak fruit for over 20 years.
This short guide provides advice on propagation, planting and establishment, pruning and pollination management, and more.
Agroforestry Establishment
Propagation
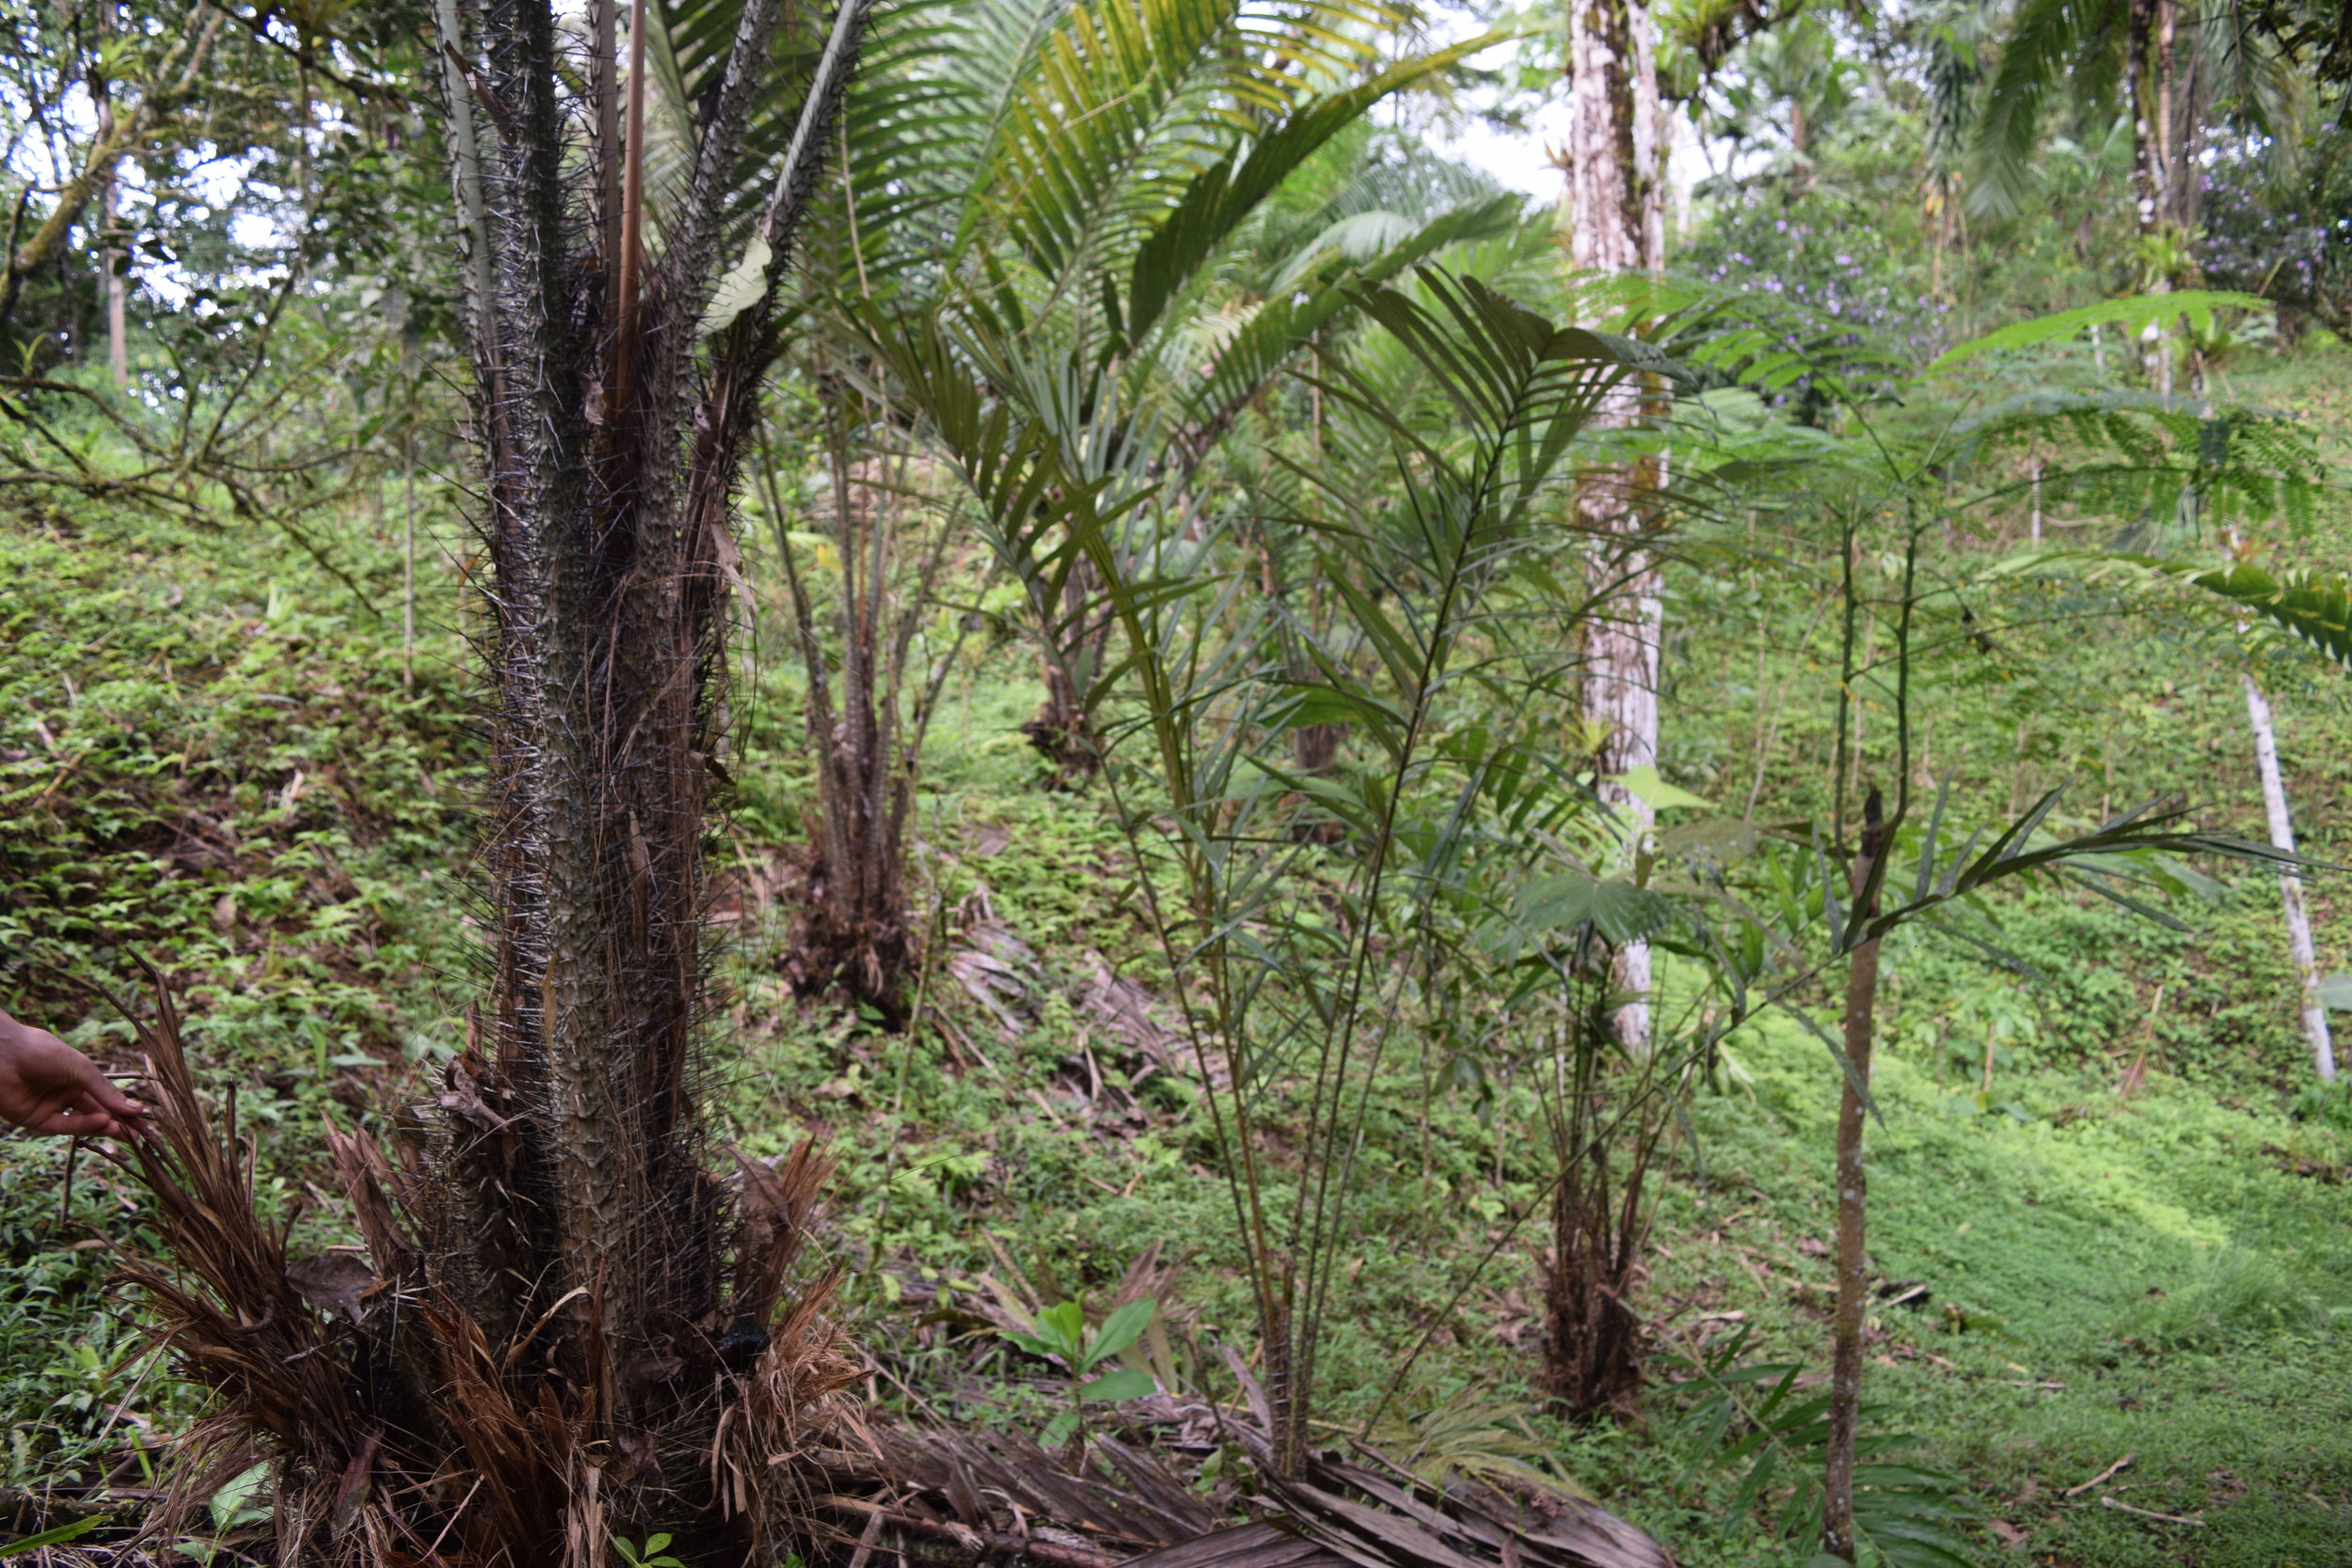
Salak palms are individually male or female and you need to have both for fruit production. There is no way to know if a seedling salak will be male or female until it flowers, some 3-4 years after planting.
Salak palm is easily started from seed. Seeds should be placed sideways and half buried in a well drained potting mix.
Asexual propagation, usually to increase female plants, is done through sucker removal. Soil should be mounded up around the base of the sucker. This allows the sucker to form its own root system. Then use a saw to partially sever the connection to the mother plant. This process should be repeated every few weeks over a two month period, until the plants are separated and the sucker has it's own root system. The sucker can be removed and placed in the nursery for further establishment.
Establishment
Once plants in the nursery have reached at least 40 cm in height they are ready to go in the ground. They should be planted at the beginning of the rainy season. The soil around the palm should be heavily top-dressed with biochar, manure, compost, etc and then mulched. Salak feeder roots will come up into this mulch.
Salak can be supported by additional species such as Musa sp, Gliricida sepium (and other legumes), and Tithonia diversifolia. All of these fast growing plants provide shade for the young palms and can all be pruned/chopped aggressively for mulch.
Guilding

These palms are traditional understory species in their native forest habitat of SE Asia. The leaves reach 5 meters into the air, but they are not a dense plant if pruned properly.
They are best planted under a canopy of fruit, nut, or timber species which are low maintenance and let through about 50% of the sun's light. This is a similar setting to shade grown coffee and cacao.
The spikey nature of Salak discourages overstory species whose fruit falls to the ground upon harvest or must be maneuvered around easily for harvest.
Layout and Spacing
Salak are dioecious, meaning each individual plant either produces female flowers or male flowers, although there are some varieties of Salak which are known to be self fertile. In order to balance pollination and production it is recommended to have 3 female plants for every 1 male plant in an orchard.
Individual palms should be planted 2.5 meters apart.
This 3:1 ratio and 2.5 meter spacing can be achieved in a number of ways. One can plant at 5 meters apart, divide suckers from sexed females and plant these in-between at 2.5 meters. Or one can plant out at the final spacing and thin out males, replacing them with divided female suckers.
Salak are best planted in the same vicinity because of there pollination needs.
Management
Pruning
During years 1 to 3 the palm should be minimally pruned. Only remove outer leaves that are dying. You want to encourage as much photosynthesis as possible while the plant is approaching sexual maturity.
Once the plants reach full size, 3 plus meters tall, and begin flowering you should remove all outer leaves. Leave 4 to 5 leaves, as part of the original mother plant. Remove any leaves that interfere with walking paths.
Don't let suckers develop unless you need them for propagation.
If flowers emerge between an outer leaf and the palm trunk, remove the leaf in order to expose the flower for pollination.
Cut leaves should be chopped into smaller pieces and placed in a pile that doesn't interfere with access or management.
The best tools for this job include loppers, a sharp machete and a pruning saw with a long blade or handle.

Pollination
Salak plants are either female or male and are pollinated by a number of native pollinators, including stingless bees. But these pollinators are inefficient, with only 10 to 15 % of flowers producing fruit. By hand pollinating Salak, you can easily achieve close to 100% pollination.
Female flowers are coned shaped and covered with a dense fiber sheath. As they develop over many months slowly remove their outer sheath. This will allow you to completely see the flower as it approaches maturity. Once removed from these sheaths the cone takes one to four weeks to open. Once open the flower reveals a deep pink color which is ready to receive the male flower.
The male flower needs little management. When pollen is available the flower also opens up and reveals a pink interior, although in a much subtler way. Usually the pollen granules are easily visible though and stingless bees are often indicators of a ready flower.
The male should be removed with clipperss and brought to the female plant, where it is used to "dust" the open female flower. This is best done in dry weather, which allows the pollen to fall out of the male flower with ease. It is wise to check your salak grove for receptive female flowers ever other day.
Within a few days the flower will harden up if it was successfully pollinated. If not it will become soft and should be removed. All dead flowers, male and female, should be regularly removed to encourage more flowering.
Harvest

Plants will begin to flower at three to four years of age.
To determine if the fruit is ready to harvest, try one from a bunch and see if the seed color has turned from white to brown or light brown. See color is the best way to determine if a fruit is ready to pick. It is best to try fruit from the base of the bunch. If the individual fruits fall off of the bunch, they are likely ready.
Pests, such as aguti, can compete for ripe fruit.
The fruit does not ripen off of the plant.
Time Commitment
We budget one minute per plant, 2 to 3 days per week, in order to meet all of our pollination, flower management, and pruning requirements.
In addition to this, time should be set aside a few times per year to provide mulch, prune support species, and add amendments (limestone, foliar sprays, manure, compost, etc).
Overall salak is a crop that gives back when you give it the attention it needs. If you are consistent about pollination, regularly prune the spare leaves, and give a little fertility, then they will reward you with one of the best tropical fruits you will ever taste.

Need Help Siting Your Salak?
The team at Porvenir Design is ready to come to your site and put stakes in the ground. Write us at info@porvenirdesign.com for more information.
Around the Permaculture World
Core Team member Scott is teaching two workshops in Monteverde at the Valle Escondido Reserve and Monteverde Inn during the month of November. Consider joining him for a 2 day Introduction to Permaculture or a 2 day Introduction to Agroforestry course!
Ranch friends at ViVerde in Grenada, Nicaragua are launching their internship program! They are looking for a Wood Working and Food and Fermentation Intern. Help them spread the word and find some talented folks to join their project!
Abrazos
The Ranch Crew

8 Tips for Starting your Tropical Homestead
You’ve just purchased your dream property in tropical Costa Rica. You want to grow your own food. You are anxious to get to work now, have bought some plants from a nursery you randomly drove by, and have a shovel in hand, but...where to start?
Most of our clients fall on either side of a spectrum of project implementation. Either they experience paralysis by analysis, overthinking every step, their confidence slowly eroding, or they dive in head first without any planning. Either way they hire our team at Porvenir Design to bring them to the middle. How can we take our time and plan while simultaneously moving forward with the energy and confidence that is required to see a project to completion?

8 Tips for Starting your Tropical Homestead
Originally published at the Porvenir Design blog.
You’ve just purchased your dream property in tropical Costa Rica. You want to grow your own food. You are anxious to get to work now, have bought some plants from a nursery you randomly drove by, and have a shovel in hand, but...where to start?
Most of our clients fall on either side of a spectrum of project implementation. Either they experience paralysis by analysis, overthinking every step, their confidence slowly eroding, or they dive in head first without any planning. Either way they hire our team at Porvenir Design to bring them to the middle. How can we take our time and plan while simultaneously moving forward with the energy and confidence that is required to see a project to completion? The answer revolves around good goal setting and thoughtful design. So as you look to set your goals and follow the permaculture design process, here are a few tips we’ve picked up over the years for starting your tropical homestead.
Consider Access First

Before you do anything: planting a garden, siting a fruit tree, digging earthworks; make sure you know how you will access that space afterwards. The most common reason for systems to fail is that they are difficult to access. It may be easy to plant those nut trees at the bottom of the steep gully, but walking and slipping and falling down that slope in the middle of the rainy season, year after year, will quickly erode your enthusiasm for those plants’ care.
Paths should be wide, 1.5 meters at least, allow wheelbarrow access if possible, and should only be lined with plants that will not interfere with your movement. Anything that makes walking on a path less desirable means that whatever is at the end of the route will get less care and be less productive.
Consider lining paths with mundo grass for erosion control and delineation. Plant species around the path that you can trim in the rainy season for more sunlight and let grow in the dry season for more shade.

No Bare Soil
Do not underestimate the power of the tropical sun and rain to erode exposed soil. Anytime that you find bare soil on your property, you should instantly be thinking about how you can cover that soil with dead or living mulch. This will lower the soil temperature, increase nutrient cycling, improve water retention and so much more.
A dead mulch is effective and can be anything from grass clippings to pea gravel to chopped banana trunks. A living mulch is even more effective. This is a cover of living plants, also called a ground cover, that perform specific functions. Good tropical ground covers include peanut grass, sweet potato, wandering Jew, Okinawan spinach, and many beautiful ornamentals.
Don’t Overestimate Your Soil Fertility
It is easy to think that with a little compost from the Ag store and some mulch that your garden will be rocking for years to come. Clearly plants thrive in the soil all around your site; the tropics are a prolific place. But that doesn’t mean your soil is high in nutrients, has a balanced pH, or has a healthy microbial population. Most of us buying land in the tropics are working with degraded hill sides that were formerly cattle pasture. This is not prime farm land. Many of the plants we want to grow will struggle in this soil. Don’t be surprised if your first tomatoes and cucumbers struggle.
Fortunately soil is the component of our ecosystem that we can change the fastest. By actively promoting microbial health, planting leguminous trees and shrubs, providing fungal biomass, and reducing erosion we can quickly turn a site’s soil productive. Soil fertility requires consistent maintenance.

Tropical Tubers and Perennial Greens
Speaking of tomatoes and cucumbers, don’t bother growing these outside in your first year. Instead focus on very easy to grow, nutritious local foods adapted to the common soil conditions and heavy rain fall. Our typical western style vegetables can be grown in the tropics but the pest pressure is high here and these crops haven’t been bred with the same defense mechanisms.
Focus on tropical tubers such as yuca, sweet potato, taro, and yam. Plant greens like chaya, Haitian basket vine, and zorillo. Learn how to prepare them for your kitchen and enjoy!

Never Stop Planting and Observing
Don’t be afraid to put plants in the ground. You will plant stuff in poor locations, but that's okay on a home scale. Its better to move forward than not at all. If a year later you don’t like a plant’s location, you can transplant it! Most plants in the tropics transplant well with little shock.
It is only through the act of observing your plants over time that you can learn from them. Through good observation and feedback you knowledge level will zoom ahead. You will begin to see the pollinators in action, understand the rivulets of water moving your mulch around, and become familiar with the seasonality of your tropical climate. If you consistently put time toward putting new plants in the ground, and observing them, you will quickly develop a lush and tropical feel to your site.
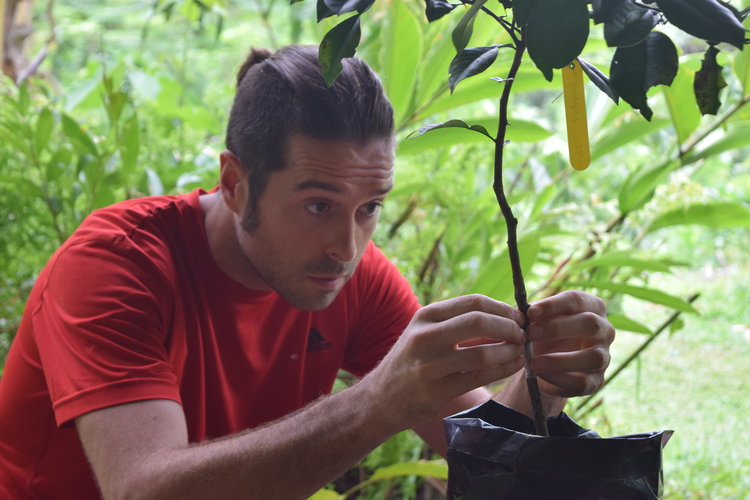
Learn to Propagate your Own Plants
Related to the previous tip, learning to propagate your own plants will save you time and money. It will accelerate the biological succession of your homestead. A lot of tropical plants propagate vegetatively from cuttings or root divisions. As you travel around the country carry a pair of garden clippers and a sharp trowel, and when you see a new plant you love, ask if you can take a cutting or division.
Set up a nursery right away on your property to accommodate all of these new plants. It should let about 50% of light through, have easy access to water for irrigation, and be protected from the wind. You can start plants in pots, bags, or simply till a bit of soil and mix in good potting mix materials, such as rice hulls, manure, and biochar, and plant directly into this new bed. This is your transplant bed. Once the rains arrive and the plants are large enough move them to their final location. This allows you to gather new plants before you have had the opportunity to site them.
Buy Grafted Fruit Trees
Don’t plant that seedling avocado or mango! Rather, invest the 10 to 20 USD and purchase a grafted tree. Almost all fruit you buy in the store, temperate or tropical origin, is born on a grafted tree and for very good reasons. A seedling avocado can take well over 10 years to produce fruit, while a grafted avocado will produce in year 4 or 5. A grafted tree is a guarantee of a high quality and consistent fruit.
Try to source these trees from nurseries doing the grafting themselves from root stock that is adapted to your soil and climate. Check the graft well before purchasing. Does it look healthy and secure? Don’t purchase trees with fruit on them in the nursery. This can be a sign of stress. But an investment in grafted trees will pay off.

Hire a Consultant
Consider this an investment. Any land use planner, landscape designer, or permaculture designer should be able to articulate to you how an investment in their services will save you time and money in the long run. What is the expected return on investment?
A simple day consultation should help you gain confidence to implement systems. It should allow you to set your priorities and put unnecessary projects on the back-burner. A larger master planning program should save you money by connecting you with the best experts or local resources, such as tree planting programs, and catching costly mistakes on paper before any shovel hits the ground.
A good designer will help you identify your goals and apply those to the landscape, resulting in a beautiful and productive homestead.
Porvenir Design
Looking for more than tips? Consider bringing in the Porvenir Design team for their expert advice!
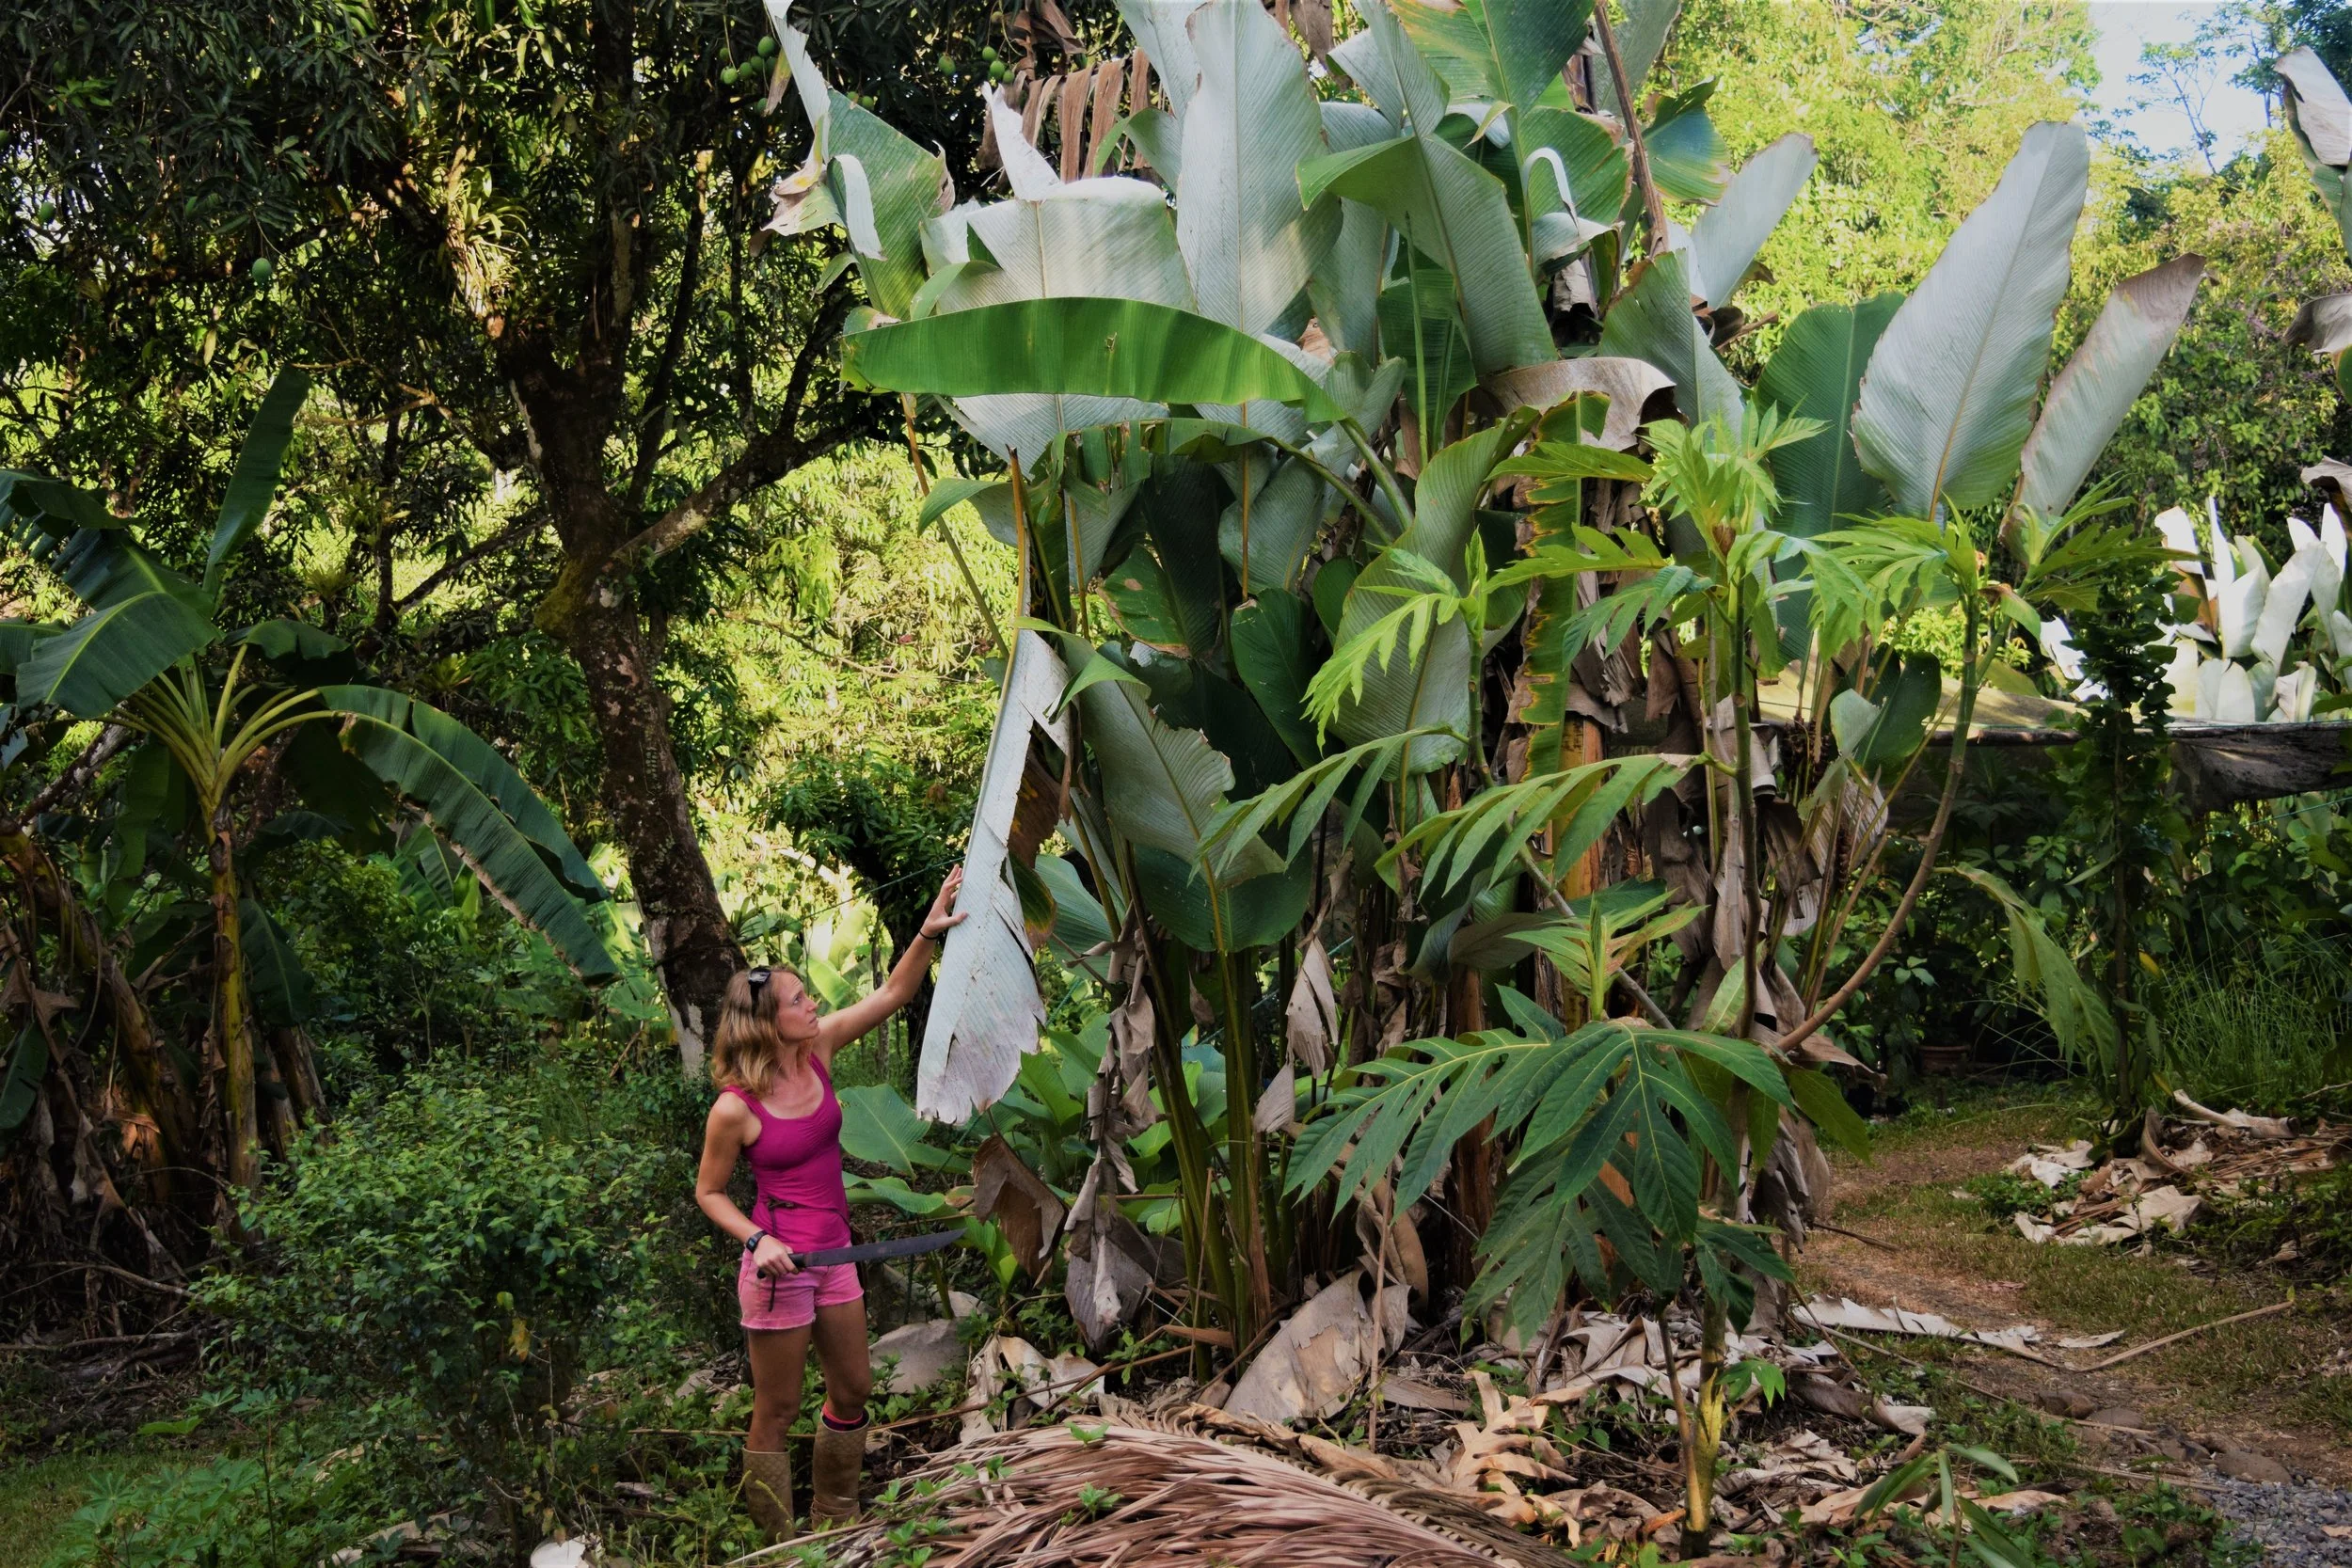
5 "Grow-Your-Own" Mulch Plants for the Tropics
This post was originally published by the ECHO Community newsletter and was reposted from the Porvenir Design blog.
The tropical forest is constantly self-mulching. After a walk in the woods I usually return with bits of leaves and twigs caught in my hair. Lying in bed at night, my partner and I often hear branches and even whole trees tumbling toward the great soil food web below.

This post was originally published by the ECHO Community newsletter and was reposted from the Porvenir Design blog.
The tropical forest is constantly self-mulching. After a walk in the woods I usually return with bits of leaves and twigs caught in my hair. Lying in bed at night, my partner and I often hear branches and even whole trees tumbling toward the great soil food web below. This self-mulching is one important piece in the self-renewing fertility cycle of the tropical forest. And of all the functions of the forest that we can seek to mimic, generating and applying our own mulch may be the most important.
Mulch has many familiar functions, like reducing soil temperature and maintaining higher moisture levels. But all of these means really flow toward one perfect end: feeding and housing the microbial soil community. It is this community that runs the engine which results in a healthy, happy, and abundant permaculture farm.
Grow Your Own Mulch
With this in mind I've spent years seeking out the best means for mulching our food forest. In the early days this involved traveling to neighbors' farms and loading the truck with banana trunks and rice straw. Unfortunately in rural Costa Rica, unlike many parts of the temperate world, there are not huge quantities of organic material lying around as waste, ready to be re-appropriated. Organic material, my future mulch, doesn't sit around waiting for the right farmer to scoop it up--here, the tropical rain and sun break it down rapidly. And local farmers generally re-purpose most waste products before they become, well, waste. We quickly found we had to find another solution for acquiring mulch. We decided to grow our own.
We began planting thousands of nitrogen fixing trees (NFTs) that could be chopped and dropped in place for mulch. This has worked great in general, but I've found that other plants not in the legume family actually far out produce most of these trees when it comes to biomass. I've come to believe that there is an over-emphasis on NFTs in the tropical permaculture community, and instead we should focus more on the biomass quantity itself. While I wish all of my mulch was rich in nitrogen, what I'm now seeking is weed suppression and moisture retention. Both of which take a hard stab at eliminating my least favorite activities, weeding and watering; all while moving us closer to the no-work permaculture ideal.
Top 5 Mulch Plants

For our climate, the low land humid tropics, these five plants are what I recommend to clients for growing prodigious amounts of mulch.
Cuadrado/Guineo (Musa sp)
A species sharing the same genus as bananas and plantains, cuadrados are generally considered a less domesticated crop. They grow rapidly, spread aggressively, propagate easily, and produce a delicious fruit that can be used in nearly the same way as plantains. In our corner of the world, they are considered a poor person's food, likely because they produced when nothing else did.
The trunks can be cut back multiple times per year and they will keep sprouting out of the same base. The leaves are slow to decompose, like many plants on this list, and provide excellent weed suppression.
In addition they are a great pioneer species; creating a shady microclimate for your more delicate climax species.
Torch Ginger (Etlingera elatior)
This huge ornamental ginger is a fixture in tropical gardens around the globe for its beautiful flower, huge leaves, and the dense shade they produce. It takes two years for this plant to take off, but once it does you have a steady diet of 4 meter long herbaceous stems and leaves ready for chop and drop mulch.
Torch ginger propagates by root division. One plant can be scaled easily into many more. It works well as a privacy barrier between lots or between public and private spaces. Don't chop it completely to the ground but consistently remove older stems with a clean cut near the base of the plant.
Vetiver (Vetiveria zizaniodes)
Vetiver grass, already in the tropical permaculture lexicon for its use as an erosion control species, is also a great multi-functional mulch plant. It is a bunching grass, with a deep root system. It doesn't produce seeds and thrives in full sun on recently disturbed sites. Where it gets plenty of water and sun, the grass will grow to reach two meters in height.
It can be cut back to 30 cm two to three times per year. The mulch is dense and slow to break down. Use a nice set of hedge shears, a sharp machete, or a weed trimmer with a metal blade attachment for cutting vetiver. Use gloves as the grass can easily cut an exposed hand running along the edge.
It is propagated easily by root division. Keep young plants free of weed competition for two years and they will reward you with prolific growth and biomass.
Mexican Sunflower (Tithonia diversifolia)
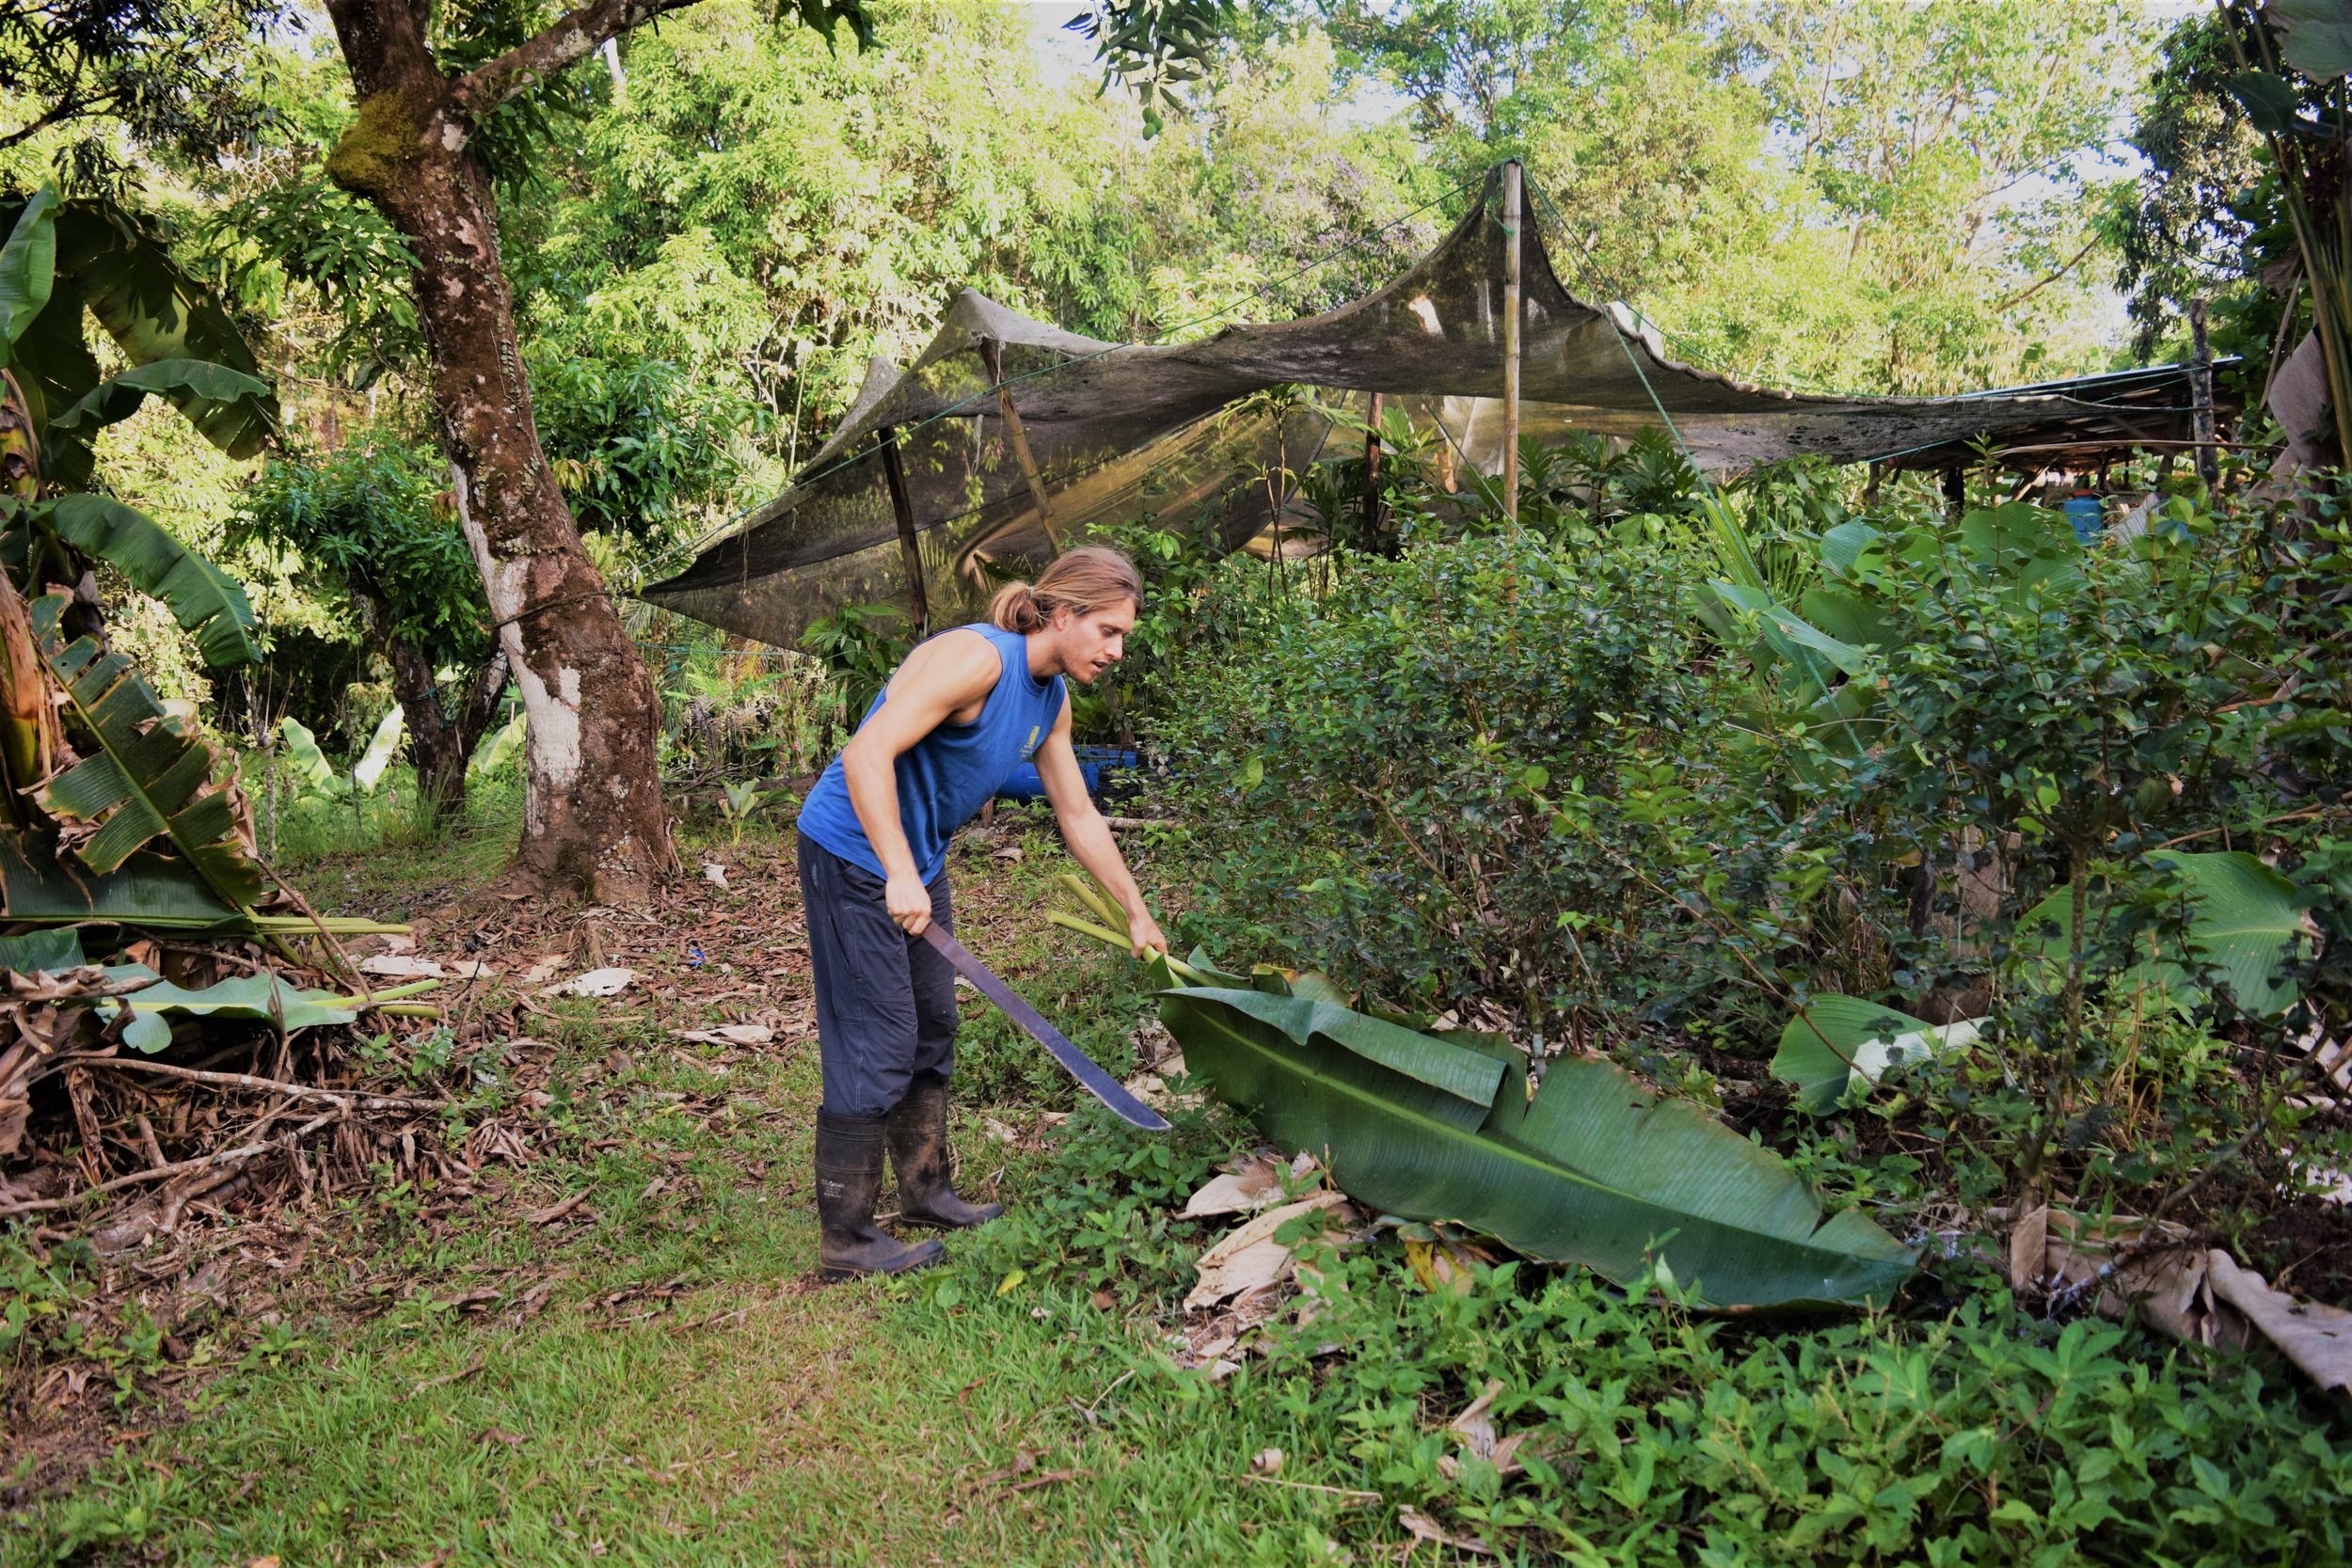
This wild sunflower, also known as Boton de Oro, is a woody shrub reaching up to 4 meters in height. It is gaining traction in the tropical agroforestry community for its use in silvopastoral systems and as a green manure. It makes a great cut and carry fodder for cattle and goats throughout the dry season.
The Mexican sunflower easily propagates by cuttings and loves full sun, where it throws out a beautiful flower throughout the dry season that support a host of pollinators. It purportedly, like sunflowers, has the ability to accumulate phosphorous in its leaves and stems. This would be a nice addition to any mulch pile. Hack at the plant with a machete or clippers with little fear or taking too much off. It has a strong coppice response, providing a steady supply of woody mulch.
More research is needed on this support species, as it appears to be an important addition to our agroforestry plant matrix.
Bijagua (Calathea lutea/crotalifera)
This large herb reaches nearly 3 meters tall and has 1 meter long leaves. It loves wet, marshy sites, where it can quickly take over if not managed. It is common along the road side of the lowland tropics throughout Central America.
Bijagua produces a massive quantity of leaves throughout the year, which have a waxy coating that slows their decomposition, making them ideal for weed suppression. Their flowers are great for hummingbirds and other pollinators, and the leaves have historically been used for thatch roofs, to wrap tamales, and of course as quick umbrellas.
They do produce seeds, which are dispersed by birds, but are mostly propagated by root division. You can chop them down to the base completely and they will shoot back new leaves in record time.

Patterns for Mulch Species
There are a number of patterns worth recognizing that nearly all of these plants complete:
They are propagated easily by division or cutting.
They have large, slow to decompose leaves that keep the soil covered longer.
They don't produce seed, so they have a very low invasive potential.
They grow quickly, acting as pioneer species, and changing the microclimate around them.
They are easy to chop because they are herbaceous.
They hold their leaves throughout the dry season which help shade the soil during the hottest months of the year.
As you look for mulch and biomass plants in your own climate, look back at these patterns as guides. They might lead you to the next ah-ha moment and jump start the success on your site.
Around the Permaculture Universe
The Ranch has a wonderfully full workshop schedule ready for you in 2018. First time Japanese Plastering and Japanese Fermentation workshops mark an exciting addition to our normal staple workshops on Permaculture Design, Fermentation, Wilderness Medicine, and Renewable Energy.
Ranch Core Team member Scott will be speaking this labor day weekend at the Cincinnati Regional Permaculture Convergence. If any Ranch friends and family are in the area, we highly recommend you come for a visit.
Former Ranch PDC student Antu Vilches-Cabrera is opening a permaculture center in the Dominican Republic and crowd funding to help with the establishment. Please check out his excellent work and consider supporting!
Abrazos
The Ranch Crew

Making Microbes: Fungal vs Bacterial Soil Life
Organic gardeners and farmers understand the need to cultivate and protect soil microorganism life. The strategies to do this involve mulching, composting, and avoiding soil disturbance as much as possible. We know that these strategies, in addition to many others, encourage a healthy soil-food-web.

Organic gardeners and farmers understand the need to cultivate and protect soil microorganism life. The strategies to do this involve mulching, composting, and avoiding soil disturbance as much as possible. We know that these strategies, in addition to many others, encourage a healthy soil-food-web.
The soil-food-web is the interconnected matrix of invisible (fungi, bacteria, protozoa, nematodes) and visible (earthworms, beetles, arthropods) creatures that have a whole host of functions which create a healthy ecosystem for plant growth. They aerate the soil, decompose organic matter, make nutrients available, prevent nutrient leaching, break down toxins, protect plants from pathogens, fix nitrogen and so forth.
What we can take away from this bit of knowledge is that we want these organisms operating on our garden or farm. The best way to do this is by creating the habitat and food they need in order to thrive. This seems simple, but it quickly becomes complicated when we explore the details.
Each of these organisms does better with different food sources and each of them change their environment in different ways. In addition each species of plant we are growing thrives in different soil environments; apples and arugula have evolved very differently and the more we can support their evolutionary requirements the healthier the plants will be.
That becomes our starting point; where we ask:
What type of soil environment do our crops desire?
How can we then encourage the specific type of microorganisms to create that environment?
Fungal-Bacterial Ratio
Here at the Ranch we are growing tree crops, which as I've written in this blog before, thrive in an environment that mimics the forest ecology surrounding our orchards. One measure we can use to understand this ecology is the fungal to bacteria biomass ratio (F/B).
This is a measure of the portions of the microbial biomass, ie. all the living organisms in the soil, that is fungal vs that which is bacterial. The F/B ratio is primarily used to study the impact of human land disturbance on the soil-food-web. It can therefore also be used to determine what individual plants desire. For example annual grains and vegetables like a ratio of 0:3 to 1:1 and orchard trees thrive in 10:1 to 50:1 soils
Depending on the types of crops we are growing, again in our case tree crops, we may want to alter the dominance of fungi or bacteria in our soil. These microorganism, particularly fungi, are quite sensitive to changes in land usage, therefore we need to understand how different techniques affect this ratio and why we want the ratio to be high or low in the first place.
Ecosystem Mimicry
Forest soils have a higher fungi to bacteria ratio. Looking at quantities of each, as measured in a teaspoon of soil, we find that bacteria remain steady in quantities through the spectrum from agricultural soils to prairie soils to forest soils. In one teaspoon of soil there are 100 million to 1 billion individuals. Fungi, measured in yards of hyphae, though increase significantly along this spectrum. In agricultural soils they are measured in several of yards, while in deciduous forest soils hundreds of yards are found, and in coniferous forest this actually increases to miles.
Fungi love high carbon materials, think cellulose and lignin which are the primary building blocks of tree leaves and wood. Most bacteria struggle to break this down. Bacteria instead thrive with high nitrogen food sources, think manure, incorporated cover crops, etc.
We can gather from this how different gardening and farming techniques affect this ratio. Fox example mulching with wood chips encourages fungi, tillage kills fungi and encourages bacteria, and incorporating organic material into different soil horizons shifts the ratio toward bacteria.
Mineralization/Immoblization Balance
This makes it apparent as well that fungi and bacteria have different roles in the soil-food-web. Fungi are better are taking in and retaining nutrients as part of the mineralization/immobilization process. This is the process where microbes consume nutrients, thereby immobilizing them in their bodies and preventing nutrient leaching.
As they live their lives, producing waste and eventually being consumed further up the food chain, these nutrients re-enter the soil-food-web in a form that is soluble to plants. This is called mineralization. Fungi and bacteria are immensely important to different stages of this process and are each most effective depending on what they are being feed.
Knowledge to Practice
In our orchards we want to cultivate an F/B ratio between 10:1 and 50:1. There are many ways for us to work toward this goal, the simplest being understanding the ecology of fungi and providing the necessary shelter and food source. We do this by consistently mulching our trees with woody materials.

We can get more specific in the process by cultivating our own indigenous microorganisms from the forest and inoculating them directly into our orchards. This practice is called Mountain Microorganism (MM). We have been applying MM to our orchards consistently over the past year in order to shift our F/B ratio higher and gain the benefits, such as pathogen control, that these microorganisms provide to the native forests.
Next steps for us in this process is to use our microscope to analyze the biological content of our soil. With the proper training and experience we expect to be able to determine rough F/B ratios in both our soils and the MM we are applying as a foliar drench. We will be sure to let you know what we find.
For anyone interested in making their own microbes, below is the recipe we use. If you would like to learn more about this process you should consider joining us for our upcoming Permaculture Design Certification course in April/May of 2017.
Mountain Microorganisms Recipe
Phase 1: MM Solid

Ingredients
3 sacks microorganisms (duff layer of primary forest)
2 sacks semolina, yuca flour, or green banana flour
1 gallon molasses, cane juice, or fruit juice
1 gallon water
Instructions
Spread a layer of duff on a top and cover with a layer of semolina. Mix well with hands. Dilute the molasses with the water and sprinkle on top as you continue to mix. If you grab a fistful of the mixture it should be lightly damp and fall apart easily after you squeeze it.
Next, have someone stand in a 55 gallon plastic drum (never metal), while you shovel the material inside. As you shovel, the person stamps the mixture down with their feet to compress it and remove any air pockets. Seal the barrel and leave at least one month, stored in the shade.
The mixture should be good for three years. When ready, it should have a strong smell of lactic acid.
Phase 2: Liquid MM

Ingredients
5 kilos MM Solid
1 gallon molasses
55 gallon plastic drum filled with water
Instructions
Mix the molasses into the water. Put the MM into a screen sack and let hang in the water. Seal the drum and let sit 4 days.
Between day 4 and 15 this can be used as a foliar spray (between 10 and 100% ratio to water). After 15 days use the MM as a soil drench and after three weeks the product should be fully used up.
Once you have used the MM Liquid, you can make one more batch with the same sack of microbes. Just add 1 gallon molasses and refill the drum with water.
References
Lowenfels, Jeff, and Wayne Lewis. Teaming with Microbes: The Organic Gardener's Guide to the Soil Food Web. Portland, Or.: Timber, 2010. Print.
"Soil Health." Soil Health. N.p., n.d. Web. 15 Oct. 2016. <http://www.soilhealth.com/>.
News from around the Permaculture Community
Matt Duffy, from our 2015 PDC, wants to capture your story with his new film company No Mad Films. Duffy is an incredible story teller who we hope can come back to the Ranch, bring his cameras and capture our life in action.
Our collection of cast iron kitchen skillets and dutch ovens is extensive. A good cast iron skillet is by far the most basic but essential kitchen item for our team. Over the years we have learned a trick or two about their maintenance. This article, from Permies.com, sums up nicely how to use and clean cast iron.
The many Ranch friends at Round the Bend Farm, located in southeast Massachusetts are hosting a series of Fermentation Workshops with our very our Core Team member Laura Killingbeck. These come highly recommended for anyone in the area.
Abrazos
The Ranch Crew
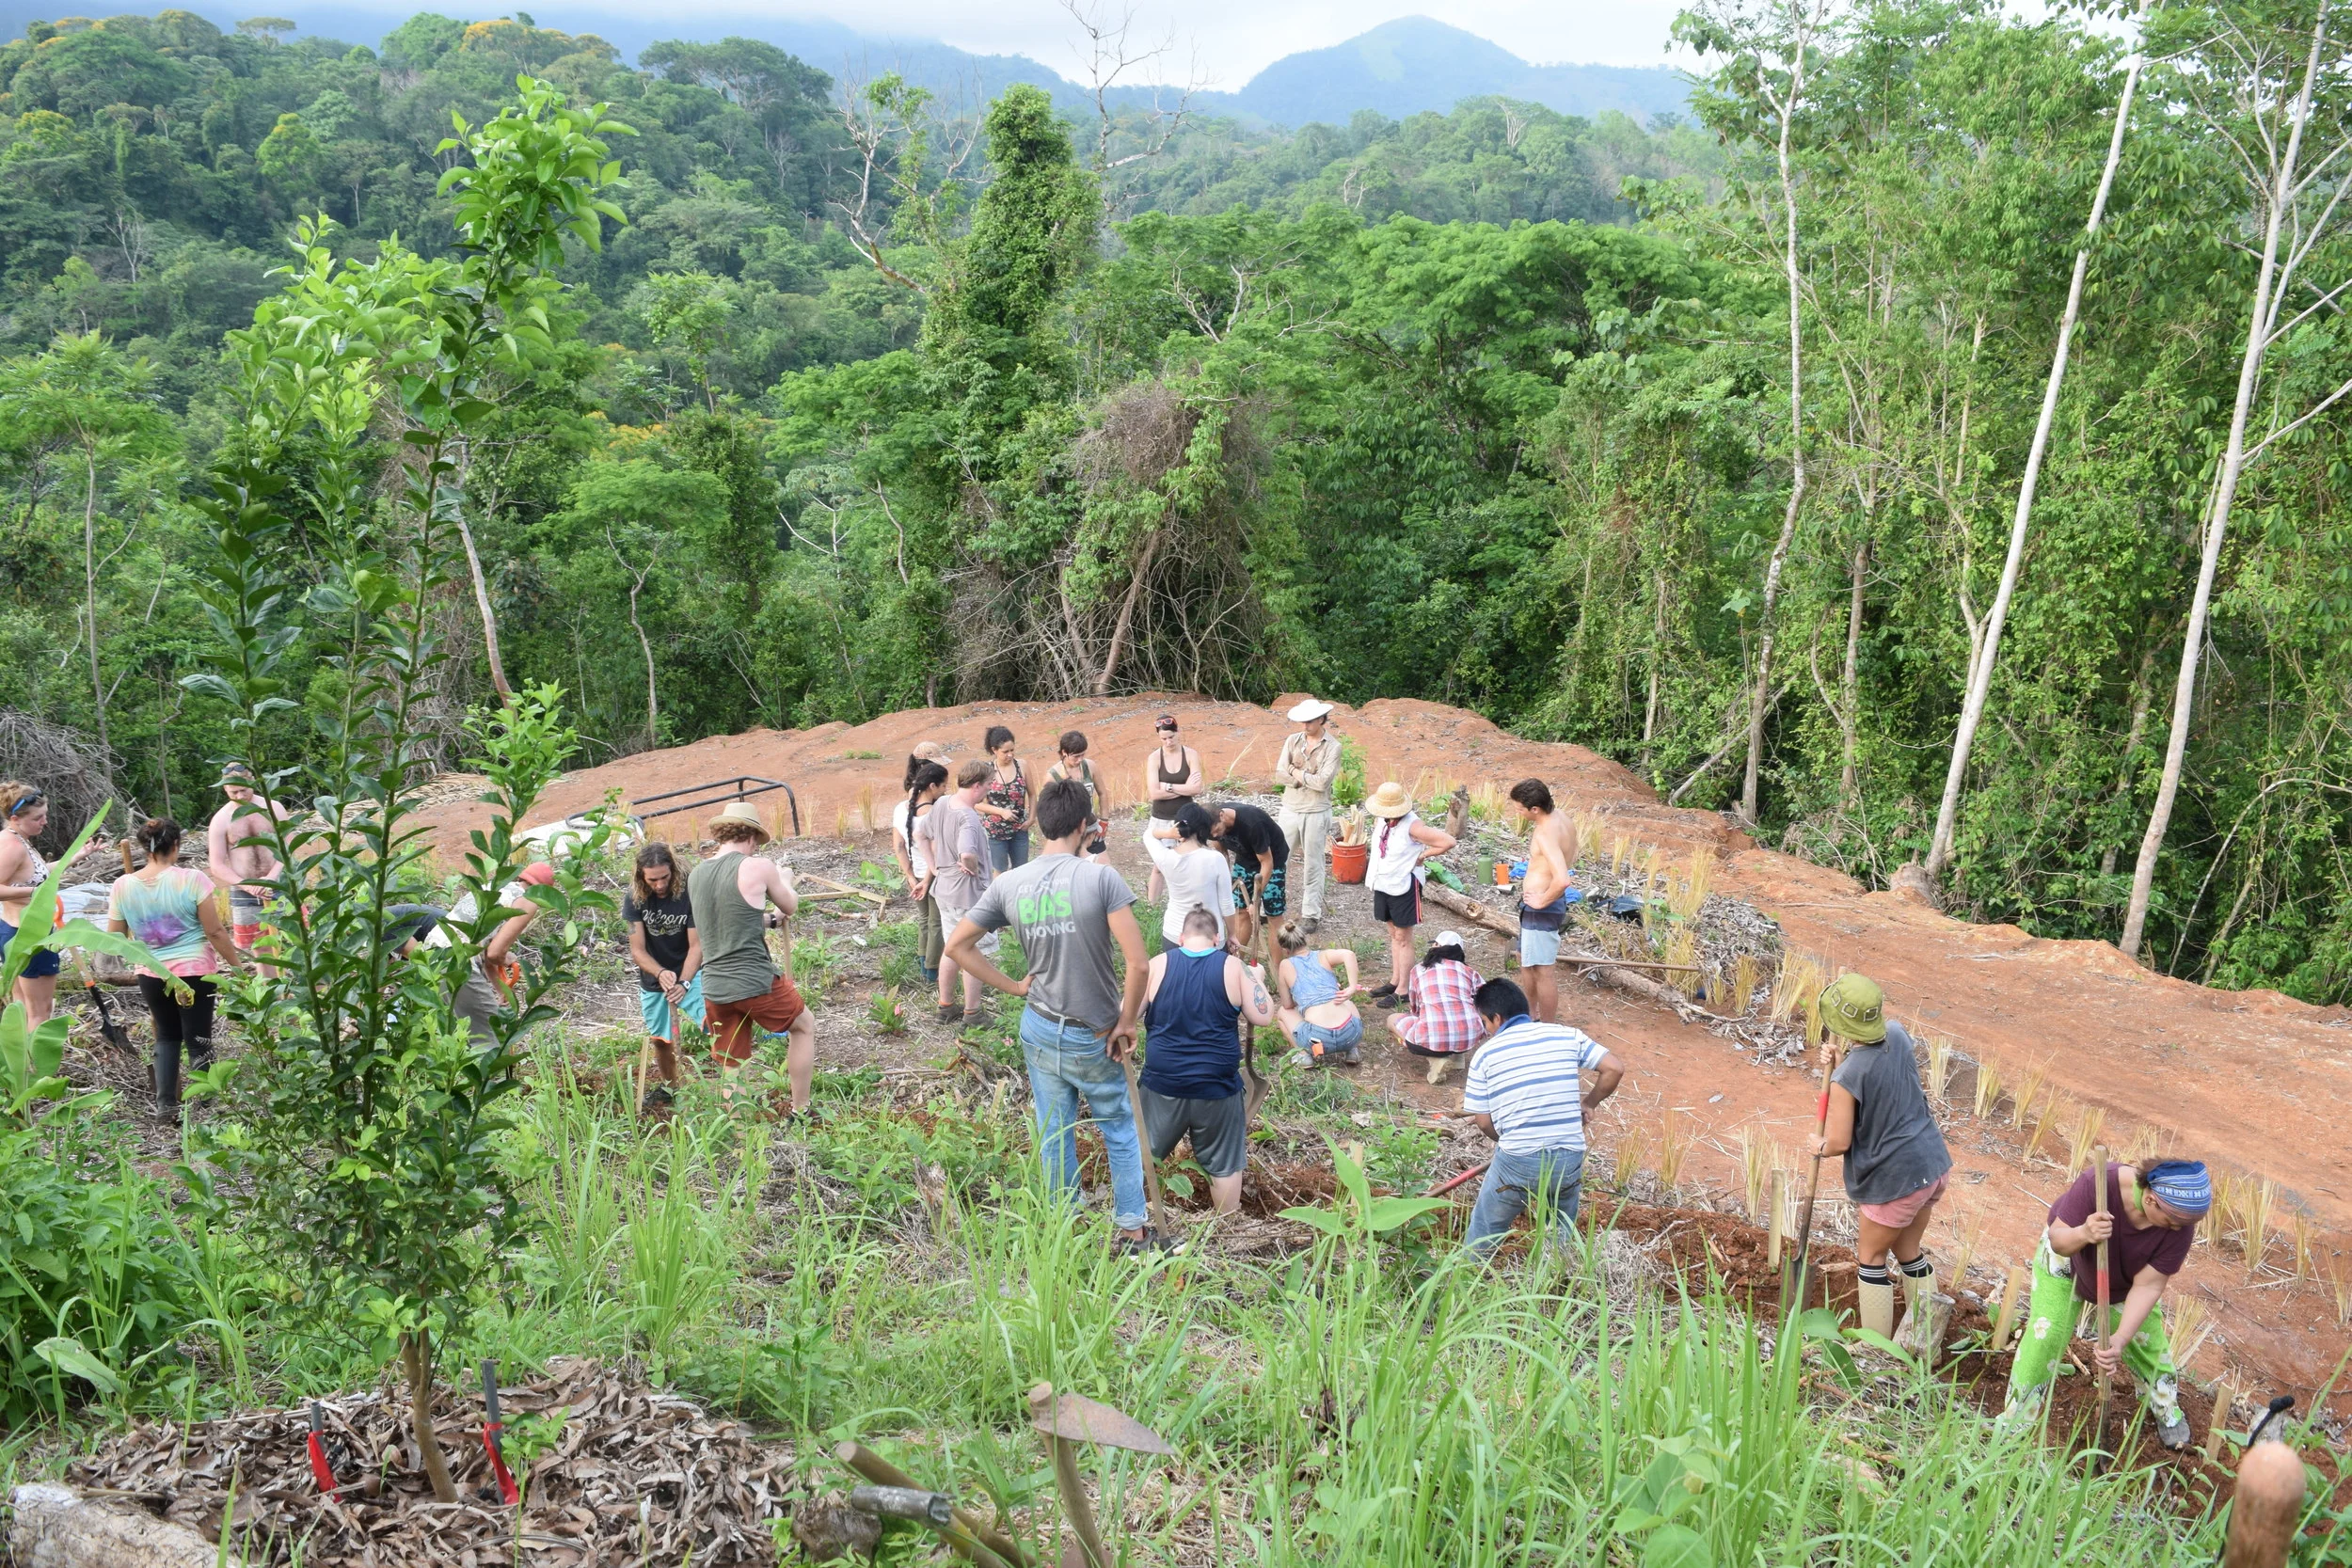
How to Design, Plant, Maintain, and Feast from your Food Forest
When you visit the Ranch you will not find rows of squash, tomatoes and carrots as you might associate with a temperate climate organic farm. You won't find deep layers of topsoil. You won't find tractors and their associated implements. What you will find is an agriculture that blends pleasantly into the forest. To the untrained eye it may even be challenging to tell where the forest begins and the farm ends. This is because our agriculture is based on the ecology of the place we live. And we live in a tropical monsoon forest. Our agricultural practices, often cited as agroforestry or food forests in the permaculture jargon, mimic the forest around us.

When you visit the Ranch you will not find rows of squash, tomatoes and carrots as you might associate with a temperate climate organic farm. You won't find deep layers of topsoil. You won't find tractors and their associated implements. What you will find is an agriculture that blends pleasantly into the forest. To the untrained eye it may even be challenging to tell where the forest begins and the farm ends. This is because our agriculture is based on the ecology of the place we live. And we live in a tropical monsoon forest. Our agricultural practices, often cited as agroforestry or food forests in the permaculture jargon, mimic the forest around us.
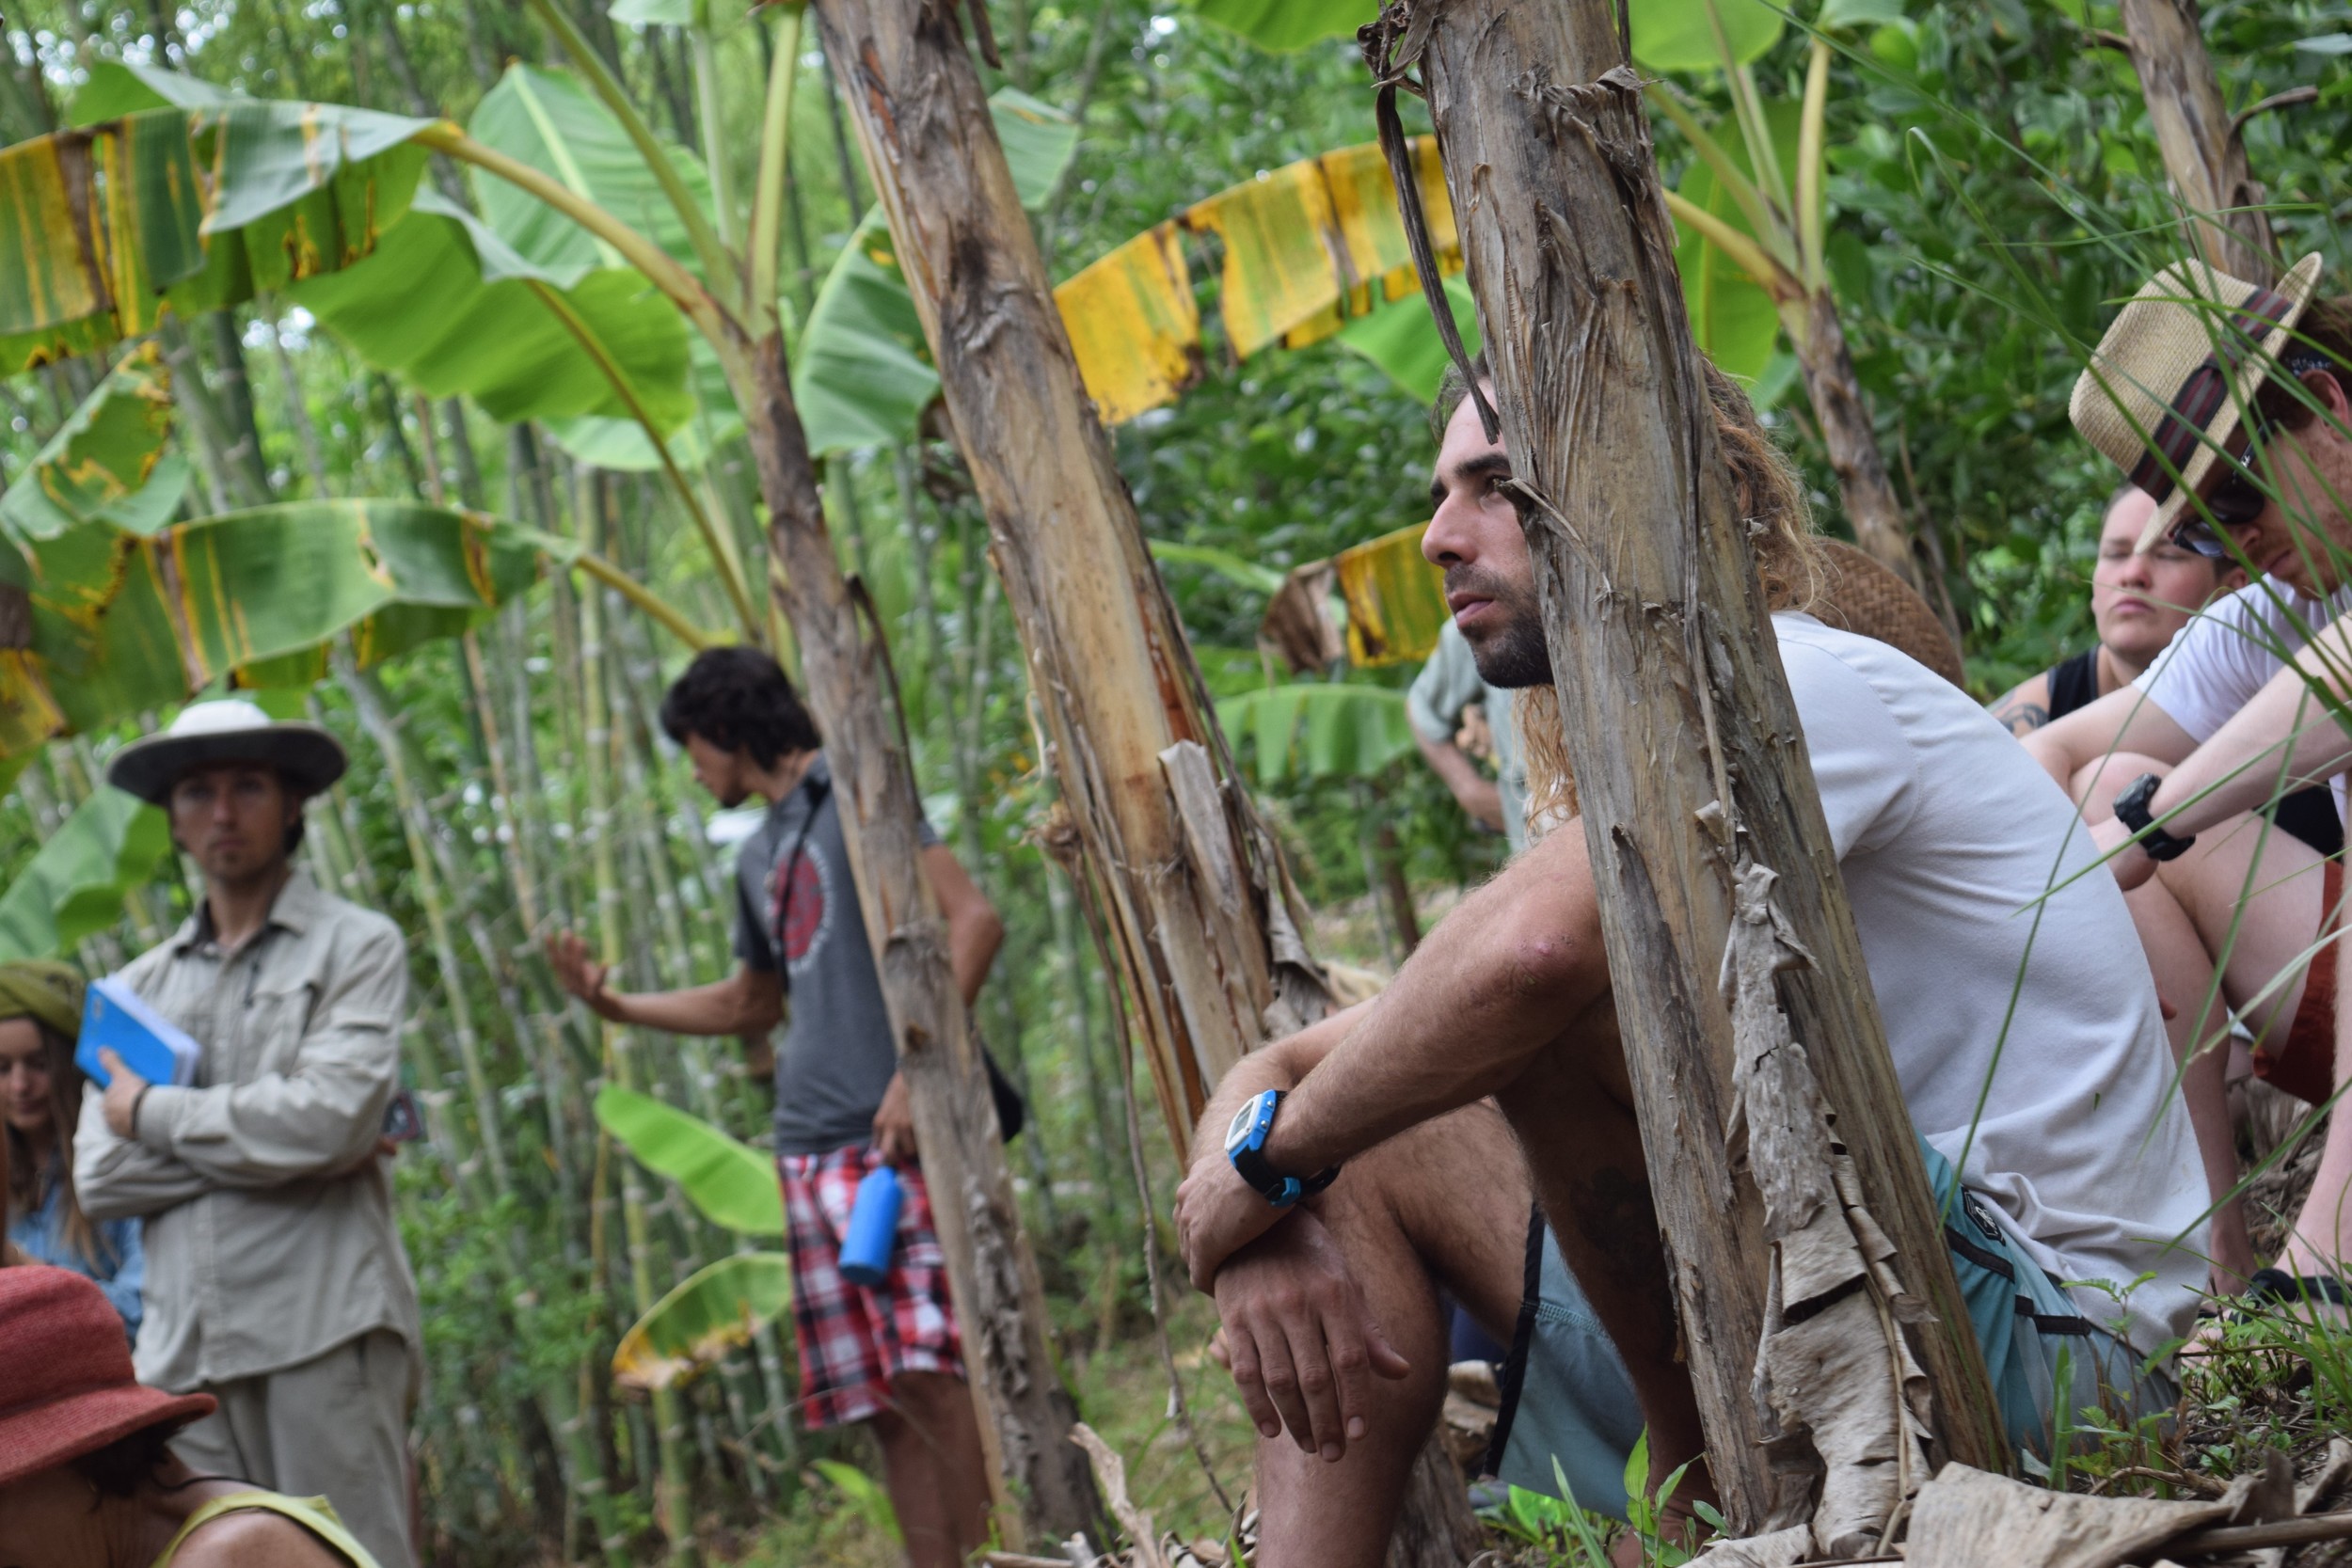
Mimicking this complex ecology and all the associated relationships occurring in this hyper-diverse place is novel, exciting, and challenging work for us new-generation farmers. In order to help others on this same path we are documenting our work more and more. As part of this effort, I recently published a series of in-depth articles on tropical orchard establishment practices and concepts for the Permaculture Research Institute.
For anyone wanting to learn more about how we manage our 15 acres of food forests please explore the following links.
Part 1: Discover our site goals, layout patterns and approach toward water.
Part 2: Explore our soil management strategy.
Part 3: Learn why and how we make certain species selections.
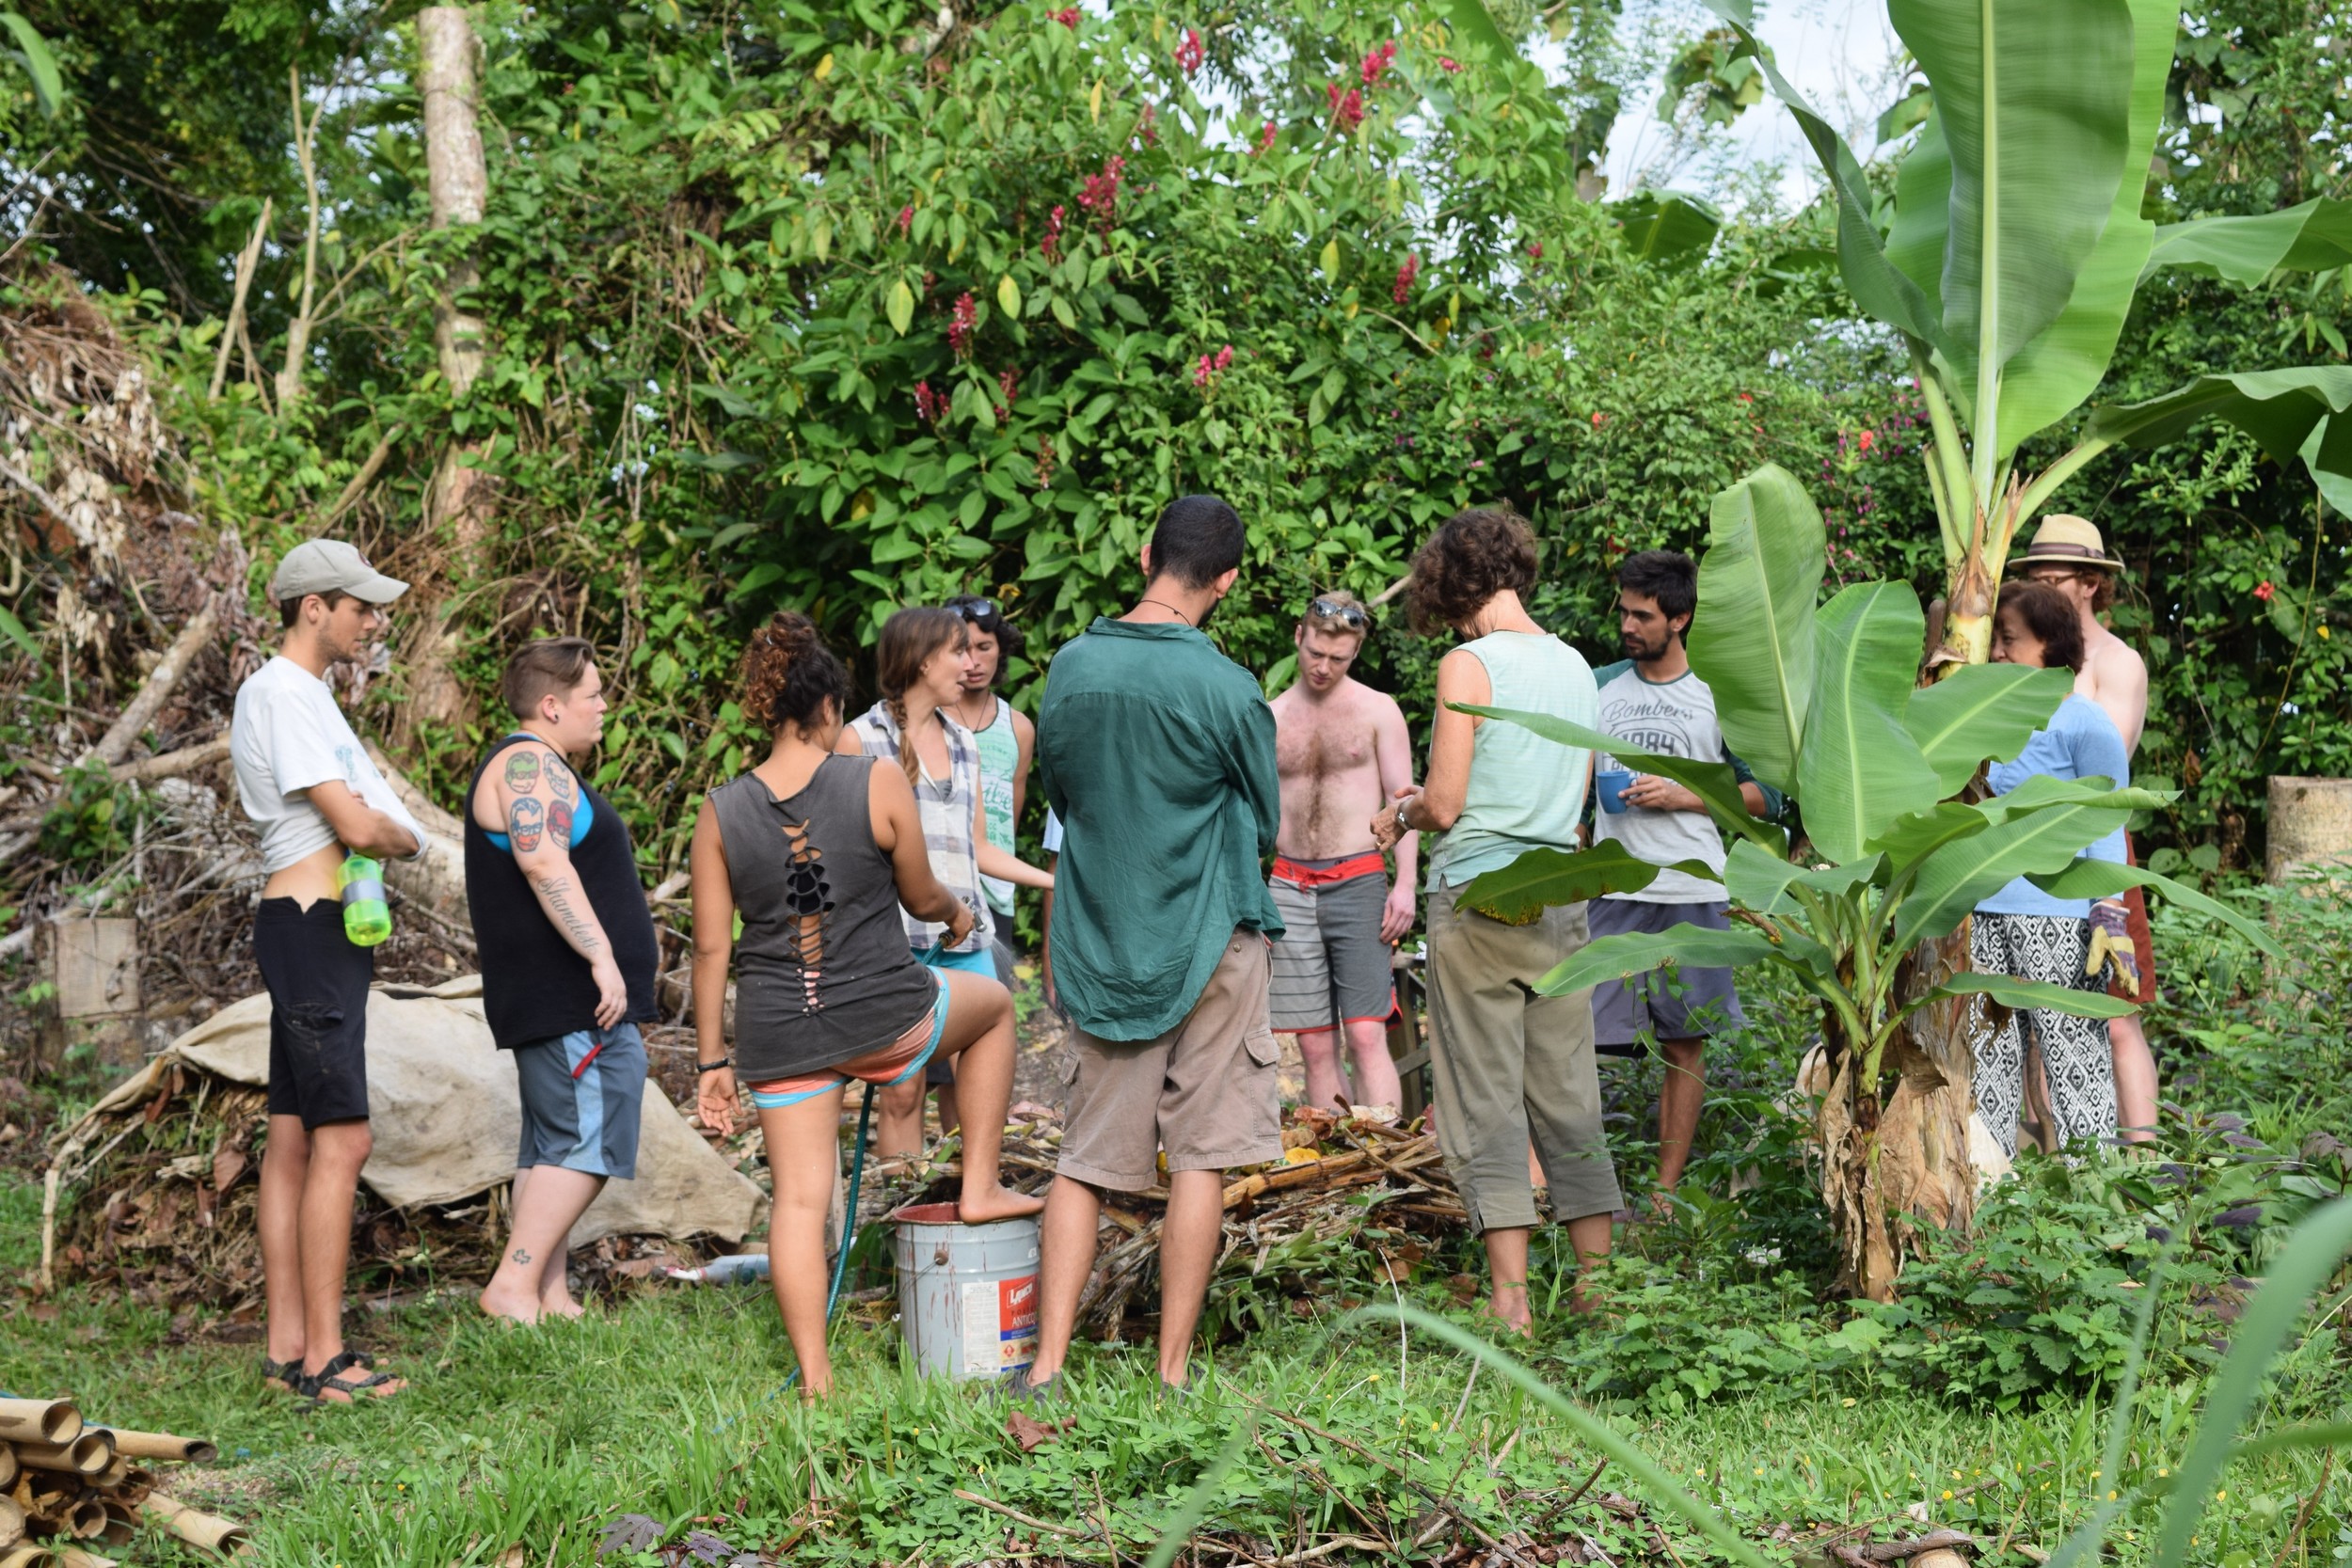
We hope you enjoy these and now have a clearer picture of the agricultural landscape we are creating.
NEWS AND NOTES
We have a number of life changing workshops coming up.
Please share around if you know anyone who is ready for a trip to beautiful Costa Rica, a swim in the waterfalls, nourished with homemade meals, and challenged with an intensive educational experience.
Abrazos,
The Ranch Crew

Tips for Working with Tropical Soils
Soil, the ever fascinating topic to any garden guru or green thumb. Here at the Ranch it's all about topsoil, which is basically non-existent. The little soil that is present has a high clay content making it particularly susceptible to compaction. It is also highly acidic. The combination of the two means that without any additives it would be challenging to grow anything at all. So we've devised a number of methods to build up the topsoil, break up the clay and raise the pH throughout our orchard and garden spaces. These methods can be used anywhere in the world to improve your soil.
Lydia is one of our 2016 Apprentices in Sustainable Living. She has studied Horticulture and has a Bachelor of Environments (Landscape Architecture) from the University of Melbourne in Australia. She is super keen on plants and the fundamental relationship between plants and soil. Healthy soil is the key to healthy plants. This post is about soil in the tropics, including some of the challenges that exist and how these challenges are managed at Rancho Mastatal.

Sacha Inchi before a heavy mulch application.
Soil, the ever fascinating topic to any garden guru or green thumb. Here at the Ranch it's all about topsoil, which is basically non-existent. The little soil that is present has a high clay content making it particularly susceptible to compaction. It is also highly acidic. The combination of the two means that without any additives it would be challenging to grow anything at all. So we've devised a number of methods to build up the topsoil, break up the clay and raise the pH throughout our orchard and garden spaces. These methods can be used anywhere in the world to improve your soil.
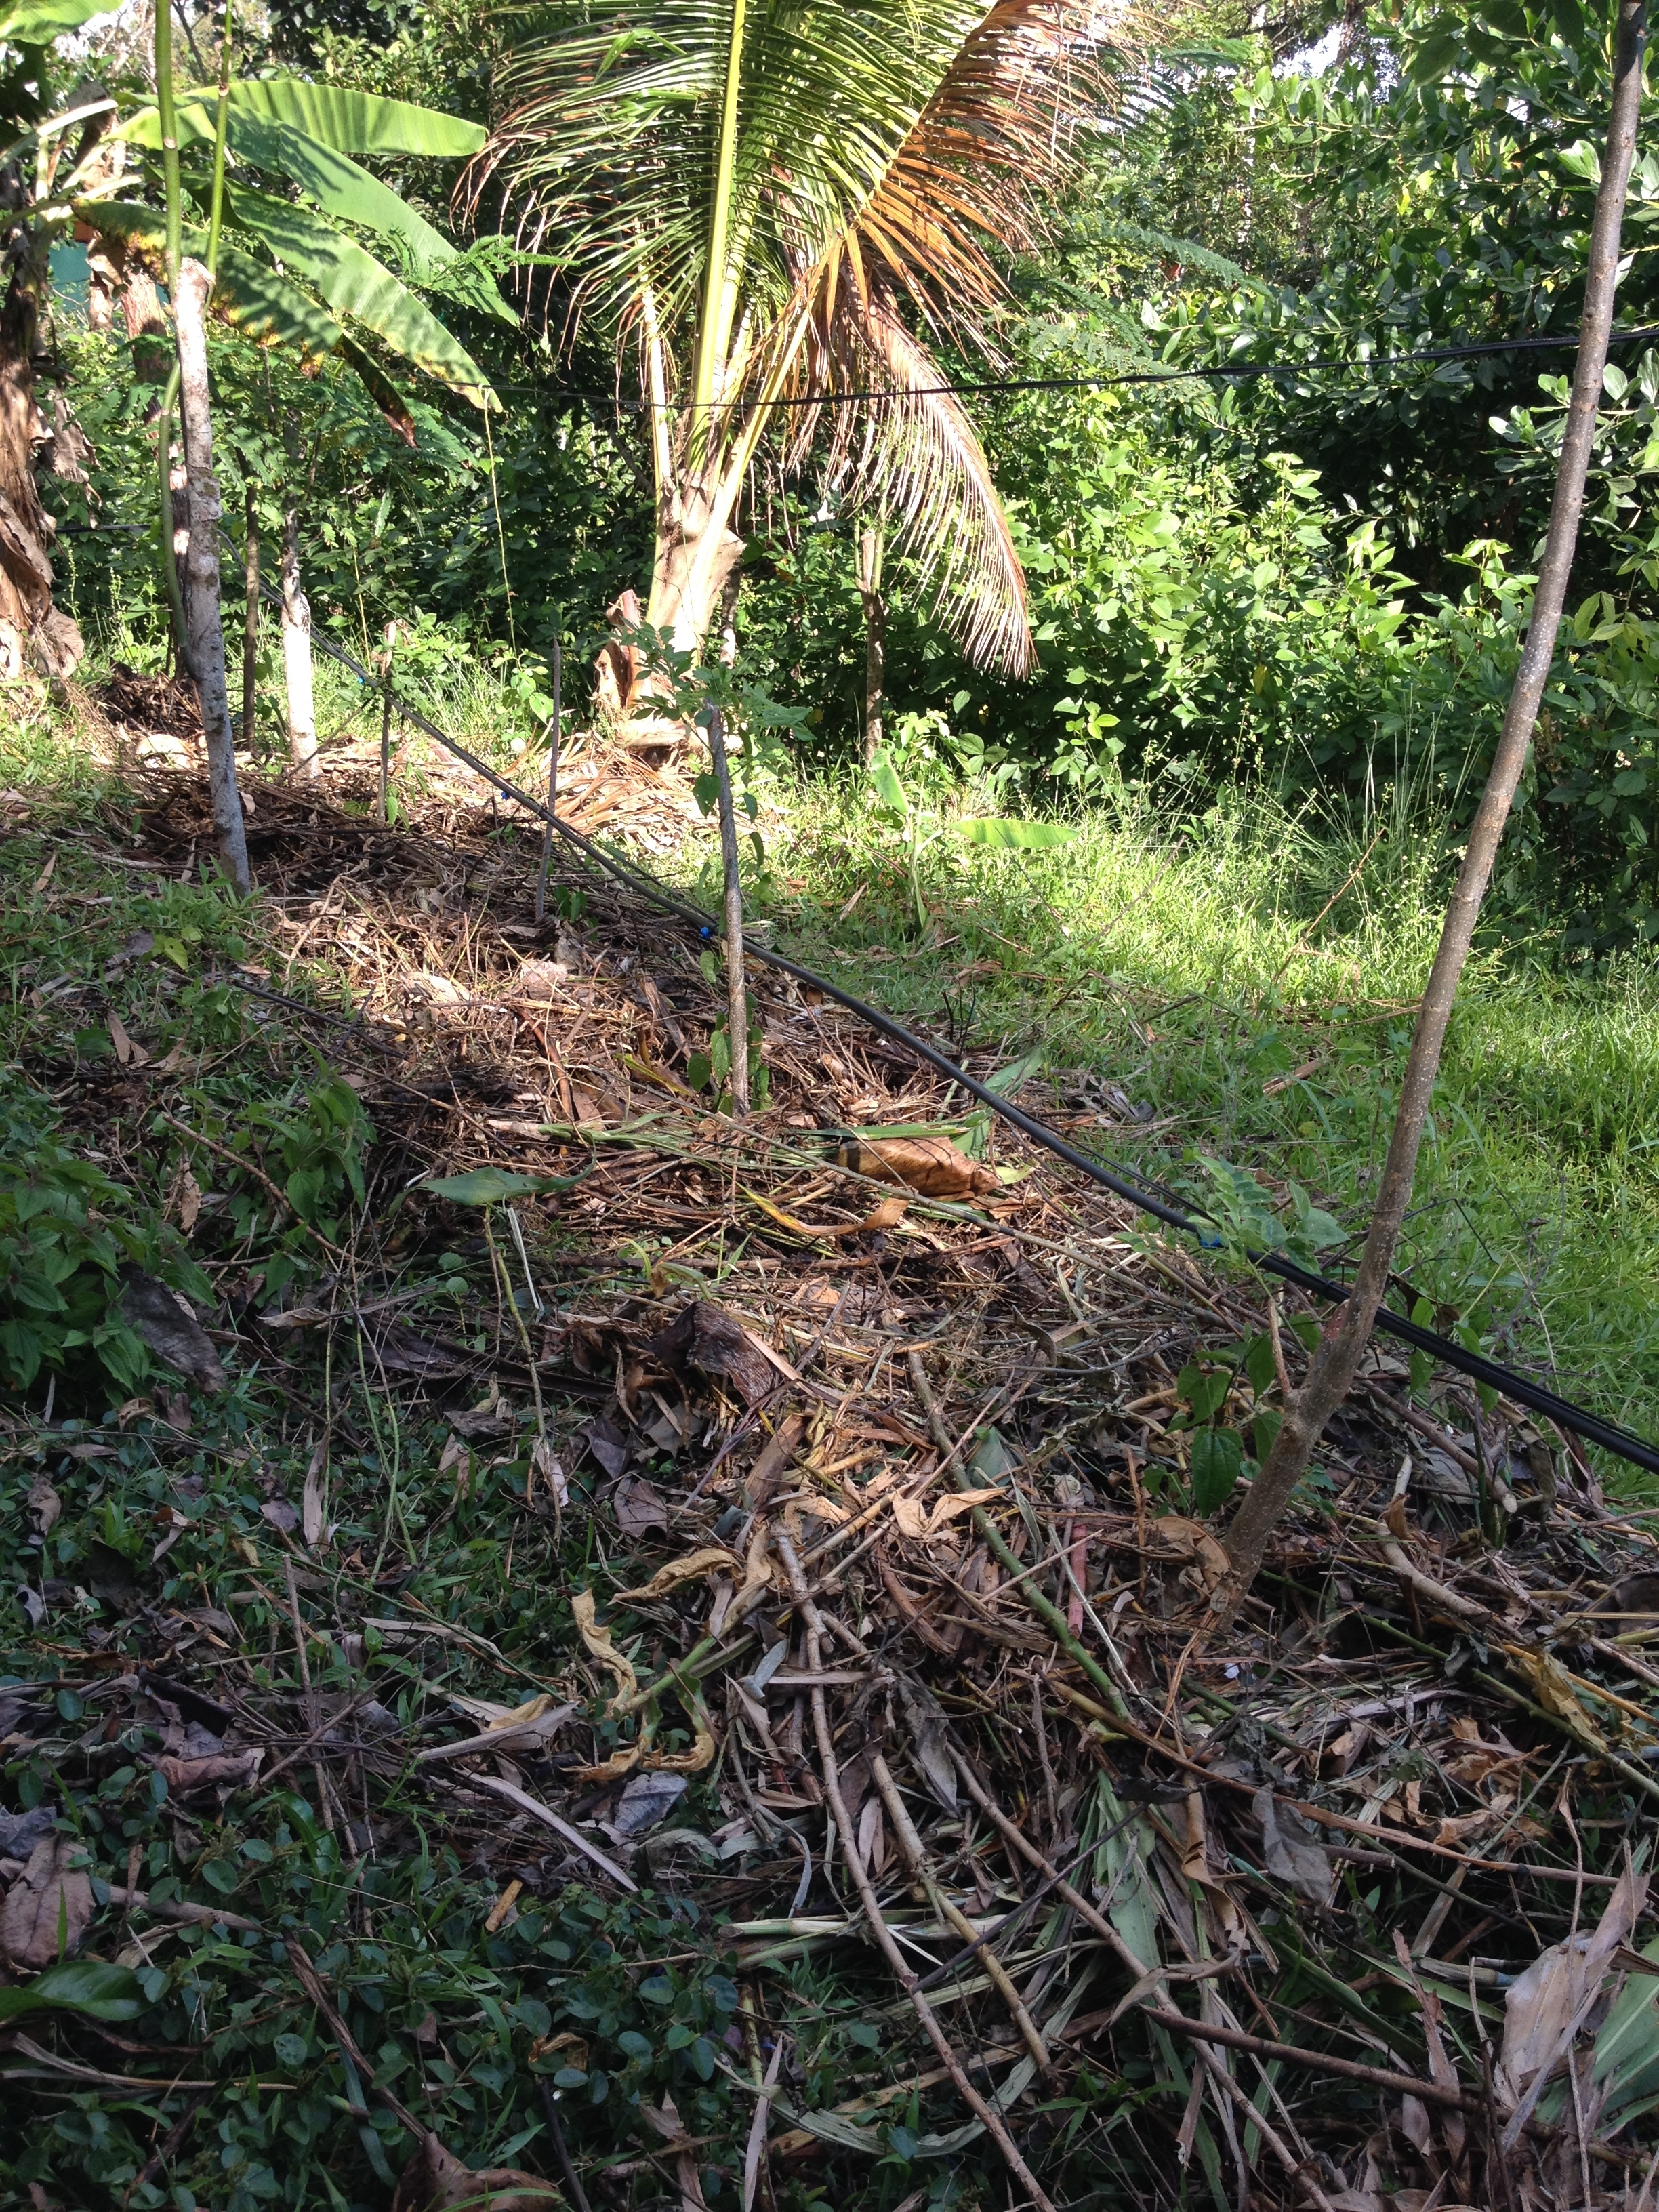
The same plants as above after a healthy mulch cover.
First and foremost, topsoil! How do we do it? The majority of nutrients in the jungle ecosystem are stored in plants. When nutrients become available plants are quick to soak them up because there is stiff competition when living in such close proximity to your neighbors. This means that plant biomass is an incredibly rich and abundant source of nutrients. Plant biomass refers to all plant material, living and dead including leaves, trunks and branches. The main way we utilize this biomass is what Scott refers to as "doughnut" mulching, basically forming circular doughnuts of plant material around the base of our fruit and nut trees. This mimics nature by following the 'top-down' approach that allows microorganisms to move the material down. It is important to note that mulch should never touch the trunk of your trees because this will cause rot. A 5 inch radius between trunk and mulch is a good aim.
Another method used in zone 1 to improve soil quality is to bury pieces of wood under the soil in our garden beds. The wood acts like a sponge, retaining water throughout the dry season and, reducing compactness in the wet season by aerating the soil. It also provides habitat for microorganisms, crucial for plant health and growth. Our garden beds are mulched regularly with dead leaves collected from the forest floor to retain moisture in the soil, reduce weed growth and add nutrients. This is known as Hugulkulture.
Now, onto soil pH, the next big topic around soil in the tropics. There are 6 cooking methods used at the Ranch, 3 of which rely on wood, the rocket stove, the biochar stove and the pizza oven (read here for more about our alternative cook stoves). With 3 meals per day, 6 days a week being pumped out of our kitchen, you can imagine how much charcoal and ash we produce. Instead of simply disposing of this alkaline-rich bi-product we add it to our soil.
Charcoal is a carbon-rich soil additive, that adds alkalinity to the soil, raising the pH. It has a high surface area on a microscopic level which means it is capable of storing water and nutrients in the soil, making it a valuable additive in both the dry season when water is required and the wet season when nutrients are required. The addition of charcoal also aerates the soil and breaks up the clay. It is essential to note that when adding charcoal to soil it must be soaked in a nitrogen solution first, such as compost/ worm tea. This will ensure it doesn't lock up precious nutrients from the soil. Ash is similar to charcoal but much finer. It also adds alkalinity to the soil, raising the pH. Limestone is another soil additive used to raise the pH and up the alkalinity. We spread lime around the base of our fruit and nut trees, vines and shrubs.
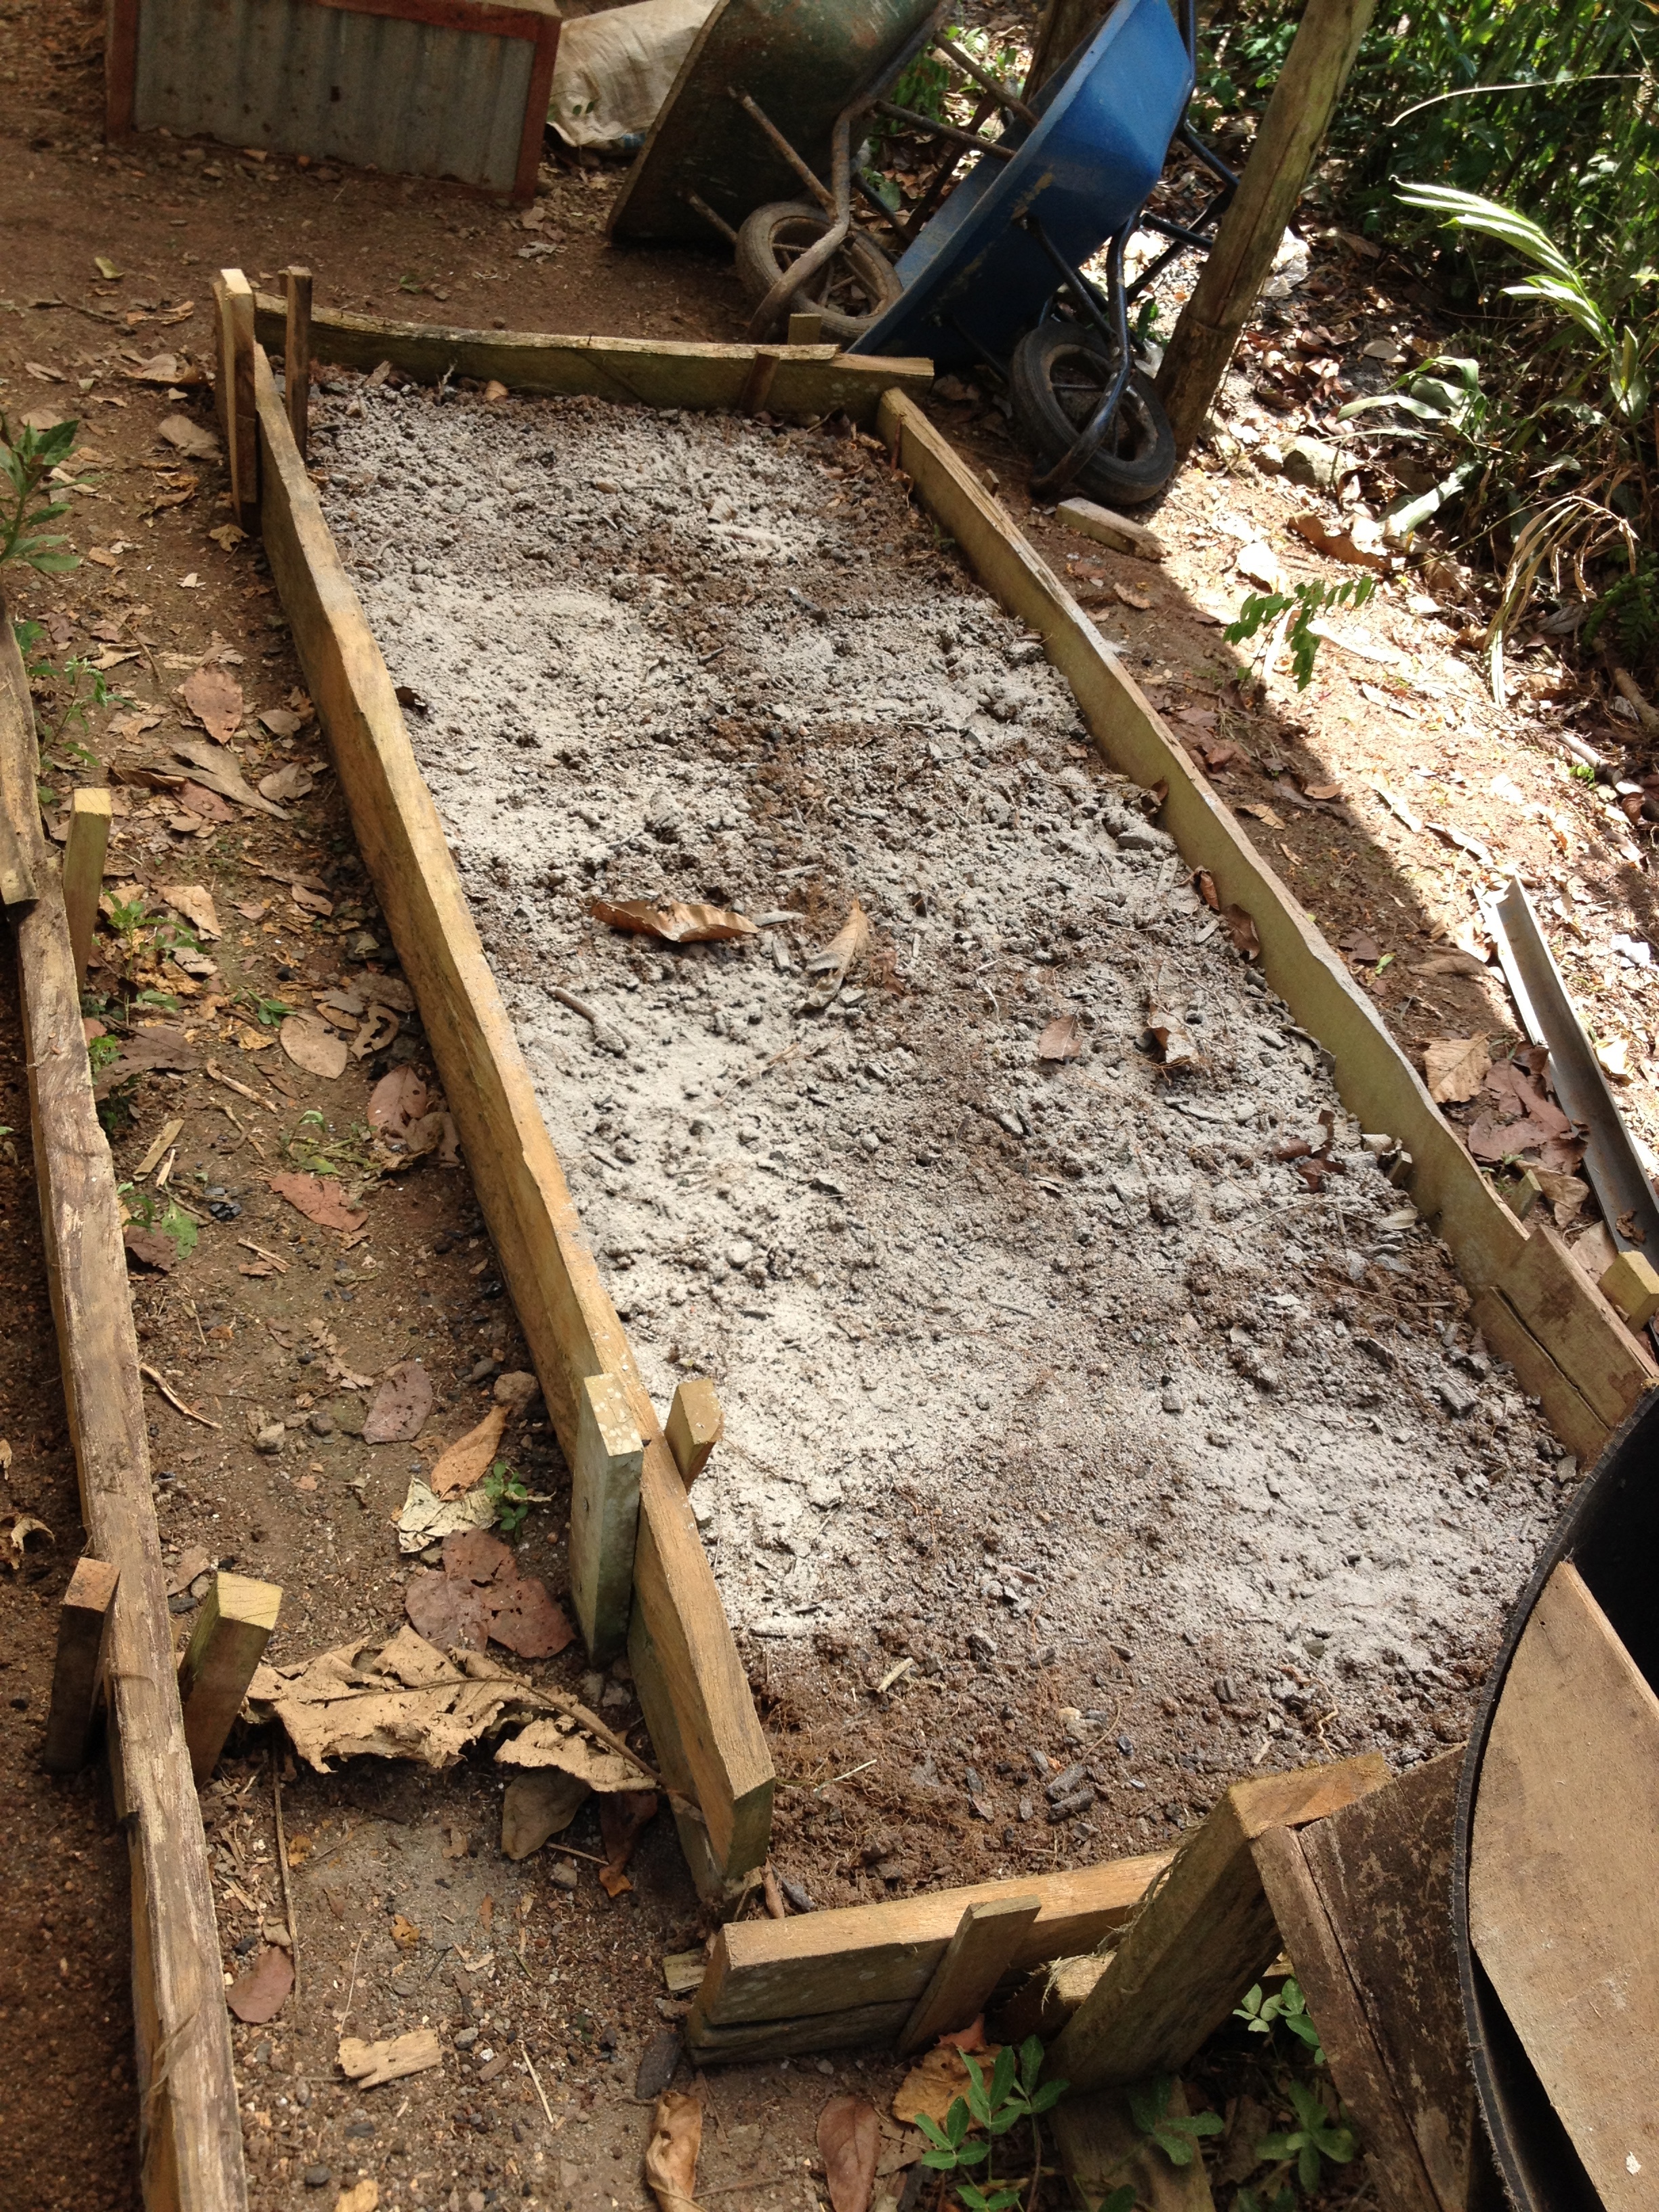
Lime applied to a raised garden bed.
Nitrogen is one of the most important soil nutrients and in order to produce good crops, nitrogen is essential. What better way to introduce nitrogen into the soil than with nitrogen fixing plants. These plants produce "cake & cookies" i.e. sugars in the soil that attract nitrogen fixing bacteria. These bacteria are capable of using these sugars to convert nitrogen gas in the soil into a plant soluble form, accessible to the surrounding plants. Believe it or not, plants control this process depending on how much nitrogen they feel they need.T he more sugars the plants produce, the more sugars the bacteria consume, converting this sugar into nitrogen for the plants. It's an incredible natural process! The nitrogen fixers most extensively used here are Acacia mangium, Shizolobium paryhybum, and Madero Negro, all of which are trees. We also use peanut grass, a spreading ground cover. Most plants in the Leguminosae family can be used as nitrogen fixing plants.
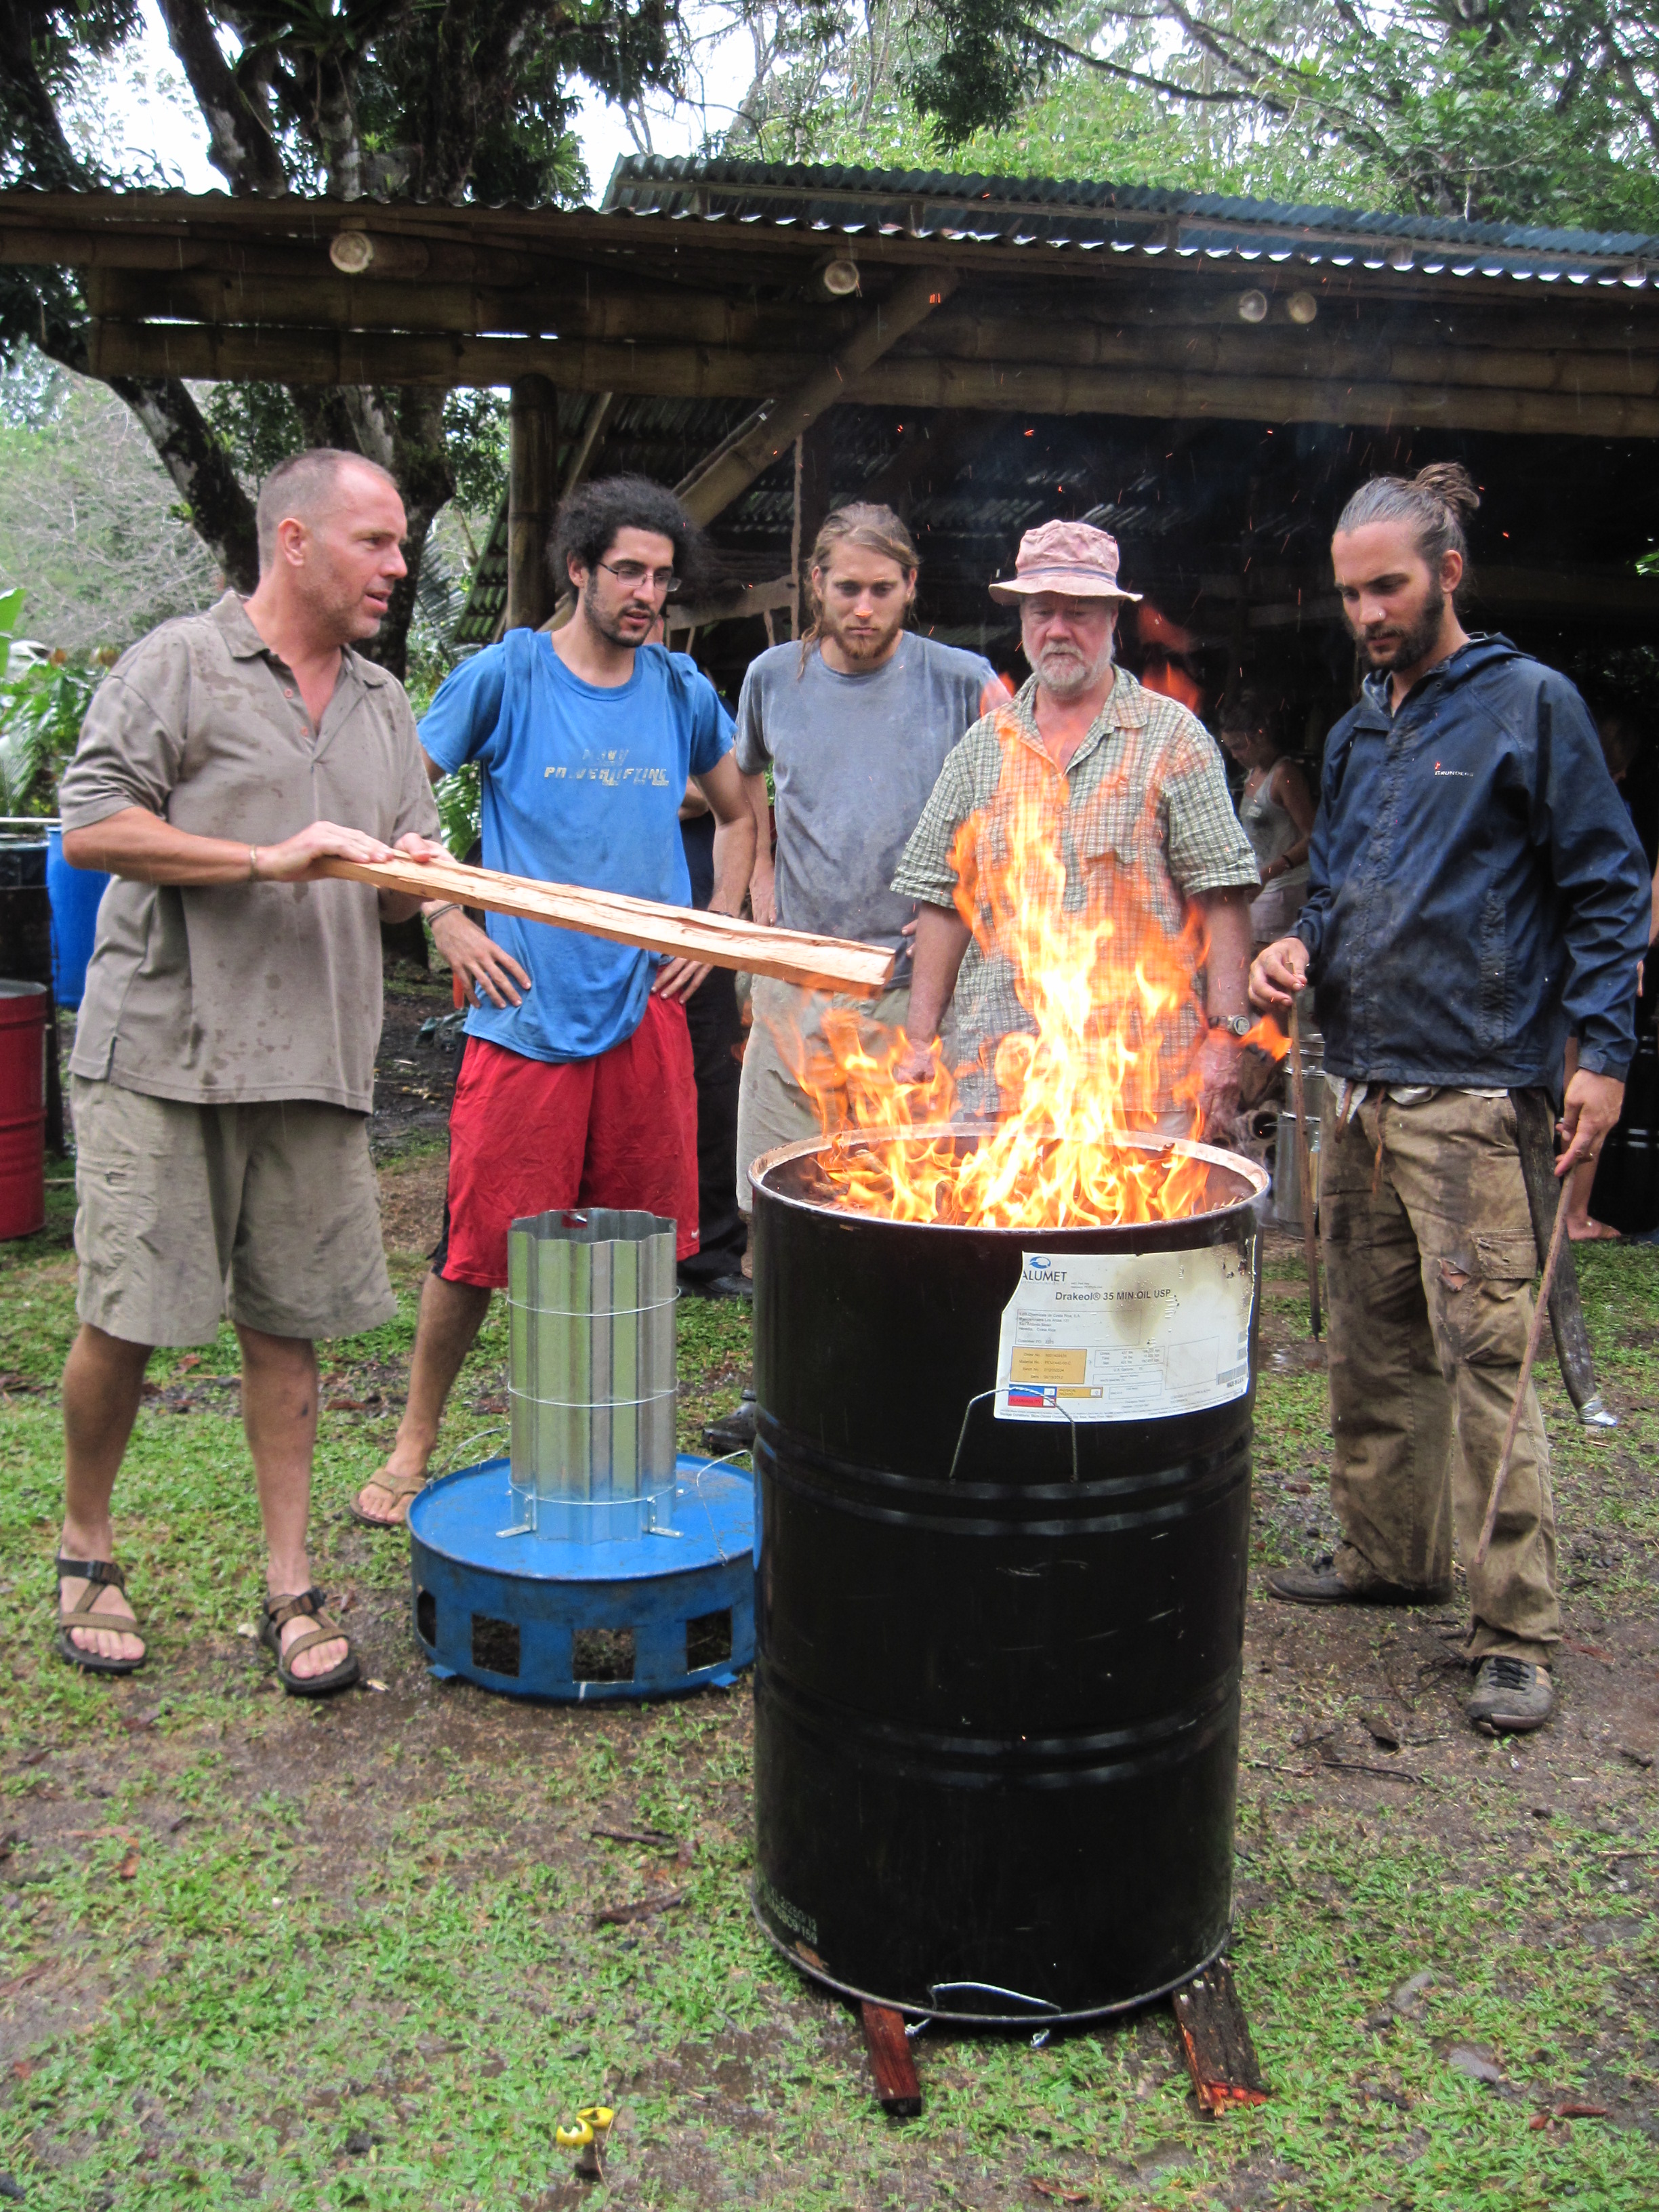
Making Biochar with a TLUD System.
Potting soil is another essential part of our plant operation here. The recipes used for potting soil change depending on what's available and required. One of the recipes we use is 2 parts forest soil plus 2 parts worm farm compost plus 1 part sifted builders sand. We collect the forest soil from the forest floor where a build up of plant material is prevalent e.g. a puddle, low point or valley. This is where nutrients gather because soil and small plant material is deposited (read here how we cultivate mountain microorganisms). The worm farm compost is a bi-product from our bio-digester system. This waste treatment system converts cow manure into methane gas, while leaving the fibrous material behind for the worm farm. The key to a great potting soil is to balance soil pH and ensue there is a rich source of matured compost where microorganisms thrive.
So there you have it, the challenges and of course the fun of soil in the tropics! Creating and enhancing topsoil, balancing soil pH, in this case raising it, balancing the clay content of your soil and making nutrient rich potting soil. I hope you can take some of these tips away and enrich your soil wherever you are. Here's to happy soil and abundant plants.
NEWS AND NOTES
We have a number of life changing workshops coming up.
We rely on all of the amazing ambassadors to our project to spread the word; if you know of anyone who needs a get-life-into-gear experience, send them to one of our classes!
Abrazos,
The Ranch Crew
Categories
Topics
- Agriculture 6
- Agroforestry 21
- Animals 2
- Apprenticeship 19
- Appropriate Technology 6
- Backpacking 1
- Bananas 1
- Basic Pantry 4
- Biochar 1
- Books 3
- Build Your Own Home 1
- Central America 5
- Chiles 1
- Cinnamon 1
- Clay Carving 1
- Climate 2
- Climate Change 1
- Cob oven 1
- Communication 5
- Community 24
- Compost 2
- Composting Toilets 2
- Condiments 1
- Conservation 2
- Cooking 4
- Costa Rica 18
- Design 10
- Earthen Construction 10
- Eat Local 2
- Ecohome 1
- Education 9
- Environment 3
- Ethics 4
- Farm to Table 12
- Fasting 1
- Fermentation 14
- Food 22
- Food Choices 8
- Food Forest 8
- Food Processing 15
- Food Systems 12
- Gap Year 1
- Gardening 5
- Ginger Beer 1
- Harvest 2
- Health 12
- Healthy living 5
- Homemade 2
- Homestead 8
- Internet 2