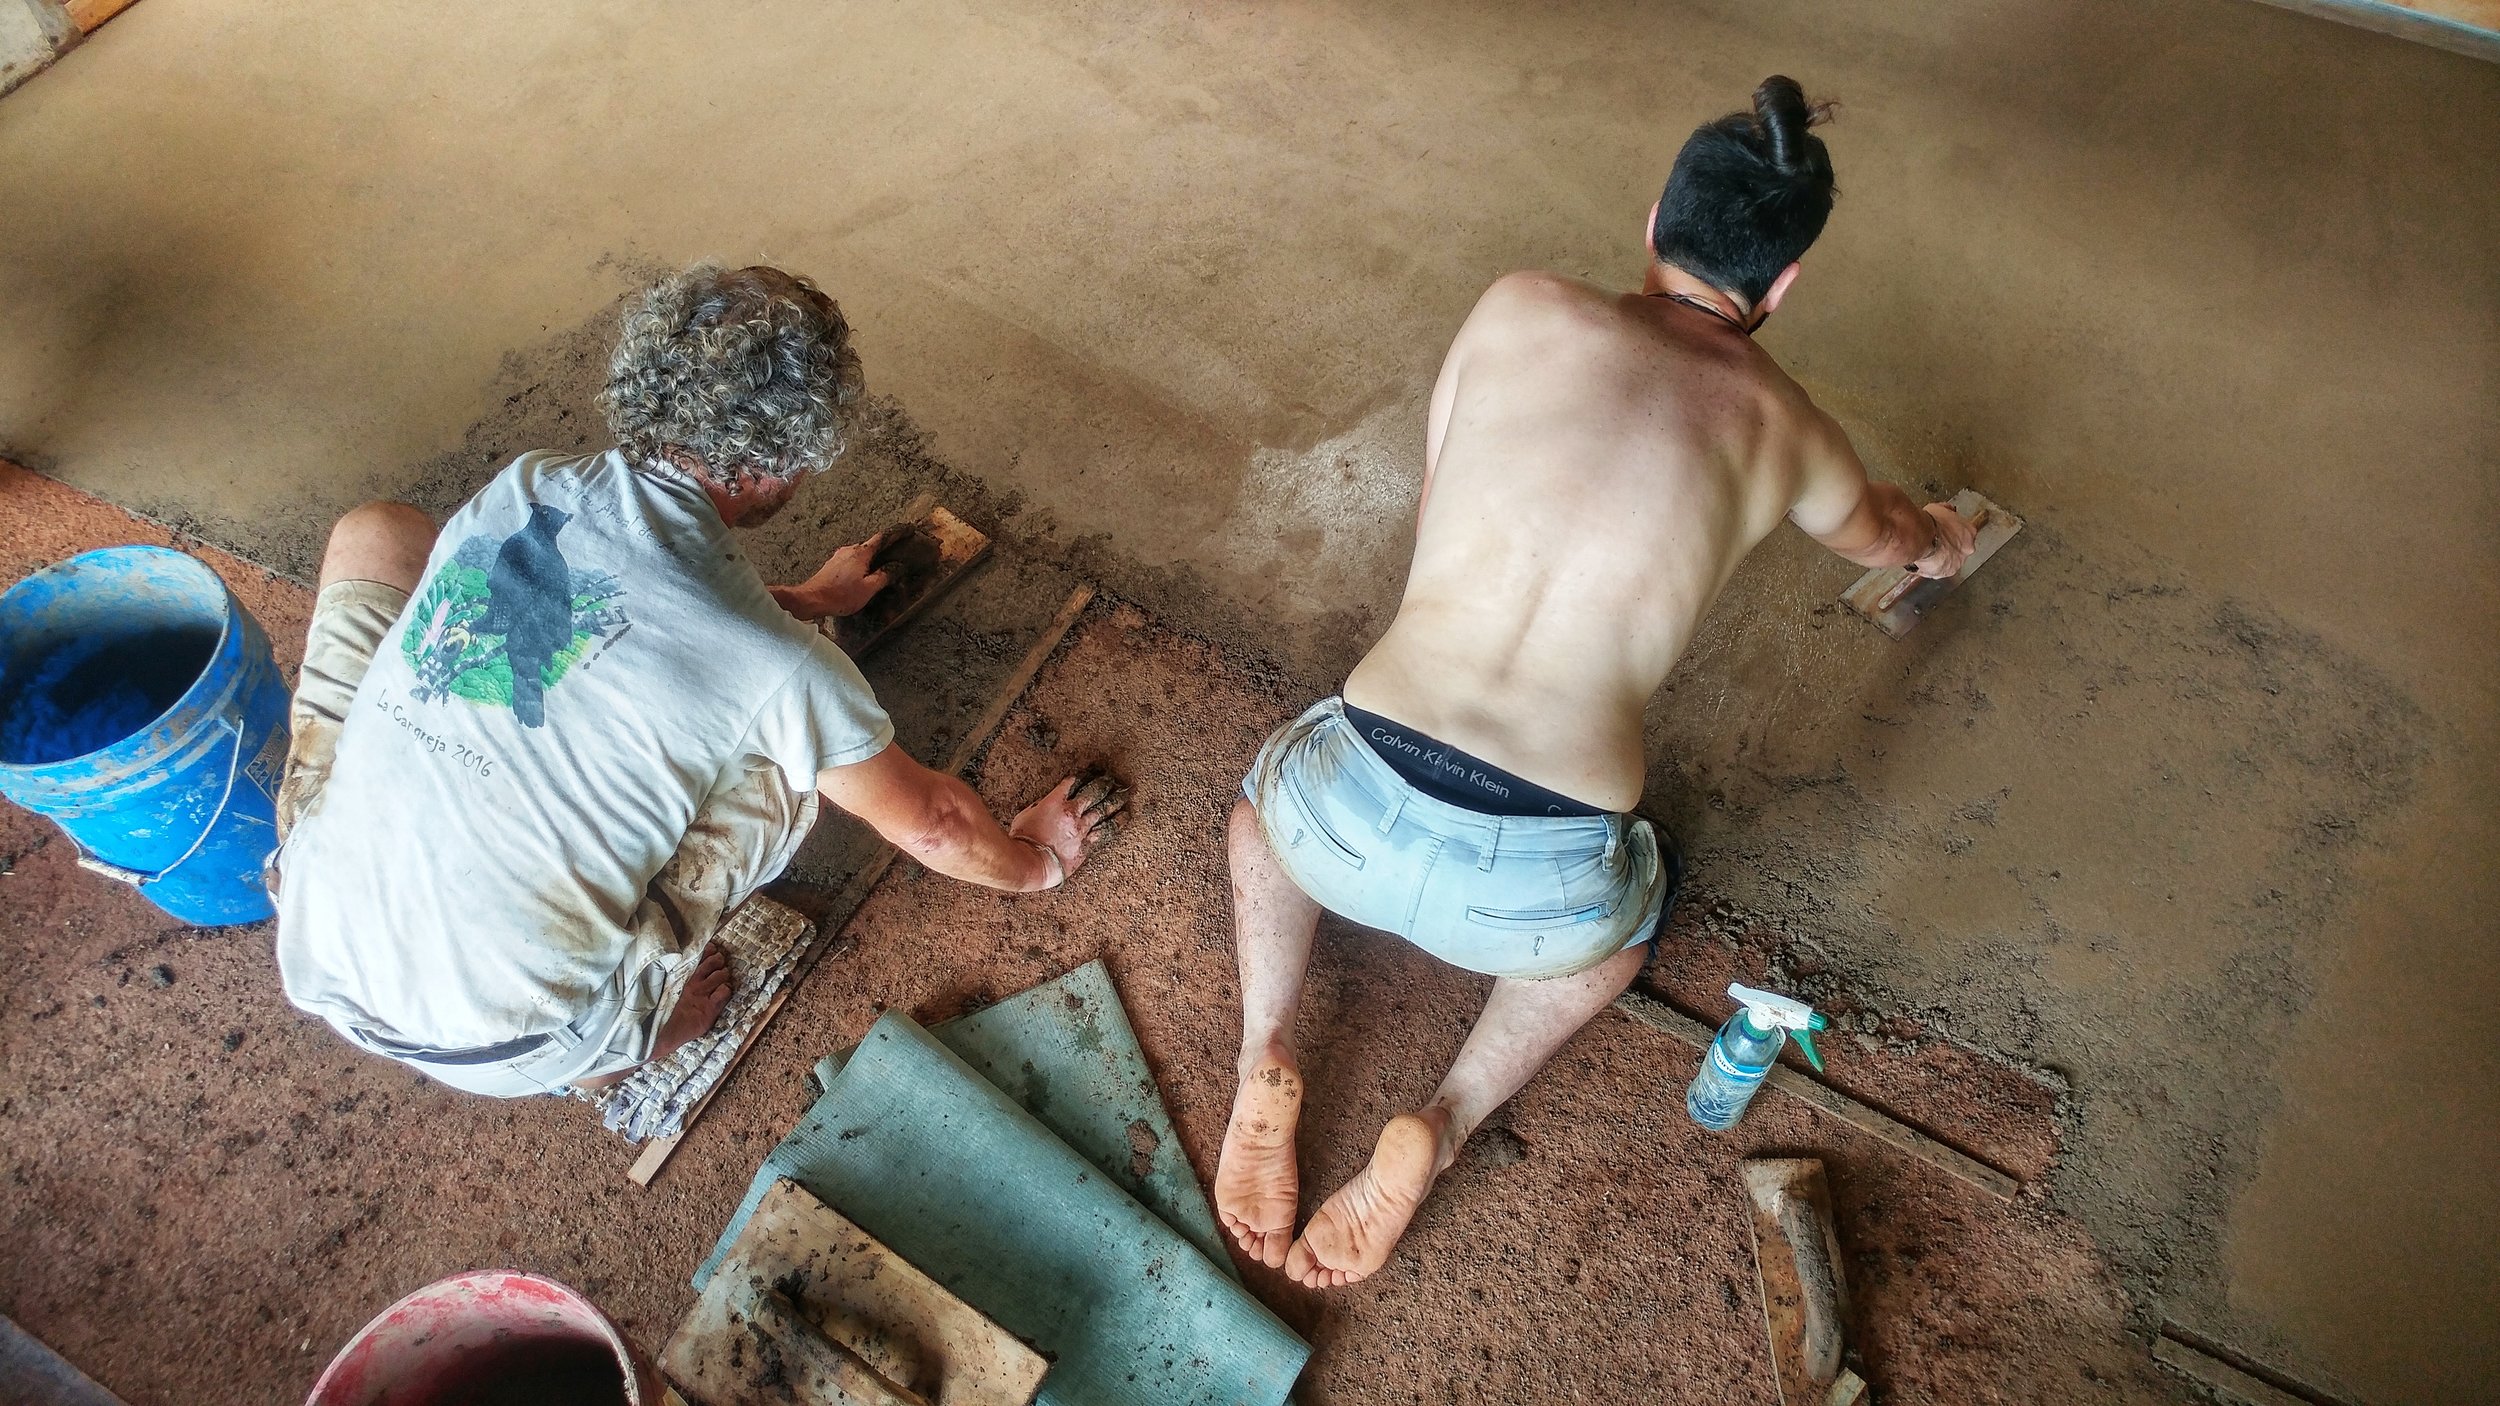
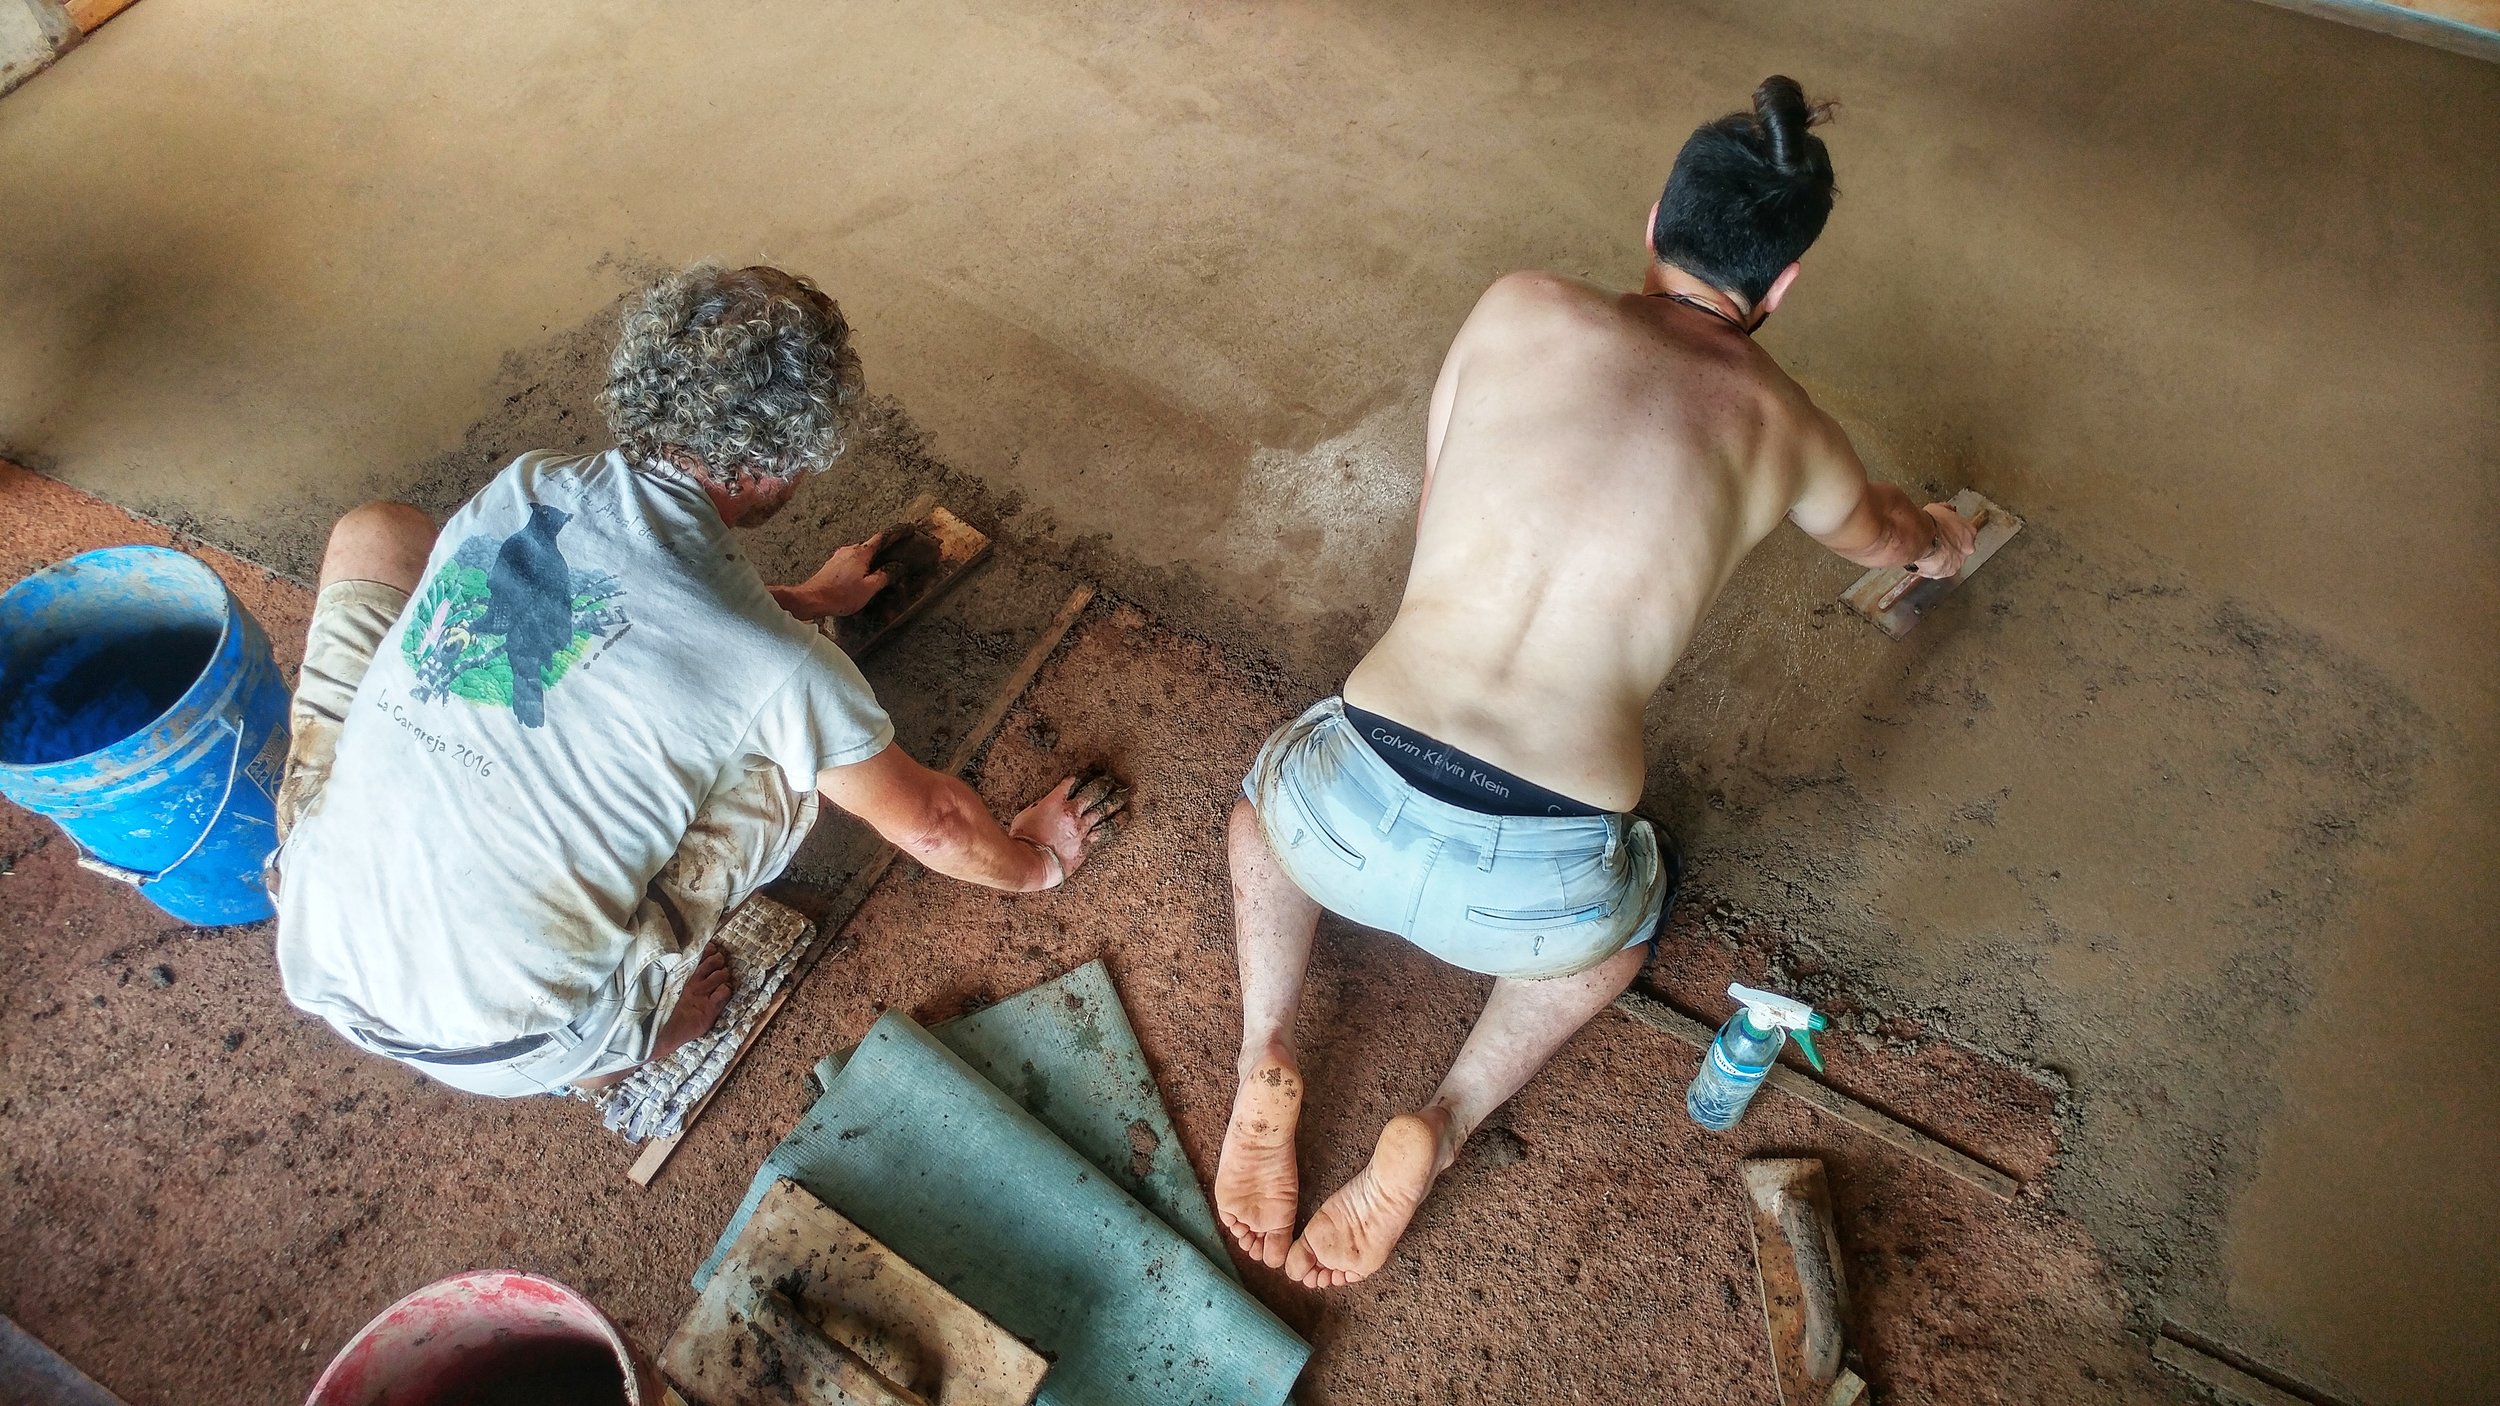
How to Make An Earthen Floor
Why Build an Earthen Floor?
This Earthen Floor adds a wonderful warmth to the Ceiba Lounge
Earthen floors add a great earthy touch to your sustainable home; whether that’s in your cob house or conventional stick frame home. They have more give than concrete or tile, meaning they are more comfortable and easy on your feet. Earthen floors can be durable and last a long time, but are not the best material for all spaces in your home. They will break down faster when there is a lot of moisture on them or heavy items dropped on them. So places like your kitchen and bathroom are not ideal locations for an earthen floor. Earthen floors work great for bedrooms and living rooms.
Mixing by hand gives you a great feel for the mixture
Here at the Ranch we have been practicing and perfecting our earthen floors for more than 15 years. We strive to create sustainable homes from natural, local materials. Natural building is one of the ways we practice green living. We have seen what works and what doesn’t in many different structures and spaces throughout our community. After having an earthen floor in our kitchen, a space that produces three meals a day for an average of 30 people, and after repairing patches again and again, we realized this space is too heavily used for an earthen floor. Spaces like our guest cabins are perfect for earthen floors. Of course with hundreds of people going through these spaces they wear down over time. If you correctly lay an earthen floor in your home, and take care of it, they should last you for a long time.
Wooden guides can be used to help keep the correct thickness
How We Build Our Earthen Floors
Base and final coat in a sample, always make tests!
Here in our tropical environment, with the materials locally available to us, we have finally figured out a bomber earthen floor. Here is a simple step by step guide on how we lay an earthen floor.
An earthen floor is comprised of 4 different layers
· Water proof membrane
· Tamped gravel (optional to increase total depth)
· Compacted road base (mixture of sand, clay and gravel)
· Two layers of final floor (mixture of sand, clay and chopped straw)
Make sure your samples are large enough to be representative!
Before you begin make samples! Always make samples for anything you plan on building; whether that is for your cob house, outdoor pizza oven, or natural plasters. We recommend making at least 3 samples with different ratios of clay, sand, and straw. These should be at least 1 meter by 1 meter to get an accurate example of the final product.
Steps once you find the correct ratios
1) Lay down a waterproof membrane, wrapping it up the inside of the stem wall.
2) If you need to increase the depth of your floor height you can add tamped gravel.
3) Compact your road base. Minimum depth is 4 inches.
4) Lay down your first layer of final floor. We do ¾ inch thick. Let completely dry.
5) Lay down your final layer of floor. We do ¼ inch thick. This can be troweled smooth to close any holes. Let completely dry.
6) Paint multiple layers of linseed oil/thinners combo at 3:1 ratio. This provides a protective coat that will increase the longevity of your floor.
Want to Learn More?
Perfecting an earthen floor takes time and practice. If you are trying to create a sustainable home consider using earth for your floor and throughout your home.
If you would like to get some hands on experience in natural building join us for one of our upcoming courses check out our workshops page for our latest offerings.
References:
Earthen Floors - A modern Approach to An Ancient Practice By Sukita Reay Crimmel & James Thomson


