

BLOG
Stories, articles, and updates from the Ranch community.

Timber Framing: 10 Things You Didn't Know You Needed to Know (Part 2)
With proper instruction, patience, and focus, it is entirely possible for a beginner to accomplish amazing things with this building technique.
By Kara, Apprentice 2020
(This article continues from Part 1, read that one first to learn some basic tips for Timber Framing!)
Timber framing is an important natural building technique here at Rancho Mastatal, and much of it is done by workshop participants and apprentices-- not people with years of experience! With proper instruction, patience, and focus, it is entirely possible for a beginner to accomplish amazing things with this building technique. If you’ve taken a timber framing workshop with us here at the Ranch, you may find these tips a helpful reminder of the little techniques that often escape our memory. And if you’re planning on building your own sustainable home, these small things might be the difference between a day of frustration and a successful frame-raising.


If you’re interested in building your own home and timber framing check out our latest workshop offerings.

It takes a team to raise a frame
Doing your Lay-up
5. Pulling Horizontal Lines
After you’ve laid your tape and marked your measurements with a crow’s foot mark (remembering to subtract the 10” you’ve burned! See Part 1 of Timber Framing Tips to learn more), you’re ready to pull your horizontal lines around your timber. This means drawing straight, accurate lines around your timber at a right angle to the edge of your reference face, to indicate the cuts needed for each joint. With the crow’s foot ‘V’, pointing towards one long edge of the timber, it’s easy to see where on your mark your line needs to cross, but you still need to make sure that you’re drawing it perpendicular to the edge between the two reference faces. Both a framing square and a combination square can help you do this.
To use the framing square, orient your timber so that one reference face is up, and the other is on the side closest to your body. Hold the framing square with the ‘L’ parallel to the ground, one side resting flat across your timber where it intersects the measurement mark, and hold the edge of the other side flush against the close face of the timber. You’ll have to hold the square at a slight downward angle, but keep it as shallow as you can. Hold the framing square tight to the timber with your hip, and draw your line with a sharp pencil when you have it positioned accurately.
You can do the same thing with your combination square, and it’s not as important to be standing with a reference face facing you, as long as you’re aware each time you’re drawing a line to hold the flat edge of the square against a reference face. Never draw a line while the edge of the square is
resting against a non-reference face, it’s an easy mistake to make, but it can skew your lines and eventually cause misalignment in your joints if you don’t catch the mistake.
To pull a horizontal line around to a non-reference face, where you don’t have the crow’s foot mark, keep your square against a reference face, and draw the line around the timber, being careful to align your pencil lines at the corners. You’ll end up flipping your timber around as you work, so it’s important to mark your reference faces clearly. A thick chalk mark is ideal, so that you can see quickly if you’re using the right face to draw your lines from.
6. Drawing Vertical Lines
To draw the vertical lines for your layup, the ones parallel to the long edge of the timber, using a combination square is quick and accurate. Set the known distance between the edge of the reference face and your cut line, and place the flat edge of the square against the reference face, holding it parallel to the ground to that the ruler is resting fully on the timber. Using square rule, you only actually know the distance between the line and the edge of the reference face, since the corner
between reference faces is where your ‘perfect’ timber within the timber lives, and there could be extra wood on the other sides.
When setting the distance on your combination square, reveal the needed amount beyond the handle, leaving the tick mark on the ruler just slightly covered by the handle. Draw the line by holding your pencil against the end of the ruler, and drag both square and pencil along the length of the line, moving in tandem to draw a smooth line.
By almost covering the tick mark that you’re measuring to on the ruler, you account for the small
distance between the pencil line and the end of the ruler-- a sharp pencil helps, too!

Using the combination square to make your lines, making sure to set it just under the measurement you want, to account for the width of the pencil line
Cutting Joints
7. Don’t Remove Your Line!
Whenever you are cutting any joint remember to not cut away your line! The perfect cut would be cutting your line in half, but this isn’t always easy to achieve, especially for beginners. So instead cut just to the waste side of your line. This is important because as you’re cutting the rest of the joint you need reference of where to cut to! Seems obvious, but many people’s lines seem to disappear.
8. Practice Your Square Cuts
Seriously, you may think using a hand saw to make a square cut is easy… Well it’s not if you’ve never done it! Especially on large timbers. Usually you have a bit of extra timber to spare on either end, do as many practice cuts as you need to get a square cut.
To make a square cut, remember to cut on the waste side of the line. Align your saw blade at the far side of the line, you will move the blade down the line slowly, creating a small cut along the line (a kerf cut). Once you have your kerf cut you will begin moving the saw blade diagonally down the side line that is facing you, keeping the blade in the original kerf cut, and trying to not drop the blade down the other side that you can’t see. Stop cutting once you’ve reached the bottom. Now repeat on the other side of the timber, keeping your blade in the original kerf and moving the blade down the line. If at any point your blade begins to move off the line, stop and correct it immediately. The farther you move from the line the harder it will be to correct it.
The diagonal cuts should line up and create a square cut. You can check it with a framing square to see how far off or on you are.
9. Bevel up or bevel down
First, always make sure you have a sharp chisel! A dull chisel will make everything slower and probably not give you as clean of a cut.
There are two sides to the chisel. The bevel refers to the angled slant at the end of the chisel.
When you are cutting your joints it’s important to orientate the bevel the right way for which way the wood grain is going. When you are going with the grain of the wood, the bevel should be faced down. This will help insure that you don’t dive into the wood. Then when you are going against the grain, the bevel should be up.
10. Get a Team
Yep, timber framing kind of requires at least a few people. You always want someone to check your layouts before you cut anything. It is very helpful to have a partner to help spot you when you’re drilling the holes for mortises. And then when it comes to raising the frame, the extra hands will definitely be helpful and appreciated.

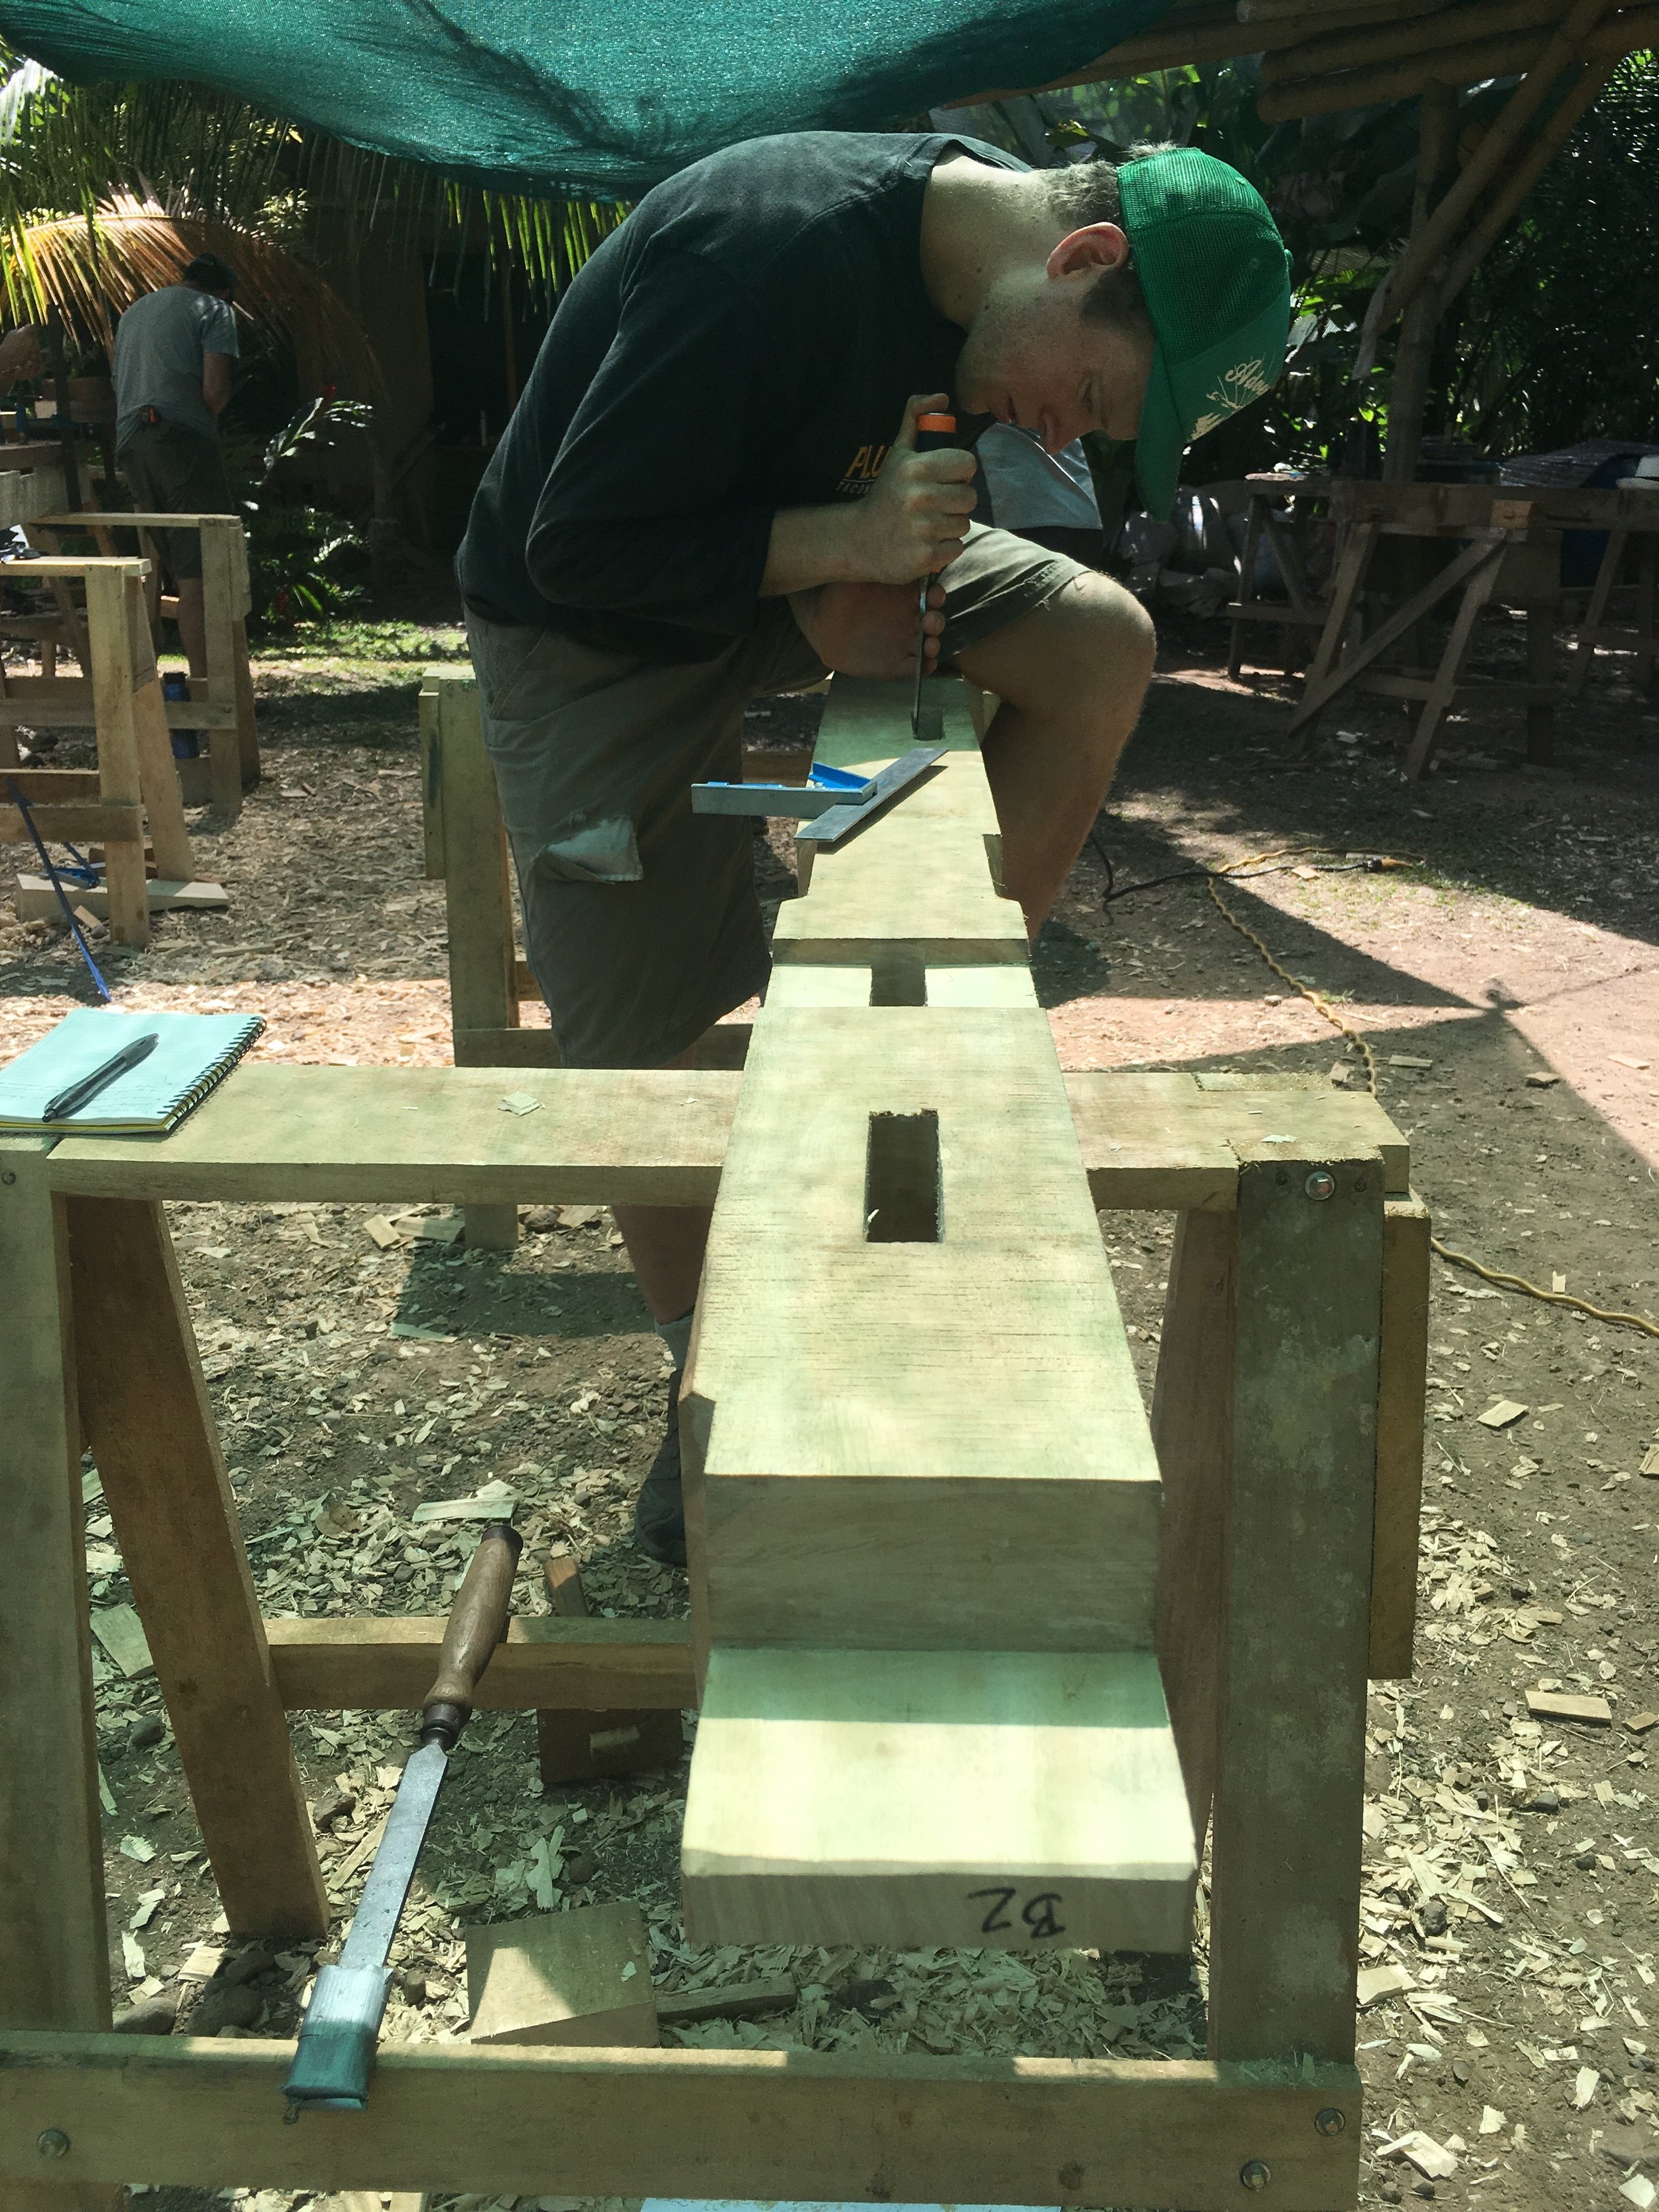
A student cutting this long tenon
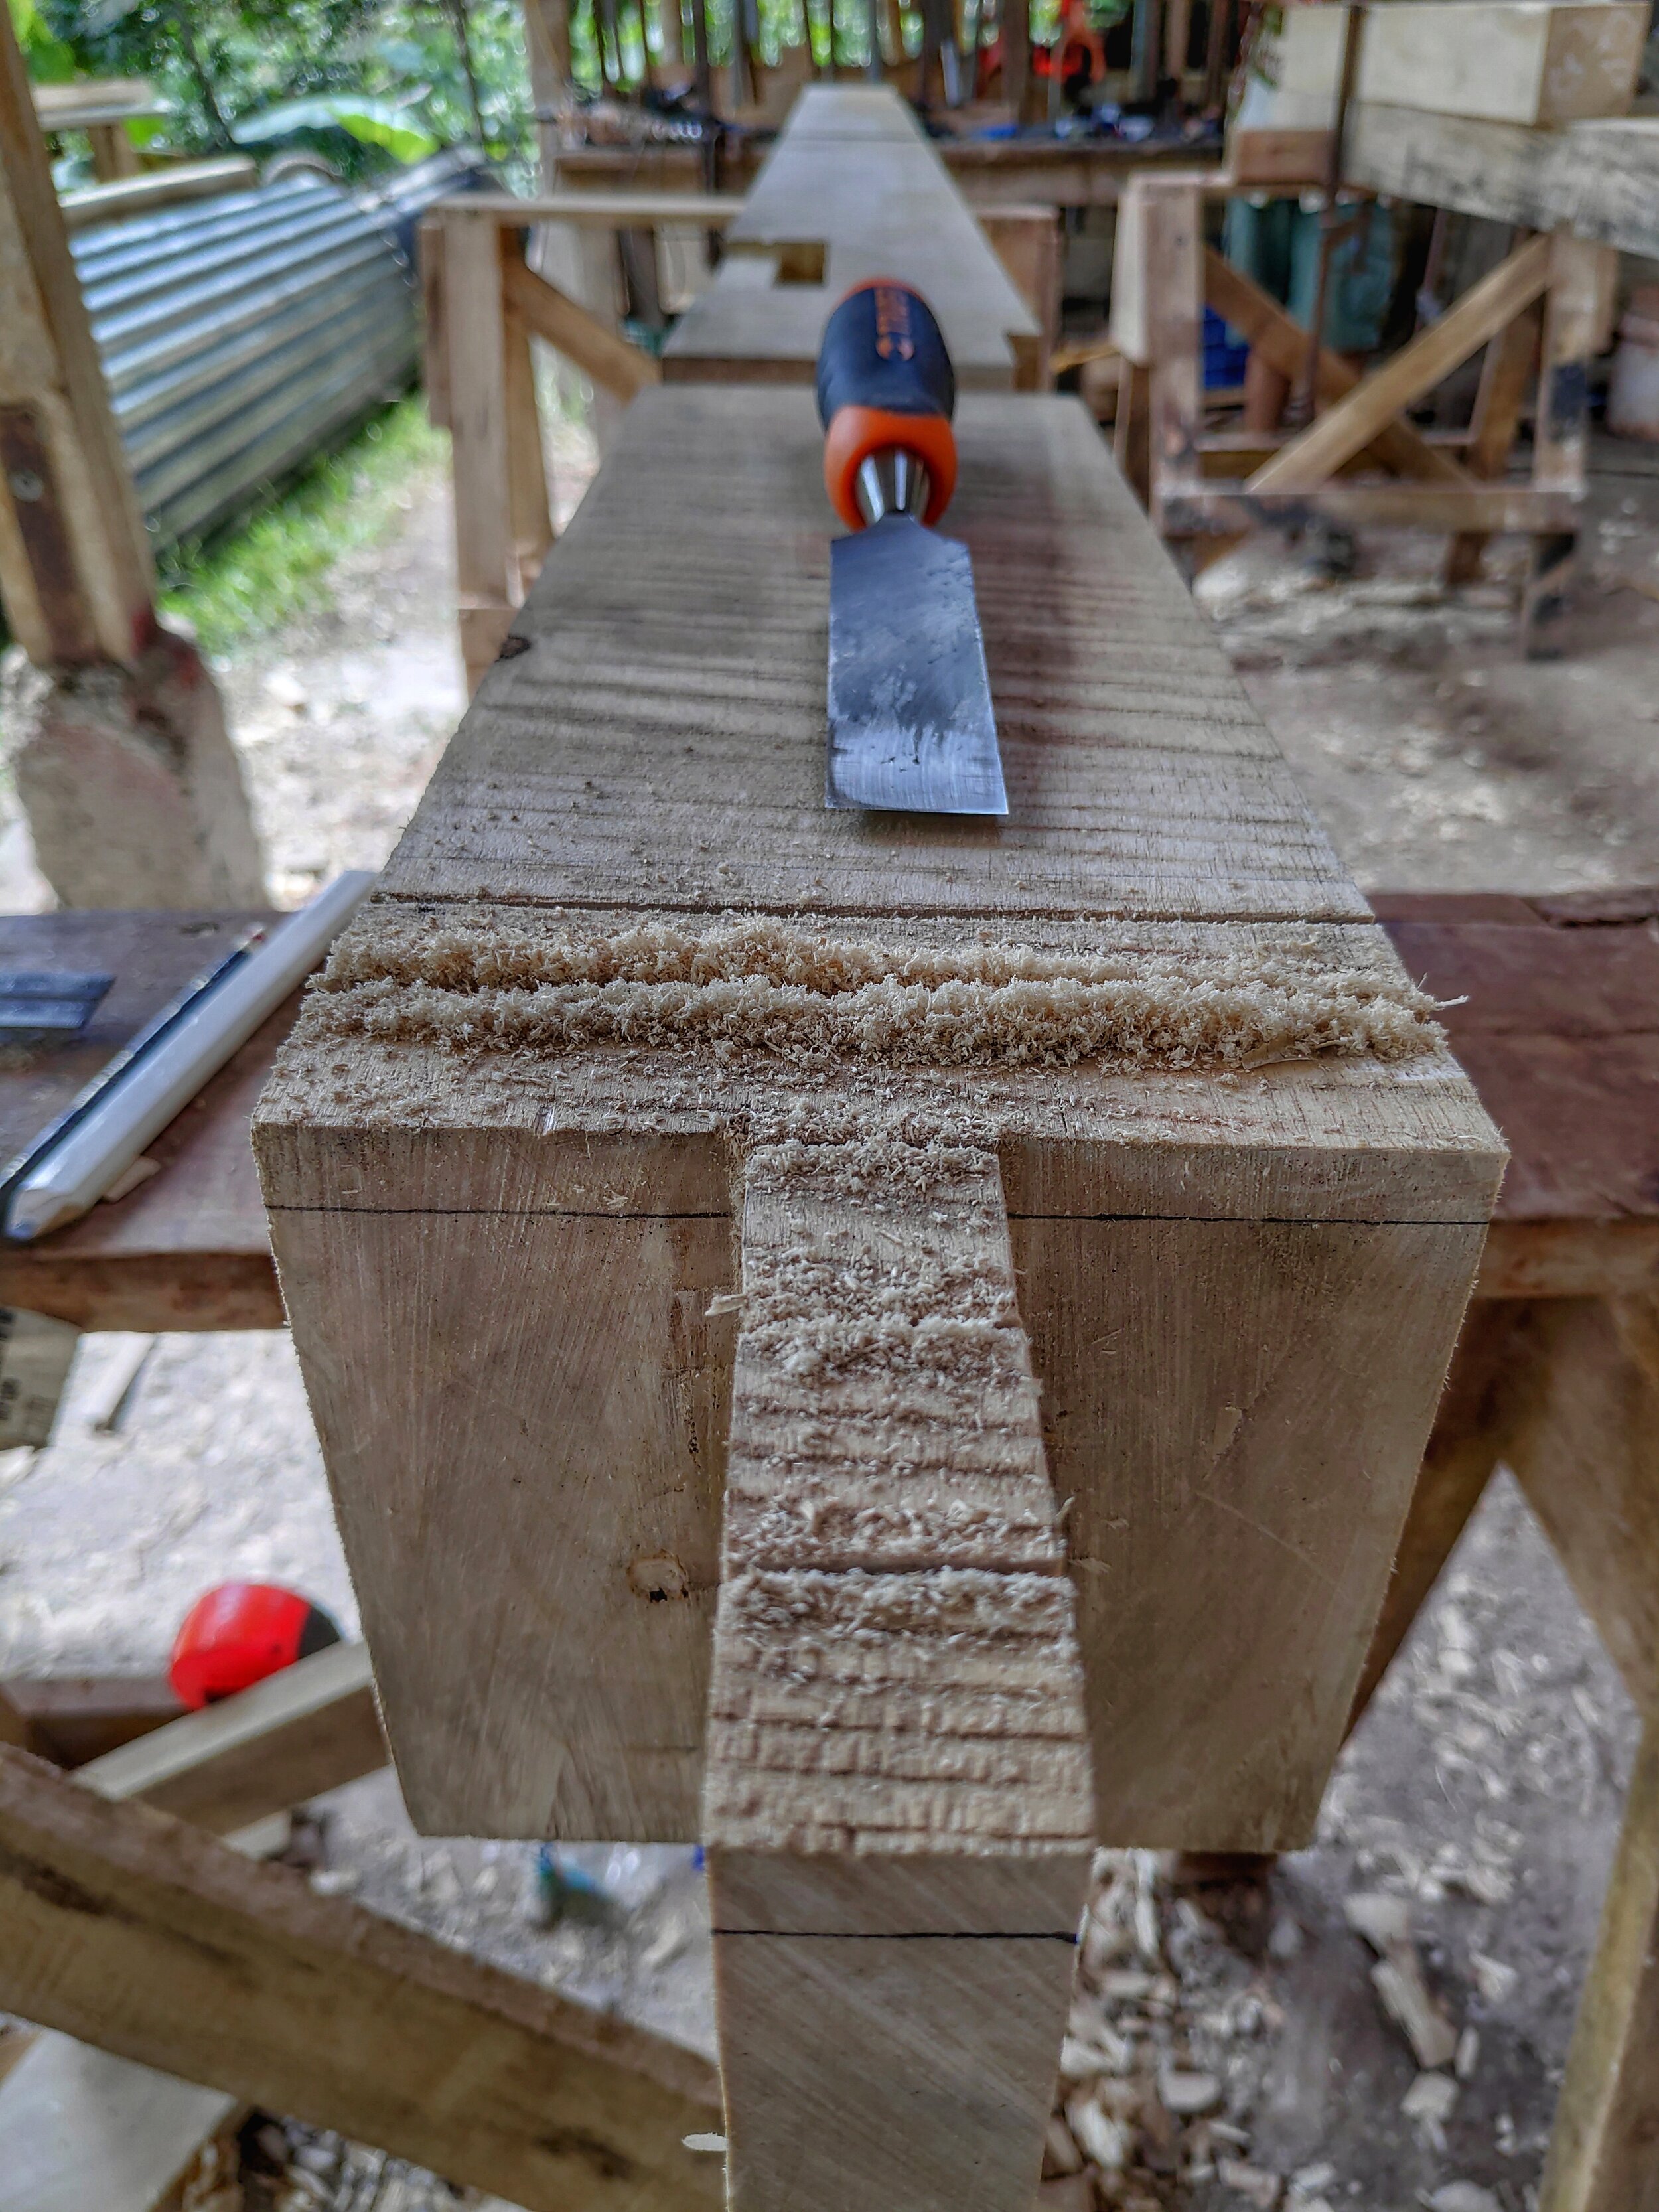
The kerf cuts to remove the housing on this joint
Want to Build Your Own Home?

Timber frame joinery
With over 15 years of experience in natural building including earth building, bamboo construction, and timber framing, Rancho Mastatal is a great learning environment to get inspired and hands on experience in these fields.
Make sure to check out our natural building courses:
Natural Building and Plasters Intensive
We host most of these courses annually, so make sure to stay tuned by visiting our workshop page here.
Past articles on timber framing and natural building at the Ranch:
Timber Framing: A Real Application of Sustainable Forestry Management

Timber Framing: 10 Things You Didn't Know You Needed to Know
Either way it’s important to know that timber framing takes patience and practice if you’re a beginner. The tips in this article are intended to introduce some important concepts in timber framing and to solve some common problems before they even arise, in order to set you up for success in your sustainable home build.
By Kara, Apprentice 2020
Timber framing is an integral part of the natural building techniques we use at Rancho Mastatal. The building style provides a strong framework to combine with other techniques. Adobe, cob, wattle and daub-- can all be used in conjunction with a timber frame. Maybe you’re already planning on building a timber frame house, or weighing options of building types. Either way it’s important to know that timber framing takes patience and practice if you’re a beginner. The tips in this article are intended to introduce some important concepts in timber framing and to solve some common problems before they even arise, in order to set you up for success in your sustainable home build.
If you’re interested in learning the basics of timber framing you can check out our upcoming workshop.

A happy crew after finishing the raising of this timber frame
1. Square Rule
When building your sustainable home it may be possible to work with locally sourced, large-dimension timber, but the pieces provided by your local sawyer may vary in size and squareness. For timber framing, a construction style that relies on accurate measurements, this reality presents an interesting problem. A common solution, and one we use for our natural buildings at Rancho
Mastatal, is called square rule. The basis of square rule is the assumption that a perfect, slightly smaller, timber exists within your uneven timber. By making measurements and joints align to this
imagined perfect timber, the inconsistencies between the actual timber sizes won't affect the integrity of your joinery.
In practice, there are likely to be two adjacent faces on your timber that are at 90 degrees (or close enough to plane one side until they are). These two sides become your reference faces, and thinking in terms of your ‘perfect’ timber, it’s nestled into that 90 degree corner. You’ll measure everything from these two sides, marking them distinctly in pencil or chalk so that you can quickly see where they are.
In planning where your joinery is going to be laid out, you have to keep in mind that the exterior faces must be flush to allow the cladding to be attached as well. This means that one of your reference faces will always be on the exterior facing side of your timber. Along with this consideration, you’ll want most cuts to be on a reference face. Even if they aren’t, joints will be measured to the inner surfaces of the reference faces, so that the inconsistencies in the timber won’t affect their placement.
When cutting, this may mean that you have to cut out ‘housing’ for the joints on non-reference faces. This is a reduction that exposes the ‘perfect’ smaller timber, and allows mated pairs of joints to sit flush against each other. By exposing the ‘perfect’ timber, identical pieces like knee braces
become interchangeable throughout the building-- so you don’t have to plan for the inconsistencies and variations in each piece.
Square rule is a concept that may seem daunting at first, but it can becoming intuitive with practice. By measuring to the ‘perfect’ timber, and cutting housing to expose it, means that each piece can be cut without knowing the unique shape of the corresponding timbers it will fit into. I recommend doing more research into the topic. The book “Learn to Timber Frame” by Will Beemer is a good resource.

Using a framing square to find your best 90 degree sides

And a hand planer to make those sides perfectly 90

A perfectly sharp pencil
2. Sharpening your Pencil
To mark measurements on a rough piece of timber, it’s best to use a carpenter’s pencil. It should be sharpened to a wedge (you can use a chisel or a knife), so that you can make a thin line or a thick one. You can even shave down one wide side flat to the lead, so that it sits flush with your ruler as you draw a line. It’s important to consider the sharpness and the angle you’re holding your pencil as you draw, since it’s easy to skew a line as you draw it along your timber if you’re not paying attention.

Exact measurements are key to your frame fitting together
3. Burning 10”
When running a tape measure over your timber, don’t start measuring right from zero. Sometimes the metal edge is loose, and it is hard to get an accurate read on where 0” actually is. Instead, place your tape measure so that 10” is on your beginning mark. Measure from there, adding the 10” to your measurement. It’s better to use 10” than 1”, because it’s easier to see if you’ve forgotten to account for the burn when you’re checking your layout. Don’t get burned by the burn!
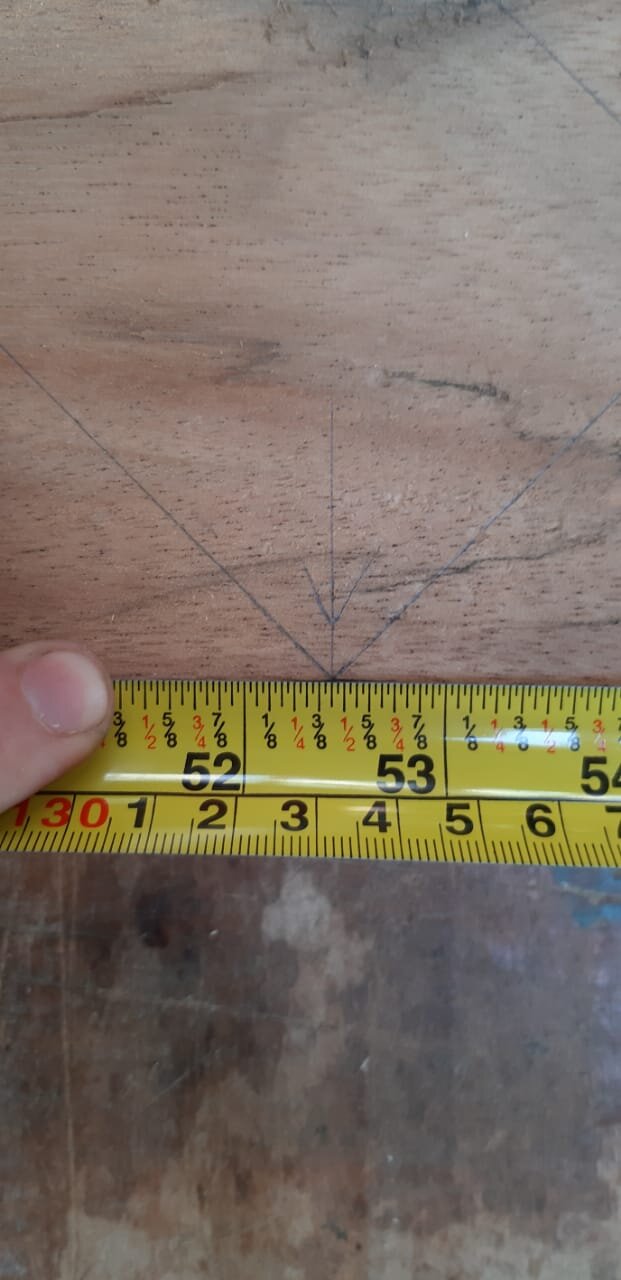
A crow’s foot helps you identify the right measurement
4. Crow’s Foot Marking
When marking measurements taken from your tape measure, use a ‘V’ shape ‘crow’s foot’ mark on
your timber instead of a single line. While carefully holding your tape flat against the timber (being sure not to move it!), draw the crux of the ‘V’ at the mark you’re measuring to, drawing both lines from the point out. A sharp pencil lead is crucial here for accuracy. A single, quickly drawn line can curve, and later it can be hard to tell exactly where on that line the accurate measurement is.

A timber frame joint called a “scarf joint” that allows you to join two long timbers together
Part 2 to Come!
Building your sustainable home using timber framing techniques is an exacting, but rewarding pursuit. Part 2 will continue with more tips to help you measure, layout, cut, and assemble your building.
Want to Build Your Own Home?
With over 15 years of experience in natural building including earth building, bamboo construction, and timber framing, Rancho Mastatal is a great learning environment to get inspired and hands on experience in these fields.
Make sure to check out our 2021 natural building courses:
Natural Building and Plasters Intensive: February 2021
Bamboo Construction: April 2021
Timber Frame Construction: June 2021
We host most of these courses annually, so stay tuned yearly by visiting our workshop page here.
Check out these past articles about natural building and timber framing here at the Ranch:
Design Ideas for a Sustainable Home in the Tropics
Timber Framing: A Real Application of Sustainable Forestry Management

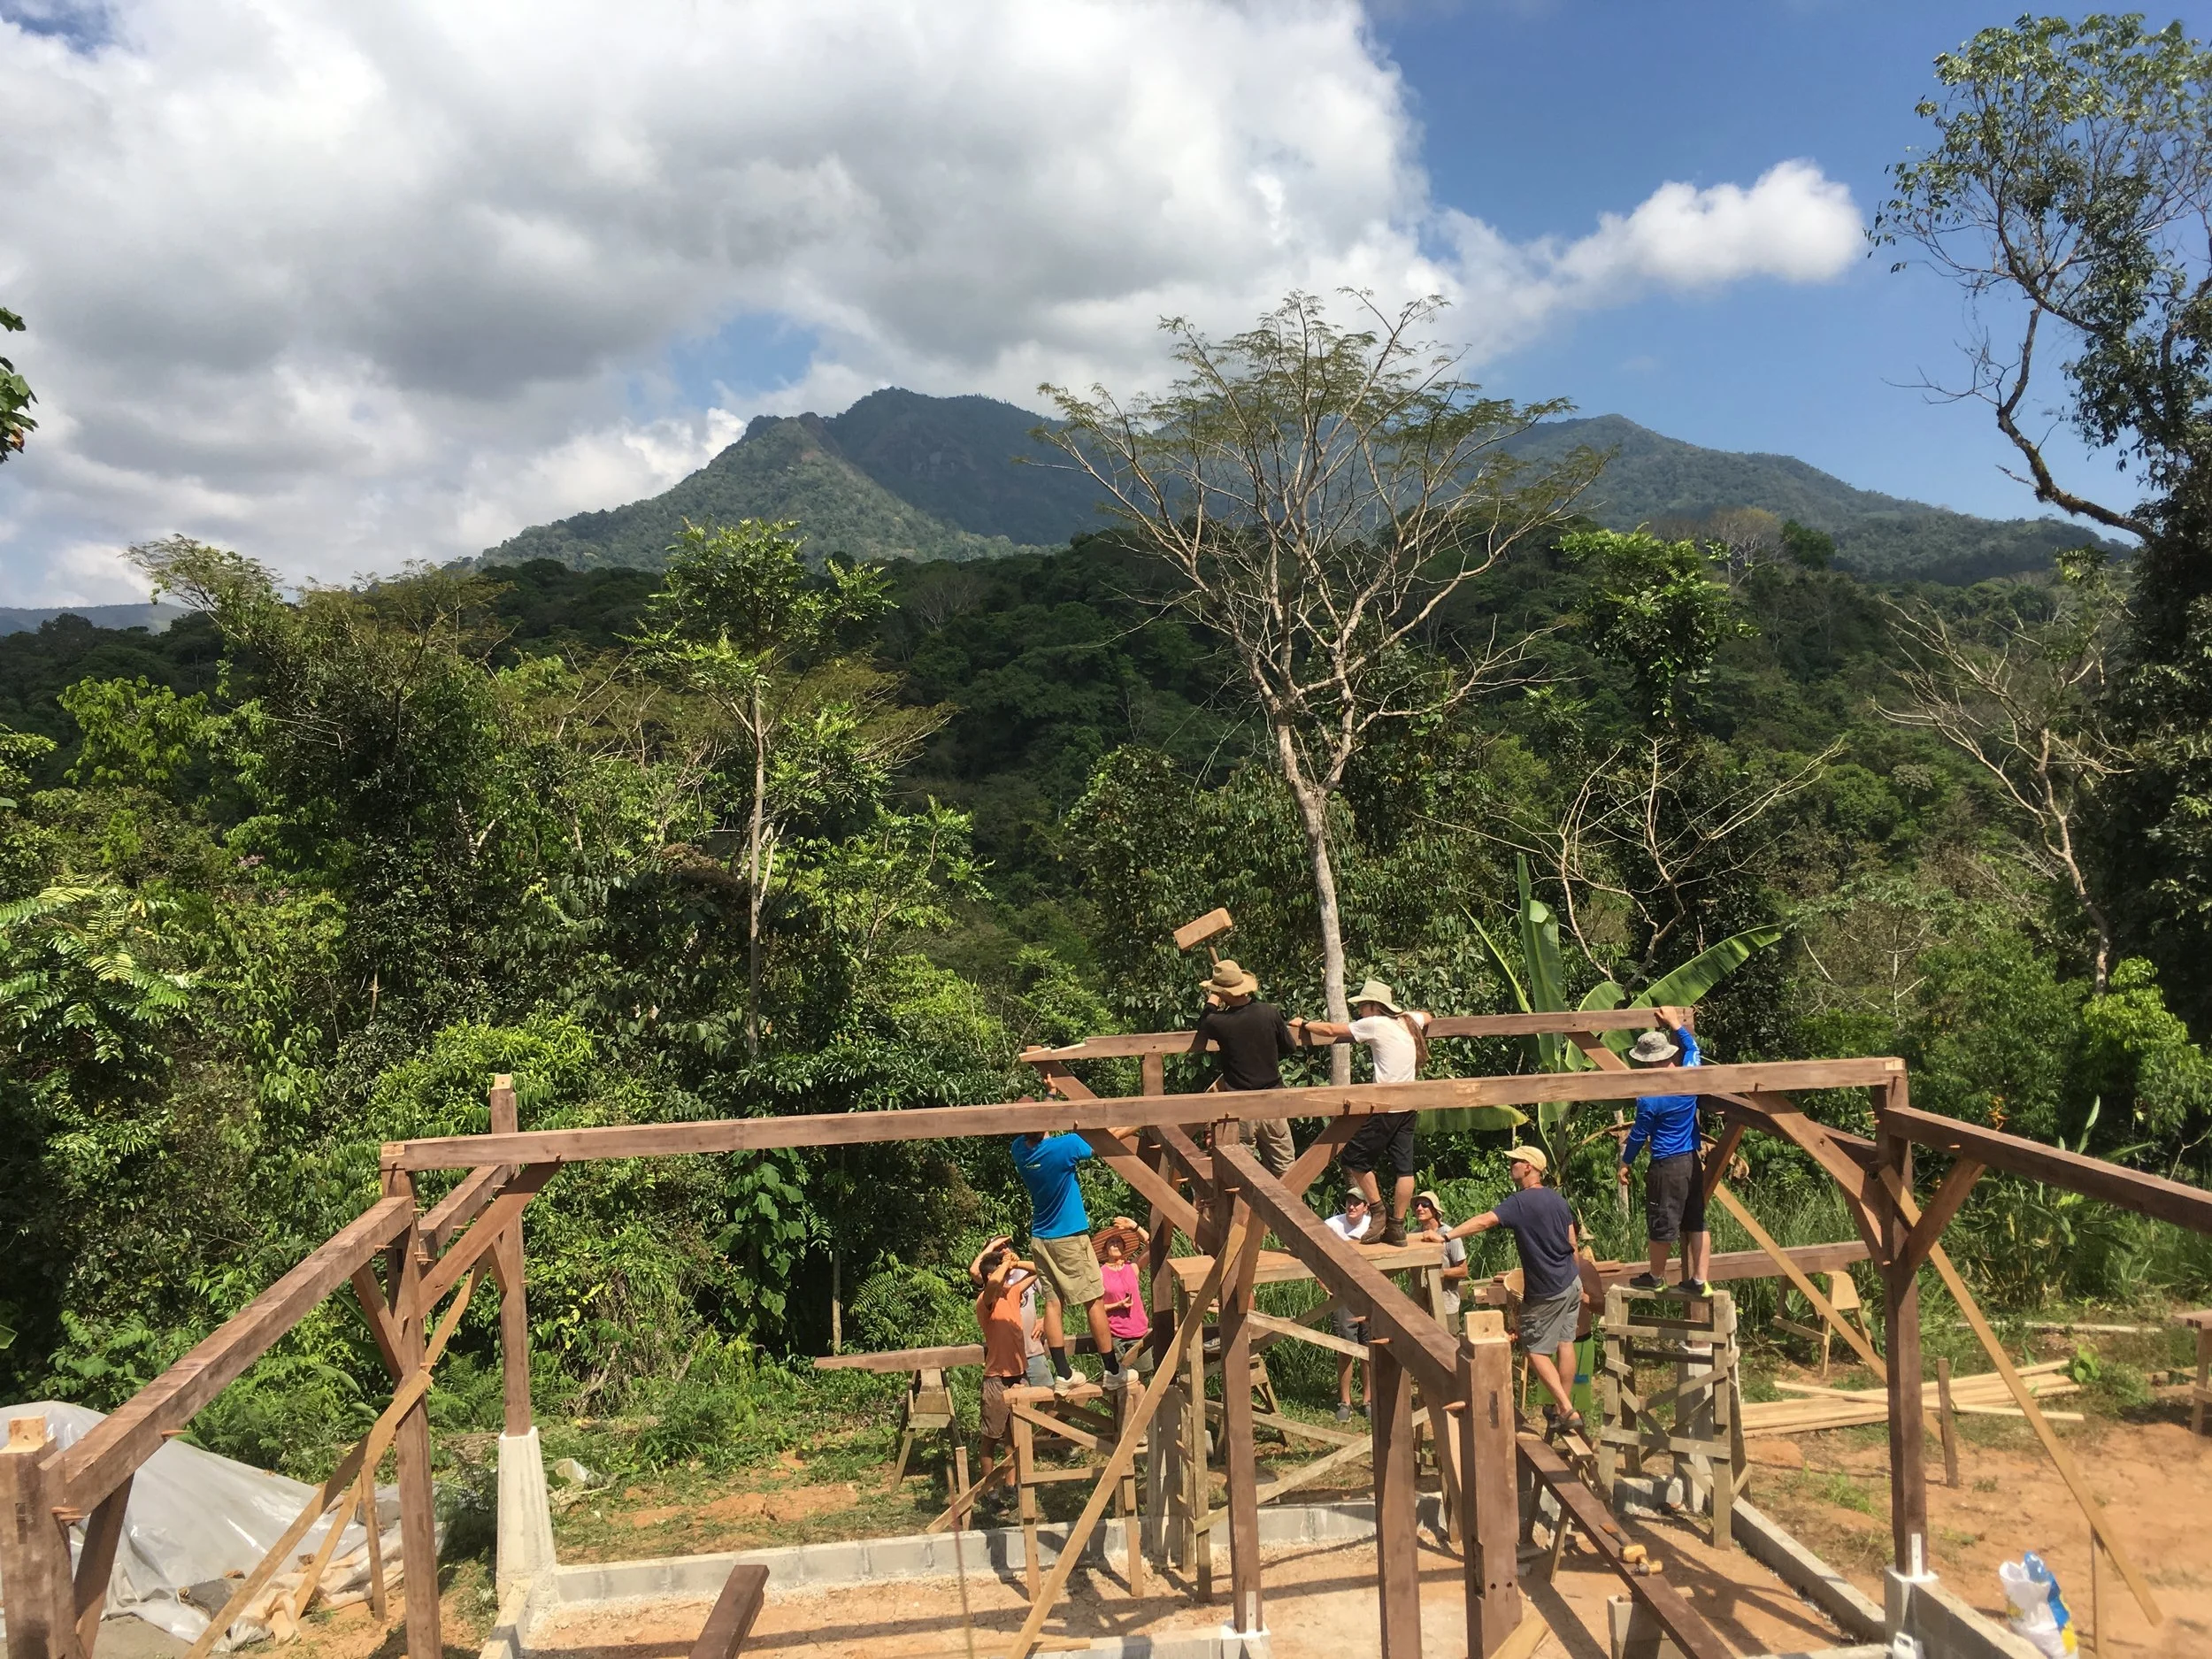
Students in the Timber Frame course raising the frame they cut in class
Timber Framing in the Tropics
The rainforests of Central America might not be the first place that you think of when you hear the term “timber frame construction”, but with initiatives in Monteverde and Mastatal, Costa Rica is starting to make a name for itself in the region for this post and beam building technique. We started to build the infrastructure of Rancho Mastatal Sustainability Education Center in the small rural community of Mastatal, Costa Rica in 2001.
By Tim O'Hara

The rainforests of Central America might not be the first place that you think of when you hear the term “timber frame construction”, but with initiatives in Monteverde and Mastatal, Costa Rica is starting to make a name for itself in the region for this post and beam building technique. We started to build the infrastructure of Rancho Mastatal Sustainability Education Center in the small rural community of Mastatal, Costa Rica in 2001. At that time, we did not seriously contemplate this age-old technique of joining large timbers using mortise and tenon joinery. There were no local, established wood mills in the area in 2001 nor had we ever built anything in this manner. In addition, the portable Alaskan mills used by local sawyers are not up to the task of producing a 6'x6'x12' member straight enough to work using the square rule method that we would eventually be introduced to.

The possibility of building a timber frame structure on the Ranch's campus began to gain traction after our introduction to SKIP DEWHIRST and LIZABETH MONIZ in 2003 when these two Vermont-based builders came to Rancho Mastatal to teach a natural building workshop at our site offered through Yestermorow Design/Build School. After a successful first workshop, they began coming down every year to teach courses, though with a non-timber frame focus. Skip, a seasoned timber framer, eventually started to inquire about the possibility of sourcing long, straight, large timbers so that we could begin to incorporate this type of building into our natural building education programming and our infrastructure. During a conversation in 2006, we decided together to give it a try and started planning a 2007 workshop that would focus on the construction of a 10'x15' cabin on the edge of the rainforest. We would in due course call it La Casucha, meaning little rustic house in Spanish. We set about trying to source the cut list for the design that Skip had come up with. When we finally received the wood delivery for the class, banano was the first term I heard uttered by our talented and local worker ALEX HERNANDEZ. Banano in Spanish, as you can probably figure out, means banana in English and is not an endearing term when referring to a piece of wood to be used for the construction of a rectilinear home. It took us more time to plane the timbers to ready them for laying out the joinery than it did to actually cut the joinery with our chisels and mallets. Banano has since worked its way into our building lexicon and is uttered a bit more frequently than we'd like. But that's life in the rural tropics.

For those of you reading this in the comforts of your first world home, we do not have access to a lumber yard or a box store for our building needs. Nor at that time did we have easy access to a bandsaw mill. Almost all of the wood that we used for building purposes had to be straightened, planed and cut before even thinking about a layout. Fortunately for us and others interested in sourcing local wood, in 2010, a local man named CARLOS SOTO set up a portable bandsaw mill about a ½ mile from our town center. From that point forward we were able to more consistently obtain reasonably straight timbers and our foray into timber framing has not waned since. We now have a combined total of 9 timber frame buildings at the Ranch and in our small community. The practice has revolutionized the infrastructure of our organization and how we look at wood as a building material in our timber-rich ecosystem.
We have access to and have used many different species of wood for our projects and continue to learn about the different qualities that each have. There is much less written about the characteristics of the tropical woods that we use than the commonly used temperate species in North America. Much of our learning has happened through trial and error. Pilon, or bull's blood, is a heavy, resistant hardwood that we expected would be good for pegs until we realized how short-grained it was. Melina, a resistant softwood species originally imported from India, is a decent candidate for frames though the wood can be tricky to work with due to inconsistent grain patterns. Teak, another non-native wood increasingly common in Costa Rica, has a tendency to be knotty from some local suppliers and prone to termite damage if harvested too young, as is commonly done in our area. For most of the species that we've used, sourcing wood from older trees, keeping your chisel razor sharp and making sure that your stock of patience is full are all keys to a successful and strong frame.
Since opening our doors in 2001, natural building has been one of our focuses. Our site is considered by some to be a leader in the relatively small natural building movement in Central America. All of our buildings are small, simple and nice on the eye with a focus on using materials that we can source in our region. To do this requires a lot of work, an abundance of persistence, and the willingness to slow down the building process. As our campus has organically grown, so has our network of people working in and interested in natural building. We've had the honor of working with and befriending a number of leaders in the sector including BILL, BENITO and ATHENA STEEN, RYAN CHIVERS, LIZ JOHNDROW, MATTS MYHRMAN, CHRIS MAGWOOD, SKIP and LIZABETH and others. We've also had the privilege of experimenting with other wonderful natural building resources such as clay, bamboo and lime that are so rich in our region. It's been a wild ride full of successes and failures but increasingly our infrastructure is starting to catch the eyes and fill the hearts of many a natural building lover with timber frame construction the crux of our building world. Even though this building technique has a shorter history in Central American compared to other parts of the world, our experience has shown that it's a relevant choice for our environ. We plan on continuing our experiments with timber frame construction and invite you to come and join us on our ride to discovering the beauty of building in the tropics. Hope to see you in Mastatal soon!
OPPORTUNITIES AT THE RANCH, IN THE REGION AND BEYOND
Japanese Natural Plastering
Interested in natural plasters? Join us in March, 2018 for a unique experience learning about Japanese Plastering at Rancho Mastatal.
Aerie Backcountry Medicine Semester in Wilderness Medicine
Join Aerie for its Semester in Wilderness Medicine at Ranch Mastatal and Montana this winter and spring. The field portion of this course runs January 31 through April 15th. The Semester offers 15 upper-division UM credits, EMT, Wilderness EMT, Swiftwater Rescue and Avalanche Rescue certifications, as well as training in LNT, wilderness survival and wilderness navigation. Students will live for a month at the Ranch, will help organize and run a free health clinic in Zapaton and will complete rotations in the Emergency Room as well as on an advanced life support ambulance. The cost for UM students, including room, board and all certifications, is approximately the same as in-state tuition at UM, and students can use their AmeriCorps awards as well as their financial aid.
Japanese Cooking at Rancho Mastatal
Love Japanese Food? Join us March 20-23 for a fantastic culinary immersion in Japanese cuisine during our Japanese Permaculture Cooking: An Introduction to Japanese Cooking and Permaculture
We hope to hear from some of you with your updates and stories! Thanks to all of you out there that make the Ranch community so strong and special.
Abrazos,
The Ranch Crew
Categories
Topics
- Agriculture 6
- Agroforestry 21
- Animals 2
- Apprenticeship 19
- Appropriate Technology 6
- Backpacking 1
- Bananas 1
- Basic Pantry 4
- Biochar 1
- Books 3
- Build Your Own Home 1
- Central America 5
- Chiles 1
- Cinnamon 1
- Clay Carving 1
- Climate 2
- Climate Change 1
- Cob oven 1
- Communication 5
- Community 24
- Compost 2
- Composting Toilets 2
- Condiments 1
- Conservation 2
- Cooking 4
- Costa Rica 18
- Design 10
- Earthen Construction 10
- Eat Local 2
- Ecohome 1
- Education 9
- Environment 3
- Ethics 4
- Farm to Table 12
- Fasting 1
- Fermentation 14
- Food 22
- Food Choices 8
- Food Forest 8
- Food Processing 15
- Food Systems 12
- Gap Year 1
- Gardening 5
- Ginger Beer 1
- Harvest 2
- Health 12
- Healthy living 5
- Homemade 2
- Homestead 8
- Internet 2
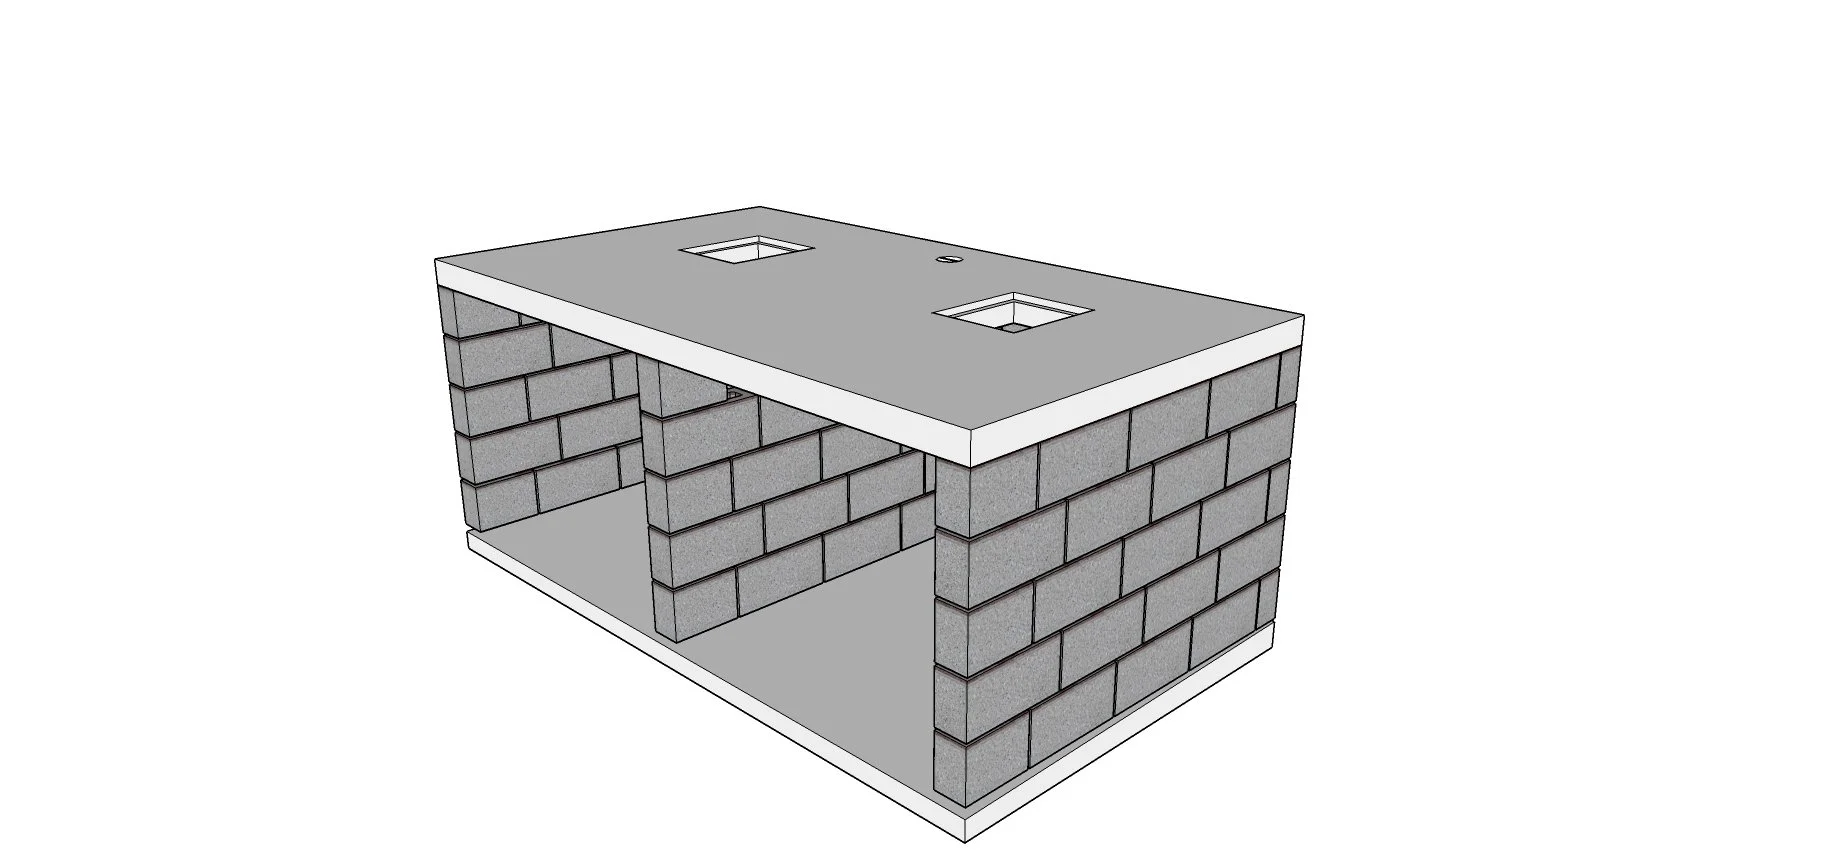
Due to popular demand we have put together a document that outlines how our composting toilets are designed and made. The documents include
-dimensions for different size chambers based on number of people using it
-door design
-chamber design
We have spent years fine tuning our design and details based on what is easiest and what works. This is the culmination of building 11 different composting toilets and each time improving the design.
It is important that you understand that this design is only for the composting toilet element, it does not include any of the timber frame or bamboo framing that form the structure for the roof that covers these all over the ranch.