

BLOG
Stories, articles, and updates from the Ranch community.
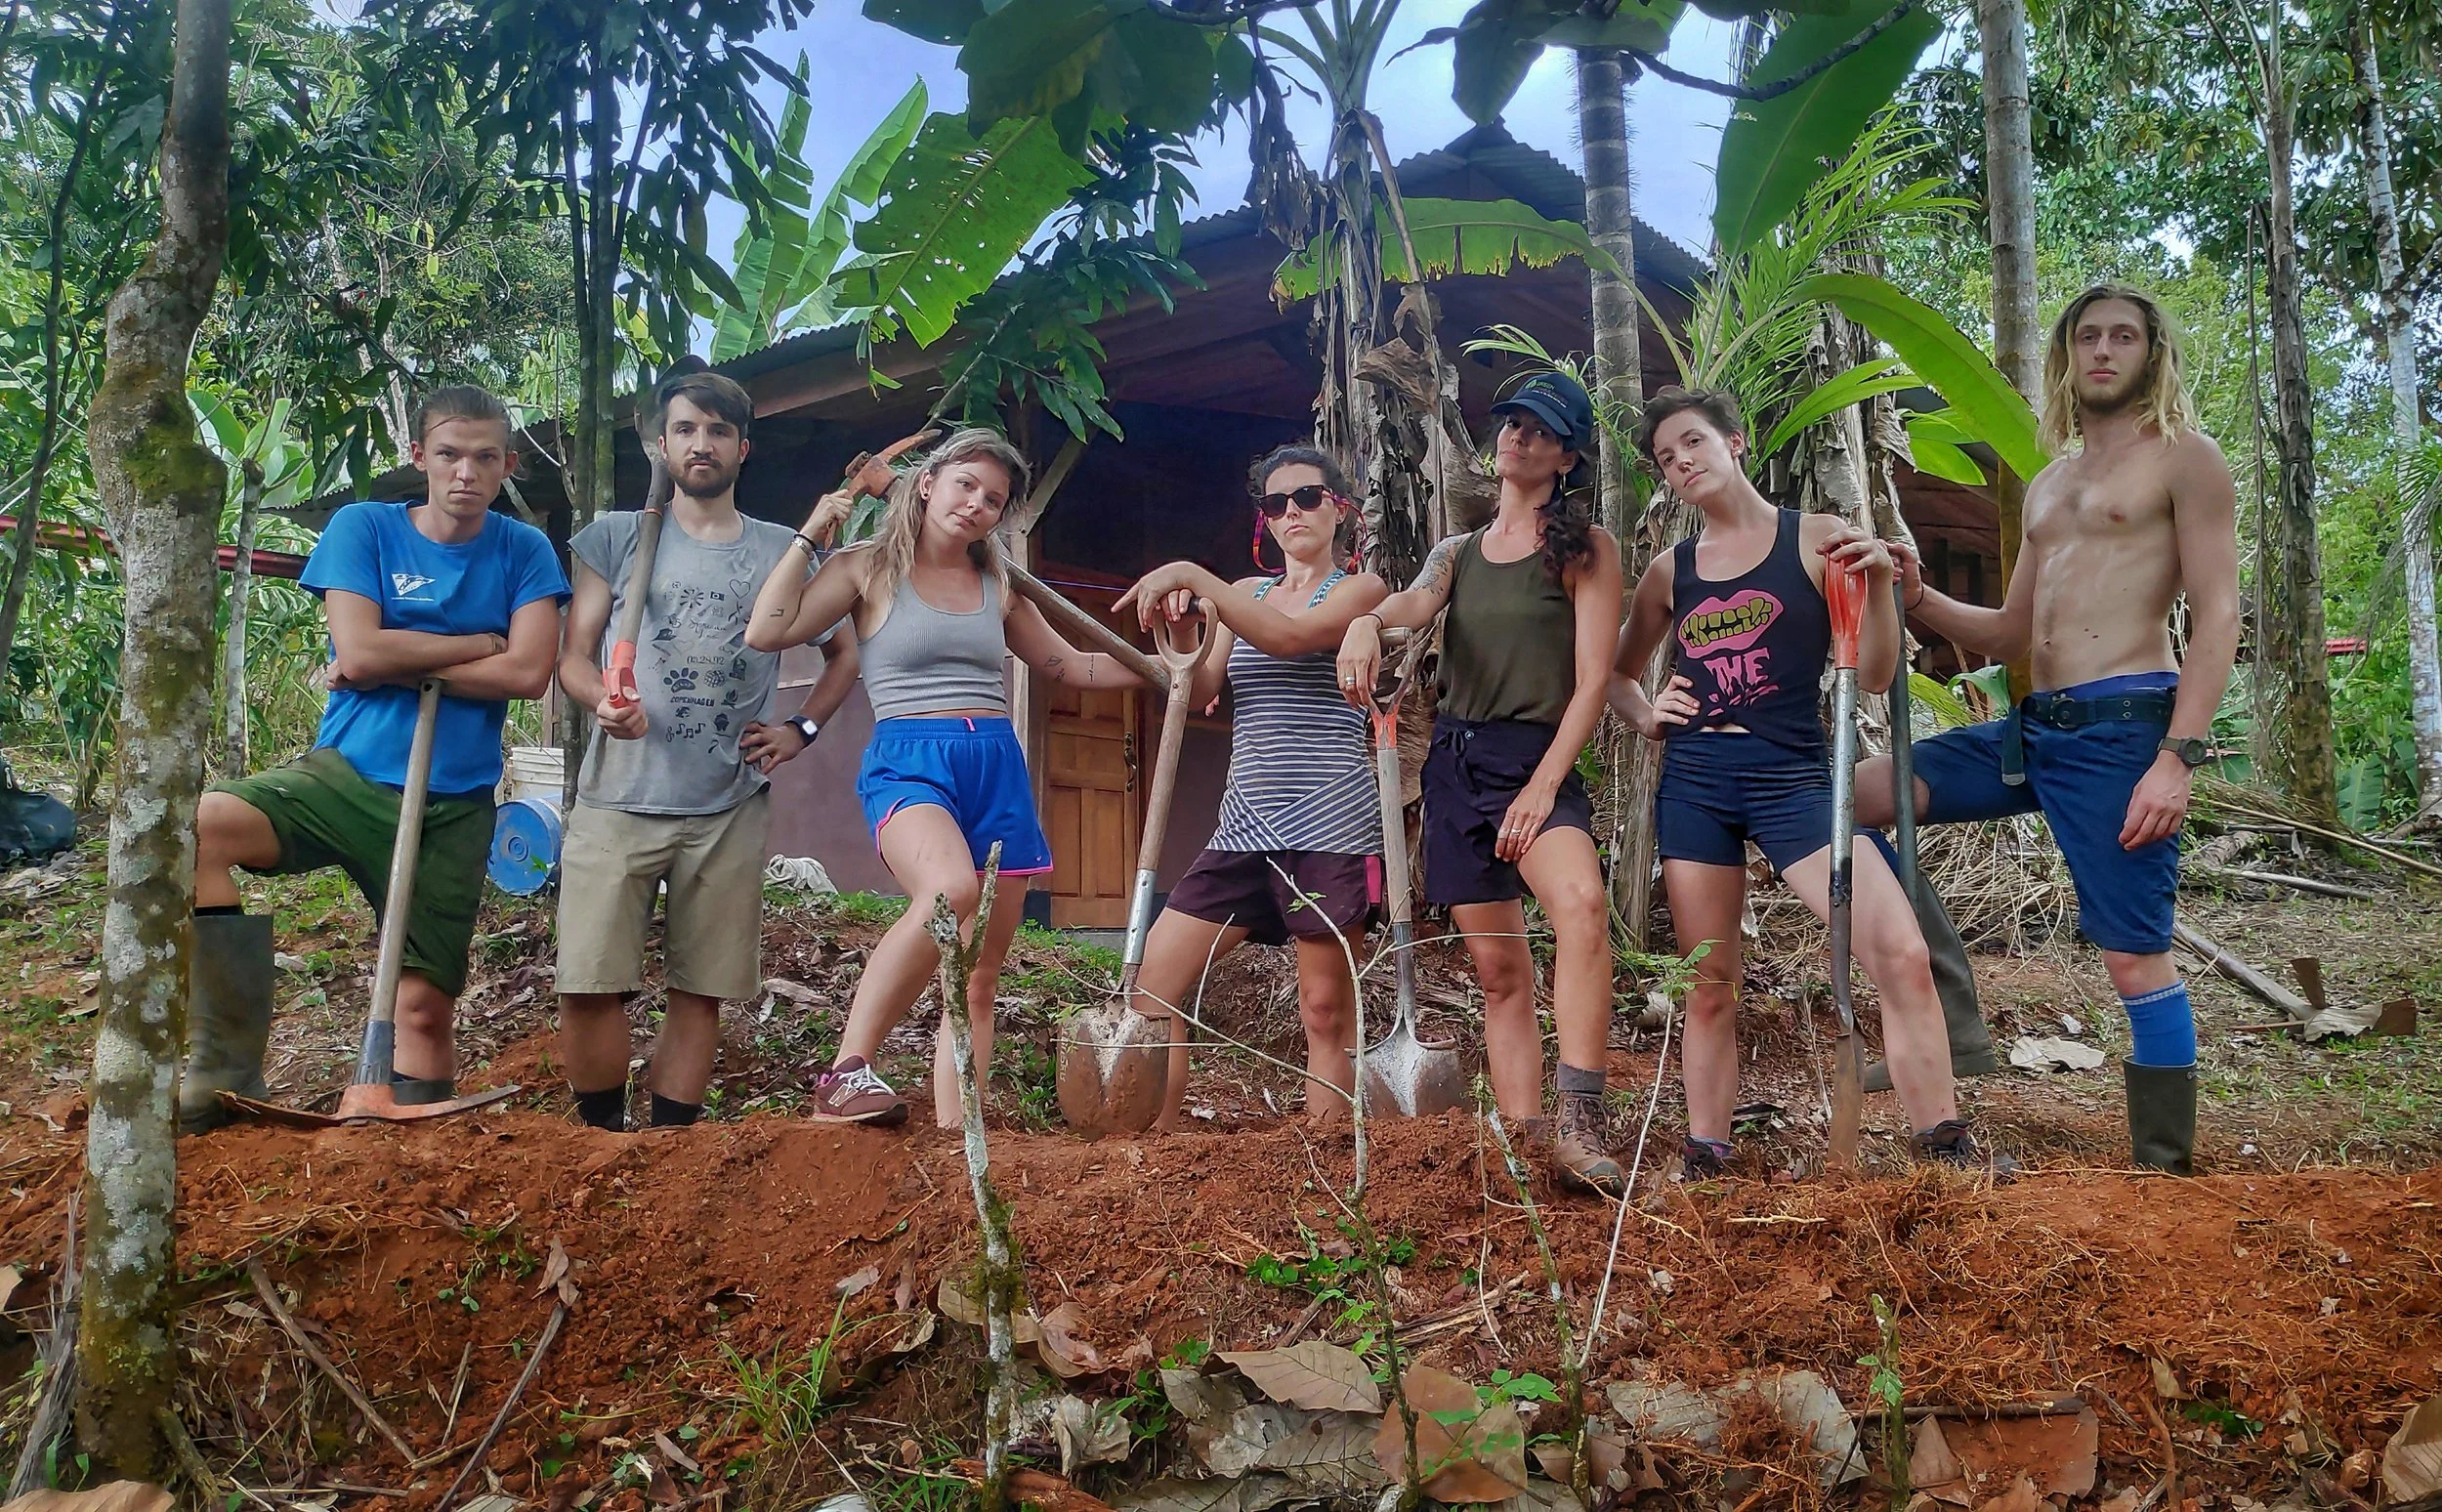
How to Run A Permaculture Internship
Every year, Rancho Mastatal offers a year long apprenticeship and a 2 month long internship for people interested in taking a deep dive into agroforestry, natural building, and farm to table food preparation while living in community.
How to Run A Permaculture Internship
By 2021 Apprentice Abbey Cmiel
Every year, Rancho Mastatal offers a year long apprenticeship and a 2 month long internship for people interested in taking a deep dive into agroforestry, natural building, and farm to table food preparation while living in community. In the Rancho Mastatal model, all apprentices arrive in January and have 7 months of varied and ongoing learning in all the Ranch has to offer. Then, the apprentices fully organize and run the two month internship in August and September. As an apprentice, this means I had the opportunity to first study and absorb an immense amount of knowledge, and then share it with 4-5 other individuals interested in learning as interns.
When I first learned about this aspect of the apprenticeship I felt quite intimidated. Who was I to run an internship at a center that was not my own on subjects I had not yet learned? But now having completed running the internship, I am extremely proud of our collective ability to offer an educational and entertaining program, as well as grateful for the chance to deepen my knowledge through the leadership role.
My intention in writing this blog is to support others who are interested in starting or developing an internship program at their farm or educational center. Though my experience is somewhat limited, I hope to offer some of the challenges we faced, the successes we found, and my own experience as both a participant and teacher in permaculture immersion programs. Also, I would love to learn about other similar programs and your experiences, so please feel free to reach out!
First, a bit about myself and my experiences of permaculture-based internships. My name is Abbey and I am a 24 year from North Carolina and California. Following college, I signed up for a 10 week permaculture immersion at the Eco Institute in Chapel Hill, NC and fell in love with the integrated lifestyle of a farm and justice based community. Following this path, I then moved to The Occidental Arts & Ecology Center in Northern California where as a year long intern, I helped run the nursery, host activist groups, work in the garden, and organize a permaculture design course. These experiences each brought me to Rancho Mastatal, where I recently finished organizing and running the two month internship alongside my six fellow apprentices.
These combined experiences of living in community, participating in, and running permaculture-based internships have allowed me to see common challenges and successes between them. So, without further ado, here are some of the tips and tricks I’ve gathered over the years.
1. Create a schedule or structure
Most people enjoy having routine or some basic structure to return to, especially when in an unfamiliar location and social setting. Even if what you’re doing changes every day, it’s helpful to have a standing schedule so interns can create expectations. At the Ranch we have two “work parties” a day from 7:30-10 am and 11:30 am-2 pm. We eat our meals at 10 am and 6 pm, and also have set times for sports, meetings, and rest. This makes it easier for everyone to take care of other needs, such as self care, laundry, tool maintenance, phone communication etc. because they know when they’ll have time.
2. Have Established Meeting Times
At the Ranch, we have four types of meetings: square, circle, app/intern/core team meetings, and 1-on-1s. Square meetings happen every morning after brunch around 10:30 am. During this time, one person volunteers to facilitate “reading the board” and we review what we did in the morning, briefly discuss the upcoming day, delegate projects, and go over any simple announcements. This meeting takes no longer than 15 minutes. Any longer form questions or decisions are reserved for “circle” meetings.

Our earthen structure that we hold our meetings in
Circle meetings happen every Friday afternoon and last 1-2 hours. We begin by going around the circle and sharing a 3 minute-ish update on how we’re doing mentally, physically, emotionally, etc. After completing the circle, the space is opened for agenda items that require more in-depth discussion. We use consent-based decision making in which, after discussion, a person will make a proposal. That proposal is then voted on by everyone who chooses to participate with a thumbs up or thumbs down. Thumbs up agreeing to the proposal or willing to live with it, thumbs down having “paramount objection”, something they absolutely cannot agree to otherwise they will leave. This is an abbreviated account of the decision making protocol, read here for a more in depth explanation. Finally, we end by going around the circle and stating an intention or hope for the upcoming week.
Every week on Thursdays, we meet amongst our intern, apprentice, and core team cohorts to discuss any agenda items that pertain directly to that group. This meeting typically lasts an hour.
Lastly, about once a month, we have 1-on-1s in which a “core team” (long term staff or residents) member pairs off with an apprentice to discuss their experiences and how each party can be better supported. While running the internship, each apprentice would pair off with an intern. This is a good time to talk over any challenges, feedback or affirmations each party has. It’s important that time is set aside for a longer conversation so both people feel they are being heard and the person with less authority is comfortable expressing discomforts.
3. Make sure people have enough food

A typical dinner plate
Ah, the near-impossible task of feeding many people with different food needs! Especially if you are hosting a permaculture or sustainability related internship, expect people who are very intentional about their eating habits. Always ask for food restrictions. Be sure to outline what a typical meal schedule looks like so people who are vegan, vegetarian, gluten free, dairy free, and those with other allergies can decide if the program aligns with their needs.
As someone with an allergy to gluten, I am quite used to preparing additional food or being flexible with what I eat. You will find most people with alternative diets are quite good at meeting their needs with little additional input. It is important, however, that they have access to kitchen time or a grocery store. If neither of these are accessible, be sure to outline these limitations.
At the Ranch, we eat two meals a day at 10 am and 6:30 pm. Additionally, hard boiled eggs, leftovers, and bananas always available. We find this two meal a day schedule means much less cooking and cleaning and more time to do what we love!
Create clear guidelines about what food can be eaten for snacks and what is reserved for communal meals. Check in to see people are feeling fed and energized.
4. Distribute cooking and dishes equitably
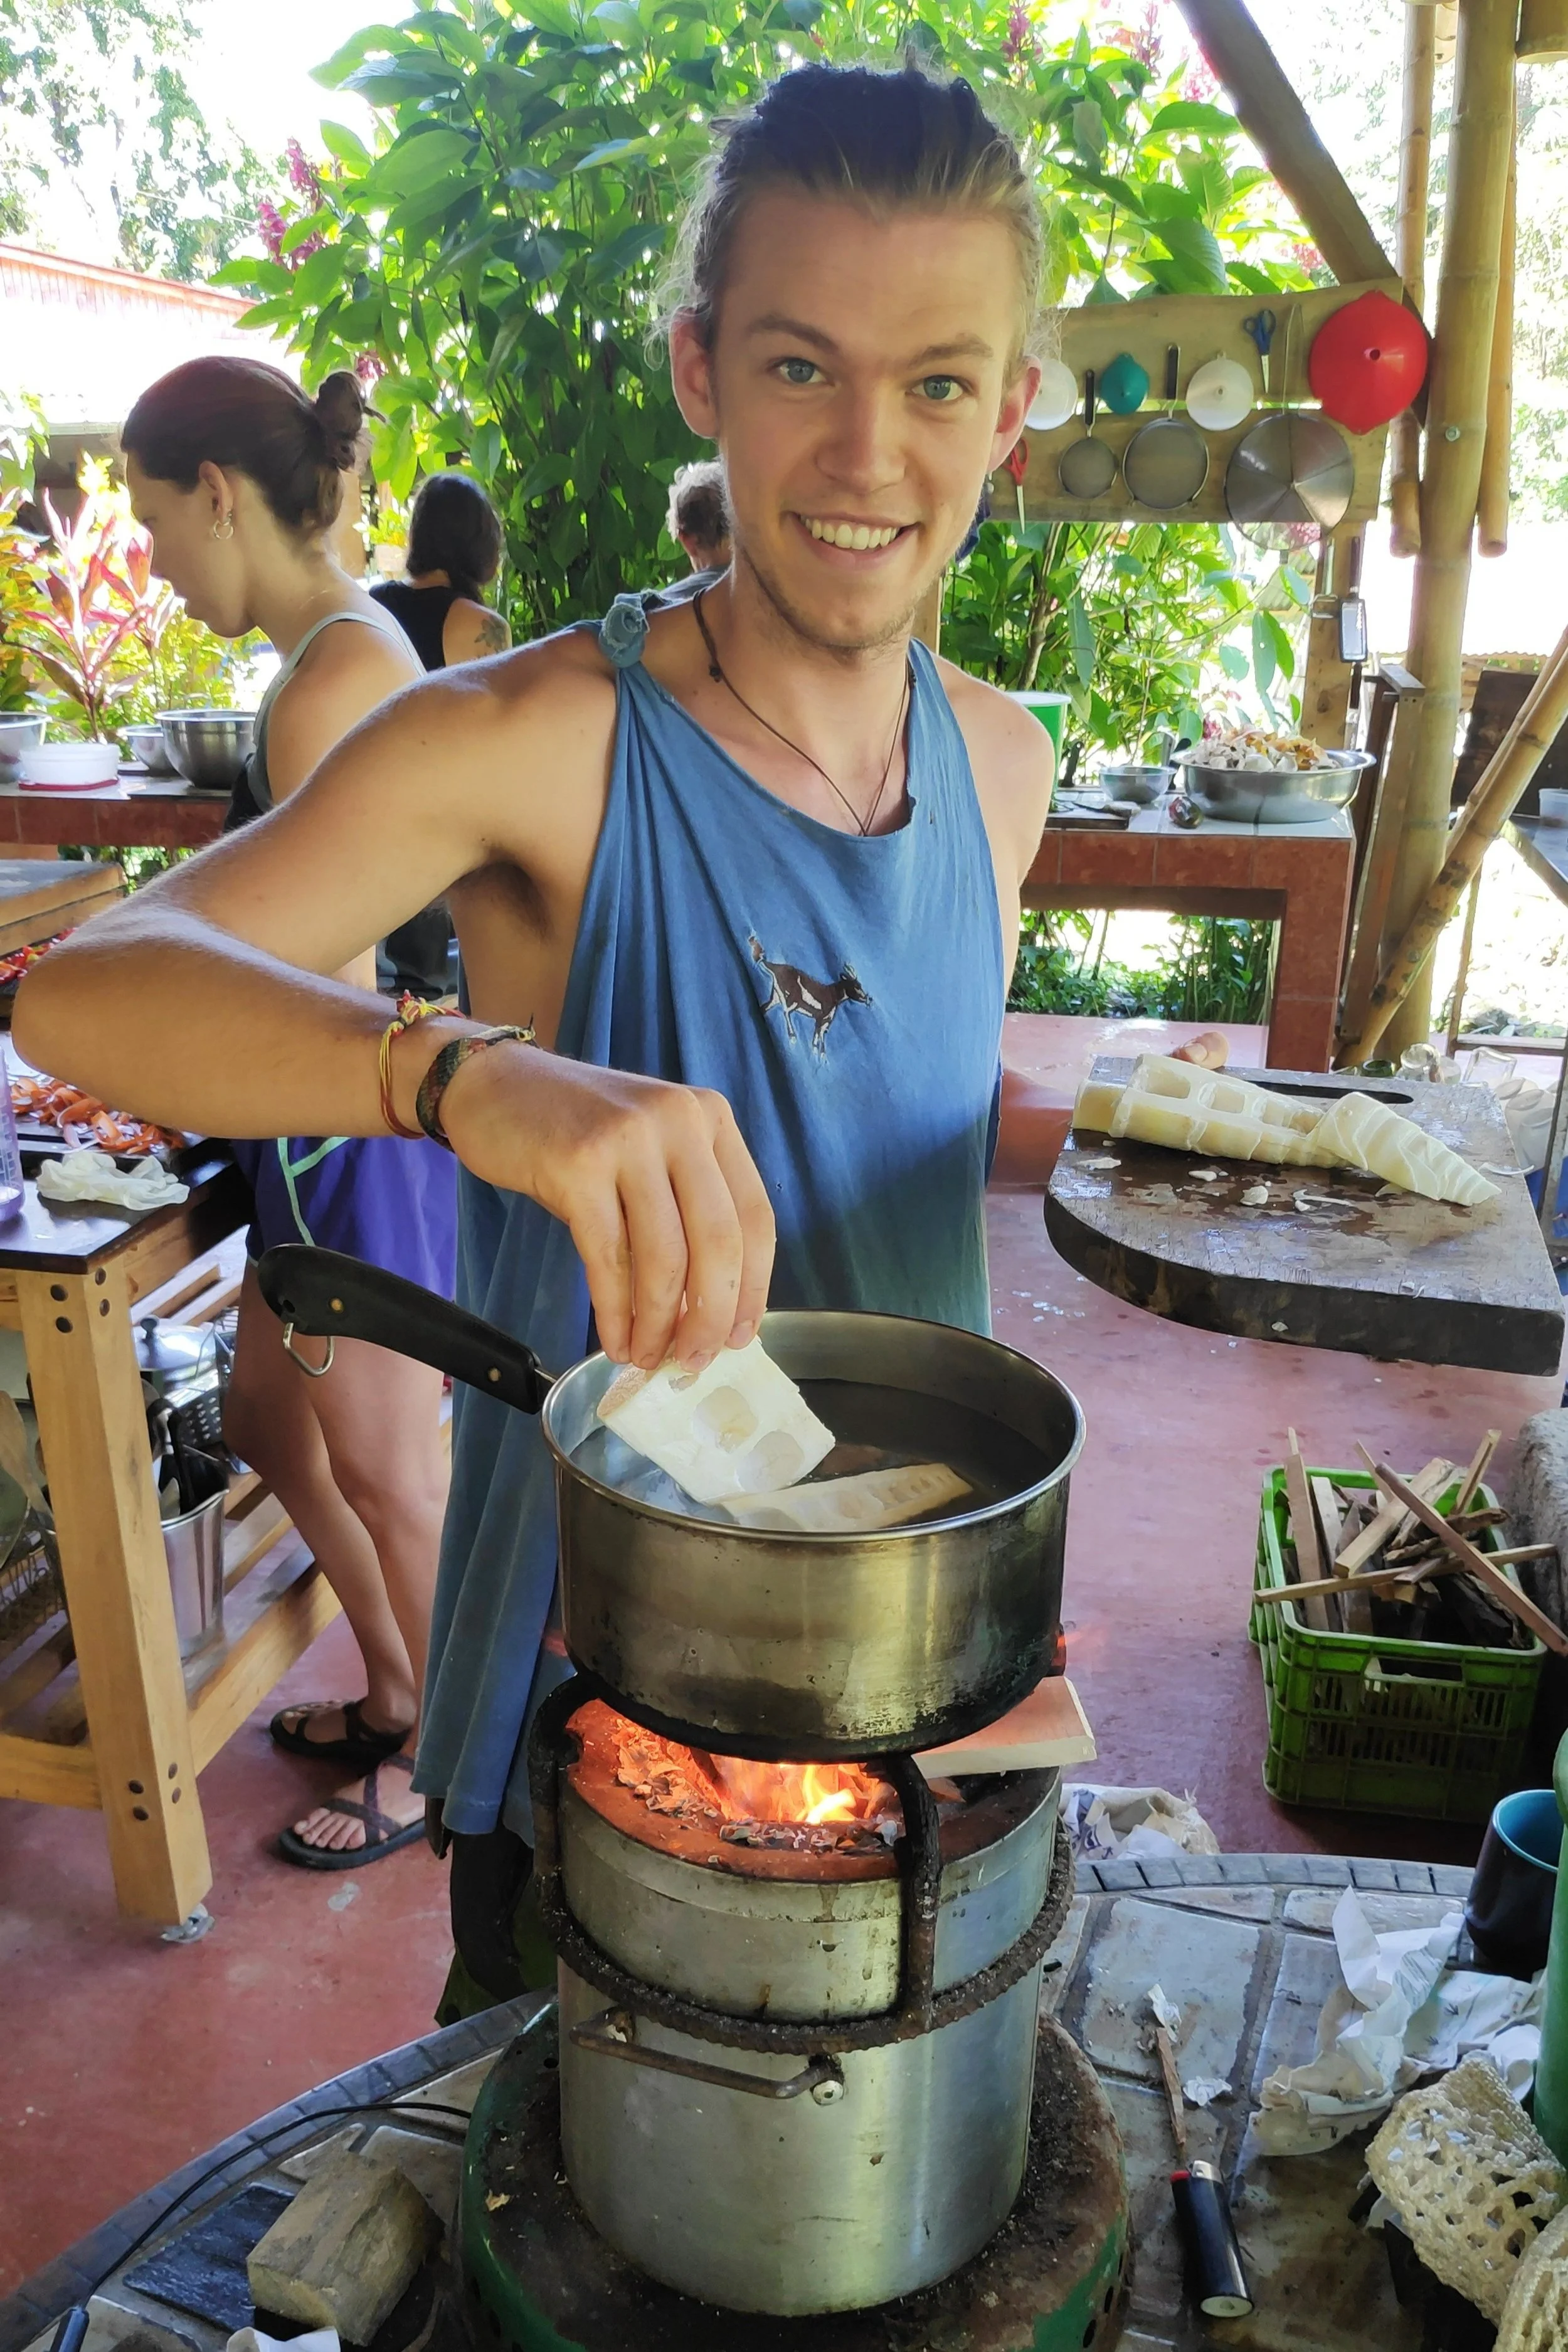
Cooking up some bamboo shoots for condiments
I’ve heard it said before that communities are made or broken by their dish washing systems. At the Eco Institute we had 3 “cook teams” and “dish teams”. The group on cooking would cook all meals for a week. The team on washing washed all serving and eating dishes (dishes other than those used to prepare food) that week. The third group has a rest week. At OAEC, the person on dinner cooking duty also washes the dishes after dinner. Otherwise people wash their own dishes throughout the day. Finally, at the Ranch we rotate cooking and cleaning duties so people have an equal number of cooking and cleaning shifts throughout the week.
If hosting an internship, decide how much of their experience you want to be dedicated to cooking and cleaning. These are formative times for group bonding, but can also be quite time consuming and draining. At both OAEC and the Ranch, we were lucky to have cooking support from local chefs to take on some of the cooking shifts. Especially if interns are paying to be there, it may be worth hiring a cook to help with at least a few meals a week.
5. Don’t underestimate the time and energy needed to have interns
A common fallacy is that internships will be an easy way to make money and have extra labor. Be sure to make a thorough budget to make sure this is actually the case. If interns pay to attend your program, they will likely expect an educational experience as much as a work experience. This requires significant time and energy from staff or a program manager. If they do not pay, they are likely unskilled labor who will require significant training to do the work you might be able to pay someone to do or do yourself much faster. If you decide to take on interns, be sure there are enough tasks that are educational, fitting for their skill level, and meaningful.
6. To charge or not to charge?
That is the question. It’s time for some deep soul searching. Why do you want to have interns? What are the added benefits to your community?
At the Ranch, the core team decided to run the internship program to provide a shorter educational program to the year long apprenticeship, as well as a learning opportunity for the apprentices. Their model is learn, practice, teach, manage. The internships falls in the “teach” section, providing a great opportuniy to hone in their new skills.
Now that you’re clear on the why, what input do you need to make it happen? Is your program designed to be educational or does it require significant labor from the interns? How much will it cost to feed, house, and take care of the miscellaneous expenses for each intern? How much of your labor will go into planning for, instructing, feeding, and managing the group? What is your target market?
Once you factor in the time necessary to teach interns, you may realize it is quite “expensive” to have them there. How might you be able to offset some of the costs? Can you apply for grants or host a fundraising dinner and silent auction for a scholarship fund, particularly to support marginalized groups in attending your program? Can you create a set up where longer term apprentices run the internship?
7. Get out there!

Going on field trips to our local farmers
One of my favorite parts of our internship was planning field trips to connect with nearby farms and neighbors. During the two months, we organized a trip to the “trapiche” where our sugar cane is milled, to our neighbor who keeps cows and supplies us with milk and cheese, and went on day hikes to the waterfalls and mountains nearby. All of these trips, combined with playing sports in town and cooking with locals, help paint a larger picture of the community we’re a part of and mix up group dynamics.
8. Give Interns a sense of autonomy
More and more, highly educated and motivated people are seeking out farming and permaculture immersions. As a result, you may attract very intelligent and independent individuals to your program. Make sure there are ways for people to take on individual responsibility and challenge. At the Ranch, we each have morning community contribution skills such as chopping wood, preparing salads, tending the garden, etc. Additionally, we have the opportunity to submit project proposals to take on larger independent projects on our own. This allows people to express themselves individually and find pride in their work.
Personally, I have taught weekly yoga classes for the community, led vermicompost workshops, and led many gardening and permaculture sessions for our interns. These individual tasks allowed me to deepen my knowledge and share it with others.
9. Practice nonviolent communication or otherwise encourage open communication between participants
At the beginning of the apprenticeship and internship at Rancho Mastatal, we create a collective community cultural agreement for how we will interact with one another and then sign it. Additionally, we taught nonviolent communication modules (based on Marshall B. Rosenberg’s Nonviolent Communication) to encourage open communication around the conflicts that naturally arise when living in community.
10. Create a comprehensive document with expectations and packing list before arrival
The more you can set expectations coming in the better! Send pictures or thorough descriptions of the housing, food, work expectations, visitor policy, phone policy, the larger community, etc. Supply a thorough packing list with any items that will be helpful during the internship. If you are able, set up a text, email or WhatsApp group with the interns in advance so they meet one another and ask questions.
11. Make sure everyone has enough rest and alone time
At the Ranch, we have free time every day from 2 pm - 6:30 pm. This is a great time to work on independent projects in the orchards, woodshop, food smithery, and kitchen. Additionally, we have a large library with fiction, nonfiction, and educational books to deepen our learning experience. Most days, a group meets at 4 pm to play sports or do yoga. The key is that people have a choice whether to interact with others or take time for themselves.
12. Organize special events & find time to celebrate!!
Woohoo! You have done the hard work of bringing together a group of amazing people and creating a super special intern program. Now find the time to celebrate! We have made a practice of gathering for new and full moons, the equinoxes and solstices, birthdays, and other special days. Something as simple as playing music, having a small party, making a fire, watching a movie with popcorn, or baking a cake with local ingredients can allow people to feel socially and emotionally fulfilled. Isn’t that why we all want to live in community anyways? Support any ideas your interns have for fun and creative gatherings. A field day, trivia night, or tea party are all great ways to bond and be silly together.

The yearly talent show
I am infinitely grateful to the centers and people who have opened their doors and arms to me as an intern or apprentice. I hope this article empowers you to do the same so we can continue to build purposeful, skilled, and joyful communities together!
Check out these past blogs on Community Living
Enriching Community Soil: 5 Simple Strategies That Support Sustainable Relationships

Jungle Apothecary: Lemon Balm and Holy Basil
If you are able to start to restructure your thoughts around this concept, you might be begin to reach into an entirely new depth of herbs. In many other systems of healing around the world, a variety of herbs are used mildly and habitually to ensure a lifetime of health and longevity.
Jungle Apothecary: Lemon Balm and Holy Basil
By 2021 apprentice Dewey
“It’s balancing, it’s a panacea, a good nervine. Good for the heart, for the soul, for babies, for the elderly, and everyone in between.”
Medicinal Herbs

A selection of dried herbs for tea making
An effective way to begin to more easily incorporate herbs into your life is by making herbal teas. For many, herbal tea is a ritual. Others, however, may just enjoy the warmth and taste of a freshly brewed cup following a meal. Some use tea as a way to prevent and heal disease, while others think it is a tasty and refreshing way to begin their day. Regardless of what role tea has (or has not) played in your life, when we begin to look more reverently into the cup, we can start to understand the deeper workings of the leaves within.
If you have been fortunate enough to have visited Rancho on-site, chances are you were able to take a peek at the incredible tea station we have set up at the main house. Herbal teas are truly an invaluable resource out here in the jungle. They help keep us well... and we mean that in every sense of the word—mentally, physically, emotionally, spiritually. Two of the most loved here at Rancho are Lemon Balm and Holy Basil (also known as Tulsi).

Cup of tea anyone?
When beginning to look at herbs and the impressive impact they can have on our being, it is common for many to see and approach herbs in the same context we tend to approach pharmaceuticals. This makes sense, as we often have the ability to use them to replace or supplement the pharmaceutical industry’s role in our healing journey. However, if you are able to start to restructure your thoughts around this concept, you might be begin to reach into an entirely new depth of herbs. In many other systems of healing around the world, a variety of herbs are used mildly and habitually to ensure a lifetime of health and longevity.
The usage and recommendations of herbs in this blog are intended to inspire deeper love and further independent research into the role herbs can play in your own individual journey. It is important to note that we are all unique. In the same way that everyone can have different reactions to foods, allergens, medications, etc., herbs can and will have different impacts on different people. Something that might work wonders for me, might have a completely different impact on someone else.
Many herbal teas are safe for all to consume in moderation, but it is important to pay attention to your body. If you introduce a new herb or plant into your life and you notice any negative side effects, listen to what your body is telling you and stop consuming it. Make sure to do your own thorough research and check with your local herbalist, naturopath, or doctor about any long term or high volume consumption of an herb to ensure safe use.
LEMON BALM
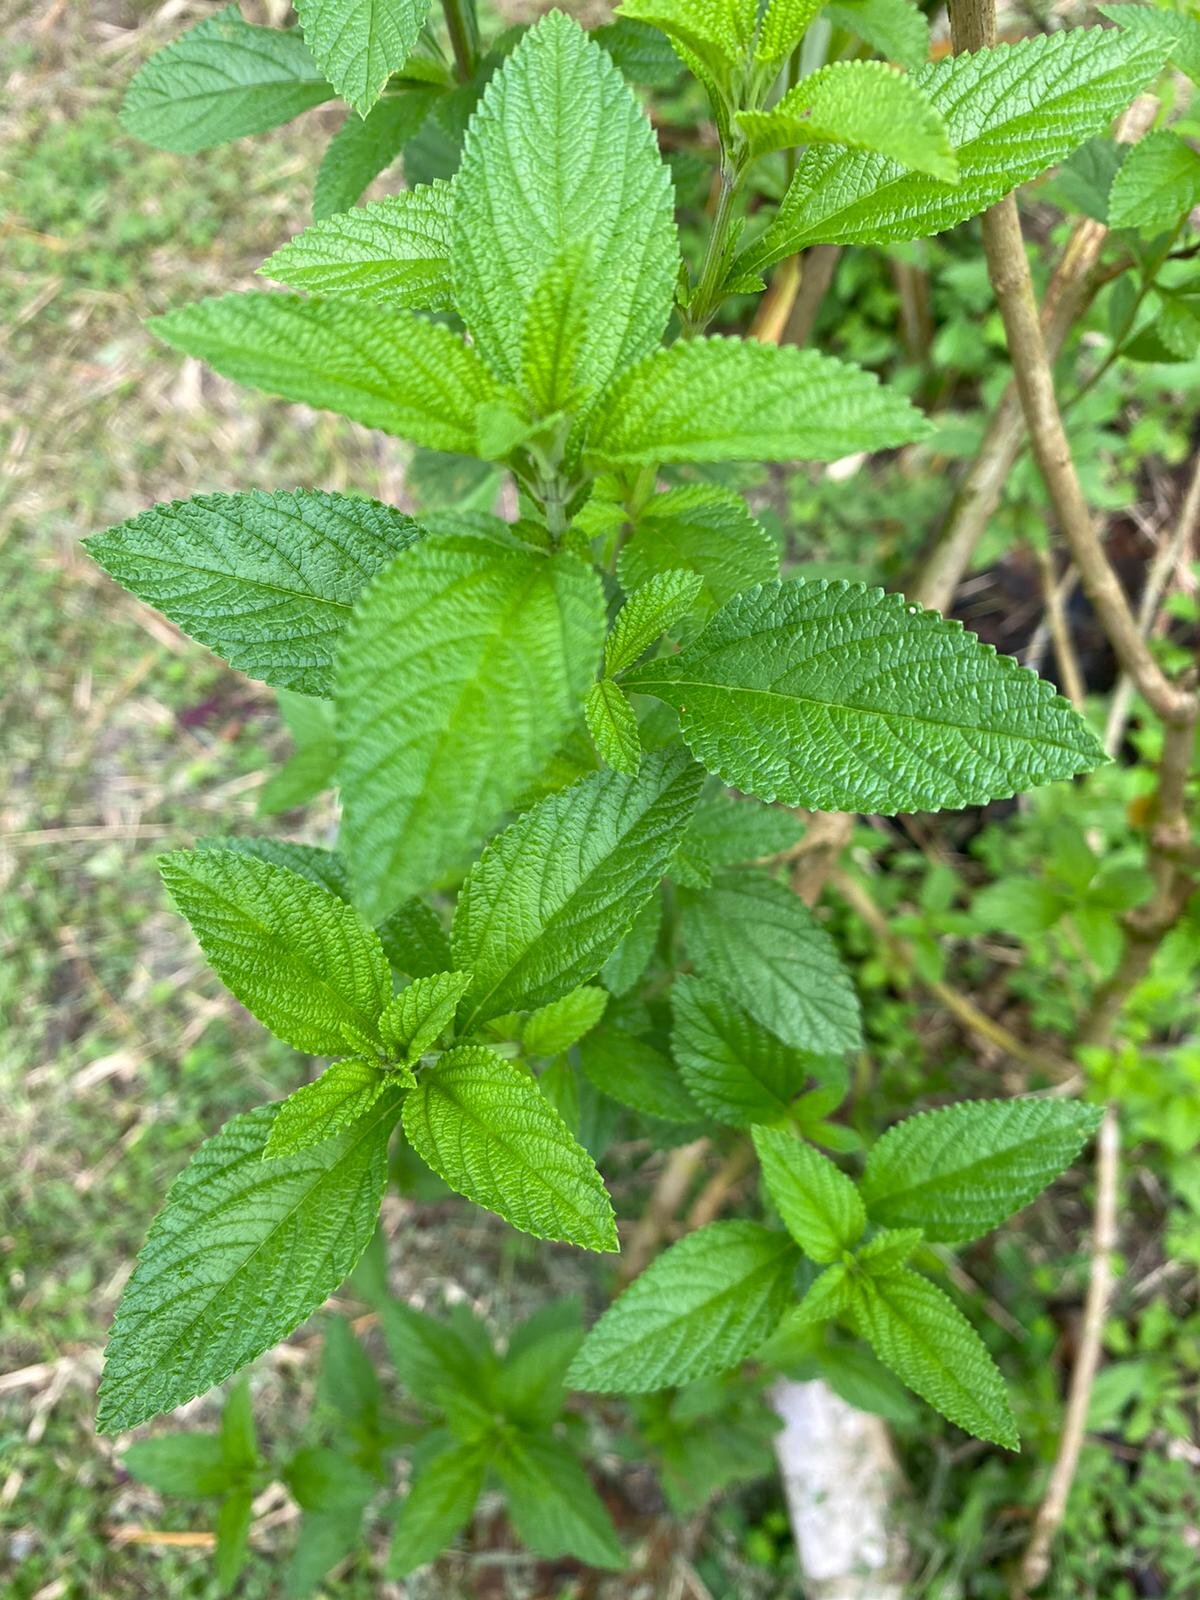
Lemon balm, with its sweet-lemony aroma and delicious taste, is an incredible plant to have and grow in your medicinal garden. This member of the mint family is relatively easy to grow and can even thrive in containers if you are without your own land or space to cultivate herbs. Although it is hard to put it’s far reaching abilities and potential into a box, lemon balm is typically classified as a nervine. Nervines are herbs that soothe, relax, and support the nervous system. Interestingly, it’s high volatile oil concentration, most significantly of citronellal and citral, has been proven in modern studies to confirm the plant’s ability to calm both the digestive and the nervous systems.
The versatility of this herb cannot be understated. Lemon balm is incredibly calming and is used to mitigate feelings of stress, anxiety, and nervousness. It is also used as an antiviral to ward off a variety of viral infections (even ones as aggressive as the herpes simplex), as well as anxiety, stress, fevers, coughs, and so much more. For example, the plant can be used topically as a powerful agent in your herbal first aid kit for insect bites and stings, but also used internally as a powerful relaxant. Due to its high antioxidant levels, studies have shown that lemon balm is even capable of markedly improving oxidative stress levels and plasma DNA damage.
Lemon balm is a very safe herb to incorporate into you and your loved ones lives. Cascade Geller, an herbalist and activist is quoted as saying, “It’s balancing, it’s a panacea, a good nervine. Good for the heart, for the soul, for babies, for the elderly, and everyone in between” in regards to lemon balm. Here at Rancho we love brewing a nice cup of lemon balm to help us relax after a busy day of working hard. To make a simple, nourishing cup of lemon balm tea, use one teaspoon of fresh or dried leaves per cup of hot water. To make a stronger brew this amount can be increased to desired taste up to one ounce of leaves.
HOLY BASIL (TULSI)

Holy basil has a loooong history. It has been used in India for over 3,000 years! It is used widely and often around the world. Ayurveda (one of the oldest systems of medicine) reveres holy basil as a powerful tool for optimal health. When seeking to utilize the health benefits of this powerful herb, it is important to make sure you are working with the correct species. Holy basil is not the same species as the common culinary plant we are all familiar with. Out of the (over) 60 different species of Ocimum genus, there are three that are considered Holy Basil and can be used somewhat interchangeably: Rama tulsi, Krishna tulsi, and Vana tulsi.
Holy Basil is one of many powerful adaptogens that have been identified to help reverse chronic damage and bolster overall health. Adaptogens are a classification of herbs that are building and nourishing. When used consistently, they help the body adapt to stress and move it toward overall wellness. David Winston and Steve Maimes are co-authors of an incredible book on adaptogens, and speak highly of holy basil, “Holy basil is classified as a Ramayana, an herb that nourishes a person’s growth to perfect health and promotes long life.” The adaptogenic nature of holy basil can even aid in the mediation of stress related damage and subsequently improve the overall cardiovascular health of an individual.
Some major health benefits holy basil is also known for providing are: reducing stress and anxiety, supporting a healthy heart, and strengthening the immune system. When it comes to stress and anxiety, holy basil has also been shown to reduce peripheral symptoms such as forgetfulness and lethargy. Researchers have even proven it to act as an effective treatment of generalized anxiety disorder. Due to its ability to slightly thin our blood, it also promotes good circulation. In regards to overall health, holy basil modulates and supports our immune system. It is also an antimicrobial herb and therefore can be utilized in the treatment of bacterial, fungal, and viral infections.
Fresh holy basil is ideal, but the dried leaves can also be used to make a tea. Begin with about a teaspoon of leaves to each cup of hot water and increase from there to desired taste and potency. One thing to consider is the high volatile oil content of this herb- for ideal results to not steep covered for more than ten minutes.
Keep drinking your herbs! Keep eating your herbs! Keep learning your herbs!
Want to Learn More
Join us for one of our permaculture related workshops, including Plants as Medicine.

Sign up for our monthly blog updates if you want to keep learning with us!
Read some of our past food related blog articles!

Make Black Garlic in Your Compost
Ok, now everyone is confused. But please hang on a second and I will show you how compost piles, often considered to be smelly mosquito havens and high cuisine flavour profiles can live alongside each other.
Make Black Garlic in Your Compost
By 2021 apprentice Consti

Getting busy in the compost pile
Finding an article on compost piles on a permaculture blog is far from uncommon. In fact we have plenty of them on our own website, ranging from our waste management systems (read about our biodigester system) to how we squeeze every bit of energy out of everything we produce. The question you may be asking is why a compost article ended up in the food section. Isn't compost supposed to be the place for the food we didn't eat?
And yes, all these questions are justified and are part of the experiment I want to share with you today. This experiment started in the end of February 2021, when I read through Nomas Guide for Fermentation, the sacred manuscript of food experiments. When I saw a recipe for Black Garlic, I could almost taste its particular flavour from my travels to Japan and was determined to give it a shot.
Ok, now everyone is confused. But please hang on a second and I will show you how compost piles, often considered to be smelly mosquito havens and high cuisine flavour profiles can live alongside each other.
What is Black Garlic?
Black Garlic, for those who haven’t yet tried it, is the most magical flavour. The garlic loses its spiciness and develops a deep, sweet and mellow flavour paired with a creamy soft texture. Its color varies from an intense rich caramel to almost entirely black. Black Garlic and other blackened vegetables and fruit are relatively new to Western cuisine but are a staple in lots of Asian cooking.

The final product smells amazing!
So what happens to black garlic that changes its appearance so considerably? The answer is the good ol’ Maillard reaction, the flavor we all crave when we want our fried green beans a little dark or tortilla a bit burned on the top. It is essentially a redox reaction that takes place while cooking at high temperature. But I do not want to spend too much time on the chemistry because first, I hated chemistry in school, and second, cooking is an art not a science (I am looking forward to the comments).
When we make Black Garlic, we basically recreate the same reaction, but we decrease the temperature and increase the time. The goal is to cook the garlic at very low heat for a very long time. Time, no problem! Heat, ironically while living in the tropics, more of a problem. At Noma, they use heating mats and insulated rooms or chambers. Two things I don’t have and don’t miss. But luckily, alternative energy is being produced everywhere around us, all the time. We just lost connection to these sources and think of energy only as electrical and a product of relentless burning of fossil fuels.
how I made Black Garlic in a Compost Pile
I started thinking about how I could slow-roast my garlic and brainstorming the hottest places on the Ranch. One day, while piling on some food scraps and noticing the heat of our compost pile, a light bulb went off- the heat from decomposition was the perfect solution. As so often in the experimental culinary world, bacteria are our closest friends. Besides many other helpers, bacteria and fungi are the most important forces in the breakdown of our food. A well-aerated and maintained compost pile can heat up to around 77°C/170°F, and thanks to the many hungry guests and residents at Rancho, we fill up at least one five gallon bucket of compost every day. This means our compost piles fill up quickly and produce lots of heat.
Once I realized the slow and steady temperature of the compost pile was the solution for my Black Garlic experiment, all I needed was an air-tight container that would protect my garlic from any creepy crawly visitors. I started off with two buckets. I just put a small bucket in a big bucket and it worked! I didn’t get any mold or funny smells. There was only one problem. The heat transfer through two buckets wasn’t quite good enough. The pile itself reached a temperature of 54°C/130°F, but the bucket only heated up to 38°C/100°F. Version two is much smaller, but potentially more inviting for the living world. It consists of a 4" PVC pipe with a sealed lid. Additionally, the garlic is in a zip lock bag that hopefully keeps it dry. And yes, I said hopefully, because as I write this, Maillard is doing his job outside in the piles.

Garlic into an airtight bag

Place the bag into the PVC

Place PVC into middle of active compost pile
Did it work?
Fast forward three months in the compost pile… and yes it worked! We got some beautiful, smooth, creamy, black garlic. Made it into a paste and served with homemade tortillas, it was beyond delicious!

Final black garlic experiment complete
want to learn more?
Stay tuned for more food blog articles and always keep up to date on our workshops that often include fermentation, permaculture design and more.
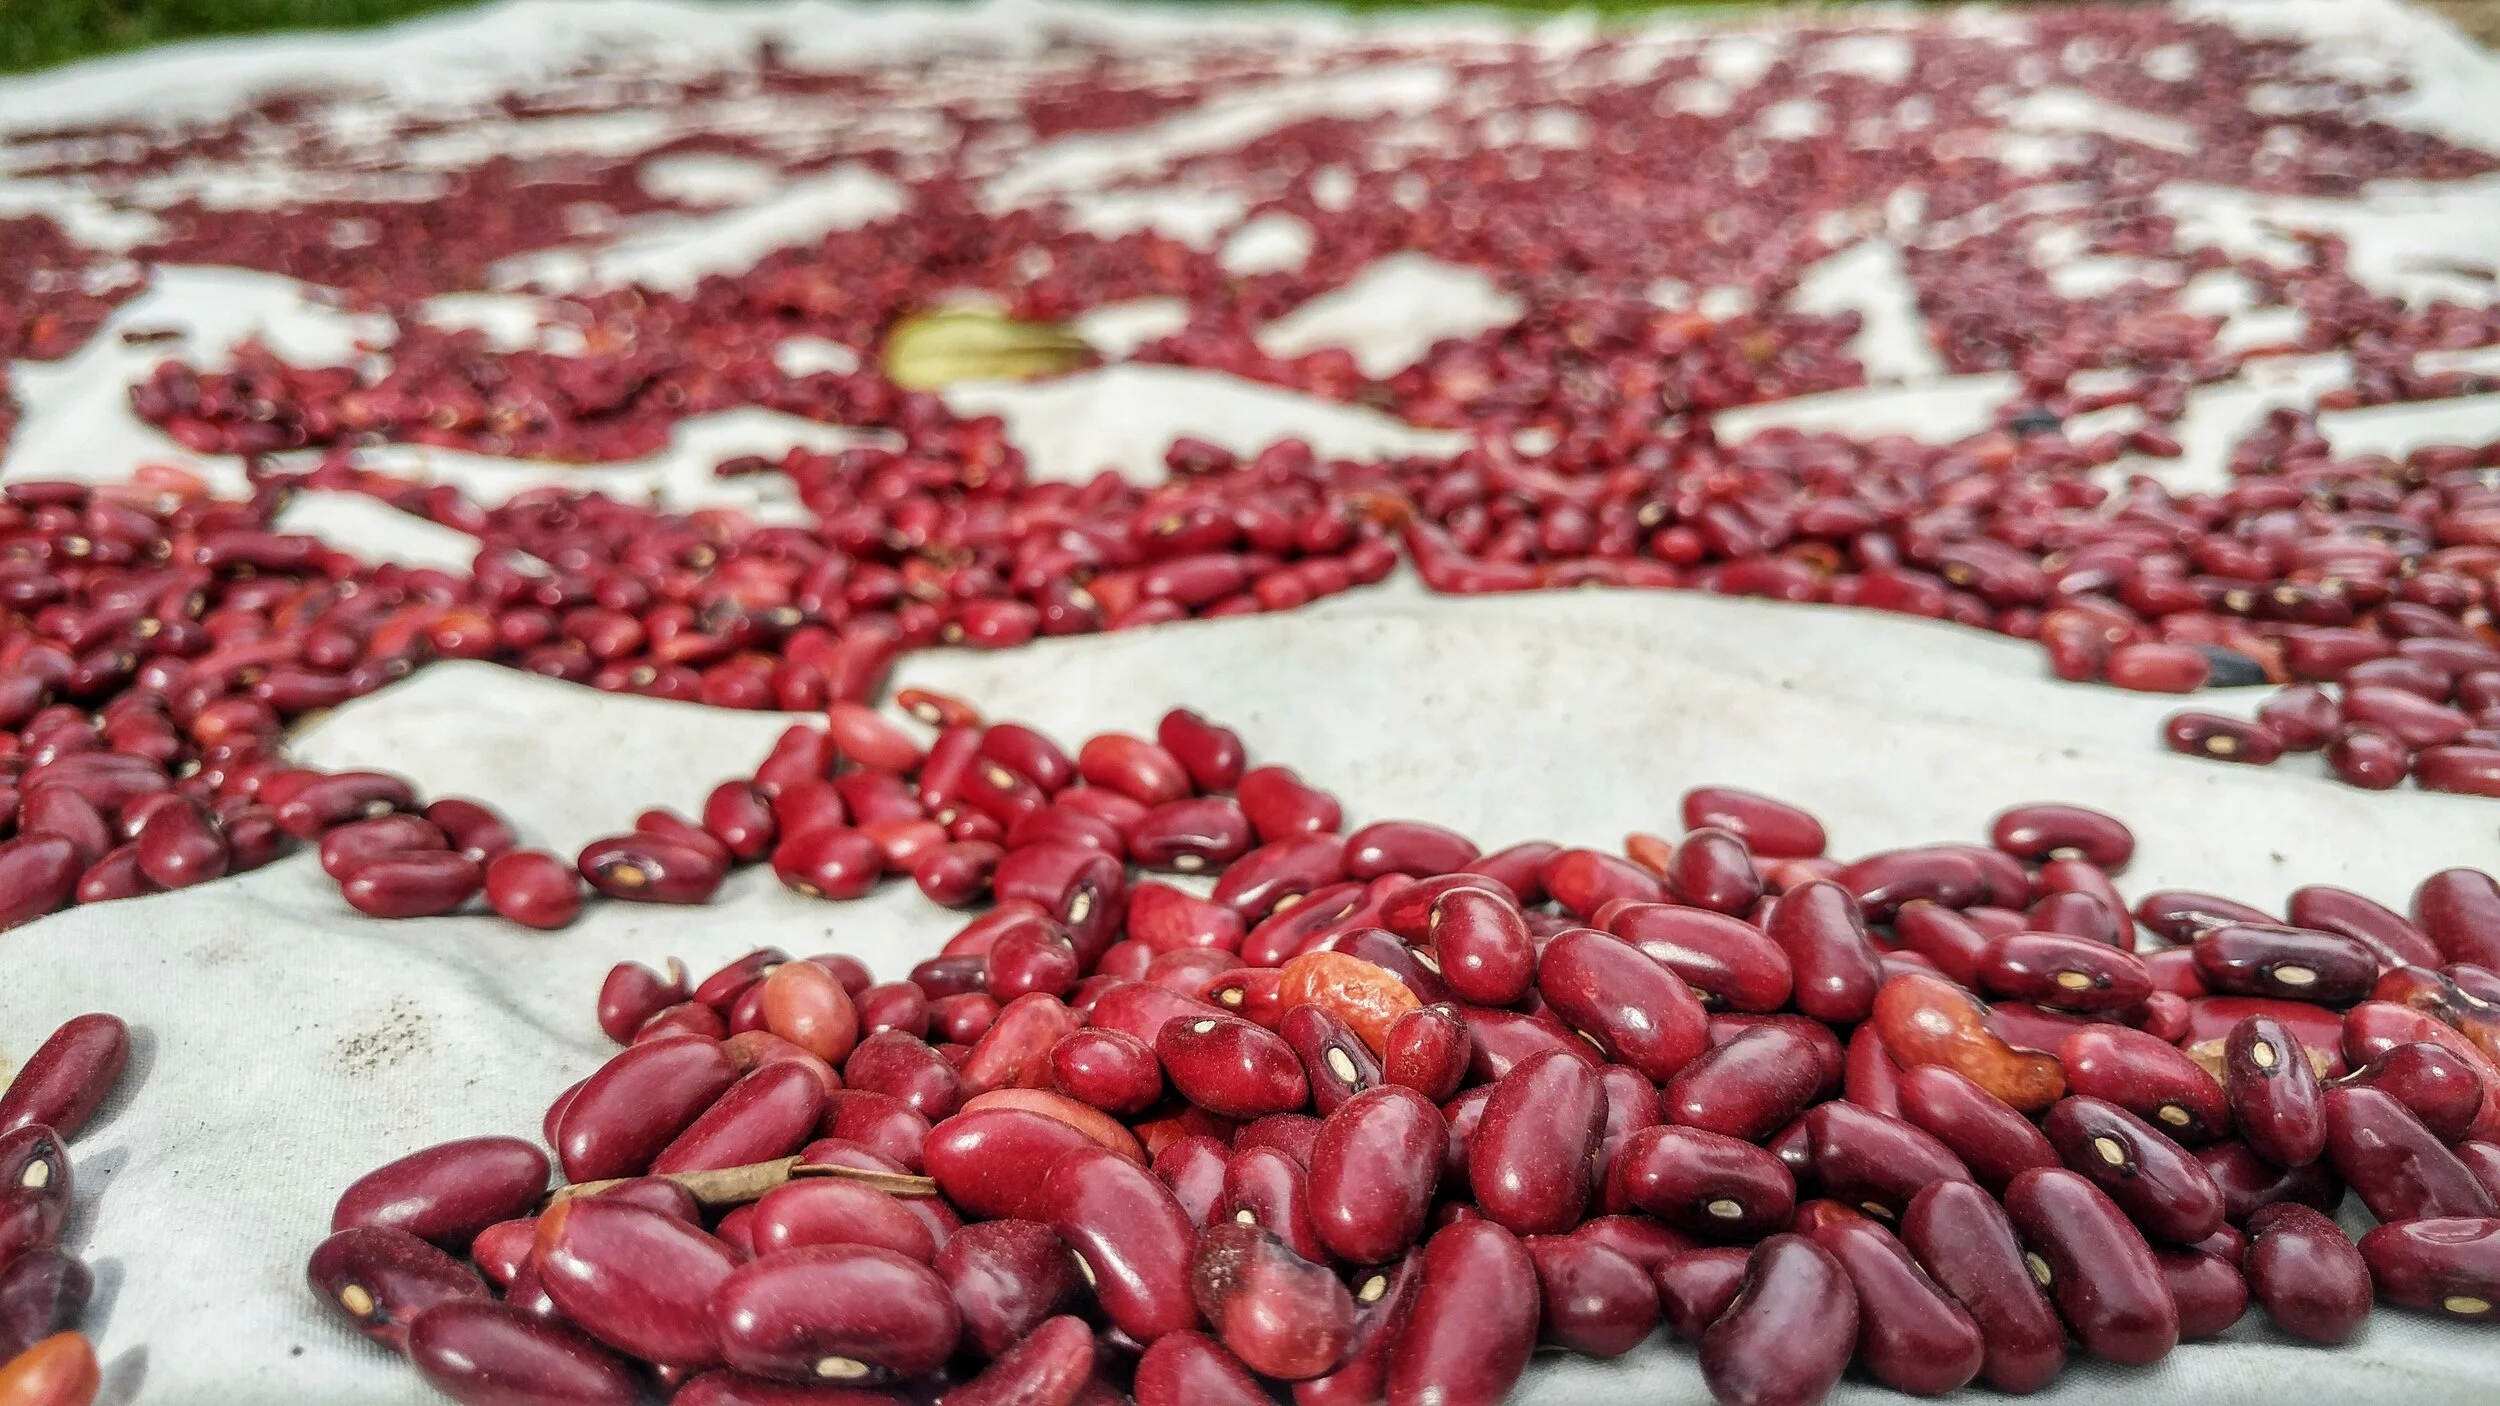
Homemade Hoisin Sauce and Other Recipes with Fermented Black Bean Paste
Although we love our traditional uses, we also like to get creative. A few weeks ago we decided to start experimenting with fermented black beans, inspired by our love of fermentation and quest for a homemade hoisin sauce. Yumm!
Homemade Hoisin Sauce and Other Recipes with Fermented Black Bean Paste
By 2021 apprentice Cameron Conklin
We Love Beans!

Don Chepo winnowing his yearly harvest of beans
Beans are an important staple in our diet and a traditional food here in Costa Rica. Beans are a great way to provide vegetarian, balanced nutrition to large groups of people - full of complex carbohydrates, fiber, and protein. We consume beans in many forms at the Ranch, often as as pinto (a traditional Costa Rican rice and bean dish served at breakfast), as frijoles molidos con queso (refried beans with cheese), or frijoles baja (baked with tomatoes and onions).
Although we love our traditional uses, we also like to get creative. A few weeks ago we decided to start experimenting with fermented black beans, inspired by our love of fermentation and quest for a homemade hoisin sauce. Yumm!
But they are even better fermented!
Beans are packed full of nutrients, but can be difficult on the body, potentially causing flatulence and indigestion. So what is there to do? The answer is fermentation!

Beans fermenting for bean paste
By fermenting your black beans (or any bean), you are essentially letting lactic acid bacteria pre-digest the beans, breaking down the complex proteins into amino acids that the body can more easily absorb. The fermentation process also increases the lactic acid bacteria in the body, improving gut health and the microbiome.
We don’t ferment all of our beans, but this method is super easy and a great way to include delicious, extra nutritious bean paste into your condiments. We particularly like this as an addition to our asian style dishes.
Below are a few recipes that we have been adding to our meal rotations lately. I have to say this hoisin sauce is one of the best sauces I have ever had. Whip up some fermented black bean paste and start experimenting in your own kitchen!
Recipes
Homemade Fermented Black Bean Paste
8 cups of black beans (cooked)
8 tablespoons brine from previous ferment
Smash beans with a fork, breaking the skins, until about half have become a paste consistency
Fill the jar(s) with the beans
Add 8 tablespoons (1 tablespoon per cup) of brine from a previous lactobacillus ferment (homemade kimchi) or whey ferment (how to make dairy kefir)
Make sure to not fill your jar more than 3/4 full
Note: because the beans are already cooked, they will not have the lactobacillus bacteria naturally occurring on their skins. This requires the previously inoculated brine
Screw lids on the jars and let sit for 3 days to 1 week. Testing for taste. The beans will be sweet and sour and have become more paste like in consistency
Once the beans have reached your desired taste, you have your paste that can be added to all kinds of dishes, some examples below. Store in the fridge for months
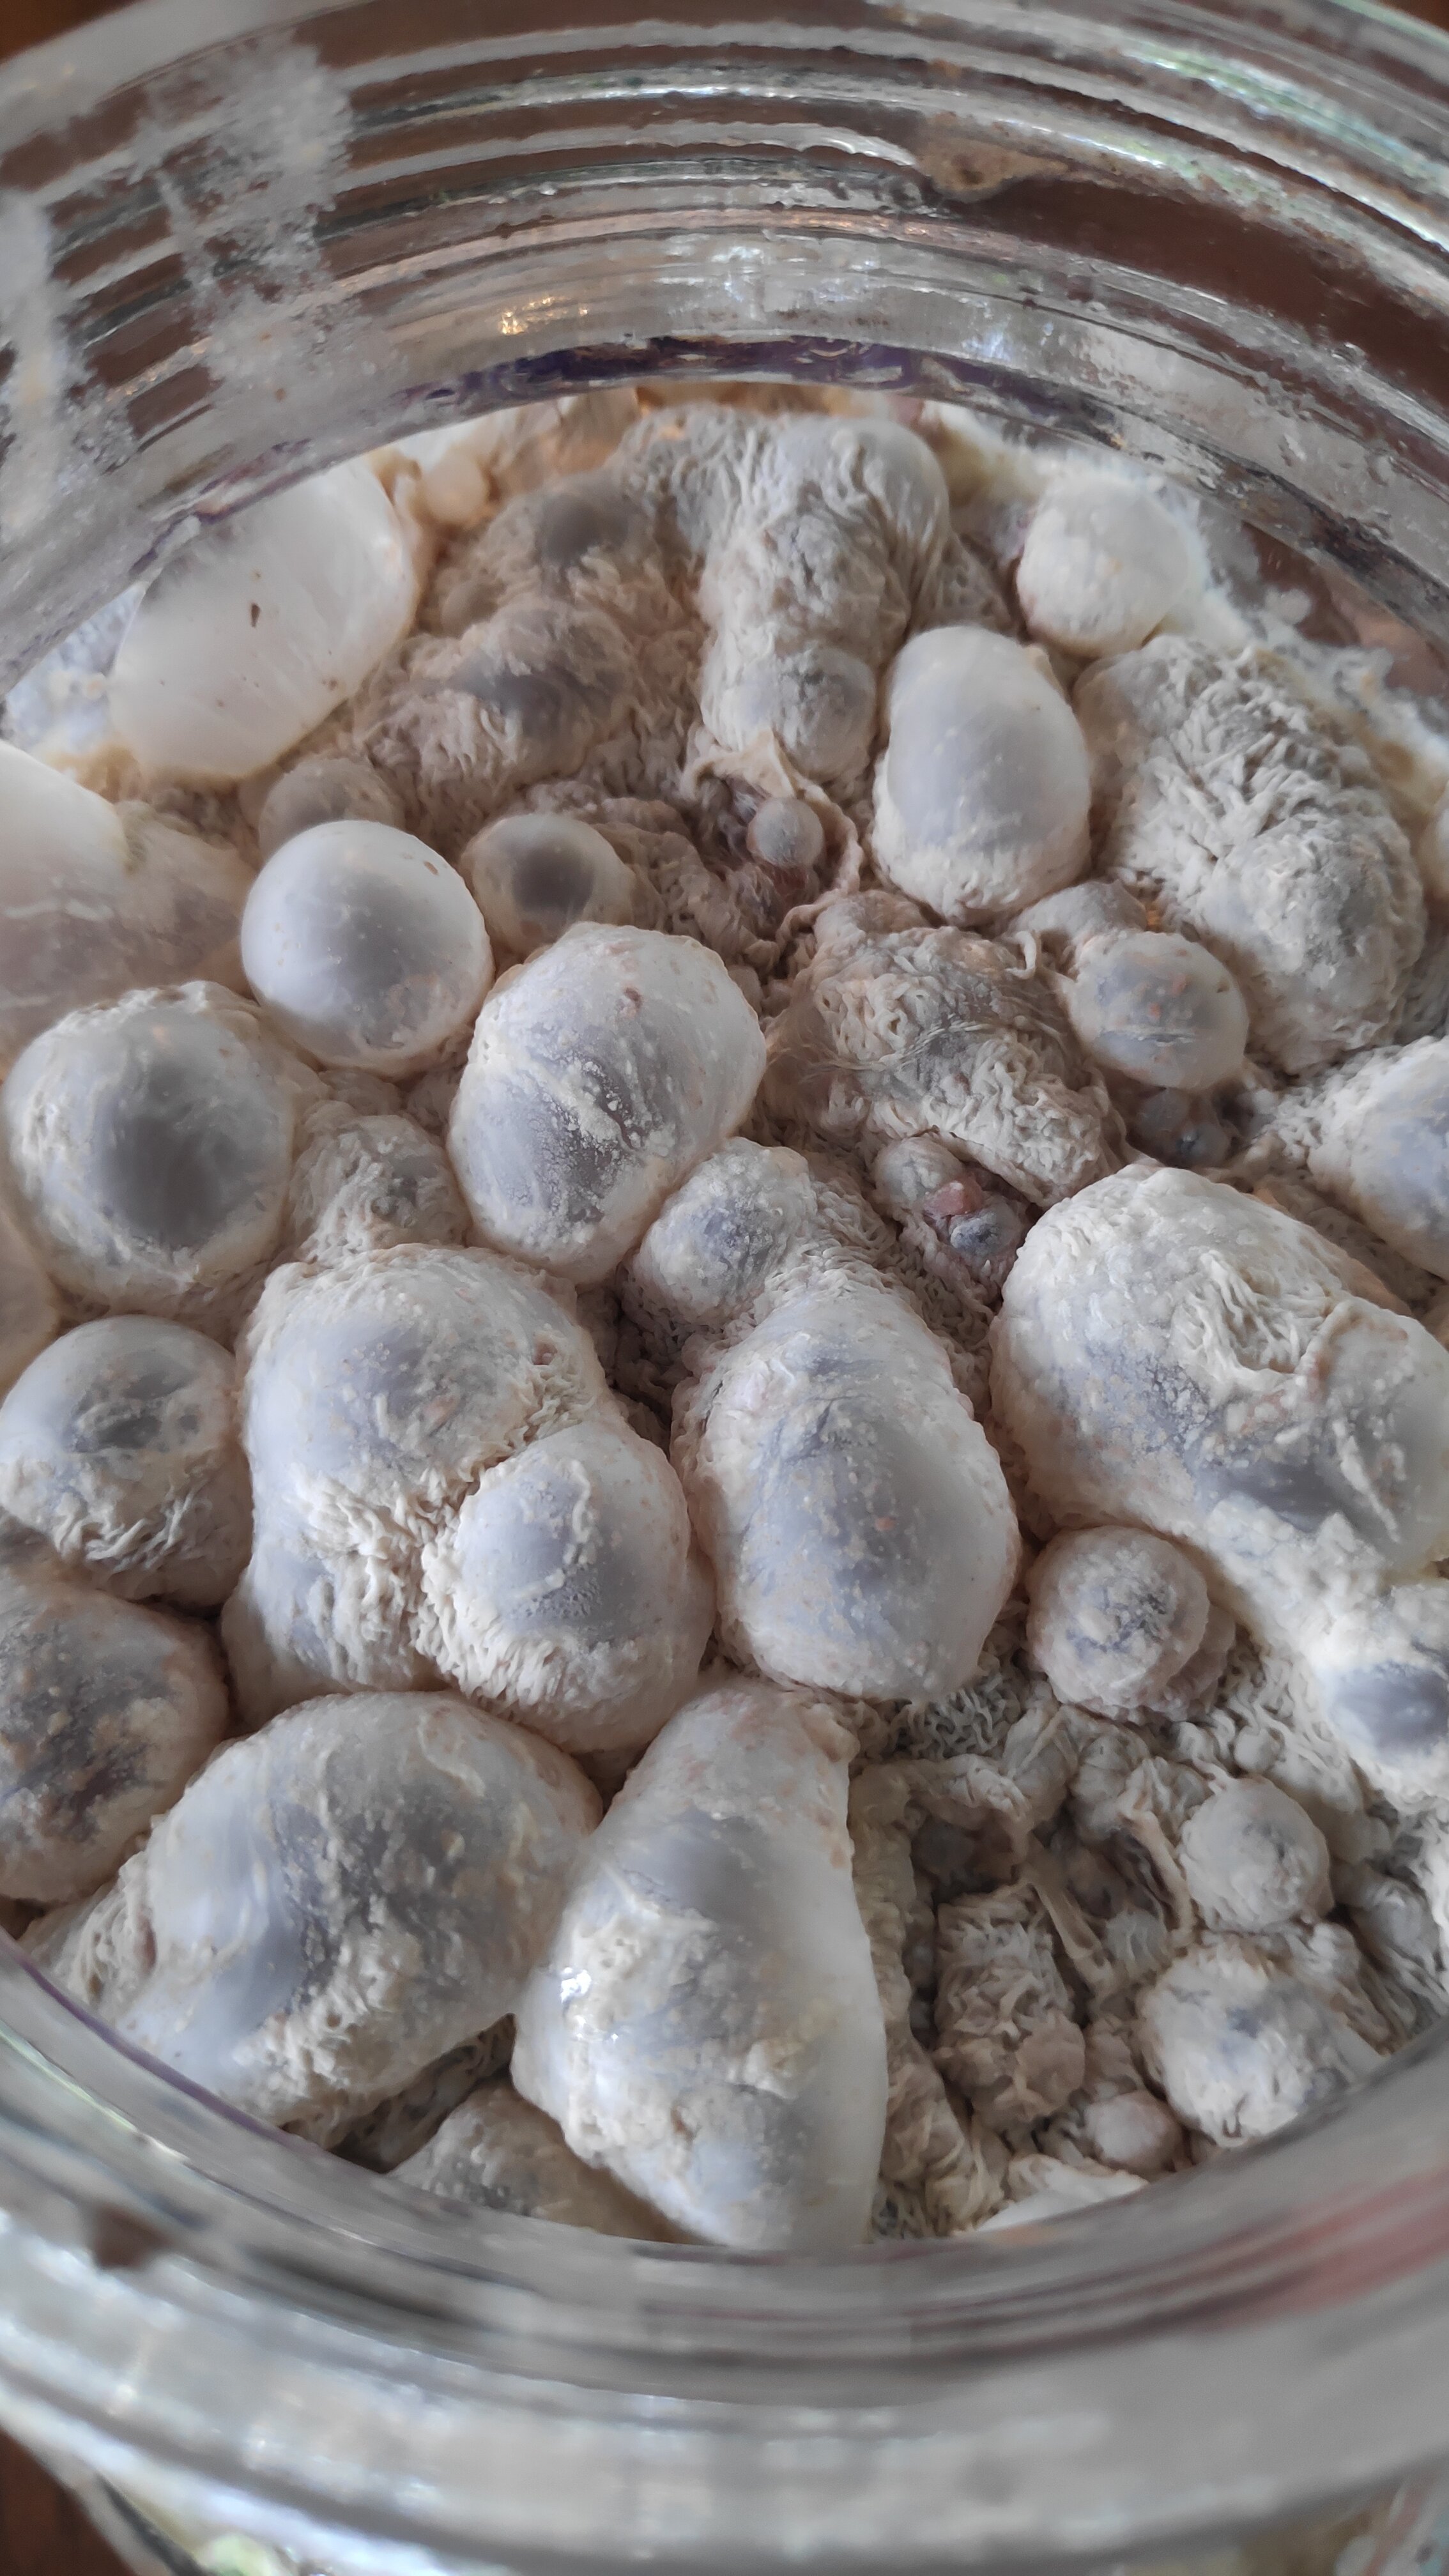
Don’t be afraid of a little white mold that will form on your fermenting bean paste
Homemade Hoisin Sauce
1 cup tapa dulce (or your local sugar source)
6 tablespoons water
9 tablespoons homemade fermented black bean paste (see recipe above)
6 tablespoons soy sauce
2 tablespoons homemade vinegar
12 pieces of dried mamey sapote (any local dried fruit such as prunes)
1 1/2 teaspoons sesame oil
1 1/2 teaspoons homemade Chinese 5 spice (see recipe below) powder
Combine all the ingredients together and blend well
Can store in the fridge for months
Chinese 5 Spice
10 Star Anise
2 1/2 teaspoons whole fennel
1 small cinnamon stick
6 whole cloves
2 teaspoons black peppercorns
Blend all together super fine
Homemade “Ketchup”
1/4 cup homemade vinegar
1 teaspoon black peppercorns
5 whole cloves
1 star anise
1 cinnamon stick
2 tablespoons peanuts
1 teaspoon oil (lard or vegetable)
1 small onion diced
2 garlic cloves
4 small ripe bananas
4 tablespoons homemade fermented black bean paste (see recipe above)
1/2 teaspoon salt
1/2 teaspoons powdered turmeric
Homemade Chinese 5 spice (see recipe above) powder to taste at the end
(Adapted from “Miso, Tempeh, Natto And Other Tasty Ferments” by Kristen K. Shockey and Christopher Shockey)
Combine the vinegar, peppercorns, cloves, anise, and cinnamon stick in a small sauce pan. Bring to boil and simmer low for 15 minutes
Sauté the onion, garlic, and peanuts in the oil until slightly caramelized about 5 minutes
Combine the bananas, onion mixture, salt, black bean paste and turmeric
Once the the vinegar mixture is cooled, strain and add to the other ingredients
Blend everything together in a food processor
Your sauce is ready to be used immediately or you can put it in a jar to ferment for a few days. Remember to burp your jar daily as carbon dioxide builds up.
Your ketchup is ready when you like the taste! Store in fridge for months.
Homemade “Mustard”
To create this mustard, simply let your homemade “ketchup” ferment for about a week or more! This recipe was actually a beautiful accident. We went to the beach for a week, and I forgot I had left the ketchup to ferment while we were gone. When I got back, I expected it would be completely ruined, especially in the tropical heat. This condiment ended up being delicious, tasting and looking just like mustard. That is the beauty of fermentation! It will often turn your mistakes into delicacies.
Pro Tip: Don’t be afraid of a little white mold on the top layer. That’s just fine! Just scoop it off and enjoy what is underneath.

Experimenting to create your own sauces, condiments, etc is fun and exciting!
Want to Learn More
Check out our past blog articles about food creations. Also join us for a day workshop on fermentation.
Stay tuned for more interesting experiments happening here!

Greywater: What Is It And How We Use It
Woah! That is a whole lot of water. Now, imagine a world where that thing that we currently refer to as “waste” is highly revered as a RESOURCE! A precious thing worthy of a second life where it can aid in enriching the soil and fueling our journey towards a more holistic life.
Greywater: What Is It And How We Use It
by 2021 apprentice Matthew Raybon

One of our compost toilets where the sink greywater flows onto our orchards
What is Greywater
Greywater is the “waste” water that comes from all household plumbing that is not a toilet. This includes, the shower, bathtub, sinks, and hoses. In most of the contemporary world, greywater is seen as wastewater and is combined with sewage to be chemically treated and dumped into the nearest waterway. In the average household, non-toilet uses make up around 2/3 of water used. This adds up to about 30-50 gallons per person each day. Greywater’s cousin, blackwater, which is the water used by the toilet, makes up the rest of the water used in the typical household. This amounts to around 15-30 gallons of water per person each day (Van Der Ryn, 81). Read about our compost toilets or our biodigester and how these are a more sustainable solution for toilets.

All of our shower grey water is directed to orchard spaces
Woah! That is a whole lot of water. Now, imagine a world where that thing that we currently refer to as “waste” is highly revered as a RESOURCE! A precious thing worthy of a second life where it can aid in enriching the soil and fueling our journey towards a more holistic life. As it turns out, this is more than possible for the average household to pursue and achieve with a little bit of research, design, implementation and maintenance. Using our greywater as a resource hits many principles in permaculture.
Designing your greywater system
To many people the idea of using something that we typically think of as waste to help grow food or water our plants seems unsafe. While greywater is unsafe to drink, if handled and used properly, it is perfectly safe for certain applications. In order to begin designing the appropriate greywater system its necessary to ask a few simple questions:
What is the volume of greywater being produced?
What is the source of the greywater? Is it a kitchen sink or a washing machine?
What is the intended application for the greywater? Are you irrigating an orchard or a vegetable garden?
Once we have answered these questions we can move on to designing and testing a system. At Rancho Mastatal we use a series of very simple low maintenance systems to distribute our greywater as irrigation for our ourchard spaces and ornamental beds. Most of our greywater is coming from our four kitchen sinks and two washing machines. As the water leaves the sink or appliance, it enters into a simple system of surface level PVC piping which utilizes the natural slope in the landscape to direct the greywater to various orchard spaces and ornamental beds. Once the water arrives at the intended zone it is important to distribute the water within the field or garden in a way that does not contribute to erosion or oversaturate one particular plant or tree. Think of a greywater system as a gravity fed, all natural fertilizer delivery system. We want it to feed our trees, but in moderation. In most cases this can be easily accomplished with a combination of branch drains, swales, and detention ponds which will slow spread and sink the water into the different areas.
Branch Drain System
Since our kitchen is particularly active (serving anywhere between 14-30+ people at a time) we use a simple branch drain which splits the grey water into three different pipes. Then these pipes each drain into separate swales. These swales allow the greywater to infiltrate the soil, feeding an orchard space full of bananas, breadfruit trees, and chaya.
Banana Circle
In another application, three less active sinks combine with the rainwater runoff from the roof of the food smithy and main house. This water collects in two small nearby ponds. Around the ponds, in the berm, we have planted a few varietals of banana as well as some Katuk for easy salad access. The greywater that collects in those ponds is diluted with the rainwater from the roof. As it slows and sinks into the earth it helps break down the mulch creating rich and active soil. These are often refered to as banana circles, but you can plant anything on the berms besides bananas.

Things to Consider
When designing your own system its important to consider the different sources of greywater. Kitchen sinks typically contribute the majority of the organic material of your greywater production. In nearly all situations this includes some volume of oils or grease. It’s important for the maintenance of your system to have some sort of grease trap installed in order to prevent the plumbing from clogging. Here at Rancho, we have a greywater and grease trap maintenance check scheduled on our calendar every month. This ensures that the system is maintained.
When utilizing greywater from your washing machine, it is important to consider what sort of soap or detergent is being used and what the environment is that the water will be entering into. Fortunate for us in the tropics, our ecosystem is extremely resilient. This makes it able to mitigate many of the chemicals that go into typical detergents. That said, it is best to avoid boron based detergents and detergents that tout their “softening” abilities.
When it comes to managing the human or synthetic inputs going into the greywater, the strategy that always wins is twofold. First- be conscious of the quantities that are being used. Second- be sure to dilute the greywater with fresh water! In our case at Rancho Mastatal, we experience high levels of rainfall throughout the larger part of the year. Thankfully, this heavily assists in diluting of our greywater inputs.
Applying Greywater
While greywater has the potential to be an incredible resource, it is important to manage and use it properly. As a general rule, its best when directly applied to the soil particularly in orchard type spaces. Here is a brief list of guidelines for applying greywater in food producing spaces:
Guidelines for applying greywater in the garden:
Apply directly to soil; avoid overhead sprinkling
Deliver greywater to relatively flat areas or an earthwork designed to slow and spread the greywater
Use branch drains and swales to disperse the greywater
Apply mulch and compost to areas receiving greywater to facilitate decomposition (stack functions)
Greywater is typically alkaline, so avoid using it on acid loving plants
Mix freshwater in with greywater irrigation - Dillution is key!
When selecting soaps and cleaning agents be conscious of what those things are made of
Try to avoid boron based detergents and detergents that tout their softening powers
Be conscious about your usage of chemical inputs
Dilution is key! Through the use of a mixture of freshwater (rainwater or otherwise) and grey water, the rich micro biome in your garden or orchards soil will be able to effectively process and integrate the greywater inputs.
Want to Learn More
Join us for our annual Permaculture Design Course to get inspired and hands on education in subjects such as greywater, natural building, agroforestry, and general good practices to designing a more sustainable home and environment.

Swale digging: Water management on the farm is key. Many hands make for much lighter work!

#Pura Vida: The Art of Living and Letting Go in Community
But although Pura Vida certainly alludes to living a healthy, and “pure” life, I soon learned of a more nuanced translation, something closer to “that’s pure life” or “it is what it is”.
#Pura Vida: The Art of Living and Letting Go in Community
By 2021 apprentice Abbey Cmiel
“Pura Vida, Pura Vida!” we all shouted as we backed away from our clay plastered walls. Many of us perfectionist-types begrudgingly set down our plastering tools and glanced side to side to compare our practice panels to our neighbors. I itched to go back in with my trowel and get all those micro-cracks or indentations just right, but lunch would not wait.

Apprentices practicing the art of plastering
If you’ve spent any time in Costa Rica, you’ve probably become accustomed to the common refrain of “Pura Vida”. A phrase that simultaneously means hello, goodbye, what’s up, “thank you”, “sorry”, and “how are you?”, it’s extremely useful for novice Spanish speakers and members of large communities. When you live amongst 20 or so people, finding the right words for in-passing greetings and remarks can be challenging. I’m one to reply, “you too” when someone says “Happy Birthday” or “Thanks” when someone asks how I am. Having this catch-all phrase, if nothing else, is a handy device the Ticos have perfected.
At first, I was confused by the term which I had mentally translated directly to “Pure Life.” Costa Rica is certainly known for being one of the healthiest places to live on Earth with high environmental protections and standard of living. But although Pura Vida certainly alludes to living a healthy, and “pure” life, I soon learned of a more nuanced translation, something closer to “that’s pure life” or “it is what it is”.
About a month ago, my phone was stolen while on a beach trip with friends from Rancho. We scoured the beach before finally giving up, at which point my friend shrugged and said, “Pura Vida” with a wink. After tempering my immediate impulse to smack him, I laughed and realized this was indeed part of the Pura Vida. Pure, unadulterated life- with it’s crazy roller coaster of frustrations, fears, excitements, and successes.
In just a few short months at the Ranch, I have personally experienced a myriad of life challenges: losing my grandpa, sustaining a back injury that had me down for a few weeks, homesickness, questioning my purpose, and interpersonal relationship struggles. Simultaneously, I have felt more forms of joy than I knew existed: from running on the soccer field, to carving a beautiful clay plaster, to cooking an excellent meal with friends, to watching a seedling I had planted grow. Every moment here feels so rich with wisdom to be gleaned, relationships to be deepened, and love to be shared.

Abbey cooking the crew a delcious farm to table dinner
It seems many cultures have a version of “Pura Vida”: in France “c’est la vie”, in Spain, “que será, será”, and in Japan “Wabi-Sabi”. In each of these concepts there’s a sense of “well, that’s just how it is”, but more importantly, that there’s a joy that comes from embracing what appear to be life’s imperfections. I have learned here at Rancho Mastatal that the immense range of life experiences, particularly the rough spots, not only make us better people, but make life worth living at all. If I had it my way, my plastered walls would look smooth as silk, my rice would be perfectly cooked, I would never get sick and I would never be so silly as to leave my phone out on the beach unattended. However, it’s these challenges that force us to lean on one another. They’re the backbone of community.
When I lost my phone, another apprentice offered me his old one. When my grandpa passed away, the group made a gorgeous bouquet and held me in countless hugs. My complete incompetence at making the perfectly plump and oily Costa Rican rice gives me the chance to hover around the amazing Tica chefs we work with and learn their ways. It’s in the moments of supposed shortcomings, incompetence, and sadness that allow us to step up for one another and remember our interdependence.
Pura Vida, above all else, are the reminders that we are “Pure Life”. We are all a part of the intricately woven and beautifully imperfect tapestry of life, death, food, decay, sharing and giving. By offering my skills and abilities, whether doing a few extra dishes or translating for visitors, I support this web of wellbeing. We do our best, step up fully to the challenges, and then put down the plastering trowel when we can do no more. And in embracing my imperfections as opportunities for others to love and support me, we collectively build a more connected and whole culture.

Having fun and making local chocolate bon bons
Stay tuned for more stories of life at the Rancho and the daily life of communal living.
Pura vida!
Living Without Walls - A Year of Jungle Community Living
Every day was a very present reminder that this physical barrier has created a deep division in how we perceive and interact with each other.
Living Without Walls - A Year of Jungle Community Living
By 2021 apprentice Hanita Knudson

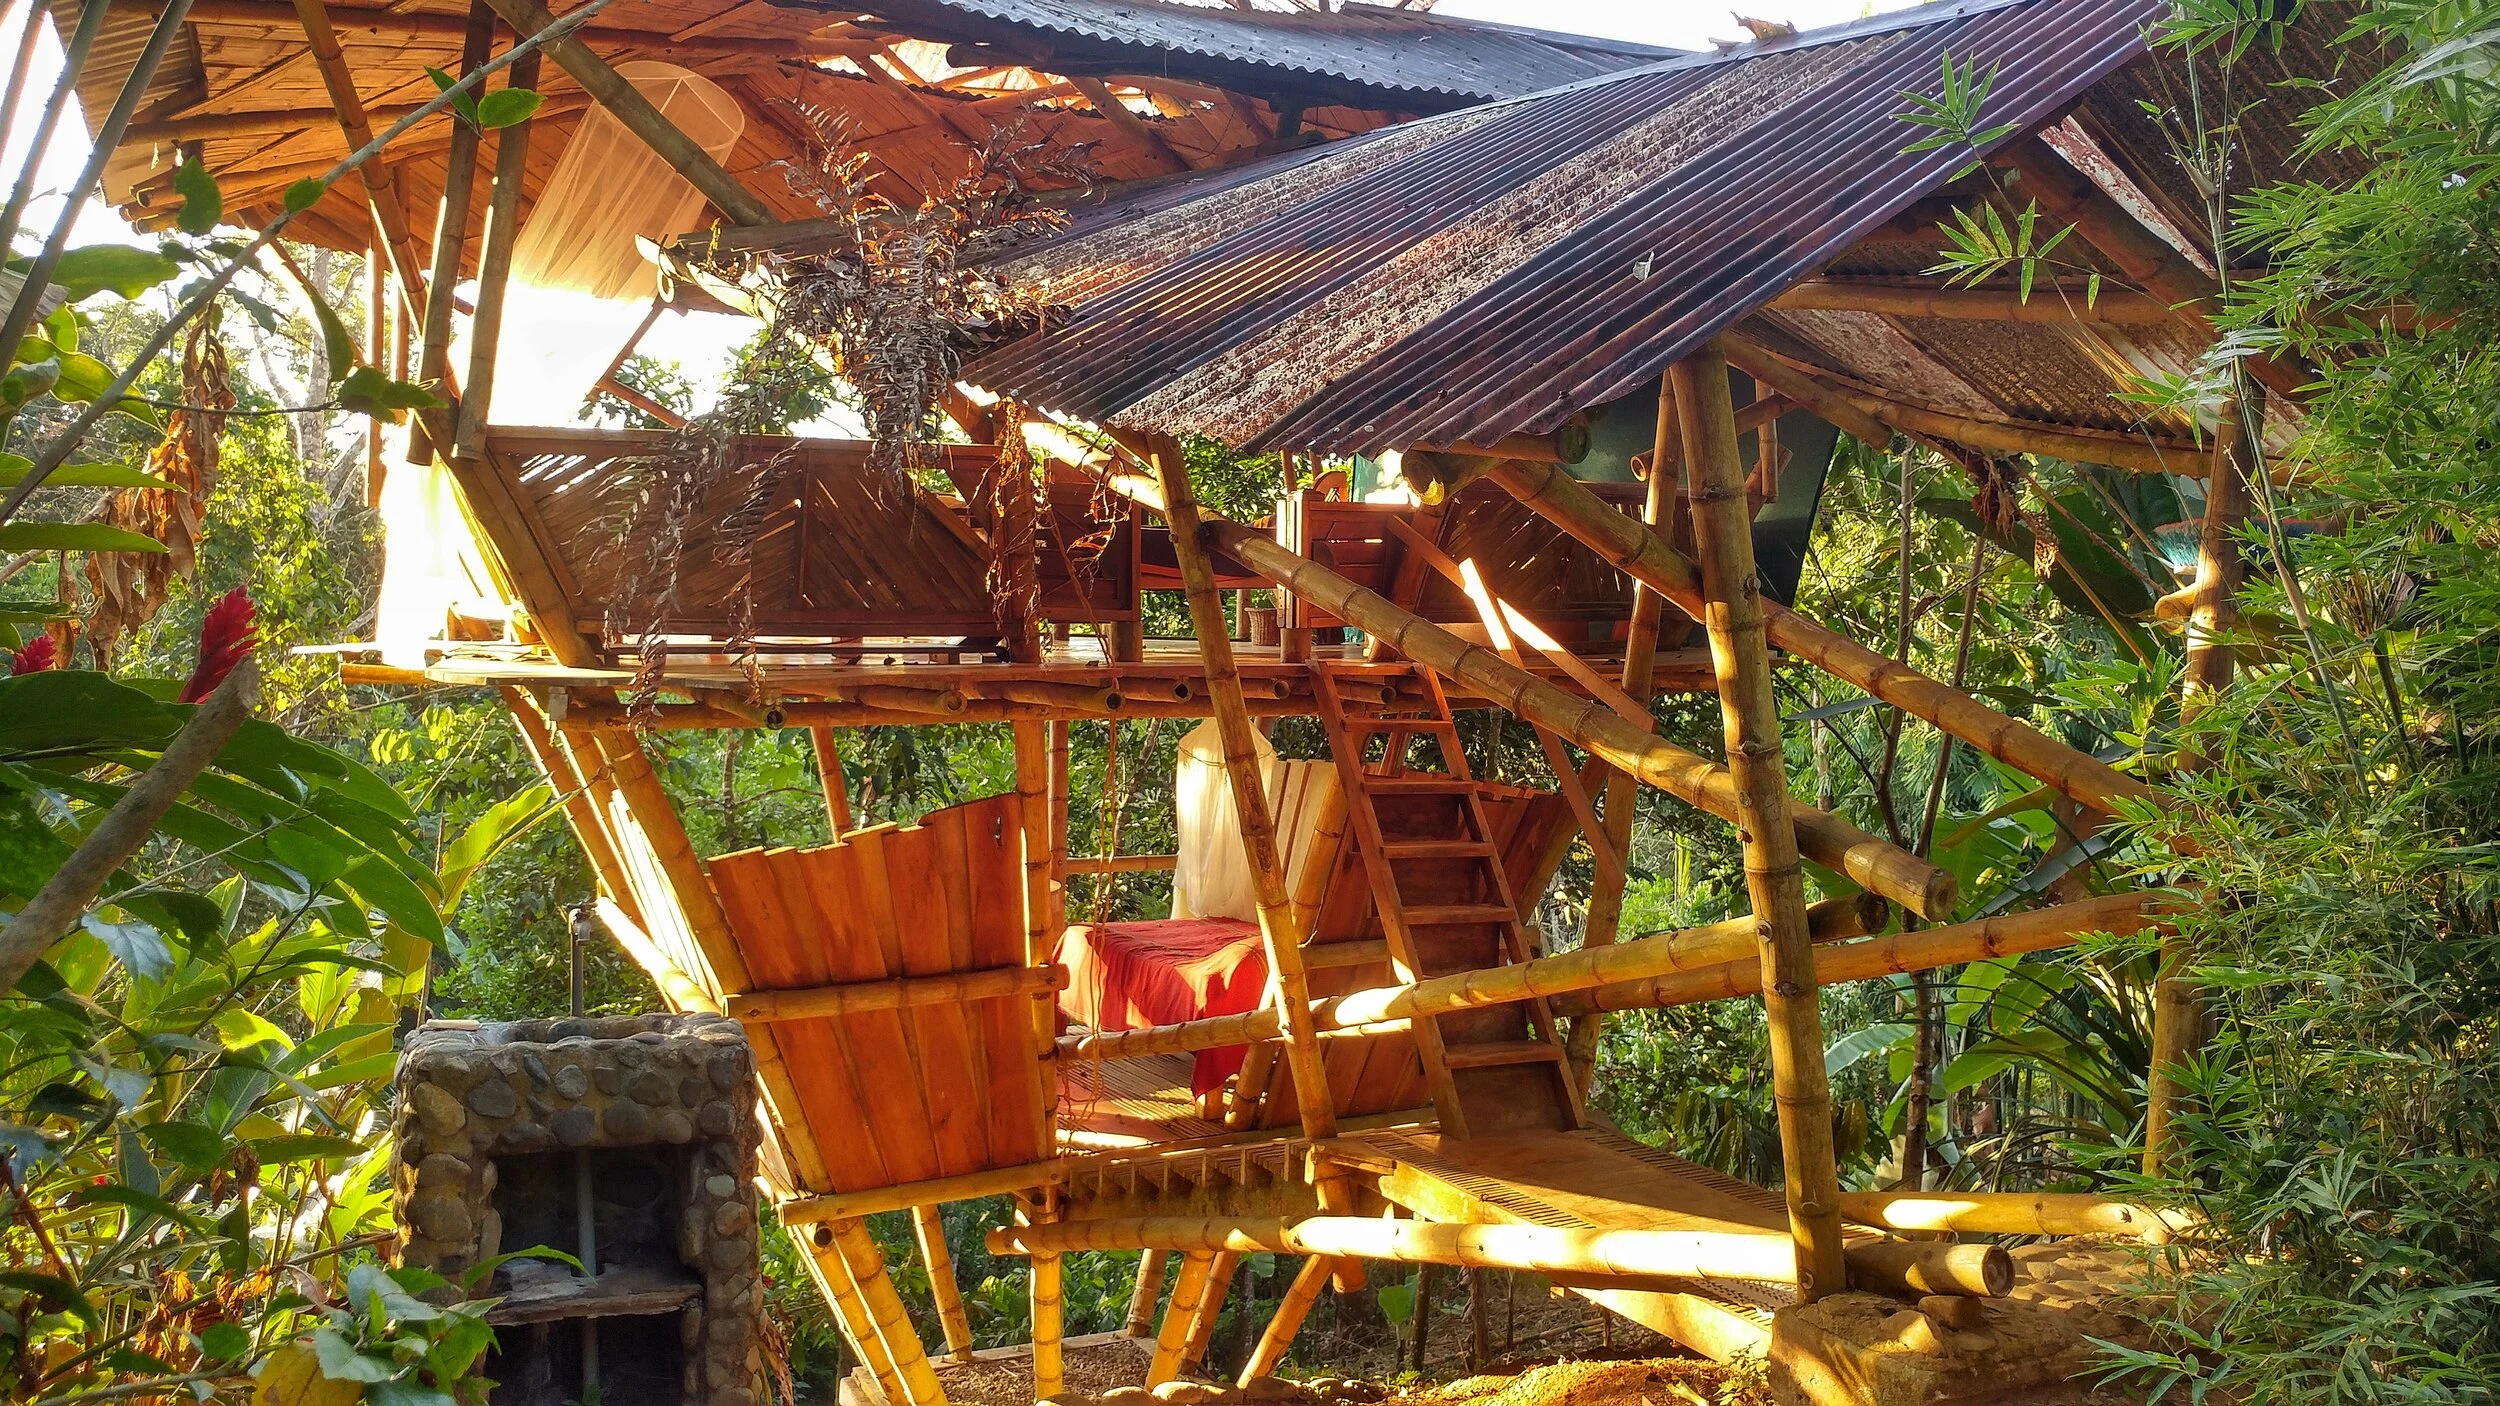
Many of our buildings have fewer and unique “walls”
Being an Arizona native, much of my life is defined by walls. As a border state our boundaries are clearly defined by the massive border wall that separates us from our neighbors.
I also come from the opposite landscape of the tropical jungles of Costa Rica- at home we rarely receive rain and have extreme temperature shifts in the summer. Walls can provide us with essential insulation from the elements, and also create the structure for me to decorate and form a sense of comfort.
However, my relationship with walls is complex. As someone who has lived, studied, and worked in border communities for most of my adult life, it is an overarching theme I think of often. Before I arrived at Rancho, I was working with children mostly from Central and South America coming to the states to reunify with their families. Every day was a very present reminder that this physical barrier has created a deep division in how we perceive and interact with each other. For years I have seen how one wall can have continual detrimental effects both on our natural landscapes and our relationships between countries.
One of the first things I noticed and continue to observe at the Ranch is the absence of walls. Here, we live in open air structures and are constantly connected to each other and nature. All of our spaces meld together, which means we share just about everything. This has made my understanding of walls, or lack thereof, even more complex. Nature is always around us and it feels as if we are naturalized citizens of the jungle rather than the owners of the land. We are in constant shared space with the jungles plants and creatures. From ants building nests in my bed, to spiders laying eggs on my mosquito net, to toads hopping about the floor of the main house, to boa constrictors slithering around the ceiling of the food prep kitchen, I could go on and on about my daily interactions with my animal land-mates. To say it has been easy would be a far stretch from the truth. However, I have also seen the immense benefits, both personally and in community, of living without walls.

An example of our natural building with earthen walls
Walls obviously serve various functions, and we spend a decent amount of time at the Ranch building earthen walls for safety and shelter. But often, in other contexts, their function of separation is more harmful than helpful. It is easy to disconnect yourself from something if you never have direct interactions with it. We often consume resources without a second thought as how those resources made it to us or how the Earth was affected to obtain them. Now that I can see the farm where much of my food is grown, and hear my neighbors who provide what we cannot produce ourselves, I am continually reminded of every life that provides for my own. I am a witness to all the pollinators, plants, and people who I depend on, and as a result and I continue to learn to care on a deeper level about their wellbeing.

Community spaces being shared
It is also easy to make assumptions and judge others when you stay separated from them. When you share a bedroom, bathroom, kitchen, and all other living spaces with a group of people, you end up learning quite a bit about them. The other apprentices and I talk and interact just about all the time- whether doing dishes, building adobe bricks, or even brushing our teeth. During these times, we share almost too many details about our day to day lives, but in the end, understand each other so much more deeply than if we had our own spaces. This makes it much easier for us to support one another or just let the little annoyances go.
In permaculture, one of the most essential concepts is “edges”. While dominant Western society tends to value centralization, efficiency, and consistency, permaculture places immense value on the interaction between people, places, and biomas. Here, at the edge of the jungle, Mother Nature is my consistent teacher and friend. I am constantly living at the edges - talking, learning, growing, and adapting with all the other beings around me. Without separation, I can observe how nature functions and deepen my understanding on a daily basis. Without borders, I deepen my relationships with all my neighbors, from cicadas who sing into the night to the many other jungle sounds. Though it’s not always easy, we form a more interconnected and resilient community as a result.

Our earthen meeting structure where we hold classes, community meetings, talent shows and more
Read Past Blogs about Community Living

Harnessing Wild Yeast: How to make your own Fruit Alcohol (Hooch)
Fruit alcohol, or what we like to call hooch, is a great way to use an abundance of seasonal fruit and transform it into a tasty alcoholic treat. With a community of 15 plus people here, we can drink a fair amount of alcohol, and being able to make it ourselves allows us to know the ingredients, process, who is benefiting from it, and save a lot of money!
Harnessing Wild Yeast: How to make your own Fruit Alcohol (Hooch)
By Adriaan Van Duuren, apprentice 2021
Fruit alcohol, or what we like to call hooch, is a great way to use an abundance of seasonal fruit and transform it into a tasty alcoholic treat. With a community of 15 plus people here, we can drink a fair amount of alcohol, and being able to make it ourselves allows us to know the ingredients, process, who is benefiting from it, and save a lot of money!


This blog is going to explain how to make a fast and simple hooch with basic/cheap accessories that everyone normally has or can buy. I will use my banana hooch that I made here at the Ranch as an example, but that doesn’t mean that you can’t use different or multiple kinds of fruit that are local to your place.

Equipment
· Cutting board
· Knife
· Kettle
· Air tight food grade container
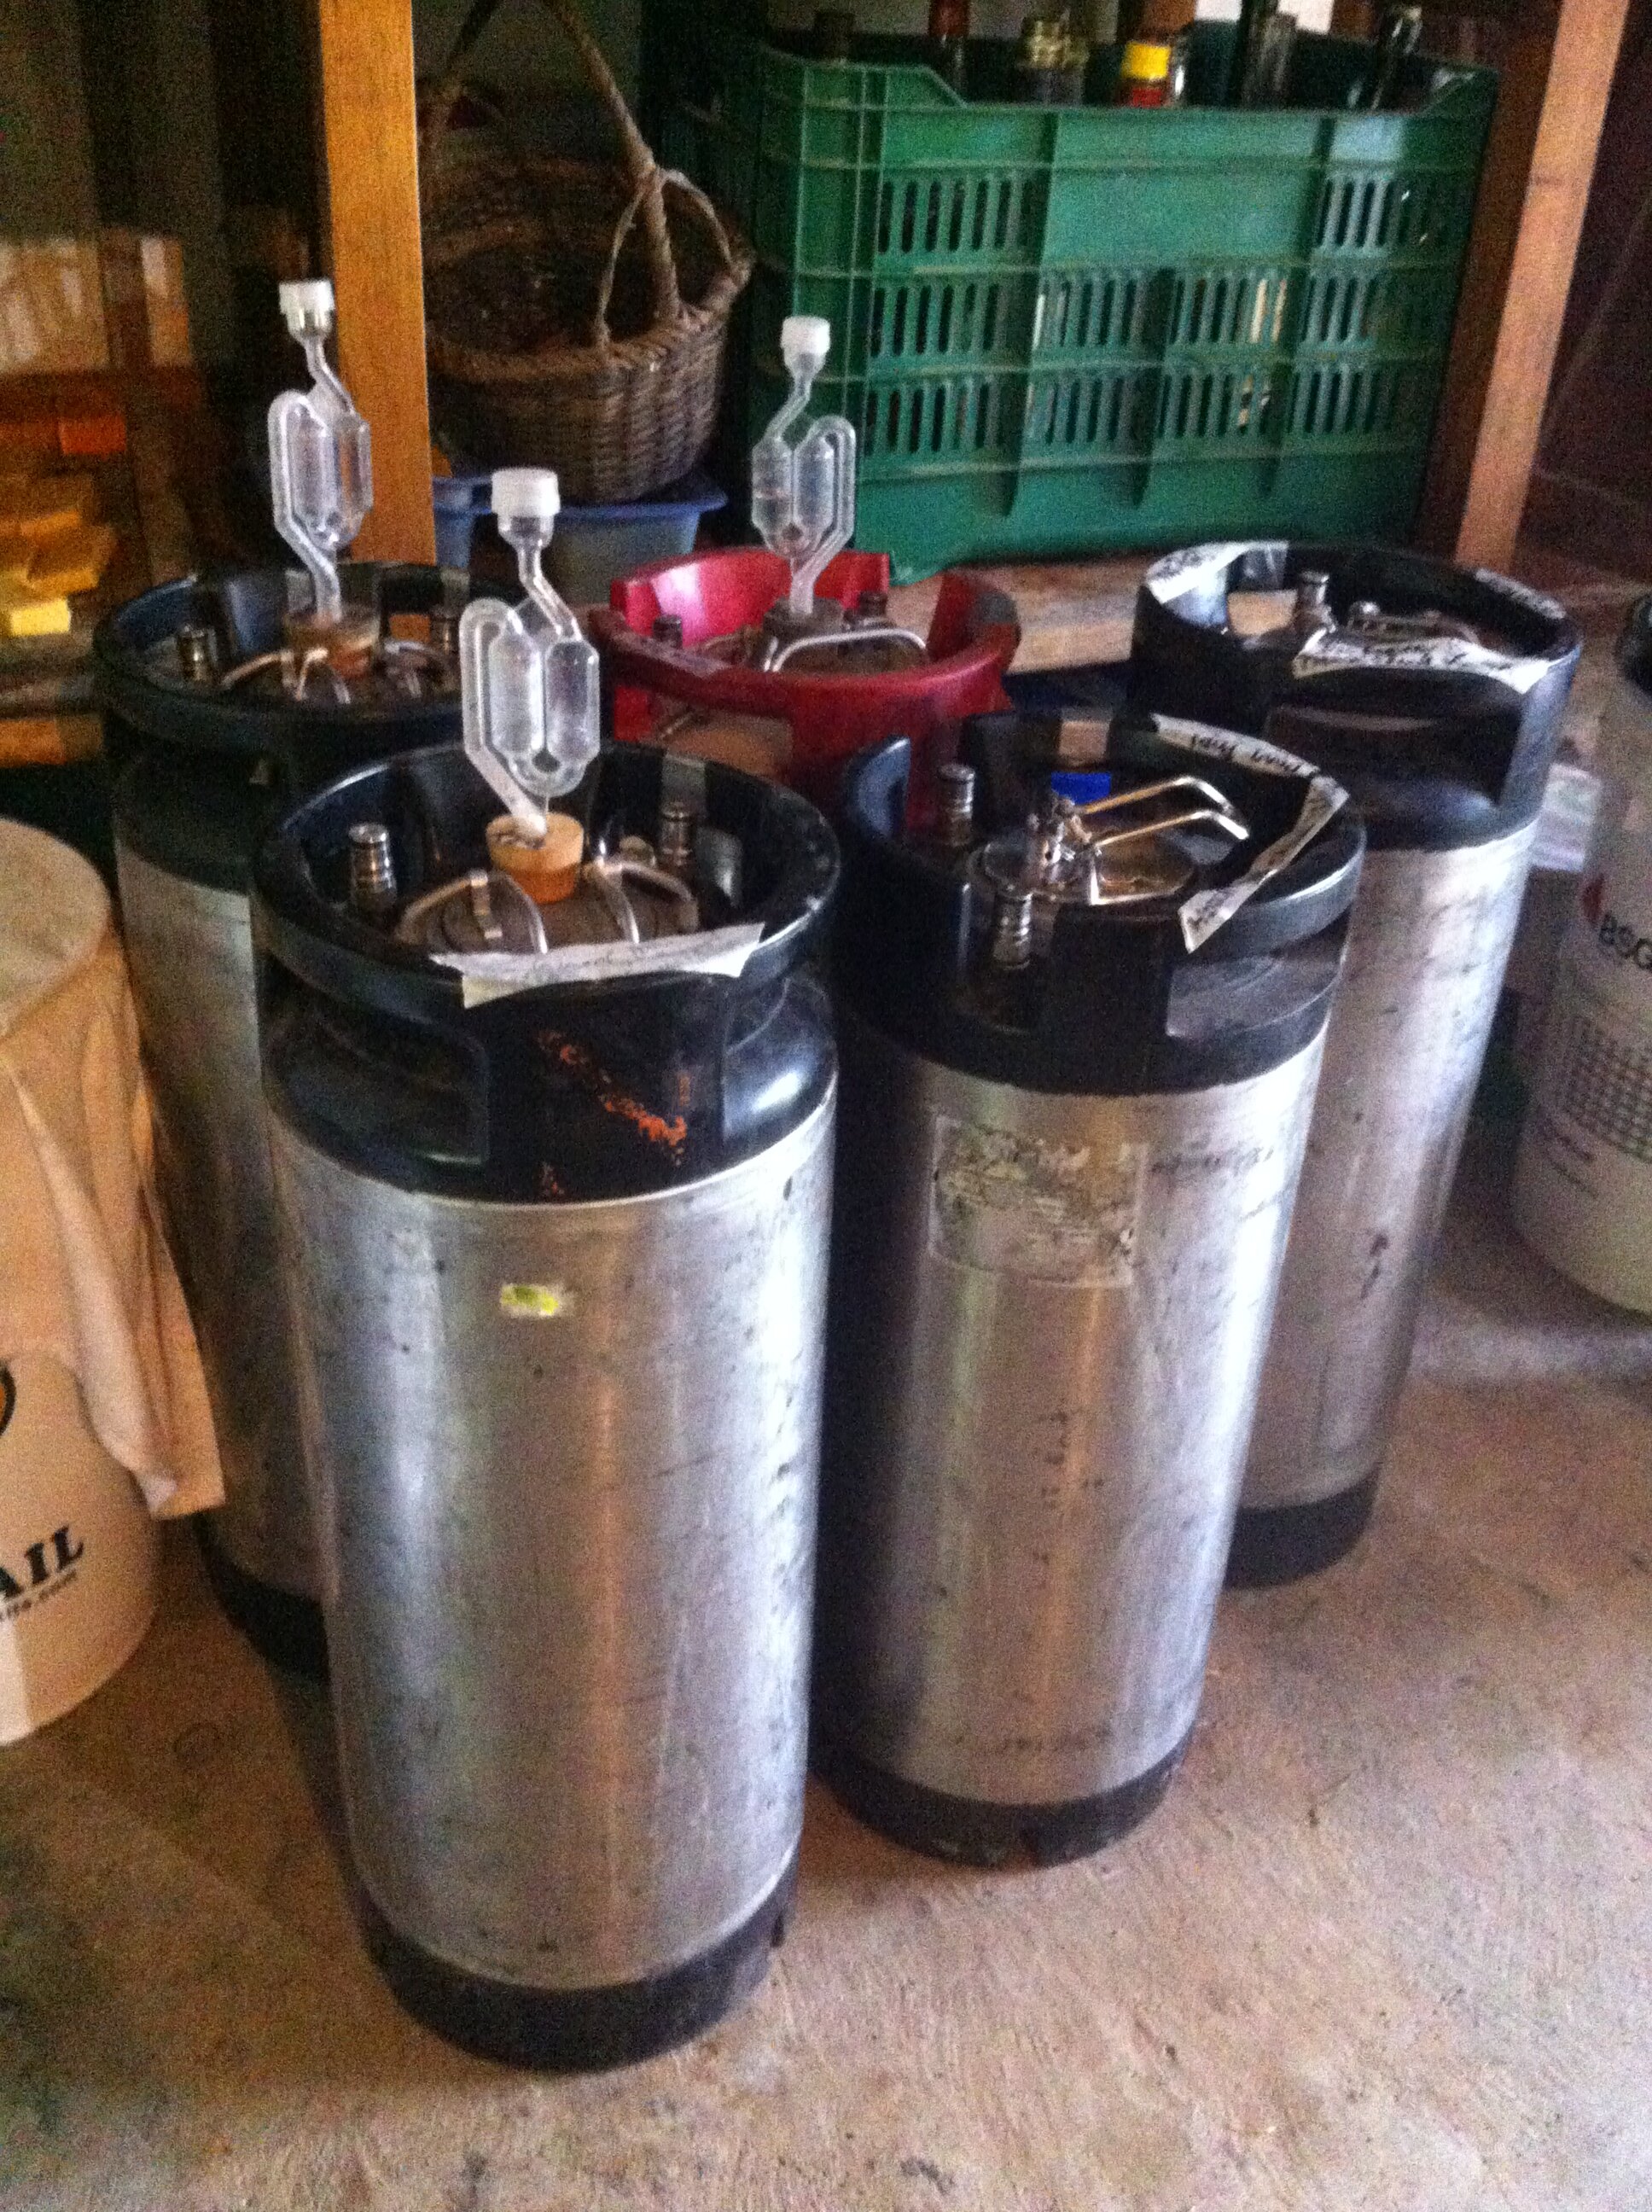
· Bubbler
· Strainer
· Siphon (optional)
· Airtight bottles
Ingredients (makes 5 liters)
· 1000 ml fruit
· 4500 ml water
· 500 ml sugar (we use locally sourced sugar known as tapa dulce)
Instructions
Making a Batch of Wild Yeast
First, we need to create a small batch of wild yeast to be able to make sure our hooch will have a good taste and smell. You can use store bought alcohol yeast, but making your own is more fun, creative, and can bring different flavors to your beverages! Yeast live where there is sugar! Yeast will convert the sugars into alcohol. Different ingredients will create different flavors and aromas in your yeast and your batch of alcohol, which is why it is important to try out different yeasts in a small quantity. Take a small container and put chopped fruit, water and some sugar in it. Here are three different examples of the wild yeasts I made in order to test what would give me the best flavor.
1. Dried banana with water and sugar syrup
2. Ripe banana with water and sugar syrup
3. Ripe banana, lemon juice, water and sugar syrup
After three days of daily stirring, I tasted the mixes and decided to use the first mix with the dried banana to cultivate my big batch of banana hooch. The sweet smell and honey like taste was what I wanted.
To know your wild yeast is ready, things you're looking for are: the pieces of fruit are floating to the top, you can see the liquid is starting to get bubbly and active, and it's still sweet but not as much as the beginning.

Brewing
Before we can start brewing a big batch of hooch we need to chop the fruit into smaller pieces and put them in the fridge for two days. I'm doing this to give the fruit some more time to ripen and create more natural sugars.
We then begin the brewing process by putting our fruit in the big airtight container that we want to make our hooch in.
Pour 1000 ml of hot water from the kettle on to the fruit. Make sure that all the fruit is surrounded by water to kill the non cultivated yeasts. Seal the container and let the mixture cool down until you can comfortably put your finger in it.
Add the rest of the 3500ml of water, the liquid sugar, and your batch of wild yeast (be sure the overall liquid temperature is not above 110 degrees Fahrenheit or it will kill your yeast). If you only have crystalized sugar available, boil it in a little bit of water to liquify it. Stir this mixture and seal the container air tight. Put the bubbler in a hole on the lid and make sure that no air can escape from the container except through the bubbler. Let your brew ferment for 4 days while stirring gently everyday. After four days strain the pulp and store the liquid in the airtight bottles. Let the hooch carbonate for one day in the closed bottles and then put them in the fridge for two more days. Now you should have a fruity and sweet carbonated hooch to drink and show off to your friends!
Tips and Tricks
If you forgot about some stored bottles of hooch or just made too many of them, don't panic! After one to two weeks your alcohol will turn into vinegar and you can use it to cook with. Store your hooch in the fridge if you want to keep them for longer, but with enough time the hooch will turn to vinegar in the fridge. You can store in the freezer for a longer lifespan. ATTENTION!!! Make sure there is enough air in your bottles when you store them in a freezer or your bottles will explode from the pressure.

Thank you for reading this blog and I hope you enjoy drinking your hooch!
Other Blogs on Fermentation
Happy brewing, happy microbes, enjoy!
TROPICAL FRUITS: knowin’ em, eatin’ em, and pickin’ em
Fruits and vegetables have not always existed in the way we know them today. Farmers, the agriculture industry, and plant scientists have taken native plants and reshaped them into the crops we now consume in our daily diets. This has happened over time for a variety of reasons. In some cases it was to improve their palatability, in others to make them easier to grow, harvest, or eat. For better or for worse, the produce we grow in our home gardens or purchase at farmer’s markets, grocery stores, and CSA boxes have developed alongside us for centuries.
TROPICAL FRUITS: knowin’ em, eatin’ em, and pickin’ em
By Dewey, apprentice 2021
CONSIDERING THE EVOLUTION OF PRODUCE
Fruits and vegetables have not always existed in the way we know them today. Farmers, the agriculture industry, and plant scientists have taken native plants and reshaped them into the crops we now consume in our daily diets. This has happened over time for a variety of reasons. In some cases it was to improve their palatability, in others to make them easier to grow, harvest, or eat. For better or for worse, the produce we grow in our home gardens or purchase at farmer’s markets, grocery stores, and CSA boxes have developed alongside us for centuries.

Although we have had a strong hand in their evolution, some of these changes have happened through random genetic mutations— nature’s way of ensuring diversity, adapting to conditions, and creating new varieties. One good example of this is corn. Although we have, in recent times, bred and mutated the corn to appear the way we see it on our plates today, it originally underwent a series of four or five key mutations, each involving a single gene. These mutations created a taller plant with larger ears that had more kernels per cob and only one or two stalks. Our farming ancestors ran with nature’s changes and began further breeding and developing the corn to its current state. This has happened over the course of time, to varying degrees, with pretty much all of the food we consume today.
The tropics are known for producing sweet, juicy, colorful fruits that top people’s favorites list across the globe. Living at Rancho Mastatal, we are surrounded by an abundance of fresh, vibrant farm to table, tropical fruits that keep us fueled and energized for all of our various projects. Some of the most commonly loved and consumed being bananas, pineapples, and papayas. If you’ve ever been fortunate enough to experience a Rancho Mastatal brunch, you know it consists of gallo pinto, eggs, a pan of delicious hash made of various tubers and vegetables, and a bunch of fruit bowls filled to the brim with delicious tropical fruits. Oh, and you can’t forget a glass of our refreshing, homemade water kefir (recipe here) AKA balm to us and some famous chili jam (recipe here) to top it off.
So! How did these tropical fruits we get to enjoy every day come to look, taste, and be the fruits they are? Why should we eat them? What are their nutritional benefits? How do we know which ones to choose? And how do we properly store them to maximize their quality and shelf life? Let’s get into it!
BANANAS- A (very) BRIEF HISTORY

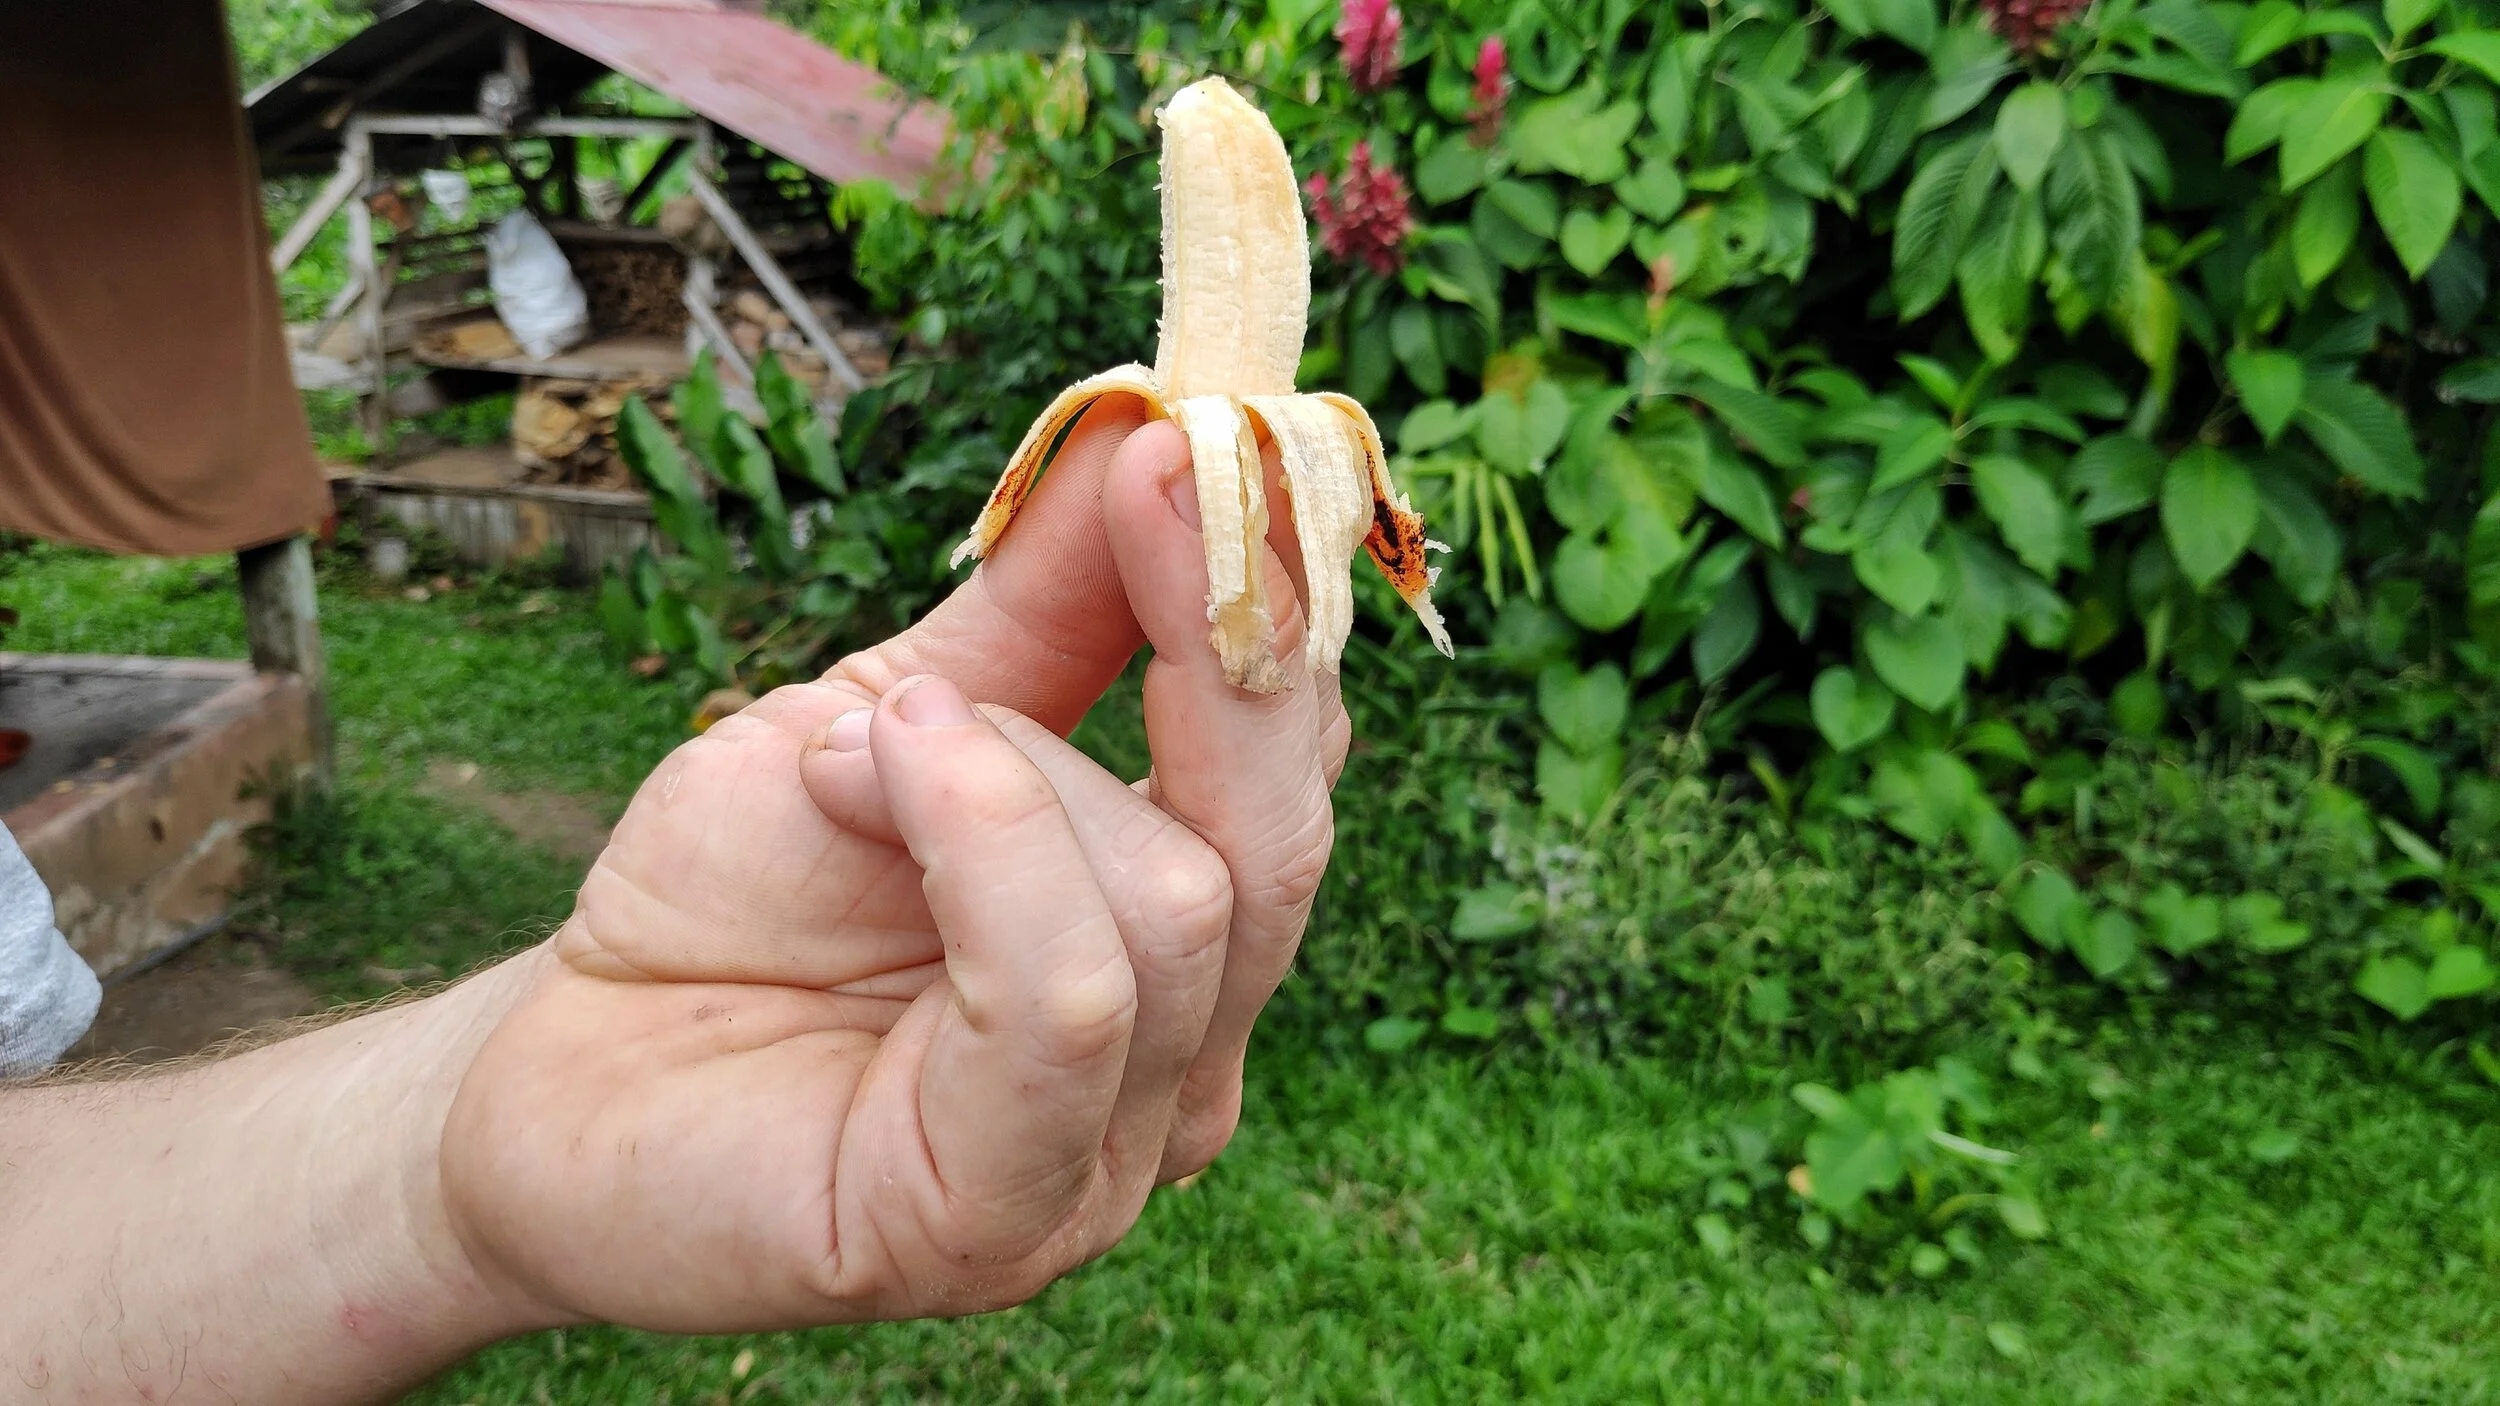
Bananas, they come in all shapes, sizes, flavors and colors!
Bananas are one of the first fruits humans began domesticating. As early as 6000 BC people in Southeast Asia began planting and propagating the banana. Although in many supermarkets you will commonly only find the Cavendish, there are thousands of varieties of bananas that exist in the world. They range in color from pink to purple to red to black to green and, of course, yellow. They grow in all different sizes and historically had big seeds throughout their flesh.
At some point in our banana cultivating history, a different banana bush appeared. This bush bore a fruit whose seeds were reduced to a column of soft, dark flecks running down the center of the fruit. This new variety with its novel, easy to consume seeds was a hit. This new “seedless” banana was propagated by cuttings and quickly spread throughout the tropics and subtropics. It was this one banana that led us down the path to the seedless bananas we all know today.
Read our other banana blog “10 Things you Didn’t Know About the Banana”
SWEET OR STARCHY

Experts estimate that there are around twelve thousand seedless banana varieties grown throughout the world. These bananas can mostly be categorized into two different types: sweet bananas and starchy bananas. Although there are very few genetic differences between these two groups, they are remarkably different in texture and taste. Generally speaking, we consume more sweet bananas than starchy ones, however, starchy bananas are an excellent source of carbohydrates and many people around the globe rely on them as a sufficient source of carbohydrates. Most starchy banana recipes call for the fruit to be skinned before being steamed, baked, or fried. At the Ranch we love coming in from our morning work parties to a crispy plate of hash loaded with green bananas. Patacones, a delicious dish of pressed and fried green bananas, is another lunch or dinner favorite all around.
VARIETY IS THE SPICE OF LIFE
The aforementioned Cavendish is the most widely available banana (especially in US stores). It has around 3.5 grams of soluble fiber per serving and a good amount of potassium. It is lower in beta-carotene and its general overall antioxidant value is lower than many other types of banana, so be sure to keep your eye out for less common banana varieties. As with a lot of produce, the deeper and more potent the color of the flesh the higher the nutrient content so many of the varieties you might find at farmer’s markets or growing in the wild are worth trying out.
When you visit Rancho you will see a wide range of banana varieties, colors, shapes and sizes all around the property. We harvest these when ready and then hang them in our banana snack station behind our cob oven (read about our “Endevors to End Propane”) at the main house for all to snack on between meals. Without a doubt, they give us the energy we need to keep going throughout the day.
PROPER BANANA STORAGE
Bananas are a fruit that will continue to ripen after harvesting as long as they aren’t exposed to the cold. If you buy your bananas green and then keep them at room temperature they will typically be ready to eat within a week. Unripe bananas should never be placed in the refrigerator. As a tropical fruit the banana does not like being exposed to the cold. Placing green bananas in your refrigerator will halt the ripening process. If you want to get your green bananas ripe faster, you can place them in a closed paper bag with any natural producer of ethylene gas (like an apple) which will get the ripening process on its way. On the other hand, if your bananas are getting a bit too ripe you can place them in the refrigerator to slow their ripening process. This will often times cause the skin to brown, but the inside will be edible for a little longer than if you kept them at room temperature. Here at Rancho when we have an abundance (which we often do) we love to freeze our superfluous bananas in the freezer to make delicious, creamy smoothies. Be sure to peel the bananas before you freeze them, as they can be hard to peel once frozen.
Cinnamon Chia Banana Smoothie recipe:
4 frozen bananas- cut/broken in half or into thirds
1 cup milk or dairy kefir (recipe here) of your choice
1/2 cup water
1/2 teaspoon cinnamon
Chia seeds (desired amount)
Pinch of salt
*sub water for cold coffee if you are looking for a little caffeine boost!
FOODOMETER
If you are buying bananas at the grocery store, take a minute to acknowledge the miles that banana has traveled to get on the shelf in front of you. The US consumes more bananas than any other fruit, resulting in the importation of twenty million tons each year and an increasingly high carbon footprint. One way you can go the extra mile to ensure none of these imported bananas go to waste is by consuming them consciously. Don’t let them go to waste! If your bananas start to over-ripen consider turning them into a delicious banana bread or cake. Like my grandma always says, “Three overripe bananas in hand, mashed and baked into a delicious bread is better than a whole bunch on the bush.”

Banana vinegar is a great way to transform excess bananas into something that will preserve for a long time
Here at the Ranch, managing our bananas (or as we call it, bananaging) is a big job. To make sure we don’t let our precious harvests go to waste, we freeze hundreds of bananas to make delicious smoothies or to use in recipes at a later date. Other ways we like to transform the banana is:
Dairy Kefir Banana Creme Fraiche
Another way to ensure bananas aren’t being wasted as a supermarket consumer is to purchase the single bananas that get left behind by other customers who picked them off their bunch. These left behind, bunchless bananas are the ones most likely to be thrown away at the end of the day by the grocer, so your actions will ensure their carbon footprint was not wasted! And if you live in an area where growing bananas is possible, try it out! One thing I have learned here at Rancho is that there is nothing quite like enjoying a fresh fruit from your home harvest on a hot day.
PINEAPPLES- A (very) BRIEF HISTORY
The wild pineapples that were the ancestors of our beloved pineapples were not something we would welcome onto our plate today. Originally found in South America, they were bitter and full of pesky seeds, not to mention had ridiculously spiky leaves to keep predators away. The primary pollinator of wild pineapples is the hummingbird, but in cultivation they are pollinated by hand. We do not know much about the domestication of the fruit, but pineapple’s story begins between Brazil and Paraguay. The crop spread throughout South America eventually making its way through the Caribbean, Central America, and Mexico where the Mayas and the Aztecs welcomed it with open arms.
Through colonialist travels, the pineapple was eventually brought to India, the Philippines (where it was surprisingly grown for its fibers which were used in textile production) and Spain. Historically, pineapples were considered a symbol of wealth across Europe. This was because they had to be imported or grown in greenhouses using expensive technologies in the temperate climate. Today, the top producers of pineapples are Costa Rica, the Philippines, Indonesia, and Brazil.

A fresh picked pineapple from the Ranch
The variety by the name of Cayenne was the first pineapple to dominate global markets. Its skin is a mixed green-gold and its flesh is yellow. This variety has a high sugar but also high acid content. Throughout the 1900s Hawaiian pineapple growers began working to breed pineapples that had been collected from the jungles of South America as well as Africa. For decades they crossed and recrossed the plants eventually producing a hybrid that came to be known as MD-2. The skin of this new pineapple was completely golden and the flesh of it was an even deeper hue of gold. It was less acidic and sweeter than the Cayenne, making it even more desirable to consumers. In the 1980s Del Monte brought MD-2 down to its plantations in Costa Rica where it flourished, and the rest is pura vida. Other similar varieties that come from the same genetic stock have appeared on the market, such as Maui Gold and Hawaii Gold.
RECOGNIZING RED FLAGS
As with most industrialized fruit/food production, there exist many ethical and environmental concerns when it comes to large scale pineapple cultivation. Use of toxic pesticides threaten the soil of our earth as well as our global water supply- buy organic if and whenever possible. Labor rights are another issue at hand. Field workers are often overworked and underpaid. Any amount of food you can produce for yourself will allow you to break free of being complicit in these systems. If you live somewhere with the right conditions, consider trying to grow your own pineapple! Although it will take some patience (a pineapple generally takes between nine to fourteen months to grow), you can regrow your pineapples directly from their tops!
Once grown, the momma pineapple plant will send out “suckers” or baby pineapple plants that can also be planted and regrown. This is how most commercial pineapples are produced. Plan ahead and plant early to enjoy your homegrown treat as soon as possible. Like my grandma always says, “The best time to plant a pineapple is nine months ago. The second best time is today.”
NUTRIENT VALUE OF THE PINEAPPLE AND A SWEET SURPRISE
Pineapples are high in manganese (which is beneficial for your bone health) as well as being high in vitamin C (which helps to bolster your immune system). They have a diverse phytochemistry containing many different types of polyphenols. Polyphenols are family of over 8,000 naturally occurring micronutrients that we obtain through eating plant foods. They are packed with antioxidants which, like vitamins, are best when obtained through consuming them naturally in our food. These polyphenols offer many health benefits such as protecting against disease, promoting digestion, reducing inflammation and boosting brain health.
One particularly interesting enzyme found in abundance throughout the entire pineapple plant is bromelain. In folk medicine bromelain is used for pain, muscle soreness, burns, and a variety of conditions associated with chronic inflammation. It is also said to improve heart health, protect against certain forms of cancer, and stimulate digestion. Although there is not yet any solid scientific research to support these claims, bromelain is currently under preliminary research to aid in the treatment of various clinical disorders as we speak.
Interestingly, the new super sweet, cross-bred varieties are higher in sugar- however, they are also higher in antioxidants and phytonutrients. They have 350% more vitamin C and 135% more beta-carotene than their traditional counterpart. Even with their higher sugar content, their glycemic index rating is the same as the Cayenne, making them an overall more healthful choice.
HOW TO BUY EM, HOW TO STORE EM
Pineapples will continue to rippen once harvested. Like most tropical fruits that are exported, they are picked green for transport, allowing time for them to arrive at their destination and hopefully make it to the shelves at a time when they are close to ripe. To choose a great pineapple, examine the crown. You want one that has leaves that are a deep green color and limited or no signs of brown or fading. A good trick is to give the leaves a little tug. If you can pull too many of the leaves right off, it may be a sign that that pineapple is reaching over-ripe. Pineapples can spoil quickly, so store them in the refrigerator and eat them up fast.
SAVE THOSE SCRAPS!
I once watched a man peel, de-core, and cut a pineapple in under 30 seconds flat on an old wooden boat in the middle of the Indian Ocean off the coast of Zanzibar with a machete. Now, impressive as that is, most of our pineapple carving skills are not quite at that level. I am willing to admit that I am guilty for wasting more pineapple than I should when carving due to my still-developing pineapple cutting skills.
There are many things you can do with those pineapple scraps before they head to the compost. One delicious way to maximize the benefits of the bromelain and polyphenols (many of which are found in the skin and crown) is to make a refreshing pineapple skin sun tea. Although keep in mind that pineapples are one of the most chemically sprayed fruit, to prevent insect damages primarily, so either wash your pineapple skins well and/or buy organically grown pineapples. Here at the Ranch we only use our farm grown pineapples for teas and vinegar making.
PINEAPPLE SCRAP TEA

The start of a pineapple
1. To make the tea, first secure a container or jar (preferably glass) that has a tight fitting lid.
2. Collect all of your pineapple scraps (crown, skins, core and all) and put them into your chosen vessel.
3. Fill the vessel with water until the scraps are completely submerged.
4. Tightly cover the vessel and leave in the sun for 4-6 hours (or until the water becomes infused with the pineapple as indicated by a yellowing color).
5. Strain, chill, and enjoy! If you have a sweet tooth you can add a little sweetener of your choice, which here at Rancho is, of course, TAPA DULCE!
Another option with those spare pineapple parts is to make a pineapple vinegar. We are currently doing this at the Ranch with all of our homegrown pineapples. Check out Hanita’s pineapple vinegar article for step by step instructions on how to do this!
PAPAYA - A (very) BRIEF HISTORY

A papaya tree at the Ranch
Originating in the tropical forests of the Americas, the papaya is believed to have been first domesticated and cultivated by our farming ancestors in southern Mexico and Central America. It was brought over into the Caribbean before making its way to Europe and the Pacific Islands eventually landing in Hawaii in the 1800s.
The papaya plant is considered a tree, though it’s trunk is not woody. It is a resilient plant with about a five year lifespan that can often be seen popping up unprompted, wherever the seeds may land throughout the tropics. Fruit from these trees comes quickly, sometimes even within the first year of life. This makes it a great fruit to try growing at home, given you live in the right conditions.
Since the papaya Ring Spot Virus outbreak in the late 1990s almost wiped out the papaya, plant scientists have been working to create new varieties and cross breeds that are resistant to the virus. Because of this, many of the papayas imported from Hawaii and Mexico are genetically modified.
TO RIPEN OR NOT TO RIPEN
Ripe papayas are a delicious and nutritious sweet treat, however people around the world also consume un-ripe papaya. Commonly referred to as “green papayas” these are not another variation, but simply papayas in an unripe state. Green papayas have a pale green or white, firm flesh that is almost tasteless. At Rancho we shred and prepare green papayas into our famous Ranch kimchi (recipe here) every other week to add some fermented, healthful deliciousness to our plates at each meal. Green papayas will keep for up to two weeks, but the sooner you use them the better. Be sure to peel before using!
VARIETY AND NUTRITION
There are many different varieties, but typically you will find a smaller variety named Solo or a larger variety that goes by one of these four names: Sunrise, Caribbean Red, Maradol or Mexican. The pear shaped Solo usually weighs in at just over a pound (2.2 kilos) and has a golden colored pulp. The larger rounded football shaped varieties can weigh in between two and five pounds and have a rosy red-orange flesh. These larger papayas are often cheaper per pound than their smaller relatives and their red flesh has twice the amount of carotenoids, making them the more healthful choice.
Carotenoids are a vast group of over 600 different naturally occurring pigments that are responsible for the bright red, orange, and yellows found in many of our plant foods. These carotenoids are essential to a healthy life. Within the human body they act as antioxidants, neutralizing free radicals and reducing oxidative stress. Some are converted into vitamins while others reduce inflammation, decreasing our risk for diseases like cancer, heart disease, and degenerative eye disease. One of the most prominent carotenoids in papaya is lycopene which has anti-cancer properties. Another being beta-carotene. As a child I remember my grandma, always saying, “A carrot a day keeps the premature blindness away!” Turns out there was more science to that than I understood then— and it applied to more than just carrots! These antioxidants that are crucial to maintaining our prolonged health are not synthesized by the human body so they must be obtained by plant foods in our diet. Eat up!
Papaya is truly a nutritious treat. It contains a good amount of beta-carotene, lutein, zeaxanthin, vitamin C, folate and potassium. In case you weren’t already convinced, papaya is not just good for you internally, you can also use its wide range of antioxidants and nutrients to nourish your skin and hair. Check out this year’s apprentice Abbey’s blog on our spastatal practices to learn more about how to incorporate tropical fruits into your natural beauty routine!
KNOW HOW TO PICK EM

Green papayas ready for our kimchi
Good, ripe papayas are still on the firm side but feel soft when pressed with gentle pressure using the palms of your hands. They are yellow in color. Papayas that are still ripening often have a mixture of yellow and green on their skins. A perfect papaya will have no blemishes, but as these fruits are often shipped from Hawaii, Mexico, or Costa Rica your papaya might have a soft spot or two. These are still totally okay to eat, just cut out the bad spots and enjoy.
Once your papaya is ripe, storing it in the refrigerator will help slow down its ripening process. If your papaya is nearing overripe, it can be peeled, de-seeded, cubed, and stored in the freezer for a delicious addition to smoothies or whatever you are cooking up. One of this year’s kitchen masters, Constantin, LOVES adding papaya into our tomato sauces and salsas for a sweet, local way to bulk them up. Personally, I love papaya best when chilled. Be sure to try some fresh out of the refrigerator for a refreshing experience.
CONSIDERATIONS
If you have a severe latex allergy, consume papayas with caution as they may cause itchiness, swelling, hives, or other signs of allergic reaction. Also note that consuming papaya during pregnancy may cause contractions or early labor.
IN CONCLUSION
These fruits and vegetables that have evolved alongside us help supply our bodies with the antioxidants, vitamins, and minerals we need to stay healthy. Living in the tropics, tropical fruits are an important food group here at Rancho. They ensure we have what we need to keep going and keep moving piles. Although everyone enjoys these tropical fruits, for obvious reasons of that they taste so yummy! We are strong believers of local food and supporting local farmers, therfore if you live somewhere where these fruits are shipped from far away and aren’t local to you, consider looking for fruit and vegetable alternatives that are local. There are plenty of temperate options that hold as high of health benefits and taste just as good! And like my grandma always says, “The more radiant colors on your plate, the more radiant energy in your heart- eat up!”

Tips on how to put together a plastering practice board
Have you ever heard of natural plasters? If not, check Rancho Mastatal Natural Building course. Maybe you attended a course somewhere or had an enjoyable experience with some friends helping them at their natural home project or maybe you have seen some videos online.
Tips on how to put together a plastering practice board
By Felipe Ortiz, Madre Tierra
Have you ever heard of natural plasters? If not, check Rancho Mastatal Natural Building course. Maybe you attended a course somewhere or had an enjoyable experience with some friends helping them at their natural home project or maybe you have seen some videos online.

fun with natural building
No matter what has been your experience being introduced to the art of plastering, it seems it is a constant that people get exposed to or hear of natural building systems and then they have trouble keeping up with their learning and further execution of their knowledge.
At least that happened to me when I was first introduced to these concepts about 8 years ago. If I had the following information and kept practicing on a regular basis I would be way more advanced these days, since practice makes the master, as the phrase says.
So in the following bullet points the goal is to be able to transmit the knowledge, how to create and prepare a suitable plastering practice board, so you can practice your skills on the art of plastering.
What's a natural plaster?
A natural plaster (in North America), Natural Render (in Europe) or Repello Natural/Revoke natural (in Spanish speaking countries) is the technique and system that is used to finish a wall of any type using natural materials like: Clay, Lime, Gypsum and others.
Yes you can finish any kind of wall with a natural plaster. Like any other technique the key is to practice.
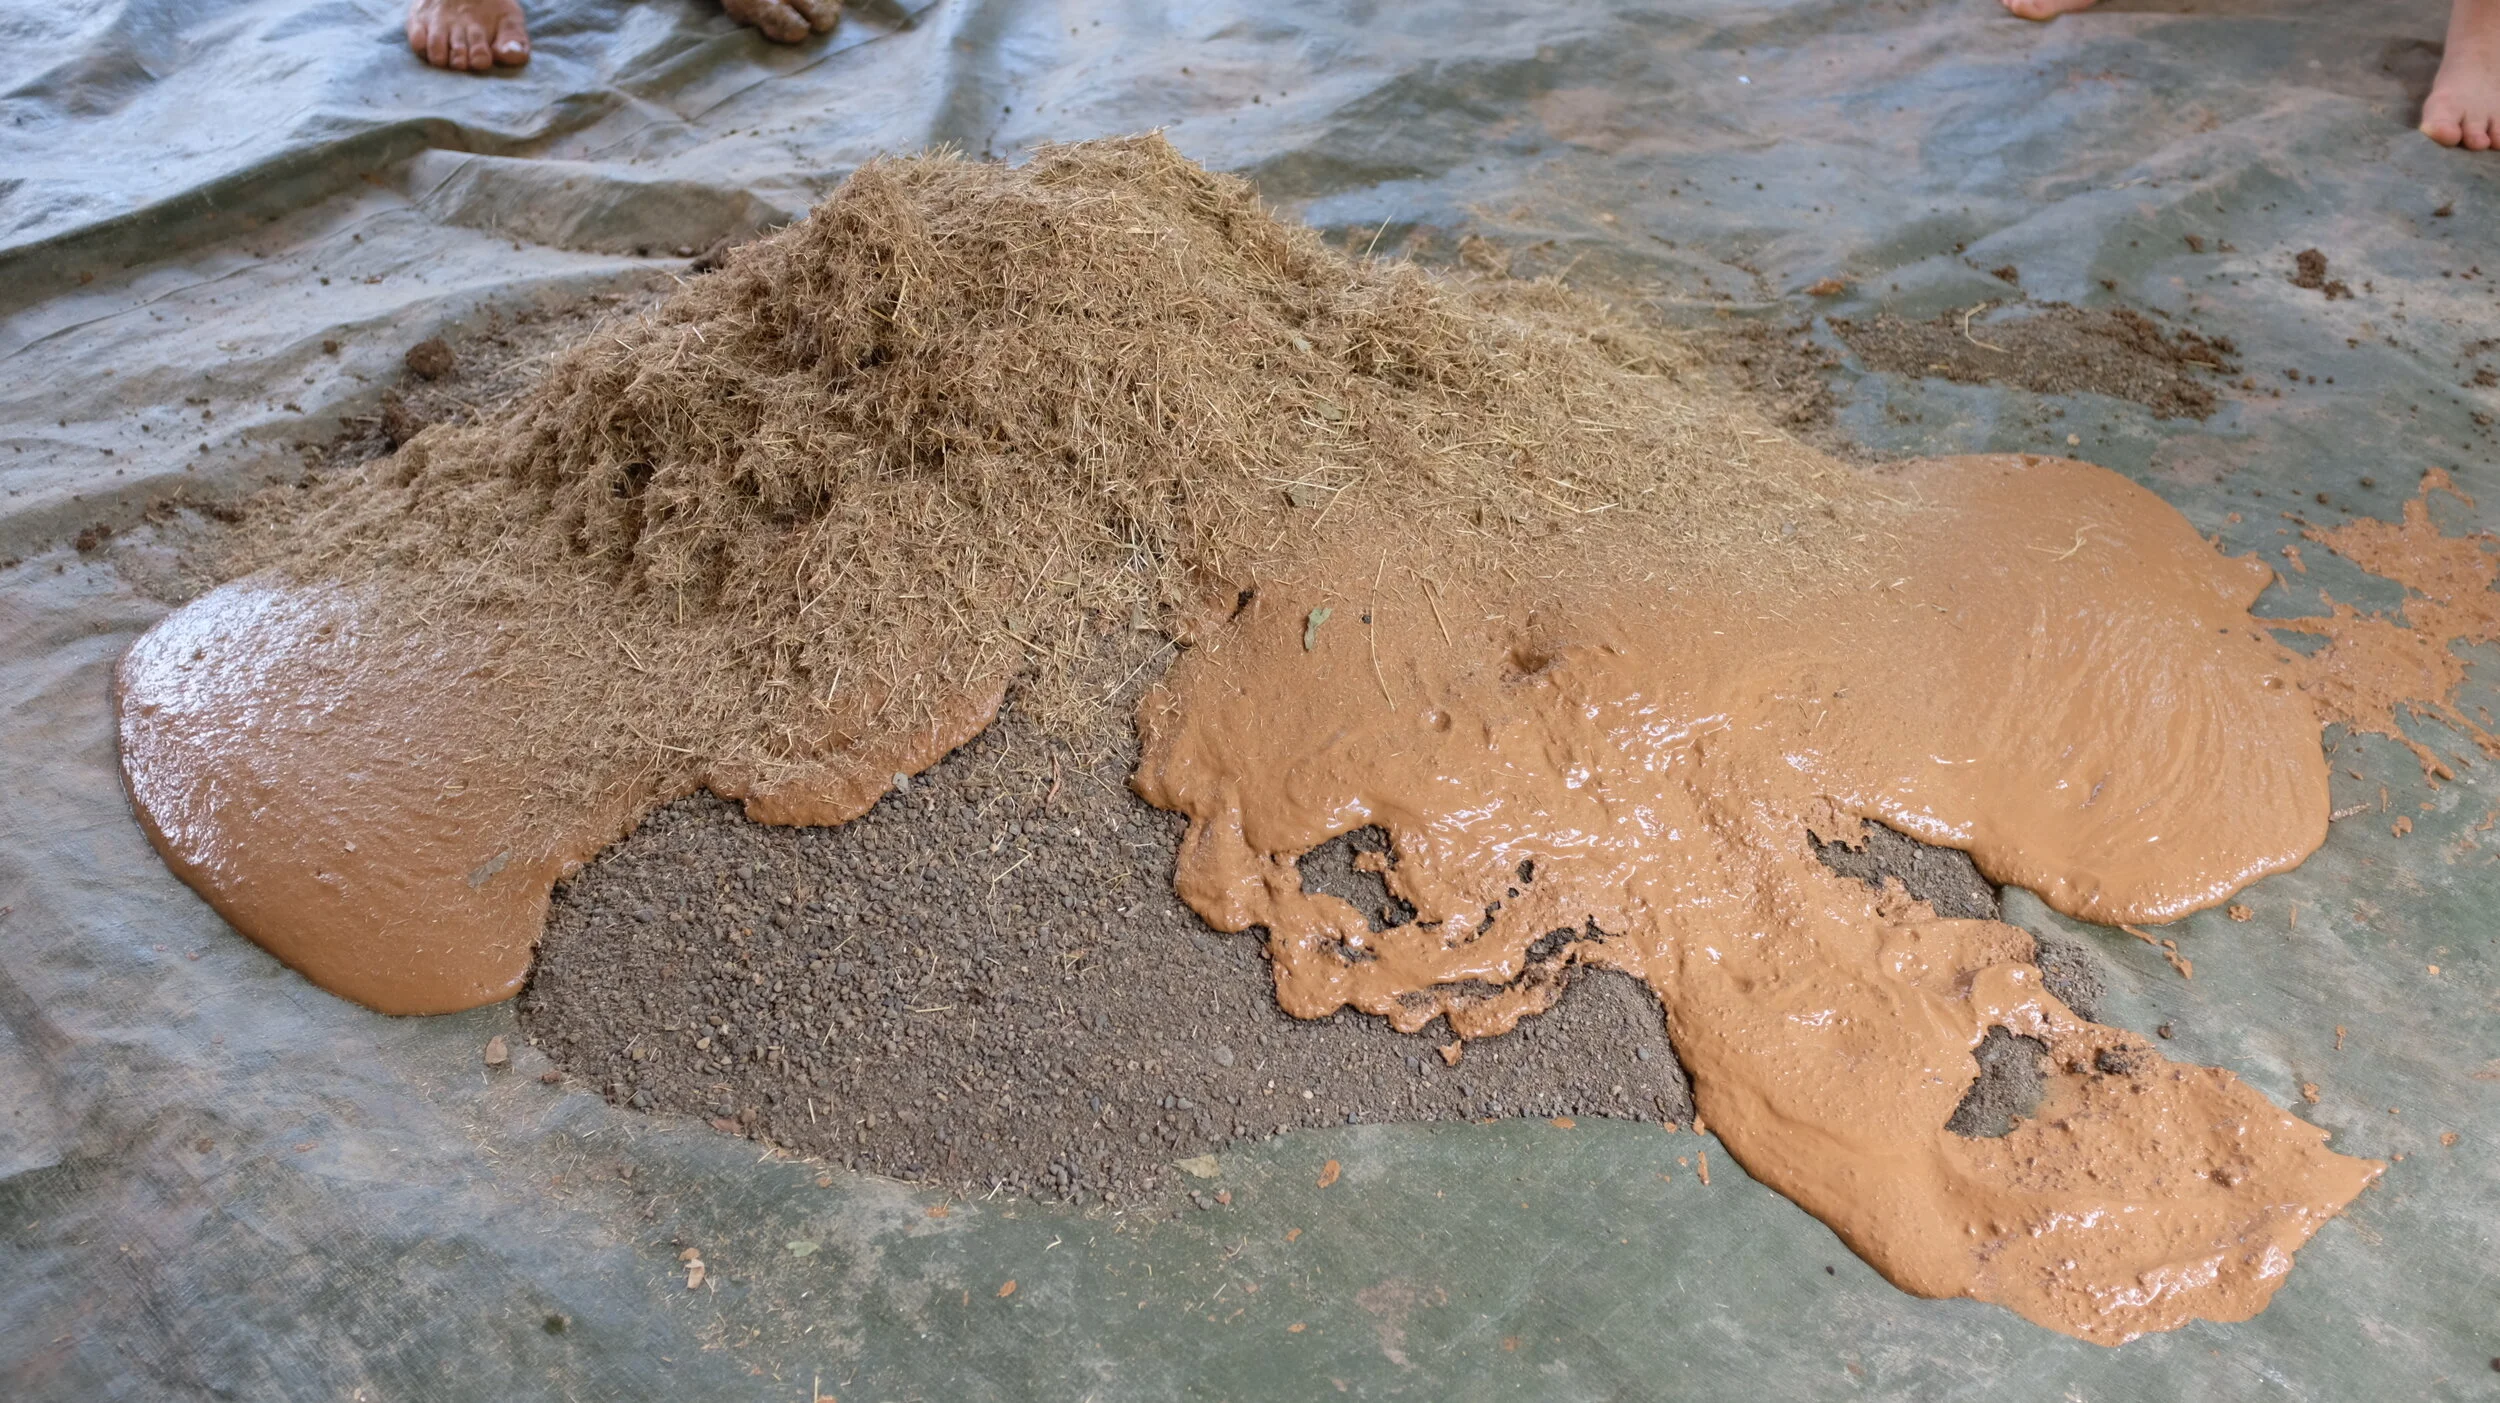
What is a plaster practice board and why?
Basically it is a board to practice finishes of any kind, though natural finishes are the healthiest and nicer ones (in my opinion).
Having a plaster practice board is key to being able to practice different techniques, experiment with different recipes and materials, practice your hawk and trowel movements, make mistakes and learn from them, and keep further advancing your skills in the art of plastering.
So here it goes, what you need, and how to prepare it! Take notes!

Practice panels being used at the ranch for plastering
Making a plaster practice board
Plan it to the detail so the process goes smooth, as my friend says: "Set yourself up for success."
An ideal practice plastering board is attached to an existing wall, it's easy to repair, takes little space, it can be re-used again and again.
A good choice for the substrate of the panel is plywood or laminated wood. Its cheap, very flat, easy to find and work with. You can also make an earthen “board” out of a variety of natural building techniques (cob, adobe, wattle and daub, strawbale).
**Pro Tip: wherever you buy this board ask if they provide the service to cut it to your preferred dimensions, sometimes they do it for free or for as little as 25 cents the cut.
A good dimension practice panel is 1 meter by 2 meters. This allows you a decent and realistic size.
The panel needs to be framed so you will need 6 linear meters of 1 inch x 2 inch boards.
**Pro Tip: ask for cutting service at the hardware store or wherever you buy it.
The practice panel will be screwed into an existing wall and framed. So you will need screws of at least 2 1/2 inches and a drill of course.
You will need an acrylic paint and some cement. This is for creating the transition coat on your practice panel from plywood to your natural plaster base coat.
Make sure the spot you're choosing for the installation of the panel is appropriate, remember you will be working with mud, lime and other ingredients, sometimes it gets messy, especially if you are a beginner. The garage seems an ideal space.
Now that you have all your materials ready, the rest of the process is pretty straight forward.
With help from a friend or a family member hold the piece of plywood to the desired height on the wall. With the drill and the screws secure the plywood to the wall, making sure to use a sufficient amount to hold the weight of the plasters you will put on.
With the 1 inch x 2 inch boards create a frame over the plywood board. If you planned it right, your boards are cut to the perfect length.
At this point you should have a properly secure board to the wall in a suitable spot for working with your mixes and applications.
Make a mix of acrylic paint and water (50/50) and add cement to this until it reaches a paint like consistency. Paint this onto your panel, this will help with the transition from plywood to plaster.
Apply a thin plaster layer, this will be a permanent layer on your board, to help with absorption of your next layers. This can be a cement or lime plaster. Add a horizontal key onto this layer to help with bonding of the next layers.
Now the board is ready to use to start practicing your natural plasters, from base coat, leveling coat to finish coat, or with whatever system you decide to experiment, that is what the board is meant for; practice, experiment, learn and do it all again.
Once you have finished a plastering system whether it is just a base coat or all the way to a finish coat you will chisel it down, if the transition coat is damaged just repair it and the practice panel is ready to go again!
Trust me you will get tired of plastering before this panel is useless.
From now on you have your own plastering practice board. This space is your experimental area and personal plastering learning center. A space that has no consequences and allows you to freely play and practice your plaster skills.

learn more about natural building
Join us for one of our natural building related workshops.
or looking for a natural building contractor in Costa Rica, check out Madre Tierra
Happy building!

Tadelakt - Water Resistant Lime Plaster
Simply defined Tadelakt is a type of polished lime plaster. Many cultures around the world have polished lime plaster, but none have captured the imagination in the way that Tadelakt has. At the Ranch we offer a variety of day workshops and our Tadelakt day workshop is by far one of the most popular natural building options.
Tadelakt - Water Resistant Lime Plaster
by Nic, Core Team
What is Tadelakt?
Simply defined Tadelakt is a type of polished lime plaster. Many cultures around the world have polished lime plaster, but none have captured the imagination in the way that Tadelakt has. At the Ranch we offer a variety of day workshops and our Tadelakt day workshop is by far one of the most popular natural building options.

One of our showers at the Ranch using tadelakt
Tadelakt is often used in wet places as it has excellent properties for resisting the penetration of water. Traditionally this plaster was used in Morocco in the public baths and now more commonly around the world in sinks, kitchens, countertops etc… We frequently use Tadelakt plaster in wet areas like shower walls and sink areas. Read here for how we built this Tadelakt Shower.
Before talking more about Tadelakt it is important to understand the lime cycle and how it works so we can understand what different products we are looking for and how they are used in our plasters.
This basic Lime cycle shows you how Limestone is taken from the ground and heated at kilns to around 1500°F. This heating process burns the lime and the Carbon Dioxide is released into the air. This creates quicklime which is highly reactive. When water is added to this a lot of heat is given off during the reaction and the quick lime becomes calcium hydroxide. This is also known as hydrated lime or lime putty and is typically the product that you buy for building; it can come in a powder (if minimal water is added) or in a putty (if it is slaked in excess water). The putty can be aged for periods of time creating a more workable higher quality product, it is often more expensive and higher quality the longer it has been aged. It is highly caustic at this stage and gloves and goggles should be used when handling it. When the calcium hydroxide is exposed to the air, for instance when it is applied to a wall in a plaster, it then begins to react with the carbon dioxide in a process called carbonation. As it carbonates it turns back into limestone. This is known as the lime cycle.


Teaching students how to apply tadelakt in our Natural Building Workshop
What Makes Tadelakt unique?
As I said Tadelakt is a polished lime plaster, in order to polish a lime plaster you need to work the plaster with the appropriate tool at the exact time in its drying cycle, too early and you will damage the surface and too late and you can “burn” the plaster. The timing of polishing is true of any polished lime plaster and can be universally applied to a variety of lime mixes to achieve a somewhat similar finish (polished).
There are specific characteristics of our lime plaster mix and finishing technique though which are “required” to call it Tadelakt. Although I don’t believe there are any international laws that are associated with calling a product or a finish Tadelakt, we can start to think of it a bit like that. Just like when you buy rum you would expect it to be made from sugar cane, distilled and aged in barrels, in my opinion it is the same with Tadelakt. Well not exactly the same as there are no laws associated with the name Tadelakt whereas there are with calling it rum, but you get the idea! Whilst I am going to outline some of the things which I believe set a Tadelakt plaster apart from other polished lime plasters, there will also be some overlap. Some people may also say that if the plaster is not made and applied by a traditional specialist from Morroco, in Morroco then it is not Tadelakt, but personally I think that is taking it a bit far and the key theme is the ingredients and the methodology rather than the location and the applicant.
In my opinion there are three fundamental properties that define Tadelakt as a unique polished plaster.
The Aggregate
In the majority of lime plasters, although there are definitely exceptions, (especially in Japan) you are combining Lime (Calcium Hydroxide) with an aggregate. Typically this aggregate is silica based as the most common form of sand around the world is usually silicon dioxide in the form of quartz. What makes Tadelakt unique is the fact that the aggregate is not silica based it is a crushed limestone (CaCO3). Traditionally this was composed of the limestone that had not been heated sufficiently in order to create quick lime (Calcium Oxide). We source our crushed limestone from agricultural supply stores. It is commonly sold as a soil amendment for acidic soils. The fact that a limestone based aggregate is used is important as it means there is no chemical reaction between the aggregate and the binder and it means you can make your Tadelakt mix and store in indefinitely as long as it is not exposed to air (specifically carbon dioxide). We do this by just covering the mixture with a layer of water. If we make a mix of silica based aggregate and lime over time they will begin to react with one another forming calcium silicates which mean that the lime and the aggregate have become hard and unusable as a plaster. I have heard different opinions about whether this is true, I have heard people say that the silica is not reactive and shouldn’t react with the lime however, in my personal experience I have had silica based aggregates and lime mixed and left in buckets with water on top and have come back to them and they are solid and unusable.
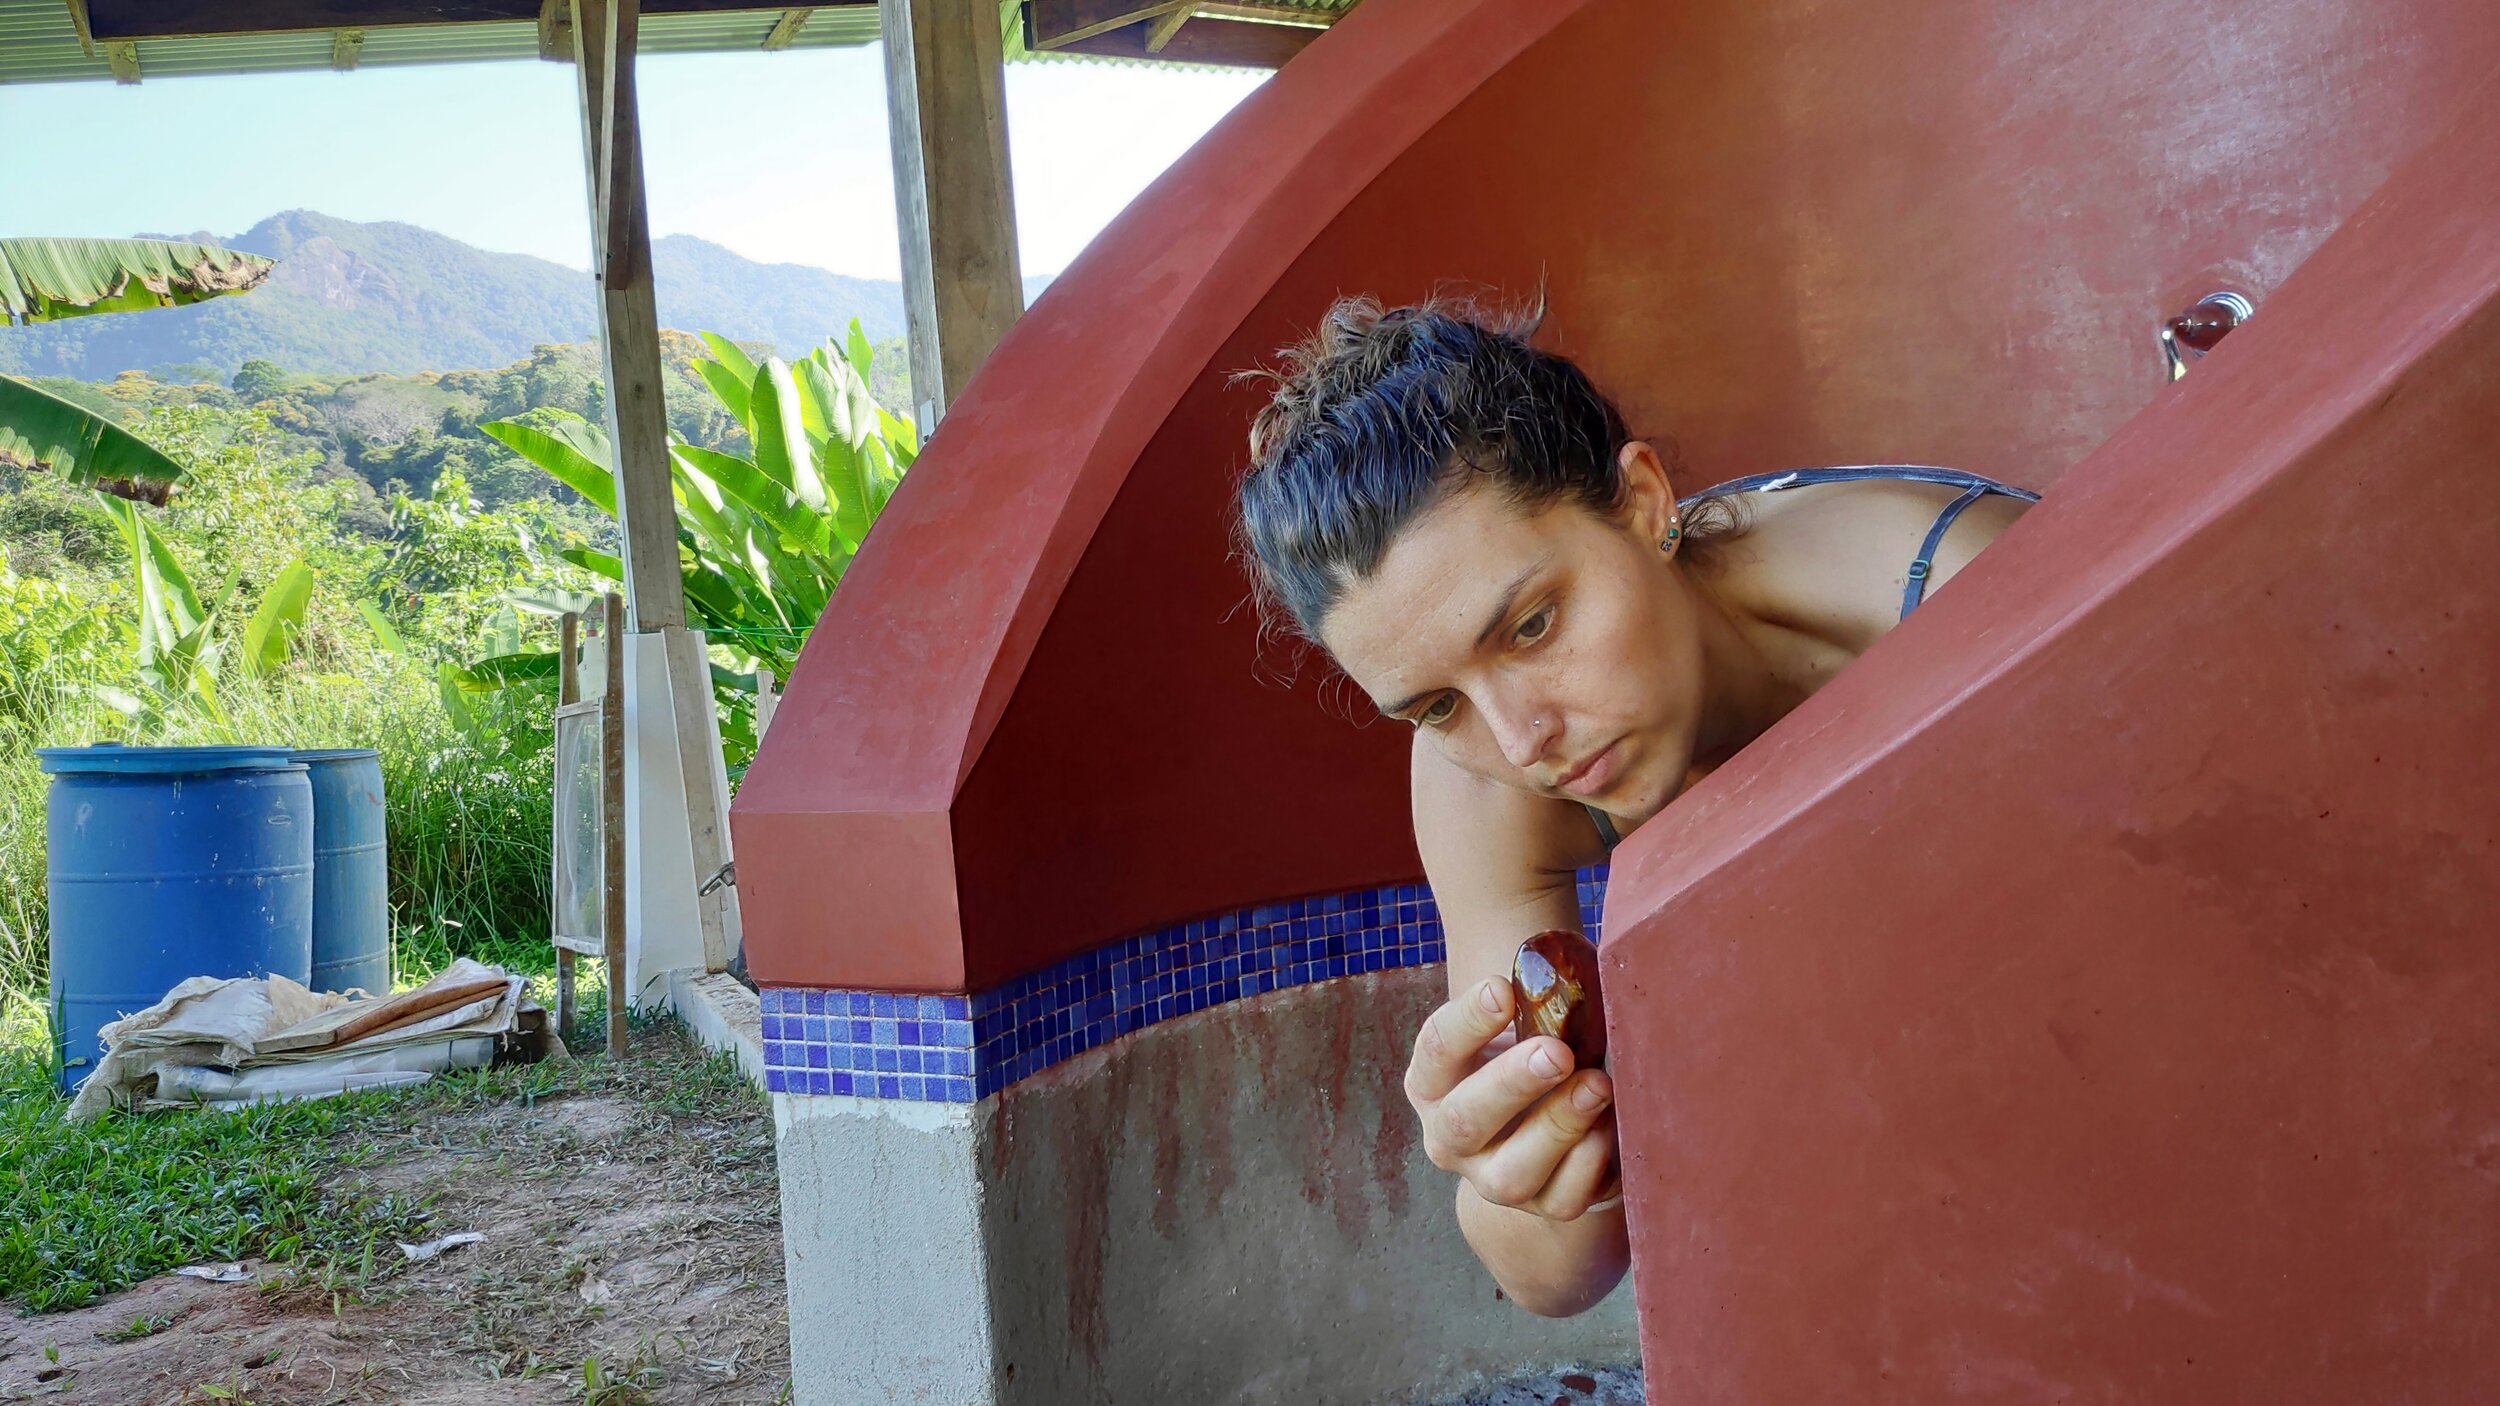
Stoning the tadelakt surface using a precious stone
Polishing tool
What makes Tadelakt unique is the tool that is used to polish the drying lime plaster. A precious stone that is higher than 7 on the Mohs hardness scale is typically used. It has to be hard enough to successfully burnish the surface hence the requirement of certain hardness of stone.
Soaping
Traditionally this soap would have been an olive oil based soap, and some may say that it is not Tadelakt unless you use olive oil soap, but we have been using our homemade soap using our local oils, (lard for example) and our Tadelakt works great! Once you understand the chemistry of the reaction you realize what else can be used. Stearic Acid in soap reacts with the calcium hydroxide in the Tadelakt to create Calcium Stearate. Calcium stearate is very hydrophobic (repels water) making it an excellent (essential!) additive to your Tadelakt. Stearic acid is found in the majority of oils which can then be used to make soap. It is not at particularly high levels in olive oil soap and is actually at much higher concentrations in hard oils like cocoa butter, shea butter and animal fats.

Our home made soap, typically using local oils like lard and coconut oil

Application of soap with a brush
How to apply Tadelakt
One of our close friends Benito of the The Nito Project on YouTube made a fantastic instructional video of how to apply tadelakt. Check it out here.
We typically use a 50/50 mix of lime aggregate and lime putty. We get our lime aggregate from agricultural supply stores and it does vary in its grading. Sometimes it is super fine and the texture of wheat flour and other times it is grittier and has larger sized aggregates. You want the grittier variety to give some substance to your plaster. If you use too fine of an aggregate you will not be able to build much thickness. We always sift our lime aggregate through window screen to make sure there are no large chunks that will really mess up your finish.

Mixing of the tadelakt mixture with a drill and paddle
I guess at this point it is important to mention that like with all plasters controlling the drying time of your plaster is going to be very important. If it dries too fast you will not have time to polish and burnish the surface and may even burn it. If it dries too slowly you may be hanging around for hours waiting for it to dry enough to finish. We have had both scenarios! The problem is each scenario will be different so judgment and experience will be your greatest ally. Some of the site conditions to consider which can drastically affect the drying time will be;
Humidity levels at the site
How windy it is
The substrate you are plastering on
How wet the mix is
How much you wet the wall down
Size of area to be plastered
Some of these you can’t really control, like the humidity at your site. On the other hand you could try and compensate for this with the amount you wet the walls down. Success will in part be dictated by how well you are able to account for the above factors. We therefore always recommend doing samples both on some absorbent surface like the back of a clay tile and on something that is the same substrate you are planning on applying your Tadelakt to give you an idea of how it will go.
Before you start applying any mixture on your finished wall you should put test patches on it as you wet the wall down to see how quickly it is drying.
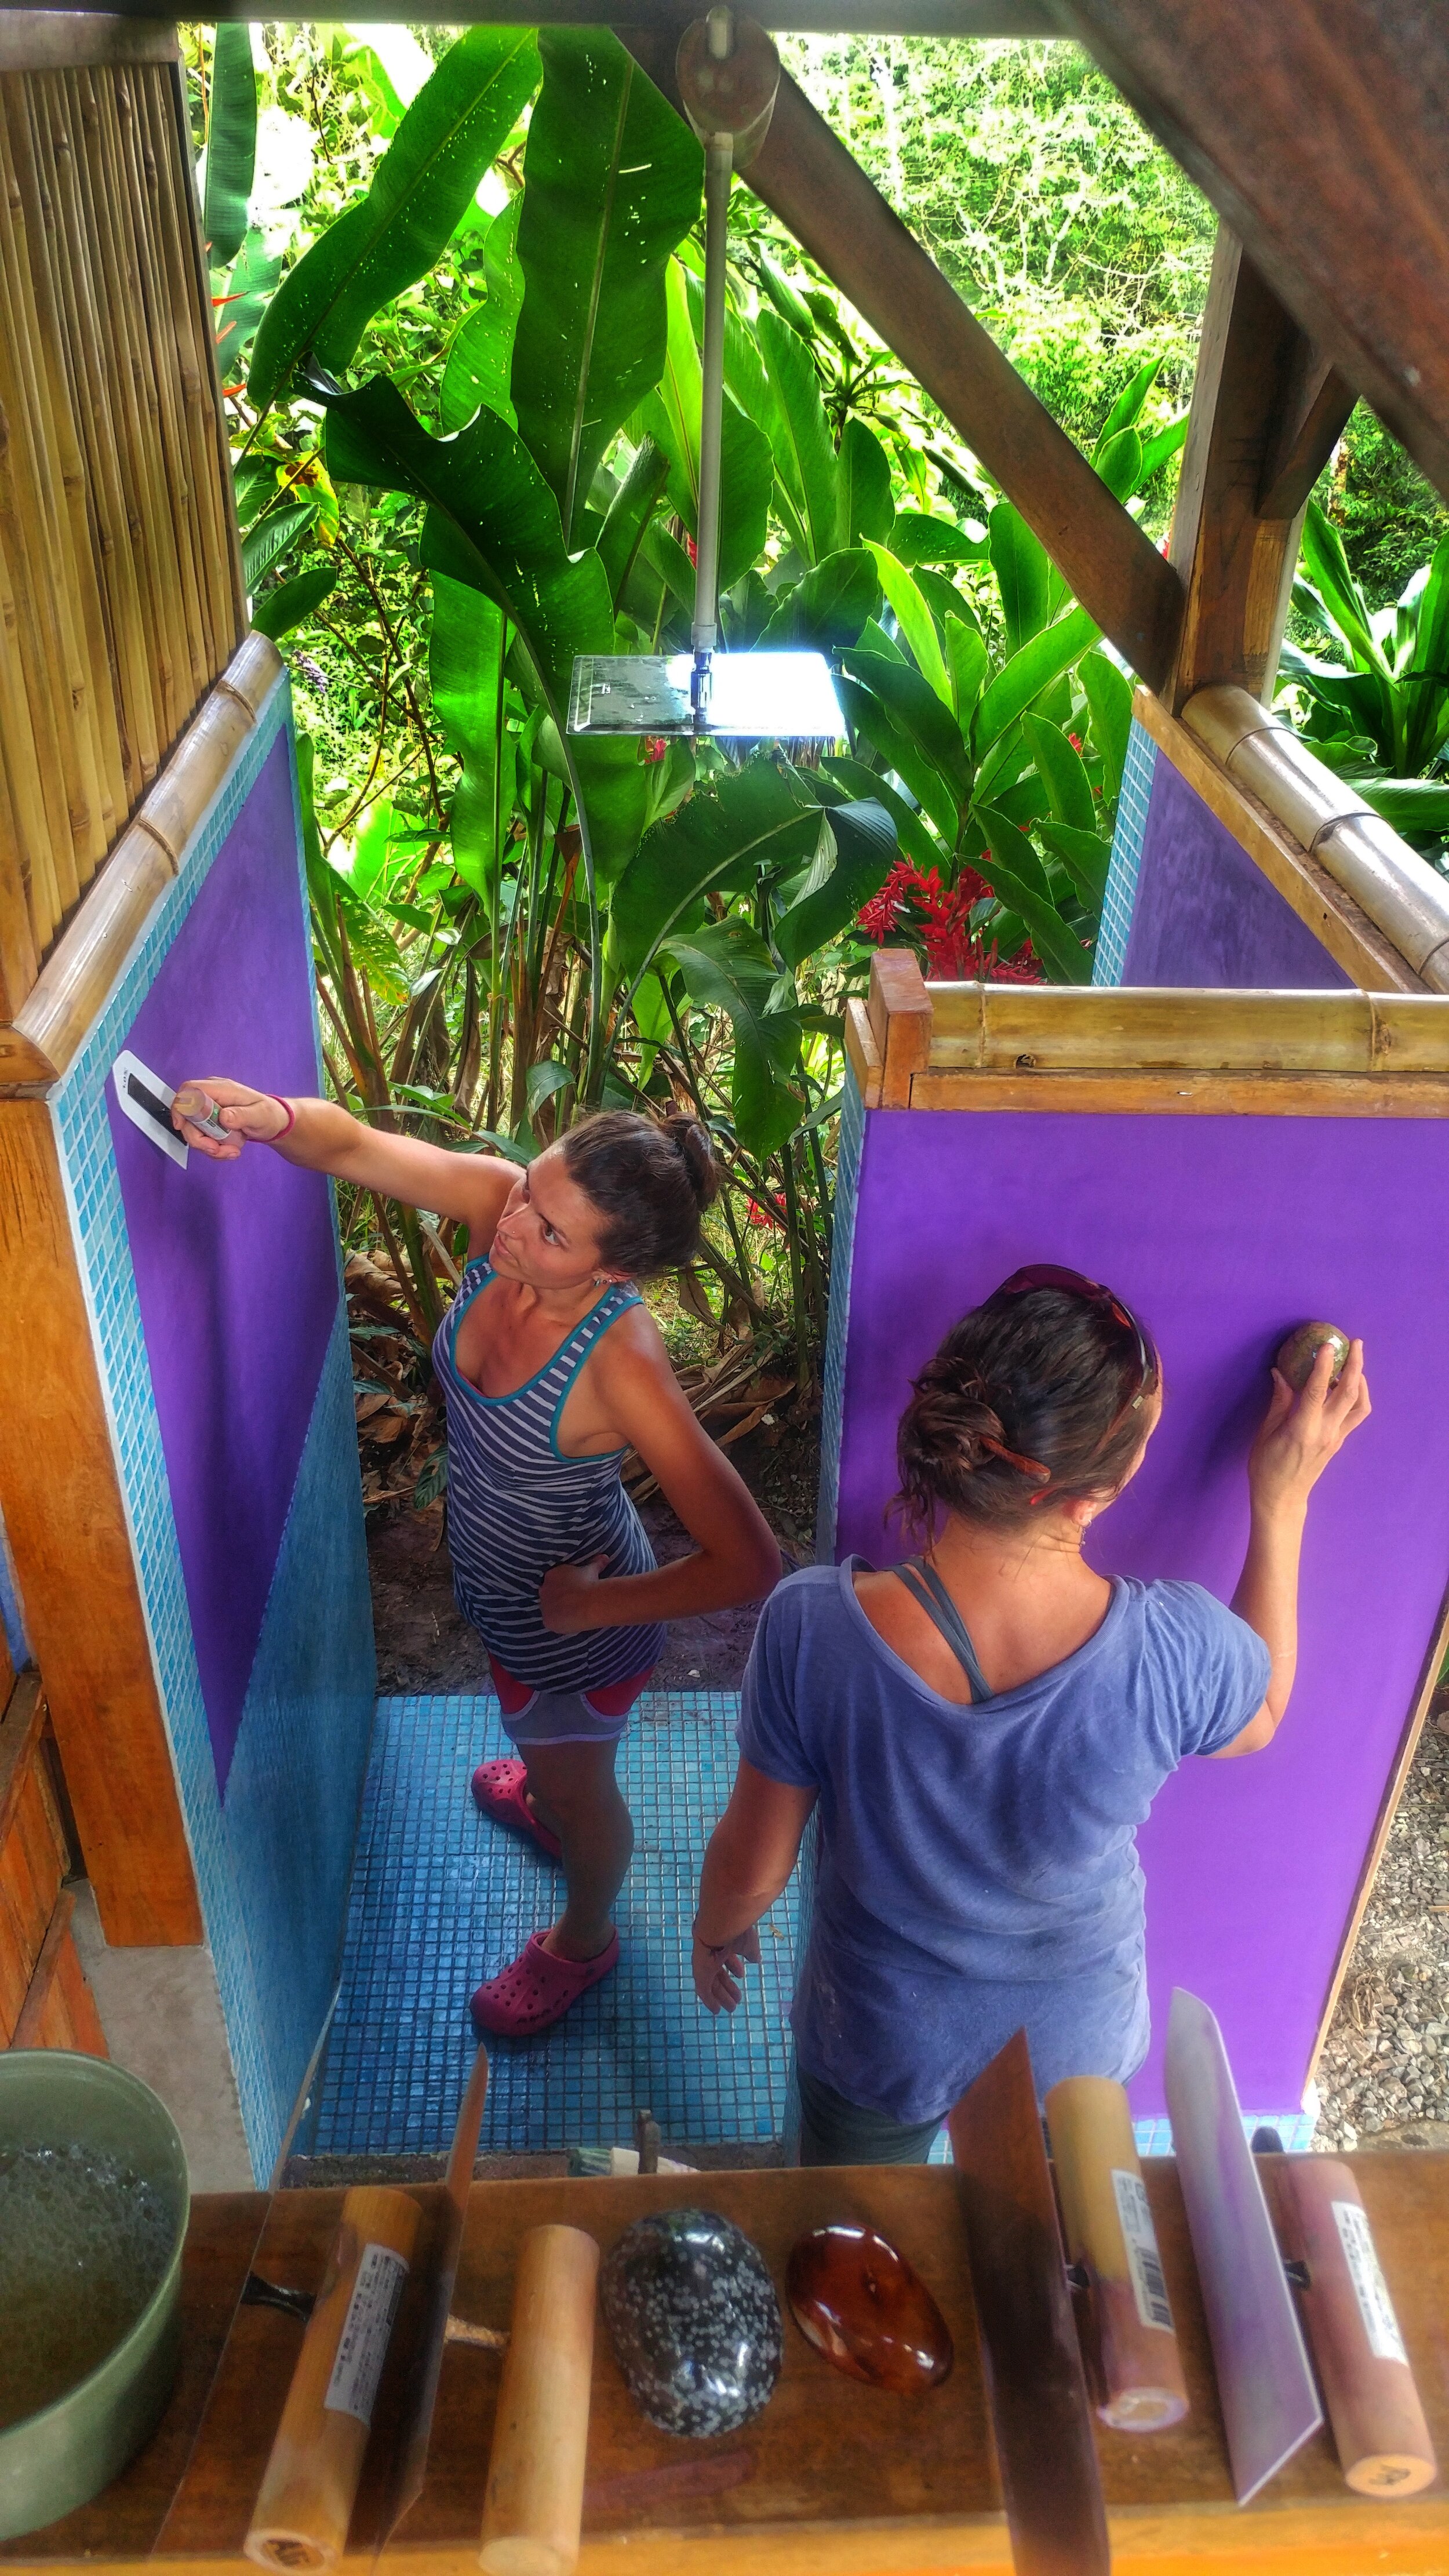
Finishing the tadelakt
The majority of the time we are applying Tadelakt onto an earthen wall, although we have got some walls which are lathe and plaster (no earth) with a Tadelakt finish. Typically on an earthen wall we apply a lime base coat around ¼” (6mm) thick. This is applied to a well keyed, flat earthen wall. It is important that it is flat as this keeps the lime an even thickness which means that it absorbs water from your Tadelakt at an even rate.
We wait around 30 days for our Lime base coat to carbonate and harden up as much as possible before sealing it in with another layer. As you might be able to imagine as lime carbonates it actually seals off the outer surface to the inner parts, not allowing as much carbon dioxide through and consequentially slowing down the carbonation of the full thickness of plaster applied.
After 30 days we apply the finish coat. As it has a very dry lime base coat it needs a lot of wetting down in order to give you enough time to work the Tadelakt, by also applying multiple layers of Tadelakt, the base coat absorbs the water from the Tadelakt mixture and that also helps slows the suction down. Originally we did multiple layers of Tadelakt now we typically do 2 layers of Tadelakt and build about 1/8th (3mm) thickness. It is important that you test the thickness you can apply first, if your aggregate is very fine you may have to do thinner layers.
As the Tadelakt dries you are able to smooth the plaster and move the cream around to create a smooth uniform surface, when it is dry enough you can begin to burnish it with the stone, the easiest way for a novice is to just keep testing the wall with the stone. By using small circular motions you should be able to compress the surface, if you find that your stone is picking up the lime off the surface it is too early.

Finished tadelakt shower
By checking regularly you make sure you don’t miss the window either, and when you get the sweet spot you will begin to see that you are starting to polish and burnish your surface. The next step is going to be to apply your soapy water. This is made by grating some soap into hot water to dissolve it. We aim for a dilution ratio of 1 part soap to 20 parts water. When applying the soapy water you don’t want it to remove your lime so if you notice it is damaging the surface, it is too early, the soap should absorb into the wall without damaging the finish, as you apply your soapy water you should also be able to continue working the plaster with your stone. You will be able to get it even shinier now that you have added the soap!
Good luck with you next Tadelakt project!! If you would like to join us for a natural building workshop check out our workshop page to see when the next one is scheduled for. We also offer a day workshops on a whole host of subjects incuding Tadelakt.
Past Blogs About Natural Building
Building an Adobe Shower with Tadelakt Plaster
Design Ideas for a Sustainable Home in the Tropics
Want to Learn More?
Join us for one of our annual building workshops to get hands on experience in different natural building techniques.
Rancho Spa-Statal: Finding Balance and Pleasure in a Life on the Farm
A day here can be very physically demanding: cutting bamboo, hauling bananas, and moving piles of sand and clay. I have learned that building a community and living in alignment with the Earth require sweat and persistence. But the Ranch has also taught me that finding healthy ways to relax and have fun is equally important for finding balance. If a community is going to last, you have to find ways to laugh and spark joy in any situation.
Rancho Spa-Statal: Finding Balance and Pleasure in a Life on the Farm
By Abbey Cmiel, apprentice 2021
Over the last few weeks, we’ve coined the term “Rancho Spa-statal” for any time we find a beauty hack while working on the farm.
The phrase is a bit of an oxymoron, as the Rancho team has a reputation of being the “hard-working, sports-playing,” hippie type. A day here can be very physically demanding: cutting bamboo, hauling bananas, and moving piles of sand and clay. I have learned that building a community and living in alignment with the Earth require sweat and persistence. But the Ranch has also taught me that finding healthy ways to relax and have fun is equally important for finding balance. If a community is going to last, you have to find ways to laugh and spark joy in any situation.
Forever looking for ways to “stack functions”, here are some of our top tips and tricks for turning any activity into a spa day.
The Cob and Daub Pedicure
Every Monday and Thursday, the apprentices have Natural Building work parties where they learn about Wattle and Daub, Cob, Adobe, and Bamboo building skills. These days consist primarily of sifting clay, hauling materials, tamping down gravel, laying bricks, learning to plaster and work with natural materials, and, most excitingly, mixing up earthen mixes with our feet.
Making these mixes resembles a combination between jumping on a moon-bounce and doing “the twist” as we dance around each other on a spread out tarp. There’s no better feeling than squishing clay between your toes, and I’d be willing to bet the health benefits are multi-fold.
Unlike modern construction techniques, building with locally sourced materials such as clay, sand and straw ensure your spa day, and your life in general, will have far fewer toxins. One part clay, one part sand, one part straw: the most effective way to buff your heels and leave your nails shining in no time.
You can read more about natural building at Rancho HERE.

Stompin that earth mix
Bananager’s Conditioner
Each month, we apprentices rotate “Community Contribution Skills” (aka chores) which help keep the Ranch running smoothly. For my first month and a half, I served as the highly esteemed “bananger”, which includes the rigorous task of making sure the immense bunches of bananas are consumed. Sometimes, even after banana smoothies, beer, bread, and dried snacks are made, a surplus remains- and that is when we get creative.
Learn some interesting banana facts from Moanna’s blog 10 Things You Didn’t Know About the Banana

Consti brings in a mega harvest of bananas
Ali, a member of the Core Team and Spa-statal Extraordinaire, invented this banana deep-conditioning treatment for guaranteed more shiny, luxurious hair, with no chemicals or waste involved.
Banana Hair Mask Recipe:
4 bananas
1 egg
½ cup of dairy kefir (learn how to make your own probiotic dairy kefir here)
A splash of vinegar (for bonus banana points, learn how to make banana vinegar here)
Blend until nice and smooth and lather in your hair (hair should be wet). Leave the conditioner in for about 30 minutes and while you’re at it, consider reading your favorite permaculture book (here are a few of our recommendations) or putting on a natural face mask (continue reading!)
SCOBY Facemask
Wednesdays at the Ranch are all things food preparation. We’ve learned about the importance of eating a diverse diet of fresh and fermented fruits and vegetables for maintaining healthy gut flora and work with many cultures of microbiota to preserve our food. Our gut microbiomes twirl with delight as they see us preparing kimchi, sauerkraut, pickles, natural beers, water kefir sodas, vinegar, and more. These fermentations often produce an abundance of SCOBYs (Symbiotic Colonies of Bacteria and Yeast), otherwise known as “mothers” or “that-thick-alien-looking-layer-on-top-of-your-kombucha”). Turns out, those cultures also have detoxifying and toning properties to make your face glow.
You can find a recipe for homemade vinegar HERE and when your SCOBY outgrows its container, you can try it out as a face mask. Peel off a few of the oldest layers while brewing a new batch, sit back, relax, and plop it on your face. The vinegar can be a bit intense on sensitive skin, so be sure to test on your arm first and leave the SCOBY on your face for no more than 10 minutes.
While you’re at it, grab a glass of your homemade hooch or balm (recipes found HERE) and enjoy.

SCOBY facemask
Rancho Spastatal: A way of life
For anyone interested in living in or creating a community, do not underestimate the importance of self care. Taking moments to relax, play, and be silly allows everyone involved to show up for the most challenging conversations, decisions, or work days. When we invest in our individual and collective health, we are also more able to care for the environment around us and for one another. So find your version of Rancho Spa-statal wherever you call home and use the ingredients you find in abundance to turn the mundane into the magical.
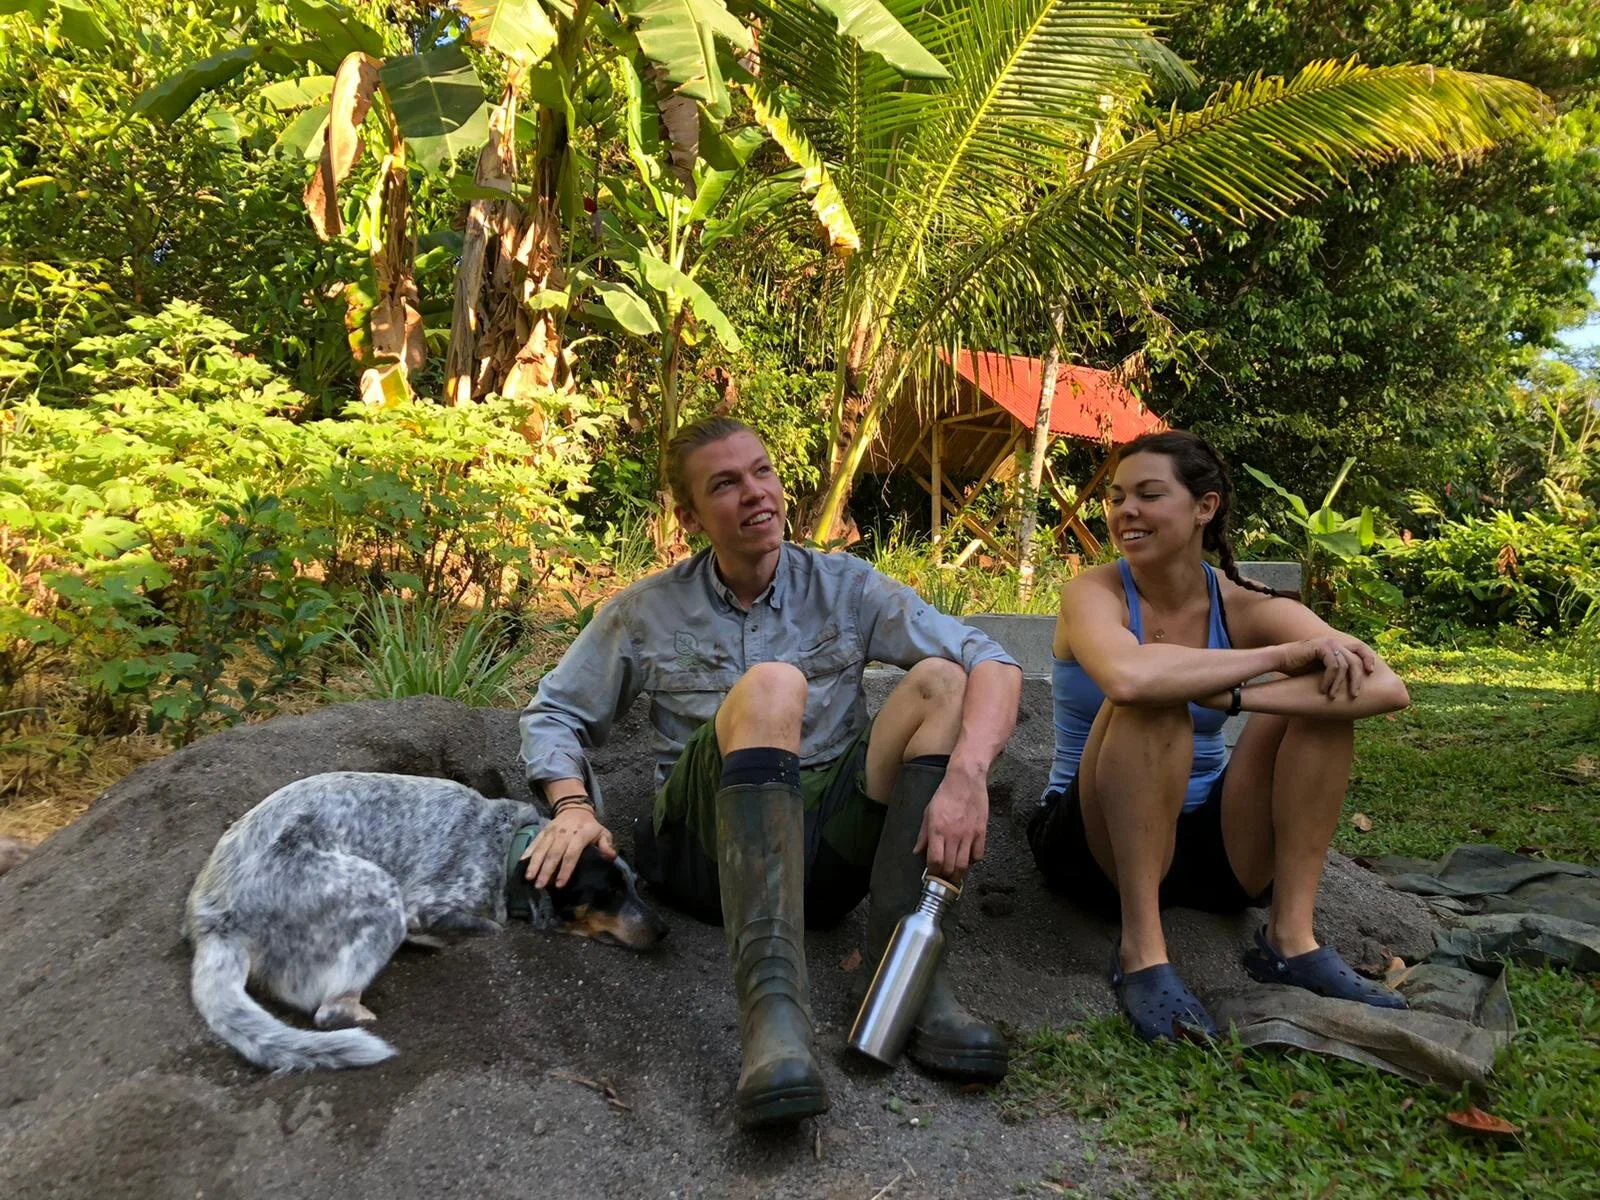
Life Lessons From Moving Piles
There are piles of sand and clay ready to be formed into adobe bricks or wattle and daub mix, piles of starfruit and lemons waiting to be fermented, stacks of bamboo waiting for the next bamboo construction workshop, piles of green papaya anticipating its second life as kimchi, piles and piles of knowledge held in peoples brains, piles of books filling up the library waiting for the next curious mind, piles of manure, compost piles, worm piles, piles and piles of piles.
Life Lessons From Moving Piles
By Matthew Raybon, apprentice 2021

Treated bamboo drying and ready to move
If you were to visit Rancho Mastatal at any time of year, something you can count on seeing is the ever present pile. At first glance you may overlook them, but as the mystery of the Ranch unfolds in front of you, the seemingly insignificant pile of dirt reveals itself as a central piece of what makes everything at the Ranch happen. There are piles of sand and clay ready to be formed into adobe bricks or wattle and daub mix, piles of starfruit and lemons waiting to be fermented, stacks of bamboo waiting for the next bamboo construction workshop, piles of green papaya anticipating its second life as kimchi, piles and piles of knowledge held in peoples brains, piles of books filling up the library waiting for the next curious mind, piles of manure, compost piles, worm piles, piles and piles of piles.
It’s safe to say that piles and the movement of piles is an integral part of living in community at Rancho Mastatal.
LET ME PAINT YOU A PICTURE OF PILES
It’s one week into the 2021 apprenticeship program. So far we’ve spent our time getting acquainted with one another and our new home and taking a deep dive into the wealth of knowledge and experience Rancho has to offer. Up until now this has mostly involved talking and reading. Brain work rather than body work. Myself along with the other apprentices are ready to jump into the active work of building, fermenting, cooking, and caring for the land.
Monday of the second week rolls around and it’s time for our morning natural building work party. Amazing! For our first task we will be working with adobe bricks to construct the shower and toilet walls at a residential structure on the property called the Casucha. We all gather at the wood shop in the morning for a quick chat before breaking into teams to tackle the day’s tasks. “Alright,” Nic says, “first things first, we need to move some piles of sand from the road to the Casucha for our adobe mix. Let’s split into two groups. . . Two people grab shovels and go with Ali in the truck to haul sand from the road to here. The rest of us will transfer sand from the truck to wheelbarrows and bring it down the ridge to the Casucha.”
There is always more sand to move somewhere!
Two hours and a handful of blisters later we had successfully moved a few truck loads of sand from the road to the Casucha using primarily our hands, shovels, wheelbarrows and some tunes to keep the camaraderie high. In doing so we had all learned a few valuable lessons in natural building and in communal living as well as in life:
A. Nothing happens until someone moves piles
B. Many friends make light work
In other words, if you find yourself lost along the way and unsure of how to begin, start with a clear and simple task... and don’t be afraid to ask for help! I have returned again and again to these lessons and found steady ground in the simple act of moving piles to guide me through the ups and downs of life at Rancho.
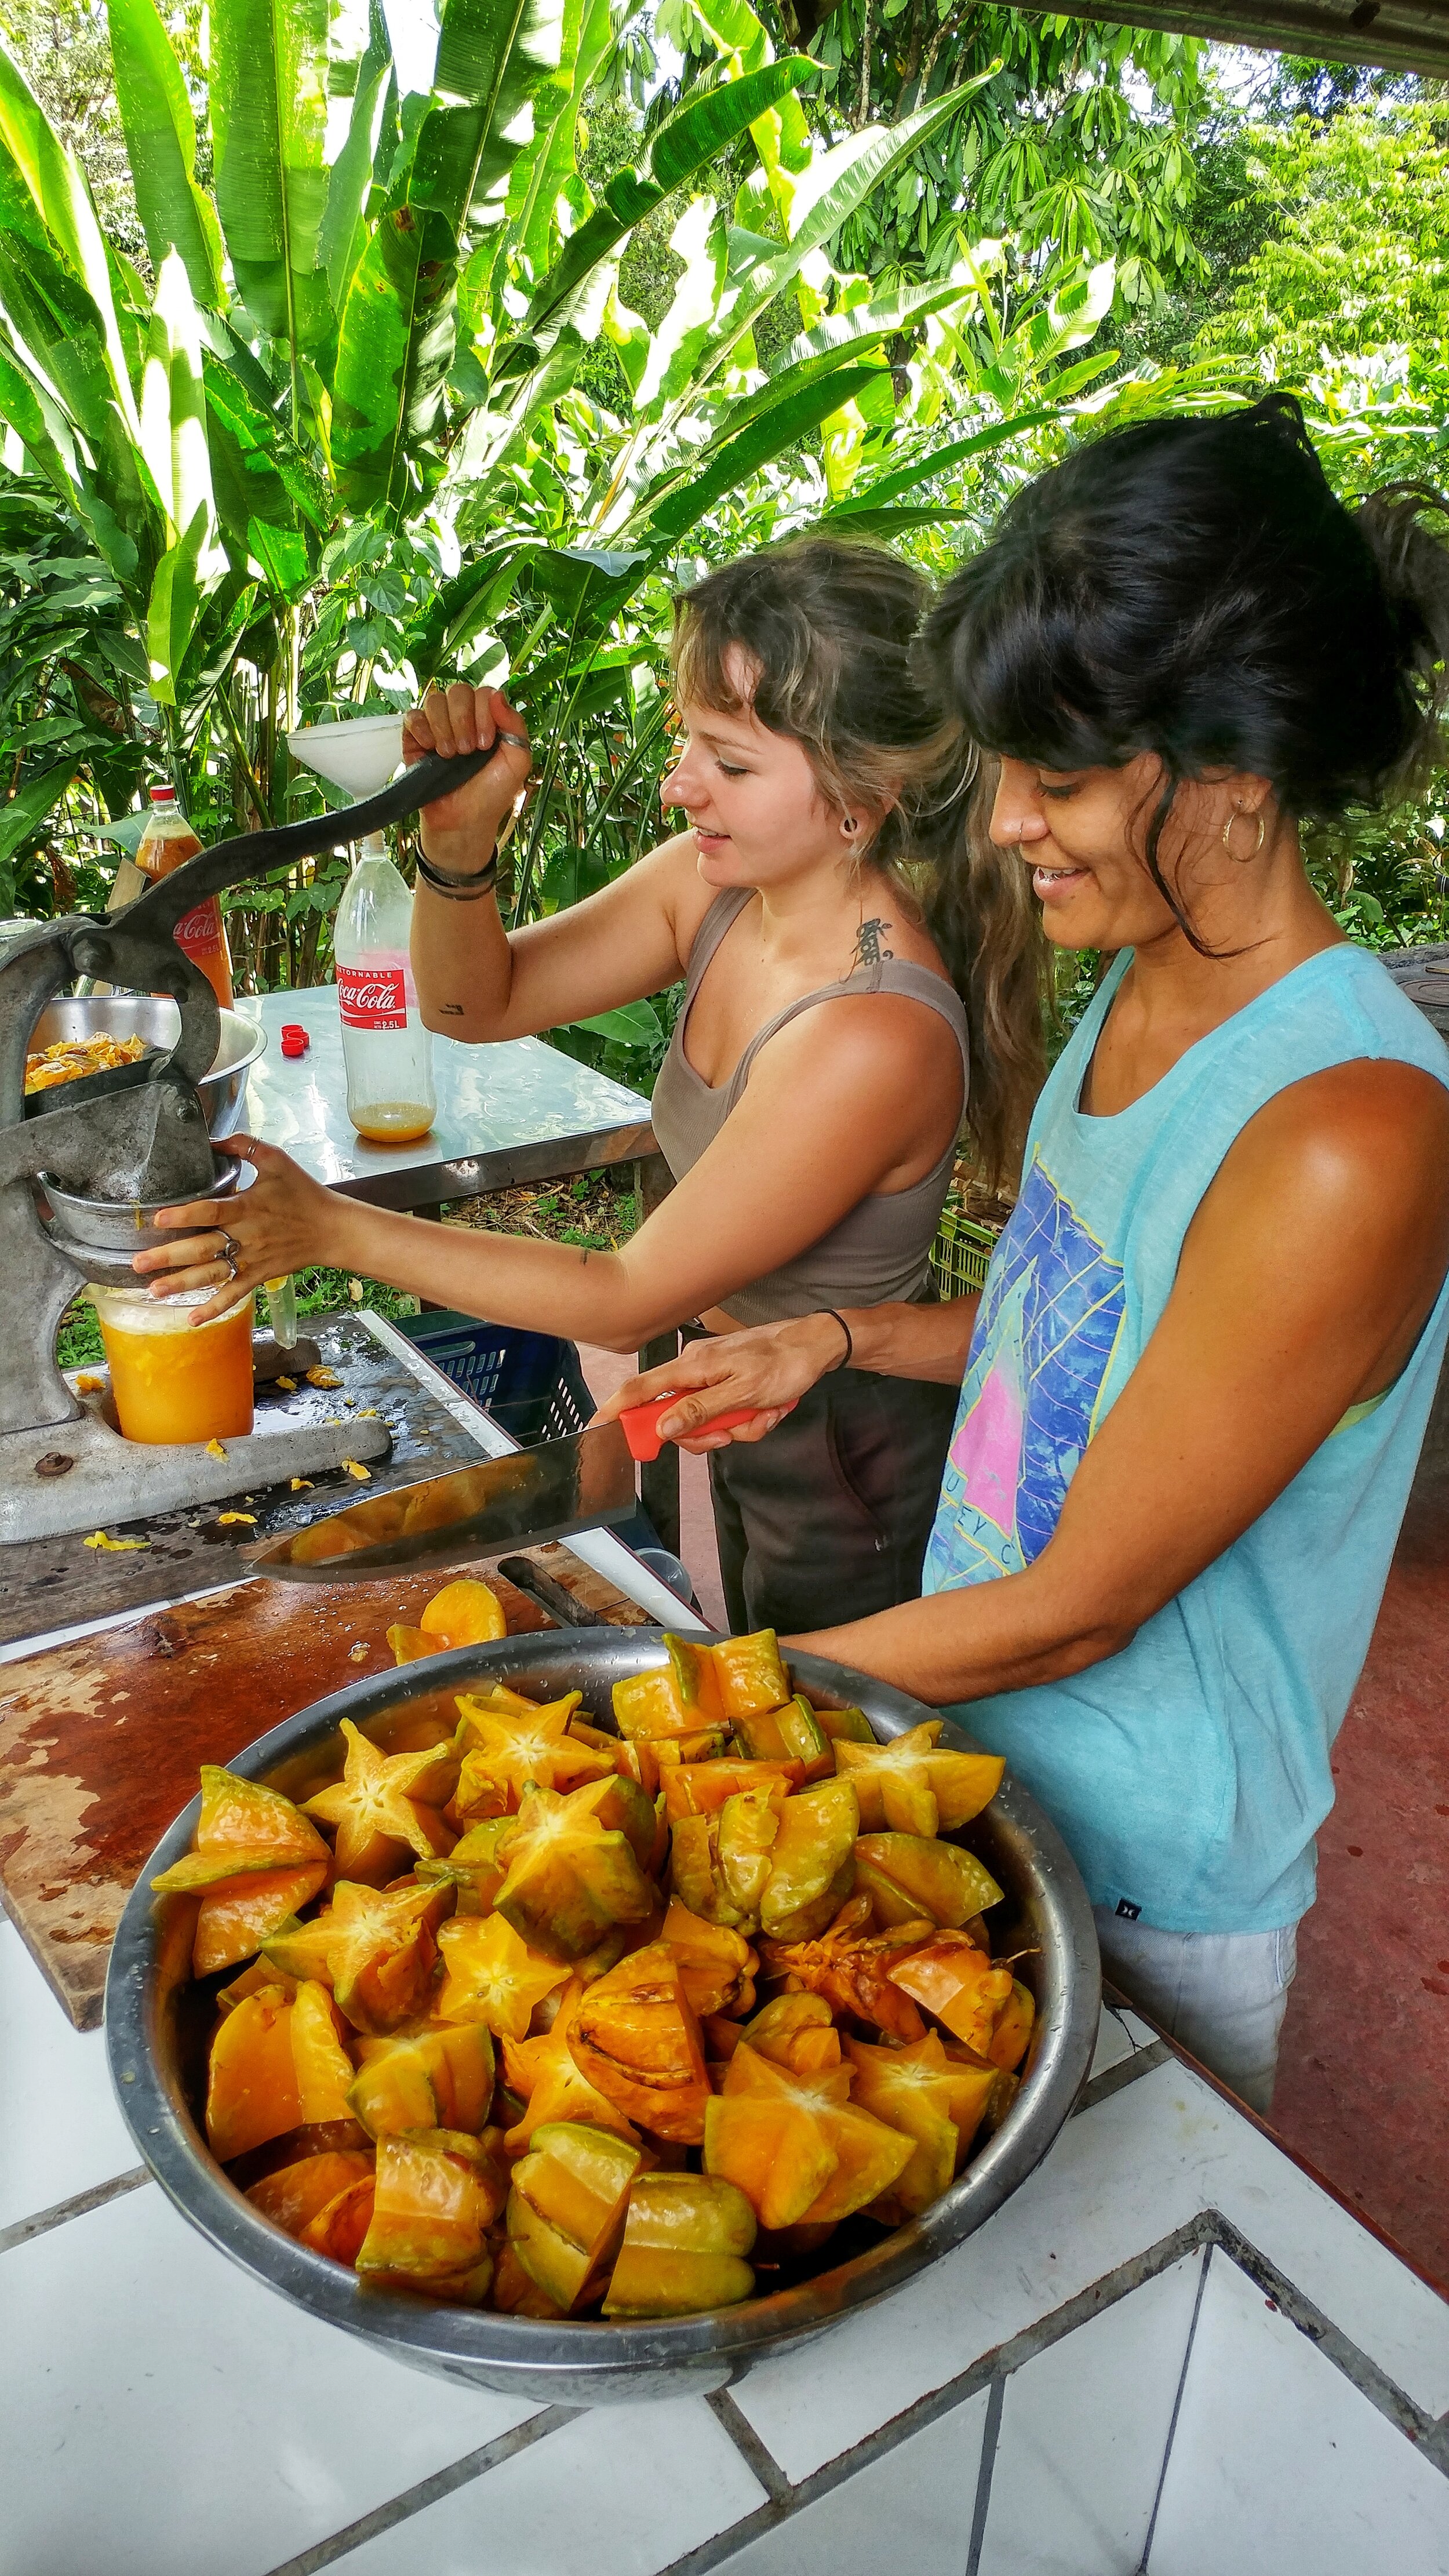
And always more food from the farm to move
When embarking on a new ambitious project it’s easy to be quickly overwhelmed and consumed by details. What flavorings do I want to add to my kimchi? Is it really kimchi if I am not using cabbage? How did I end up here? Not to worry. First, I need to harvest, cut, peel, seed and grate a ton of green papayas. In other words I need to move and transform a whole pile of green papaya (recipe here). I’ll start there with that simple task and come to the details along the way. I look at the looming papaya pile and I think, “Oh man that’s a whole lot of papaya”. But then the next thought follows, “Good thing I’ve got some friends to help me out along the way.”
Before coming to the Ranch I lived in a house, I worked as an Architect and I ate fermented foods purchased from the store. I knew in my mind that the life that I was able to live was made possible by the physical labor of many people around the world. I didn’t know with my body what exactly goes into building that house that I lived in or creating a delicious kimchi, and I didn’t know with my body the waste that those processes can create. In moving sand and mixing adobes I am learning with my body as well as my mind what it takes to build a natural home. As I peel and process baskets of green papaya, I am learning what has gone into that kimchi I bought from the store. In doing these things I am able to understand the true cost and value of the things I was previously benefiting from. Not just the cost of the product on the shelf at the store, but the environmental cost and the physical cost.
The seemingly mundane task of moving piles has transformed into something far more significant for me. It is a means to an end that serves as a guide for me as I search for the next step. It is a way of strengthening a bond between my community and myself. It is providing me with both the mind and body knowledge of what goes into creating a community and living in harmony with the environment.
As the days pass on by, I am reminded constantly that all of those piles don’t just move themselves or fall from the sky. We move them. If I don’t move them someone else does, and when we move them everything happens. Like the leaf cutter ants toiling away at building their home one tiny leafy piece at a time, we set to work making sustainable community happen by moving piles. All kinds of piles.

Grab a friend, because there is always more piles to move!

Fruity Ferments- How to Make Fruit Scrap Vinegar
You can make fruit vinegars from all kinds of different local, seasonal fruits. Using the scraps from the fruits (i.e. the peel and extra bits) is a way to value the marginal (permaculture principle) and turn a “waste” product into something of purpose.
Fruity Ferments- How to Make Fruit Scrap Vinegar
By Hannah Knudson, apprentice 2021
You can make fruit vinegars from all kinds of different local, seasonal fruits. Using the scraps from the fruits (i.e. the peel and extra bits) is a way to value the marginal (permaculture principle) and turn a “waste” product into something of purpose. Here at the Ranch we often make fruit vinegar from bananas (recipe here) and pineapples. But have also done so with a variety of tropical fruits including: patanga, araza and mangosteen. In this article I will explain the process for pineapple vinegar, but this can easily be adapted to meet your local ingredients.
Pineapple Facts

Farm fresh pineapples
Costa Rica is well known for its wide variety of tropical fruits. One of the most loved of these is the pineapple. Many of us around the world are familiar with this tropical treat. The pineapple is one of Costa Rica’s largest exports, trailing close behind coffee and bananas.
Each pineapple plant only produces one fruit and ranges between nine to fourteen months on average for the fruit to be harvested. Here at the Ranch the cultivation of pineapples is an ongoing process. Due to the amount of people we share our space with, we balance between purchasing pineapples locally as well as harvesting what is grown on site.
There are many permaculture values that we try to put into practice in our daily lives here. One being we want to produce as little waste as possible. Even though we have an active composting system, we always try to stack functions - considering if something that normally has one purpose can also find life in other ways. So you can imagine our excitement when a pineapple is finally ready! This magical fruit has been growing for over a year, free of chemical inputs, which is key for this specific recipe. We only use pineapple peels that come from the fruit we grow here on the Ranch because we can ensure they haven’t been sprayed with any pesticides which allows us to give a second life to the peels.
We love our food at the Ranch and do a fair amount of experimentation on a weekly basis, finding new ways to enjoy different aspects of our diet. One way we do this is through fermentation. Each Wednesday we spend our entire day working on creating Kimchi, vinegars, alcohols, chili jams and many other jungle treats. Our pineapple vinegar is a tasty way to connect our love for food and our desire to use our gifts from the earth to their fullest potential.
Fermentation
Experimentations and fermentation go hand in hand in our kitchen here. As apprentices, one of the first things we learn about in our food work parties is the art of fermentation. The beauty of fermented treats is that the possibilities are endless, allowing us to turn our harvests into new recipes.
The word vinegar comes from the French word vinaigre, which translates into “sour wine”. Following the permaculture principle, “produce no waste”, vinegars are also a great way to save some of our alcohol experiments gone awry.
Vinegars are created through alcohol or sugars turning into acetic acid bacteria (AAB). These tiny bacteria are found on almost any surface making them incredibly easy to access. Pineapples are readily available to us so making vinegar from the peel is a quick and easy way to use the whole fruit. We adapted this recipe from one of our favorite books, Wild Fermentation by Sandor Katz. If pineapples aren’t readily available where you are, we hope that this recipe can give you some new ideas on how to preserve some of your own local fruits.

Our homemade fruit vinegars
Recipe
Ingredients:
1/2 cup sugar (we use locally sourced sugar known as tapa dulce, you can use a local sugar source too)
Peel of 1 pineapple (or an equivalent amount of your local fruit)
1 quart water
Instructions:
Mix the sugar and water in an open mouth glass jar.
Submerge the pineapple peels. Ensure all pieces of the peel are completely submerged in your sugar water mix. You can stab the pieces of pineapple peel through a chopstick or secure and wedge them into the jar so all of the peels stay beneath the surface of the water. Add more water and sugar to cover if necessary.
Cover the glass jar with a piece of cloth that is tightly secured (if it is too loose, flies will lay eggs inside which turn into maggots - and for some reason everybody hates maggots). We use a piece of string to tie the cloth around the container.
Stir the sugar water mixture at least once a day. This is in order to prevent mold from growing and to break the surface that is created to allow aeration to occur which is needed for the fermentation process.
When the liquid darkens after about a week, strain out the pineapple peels and compost them.
Ferment the liquid 2-3 weeks more. A gelatinous “mother” may grow on top, which is great. When your vinegar is acidic, strain it into a bottle and cap. The mother can be composted or added to a new vinegar at step number five.
At this stage, you can start to use your vinegar or continue to let it age. We usually let our vinegars age around 6 months.
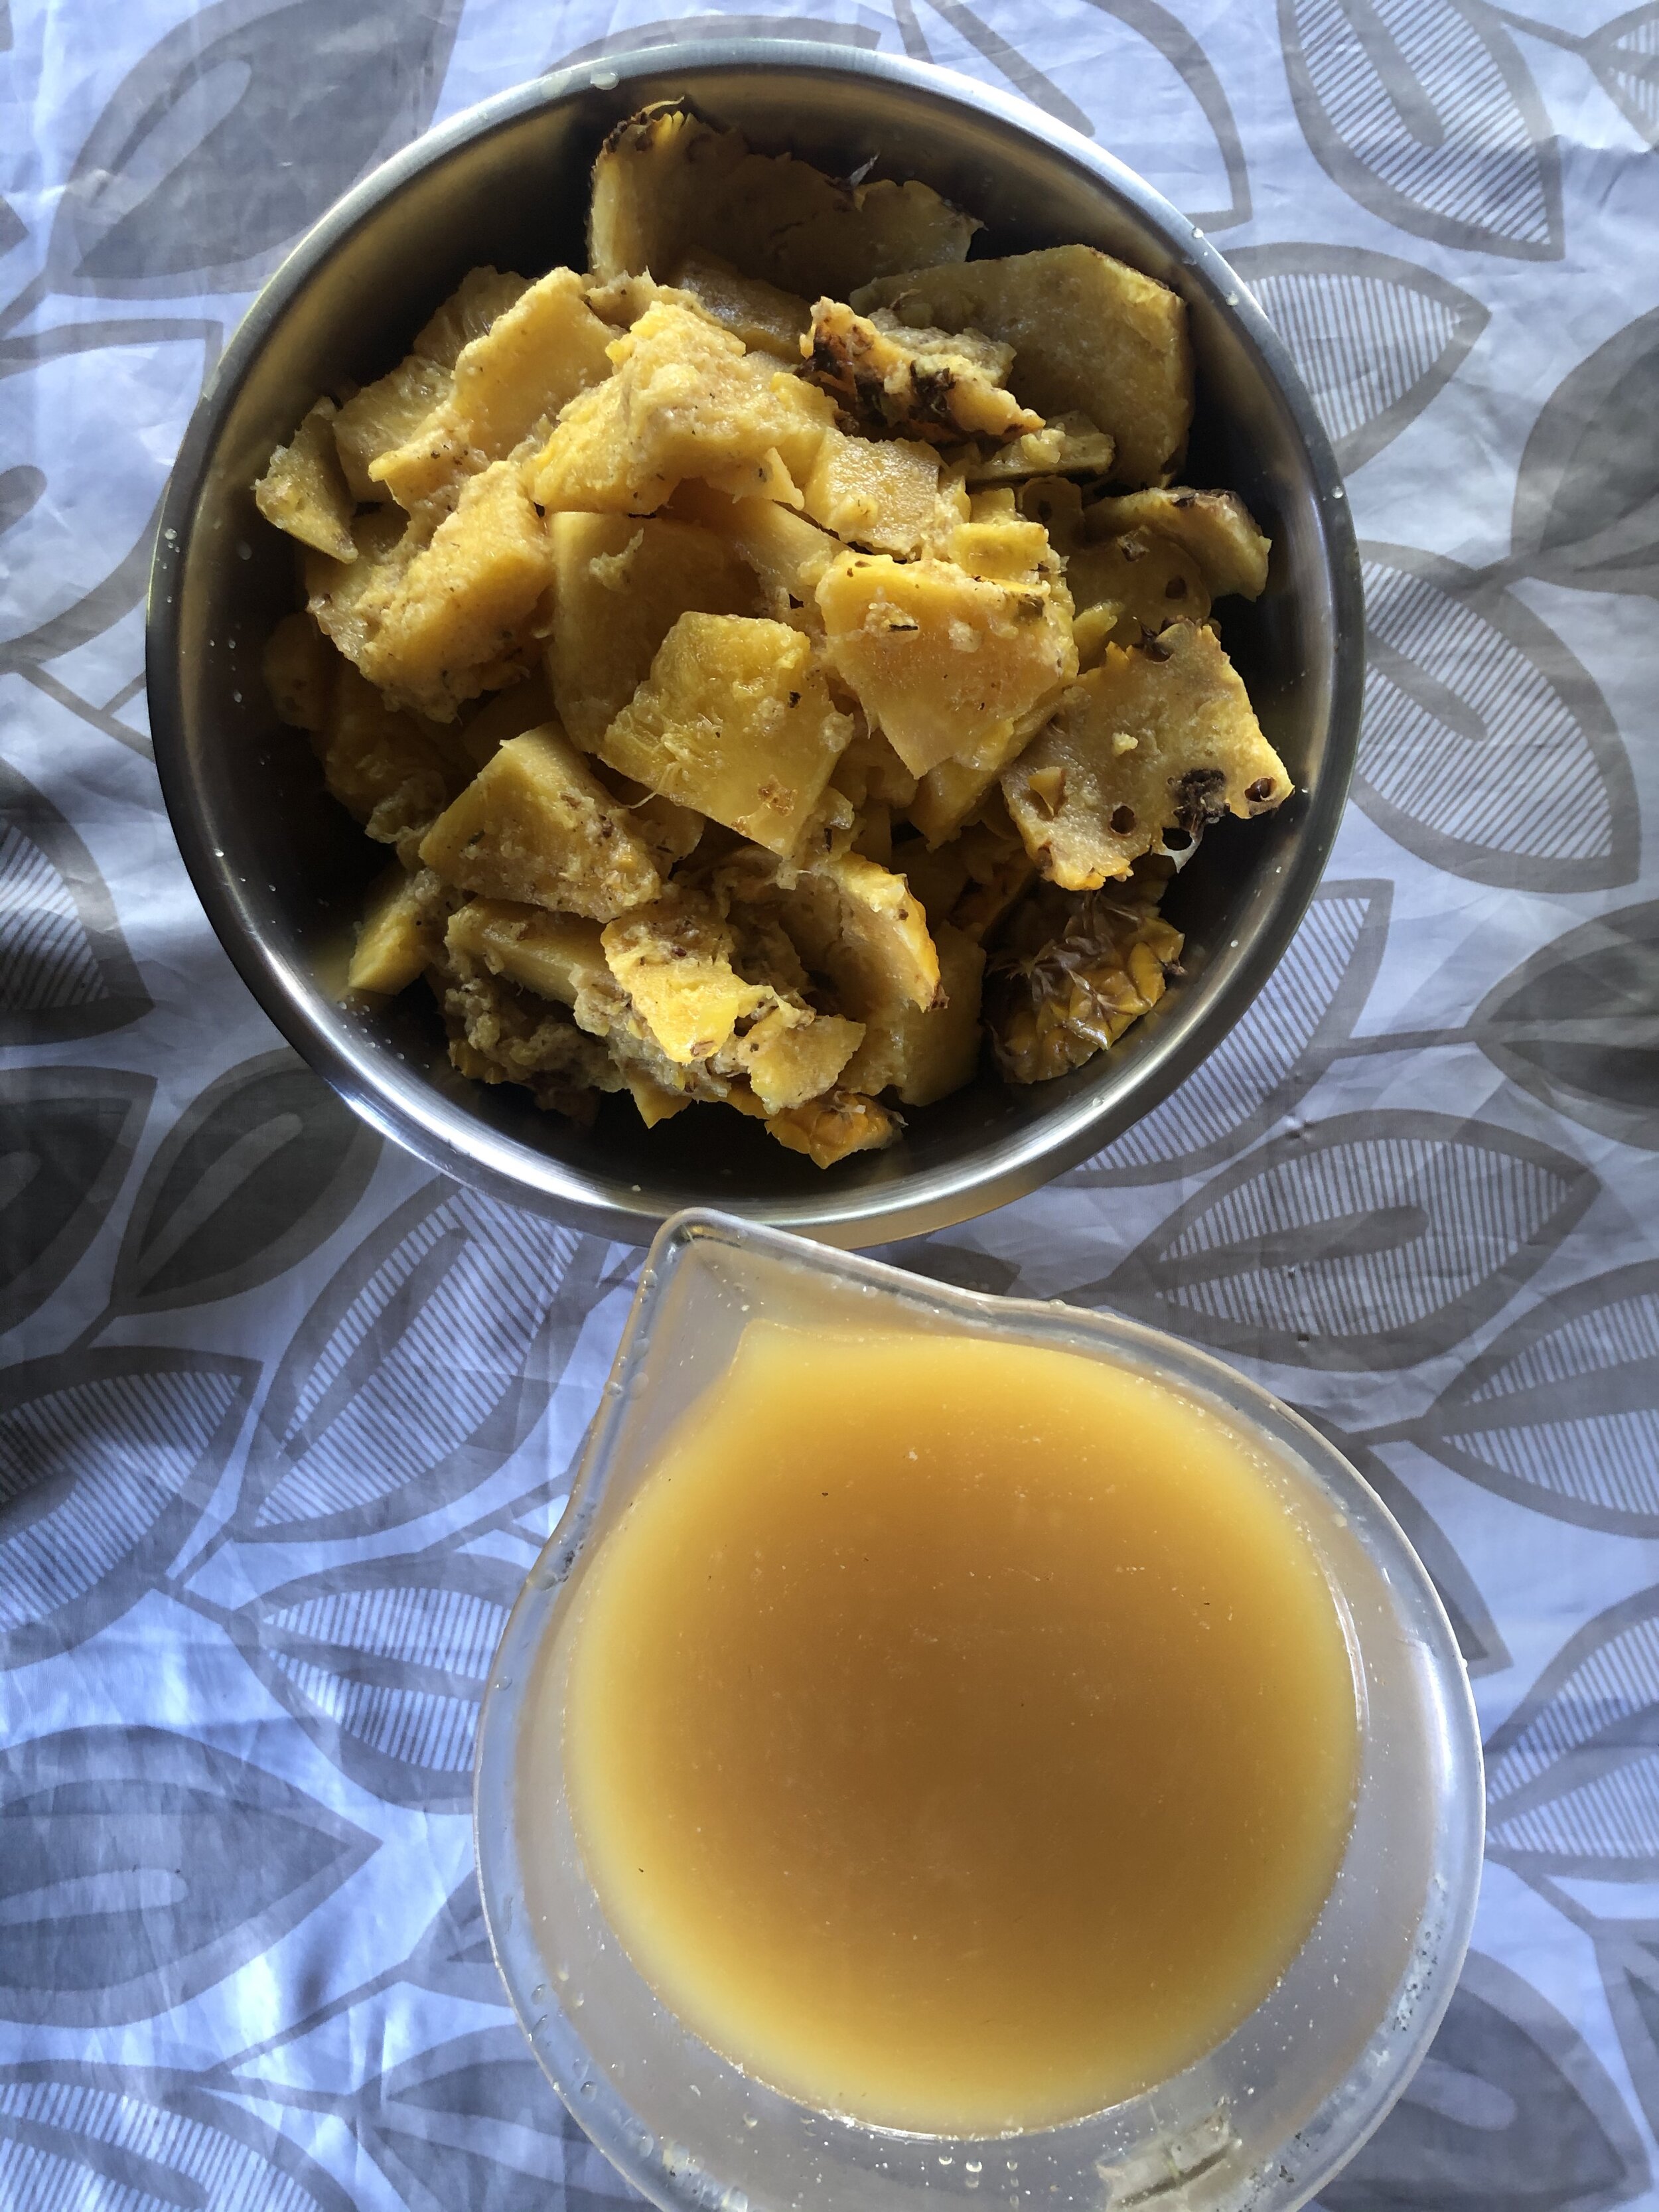
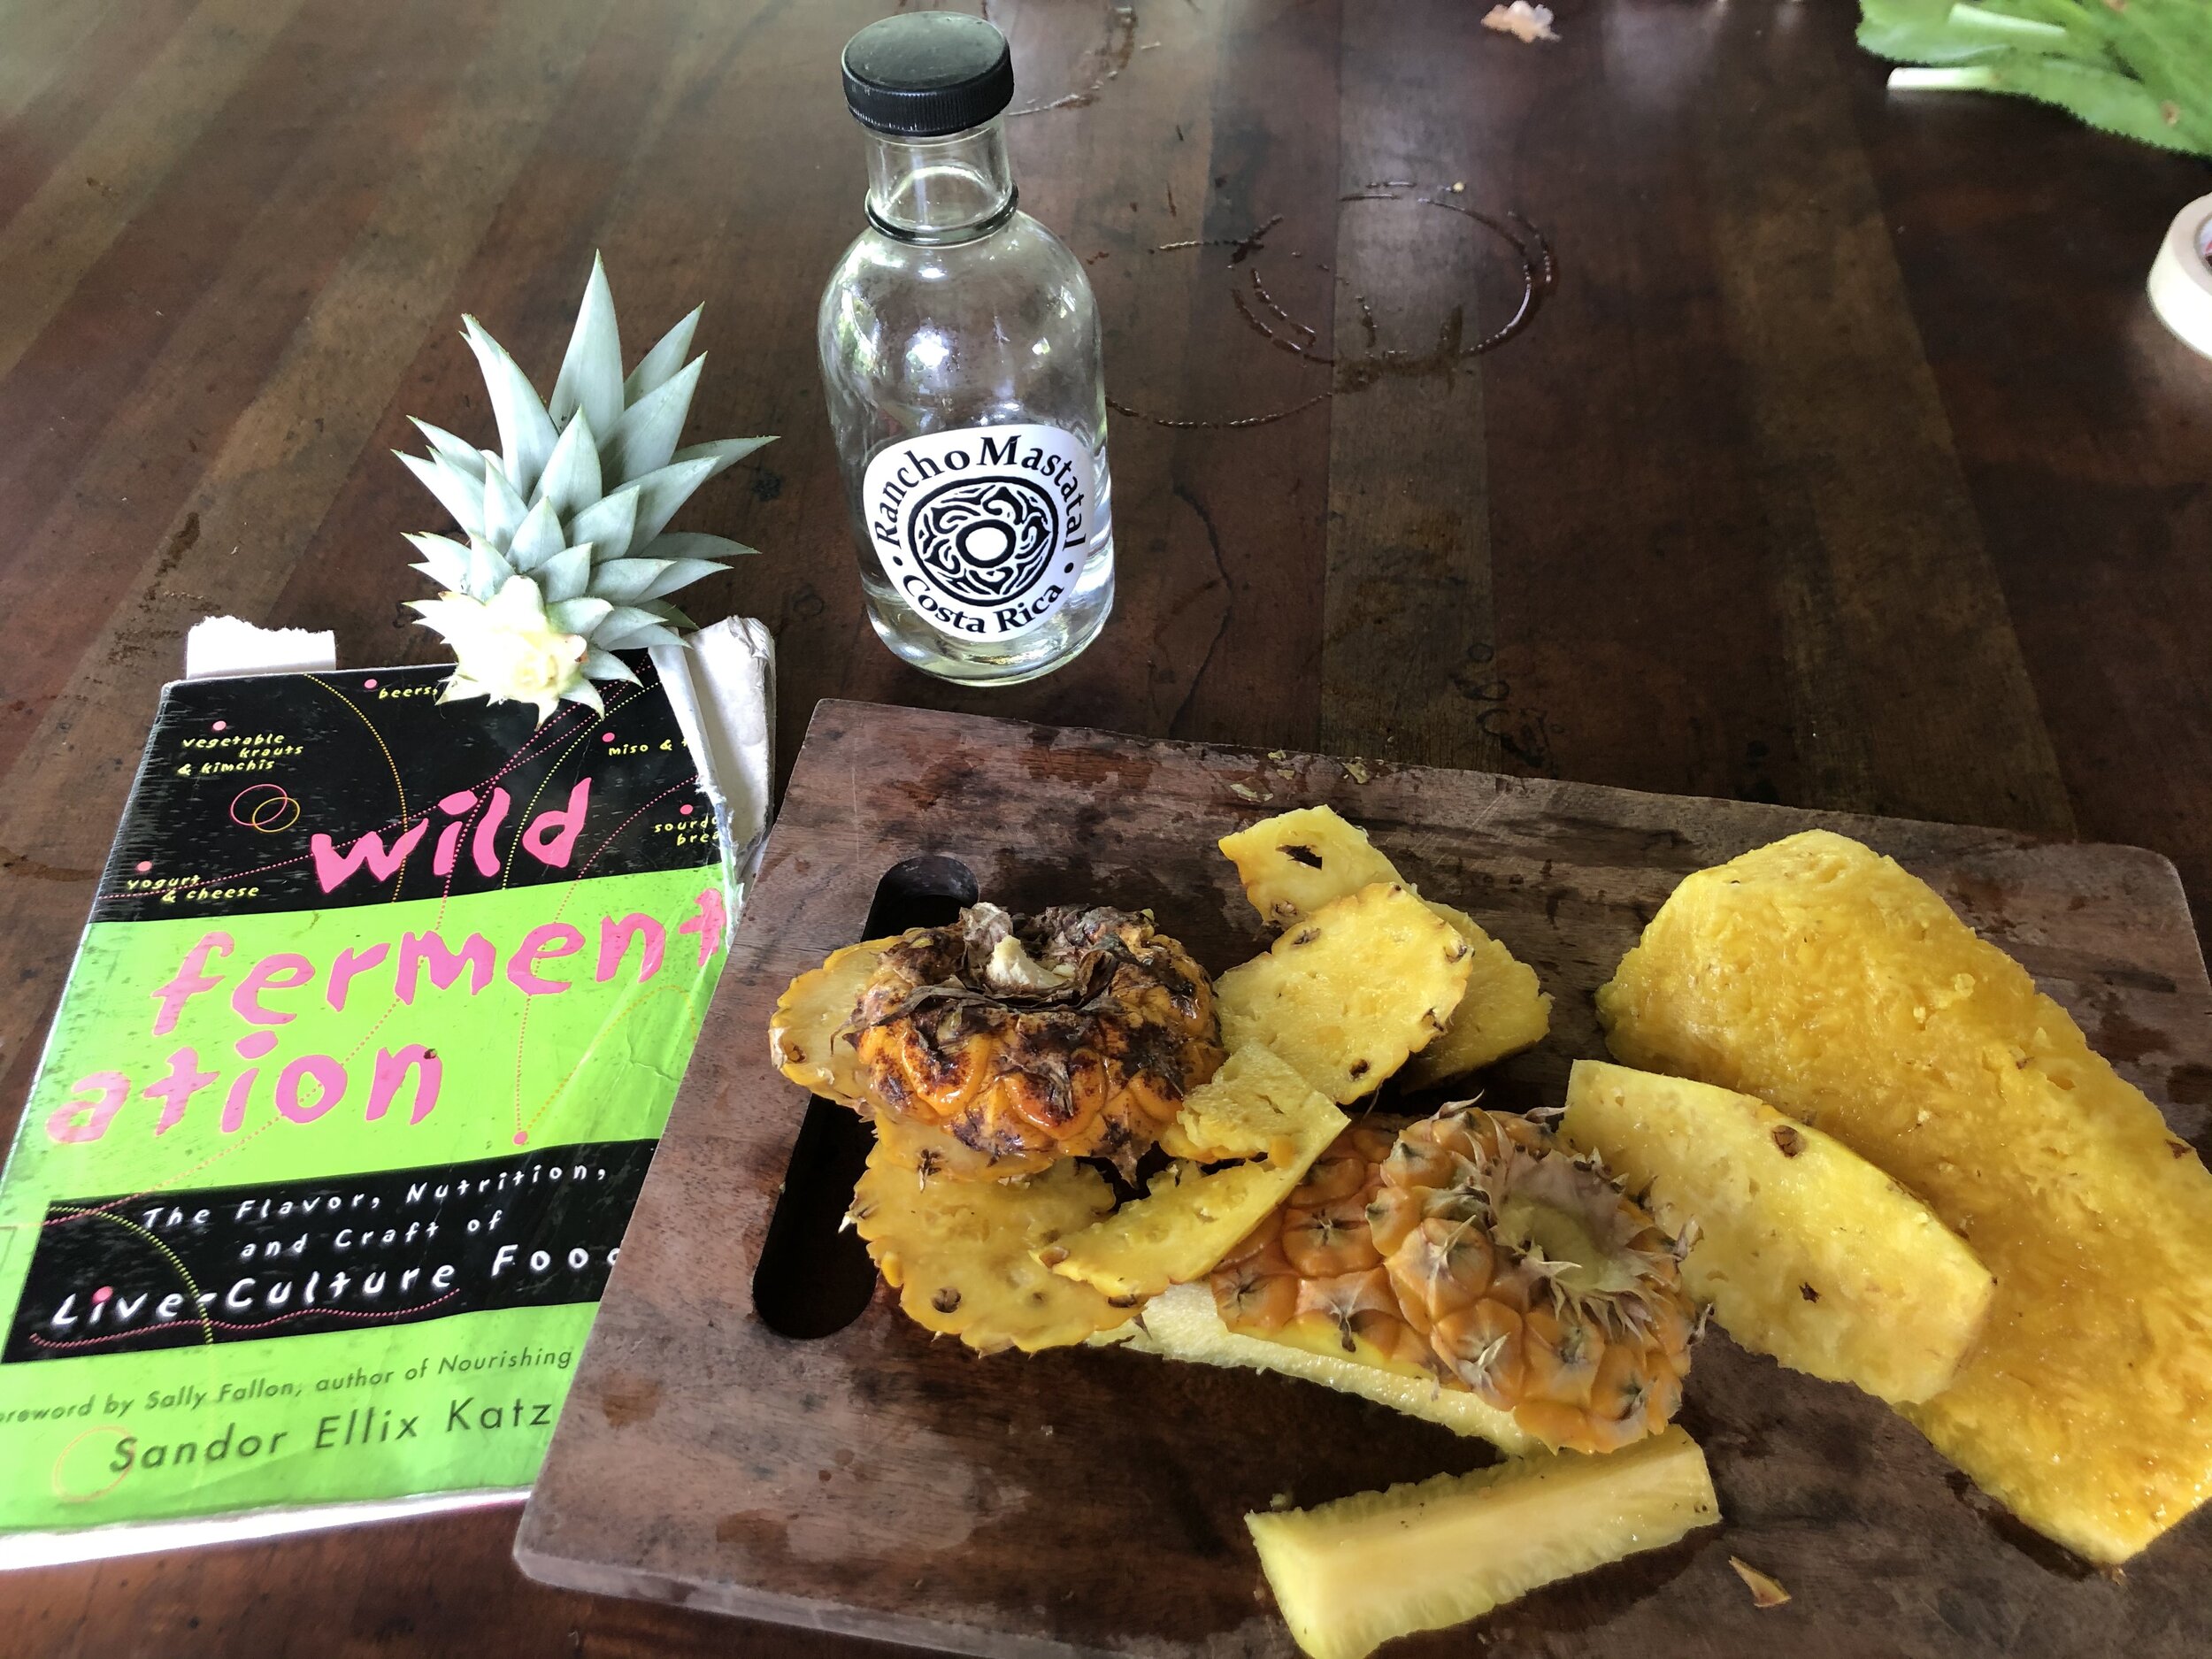
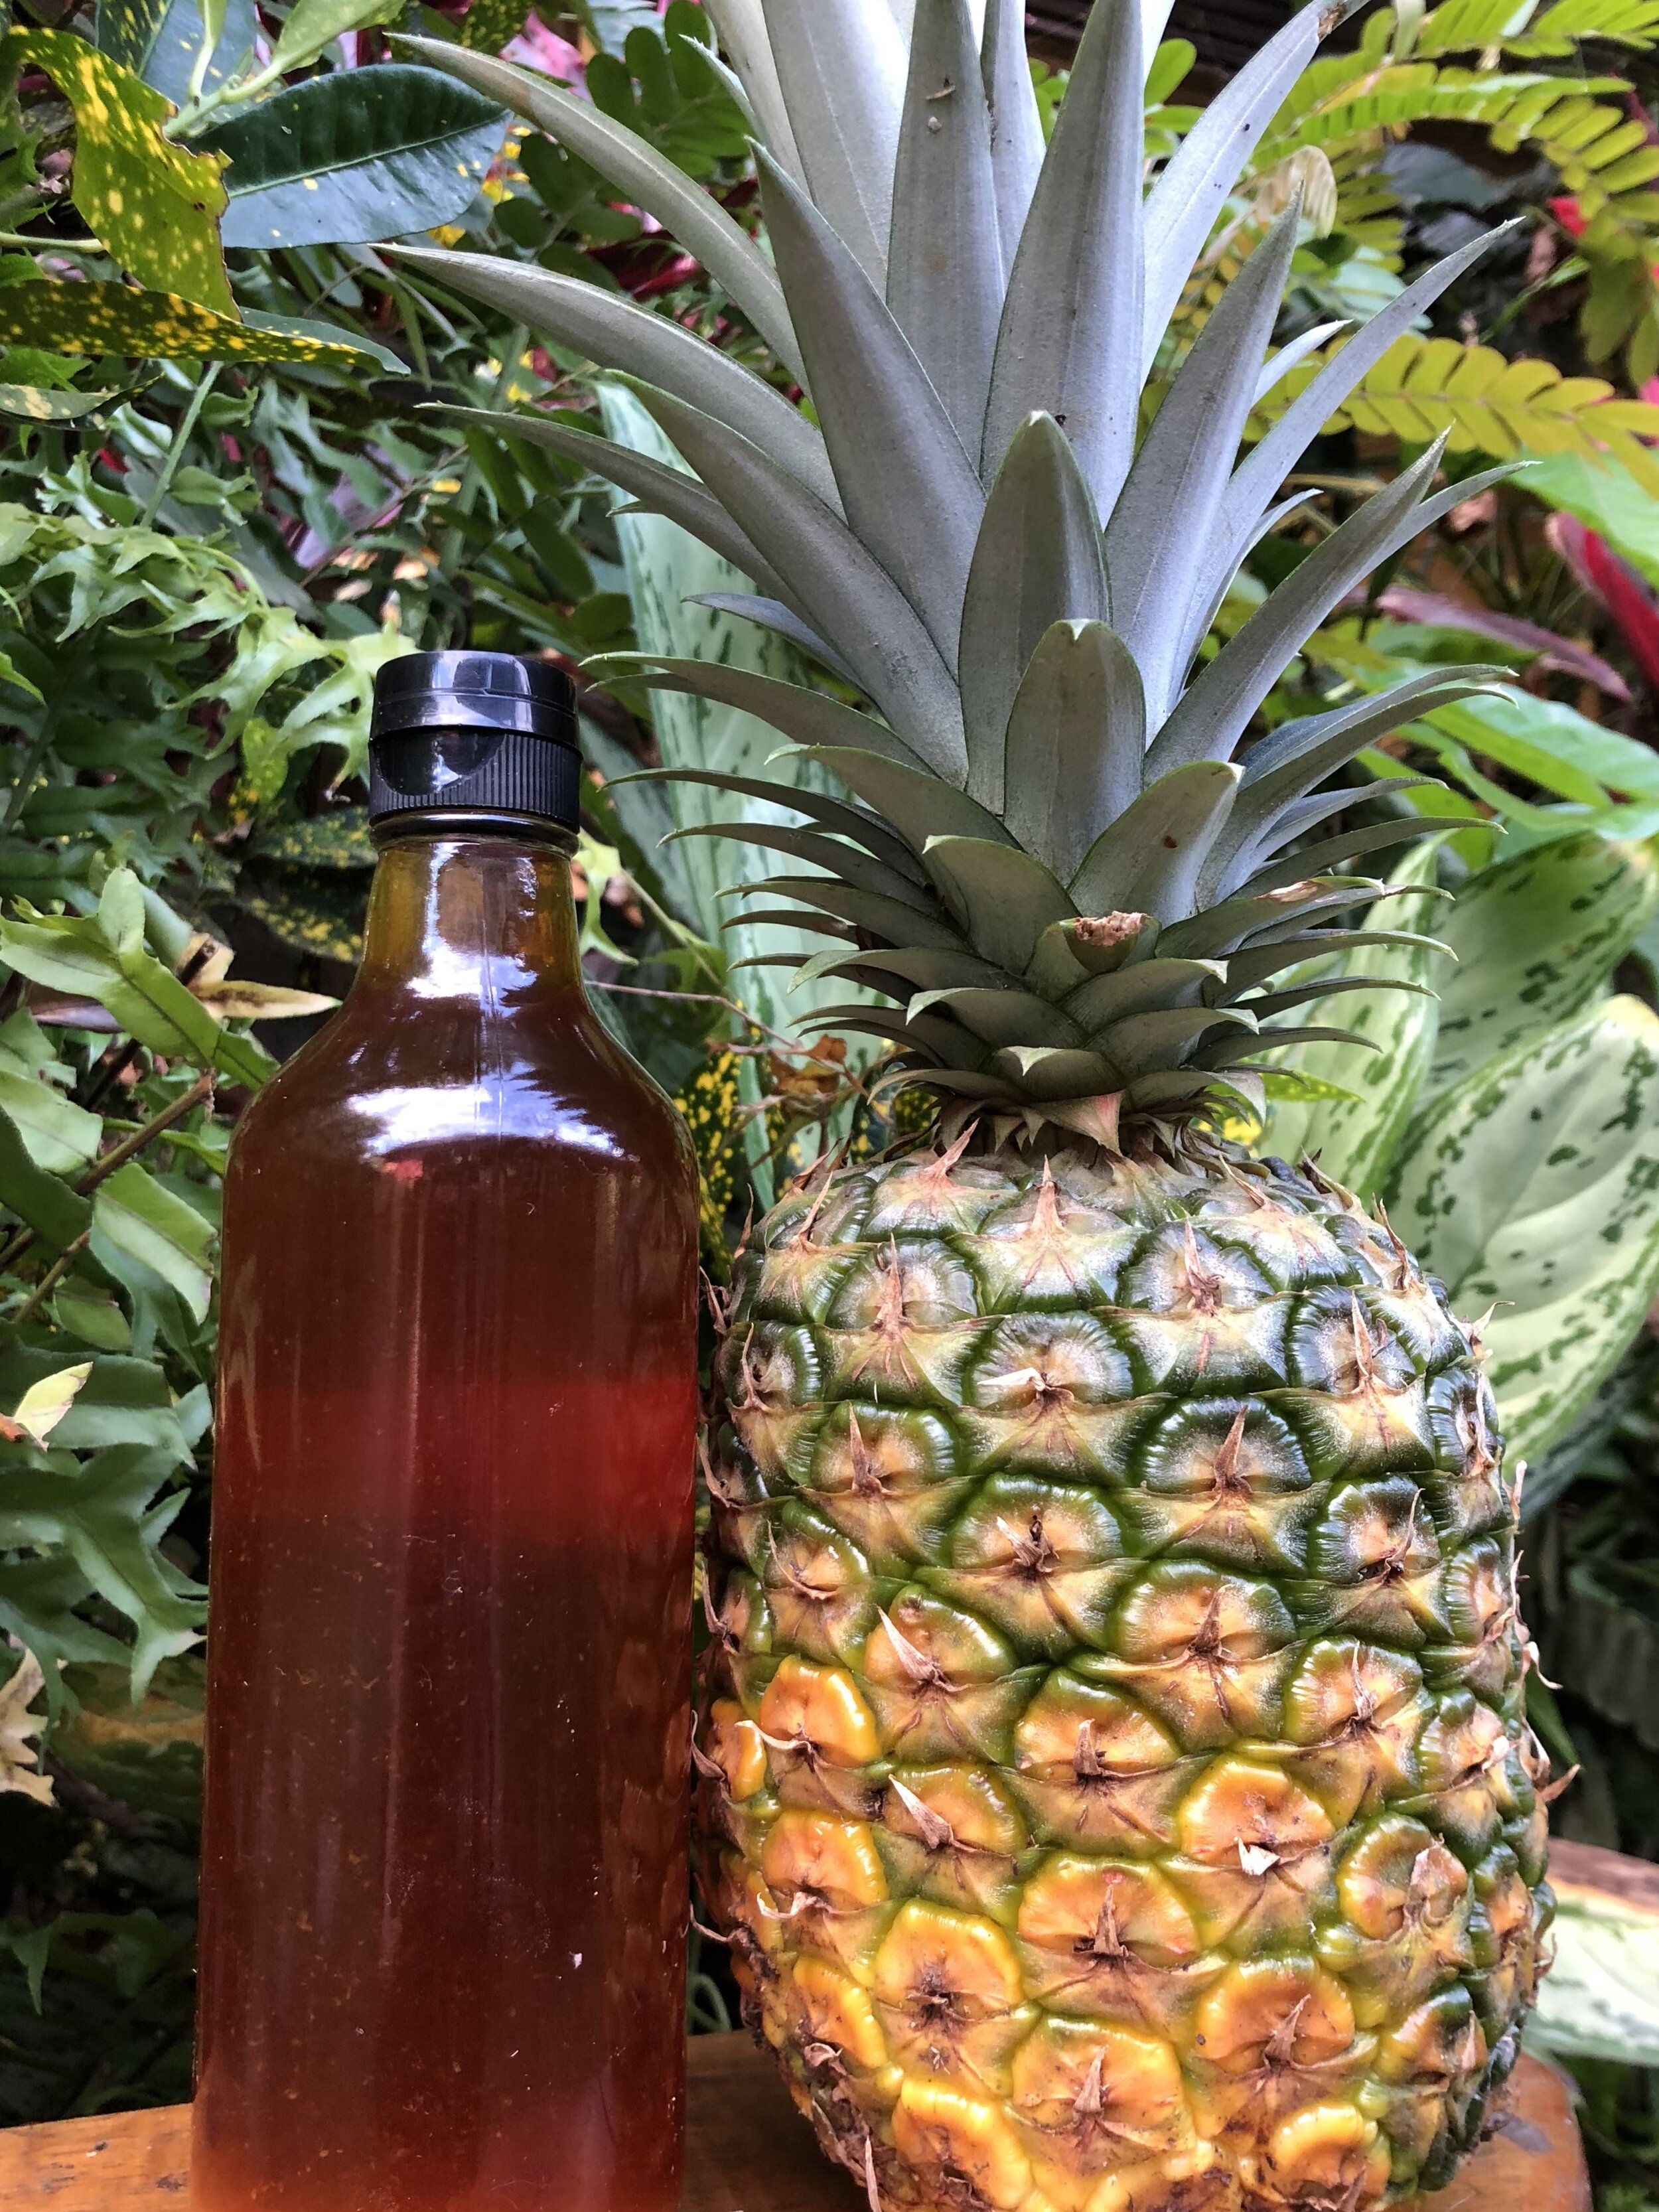
This recipe is adapted from Wild Fermentation by Sandor Katz.
The pineapples we are now harvesting were planted by previous apprentices and our current cooking vinegars were created by them as well. Many times the work we start here is created to be enjoyed by future Ranch dwellers. If this past pandemic year 2020 has shown me anything, it would be the reinforcement of the dangers of full reliance on our large industrial food system. Many of us have the desire to become more self sufficient in producing and conserving our own food. We know that access to healthy, fresh food is a privilege. We are lucky to have both the time and space to grow and experiment with ours. As this same interest and passion is also growing in others, we hope that our jungle experiments can be an inspiration on your journey.
Want to learn More
Join us for one of our workshops that sometimes include farm to table fermentation. Or consider applying to our year long apprenticeship or two month internship, where you will learn all the basics of fermentation, homesteading, growing your own food and lots more!
Happy ferments, happy microbes!

Enriching Community Soil: 5 Simple Strategies That Support Sustainable Relationships
"Sustainable community must be based on sustainable relationships- relationships that give more than they take- that nourish, enliven & inspire us."
Enriching Community Soil: 5 Simple Strategies That Support Sustainable Relationships
By Brittany Bares, Intern 2020
"Sustainable community must be based on sustainable relationships- relationships that give more than they take- that nourish, enliven & inspire us." Larry Kaplowitz, in "Creating a Life Together: Practical Tools to Grow Ecovillages and Intentional Communities".

Taking time to enjoy each others company and make new connections
At the beginning of August, four interns, myself included, arrived at Rancho Mastatal, bubbling with anticipation and wonder. What would we be learning? Who were the people living here? What was the overall "vibe”? With a background in social work, I arrived particularly curious about how this unique group of people related to one another, as well what invisible structures were in place, if any, that supported sustainable relationships.
With a few weeks of experience at the Ranch, I have observed several simple strategies that support sustainable relationships and are both: 1) being taught and 2) being practiced in real time by community members.
The following 5 strategies are a few of the ways Rancho Mastatal supports sustainable relationships and practice social permaculture. Following each simple strategy is a recommendation for how you too can create sustainable relationships within any community you are a part of, be it family, work or any other group.

Community activities to create trust and bonding
1. Share Responsibilities
What The Ranch Does
The community members of the Ranch share daily responsibilities, called “community contribution skills”, ranging from the daily care of the Biodigestor to making the water kefir drinks. Every month, community members rotate from one skill to the next. As well, community members share the responsibility of daily cooking and cleaning by rotating through a weekly schedule.
What You Can Do
In any group you are a part of, begin by creating a list of daily/weekly tasks that, however mundane, contribute to the order, operation & cleanliness of the shared space. Make agreements on how the tasks are to be completed and then, write the expectations, as well as who is responsible for what, in a place that is visible to all members. Assign each person a task and rotate through the tasks on a weekly or monthly basis.
How does this enrich community soil?
Sharing responsibilities saves individual time, while contributing to the community in a way that is beneficial for all. As well, it increases the ownership and value each community member has for the shared space and resources they use.
2. Check-Ins

We hold all our communal meetings in this circular, earthen space called the Ceiba Lounge
What The Ranch Does
Ranch members meet for a brief meeting everyday to review the daily schedule. Once per week, the core-team, apprentices and interns meet in seperate groups to discuss a variety of topics, ranging from personal challenges to project planning. Then, once per week, all community members meet in a "community check-in", where members have the opportunity to share highs and lows, discuss "square items'' and set intentions.
What You Can Do
Similar practices can be implemented at home or in the office. If you choose to implement community check-ins, have specific boundaries that will create a safe and meaningful space for people to share honestly and openly. These boundaries may include: 1) No obligation to share- a member can “pass” 2) No one can interrupt the speaker, respond directly or give any advice 3) Set a time limit for each share (usually 5-10 minutes max). *the intent of each check-in should guide the boundaries of the meeting.
How does this enrich community soil?
Check-ins help to keep everyone organized and up-to-date on information. They also help to reduce conflict among members because when folks have a safe space to share their values and feelings, potential conflict can be mitigated. Check-ins are a space to share openly and vulnerably, as well as a space to practice active listening and empathy. This, in turn, can create authentic connection and compassionate understanding, which are essential ingredients for sustainable relationships.
3. Play Together

Communal yoga sessions
What The Ranch Does
The days at the Ranch can be long and labor intensive. The Ranch does a beautiful job of balancing long work days with several opportunities to play! Whether it is volleyball, frisbee, playing music, salsa dance nights, storytelling, movie nights, yoga classes or card games, community members at the Ranch love to play!
What You Can Do
At home, implement a game night or schedule family hikes or bike rides. At work, organize a volleyball or softball league or something more simple, like trivia night or board-game lunches.
How does this enrich community soil?
Life can become serious quickly. With work, daily responsibilities, and other duties, it is easy to get trapped in the daily grind. When we actively participate in play, we make space for joy and fun. If you get stuck in " I don't know what to play", simply remember how you used to have fun as a child and do that!
4. Offer Daily Gratitude
What The Ranch Does
Every night, before eating dinner, community members take a few moments to offer gratitude for specific people or events that happened during the day. The expressions of gratitude range from thanking someone for teaching a lesson to thanking the Earth for the abundance of food provided.
What You Can Do
Whether at home or at work, you can implement the same practice by simply providing space before a shared meal to express any daily gratitudes. Another way would be to have a gratitude jar, where anyone can write down what they are grateful for, place it in the jar and then, at a specific time during the day or week, read the gratitudes aloud as a community.
How does this enrich community soil?
Actively giving gratitude helps us shift our mind from the things that have gone wrong or the challenges we have had, to the things that went right, while acknowledging the many things we all have to be grateful for. A simple shift in thinking can have a profound effect on our well being, while enlivening our relationships.
5. Frameworks for Communication & Conflict Management
What The Ranch Does
Whenever working or living with other humans, there is bound to be conflict. Here at the Ranch, members are provided basic training in conflict resolution and effective communication frameworks. Specifically, they practice compassionate communication methods as outlined in NonViolent Communication by Marshall Rosenberg.
What You Can Do
READ NONVIOLENT COMMUNICATION! It will change your life and how you have relationships with others. The framework for communicating and resolving conflict are simple, pragmatic and have been found to be effective by millions of people, in various types of organizations and settings.
How does this enrich community soil?
How we communicate, i.e. the words we use and how we say them, greatly impact our relationships. Many of us were never taught how to communicate to connect or how to resolve conflict in a meaningful way. If there is only one thing you can do to create more sustainable relationships, learn how to compassionately communicate, as outlined in the book Nonviolent Communication by Marshall Rosenberg.

The more sustainable our relationships are, the more purpose and meaning each individual will be able to experience. Healthy communities inspire growth and offer a sense of belonging to its members. They are safe places to learn, explore, inquire and connect to our truest selves. If you are looking for ways to enrich the soil of your own community, be it at home or work, keep it simple with these 5 strategies: share responsibilities, check-in, communicate compassionately, say thanks and PLAY!
Learn More
Want to experience communal living and put these social permaculture skills into practice? Consider applying for either our 2 month internship or year long apprenticeship.

Water Kefir - The New Kombucha!
Before coming to the Ranch, I only knew of kefir as a tasty, sour, probiotic milk product - almost like a liquid yogurt. I loved it, and knew of it’s health benefits, but didn’t think kefir could be anything more. Turns out, kefir can refer to both milk kefir, the product I’ve known and seen in grocery stores, and water kefir, a delicious fermented soda and a staple for us here at Rancho.
Water Kefir - The New Kombucha!
By Cameron Conklin, apprentice 2021

Delicious, probiotic, fizzy and homemade soda (Water Kefir)
Kefir is more than just milk!
Before coming to the Ranch, I only knew of kefir as a tasty, sour, probiotic milk product - almost like a liquid yogurt. I loved it, and knew of it’s health benefits, but didn’t think kefir could be anything more. Turns out, kefir can refer to both milk kefir, the product I’ve known and seen in grocery stores, and water kefir, a delicious fermented soda and a staple for us here at Rancho.
Kefir “grains” are not actually grains at all, but instead a type of SCOBY (symbiotic colony of bacteria and yeast), a word you might recognize from researching or making kombucha. Kefir grains are shaped like little translucent miniature cauliflower florets - giving them their name. Milk kefir and water kefir grains look similar, but contain a different combination of bacteria and yeast. So if you want to make both, like we do, you’ll need a different source for each. If you are interested in milk kefir, check out Ryan’s blog post for some great milk kefir recipes here!
Some kefir makers have had luck with rinsing their kefir grains and changing the nutritive liquid they are fermenting. For example, using milk kefir grains with coconut milk instead of dairy milk. But as a rule of thumb, your grains will be trained to like a certain combination of ingredients, and in the case of water kefir grains, water and sugar is the magic recipe!
Making water kefir, what we call “balm”, was my first task here at Rancho. After my first week on balm duty, I thought to myself, “Why isn’t everyone making this stuff?!” It’s easy, delicious, refreshing, and serves as a great base for seasonal flavors, medicinal plants, and culinary creativity.
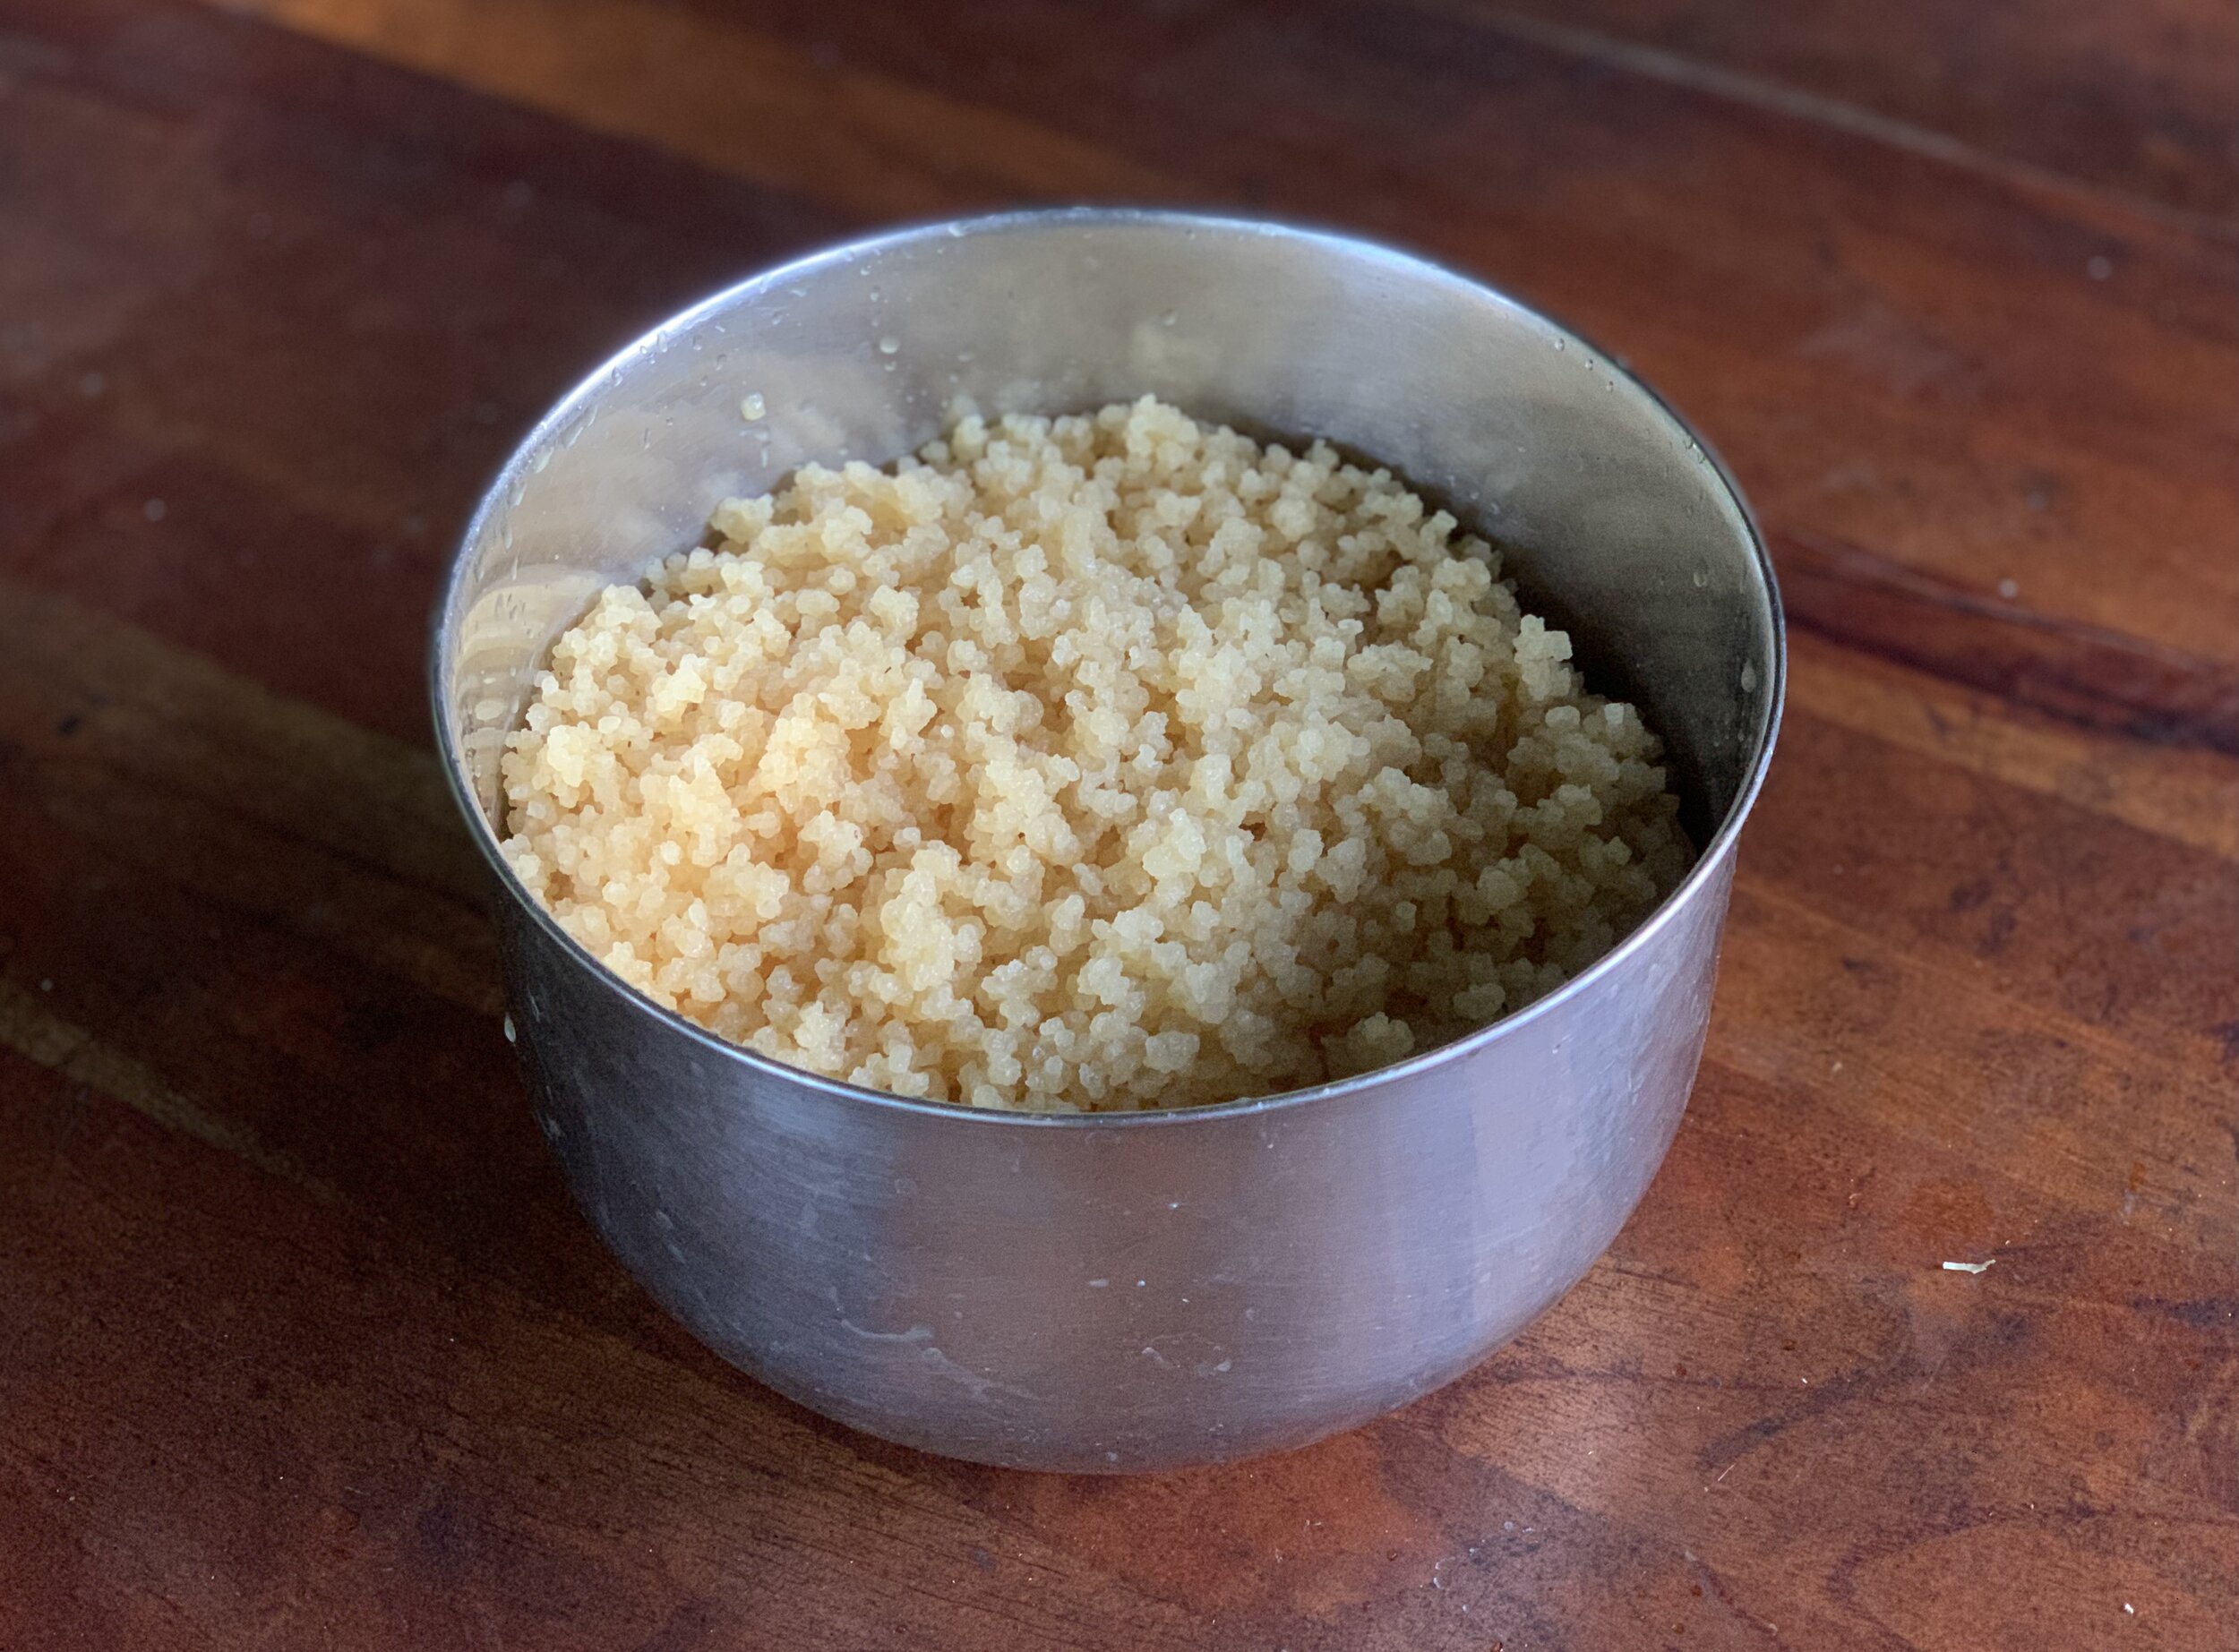
Water Kefir grains
The health benefits of water kefir
The exact origin story of kefir is unknown, but it is believed to have originated in the Caucasus Mountains. Kefir is Turkish for “good feeling” - which I can’t agree more with when I take a cold sip of bubbly kefir soda. Water kefir is high in probiotics, hydrating, and a great replacement for electrolyte sports drinks like gatorade, since it contains enzymes and minerals. It is known to aid in digestion, reduce inflammation, and relieve skin irritation such as eczema and acne. Water kefir is also said to help with detoxification by cleansing the liver (Mueller, 2014). What a magical concoction!
Water kefir serves as a great conduit for fruits and herbs. There are endless combinations of ingredients you can add to boost nutritional and medicinal potency depending on what your body needs!
How to make water kefir
**Note! If you do not have a water kefir making friend or local grain dealer, you can purchase dehydrated grains online. You will need to rehydrate them before following the recipe below.

Water Kefir SCOBY in the water/sugar solution
Primary Fermentation
Combine 1 gallon of water with 2 cups of sugar into a non-metal container (at Rancho we use tapa dulce which is a locally sourced sugar cane that our grains love, but you can use other sugar sources as well)
Pour in 1 cup of kefir grains
Cover with a cheese cloth or lid to keep out dust and bugs but not oxygen
Allow the mixture to sit for 2 days - this may be longer for you (up to 4 days) if you are in a cooler climate. Here in the tropics things move fast!
When your water kefir is ready you will notice a change in color and you may see bubbles rising to the top or foam settling on the surface
Strain your kefir into airtight bottles or jars (no metal) for the second fermentation, being sure to leave room for added fruit juices, herbs, and bubbles from the carbonation process
Set aside your kefir grains to begin your next batch - you can continue using these grains an infinite number of times if you keep them fed and healthy. You will see them start to multiply and this is a great time to give away extra grains to friends!
You are now ready to move on to the second fermentation and carbonation phase!
At this stage your kefir is ready to drink if you do not want to add flavor or carbonation - but in my opinion that is the best part!
Secondary Fermentation
**Note: This is where you can let your creativity shine! Read below to see some of our favorite recipes. You may wish to adjust the amount of fruit juice or sugar you use based on preference so start experimenting.

Passion fruit makes a great and easy flavor for balm!
Add 1/4 cup 100% fruit juice or fruit puree per liter of water kefir
Add 1/8 cup sugar per liter of water kefir
Add any herbs you’d like (I like to muddle them or blend with the fruit juice first)
Cap the airtight containers and let sit at room temperature for 1 to 3 days to let the secondary fermentation take place. In this stage of the process, the added sugar will be consumed by the SCOBY and create the carbonation as carbon dioxide builds up in the airtight container. The longer you wait, the bubblier and less sweet your beverage will be, so do a few trials to find your perfect combination.
Give your bottles a little burp to make sure you release some carbon dioxide to avoid your bottles exploding. Place your bottles in the fridge and enjoy! Don’t wait too long to burp your bottles and put your soda in the fridge, or your bottles might bust. The fridge will slow down the fermentation process significantly, allowing you to enjoy your balm for a longer period.
Watch out when opening your bottles again, the carbonation can be very intense depending on the ingredients so start slow as you unscrew the cap!
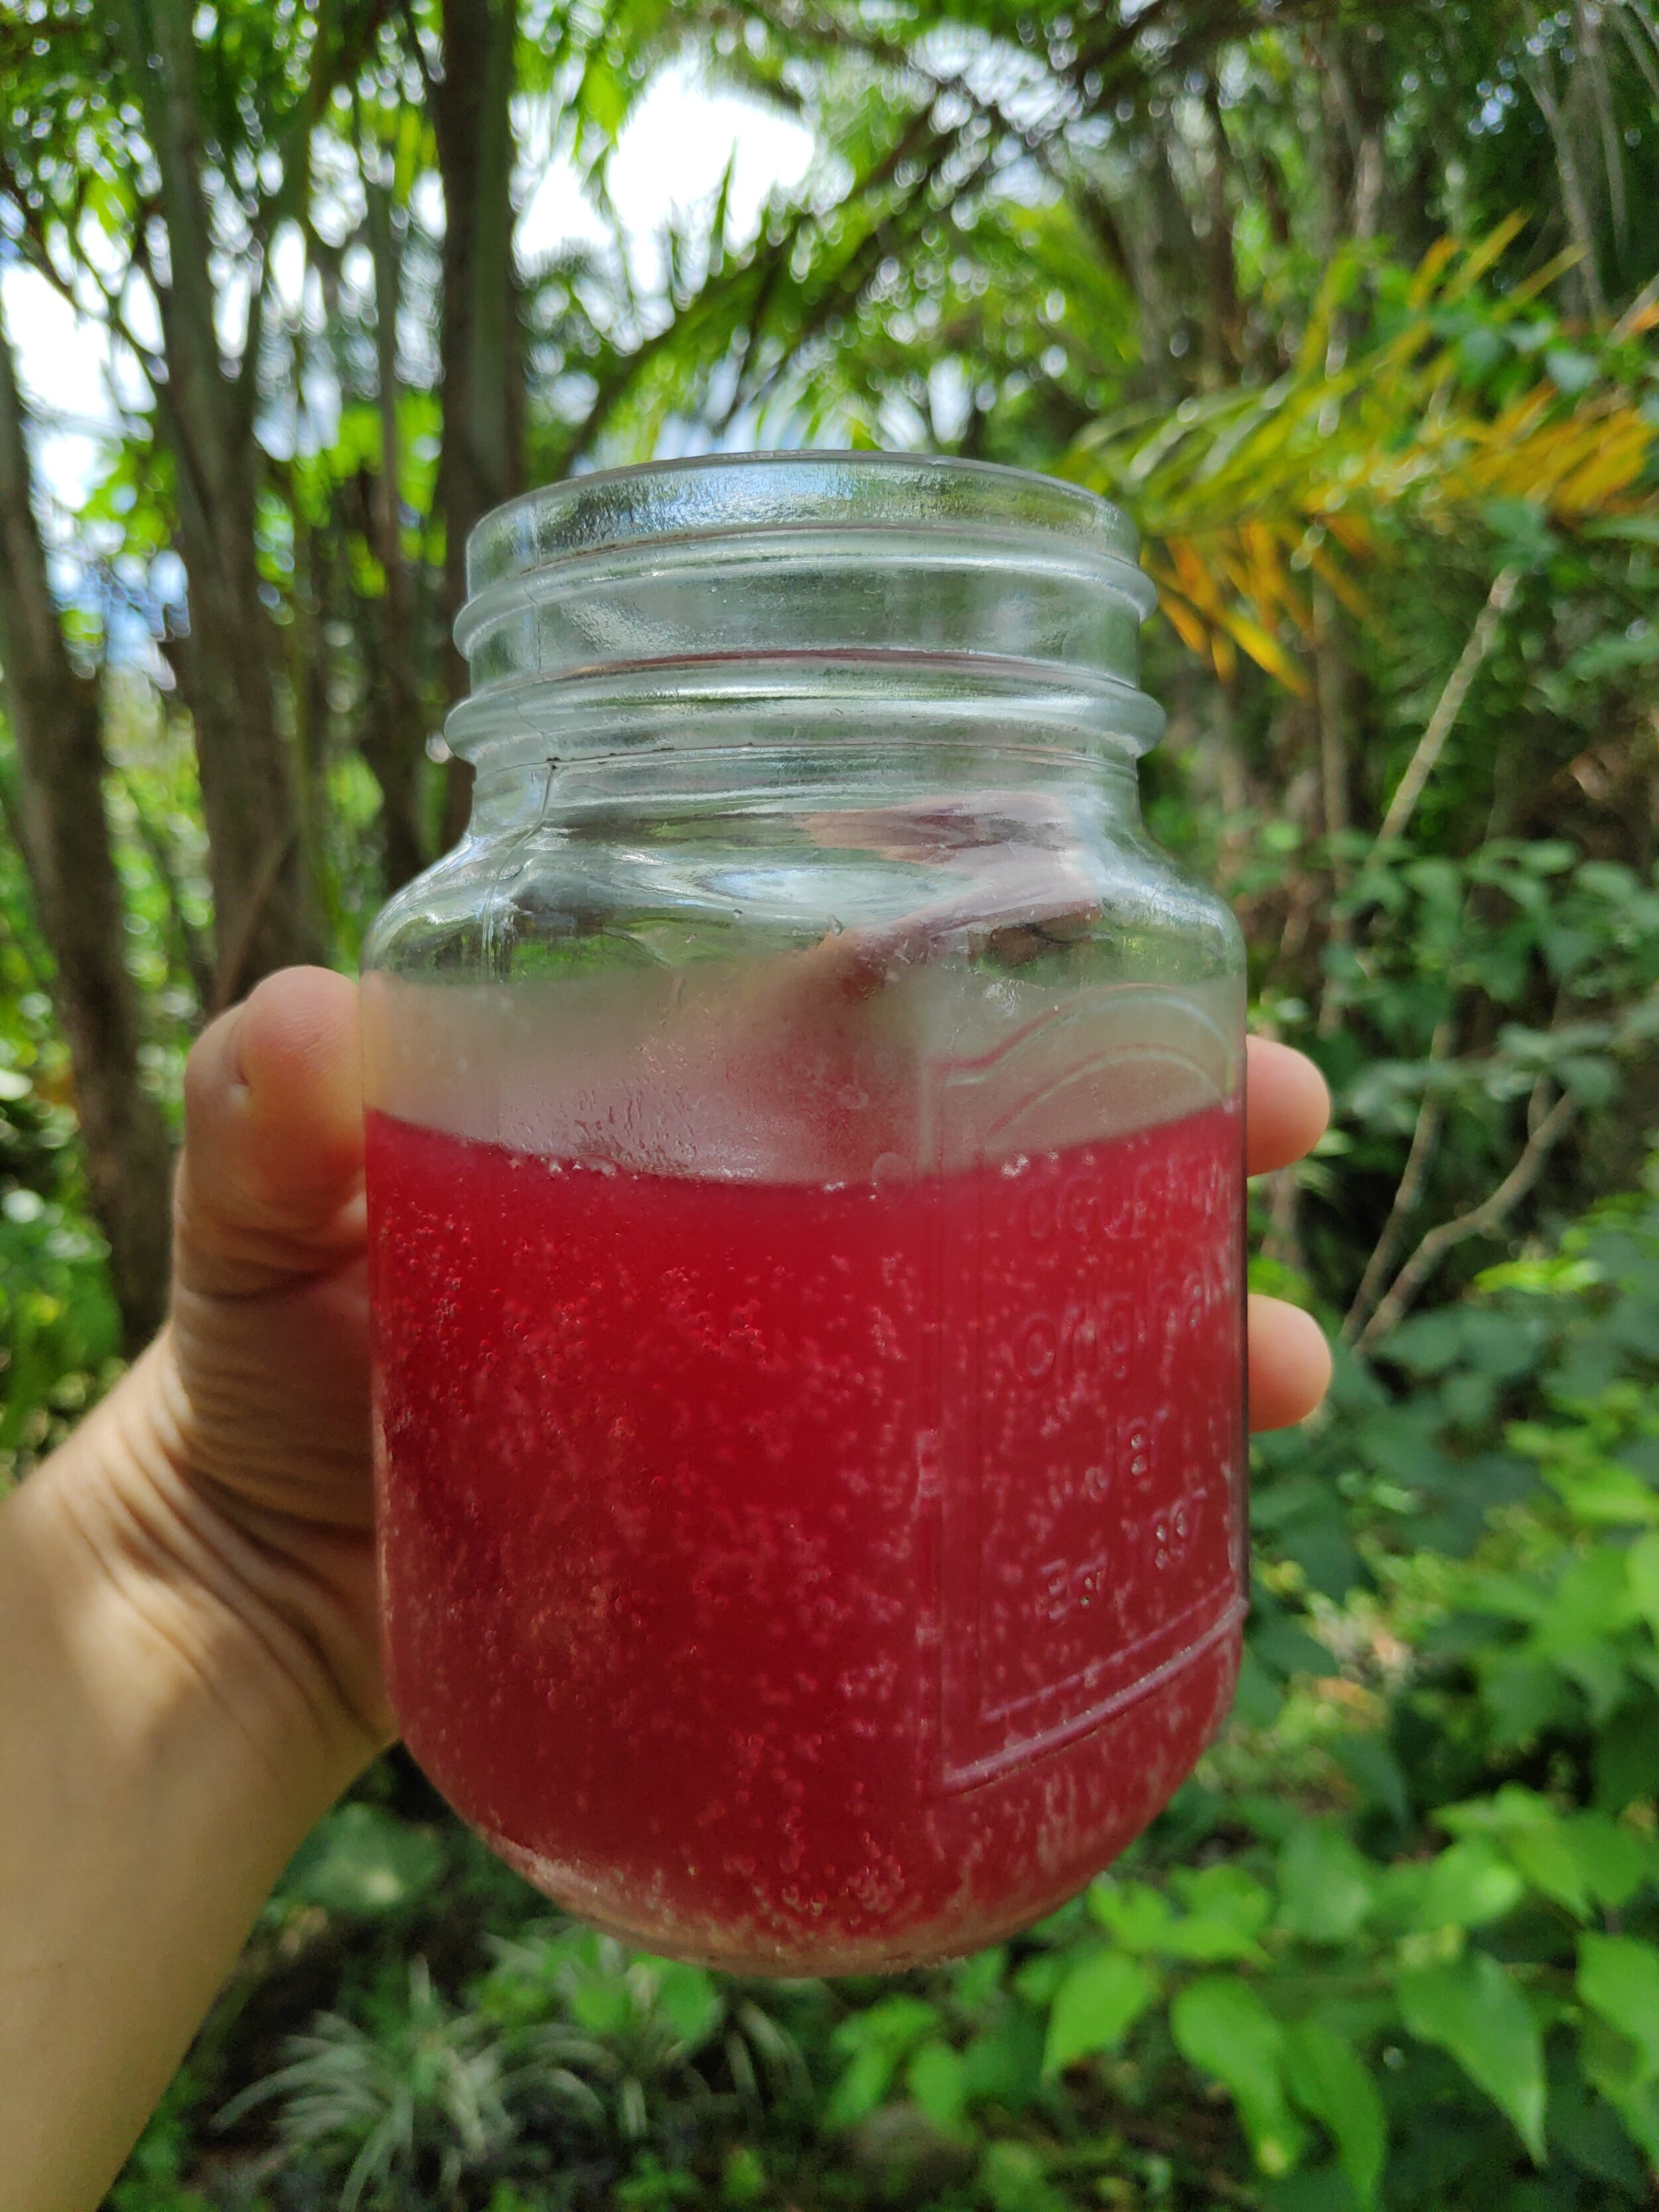
A refreshing, bubbly glass of balm
Our favorite variations
Below are a few flavor combinations that are staples here at Rancho. These flavors are absolutely delicious and come right from our farm. If you aren’t in the tropics and don’t have access to the below, I recommend using local, seasonal, ingredients to flavor your balm - there are so many different options!
Galaxy Bomb:
1/4 cup fresh squeezed starfruit juice
grated fresh ginger to taste
Sunshine Daydream:
1/4 cup fresh squeezed orange juice
1/8 cup fresh squeezed lemon juice
muddled mint to taste
muddled basil to taste
The Queen:
1/4 cup fresh squeezed and strained victoriana
1/8 cup fresh squeezed lemon juice
(be careful with explosions, this one is a firecracker!)
Resources:
Delicious Probiotic Drinks, Julia Mueller, 2014
Wild Fermentation, Sandor Ellix Katz, 2003
More Articles on Fermented Beverages you Can Make!
How to Brew Your Own Ginger Beer
Learn More
Check out our workshops that include farm to table fermentation, medicinal plants, permaculture and more!
Happy brewing and happy microbes!

Nitrogen Fixing Plants at Rancho Mastatal
A nitrogen fixing plant is a common term used to describe plants that have symbiotic relationship with microorganisms on their root nodules that allow them to fix nitrogen. These are the top ones we use here at the Rancho.
Nitrogen Fixing Trees (NFTs) at Rancho Mastatal
By Nic Donati, Core Team Member
What are Nitrogen Fixing Plants?
A nitrogen fixing plant is a common term used to describe plants that have a symbiotic relationship with microorganisms on their root nodules that allow them to fix nitrogen. The vast majority of these plants are in the Fabaceae family (the legume family), but there are other families of plants that have relationships with microorganisms that allow them to fix nitrogen. There are many trees and soft stemmed plants that have symbiotic relationships with microorganisms on their root nodules that allow them to fix nitrogen. We often in permaculture design refer to all of these as NFTs (Nitrogen Fixing Trees) for simplicity although some of the plants we are referring to are not actually trees.

Root nodules on a Poro sapling
What is Nitrogen fixation?
Nitrogen is essential to all life forms as it is used in the biosynthesis of all nitrogen containing organic compounds such as amino acids and proteins. Nitrogen makes up approximately 78% of the earth’s atmosphere, so it is in abundance, however in its gaseous form (N2) it is not readily available to plants as it cannot be easily metabolized by them. Nitrogen fixation is the process of converting N2 into a compound that can be readily metabolized by most organisms such as Ammonia (NH3).
Nitrogen fixation takes place naturally in the soil by microorganisms. Some species of plants are able to form symbiotic relationships with these microorganisms and we are interested in those plants in permaculture because of the role these species can play at increasing the fertility of our soil in a natural way. Permaculture adheres to the philosophy of working with nature rather than against it and capitalizing on these naturally occurring phenomena is a great practical application of this. We use them a lot at Rancho Mastatal in our food forests, alley cropping systems and our annual vegetable garden system.
Getting Nitrogen into the ground
Nitrogen is one of the most important nutrients for the growth and survival of plants and deficiencies in this key element will lead to problems in plant development. In recent decades this has been dealt with in conventional farming by applying chemical fertilizers. The application of these fertilizers, however, has led to huge environmental degradation. Organic growers may use naturally occurring nitrogen rich amendments like manure, blood and bone etc…. Either way it requires the addition of amendments to our soil. At Rancho Mastatal we absolutely use natural soil amendments, typically we apply dried cow manure, compost, vermicompost and other amendments that we have locally available or make ourselves, this requires a huge amount of work, collecting, hauling and applying them. We ideally want to generate all of the nutrition that our trees need right near our trees so that we don’t need a lot of resources to look after them. NFT’s present a wonderful opportunity to use the natural processes that are taking place in the soil to benefit the trees we are interested in being productive.
Agroforestry

An agroforestry system at the Rancho
Our warm, humid, tropical environment lends itself to the development of agroforestry systems. Our natural ecosystem is the rain forest and our goals as a tropical agro-forester is to create a forest environment utilizing tree species that have yields for human consumption. We typically think of these yields as food, but they could also be fodder for feeding animals, timber for building and branches for firewood amongst others, from now on we will refer to these as tree crops. We also need support species for our tree crops, which we may or may not directly use the yields of. NFTs are good examples of these support species as their roots and leaves are richer in nitrogen than other species. It means when we prune our nitrogen fixing tree and arrange its biomass around our tree crops; we are feeding the soil in multiple ways:
1. The leaves and branches around the tree break down over time and add organic material, and nutrients to the soil
2. Whilst they are breaking down, they are also protecting the soil from the harsh sun and rain.
3. The root die back that is created by pruning our NFT releases nutrients and helps aerate the local soil.
4. Even when not pruned the roots stabilize the local soil and the leaves provide protection and shade from sun and rain.
In our environment we use many different species of NFTs and we would like to share the 9 main species we use, what we use them for and why. Not all NFTs are created equal and some provide different functions than others. As I said earlier we also use the term NFT rather liberally as some of these species are actually not trees!
1. Black Wattle (Acacia mangium)
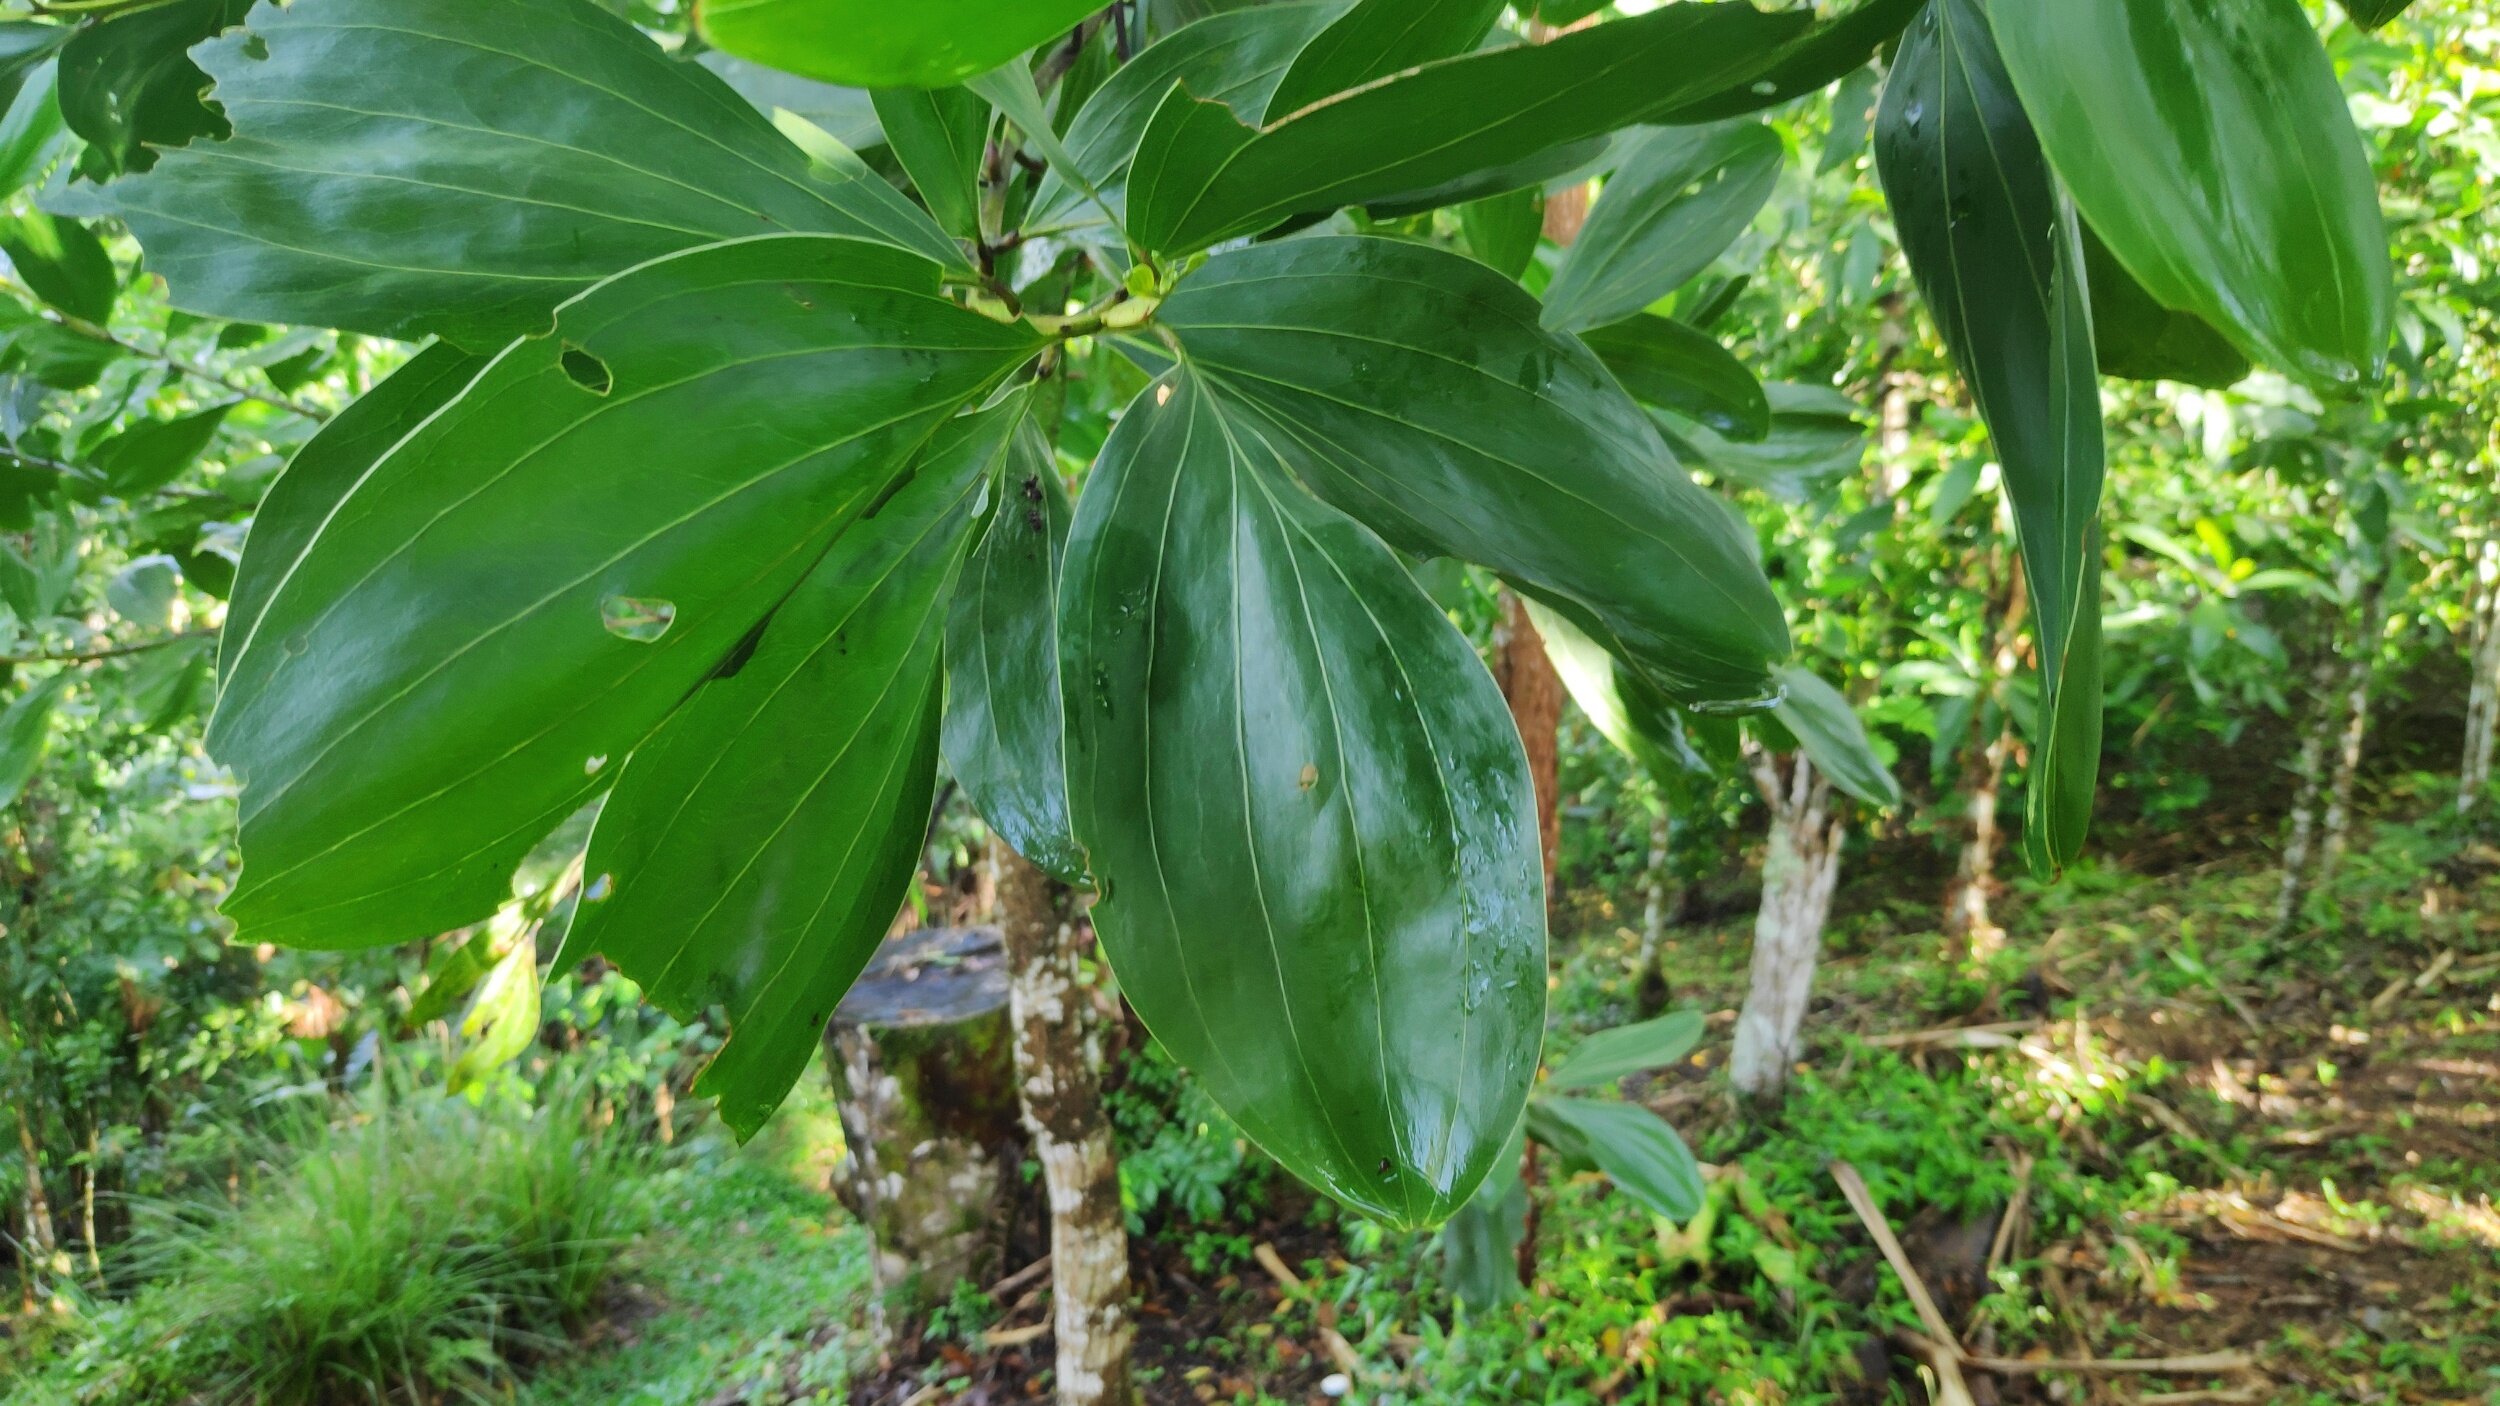
This is number one on the list as it is the most abundantly used NFT on our site. In recent years we have moved away from using it, as it can quickly get large and unwieldy, though there remains a significant number still on our site. It grows fast like most NFTs and handles pruning relatively well, but not great with a fair few dying each pruning season in comparison to some others on this list. It needs full sun and will naturally form a tall straight trunk. It is commonly used in other countries as a valued timber species. The interesting thing about this species is how it really doesn’t look too much like an NFT. Most species in the legume family have a very characteristic leaf pattern. Acacia mangium though does not have this characteristic leaf pattern and you would not think it was an NFT by looking at it. However its first emergent leaves do possess the familiar NFT leaf pattern and give away its family! It is not super easy to propagate from seed like some other NFTs and we have had no success with cuttings. We mainly used this species planted along contour lines when establishing new orchard spaces and since then have moved away from using it so much. We plant it at tight spacing and prune at the end of each dry season to provide biomass for our tree crops.
2. Cratylia argentea

This is the one species on the list that isn’t technically a tree, it is more of a climbing vine, and boy does it climb fast!!! It is an abundant source of nitrogen rich biomass, it handles pruning excellently and pretty much always bounces back. It grows very easily from seed and produces really beautiful, abundant purple flowers (great for pollinators) at the beginning of the dry season, which really facilitates the collection and storage of seeds. You have to be careful with this species as it loves to climb and it will quickly swamp tree crops if left to its own devices and can strangle and kill them. Its greatest characteristic is its speed of growth and abundant biomass, but this is also the feature which gives us a love hate relationship with this species! It loves full sun but will tolerate some shade. We are using this a lot to fill in gaps in our contour plantings of Acacia mangium where a tree has died.
3. Mountain immortelle (Erythrina poeppigiana)

Known locally as Poro, but be careful as there are several species that are known as Poro in Costa Rica. It does really well from cuttings which makes it an excellent choice as a living post for fences or a living post for trellises for climbing crops like passionfruit or dragonfruit. It has an attractive flower which is great for native pollinators and grows easily from seed. The one drawback of this species is it is typically spikey which can make it a little unfriendly to work with and to use as biomass.
4. Brazilian Fire Tree (Schizolobium parahyba)

Is by far the fastest growing NFT on the list along with Cratylia argentea, the main difference being them is it is a tree rather than a vine and it grows straight up…. Very quickly! It can grow up to 30m in 5 years, as you can imagine the wood is very light and spongy. It doesn’t produce a huge amount of foliage and creates a very light shade, it is supposed to keep its leaves during the dry season too as one of its major advantages, however in recent years it has dropped all it leaves so I will leave that one up to you. We typically grow this from seed and use it as a light shade for tree crops.
5. Quickstick (Gliricida sepium)

This species is known locally as Madero Negro, grows well from seed and has about a 50% chance of survival when planted from cutting. The mature tree is a low growing, typically not straight, that produces excellent high quality heartwood timber. The heartwood timber is known for its durability, rot resistance and is used a lot for foundations. It is also used a lot as a living fence post and the leaves can be used to deter fleas and kill rats. At the Ranch we typically use it as a living post for vanilla and black pepper. It tolerates shade, as in it will survive in shade, however don’t expect a lot of growth.
6. Ice Cream Bean (Inga Edulis)
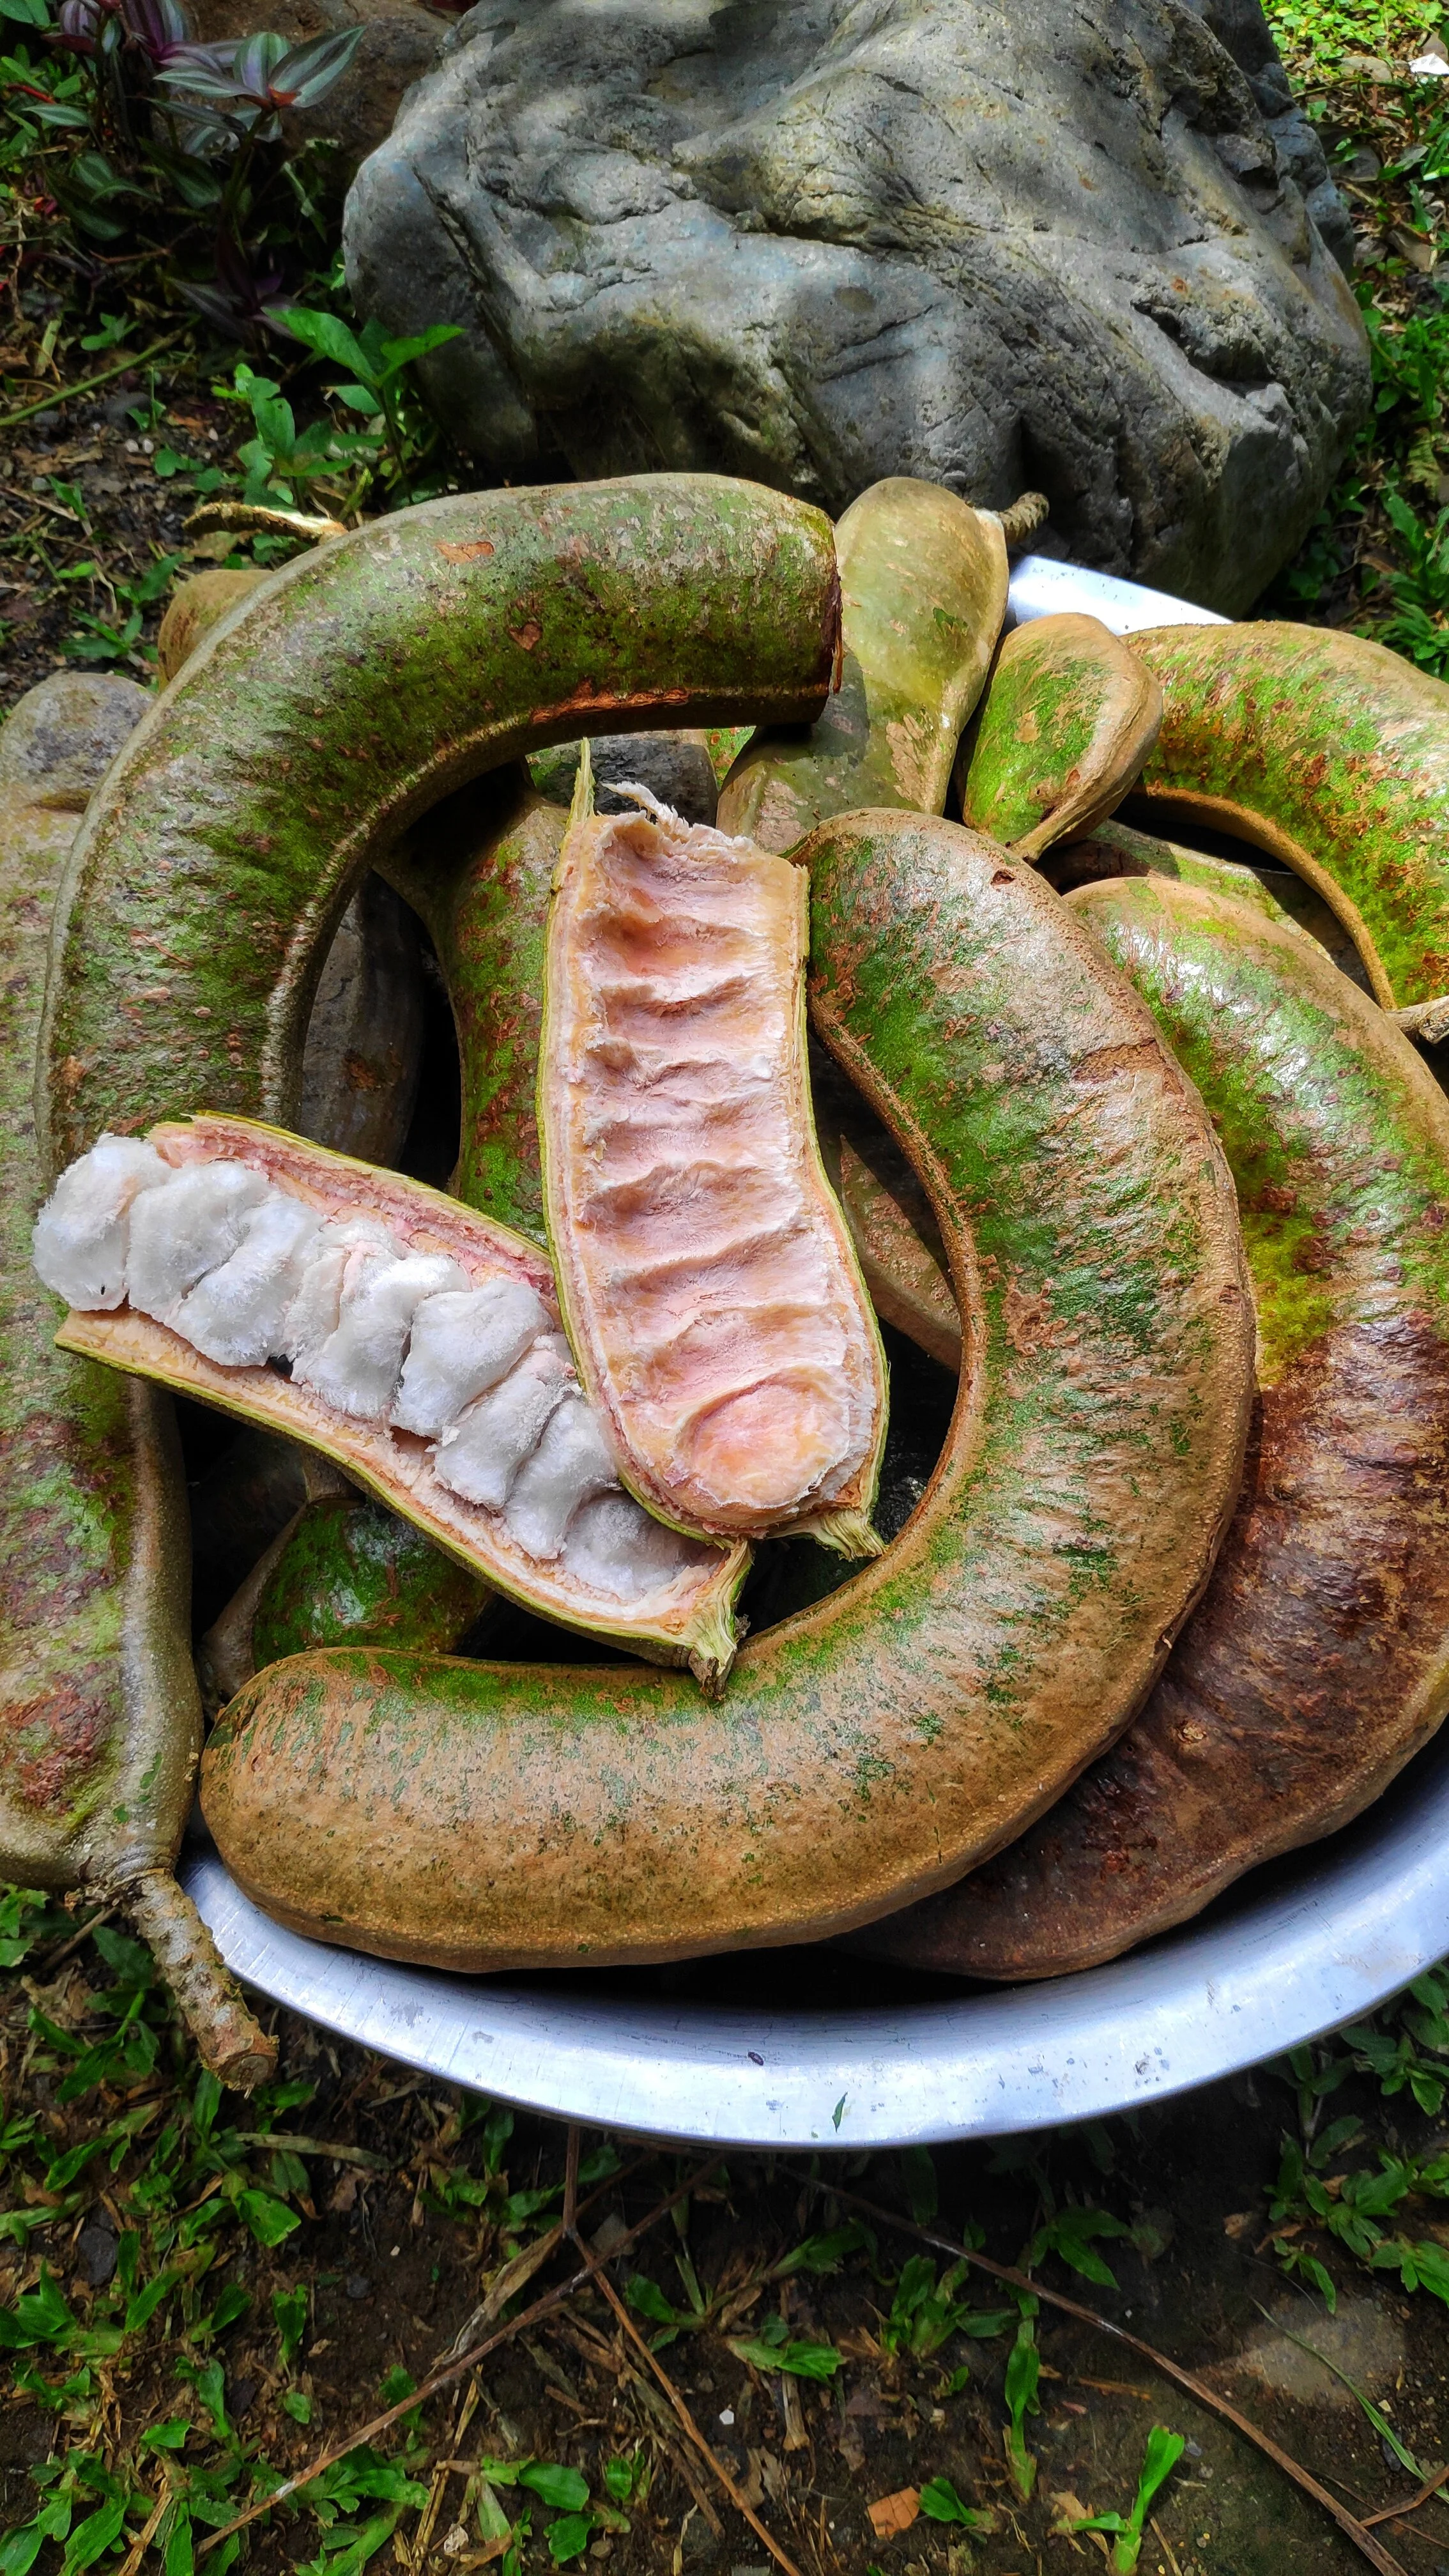
The fruit of the ice cream bean
This is one of the few NFTs that also produces an edible fruit in our environment. Locally the fruit is known as Guava or in English it is called Ice Cream Bean. There are often many wild forest varieties of this tree, some of which produce beautiful heartwood timber. Inga Edulis however produces useable timber, but it is prone to termite damage and should only be used for furniture and non structural elements. It produces huge and abundant leaves and reacts quite well to pruning, making it an excellent choice as an NFT. If you are continually pruning it though for biomass don’t expect to get any edible harvest from the tree. This will grow into a very large tree if left unmanaged.
7. Venezuelan Rose (Brownea macrophylla)
This is primarily planted as an ornamental, that produces a very beautiful and striking flower at the end of the rainy season. It also tolerates shade quite well and will still produce some flowers. It can be frequently pruned but doing this will effect flowering. We struggled for many years to source this rare beauty!
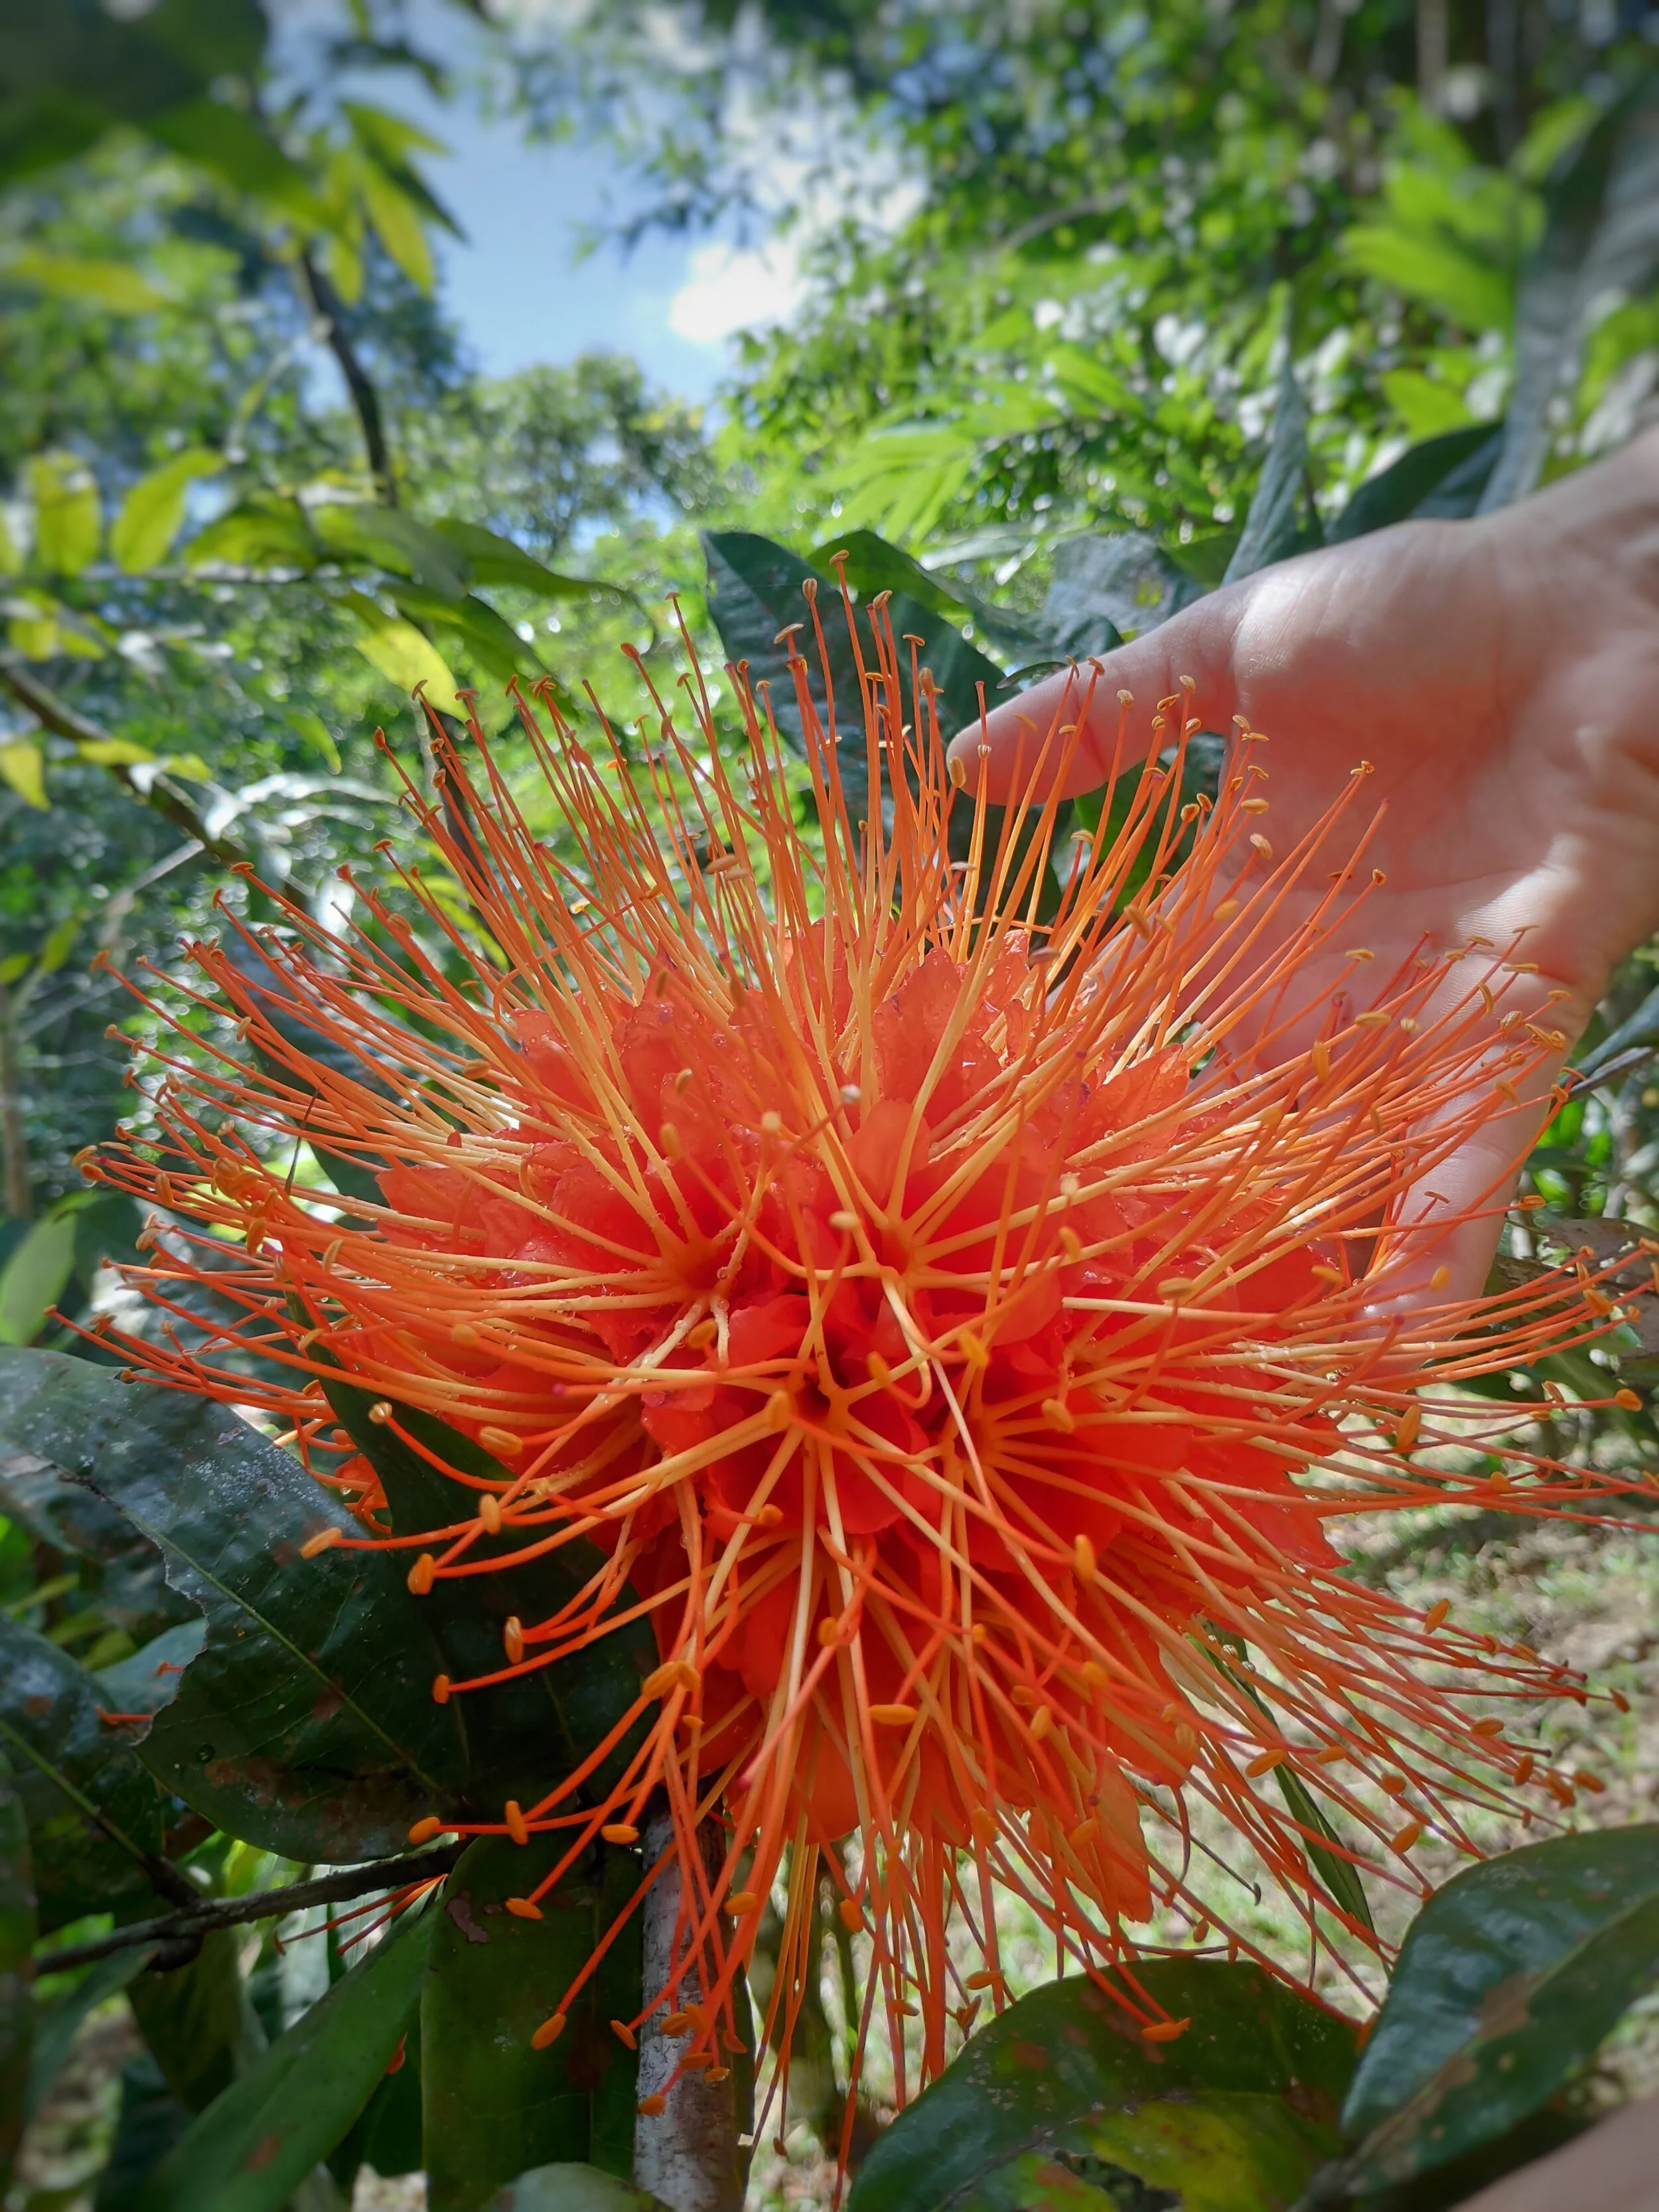
8. Peanut Grass (Arachis pintoi)

Again not technically a tree but provides a formidable and fast growing ground cover. One of the important permaculture principles that we apply is covering all of our soil. Peanut grass is able to do this quickly and effectively even in very poor soils and can survive our harsh dry season and bounce back quickly once it starts raining again. It produces pretty yellow flowers and is very resistant to mowing or weed whacking. We try to use this as much as possible as a groundcover however it prefers full sun and whilst it will survive in shady areas does not really grow or spread quickly. It is most easily produced by cutting and has a very, very high success rate. Seeds can be purchased but really why would you bother? It is easier to plant via cutting.
9. Wild Hops (Flemingia macrophylla)
A bushy shrub that doesn’t get taller than a couple of meters on our site which is one of its biggest benefits! It is easy to propagate from seed and cuttings making it a great choice for our site. It seems to tolerate shade relatively well, but does prefer full sun. Its low bushy growth habit means it doesn’t swamp other plants like the Cratylia can, but it doesn’t produce nearly as much biomass. Although relatively small amount of biomass is produced in comparison to some of the other NFTs the leaves do take comparatively long to break down and provide excellent mulch. In comparison to the Schizlobium’s feathery leaves that break down incredibly quickly. We mainly start these in our bamboo planters either from seed or cuttings and use them to fill holes where other NFTs have died or not taken well.

Want to learn More?
These are the main NFTs we use at the Ranch. If you are interested in learning more about how to use Nitrogen Fixing Trees in your landscape why not join us for a Permaculture Design Course or Agroforestry workshop.
We also have some of these trees available seasonally in our nursery, so get in touch if you would like to buy some.
Happy planting!
Other blogs related to soil fertility
Improving Soils in the Humid Tropics
Making Microbes: Fungal vs Bacterial Soil Life

The Magical Benefits of Fasting
Fasting is one of the strongest cleansing and healing natural methods existing. It has been used since ancient times in many cultures and religions either as a medicine or for spiritual reasons.
The Magical Benefits of Fasting
By Nico, Apprentice 2020
Looking for alternatives
Human behaviors are very hard to change. Especially in today’s world where everything goes so fast, our brains have to deal with hundreds and thousands of pieces of information each day. Overwhelmed by the capitalists’ ideals of growth, money and defining ourselves through our productivity, when do we really take the time to take a step back and reconsider what it is we truly want to engage in? But some things are changing. Each day, people all around the globe feel that wrongness and fight against it through learning, teaching and developing alternatives for sustainable housing, transportation, education and the food industry.

What’s wrong with our diet?
A couple of years ago I dedicated myself to finding alternative solutions that could help me build a lifestyle in harmony with my values. But where to start? Out of the many challenges we will have to face in the upcoming decades, the food system is one the most important. It is also the one where we, as individuals, can have the biggest impact through small changes is our everyday choices. We all know that those fast food chain restaurants surrounding us in the city are bad for our health, that the greenhouse gas emissions generated by the meat industry is nowhere near sustainable, that we should be paying more attention to the origin and process of how our food is made. The public’s’ hunger for nutritional information is more present than ever, diet books are perennial best-sellers, almost every popular magazine features nutrition advice, newspapers, radio programs and TV constantly discuss diet and health. But once again, there are so many sources, so many programs, so much contradictory advice, what should we be listening to? I believe that if we truly want to change the way we eat, we should start by listening to the one and only true expert of our health: our body.
Why fasting?

Jackfruit harvest
My goal was not to lose weight, nor to go vegan. I didn’t want to be on a diet restricting myself from certain foods. I wanted to redefine my relation to food so that I could start enjoying it more at each meal, and start feeling the benefits of eating healthy food on my everyday energy. I wanted to understand why my body feels so tired after some meals but not others, even though it seems like I’ve been eating the same quantity. I wanted to truly enjoy each delicious meal without just stuffing myself with twice the amount of food my body needed. That’s when I came across fasting (we will be talking here about long term fasting on water only, not about intermittent fasting which is a whole other process). The studies about its many health benefits from helping with allergies, skin diseases, cancer, how it helps with setting you in a special meditation mind-set, and the challenge it represented, immediately got my curiosity. I have always thought I couldn’t go more than a day without eating, yet so many people were able to spend weeks, sometimes months just surviving on water, so I decided to take the challenge and prove myself wrong.
As I am neither an expert on fasting, nor nutrition or health, I will not talk about the medical science behind fasting but more about my personal experience and what it has brought me. If you are considering a fast I do however recommend you to read as much expert’s advice about the process, how to start it, end it (the most important parts about fasting are before you start and after you break the fast), what the dangers are, and precautions to take. I do not recommend that you start your first fast if you are alone for it can be a very dangerous process if not properly prepared.
So what is fasting?
There are many kind of fasts but the original and purest one is when you stop eating any kind of food and only drink water for a certain amount of time, usually longer than 3 days. Fasting is one of the strongest cleansing and healing natural methods existing. It has been used since ancient times in many cultures and religions either as a medicine or for spiritual reasons.
What happens during a fast?
The first three days of fasting are mentally challenging. Because we have been so used to eating three times a day, at very specific hours, our brain will send signals through hormones telling your body, “hey dude, we usually have food coming in around this time, what’s happening?” You have to understand that this does not mean you are in danger and start seeing those signs and hunger as a signal, not as pain. Keep yourself busy, go for walks in your favorite place, do yoga, exercises (on the first day of fasting you still have a lot of energy from the remaining food in your digestive track so you should be able to still enjoy intense activities).
On the second day things start to slow down, you feel your energy level going down and hunger is present. I find that this is a nice opportunity to be a little by yourself, doing small activities you enjoy where time flies like drawing, reading, walking in the woods, etc.
The third day is the trickiest one, because you will reach the real fast. After three days that the body doesn’t receive nutrients from the outside, it moves to a kind of emergency mode and starts to digest all kinds of proteins from unnecessary cells, excess proteins from overeating, germs and bacteria. The body knows exactly where all the garbage is stored and start eliminating it. It enters a serious deep cleansing. During the fast, the body uses all the energy that is normally used for digestion and assimilation (which represent a great amount of energy, especially if you eat the average American diet) to clean and repair the tissues, and many organs have the chance to rest and recuperate. Make sure you have this day for yourself and rest, watch some movies, listen to relaxing music. This phase varies a lot in time and effects depending on each individual, but from my experience after three fasts I find that the better I prepare my fast (by gradually stopping all processed food before I start fasting), the easier this phase is. The first time I fasted I was so prepared and excited that I didn’t even feel any of the downside effects people talk about except just wanting to be on my own. In ancient times people didn’t need to prepare so much for fasting because they didn’t have the poisons of the 21st century, so they could go bravely into long fasts. With today’s food system, and depending on your diet and health, it is really important not to shock your body too hard by preparing adequately for your fast. You can find a lot of information and programs on the internet, but the most important thing is that you do it at a rate which correspond to you, by always paying attention to your body. I also find that whenever I start having small headaches and unpleasant sensations on the first three days, being a bit active helps, “Movement creates energy.” You’ve done the hardest part, all the rewards and benefits are yet to come, don’t stop there!
After those three days (sometimes it can take 2 days before reaching the “ketosis”), things get interesting: you don’t feel hunger anymore, your energy level goes up, and you truly enter the “fast trance” I like. I find it is important to start a fast with some ideas about what you want to dedicate the fast towards. It could be researching more about nutrition, focusing on your body and how you feel, thinking about things you want to accomplish in the future, etc. It’s important to live your fast with some ideas about what you want to be thinking about but not setting yourself goals or objectives, since the fast is challenging and you never know what you will come across during the process. Keep an open mind, be focused on what your body is telling you and what it is asking for and enjoy the time you have dedicated to yourself. Don’t be afraid to change your initial plans according to the situation, fasting is all about yourself and how you feel, it might feel a bit selfish to cancel plans you have made with your friends, but I think it is important you realise that before starting the fast. Tell those around you about your plan to fast and that you might cancel last minute. It is better for you, better for your fast and also better for your friends since nobody wants to be around someone that doesn’t truly feel like being there in the first place. This doesn’t mean you shouldn’t do anything social during the fast. After 6 days of fasting I was going to parties and dinner without any problem, but pay attention to what you feel like doing, not what is expected of you.
Breaking the fast
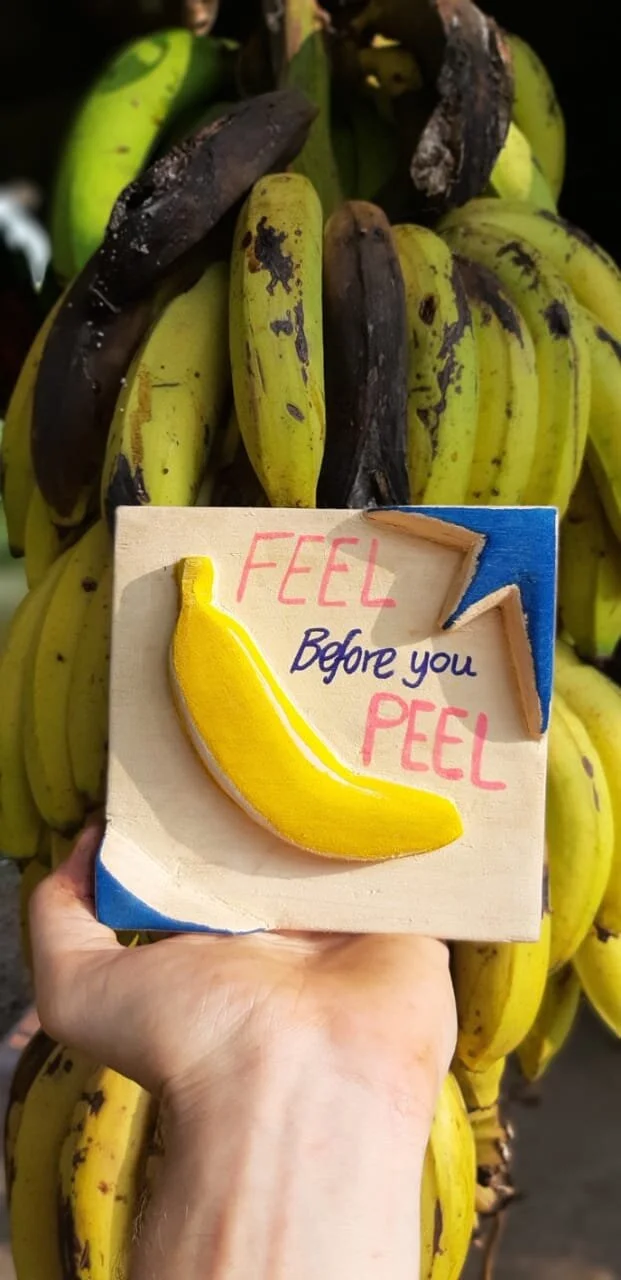
After several days without consuming any food, it is essential to break the fast wisely. Your body will not handle it if the first thing you eat is a huge hamburger with fries and mayonnaise, I guarantee you’ll be sick. Plus, you’ve gone through all the process of cleansing your body, do you really want to start off a fresh start by putting some unnaturally heavily processed food in your system? You want to start with something very light and easy to digest but flavourful, some fruit you truly enjoy. Take the time to choose it wisely, smell it and feel it, and start eating it only when you feel that you are ready. I find that during the fast my smell sense is way more developed than usual, and when you start eating, each bite will feel like heaven. Eat only one fruit and pay attention to the amazing taste, feel it going down your throat and sense all your digestive organs starting to work again after so long. They will truly thank you for the first rest you have given them in years, maybe decades, and your whole body is not craving food: it is craving good food. Think about all those delicious natural fruits and vegetables and all the amazing nutrients they will bring to your body. Enjoy each food like it’s the first time you had it, for me it truly tastes like that.
What fasting brought me
Fasting helped me redefine my relationship towards food. It helped me realize most of the time we don’t eat because we need it but by automatism. Sometime we are not even hungry, or we think we are hungry but we don’t truly need to eat, we just eat because it is the common thing to do. Our brain tricks us into thinking we want something while everything about our health tells us something is wrong with that. Like Paul Nison said: “Listen to your own body sense. If you listen to common sense, you will end up like common people in today’s world.”
Fasting also helped me enjoy more the food I eat. It helped me rediscover flavors I stopped tasting because I couldn’t see the beauty behind it anymore. Enjoying food is not about what your taste buds are receiving, but about how you are receiving those flavors and how you pay attention to them. It’s all about the setting. The best meal you’ll ever have will probably not be the most sophisticated or expensive one, but the one you took time to enjoy because you were with people you liked, in a place you like, like your grandmother’s homemade casserole, or the first time your dad took you out for ice cream. Like Anthony Bourdain says in his book, a cook’s tour “Nothing illustrates them more than the Last Meal Game.” You’re getting the electric chair tomorrow morning. […] You’ve got one meal left. What are you having for dinner? When playing this game with chefs – and we’re talking good chefs here – the answers are invariably simple ones.” Imagine you could rediscover the sensations you had the first time you took a bite out of your first pizza, your first ice cream, or the first apple pie you ever ate.
Fasting also brought me a lot of unexpected things not related to eating. It helped me push my limits and increase my willpower. It taught me that whatever people think is good or bad for you, the only true way to find out is to experience by yourself. It reaffirmed the idea that we shouldn’t be doing things blindly because it is the “normal” thing to do, because we have been doing it for a long time or because of social convention, but we should put everything in perspective and ask ourselves why is it that we do this. Only when we understand fully why we do something can we change it, improve it, or just decide that this is the way we want to go, and then human behaviour becomes easy to change.
People sometimes ask me how did I stop eating meat so easily after so many years as a meat lover? Not eating meat was not the hard part, just as spending 7 days without eating is not the hard part for me. The hard part was putting everything I have learned until here in perspective, unlearn what I thought was true and questioning the fundamentals about nutrition. It might be a hard and tiring process, but only from there can we start building on new foundations, towards a lifestyle in harmony with our values.

Apprentices doing yoga in the Hankey House
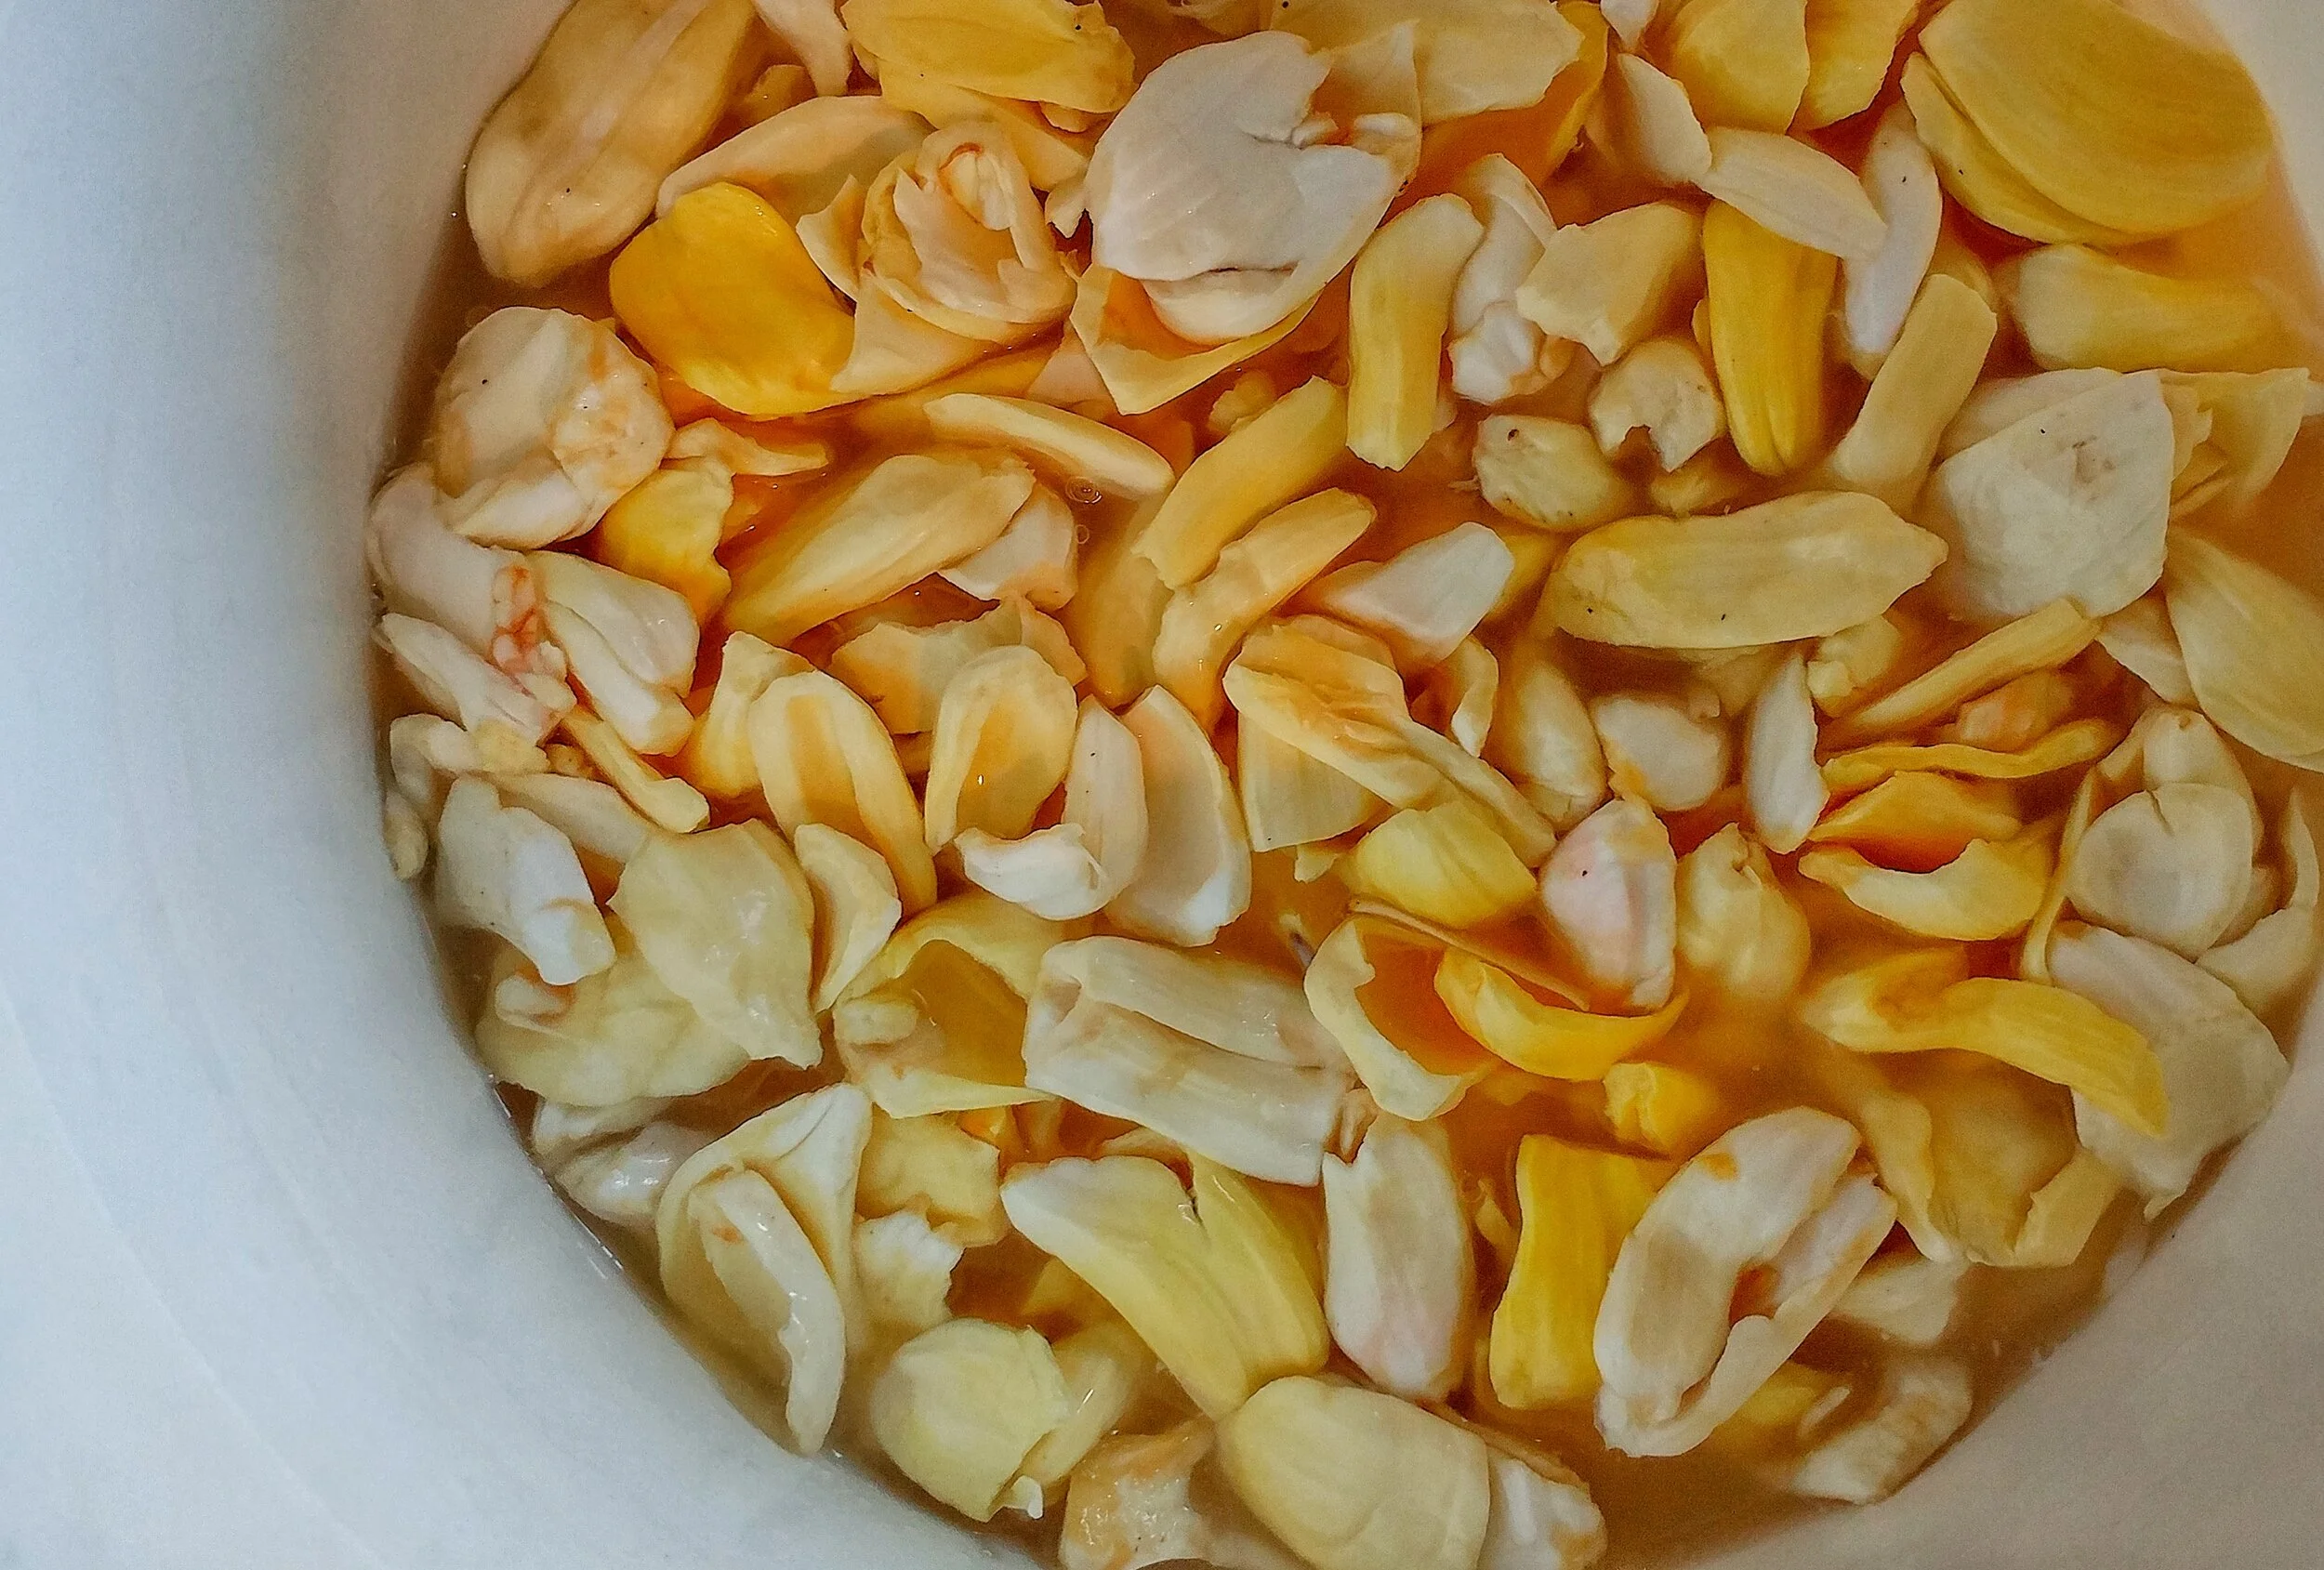
What is Lacto-Fermentation
What would a traditional Korean Barbecue be without kimchi, your scrambled eggs without Tabasco and a hot, sunny afternoon without a fresh pickle? Lacto-ferments are around us every day. Often they are made into dishes that we don’t even consider as fermented.
What is Lacto-Fermentation
By Constantin Demuth, apprentice 2021

One of our favorite lacto-fermented condiments- Green Papaya Kimchi
What would a traditional Korean Barbecue be without kimchi, your scrambled eggs without Tabasco and a hot, sunny afternoon without a fresh pickle? Lacto-ferments are around us every day. Often they are made into dishes that we don’t even consider as fermented. Many of which are staples that have backed up our diets for hundreds of years. Try and think of the last lacto-fermented goodie you ate.
Recently, lacto-fermentation is going through a renaissance. People are realizing how easy it is to recreate flavors of their cultural ancestry. Kraut is just cabbage, salt and water. Pickles are just cucumbers, salt and water. It’s easy to make at home and much better than the stuff you buy in the supermarket. In this article I would like to take you on a little journey through the wide world of lacto-ferments, share some of the Ranch’s deepest secrets, and how we take foods from the farm and transform them into delicious, nutritious, and long lasting dishes.
History
In a time where we can buy produce all year around from every corner of the world and store them conveniently in the fridge, the reason why people ferment their food is becoming obsolete. In the beginning, they were not looking for the most incredible flavors that people at Noma’s Food Lab try to create. They were more interested in preservation, keeping their produce edible, eliminating molds and buffering cold winters without harvests. As farm to table cooking is becoming more popular again, being able to preserve foods through the year is increasingly important. The easiest method of preserving large quantities of raw vegetables is by using salt. Salt creates an environment that allows good bacteria to survive while killing bacteria harmful to humans. Today, we know salt preservation also makes nutrients bioavailable, increases digestibility and creates a great source of raw foods in our diets.
Preservation

Lacto-fermented pickles
Let’s go into a bit more detail of what happens in our jars when we mix vegetables with salt. Adding salt or salt brine to vegetables helps Lactic Acid Bacteria (LAB) to develop. LAB then turns the natural sugars of the vegetables into lactic acid. This acidified environment inhibits the growth of bacteria that makes the vegetables go bad and mold. This way we can store lacto-fermented vegetables for long periods of time without worrying about spoilage. The acidity gives these ferments their original flavor and preserves the satisfying crunch that we all crave.
As opposed to other fermentation methods, lacto-fermentation does not require any input of certain bacteria. When using fresh (preferably organic) produce we are able to work with LAB that is native to the vegetables and helps create the environment we want. As a result of their work, LAB often produce oxygen that makes our ferments bubbly. In case you find bubbles in your jars, don’t worry. That’s a sign that it works!
Lacto-ferments at the Ranch
Here at the Ranch we use lacto-fermentation every week and we eat it basically every day. Our favorite staples are Green Papaya Kimchi, Salsa Starter and some sort of pickled vegetables. The most recent and exciting experiments in the test kitchen include pickled Katuk (our daily salad green) and fermented black beans for our home made Hoisin Sauce.
We use lacto-fermentation for three basic reasons. Reason one: It’s good for us. It makes all the nutrients that fresh vegetables have to offer available to us. Reason two: We can store fresh harvests and consume them later, which is super convenient when you have an amazing orchard that produces a variety of things all year around. Reason three: It is delicious and we love delicious food!

Green jackfruit processing
Green Jackfruit
Jackfruit is a perfect example of how we use lacto-fermentation as a way to preserve fresh produce. Jackfruit is the biggest fruit in the world and we have several trees in our orchards. Once jackfruit is ripe, it goes bad relatively quickly and some people don’t like its flavor when ripe. We started harvesting them when they are still green to incorporate them as a vegetable into our diet. Even here where we feed many hungry souls every day, we cannot consume the amount of jackfruit we harvest. This is where our friend lacto-fermentation comes into play. We submerge all the jackfruit meat in a 2% salt brine, which inhibits growth of undesirable bacteria, prevents oxidation and gives a deep, rich salty flavor that we want in our dishes.
Green Papaya Kimchi
The purpose of our Kimchi is less for preservation and more for the “ooh “and “ahh” moments when we serve fresh condiments with all our foods. The kimchi accompanies eggs in the morning, hearty slow roasted pork on special occasions and provides the freshness in our weekday burritos.

We use green papaya, but you can use any local, seasonal, crunchy vegetable
As opposed to jackfruit, where we submerge the flesh in a brine, for Kimchi we use its own juice. Again, salt is our partner in crime. Shredding 20 kg of green papaya on Wednesday mornings is not everyone’s favorite exercise, but the result makes up for the work. We used to do this all with hand graters, but recently we purchased an industrial hand cranked shredder by Nemco Food Equipment. We highly recommend this tool if you are making large batches of sauerkrauts, kimchi, etc. By shredding the fruit, we make it easier for the salt to penetrate. After mixing papaya, salt and spices (aka the *flavor bomb) enough brine is being produced for the ferment to be safe. Three days in the fermentation bucket and voila, kimchi is ready. Pack this into glass jars that can be stored in the fridge.
Now it’s time to reveal the big secret you’ve been waiting for. Rancho Mastatal is giving out its kimchi recipe for the first time. Two things that are important: First, if you cannot find green papaya, use any type of cabbage. It’s important to use fresh, local and seasonal (when you live in a temperate climate please, please do not go to the supermarket and buy green papaya!). Second, fermentation is no science! Don’t get overwhelmed by ratios, phrases or utensils. Trust your senses; look at it, smell it and taste it. Your nose knows best.
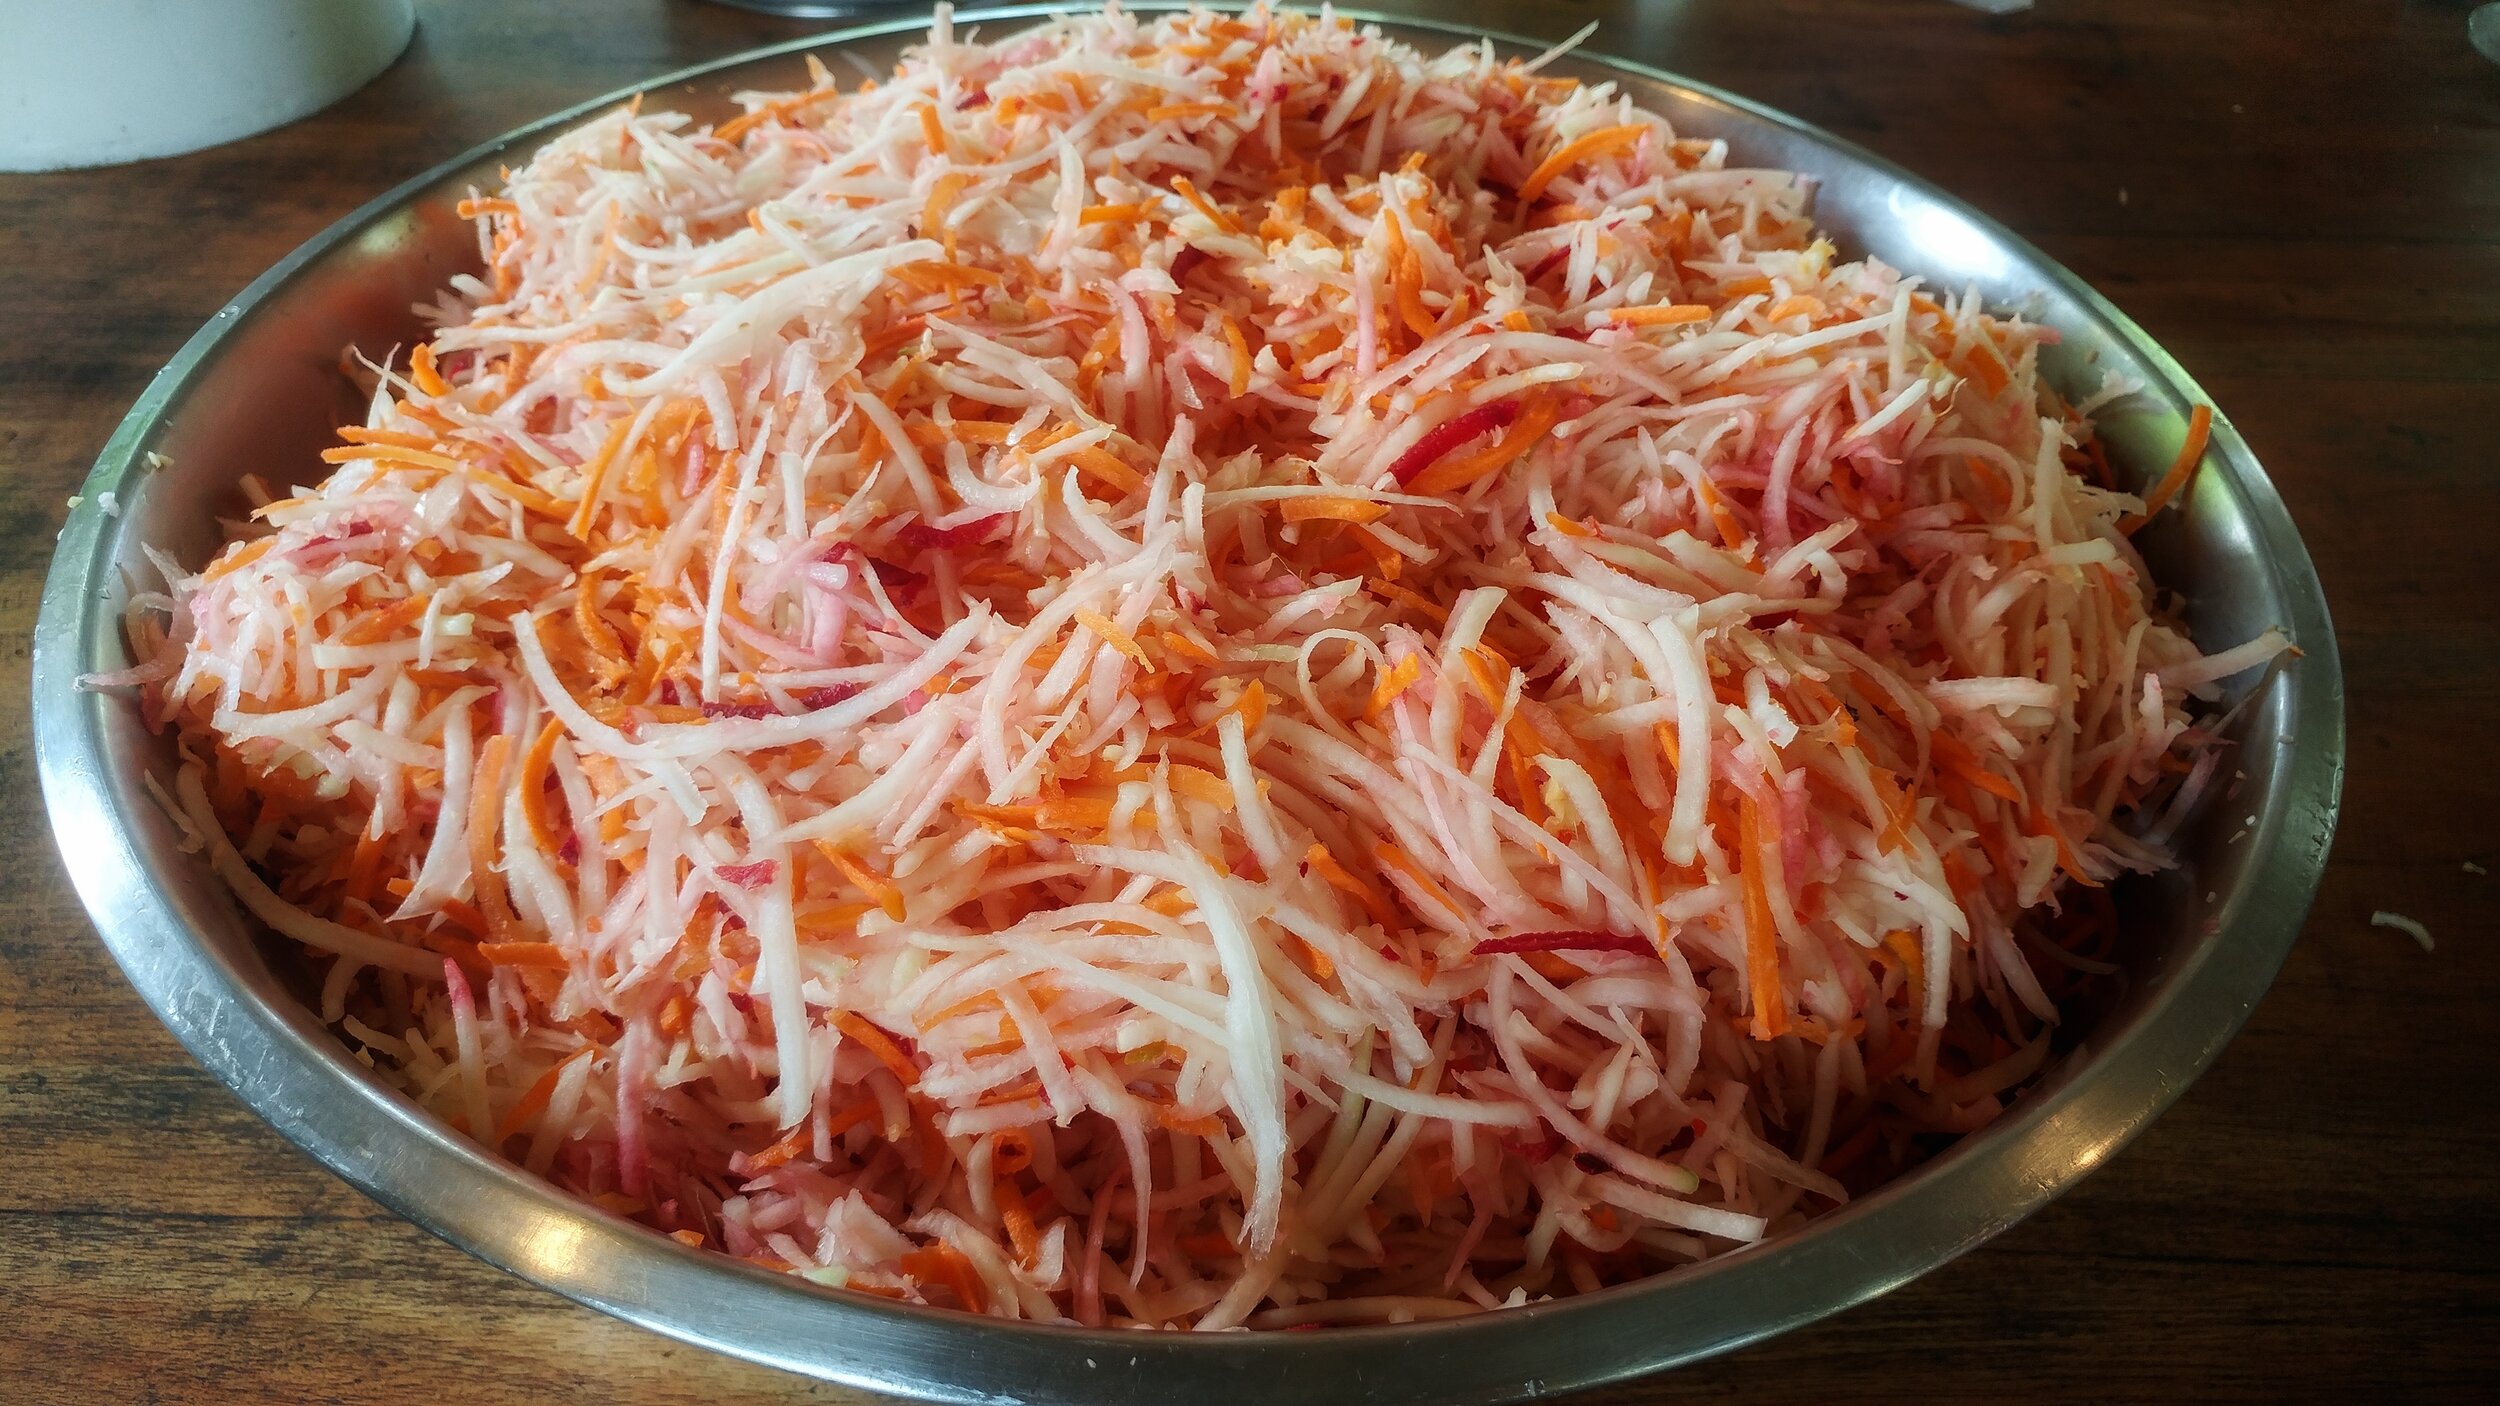
Shredded ingredients ready to be combined with salt and flavors
Recipe
3 green papaya, peeled and seeded
1 carrot and/or 1 beet
Salt (2% of the total weight)
*Flavor Bomb
1/2 cup peeled ginger
1/2 cup peeled garlic
1 chili (optional)
Equipment
Fermentation vessel: A food safe container that can hold all the vegetables plus at least 20cm of headspace (buckets, mason jars, big Tupperware all work perfectly fine).
Instructions
1. Cut the papaya in half and discard the seeds. Peel the papaya.
2. Using a kitchen grater, grate the papaya, carrot and/or beet and set aside.
3. Peel the ginger and garlic. Cut the chili in half and discard the seeds. Blend all the ingredients for your flavor bomb in a food processor.
4. Weigh out all your vegetables and place them in your fermentation vessel.
5. Add 2% Salt to the total weight of the vegetables (e.g. if you have 1kg of vegetables, use 20g of salt) and mix the salt in. Stirring it helps to break up the papaya and releases the brine.
6. Make sure your Kimchi is submerged in brine. Keep it on the counter at room temperature and wait for at least three days (this will depend on your climate). You will see bubbles and be able to smell the acidification after a few days. When it’s reached your desired flavor, bottle the Kimchi in jars and keep them in the fridge. Enjoy!

Green papaya cut in half
Learn more
Those are just a couple of the many vegetables we lacto-ferment. Lacto-fermentation has made our farm to table cooking and preservation more efficient, produce less waste, and create delicious, unique and fun foods.
Join us for a workshop to learn more about fermentation, farm to table cooking, permaculture and more.
Other Farm to table blog articles
Eating Local: Reconnecting to Food
Turn Local Rice and Beans into Fermented Bread
Happy fermentation, happy microbes!

Farm to Table Chocolate Bonbons
It wasn’t long into my apprenticeship that Robin handed me a piece of a chocolate bonbon, made with raw cacao picked from the farm down the road, that I experienced something like awe; and that in the old sense of both amazement and terror. This is what chocolate is supposed to taste like?
Farm to Table Chocolate Bonbons
By Kara, Apprentice 2020
Beautiful beaches, abundant wildlife, fresh fruit, incredible coffee, and local chocolate; these are some of the things I anticipated experiencing in Costa Rica. While everything but the beaches has been a part of my experience here at Rancho Mastatal so far, one thing in that list stands out to me. The chocolate.
I’ve splurged on the good chocolate bars back home in Canada, the fair trade, single-origin, handmade stuff- and I enjoyed every bite to get my $10 worth- but I know now that I had never truly experienced chocolate. As fair-trade and handmade as all of that was, it was still flown halfway around the world and had sat on a store shelf for who-knows-how-long.

Cacao being toasted
It wasn’t long into my apprenticeship that Robin handed me a piece of a chocolate bonbon, made with raw cacao picked from the farm down the road, that I experienced something like awe; and that in the old sense of both amazement and terror. This is what chocolate is supposed to taste like? And I’ve been missing out on it for the last 27 years? Memories of foil-wrapped bunnies and coins surfaced, and I tried to make the connection between that waxy-sweet substance and what I had in my hand now; something subtle, complex, layered with sweet and smoky and earthy and bitter- no additives necessary.
I was hooked after that first taste, and when Robin said that she wanted a flight of bonbons for her
birthday dessert, I was ready to take on that challenge. The recipes we created for that event were truly a farm-to-table experience- nearly everything sourced from the Ranch property or from farms
around Mastatal (salt and peanuts being our exceptions). The focus on sustainable, local sourcing did nothing to impede the quality of our bonbons, in fact, it’s that parameter that brings out the most creativity (and the best flavors, oftentimes) of most food made at the Ranch.
So instead of going on waxing poetic about chocolate, I want to share those recipes we made and some tips on working with raw cacao. The funny thing about these recipes is that I don’t intend for them to be followed, not exactly, at least. We used what we had on hand; fruits in season, experimental condiments and flavorings from other projects- and I want to encourage the same approach in you. Look through the foods you have available, both in your pantry and in the local market. Can something be dehydrated? Fermented? Powdered? Turned into wine, vinegar or syrup?
Get creative, play, then eat some chocolate.

A productive harvest of cacao at our local family run chocolate farm, La Iguana Chocolate
Basic Chocolate mix
1 cup raw cacao
1 tsp salt (or to taste)
1 Tbsp grated tapa dulce (or sugar)
1. In a hot, dry skillet toast the raw cacao. They will blacken as they toast, and become wonderfully fragrant. You will know they are done when they start to make popping sounds as the skin separates from the seed.
2. Remove from heat, and let the cacao cool until you can comfortably handle them. Once cool, remove the outer skin by pinching the seed between thumb and forefinger of each hand, and twisting in opposite directions. Remove the skin, but don’t discard it! The little flakes of toasted skin make a wonderful cacao tea.
3. Grind the cacao. We use our hand-cranked corona coffee grinder, but a food processor or a mortar and pestle could work, too. Add the salt and tapa dulce to the cacao as you’re grinding to incorporate it into the resulting mix. You should end up with a mix the texture of gritty sand.
4. This is the base mix to which you will add all of your flavorings. For any bonbon flavor, you
will need something sticky to bind the cacao mixture. Syrups, dulce de leche, finely chopped gooey dried fruits such as dates, have all worked successfully for us. If you add liquids as flavoring, make
sure to watch the texture of the resulting mix. It needs to be wet and sticky enough to bind the cacao together, but not so wet that it slumps.
5. Roll your bonbons into spheres, or any shape of your choice, decorate, then refrigerate until serving.

Cacao seeds being crushed

A freshly picked cacao pod. The white pulp around the seeds is delicious!
Recipe Ideas
*all made with basic chocolate mix
Ranch-oreo: Make two small balls of chocolate mix per bonbon, mixing in dulce de leche to bind, then flatten them into bite size discs. Add a dollop of dulce de leche between the disks, and top with cinnamon and grated tapa.
Peanut Butter Balls: Bind the chocolate mix with coffee flavored syrup (we used a coffee kombucha reduced with tapa dulce), and make a quick peanut butter to fill the bonbon. Toast peanuts with salt, and put them in a food processor with sour cream until it reached your desired texture. Make a ball of the peanut butter, then wrap a layer of the chocolate mix around it.
Ginger Jack Bites: Add ginger syrup and lime (we used powdered) to the chocolate mix, then incorporate finely chopped dried jackfruit. Roll into balls, and top with a slice of dried manzana de agua.
Coffee Cinnamon Balls: Mix the chocolate with coffee kombucha syrup to bind, roll into balls and top with a coffee bean and sprinkled cinnamon
Chilli Chocolate Bites: Mix the chocolate with starfruit syrup, chilli infused vinegar, lime, and dried chilli flakes. Roll into balls. Careful, this one gets hotter the longer you leave the chilli flakes infusing in the chocolate!
Simply Sweet: Mix the chocolate with dulce de leche, roll into balls, then create an indent with your finger in each bonbon, and fill it with a dollop of dulce de leche.
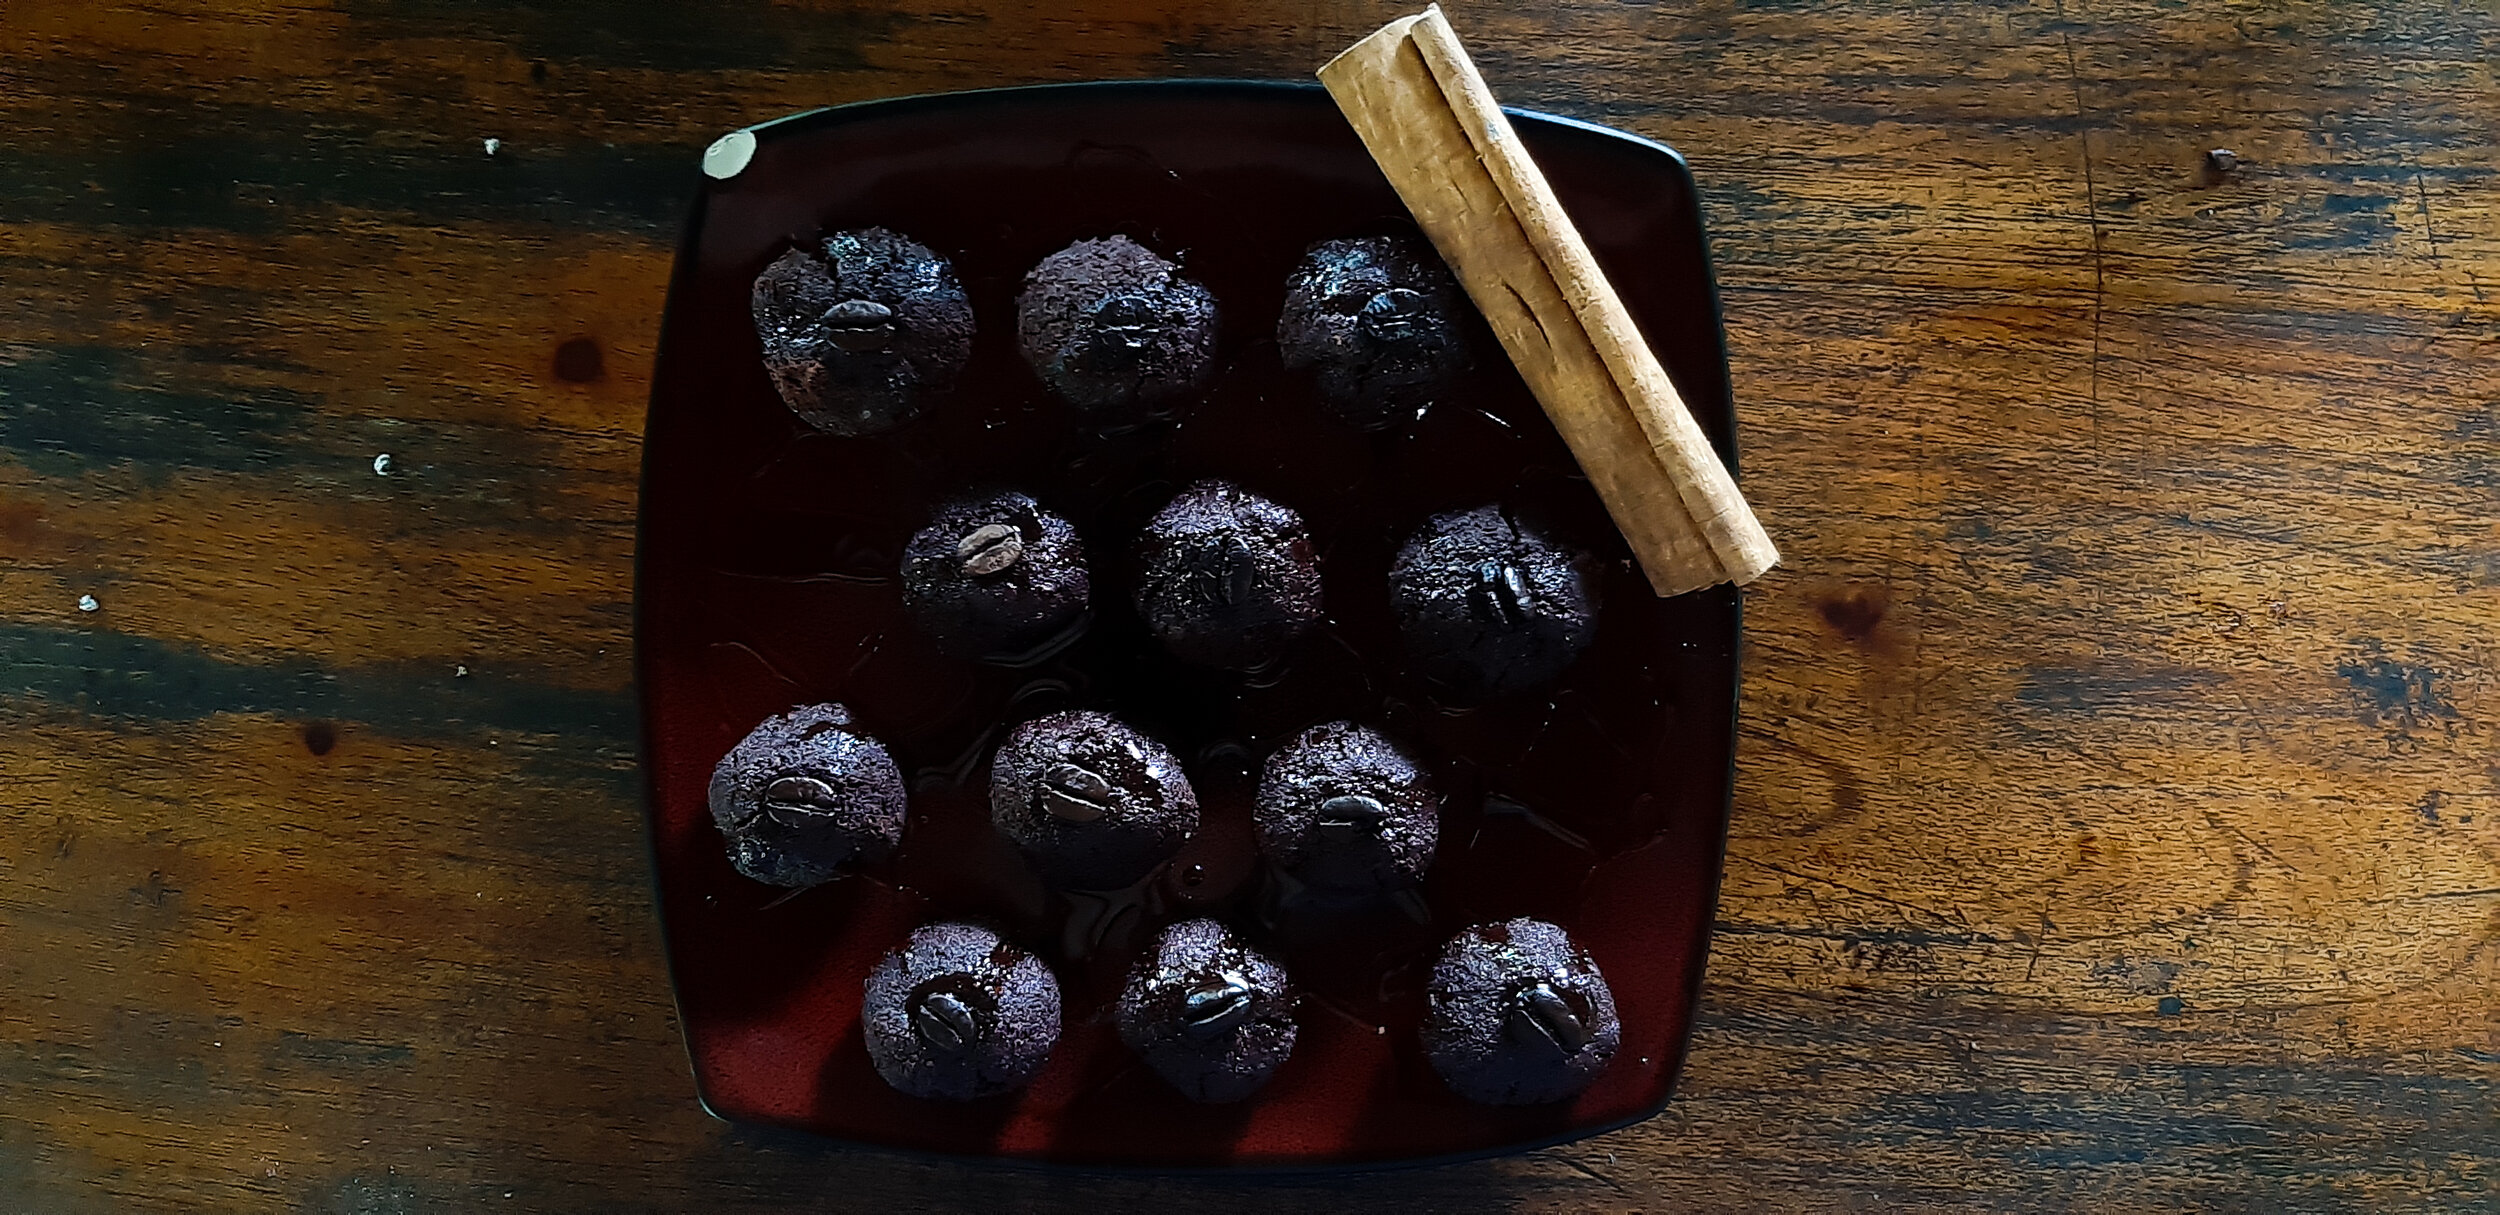
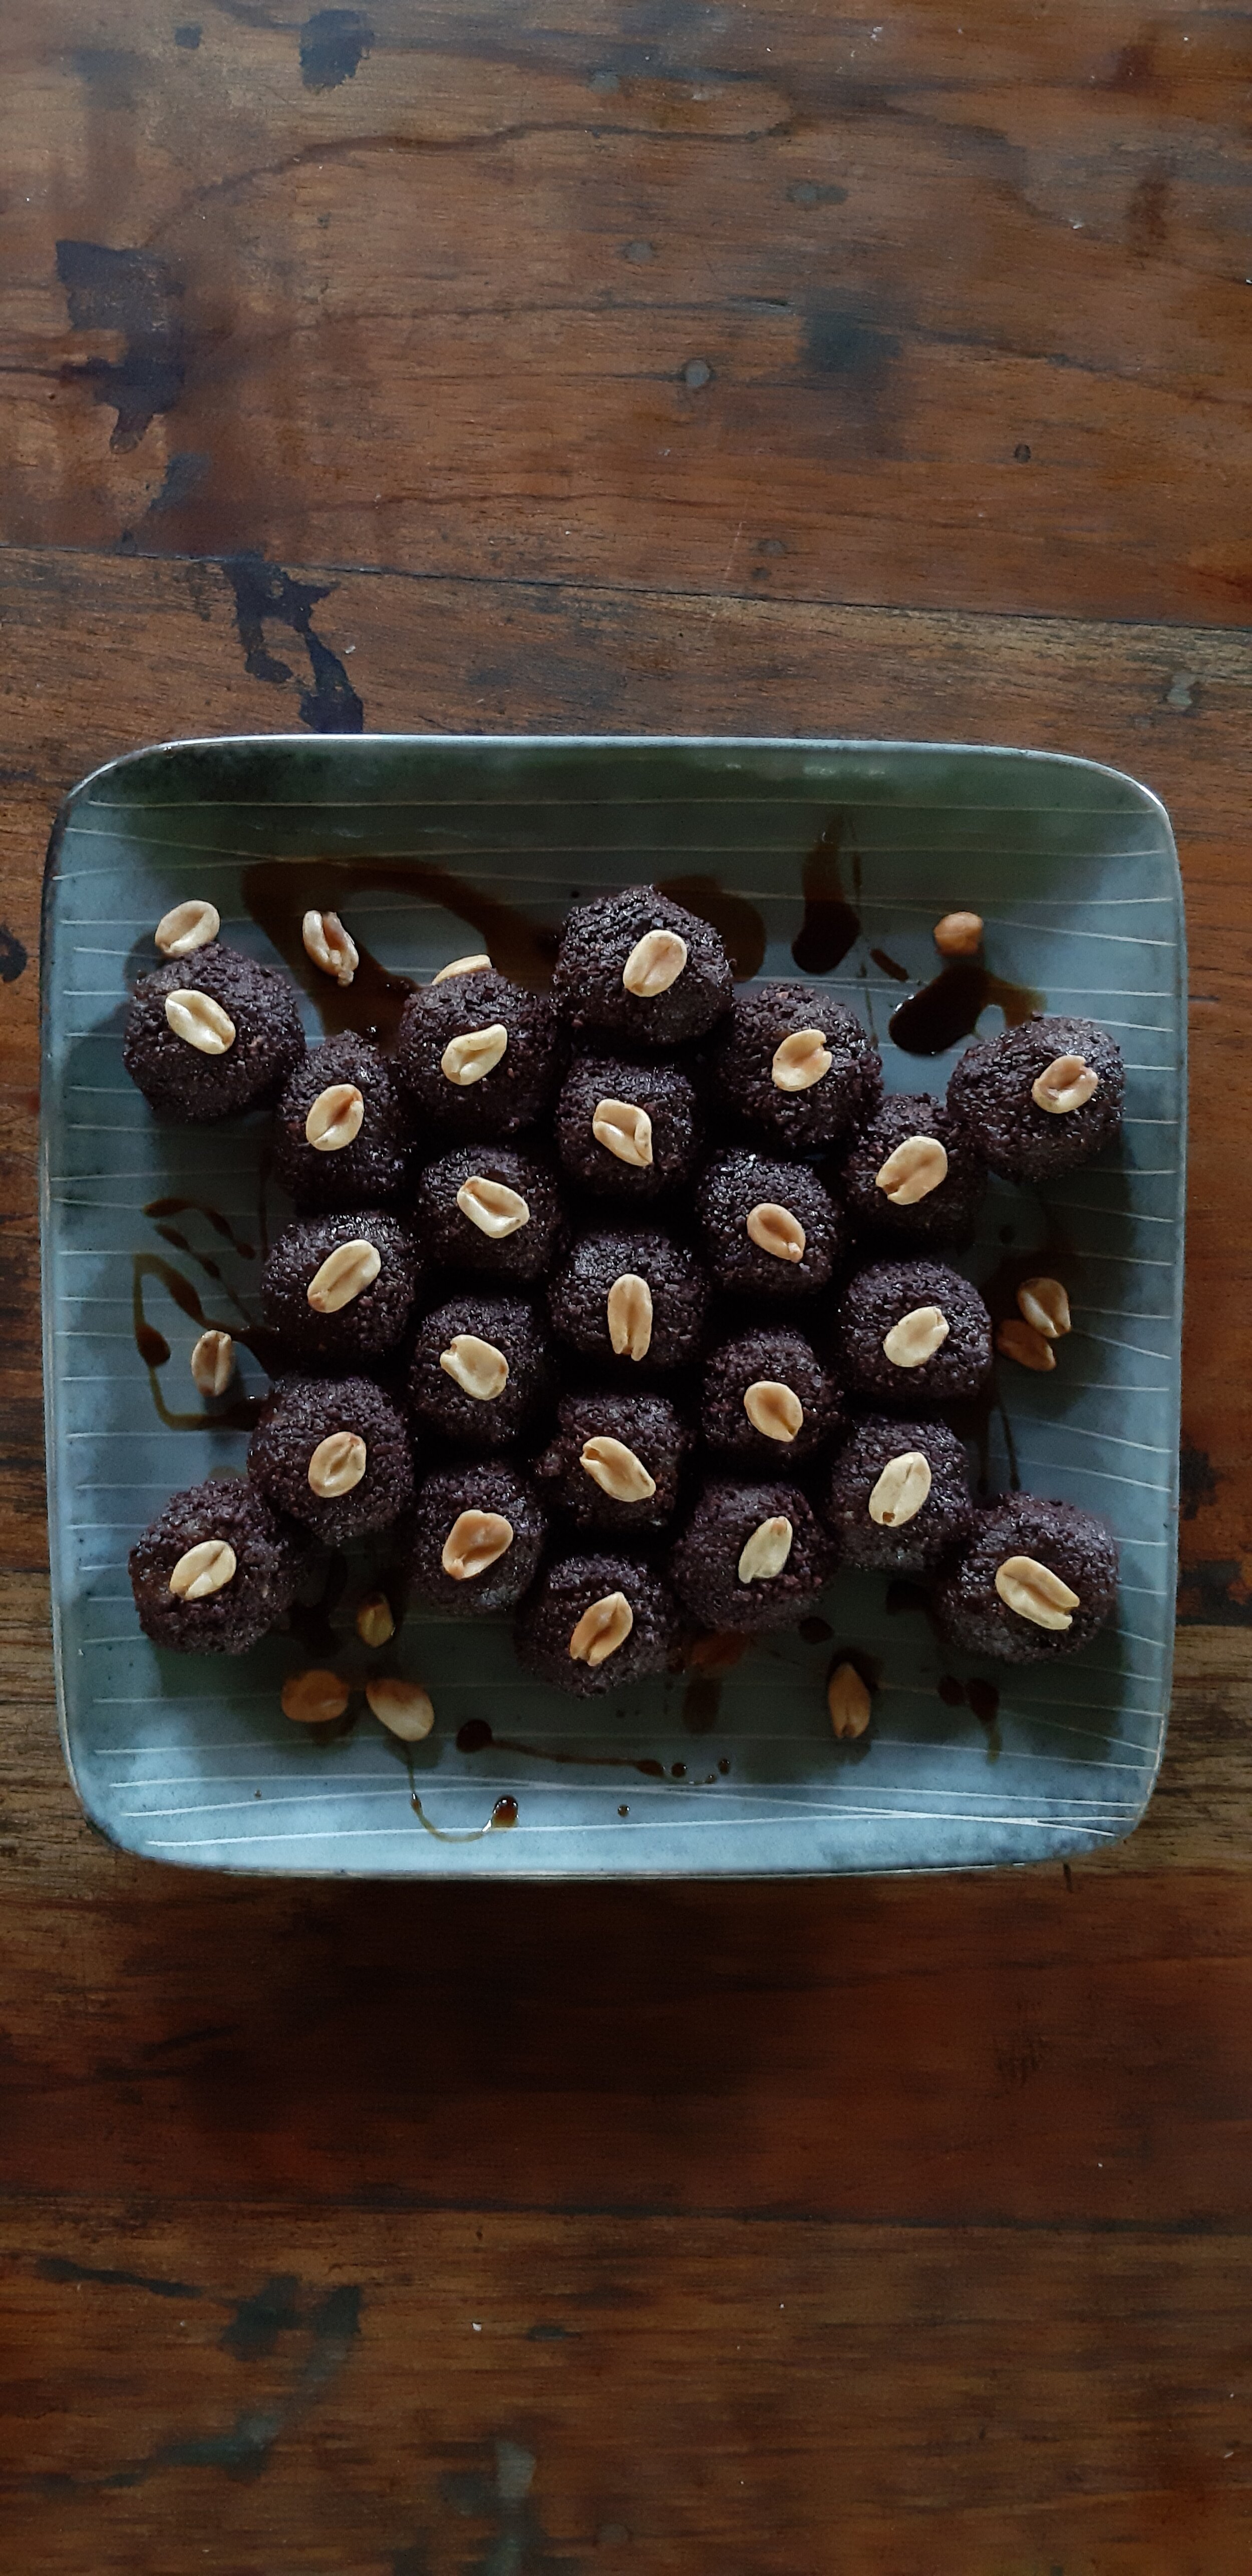
want to learn more?
Come stay with us as a guest and you’ll get to enjoy and make these tasty treats on a day trip to La Iguana Chocolate.
Visit our guest page for more info on coming and being a part of the Ranch and Mastatal community.
Past blog articles about cacao and farm to table products:
From Tree to Bar: How to Process Raw Cacao
Life of Spice: Farm to Table Cinnamon
Vanilla Cultivation: A Practical Guide for the Tropical Homestead
Workshops we host and teach that are related to agriculture and homesteading:
Permaculture Design Certification
Agroforestry Skills
Plants as Medicine
Syntropic Farming
And more! Visit our website for more information on our upcoming workshops.
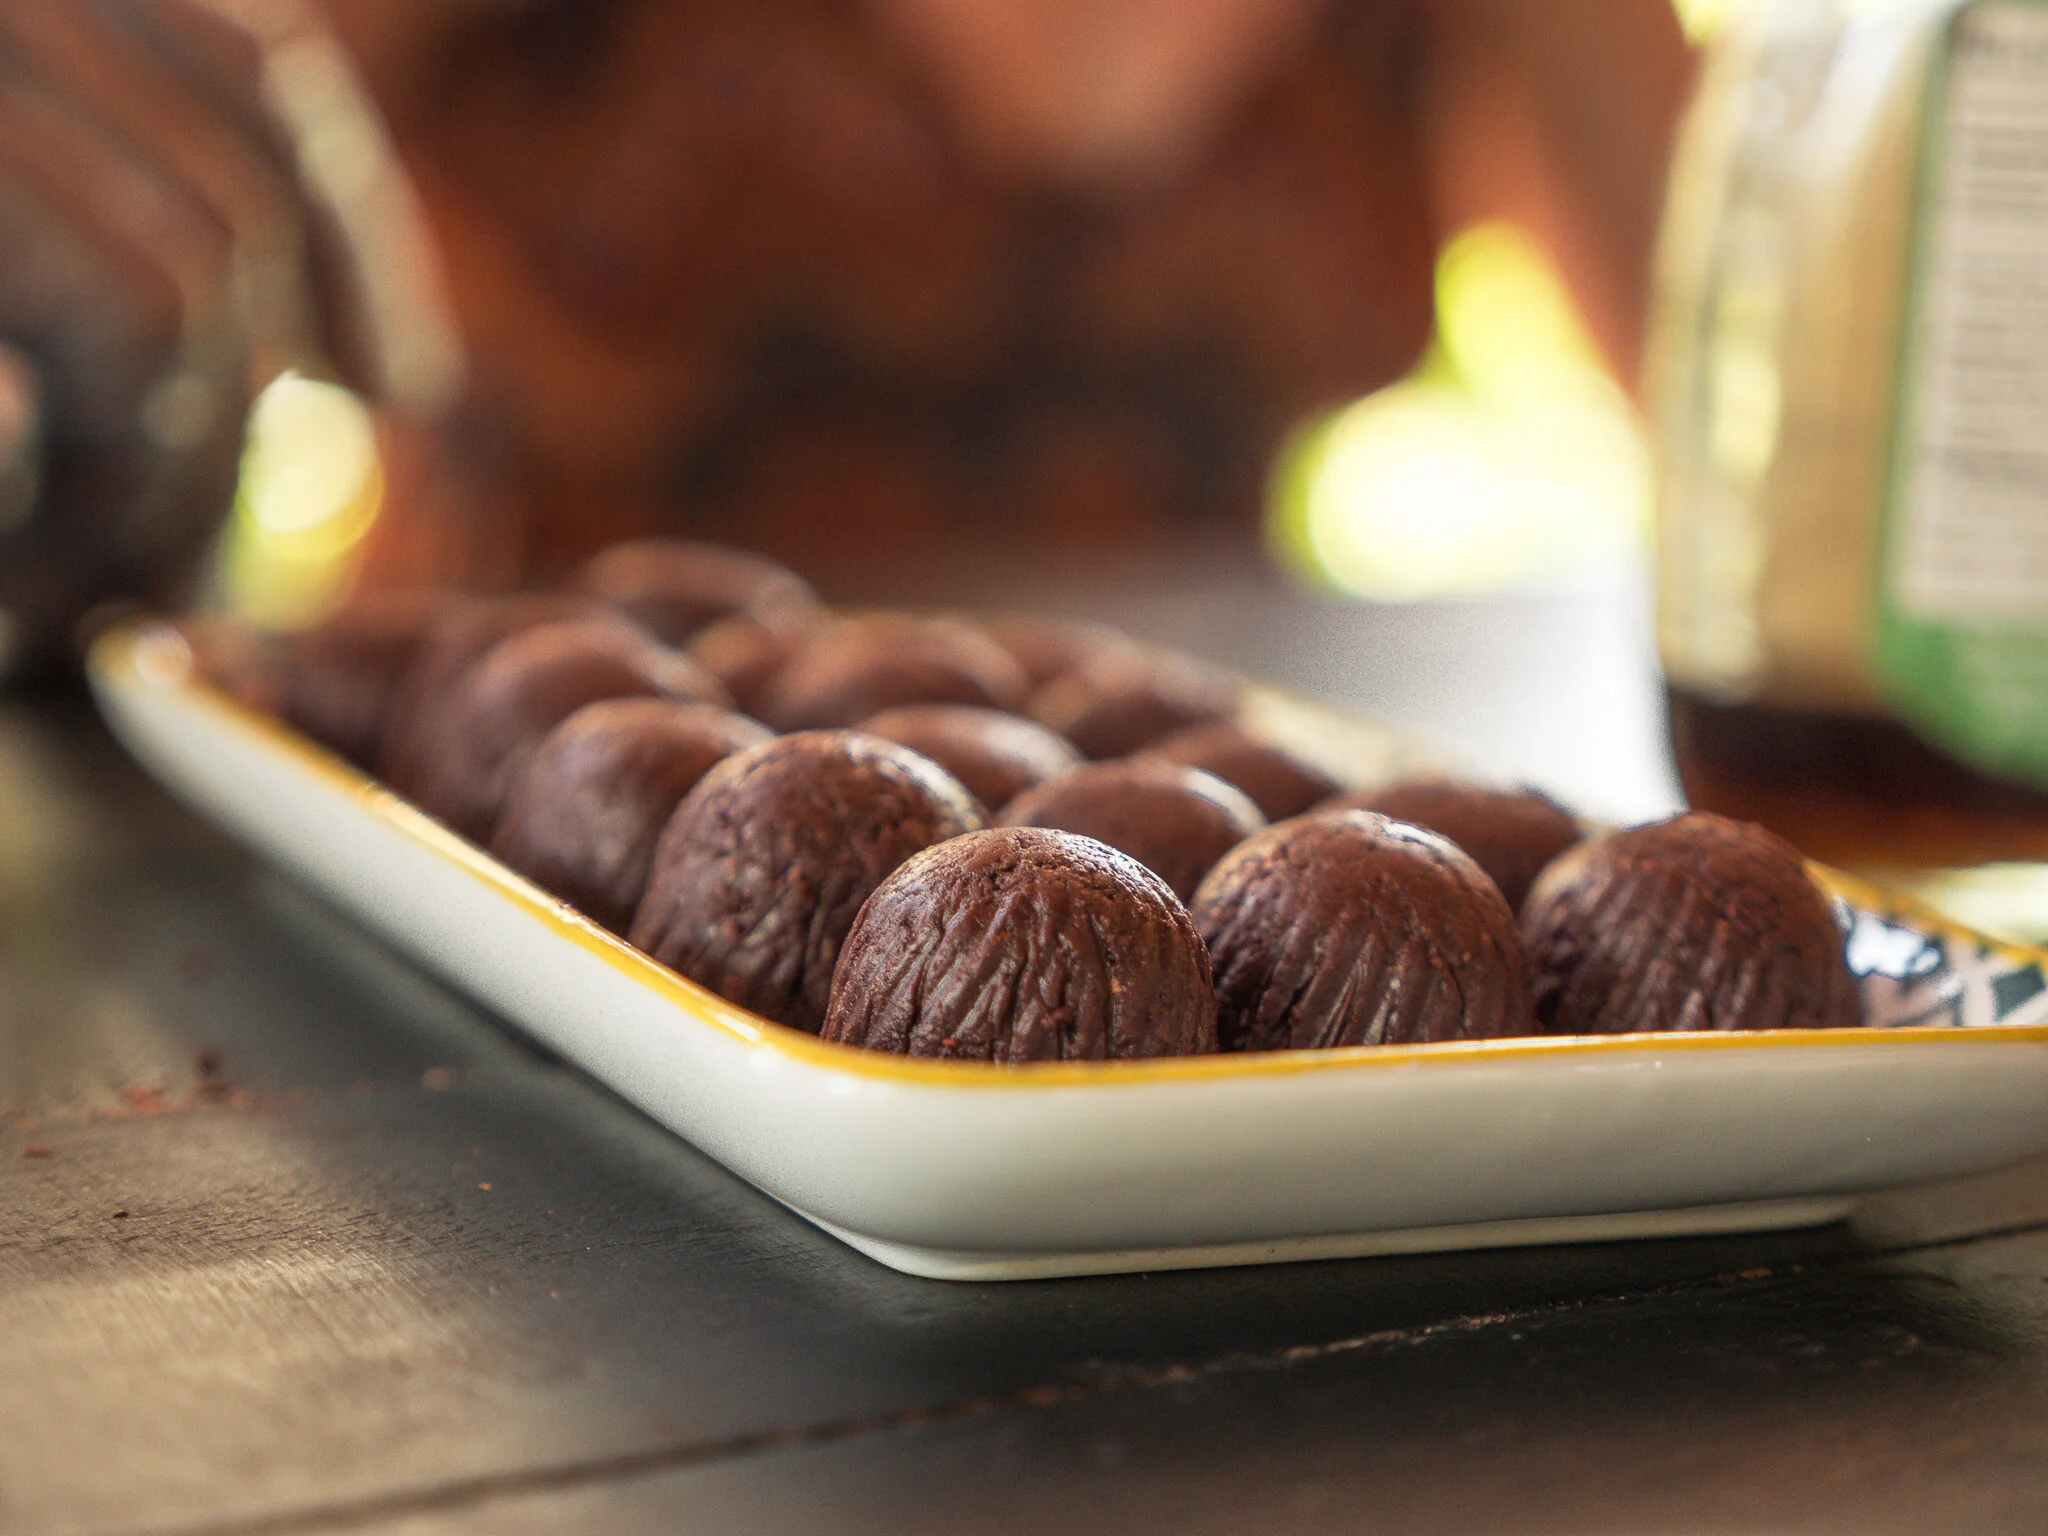
Locally sourced and made chocolate from our neighbors at La Iguana Chocolate
Categories
Topics
- Agriculture 6
- Agroforestry 21
- Animals 2
- Apprenticeship 19
- Appropriate Technology 6
- Backpacking 1
- Bananas 1
- Basic Pantry 4
- Biochar 1
- Books 3
- Build Your Own Home 1
- Central America 5
- Chiles 1
- Cinnamon 1
- Clay Carving 1
- Climate 2
- Climate Change 1
- Cob oven 1
- Communication 5
- Community 24
- Compost 2
- Composting Toilets 2
- Condiments 1
- Conservation 2
- Cooking 4
- Costa Rica 18
- Design 10
- Earthen Construction 10
- Eat Local 2
- Ecohome 1
- Education 9
- Environment 3
- Ethics 4
- Farm to Table 12
- Fasting 1
- Fermentation 14
- Food 22
- Food Choices 8
- Food Forest 8
- Food Processing 15
- Food Systems 12
- Gap Year 1
- Gardening 5
- Ginger Beer 1
- Harvest 2
- Health 12
- Healthy living 5
- Homemade 2
- Homestead 8
- Internet 2
The Ranch’s new cookbook is here!
This cookbook might not be quite like the others you have sitting on your shelf. We’ve made it look like a cookbook— and it might smell like a cookbook if it’s spent enough time in your kitchen— but it’s also a memoir, a history of a place, of 20 years of experimentation and learning and growing on the piece of paradise known as Rancho Mastatal.