
Farm to Table: Chile Recipes
By Marco, Apprentice 2020
Before we get hot and saucy…
…is it chile, chilli, or chili? Good question. I usually hedge my bets and switch between the three spellings. Actually, all of them are correct. They all come from the Aztec Nahuatl word “chilli”, which became chile in Spanish and eventually the anglicised chilli. Chili, with one l, is the American spelling and is the reason my spell check is red-lining me right now. Anyway, glad we got that out the way. Moving on…
A Brief History of Chiles
When Columbus first landed in the West Indies (in modern-day Dominican Republic and Haiti) in 1492, he noted that the locals (Arawak) were preserving meat using pepper juices, specifically one type called “axi”. This is where the Spanish word aji was derived. (It was around this time that they noticed the Nahuatl word “chilli” being used as well). These plants were very valuable to the natives and were used extensively in most of their cuisine. The Spanish discovered that the peppers were easily preserved when dried and that the seeds kept well, leading to their far, wide and rapid dissemination throughout the world. (Thanks also, in no small part, to birds, of course. Cheers guys.)
Peppers vs. Chiles
One last bit of nomenclature clarification is the common confusion between the various peppers – bell peppers, black/white pepper (peppercorn) and chilli peppers. This goes back again to Columbus and his crew. Back in the day, peppercorn was as valuable as silver to Europeans. Thus, when they arrived in what they thought was India, they also expected to find peppercorn. Instead they found chillies. Nobody’s sure whether they dubbed them “pimiento” (pepper in Spanish) because they mistook them for peppercorn, or if they were trying to pull a fast one…my money’s on the latter. Learn more about black pepper from Dani’s last article “Life of Spice.”
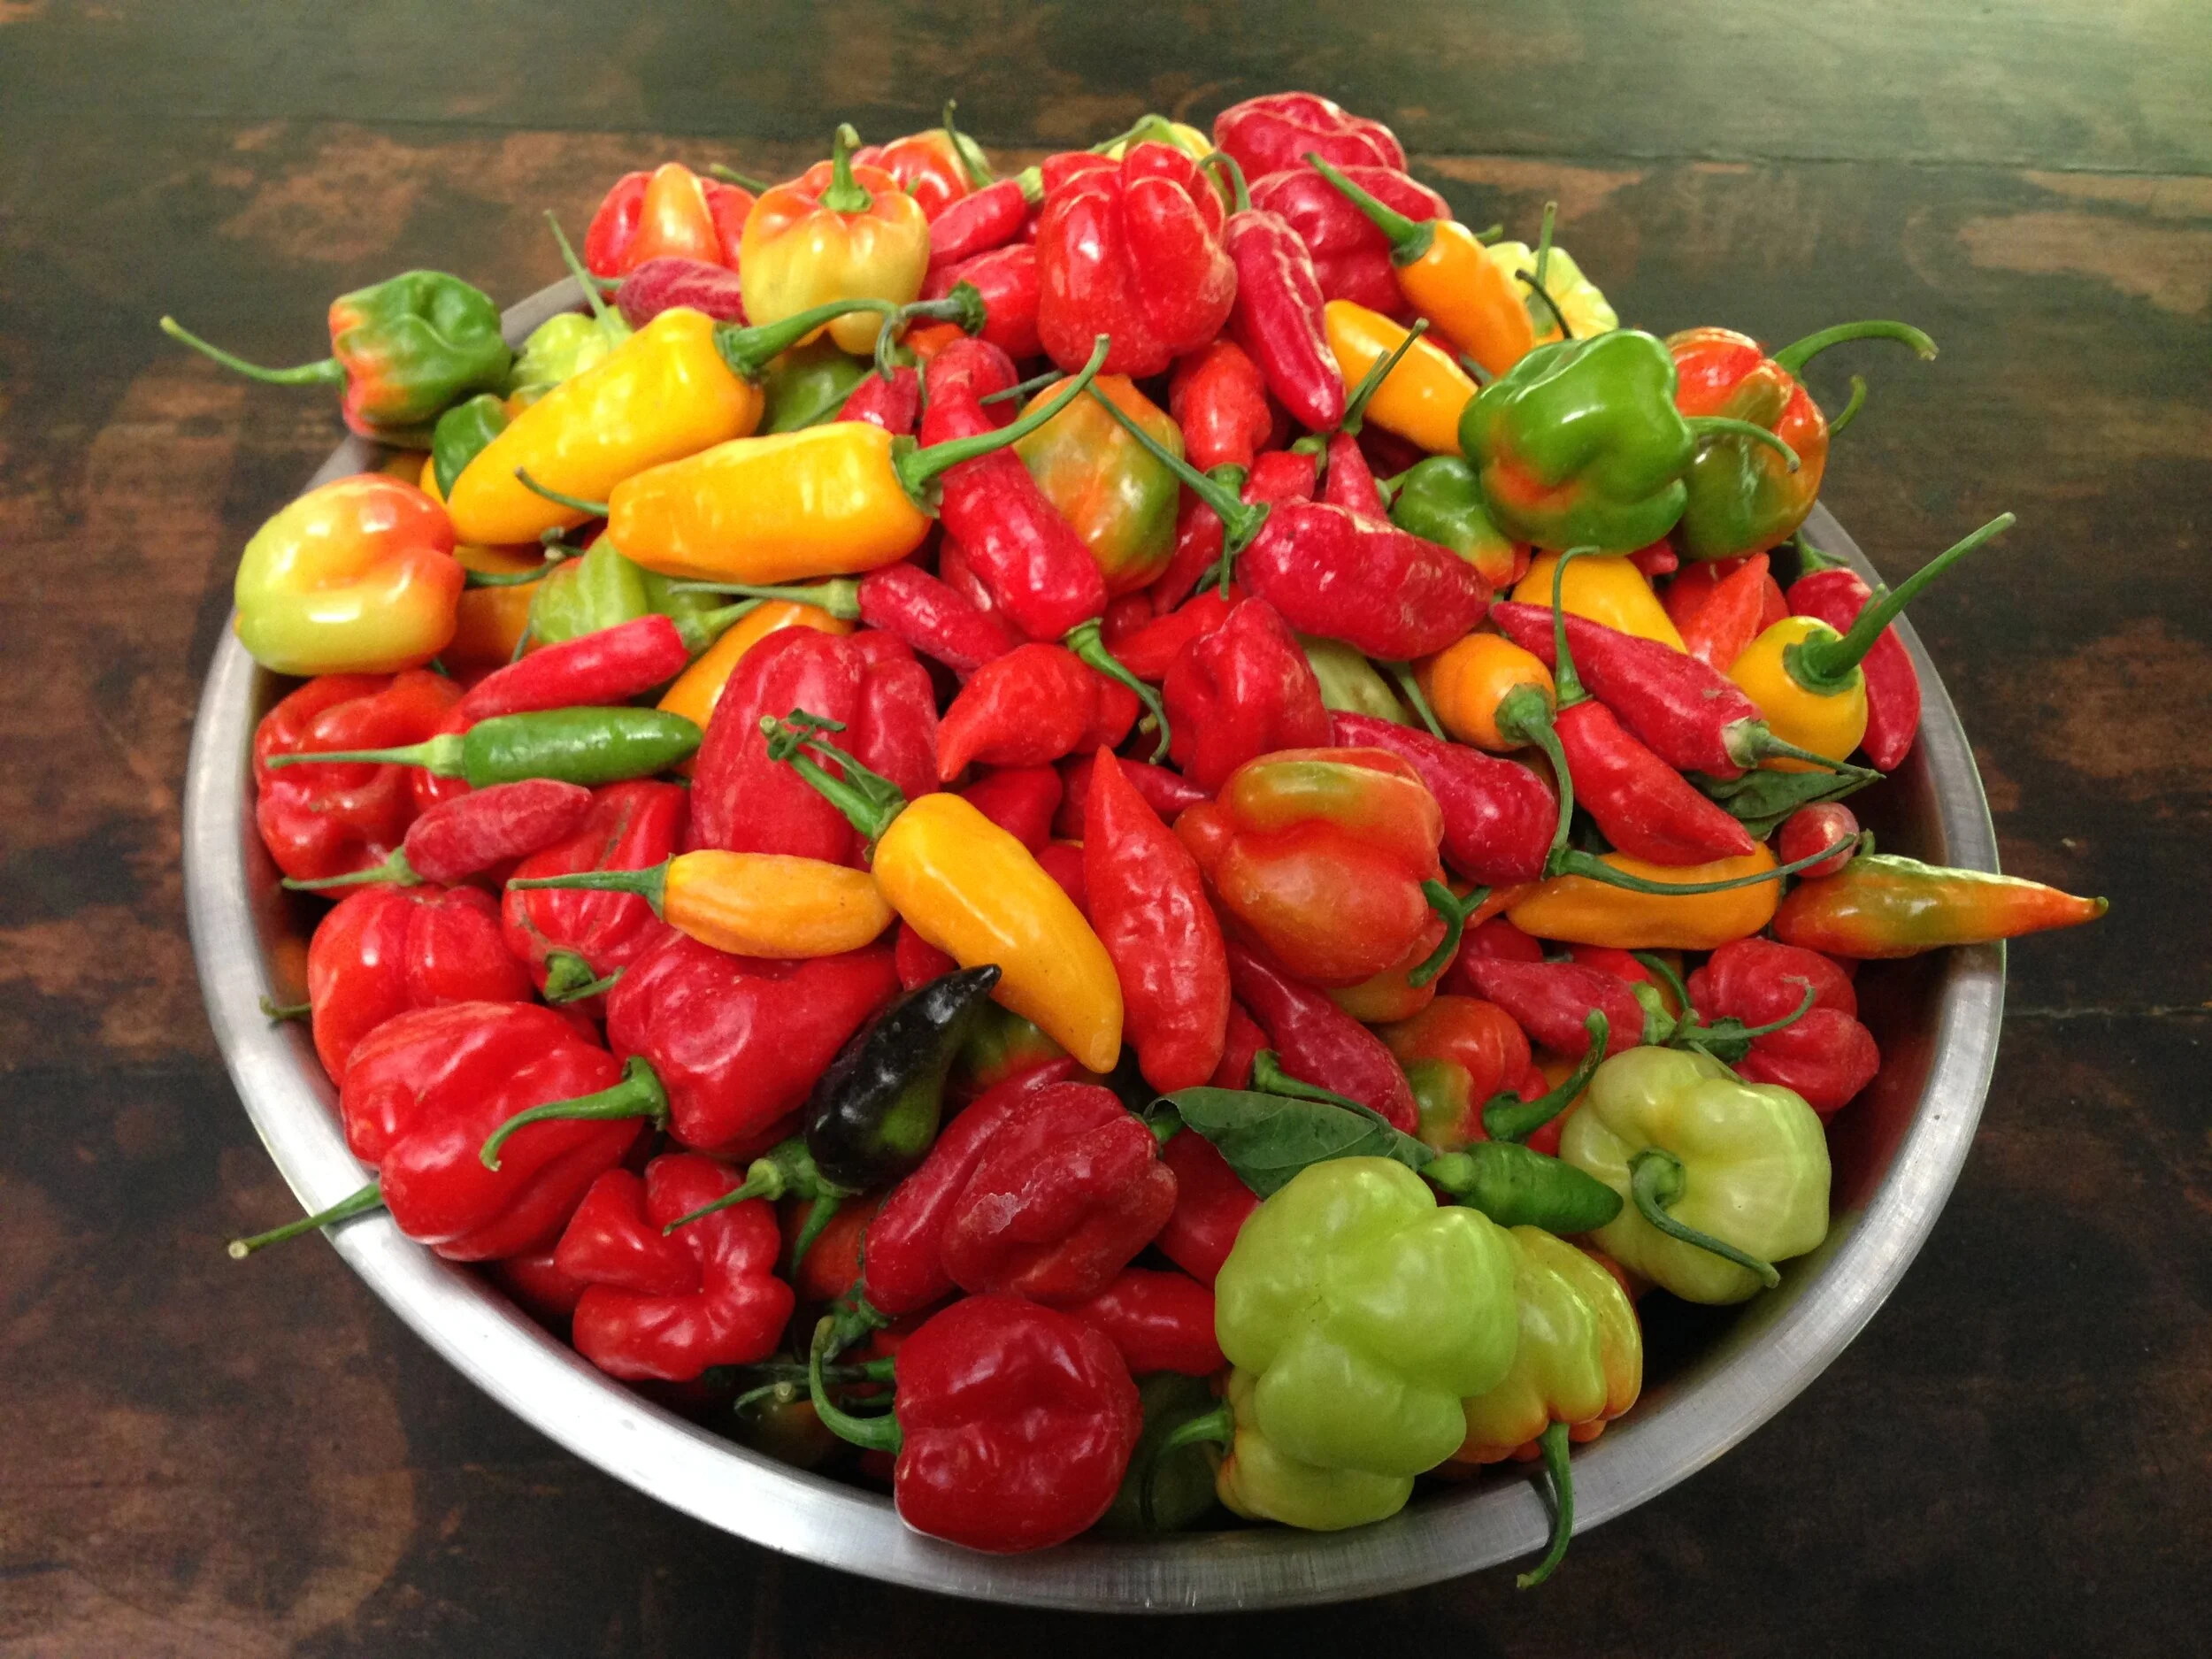
Farm to Table Chile Recipes at the Ranch
At the Ranch, we try our best to follow permaculture principles. A couple of big ones are obtaining a yield and transforming/repurposing waste. Hence farm to table recipes abound and we are consistently trying to find novel ways of using our yields and decreasing our reliance on outside produce. This dry season has been particularly productive for our chillies and has hence inspired some spicy condiment creations. Below are a few spicy specials you can try at home:

Different types of chiles drying
Tabasco Sauce
Tabasco is perhaps the most famous hot sauce ever made. First synthesized in 1850, when Maunsel White decided to boil and mash up some chiles he’d brought back from Tabasco, Mexico and add vinegar and salt. The peppers found their way into middle-aged banker Ed McIlhenny’s hands whence they were blended, lacto-fermented for 30 days (nowadays they are fermented for 3 years in oak barrels) and then put into wine vinegar, creating the hot sauce we all know and love today. It’s a simple and delicious way to preserve chiles and comes in two varieties: quick and slow.
Ingredients:
· Chiles
· Vinegar
· Salt
Method 1 (quick version)
Step 1:
Chop up the chiles and weigh. Add 2% salt by weight (e.g. 100g chiles = 2g salt) and mix. Put them into a large container and make sure they are completely submerged in brine – you might have to add brine to achieve this. [Brine = water + 2% salt]. Leave the chilies to ferment for 1-2 weeks.
Step 2:
Remove chiles from brine (keep the brine!) and blend them into a chunky paste. Put the chiles back in their brine and add vinegar. Leave to ferment another week.
Step 3:
Strain off the liquid – this can be bottled and used as (quick) Tabasco.
[Pro-tip: The chilli solids can be dehydrated (in the sun or in an electric dehydrator) and used as chili flakes!]
Method 2 (slow/proper Tabasco version)
Step 1:
Same as quick version
Step 2:
Same as before - strain, blend and put into a jar but don’t add vinegar or brine this time. Place a muslin cloth (we just use a repurposed pillowcase) over the top of the jar and press down.
Step 3:
Add a thick layer of salt on top of the cloth – this will help seal the sauce whilst absorbing much of the moisture. This salt can then be dried and used as chile salt, once the sauce is ready.

Place cloth on top of jar and press down

Add thick layer of salt

Fold edges into the jar and cap
Step 4:
Leave to ferment for 6 – 36 months.

Chiles fermenting away

Finished Tabasco Sauce!
Chilli Jam (approx. 800ml)
This is one of my favorite condiments. It goes great with anything fried, meaty, cheesy and/or salty. Yum. The ingredients are few and the method easy. You can play around with this one as much as you like, substituting, adding and subtracting ingredients to your heart’s (and tongue’s) desire…
Ingredients
- 4 tomatoes
- 4 bell peppers
- 20 chiles
- 2 onions
- 2 heads of garlic
- 5-10grams of ginger
- 700grams sugar
- 300ml malt/balsamic vinegar
- [fruit of your choice]

You can smoke your chiles to give it a smoky taste!
Method
- Start by blending everything (except the tomatoes, sugar and vinegar) to a chunky consistency.
- Roughly chop the tomatoes and chuck them into a pot over medium heat. Cook them until they are softened up and the skins are starting to come off (5mins).
- Throw in the rest of the blended ingredients. Stir and cook (2mins).
- [You can throw in any fruit of your choosing here to give a unique flavour to the jam. We've had success with: pineapple, passion fruit, pickled limes, papaya and roasted zucchini.]
- Add sugar. Stir until dissolved (2mins).
- Add vinegar. Stir.
- Cook on a low-medium heat stirring occasionally until the jam has cooked down to a jammy consistency (30-45mins).
- Leave to cool - flavours will combine and take on new dimensions once the jam has cooled!
- Put in a glass jar and store in the fridge. Should keep for at least 3 months.
Jalapeno & Lime Pickle Hot Sauce
This is a two-step recipe that involves an initial lacto-ferment. Like the chilli jam, you can get creative and substitute the lime pickle for other fruits.
Ingredients
- 20+ Jalapeno peppers (or another chile of your choosing)
- 2 onions
- 2 heads of garlic
- 5-10grams ginger
- 2 carrots
- 250ml orange juice syrup*
- 2 lime pickles / juice of 2 limes

Lime Pickle
Method
Step 1 - Lacto-ferment:
- Roughly chop the: 20+ Jalapeno peppers, 2 onions, 2 heads of garlic, 5-10cm ginger, 2 carrots
- Weigh the total and add 2% salt. Mix.
- Put into a jar and submerge in brine (salt water).
- Leave to ferment for 1-3 weeks.
Step 2:
- Take your lacto-fermented ingredients and blend them (brine 'n all) to a paste.
- Mix in orange juice syrup.*
- Finely chop lime pickles / squeeze the juice of 2 limes and mix into sauce.
- Bottle it up and enjoy!
*Make the syrup by mixing 1 part orange juice to 1 part sugar. Cook over a low heat until the liquid reduces down to a syrupy texture.
So, there you go. Three simple chili sauce recipes to spice up your meals and make your grandmother proud. Hope you enjoy them as much as we do! Stay tuned for more farm to table tips, tricks, and recipes!
