
Tips on how to put together a plastering practice board
By Felipe Ortiz, Madre Tierra
Have you ever heard of natural plasters? If not, check Rancho Mastatal Natural Building course. Maybe you attended a course somewhere or had an enjoyable experience with some friends helping them at their natural home project or maybe you have seen some videos online.

fun with natural building
No matter what has been your experience being introduced to the art of plastering, it seems it is a constant that people get exposed to or hear of natural building systems and then they have trouble keeping up with their learning and further execution of their knowledge.
At least that happened to me when I was first introduced to these concepts about 8 years ago. If I had the following information and kept practicing on a regular basis I would be way more advanced these days, since practice makes the master, as the phrase says.
So in the following bullet points the goal is to be able to transmit the knowledge, how to create and prepare a suitable plastering practice board, so you can practice your skills on the art of plastering.
What's a natural plaster?
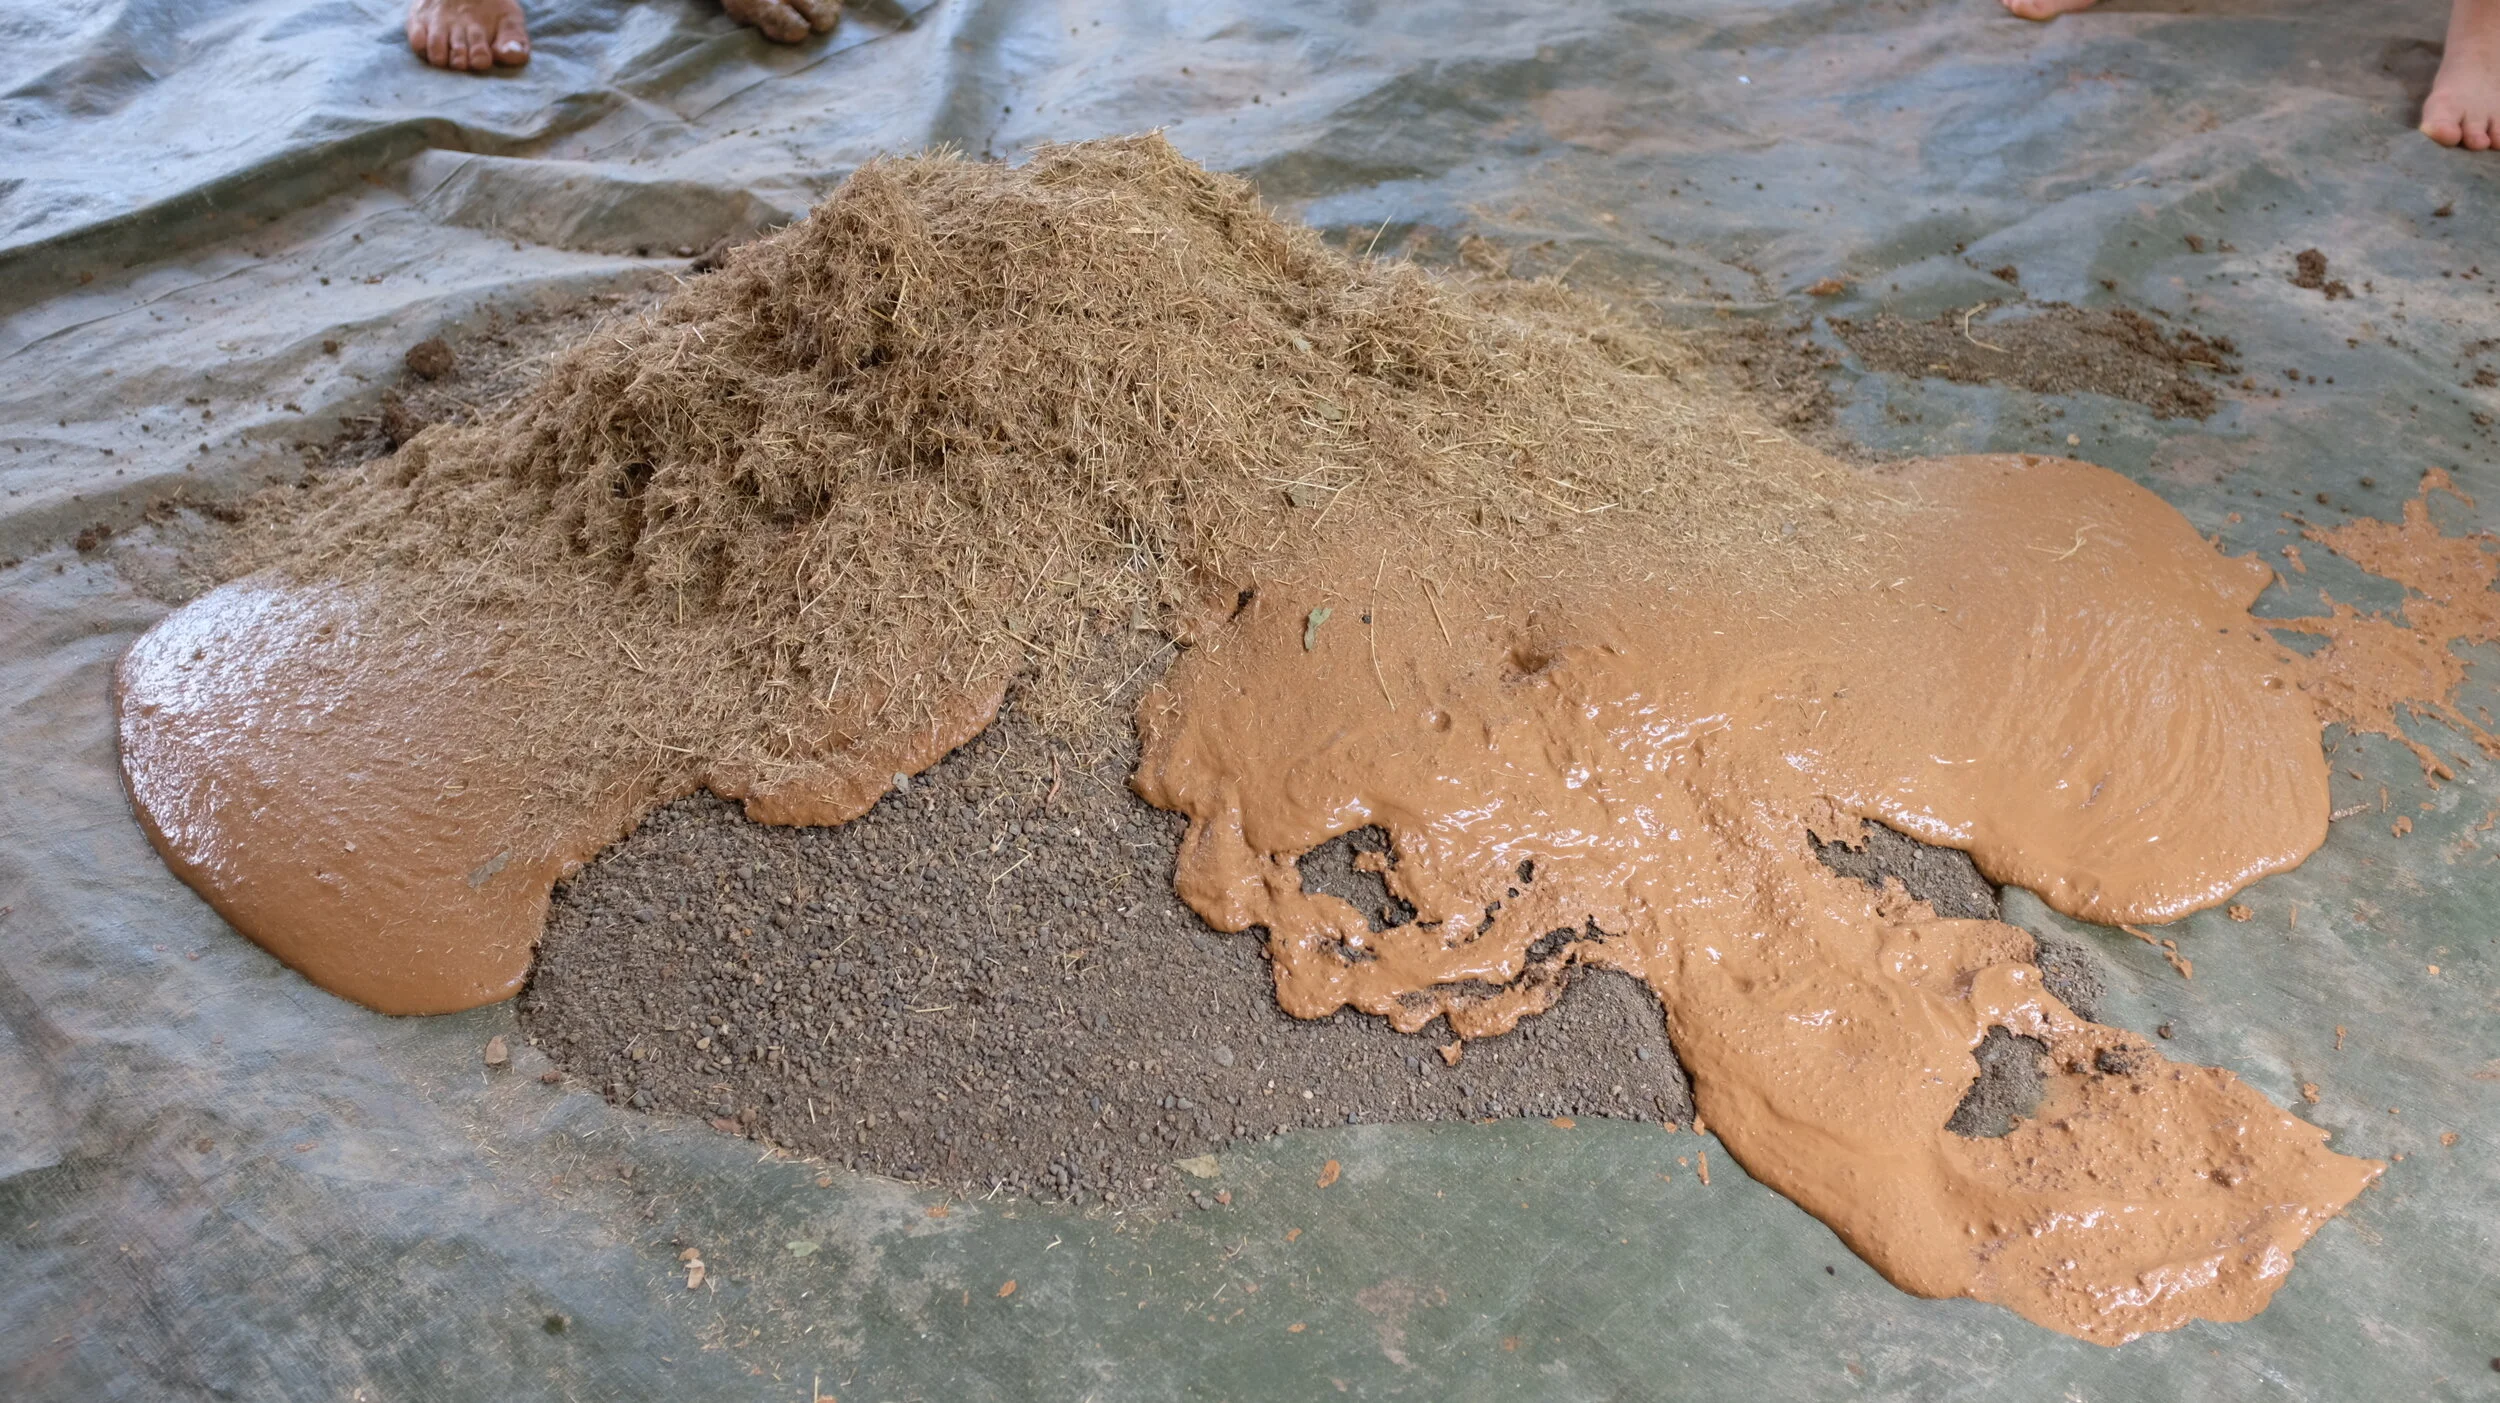
A natural plaster (in North America), Natural Render (in Europe) or Repello Natural/Revoke natural (in Spanish speaking countries) is the technique and system that is used to finish a wall of any type using natural materials like: Clay, Lime, Gypsum and others.
Yes you can finish any kind of wall with a natural plaster. Like any other technique the key is to practice.
What is a plaster practice board and why?
Basically it is a board to practice finishes of any kind, though natural finishes are the healthiest and nicer ones (in my opinion).
Having a plaster practice board is key to being able to practice different techniques, experiment with different recipes and materials, practice your hawk and trowel movements, make mistakes and learn from them, and keep further advancing your skills in the art of plastering.
So here it goes, what you need, and how to prepare it! Take notes!

Practice panels being used at the ranch for plastering
Making a plaster practice board
Plan it to the detail so the process goes smooth, as my friend says: "Set yourself up for success."
An ideal practice plastering board is attached to an existing wall, it's easy to repair, takes little space, it can be re-used again and again.
A good choice for the substrate of the panel is plywood or laminated wood. Its cheap, very flat, easy to find and work with. You can also make an earthen “board” out of a variety of natural building techniques (cob, adobe, wattle and daub, strawbale).
**Pro Tip: wherever you buy this board ask if they provide the service to cut it to your preferred dimensions, sometimes they do it for free or for as little as 25 cents the cut.
A good dimension practice panel is 1 meter by 2 meters. This allows you a decent and realistic size.
The panel needs to be framed so you will need 6 linear meters of 1 inch x 2 inch boards.
**Pro Tip: ask for cutting service at the hardware store or wherever you buy it.
The practice panel will be screwed into an existing wall and framed. So you will need screws of at least 2 1/2 inches and a drill of course.
You will need an acrylic paint and some cement. This is for creating the transition coat on your practice panel from plywood to your natural plaster base coat.
Make sure the spot you're choosing for the installation of the panel is appropriate, remember you will be working with mud, lime and other ingredients, sometimes it gets messy, especially if you are a beginner. The garage seems an ideal space.
Now that you have all your materials ready, the rest of the process is pretty straight forward.
With help from a friend or a family member hold the piece of plywood to the desired height on the wall. With the drill and the screws secure the plywood to the wall, making sure to use a sufficient amount to hold the weight of the plasters you will put on.
With the 1 inch x 2 inch boards create a frame over the plywood board. If you planned it right, your boards are cut to the perfect length.
At this point you should have a properly secure board to the wall in a suitable spot for working with your mixes and applications.
Make a mix of acrylic paint and water (50/50) and add cement to this until it reaches a paint like consistency. Paint this onto your panel, this will help with the transition from plywood to plaster.
Apply a thin plaster layer, this will be a permanent layer on your board, to help with absorption of your next layers. This can be a cement or lime plaster. Add a horizontal key onto this layer to help with bonding of the next layers.
Now the board is ready to use to start practicing your natural plasters, from base coat, leveling coat to finish coat, or with whatever system you decide to experiment, that is what the board is meant for; practice, experiment, learn and do it all again.
Once you have finished a plastering system whether it is just a base coat or all the way to a finish coat you will chisel it down, if the transition coat is damaged just repair it and the practice panel is ready to go again!
Trust me you will get tired of plastering before this panel is useless.
From now on you have your own plastering practice board. This space is your experimental area and personal plastering learning center. A space that has no consequences and allows you to freely play and practice your plaster skills.

learn more about natural building
Join us for one of our natural building related workshops.
or looking for a natural building contractor in Costa Rica, check out Madre Tierra
Happy building!